You’d be hard pressed to find an accessory infused with more passion and personality than shoes. Despite this, we’re offered an extremely limited number of styles and models. Unless you’re super rich (unlikely) or a shoemaker (even less likely) you probably haven’t considered custom footwear. However, making your own shoes may be easier than you think.

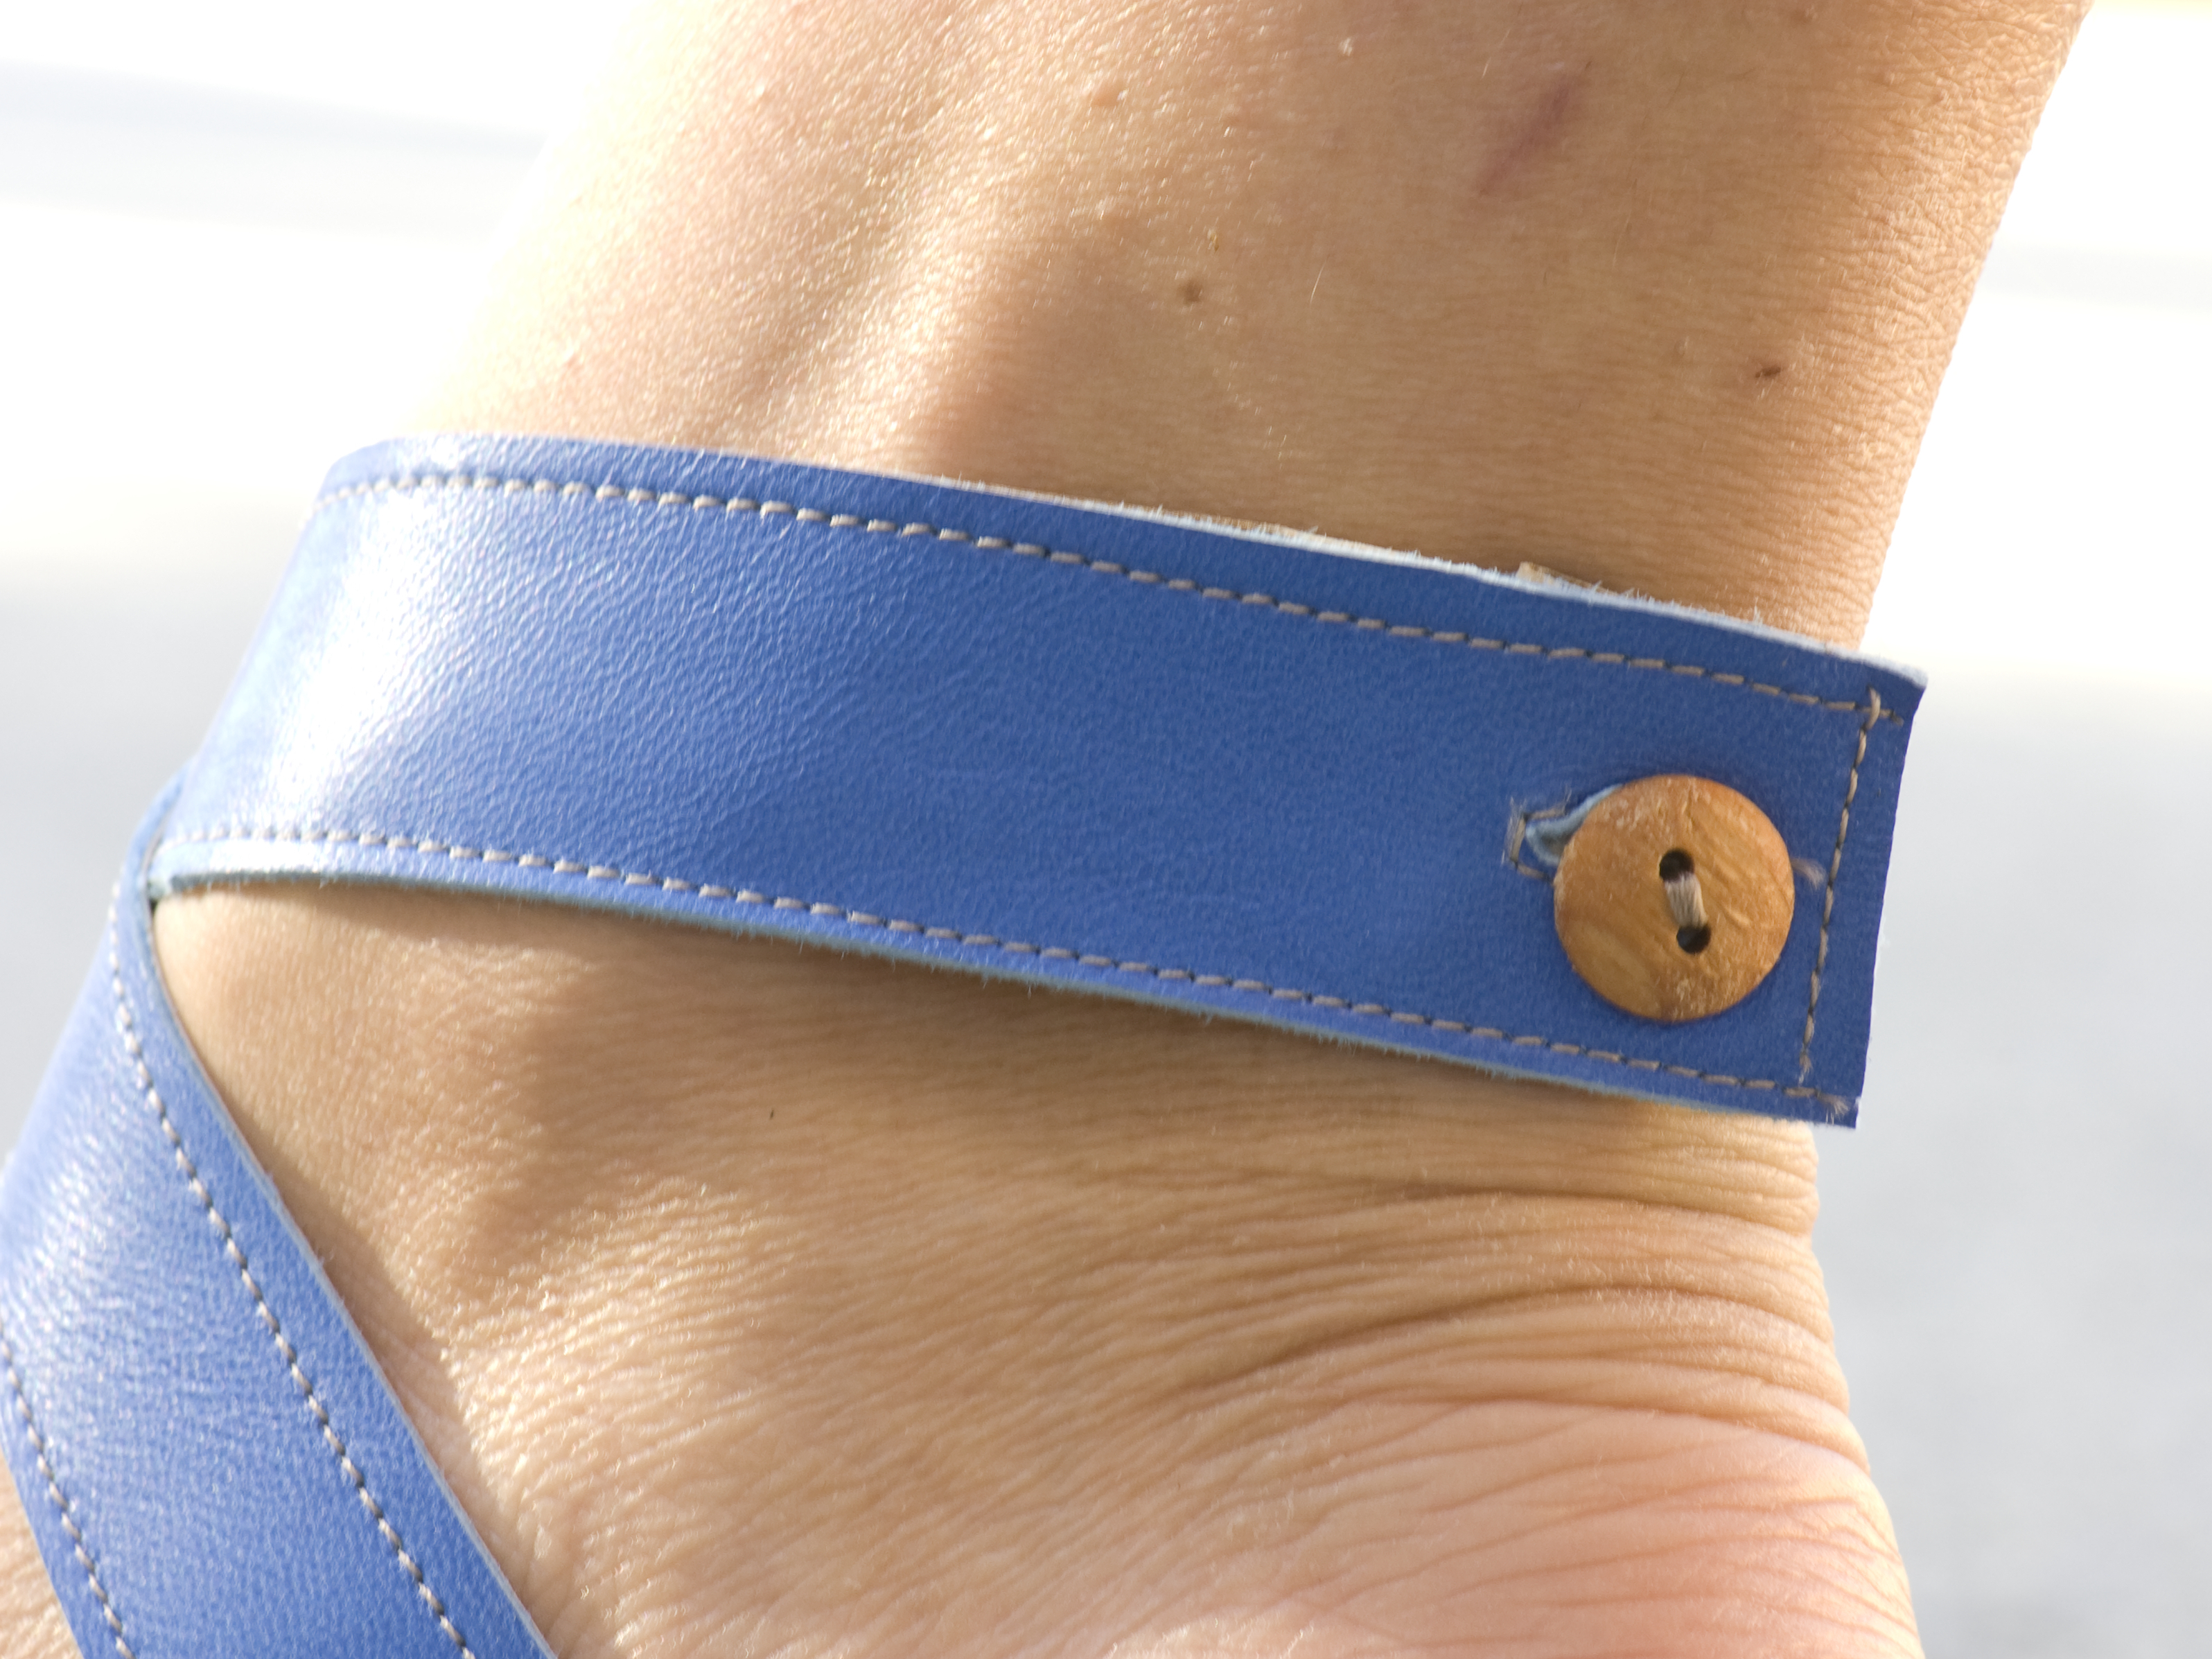
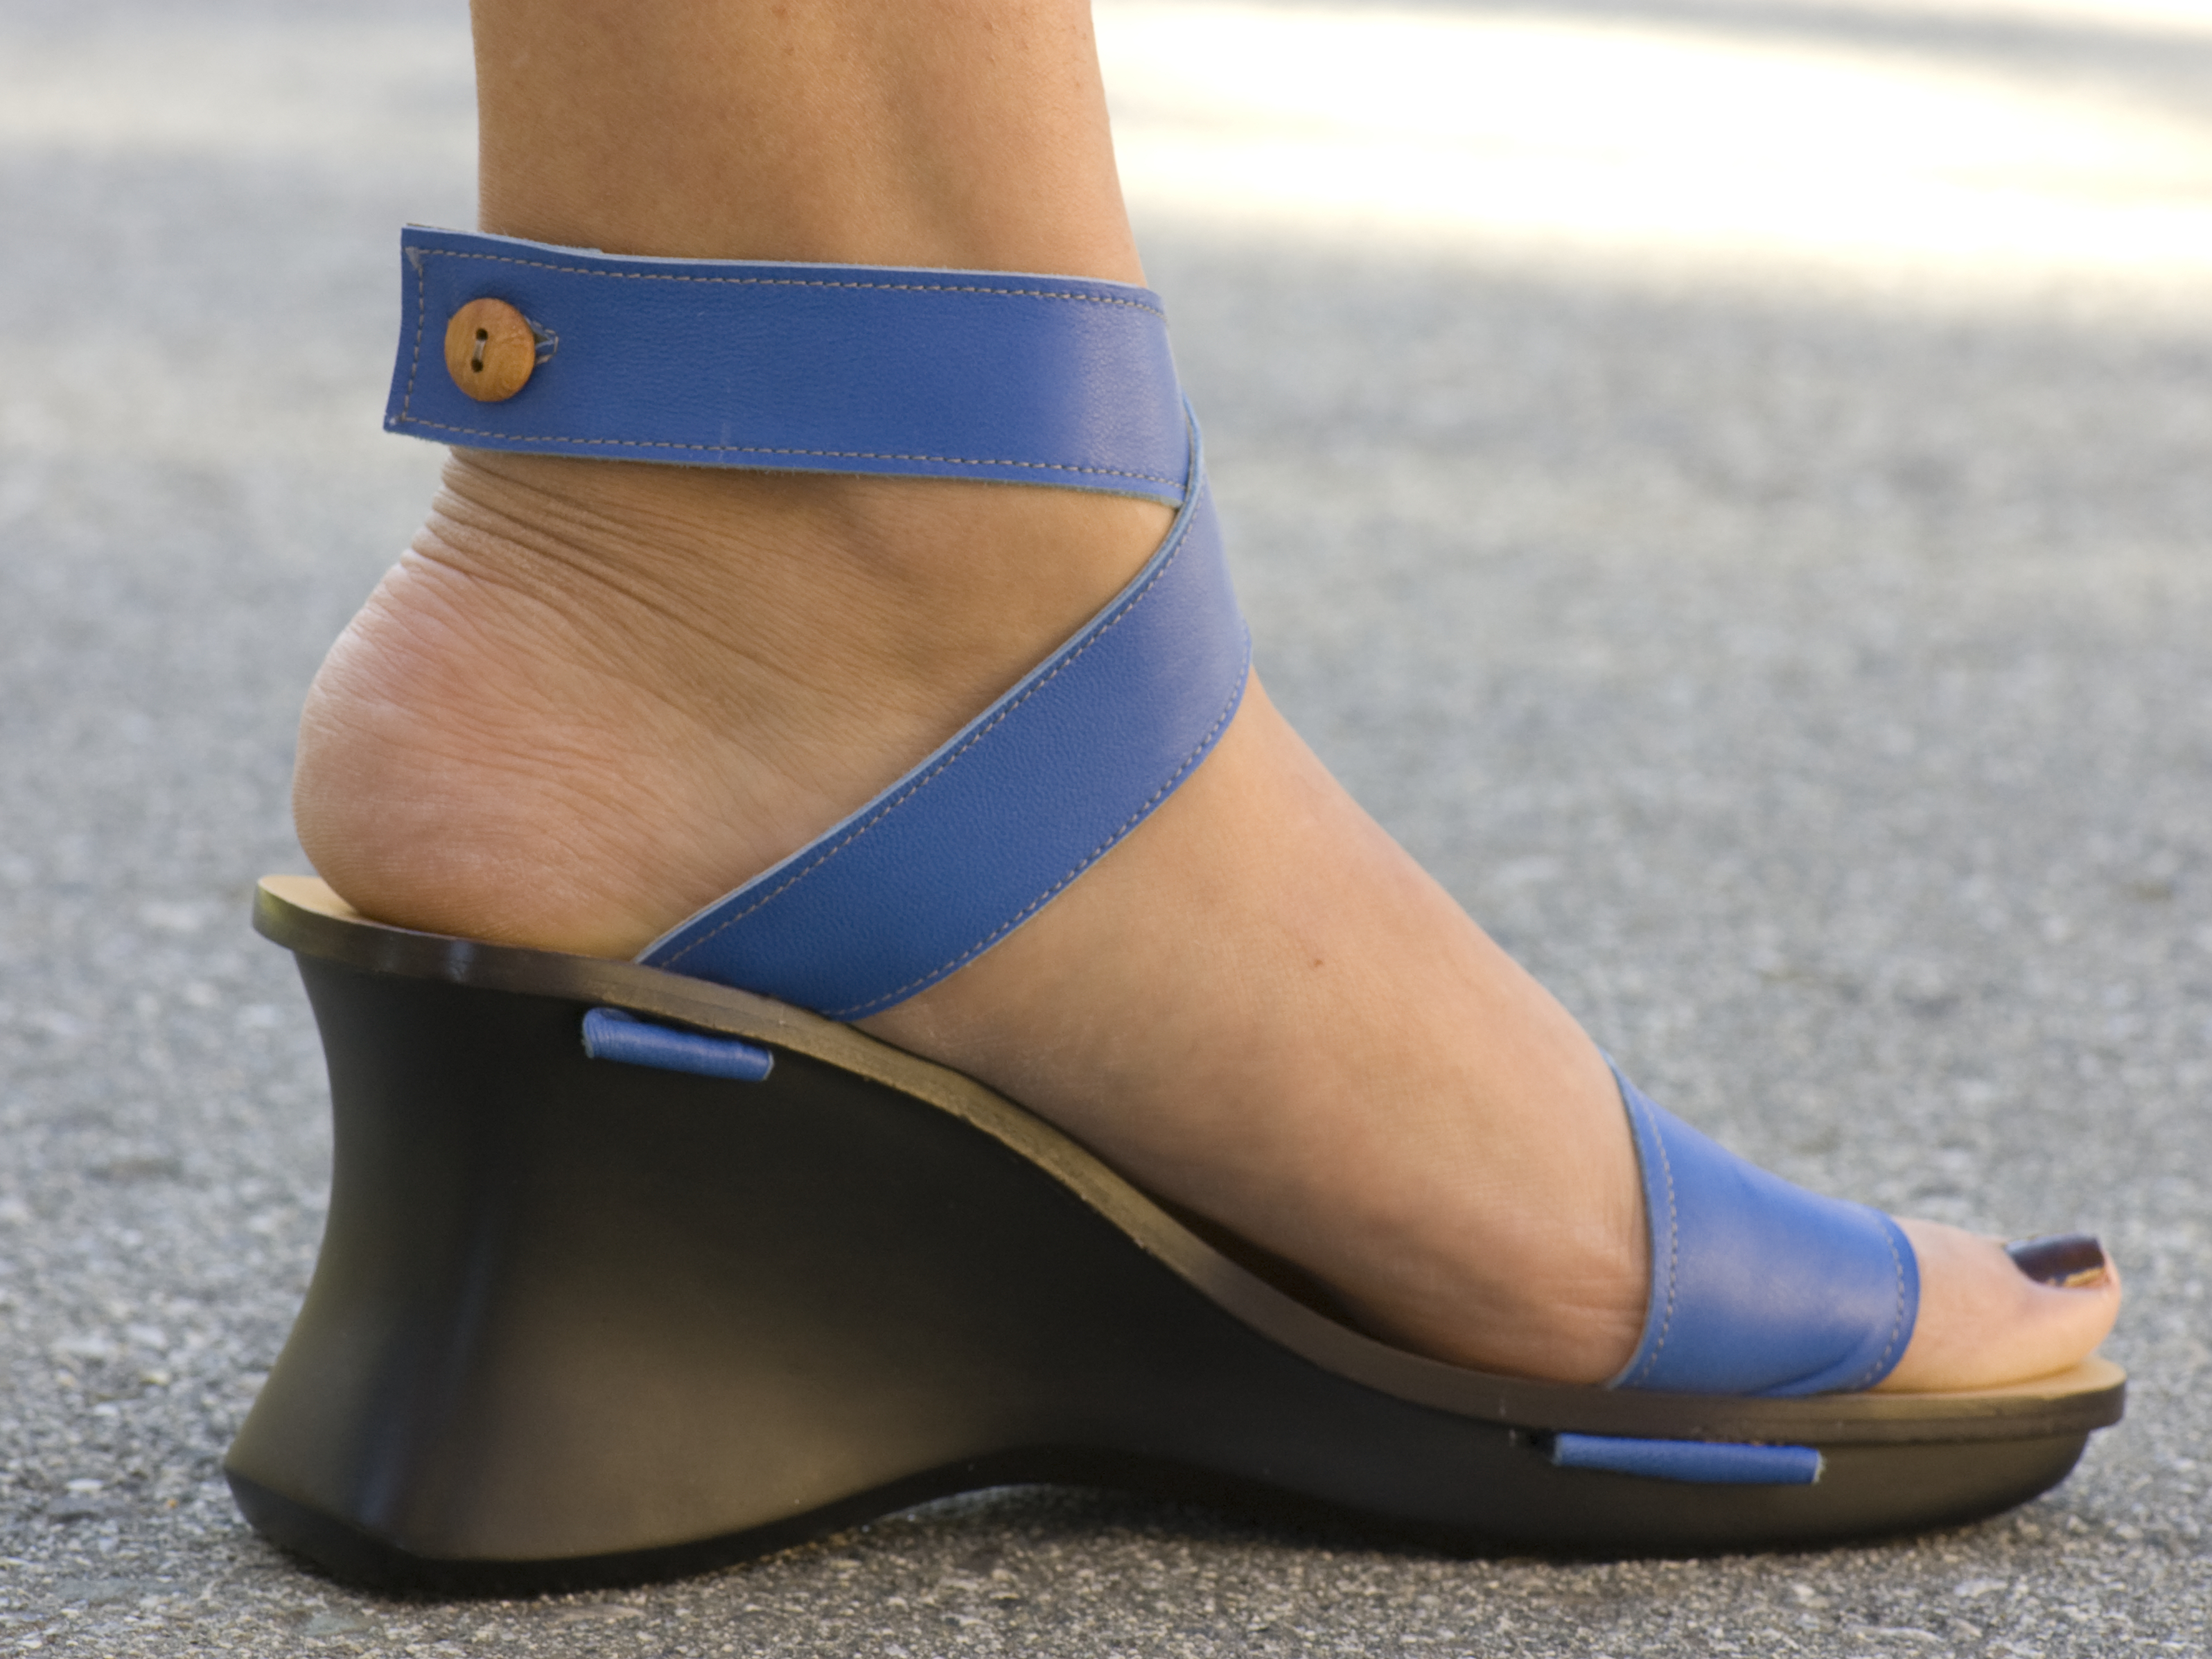
I’m talking about creating interchangeable uppers that reflect your creative vision, in everything from material choice to pattern. By cannibalizing the soles from pre-existing footwear, you can make a pair of interchangeable strappy shoes with unlimited styles that you can swap out as fashion sees fit.

When I mention that I make shoes, I often get the same response: “Oh my God, can you make me some? I’m a total shoe addict!” And if you’re anything like me, you’ve had fantastic visions of creating your own boots, platforms, wingtips…

But very few of us actually turn these ideas into reality. Making shoes isn’t easy. The fact that the process is surrounded with an aura of mystery doesn’t help either. As a result, custom shoes are only available to those with the means to pay a shoemaker over $1,000 per pair. The rest of us must search through a sea of mediocre, mass-produced footwear. This needs to change.

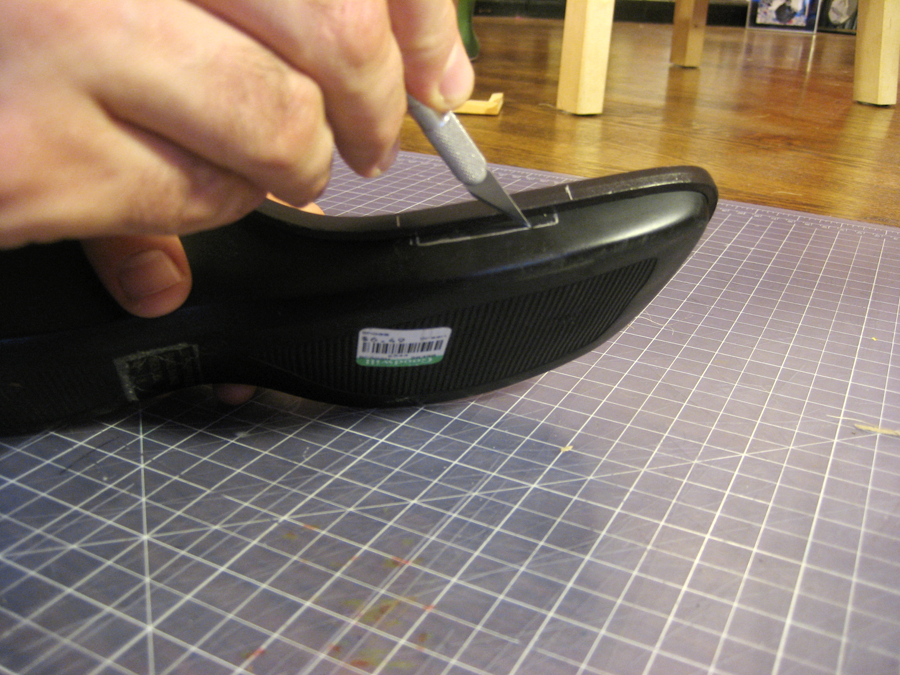
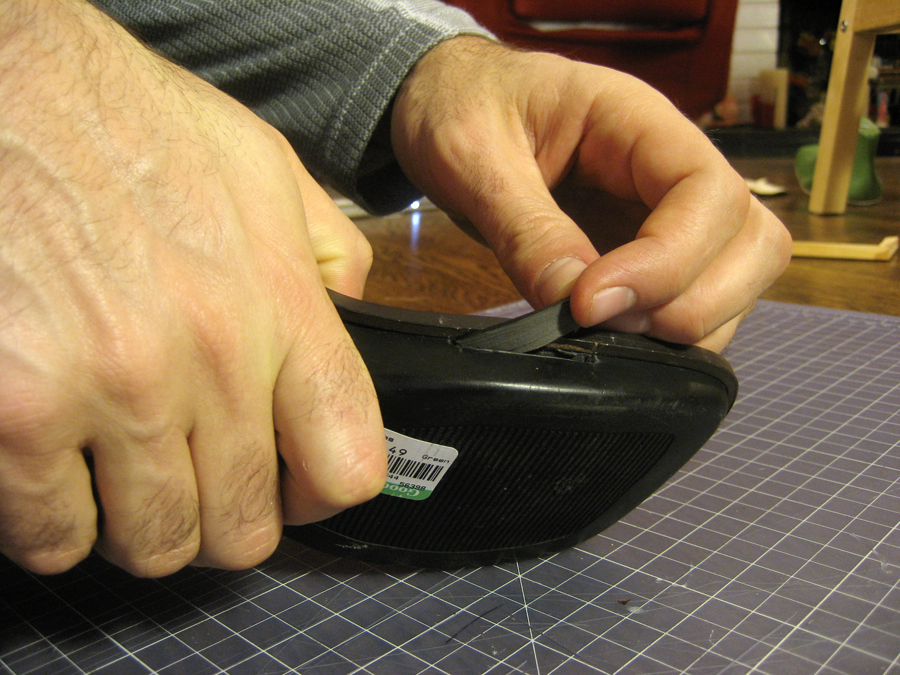
We can start by taking some lessons from open source models of software development. How? We’re going to cannibalize existing shoes, make them modular, and minimize the risk of experimentation.

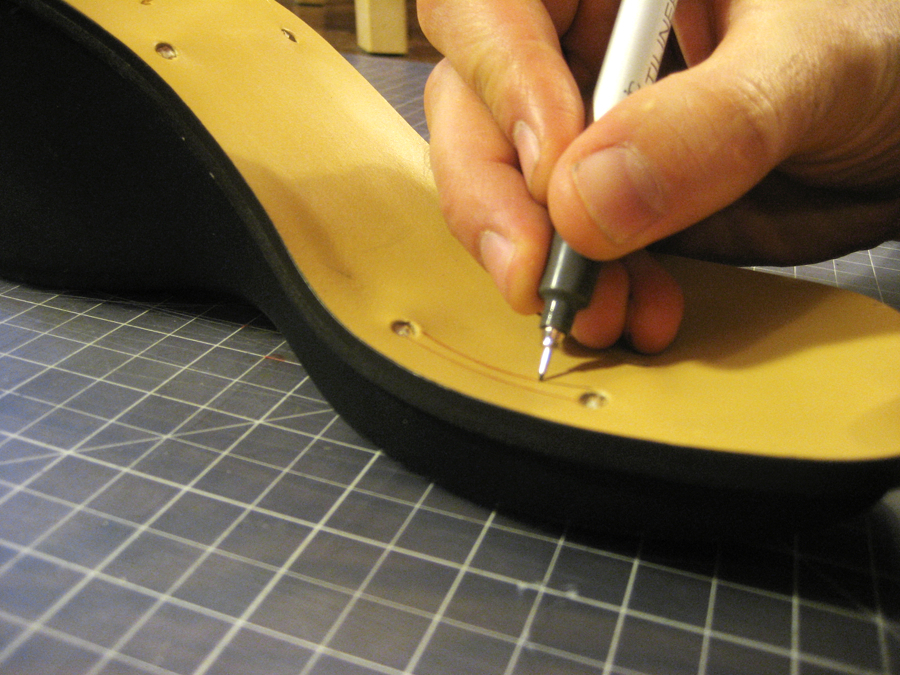
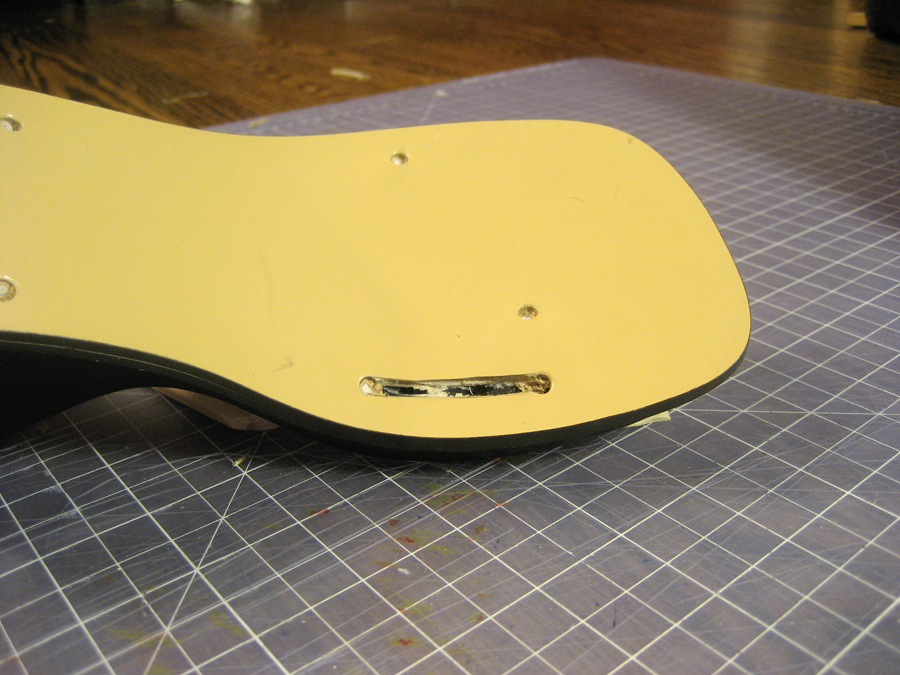
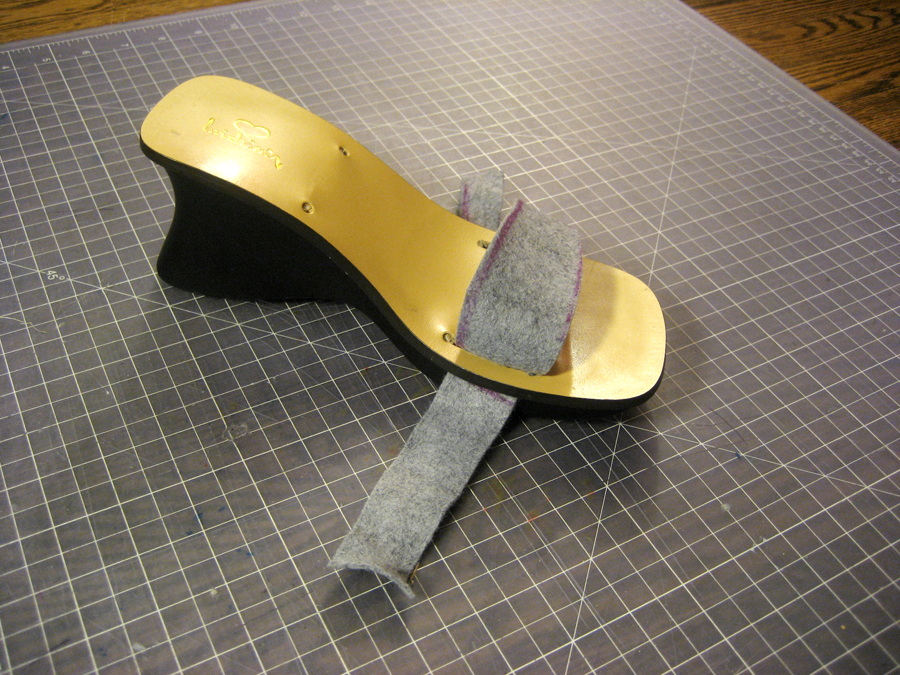
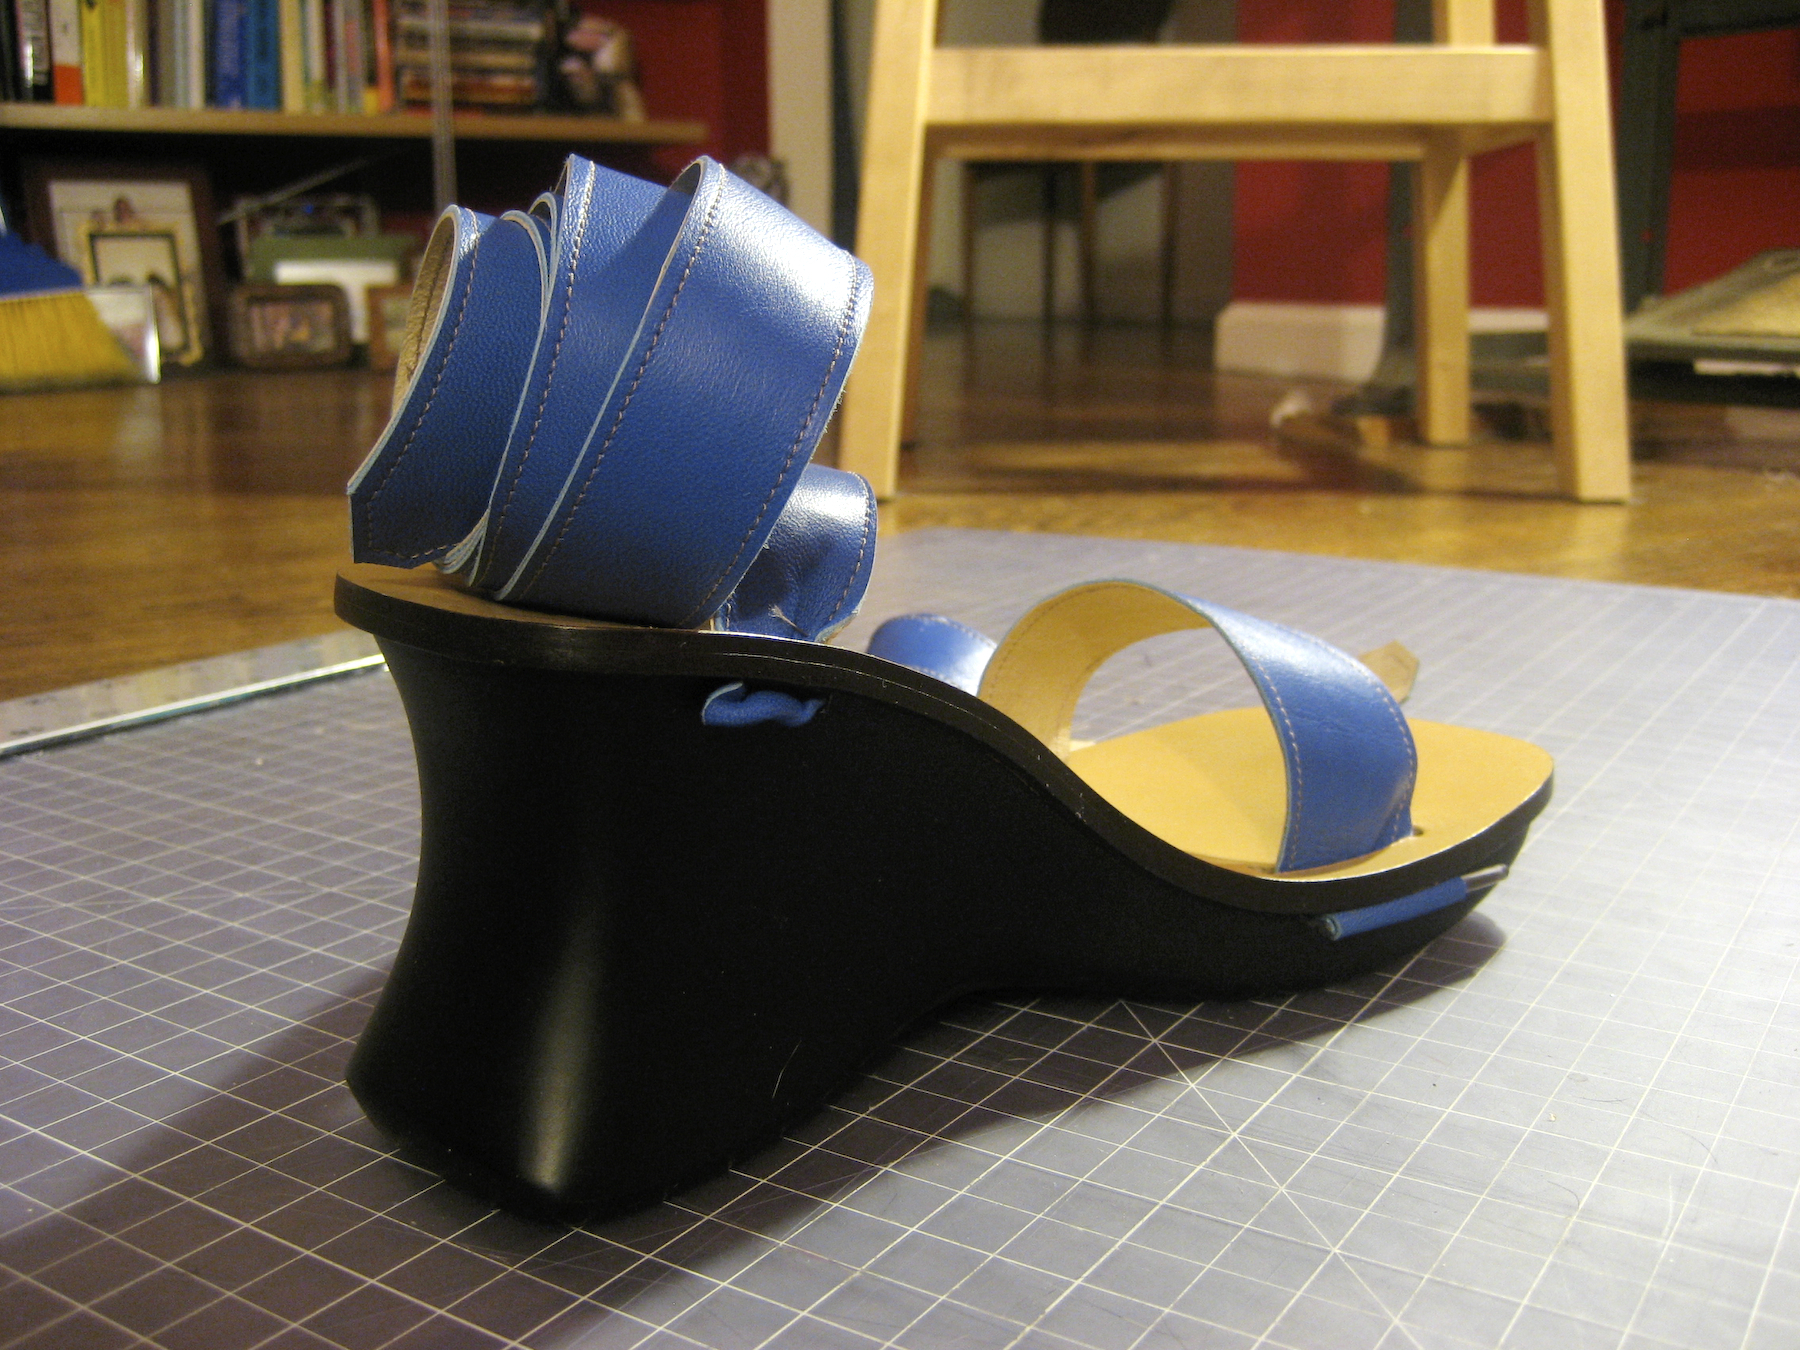
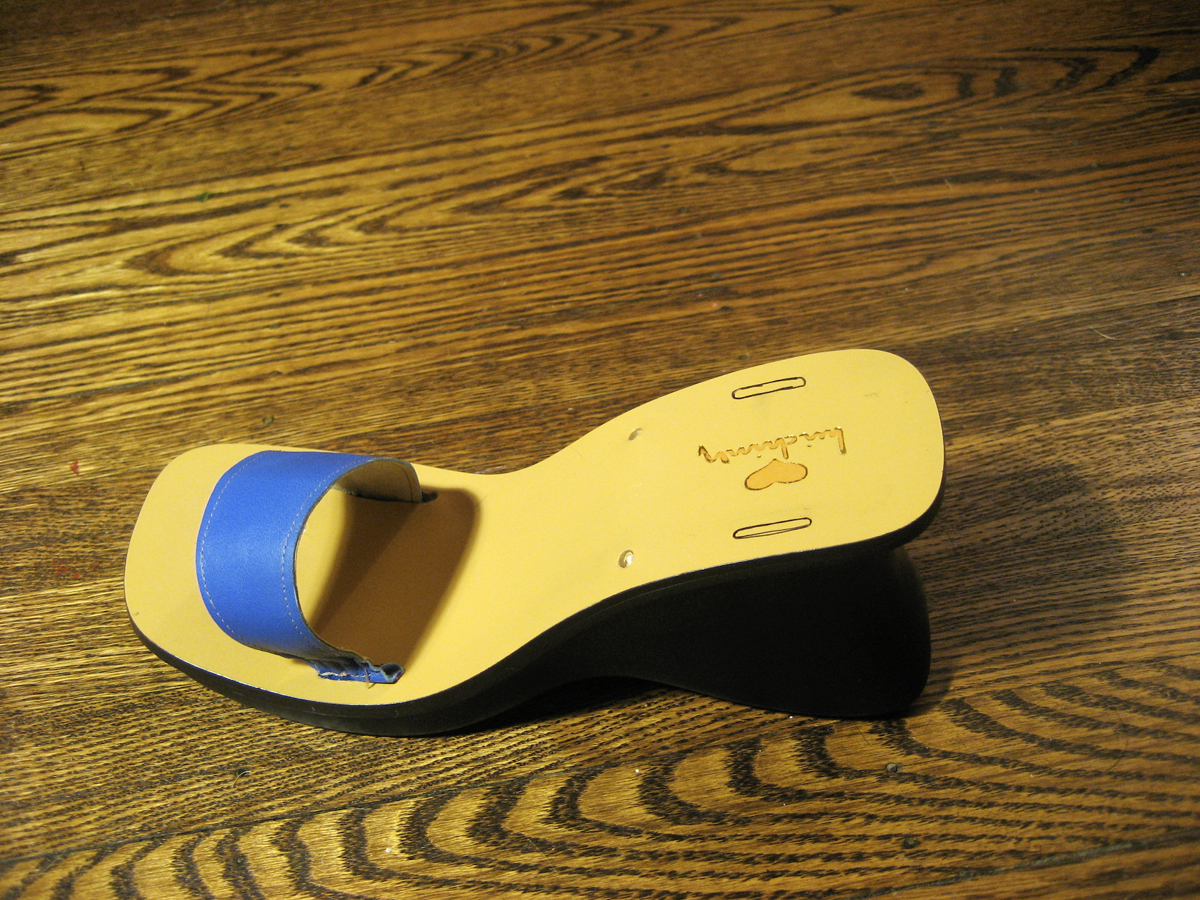
We start by cannibalizing the most complicated part of the shoe — the sole. The sole provides support and cushioning to the foot’s complex structure of bones, joints, muscles, and tendons. Since most shoe companies spend quite a bit of time and money working out issues of construction, materials, and support, we can benefit from their hard work by using existing soles as the platform from which we can build.

Currently, almost all shoes are constructed by gluing the upper (the part that covers your foot) to the soles. Once connected, it’s nearly impossible to remove these parts from one another without doing damage.

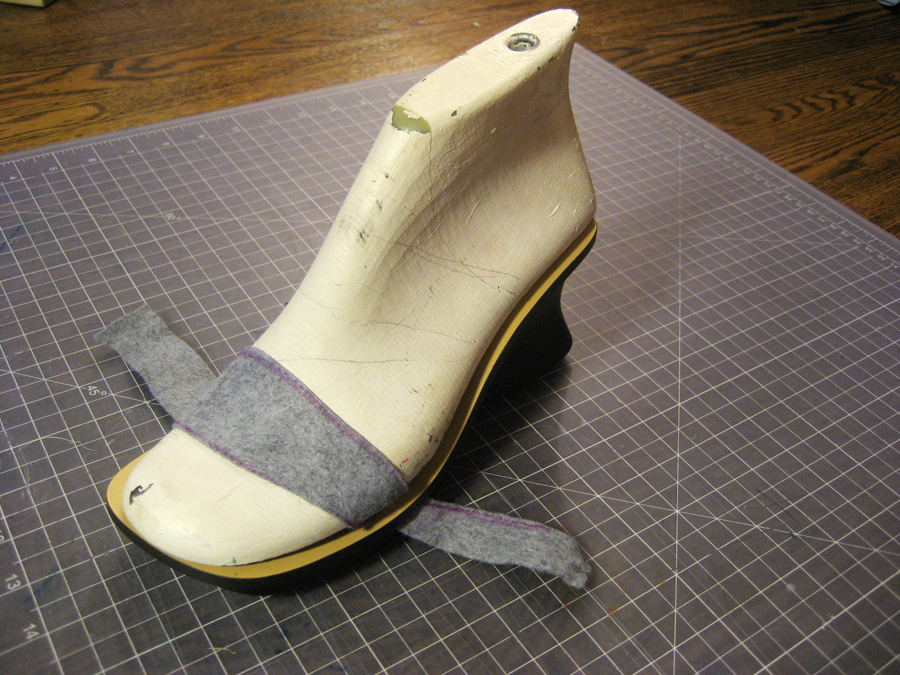
But if we construct shoes to be modular, then the uppers could be removed from the sole without destroying either part. Straps could be swapped as easily as Lego bricks. In the open source world, developing code in this way allows software developers to distribute a workload in manageable sections. Since the shoe is a complicated object, it will be much easier for us to build if we break the object into discrete elements.

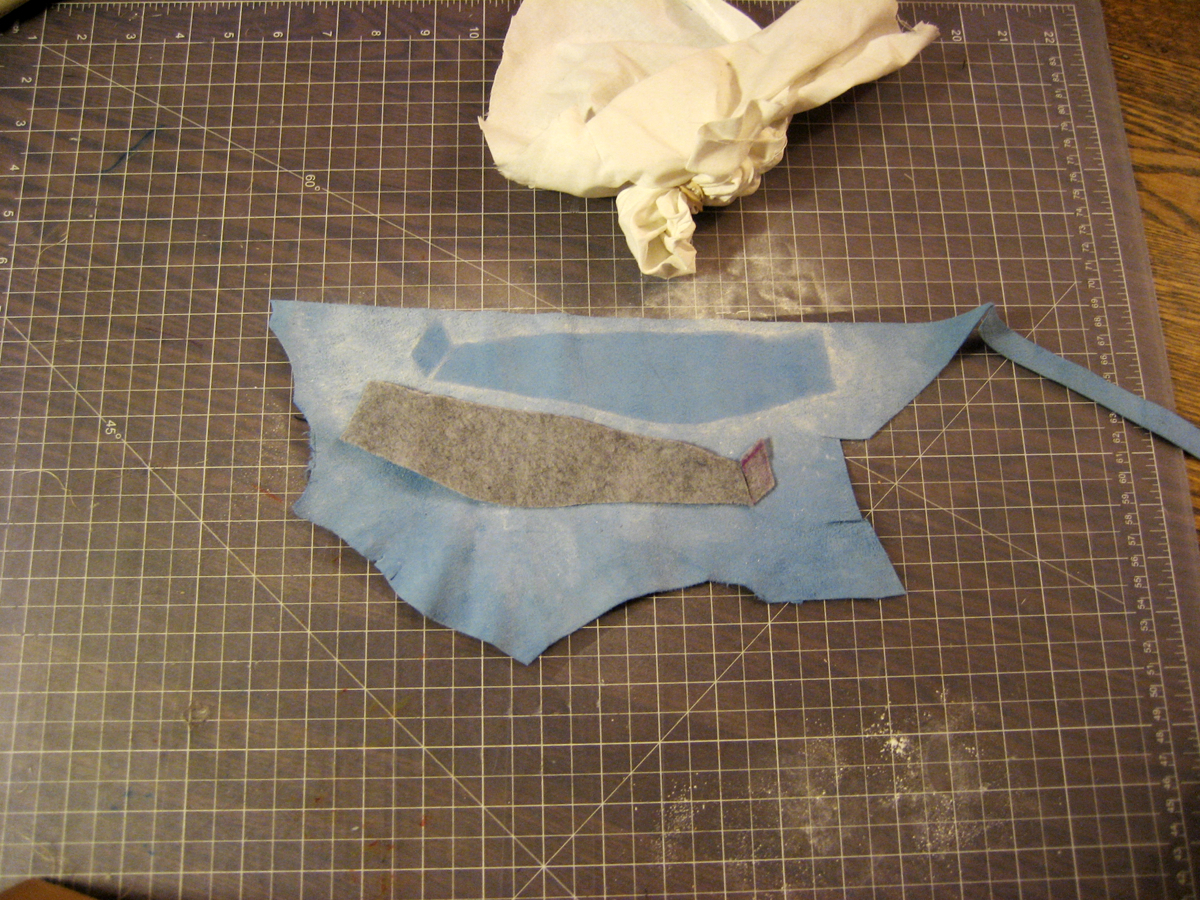
Because the whole is broken into interchangeable parts, failure in one realm doesn’t bring the whole endeavor down. I experienced this firsthand when I made shoes in the traditional way. I had measured the foot, drafted patterns, cut final materials, sewn them together, and finally glued the upper to the sole. But somewhere in there I made a mistake. When my girlfriend tried on the shoes, they were three sizes too big. Mistakes in a modular system are far less costly. You simply rebuild the part rather than the whole shoe.

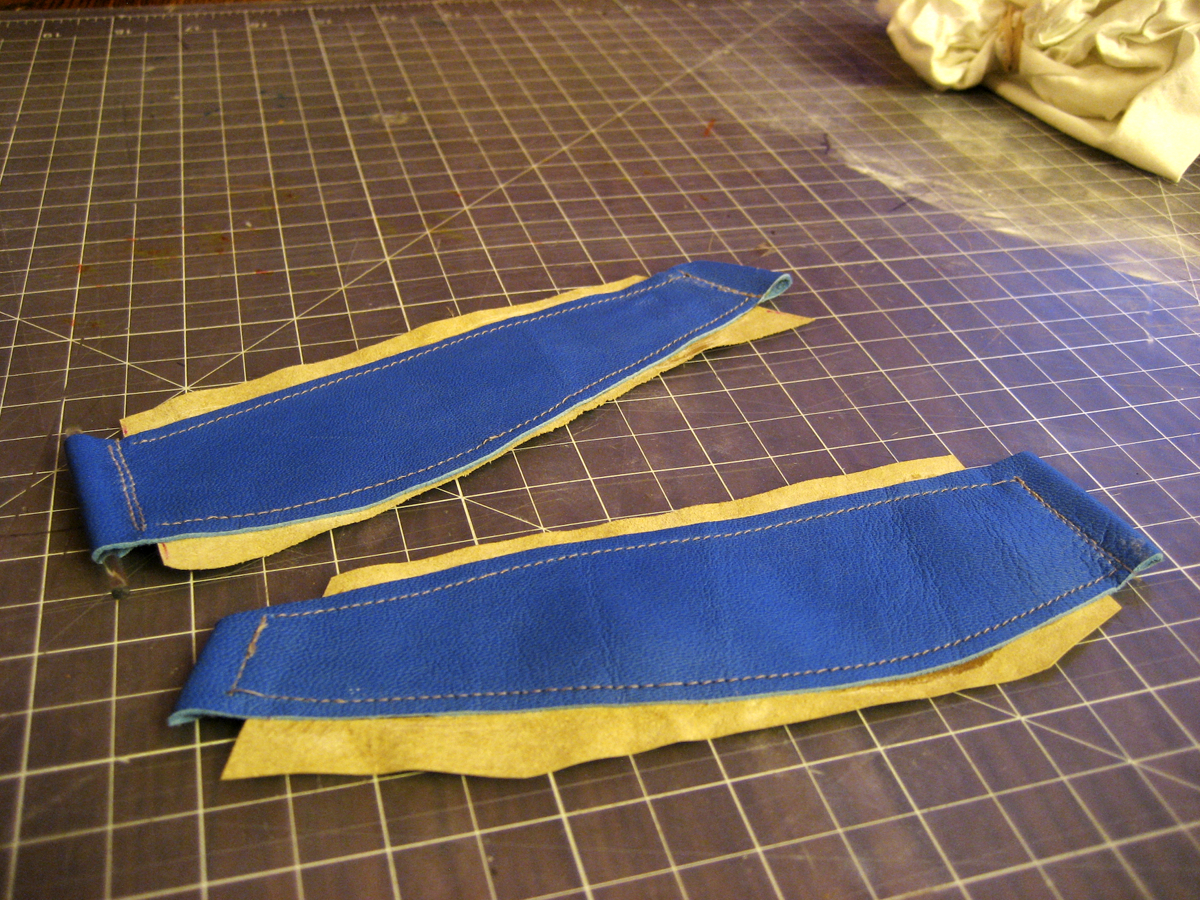
By letting companies do the hard stuff for us, we can start making custom shoes much faster and cheaper than if we had to build the whole object. And because we only need to make part of the shoe, we can make custom shoes for less than $20. The pair I built here cost less than $15 and I wasn’t even cutting corners.

However, I don’t make shoes because it’s inexpensive. I do it because I love bringing my ideas to life. Building modular shoes makes this process much more enjoyable because it allows me to make changes and improve a design even as I’m making the shoe. These flexible construction methods should empower you to make daring, shocking, or surprising shoes. So start building. Your shoes are waiting.

Project Steps

Go shopping and cannibalize your new purchase.

Shop for a pair of shoes. You can find cheap shoes with good soles at thrift stores. Look for shoes with a nice shape and the right type of soles. You’ll need a shoe with a leather footbed. Most pumps and heels will do. You should feel some resistance when you try to bend the shoe with your hands. The shoes I’ve selected have 3 elements that make them ideal: the leather footbed is fairly thick; the sole is at least 1⁄2″ off the ground; and the footbed has a slight overhang. The shoe you choose has more of an impact on this project than any other decision you make.

Once you’ve got your shoes, take a deep breath and start cutting. Remove any part of the shoe that sticks up from the sole. I recommend an X-Acto knife. Take your time and make multiple passes.

Cut strap slots into the soles.

Since the sole is going to be the base for any variations you make, you’ll want to take your time as you cut the slots that you’ll later run the straps through.

Start by noting the location of the elements you just removed. I find that most shoes have a way of telling me where they want the straps to be.

For these shoes, I used 2 of the holes as endpoints. The slot should be less than 1½” long and approximately ⅛” wide. Be careful to leave about ¼” between the slot and the edge of the sole. Any closer than that and you risk tear-out.

Once you’ve cut the slot from the top, cut into the side of the sole, just below the footbed. Remove the excess material and clean out the passage- way. Repeat this process in the other 3 locations.

There are many ways you can attach the uppers to the soles, but I’ve found this one to be very simple. Cut a slot on each side of the sole, just forward of the ball of the foot, on either side of the heel. Sew a loop at the ends of each strap, pass the strap through a slot, then insert a pin into the loop. This method allows you to assemble and reassemble different looks from the same pair of soles.

Plan your design and make a pattern.

Now that you’ve prepared the raw sole, you’ll want to plan your first shoe. Create a 3D sketch by cutting strips of felt and running them through the slots. With this cheaper fabric, you can test your patterns and get a feel for the ways in which the straps will cover your foot. During this stage, feel free to cut the felt at will, mark it up, and see how it looks. If you screw up, cut another strip and do it again.

Patterns will vary depending on the shoes you cannibalize, so the felt will help you decide how to cut the final materials. Pull the felt through the slots so that it starts to look like the final shoe. In this case, I used a last to measure, but a real foot works just as well. If you’re making shoes for yourself, try to enlist someone to pull the felt tightly around your foot while you’re standing in the shoes. You can do it on your own, but there’s quite a bit of Twister involved. Once the felt feels right, have your assistant mark the felt just below the sole.

Remove the felt from the sole and trim any additional areas. This is your pattern. Make sure to account for the allowance you’ll need to create the loop in the fabric. Then, mark L and R on each side. Be sure to double-check this part. I can’t tell you how many times I’ve made 2 lefts. It stops being funny after the first time.

Cut your pattern.

Lay your material wrong-side up and cover it with the felt pattern. Use thin fabric and baby powder to create a little duster. Dab the pattern to lightly coat the felt and leather. Then pull up the felt for a ghosted pattern. Cut it out with the sharp tool of your choice. Repeat with the internal material, being careful to flip your pattern. This is the mirror image of the outside of the upper, but it doesn’t have the loop allowance.

Assemble the backing and the upper.

If using fabric, sew everything together as you would a garment. First fold the loop allowance over, leaving enough room for the rod (approximately  1/4″). Now sew along the edge of the allowance, enclosing the loop. Then sew the upper and backing together. If there’s a lot of stretch, you’ll need to sandwich an extra layer between them.

If using leather, glue the pieces with a thin layer of contact cement. (Since you can’t pin leather, this is how you connect it before sewing.) Then sew the cemented pieces together. If using garment-weight leather you may be able to sew it on your own machine, but be careful. Work up to it by practicing on a single layer first. Get a feel for how your machine is responding. If it’s not having trouble, continue, but if it’s straining, stop sewing. It’ll be much cheaper to bring the pieces to a shoe repair shop or a dry cleaner that does tailoring.

Repair shops have industrial sewing machines. Give clear instructions and negotiate a price.

You should now have pieces that look like the photo at left. Trim off the excess backing.

Pin and assemble the shoe.

With a fine-tooth saw or Dremel tool, cut your rod or dowel to make the pins. Because of the sole flex, try keeping the pin under 2″; I find 1½” or smaller is ideal. The pin should be about ⅛”–¼” longer than the groove you’ve cut into the sole. This overlap keeps your strap from coming out. Once you have the correct length, sand the ends of the wood or acrylic to remove any sharp edges.

I suggest using an acrylic rod since it’s light and easy to cut, and it slides through material easily. With that said, I used wood dowels for this project, because they were easier to find.

Slip the end of the strap through the slot in the front of the shoe. Once it’s through, slide the pin into the end of the strap and pull the strap so the pin is snug against the sole. Now connect the other side of the front strap and do the same at the heel.

Conclusion

This project first appeared in CRAFT Volume 07, pages 92-98.