I run a site called CorSec Engineering which offers kits for making planets for tabletop gaming or science fair projects. They can be found here. This planet was painted in less than 30 minutes and is really easy to do.

Theme:

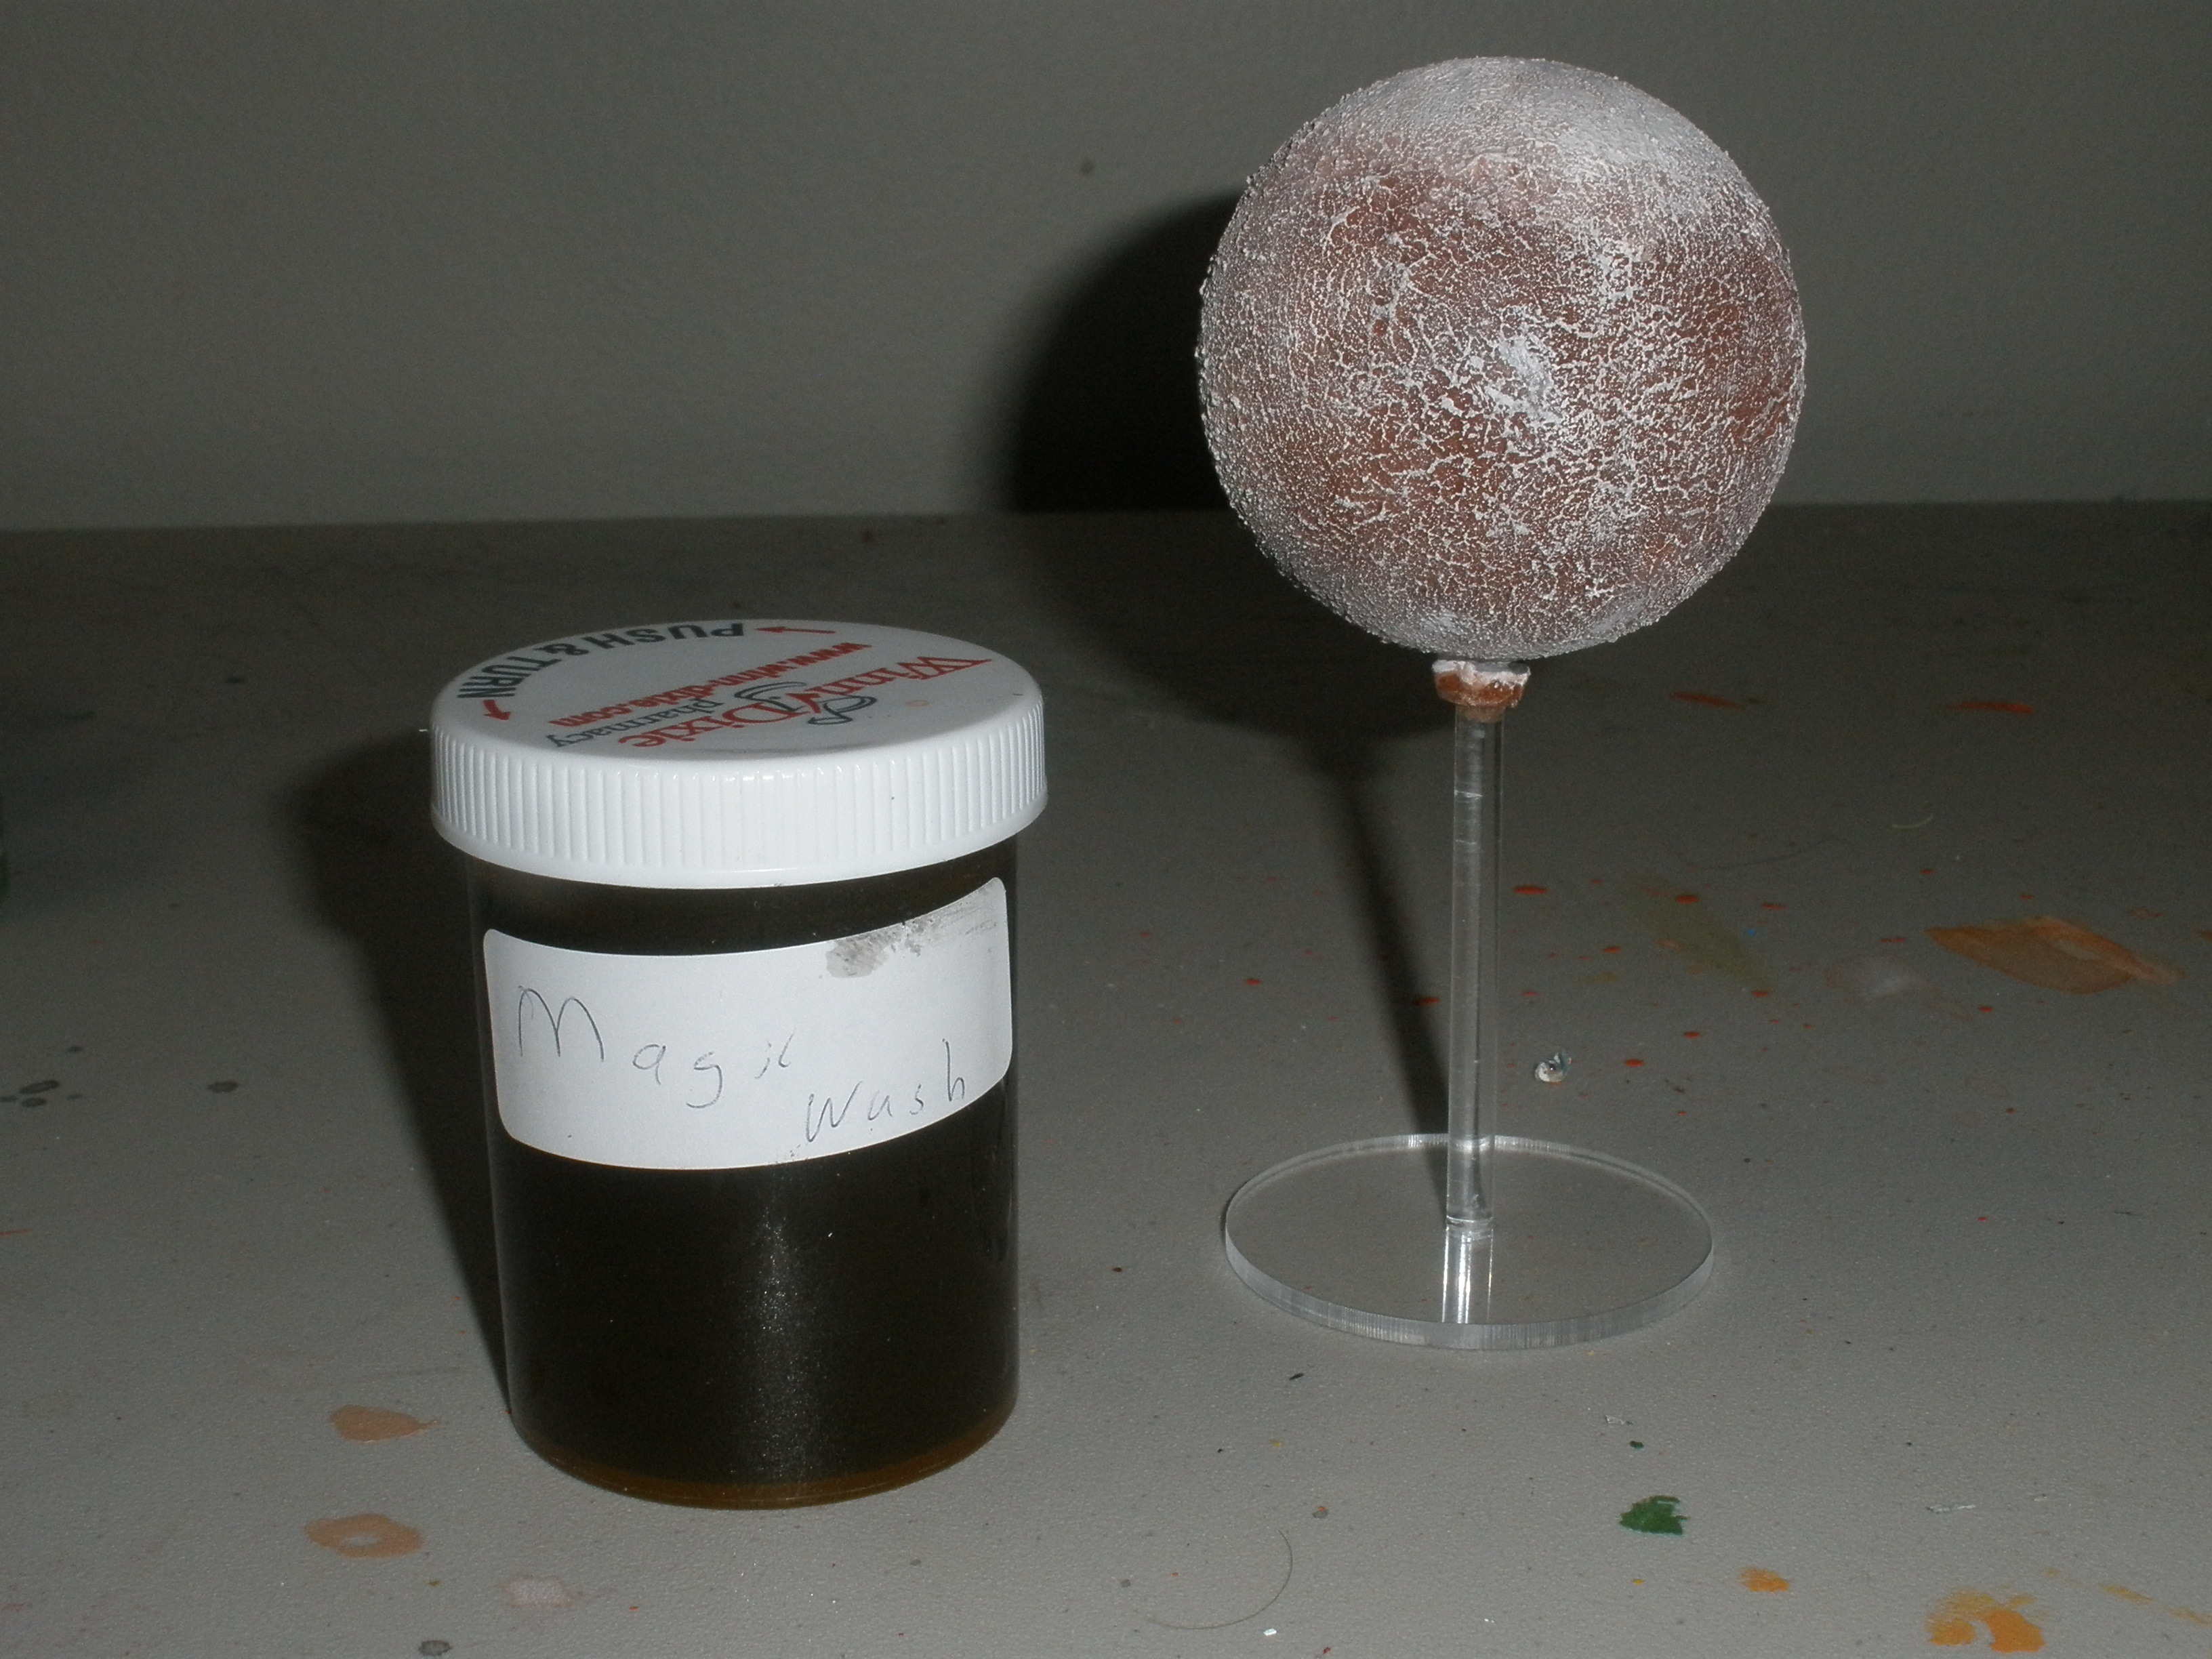
This planet has an abundance of water but it is a little cold and most of it is frozen. Very little vegetation grows and it would not be a very pleasant place to visit.
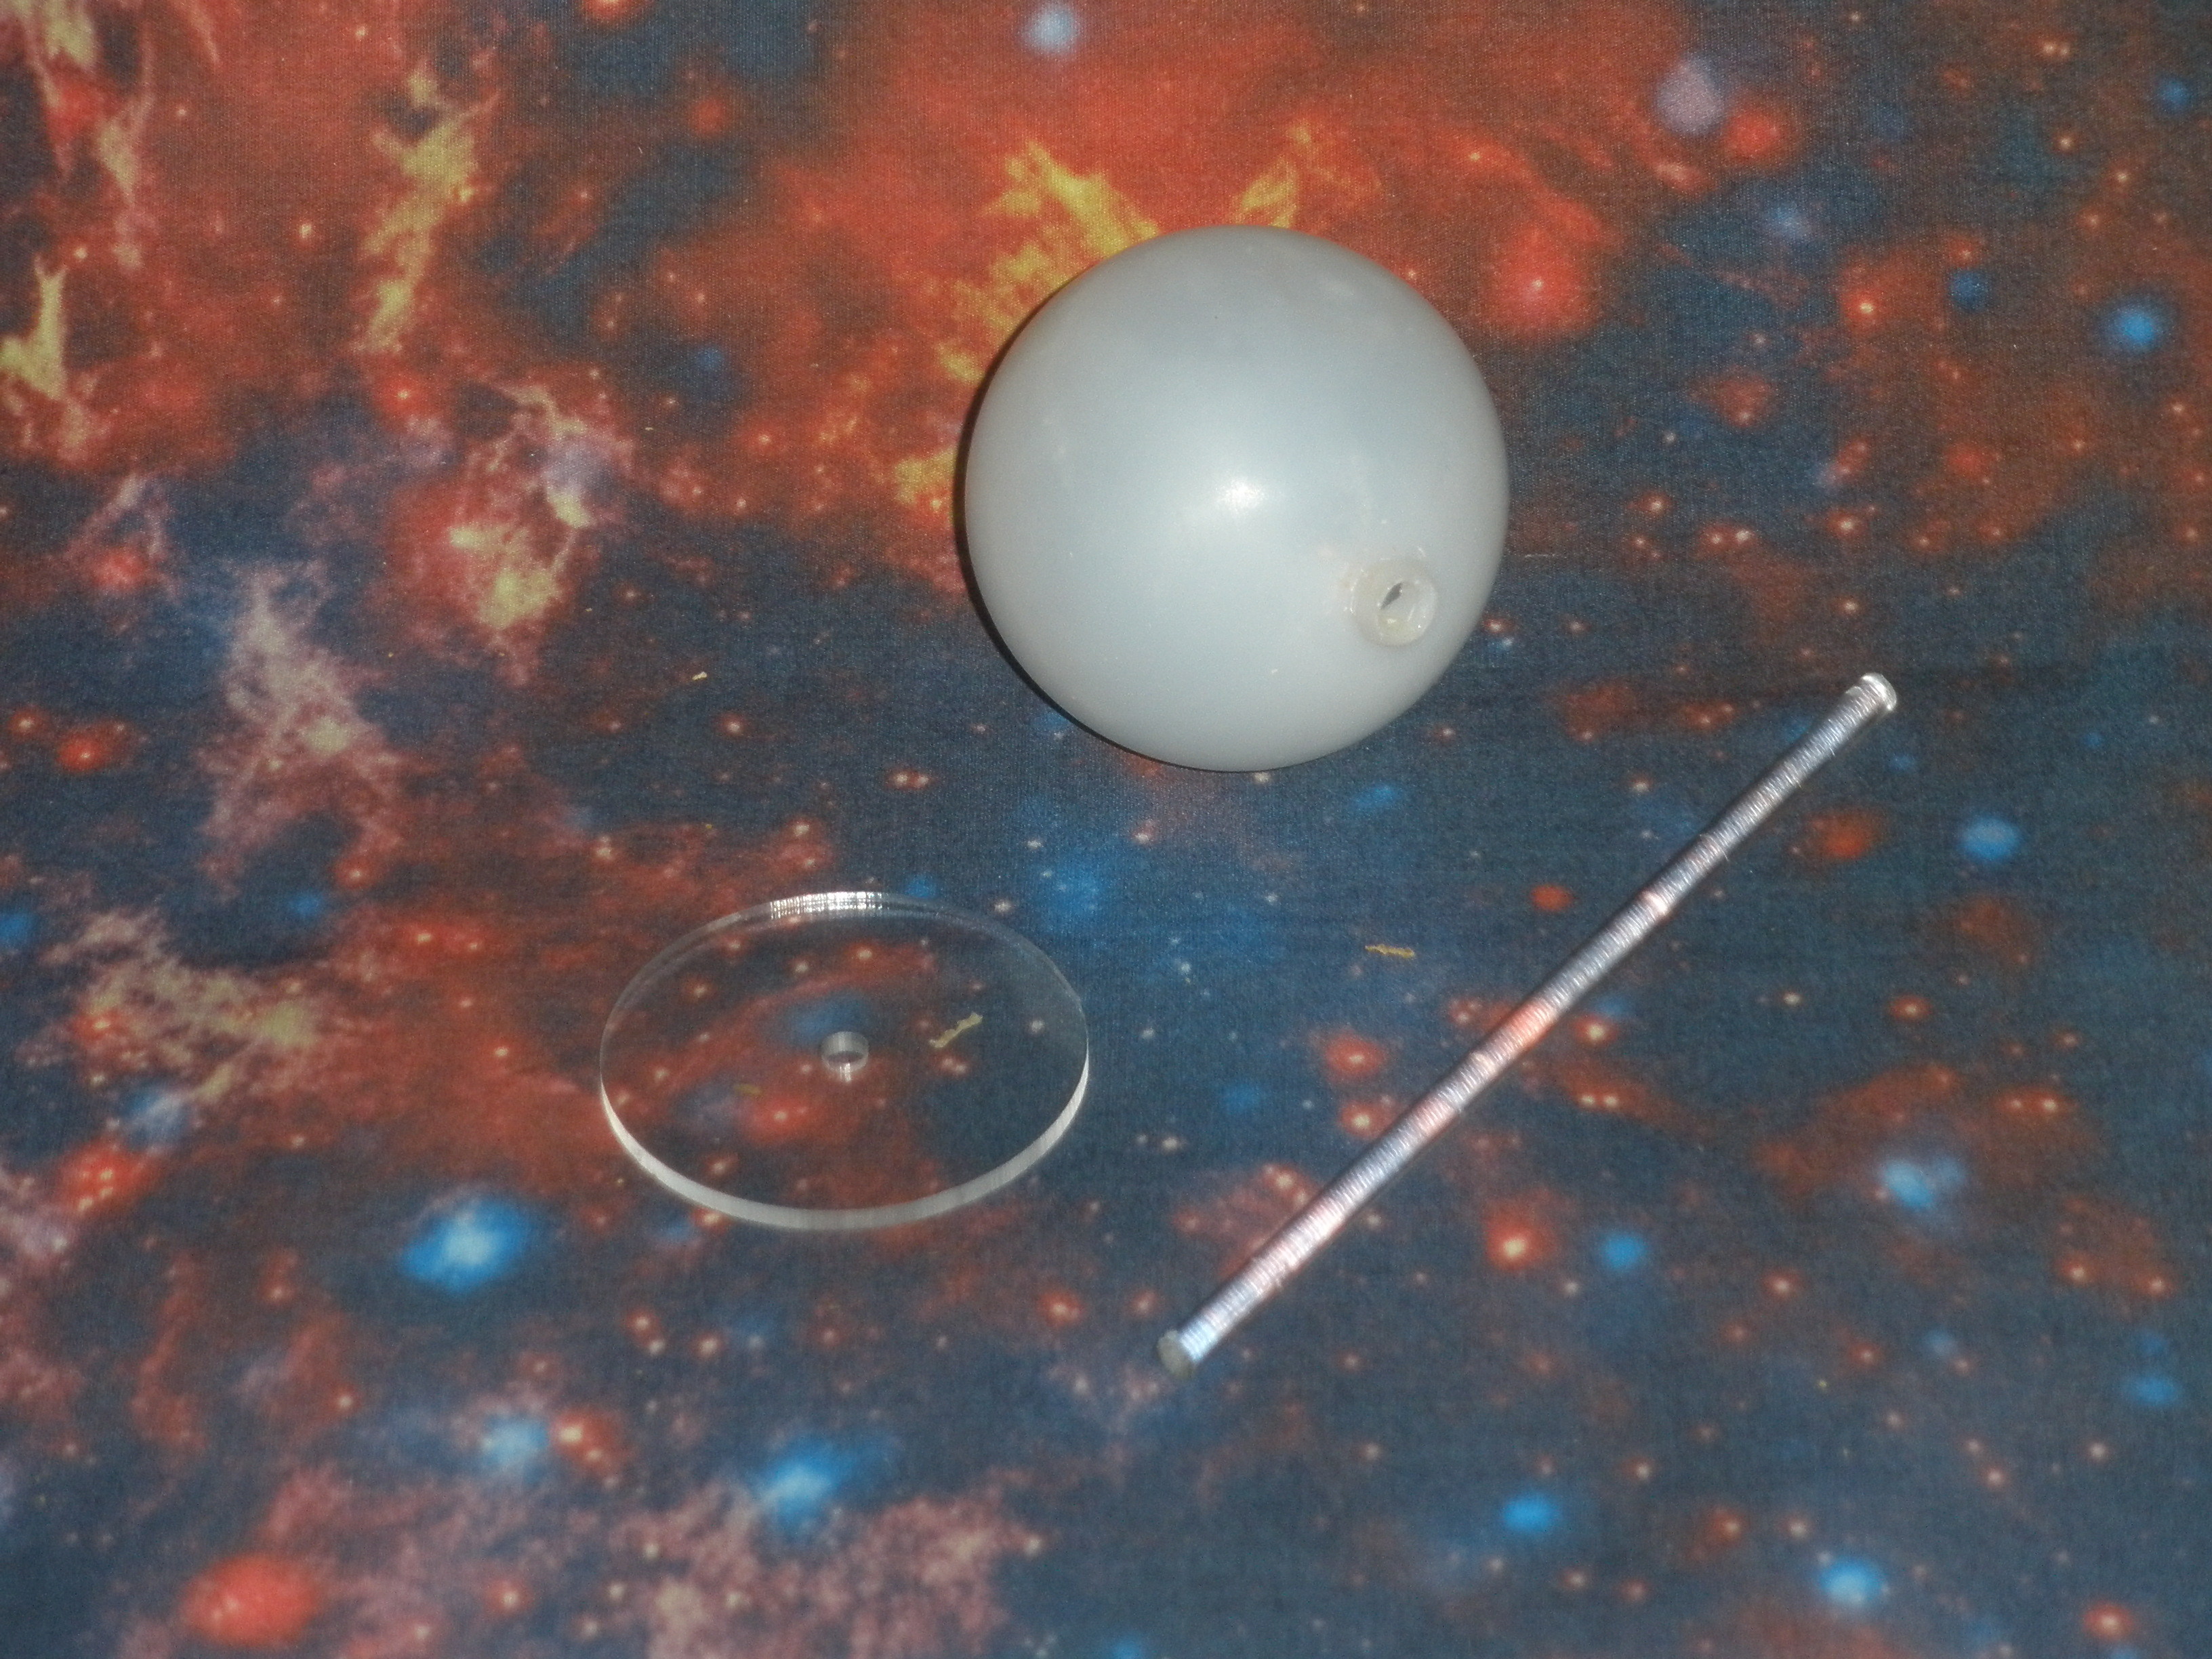
What you need:

2.5″ Acrylic Planet Kit

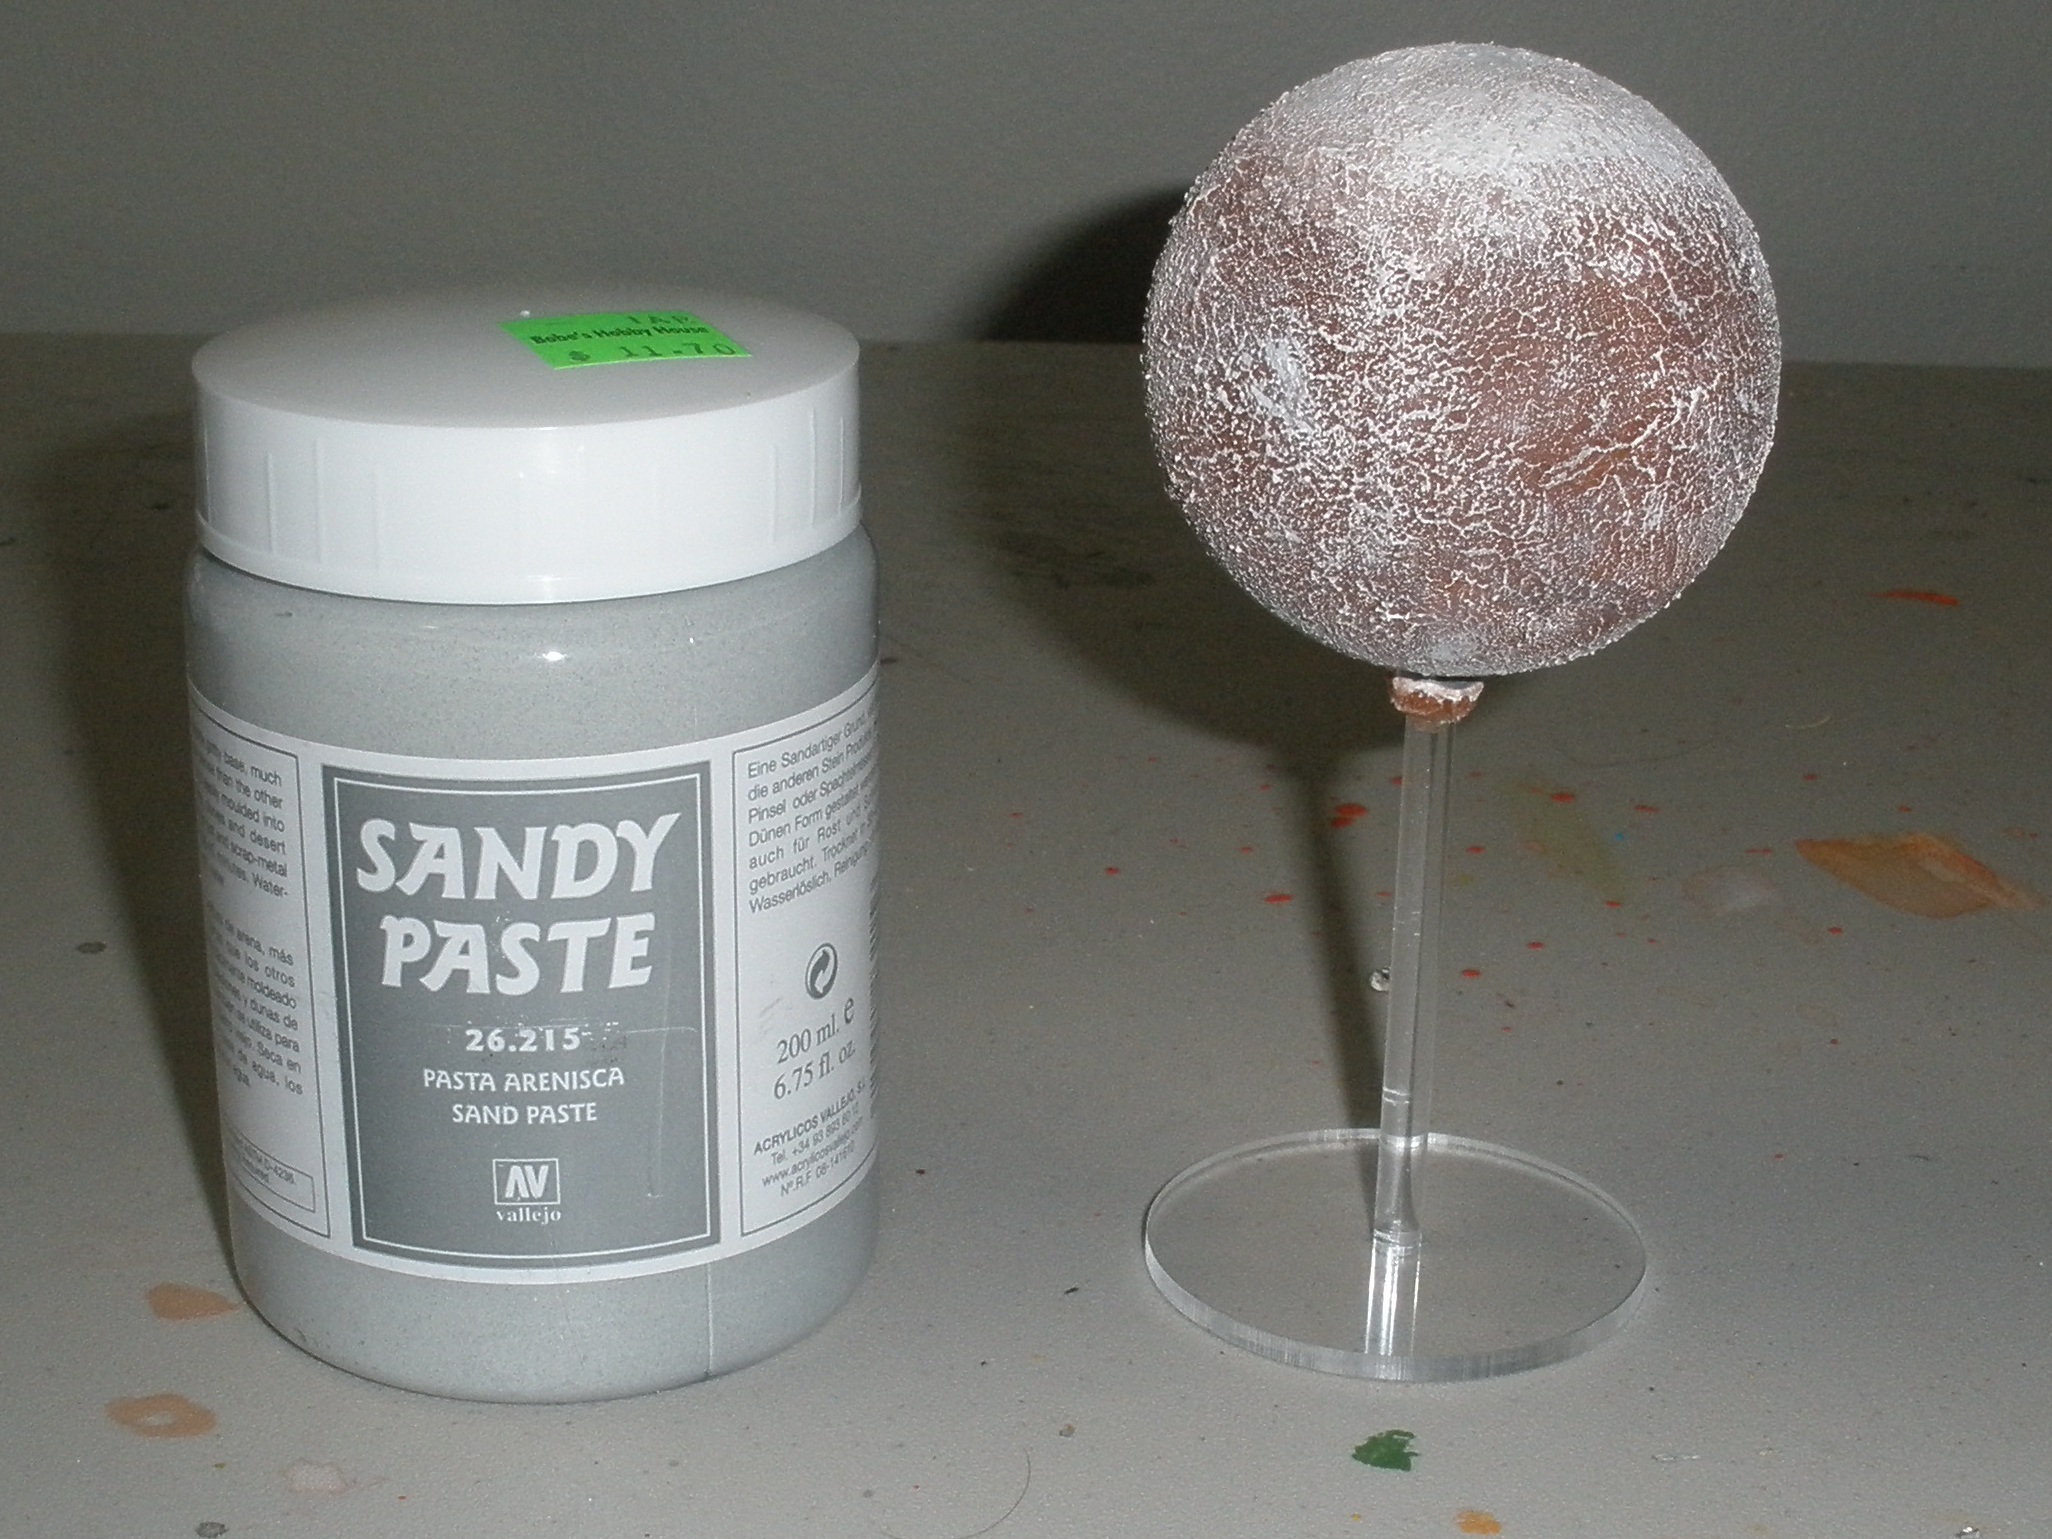
Sandy Paste by Vallejo

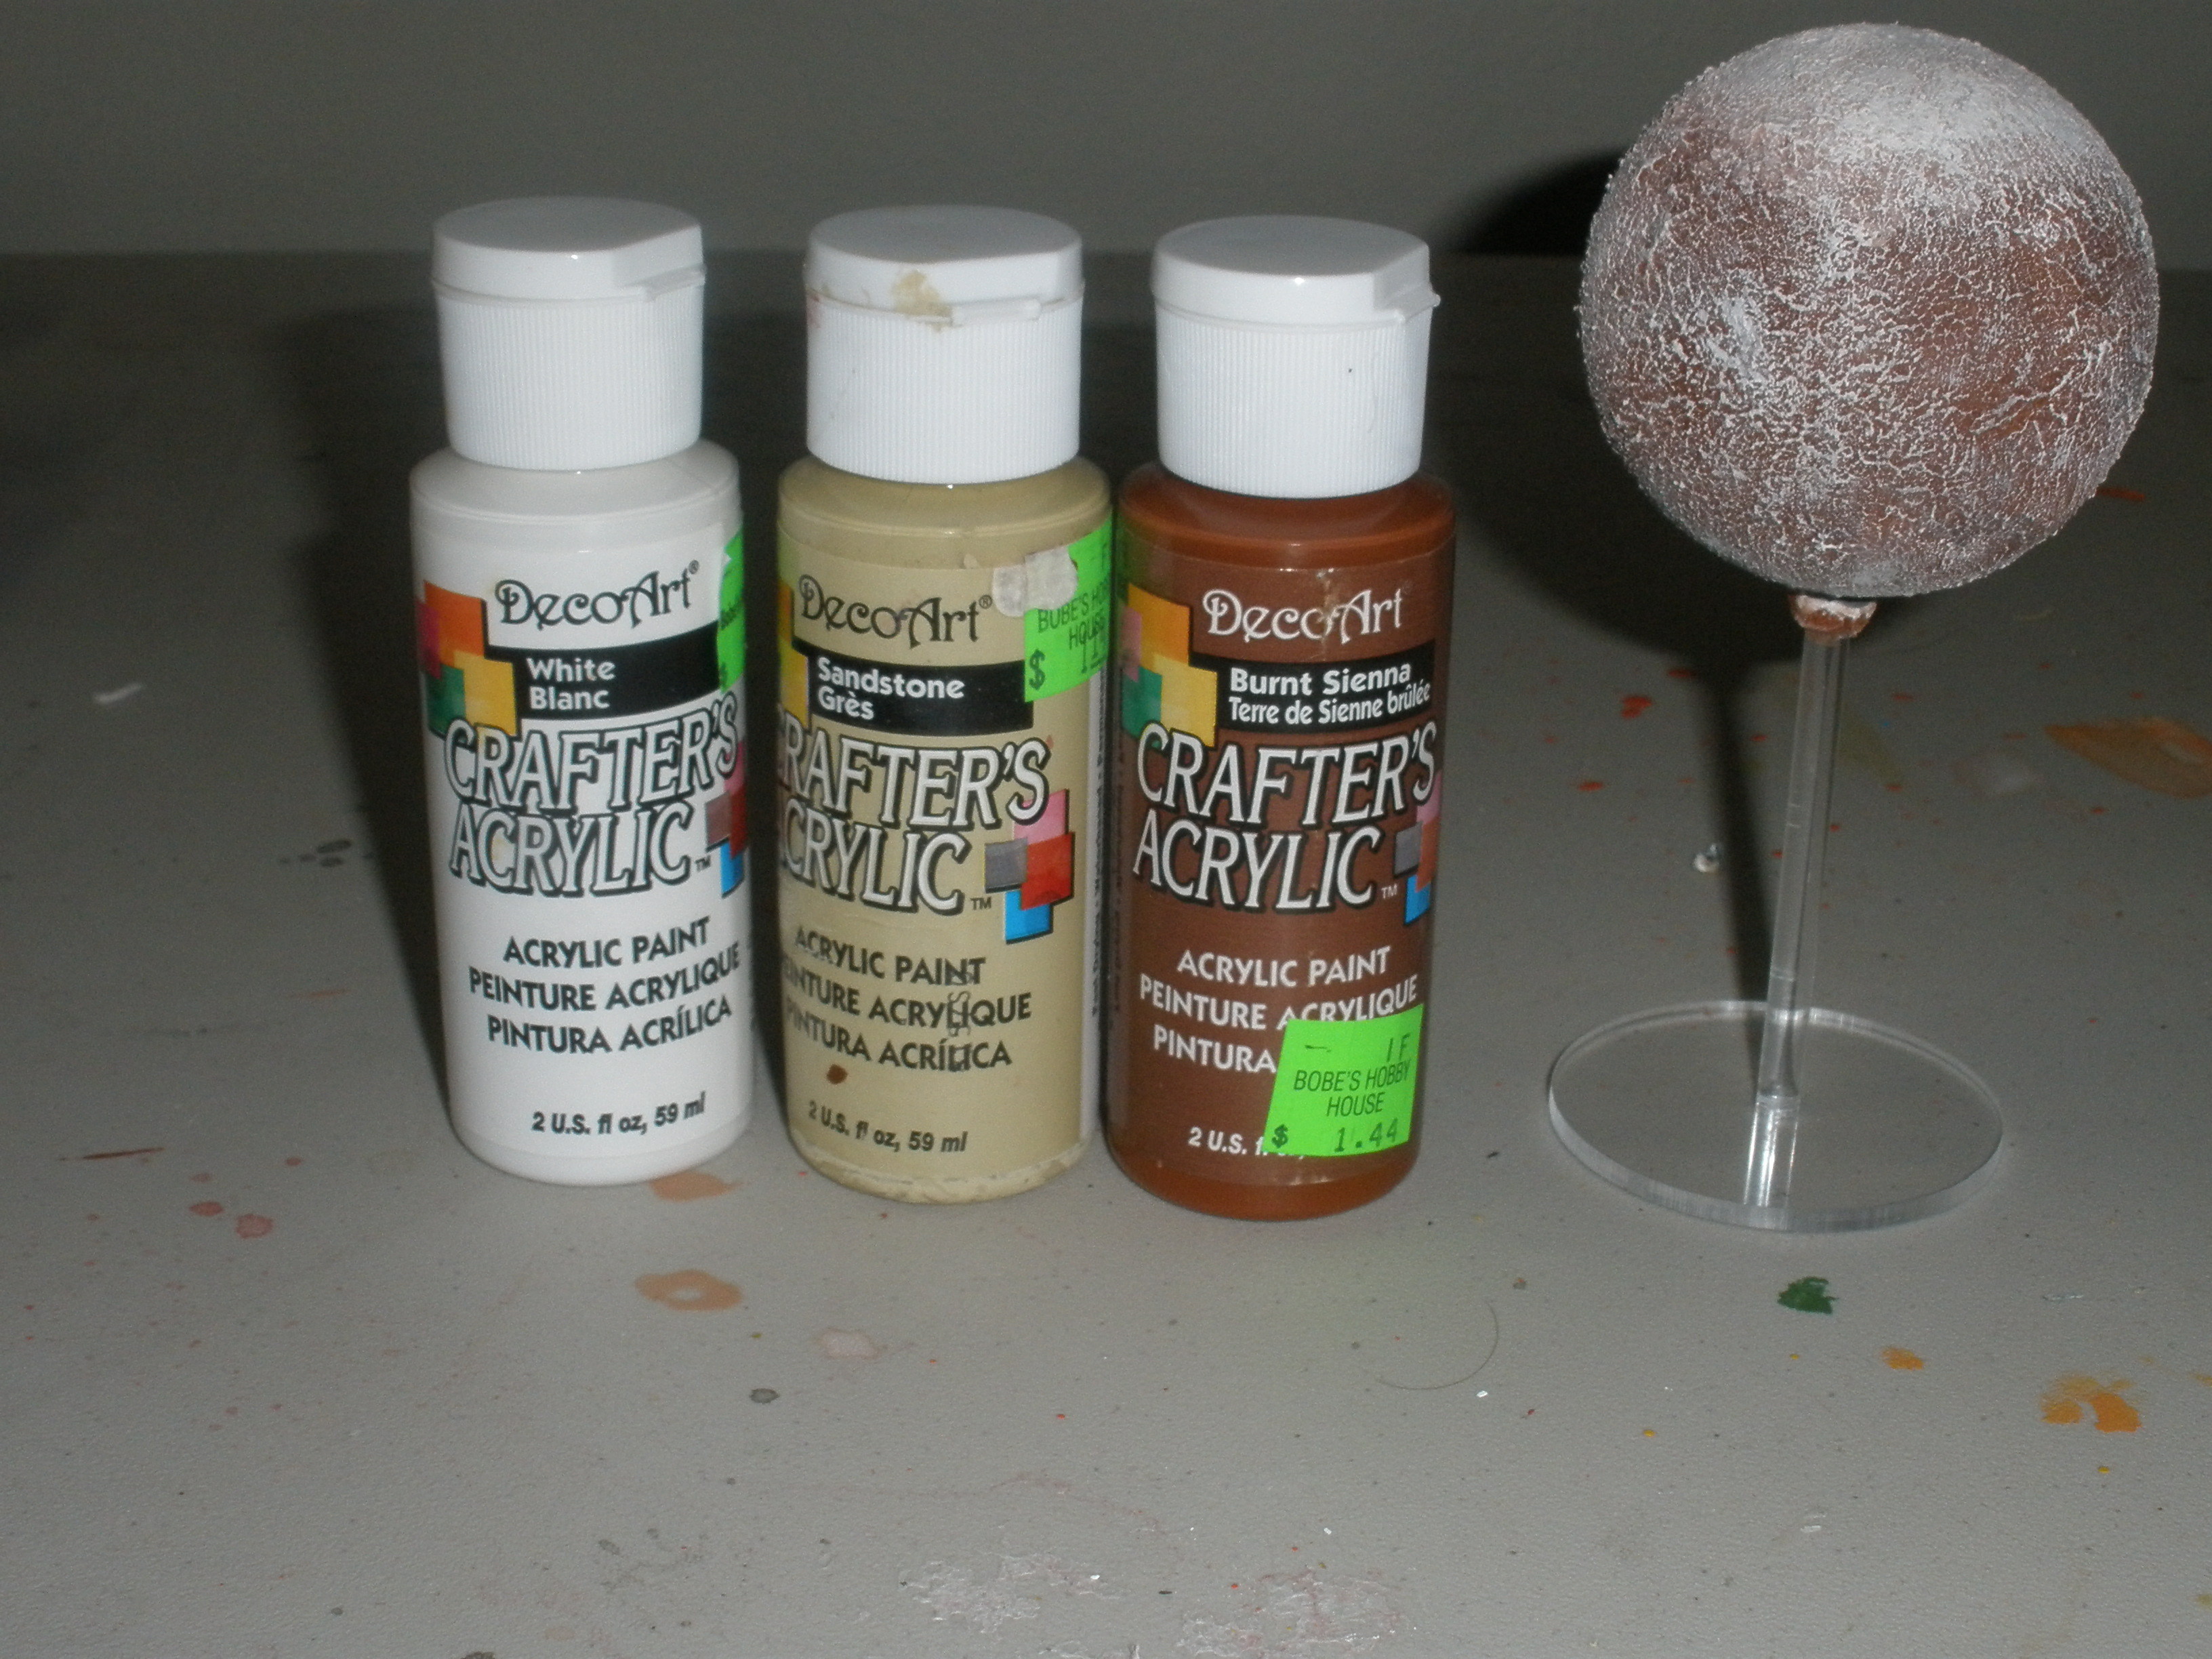
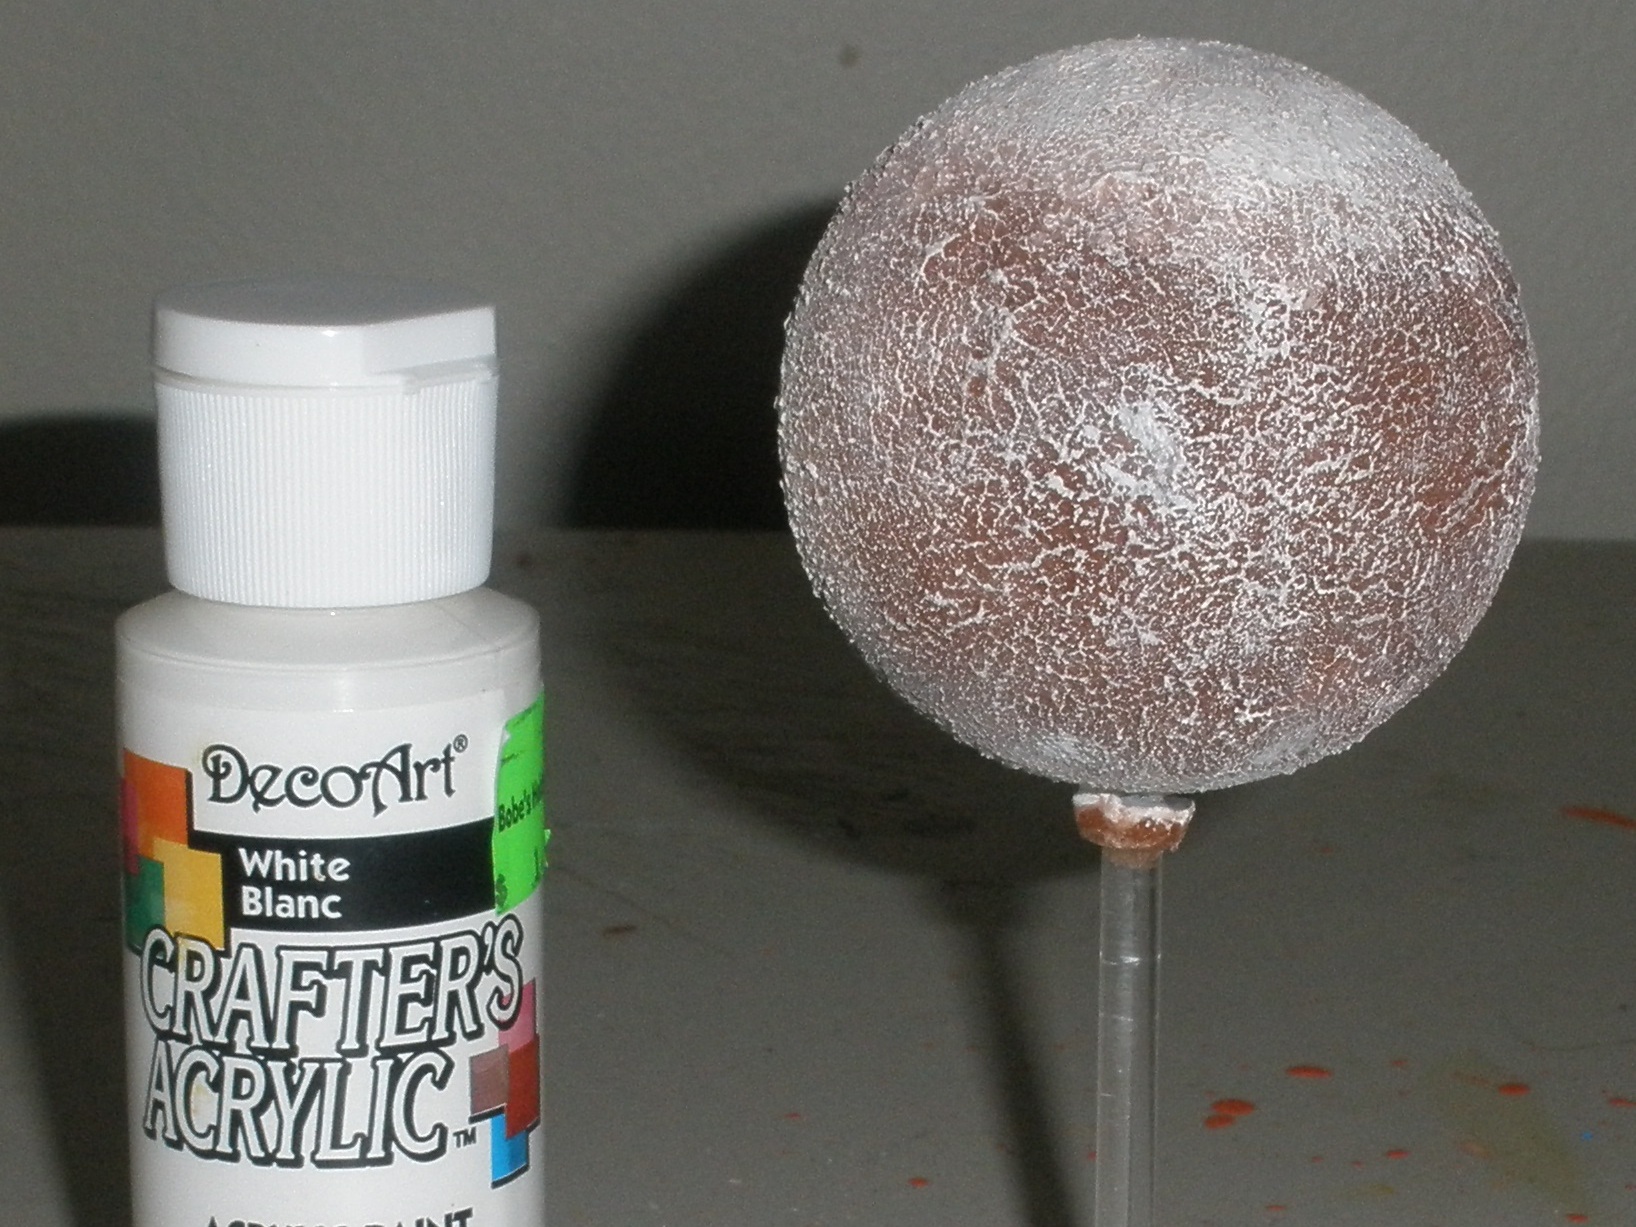
Burnt Sienna, White, and Tan craft acrylic paints.

Magic Wash

Epoxy

Acrylic Glue (ProWeld)

A companion video to help illustrate the process is here.

Project Steps

The kit is easy to put together. Mix a bit of epoxy and liberally apply it to one end of the rod. Then insert that all the way to the top of the sphere. Center the sphere and hold it together till the epoxy gets a good hold. You need a lot to fill the gap between the top of the sphere and the rod. After that cures it will be a really strong joint.

It is best to put the base on after you paint the planet. Sometimes it gets in the way. However, assembling it is easy. Insert the rod into the hole and apply some ProWeld or other glue that will work on acrylic. Do not use super glue as it has a tendency to spoil the look of the joint.

At this point you can prime the sphere or just clean the surface really well. Once your primer is dry you can start adding the texture.

Sandy Paste works great to give the planet a subtle rocky look. This helps differentiate it from a gas giant.

You only want a thin coat. If you want to add more and try to get more definition for craters or other features that will work but it isn’t necessary. The idea is to add texture but not too much surface detail. You’re seeing the planet from space, after all, and you can’t see every hill and river bed from space. You can build up a few areas to look like mountain ranges if you desire.

For this planet we used burnt sienna as a base coat. Once you have the entire planet covered you can start wet-blending in the other colors. Do not let the paint dry between coats. What you want is to blend the various colors together so that you don’t have any hard lines.

Have fun with it, and if you don’t like an area just paint over it. This isn’t some high-detail miniature where details can be lost with too much paint. Work the colors together till you have something you like. A lot of the detail will be covered with a dry-brushed layer, so this stage is only important for the overall undertones of the planet.

Dry-brushing is just that: painting with a dry brush. You don’t want a lot of paint on your brush for this step. If you have too much then wipe it off on a towel. It is better to have not enough paint than too much in this stage.

As you might notice in the video, I made a mistake at this point and got a large glob of white in the middle of the planet. I just blended that into the rest of the planet to try to make it look like a big storm or something happened at that point.

A dry-brushed layer of paint dries really fast, so you can move to the next step after only a few minutes.

“Magic wash” is a combination of water, paint (or ink), and Future® Floor Wax. The floor wax lowers the viscosity of the water and allows it to flow into areas that water normally would not penetrate. You can also just use a normal wash at this stage but I found the best results came from brushing on the magic wash. Magic wash is made by mixing 50% water, 50% Future® Floor Wax, and a few drops of acrylic paint.

Note: According to S.C. Johnson’s website, “The Future® Floor Polish product was renamed under the Pledge® brand in November of 2007. It is now Pledge® Premium Finish with Future® Shine. It is still the same great Future® formula, just a new name.”

Play with the mix a bit, adding more or less water or paint till you get something that looks right. Try it on something generic at first or a small section of the planet.