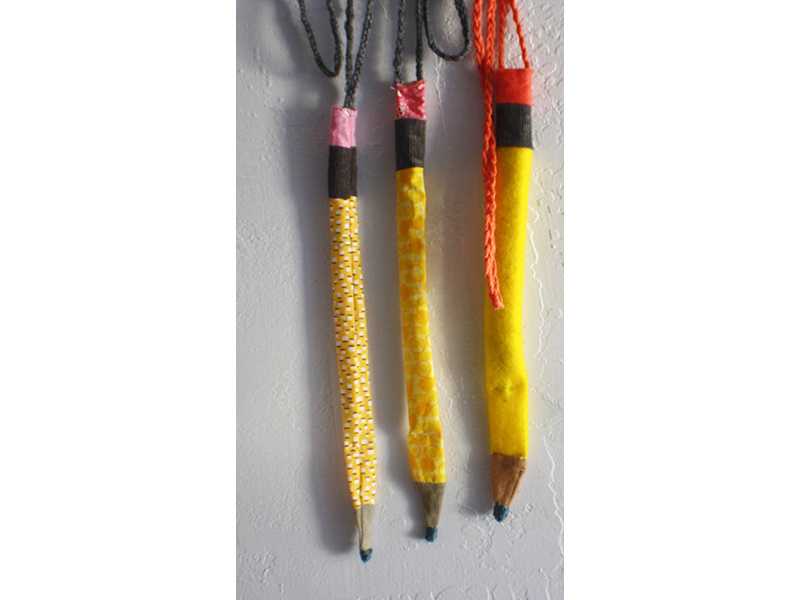
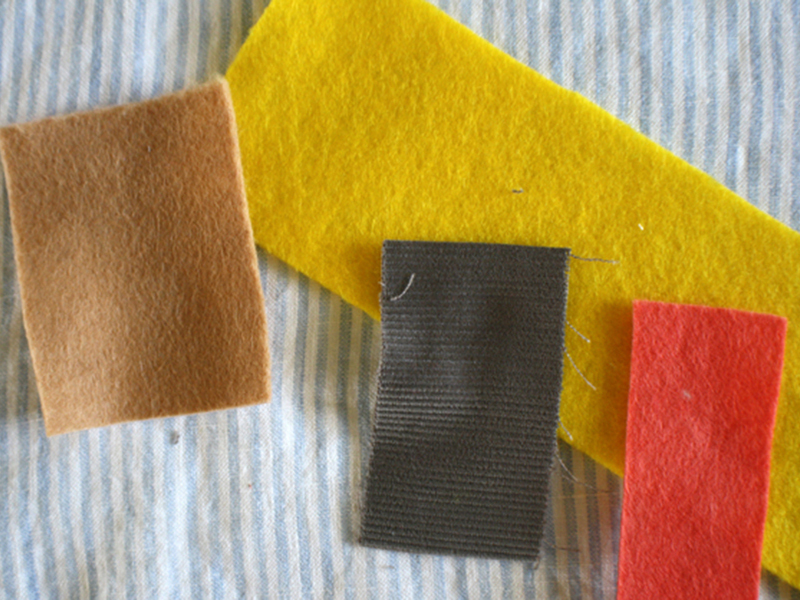
Just the other day whilst tip-typing away on the laptop, I noticed that the light sneaking in through the slats felt suspiciously like fall. Fall is my favorite time of year. It makes me think of hats and scarves, apple pie and school supplies. Fall makes me want to cozy up and read on the sofa drinking something warm and toasty. Fall is all about cozy, and since fall is in the air and I am seeing school supplies everywhere, I thought I’d create a happy bit of whimsy – a pencil cozy! I used felt, but you can use up any scrappy scraps for this project. Have fun!

Project Steps

Cut felt

Since we’re going the traditional route, we’ll be using felt in yellow, gray (shhh, I didn’t have any gray felt so I used corduroy), pink, and tan. To begin, mark out and cut your pieces as follows:

Yellow: 2 1/2″ x 8″

Tan: 2 1/2″ x 2″

Gray: 2 1/2″ x 1 1/2″

Pink: 2 1/2″ x 1″

Pin and sew

Place your tan rectangle atop one end of your yellow rectangle so that they line up and pin into place. Using a small running stitch with a 1/8-inch allowance, stitch the two pieces together.

Don’t forget to back stitch and trim the threads.

Use a warm iron to press open the seam.

Gather up your pink and gray rectangles and stitch them together along the sides that measure 2 1/2″.

Trim the threads and press open the seam here as well.

Once pressed open, place the pink and gray pair onto the other end of your yellow piece, right side down with the gray edge lined up to the yellow.

Pin, stitch, trim, and press.

Lay out your flat rectangle that somewhat resembles a pencil and fold it in half lengthwise, right sides facing in. Pin.

On the tan end of your soon-to-be pencil, lightly sketch in a triangle using the yellow felt as the base. This will become the tip of your pencil. Stitch along your drawn lines.

Stitch along the length of your folded soon-to-be pencil, keeping a 1/8-inch allowance, ending at the pink end. Backstitch and trim.

Make sure to leave your pink end open for turning out and plopping a pencil inside. Trim to a point along the stitches at the tan end as well.

Using a real-life pencil (or chopstick) to assist, carefully turn your soon-to-be pencil right-side out.

Finishing touches

Chances are, this cozy will be a few inches longer than your real-life pencil. To keep your pencil from getting lost inside, use a large running stitch across the width of your cozy, about 3-4″ up from the point.

If you want to make the stitches less visible, you can achieve this by hand, using yellow thread and just a couple of stitches.

Make strap

Gather up 3 lengths of yarn about 1 1/2 yards each and braid them together to create a handy strap.

Carefully stitch each end to the inside of your pencil cozy at the open end using the smallest stitch available on your machine (I used 2). Trim the threads.

Create lead tip

To create your lead, thread a large-eyed needle with a length of embroidery thread and insert it into your cozy’s tip. Wrap the thread around the tip, alternately anchoring with a jab of the needle until you are satisfied with the look of your lead.

Trim the tail end of the thread and add a dab of white glue to keep it from fraying. Set aside to dry.

Insert a bright, shiny, and freshly sharpened pencil into your cozy and get ready to roll!

Depending on the length of your braided yarn strap, you can wear your cozy crossed over your body or around your neck.

To make your cozy with good old-fashioned cotton fabrics, switch out the width from 2 1/2″ to 2″ but allow for the same measurements for the rest of the pieces. Make sure to add a tiny hem along the open end of your pink rectangle to give it a cleaner line. Tiny prints look fantastic as pencils, and make great gifts for your friends!