


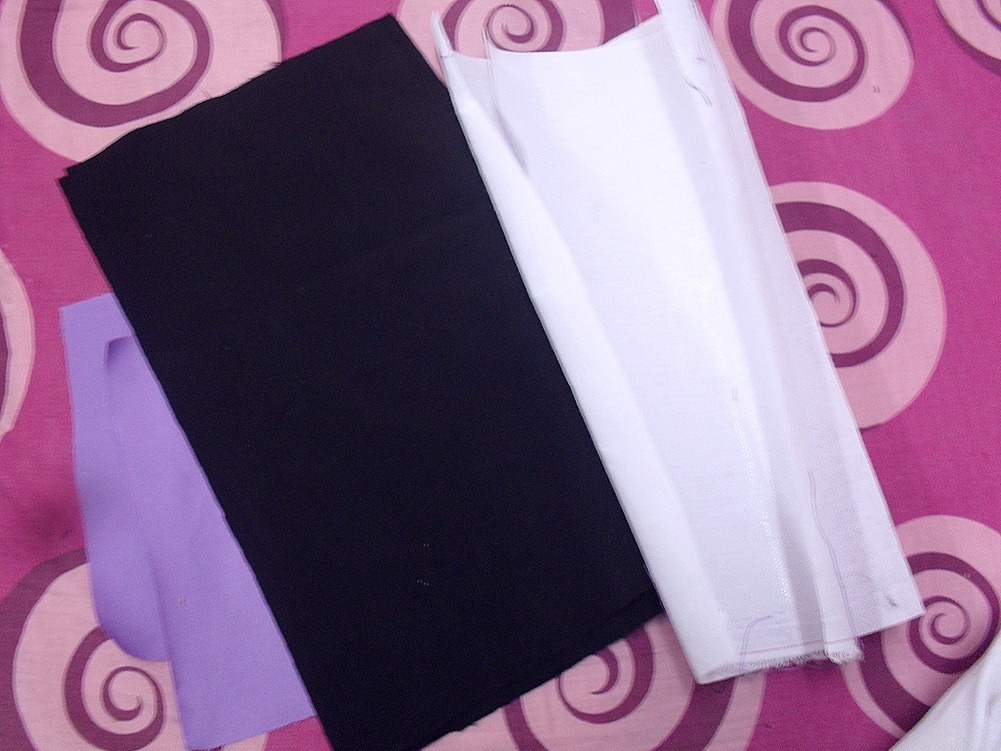
Supplies are listed below. I used twice the amount of fabric and stabiliser shown because I was making two brush holders; one for myself and another for my sis as we share the same room.
Projects from Make: Magazine
Personalized Hanging Brush Holder
A chic and personalized way to store your hair brush. Doesn't take up space on your dresser.
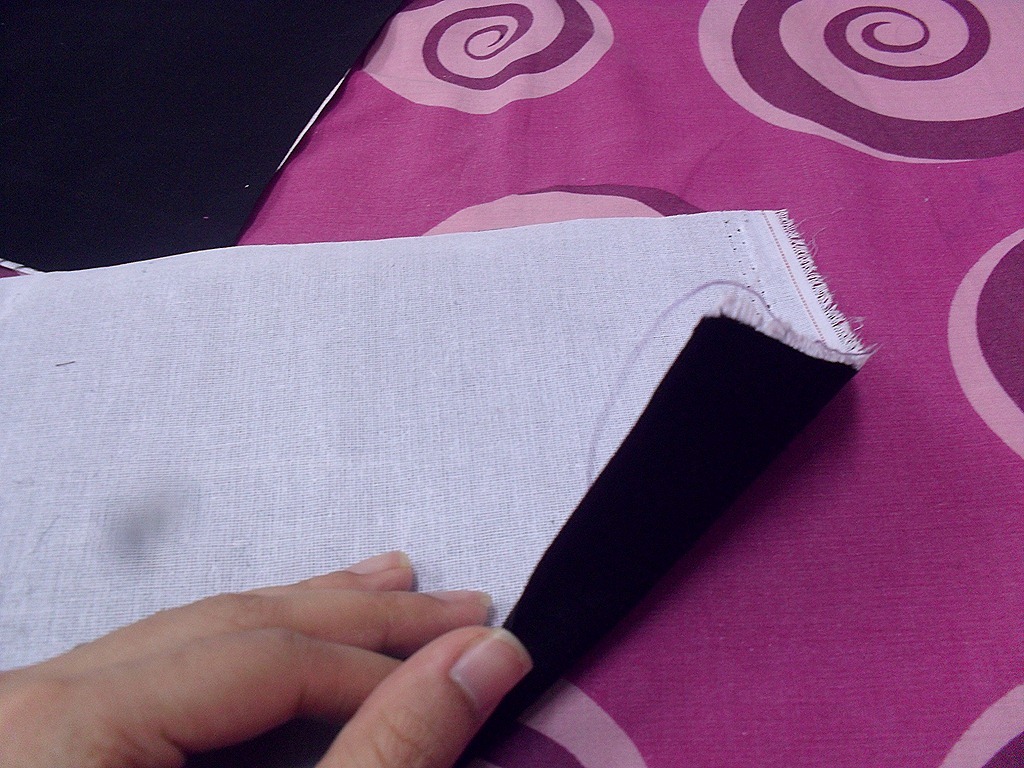
Step 1: Iron the fabric onto the stabiliser. And then sew the next layer of black fabric on top of that so that the stabilizer is sandwiched between the two black fabrics.
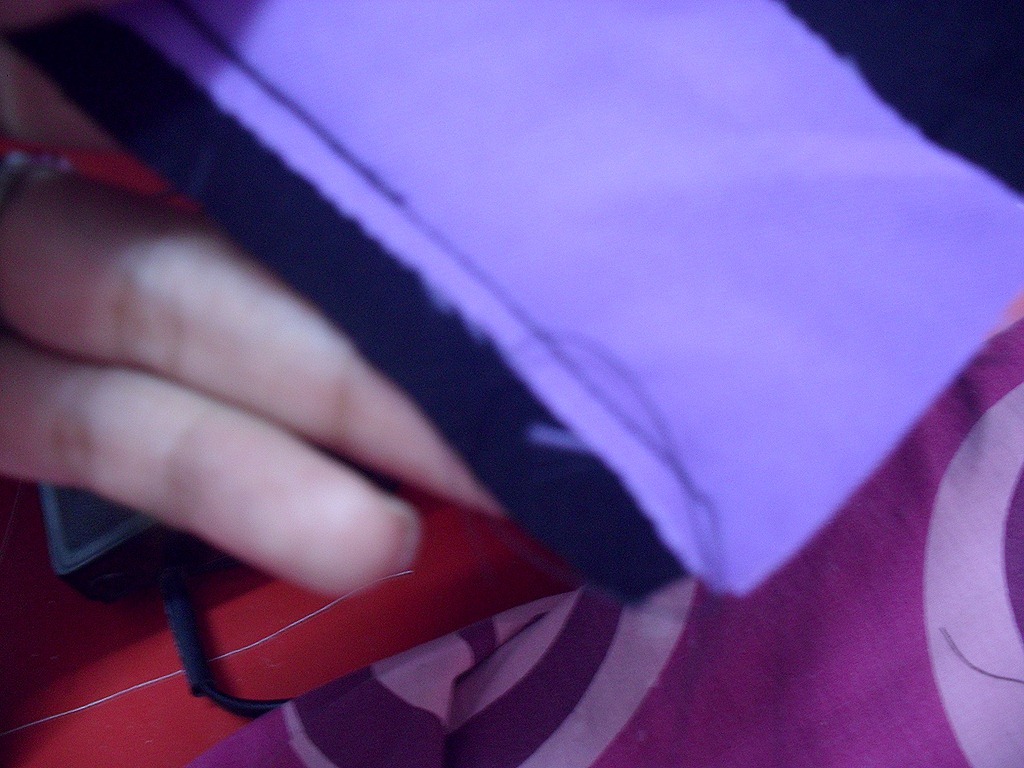
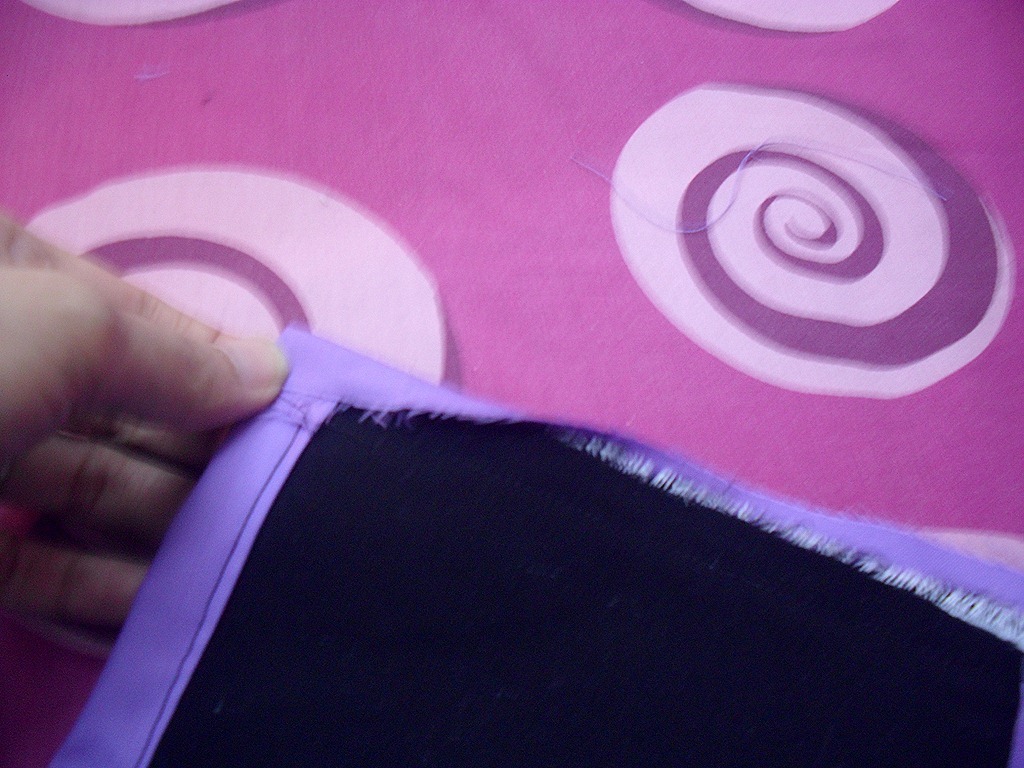
Step 2: Now start working on the borders. Sew In the purple fabric keeping the right sides together. Then turn it over and sew another line on the bottom.
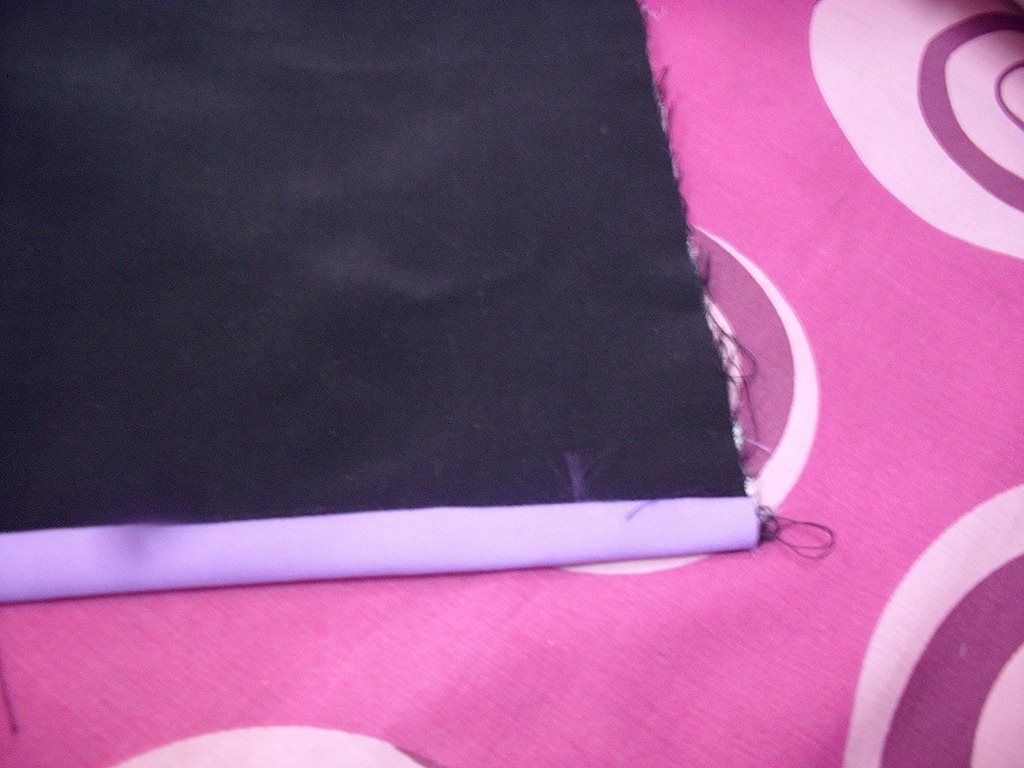
In the end it should look like this.

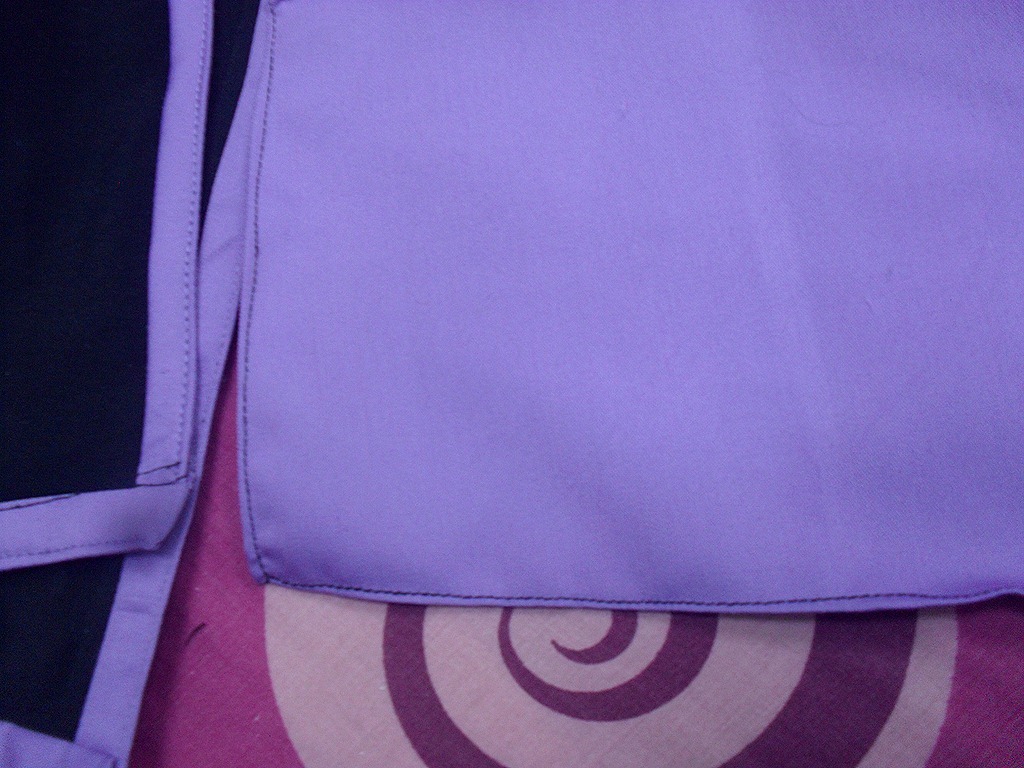
Next make sure to fold in the corners neatly.
Finally, sew one line at the edges to make them more defined and for a finished look.
Now take your purple fabric and fold in the sides.
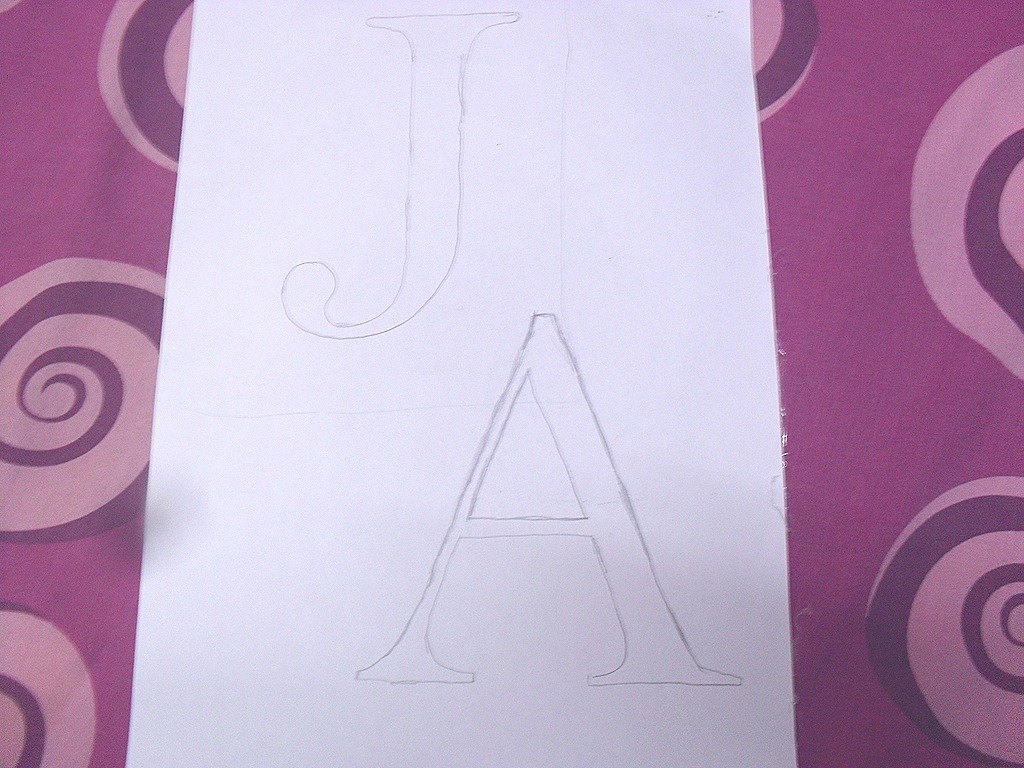

Step 3: The fun part! Trace out your letters onto the freezer paper. We don’t get it in our part of the world so I used this tutorial to make one. Use an X-Acto knife to cut out the stencils.
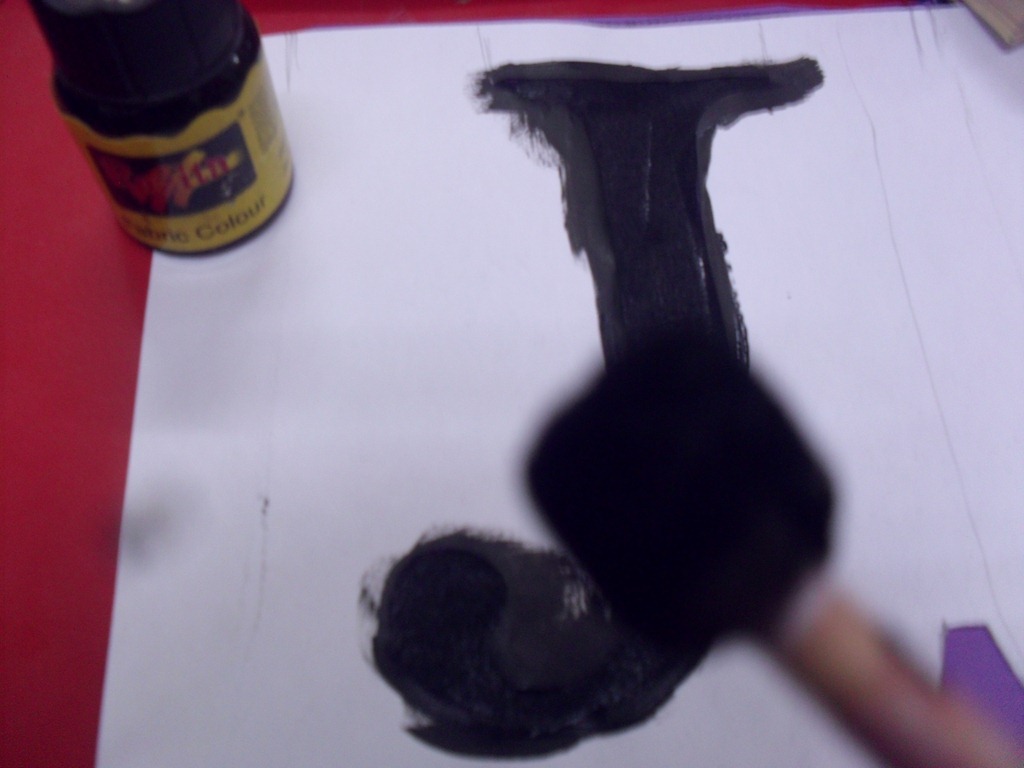
Iron the paper on to the fabric.
You can use any good quality fabric paint. Use a sponge to put the paint onto the fabric as it is easier and faster this way.
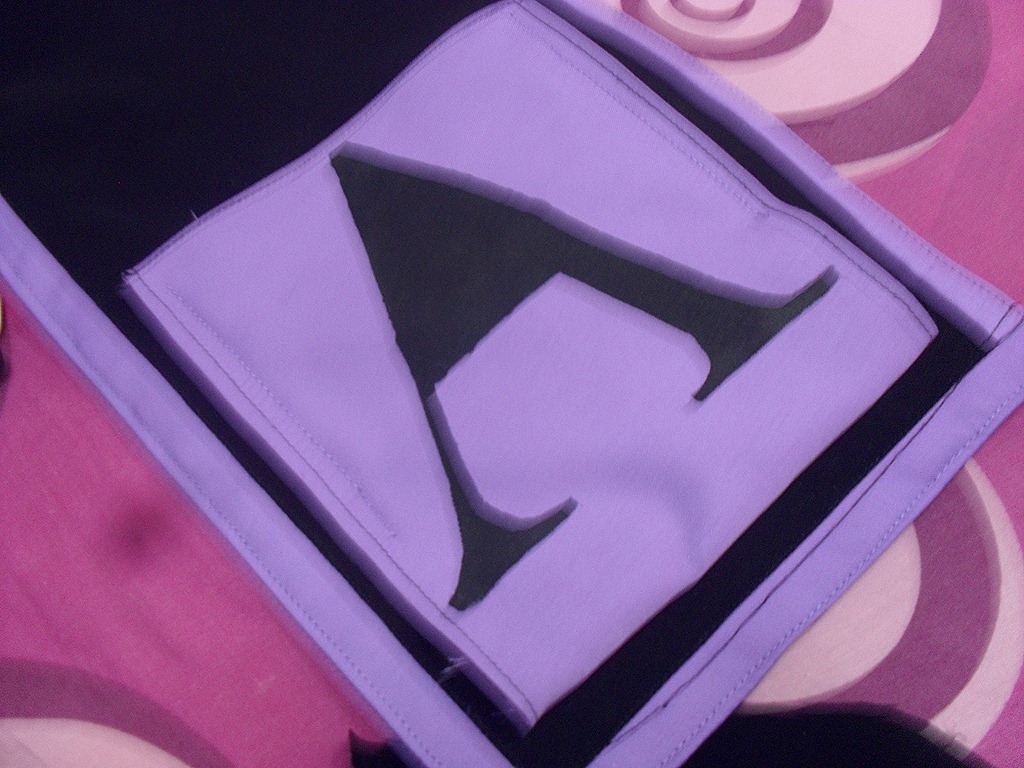
Peel off the paper carefully, then iron on the painted fabric right side up to make the paint permanent. Then sew this fabric onto the black one; first one line at the bottom and then two lines on either side as shown in the pic. (The purple lines are the ones I am talking about if you look closely.)
Lastly, finish off by sewing in a ribbon at the back. Make sure to use black thread so that it is camouflaged against the fabric.
AND TADA! There you go! Your personalised brush hanger! SO easy! by Javeriya Sayeed


