If tunes are your sleeping pills, and you can’t dream without a soundtrack, now you can get cozy and fall asleep with your Pillow Music. Pillow Music was born from the experience of living — and trying to fall asleep every night — in small shared apartments with the nonstop sounds of the city in the background.

It’s a small pillow with a custom pair of redesigned headphones embedded inside, and an internal pocket to slide your existing music player into (iPod, MP3 player, small radio, or anything else you might have). With an earbud on one side for privacy, and a soft pillow on the other to keep your ear comfortable, this design was made specifically for going to bed — and falling sound asleep.

Project Steps

Getting started.

Design the pillow to your liking. I selected a couple of extra-soft fabrics and put together a flat pillow that can be folded and carried around (or stored away). You could also make a more standard pillow, or use an existing one — possibly an airplane pillow you might have kept from your last trip.

Hack the headphones.

Start with the open-air headphones. Remove the foam cushions and set one aside for later. Gently break and remove the plastic casing, and free all the cables from the body of the headset, so that you end up with the bare speakers. Be careful not to cut any wires yet.

Identify the wires inside the cable. Look closely at the connections on each side and identify the sound (or power) wires and the ground wires. Cut the right headphone loose from the rest of the headset. Now get the pair of earbud headphones. Simply cut the right earbud out and leave the rest as is. You should have a right-side flat headphone and a left-side earbud (with the original earbud cables and mini plug) ready to be merged together. Adjust the length of the cables if needed.

Most headphone cables will have 3 or 4 wires running through them: one for the right audio, one for the left audio, and 1 or 2 ground wires. When you first strip the headset’s cables, make sure you identify which wires are which. If there are only 3 wires total, the right and left audio wires will each go to their respective sides while the ground wire will run from one side to the other and then down to the jack. If there are 4 wires, use color to identify the 2 ground wires, as they will always be the same color.

Make your hybrid headphones.

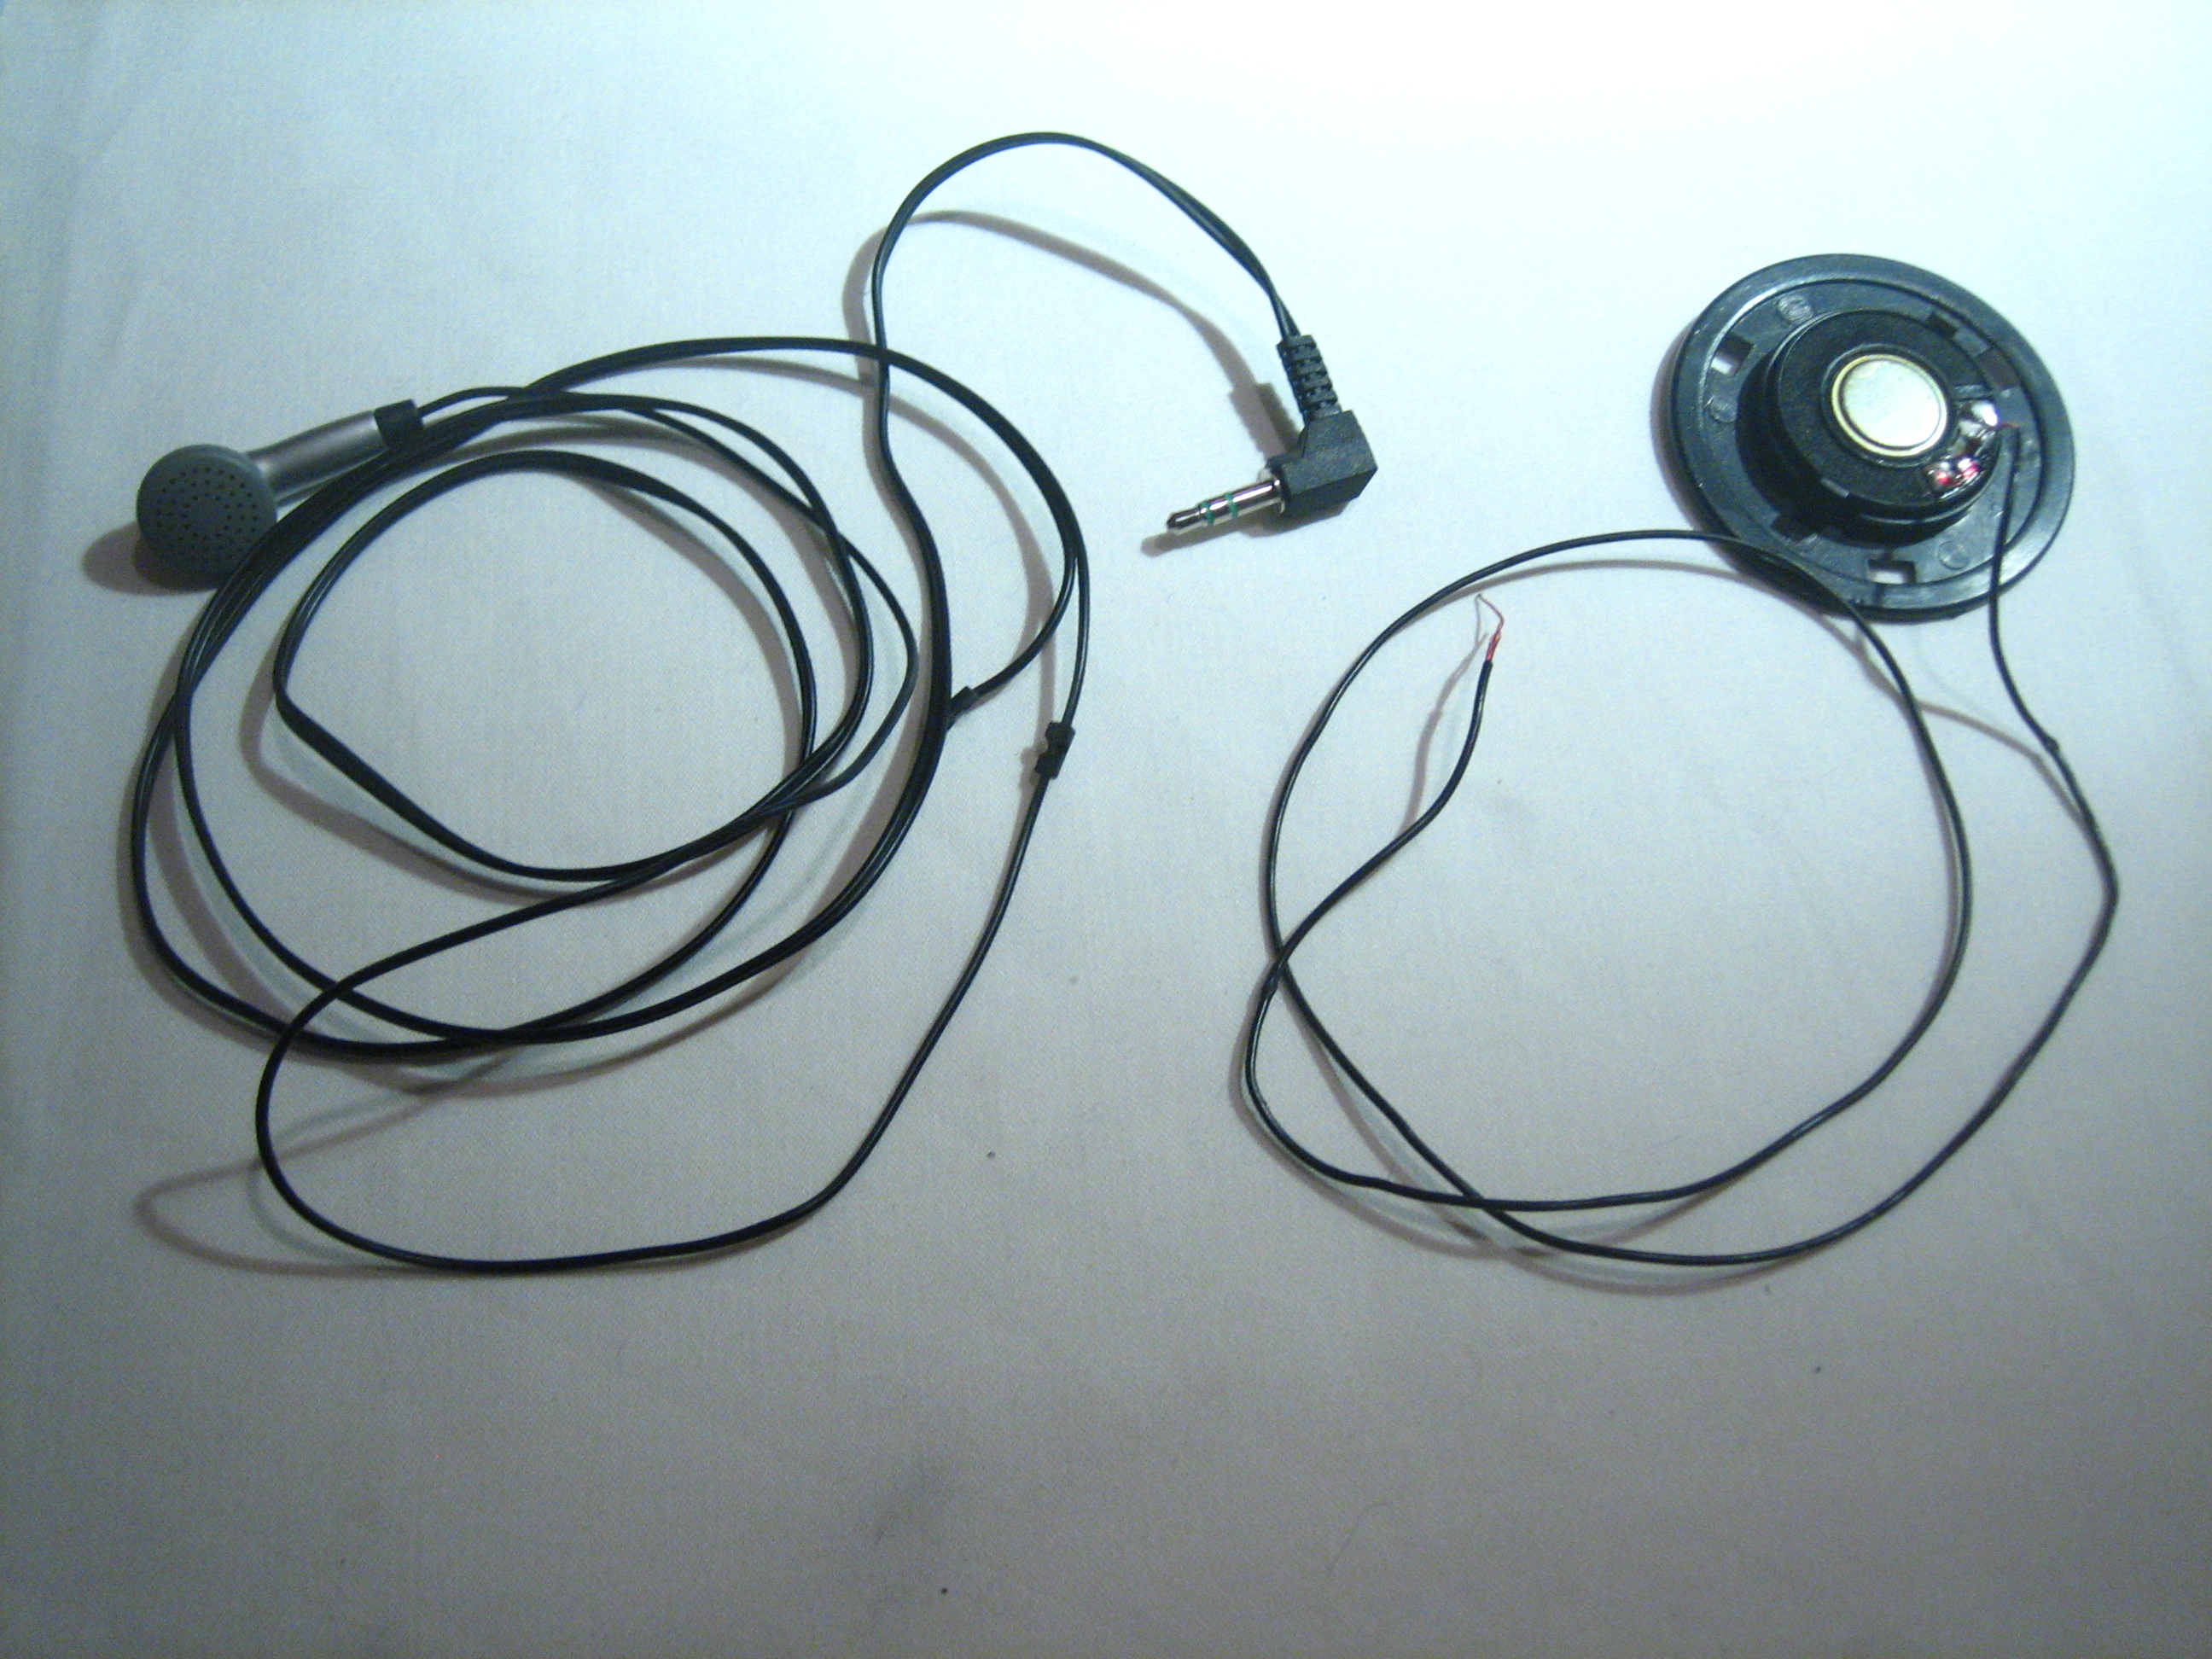
This is the trickiest step, as sound wiring can be a bit fragile. Strip about 4″ off the earbud’s cable. Inside the cable, you’ll find 2 wires: one for sound and one for ground. Remember to check which is which so you can connect the correct sides together. Slide 2″ pieces of heat-shrink tubing onto each of the 2 open wires.

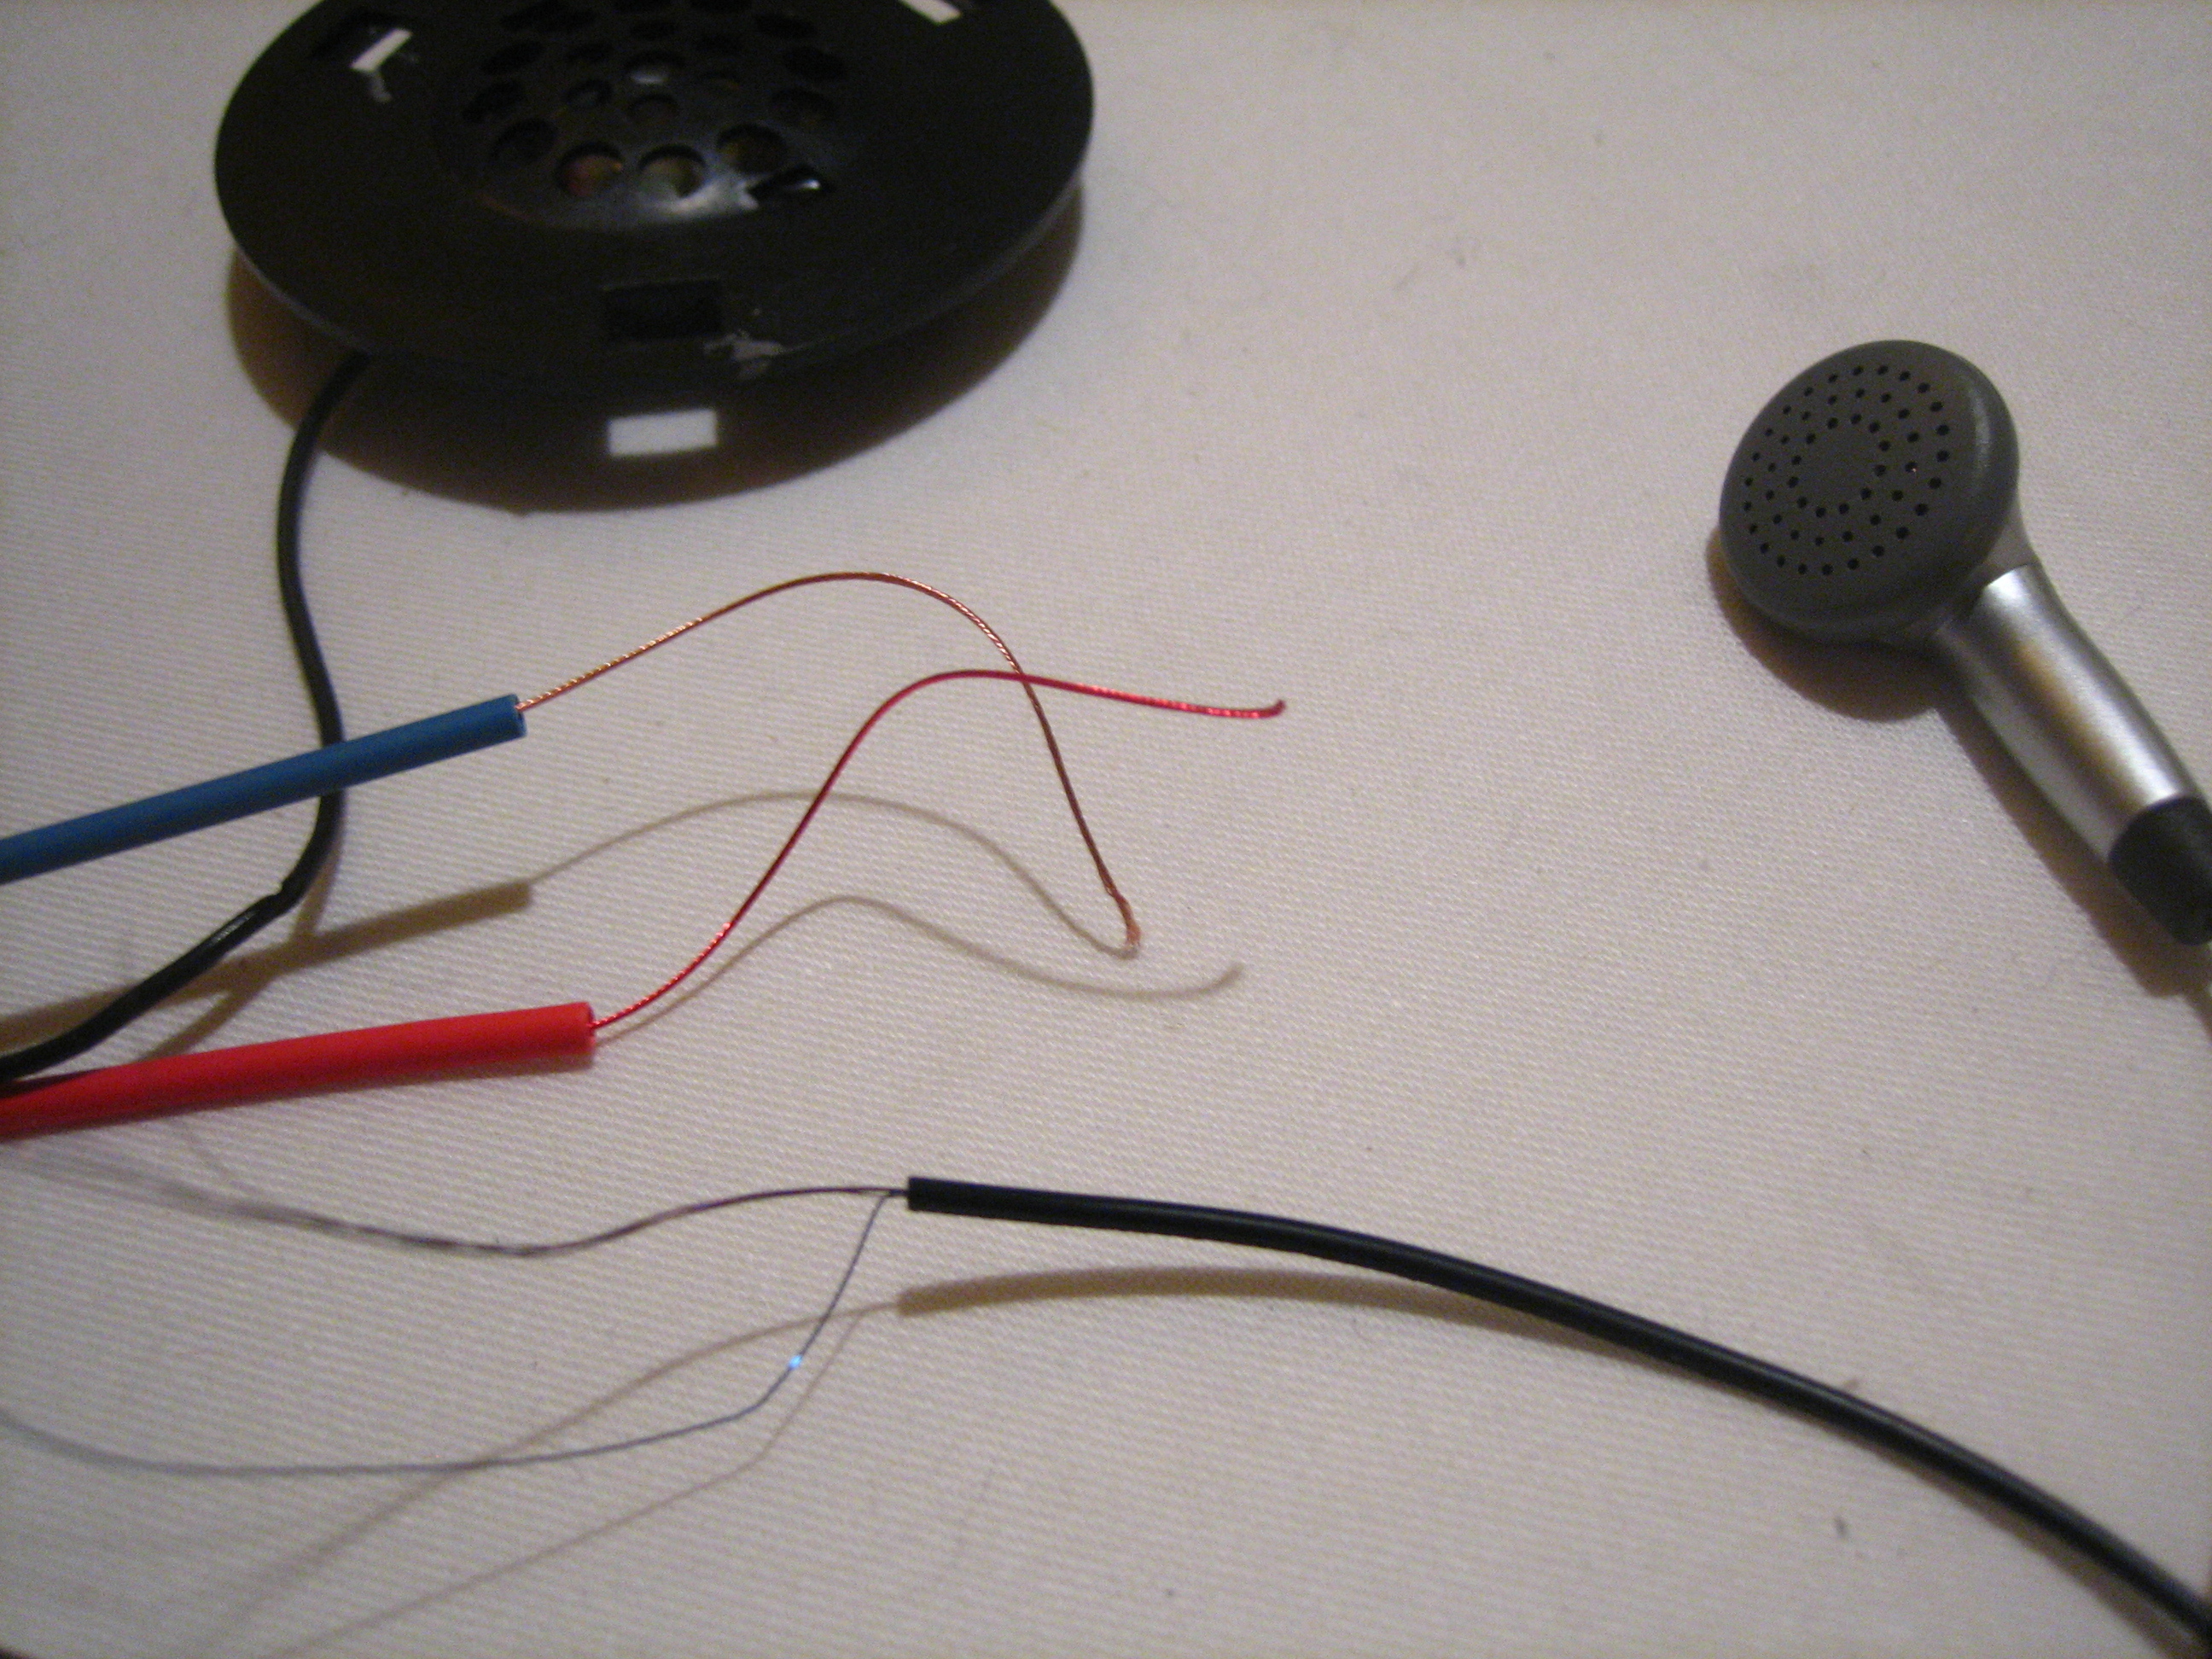
Check conductivity. Most times, sound wire is insulated with a thin protective coat around it — use a multimeter to check whether yours is. If there is no conductivity between any 2 points of the open wire, use a small lighter to quickly burn this coating off. Burn only 2″ so that the rest remains insulated in order to avoid short circuits. The now-exposed wire will sometimes be made of very thin threaded wires — split them apart to help strengthen your connections. Strip 2″ of the open-air headphone wire and burn it if needed.

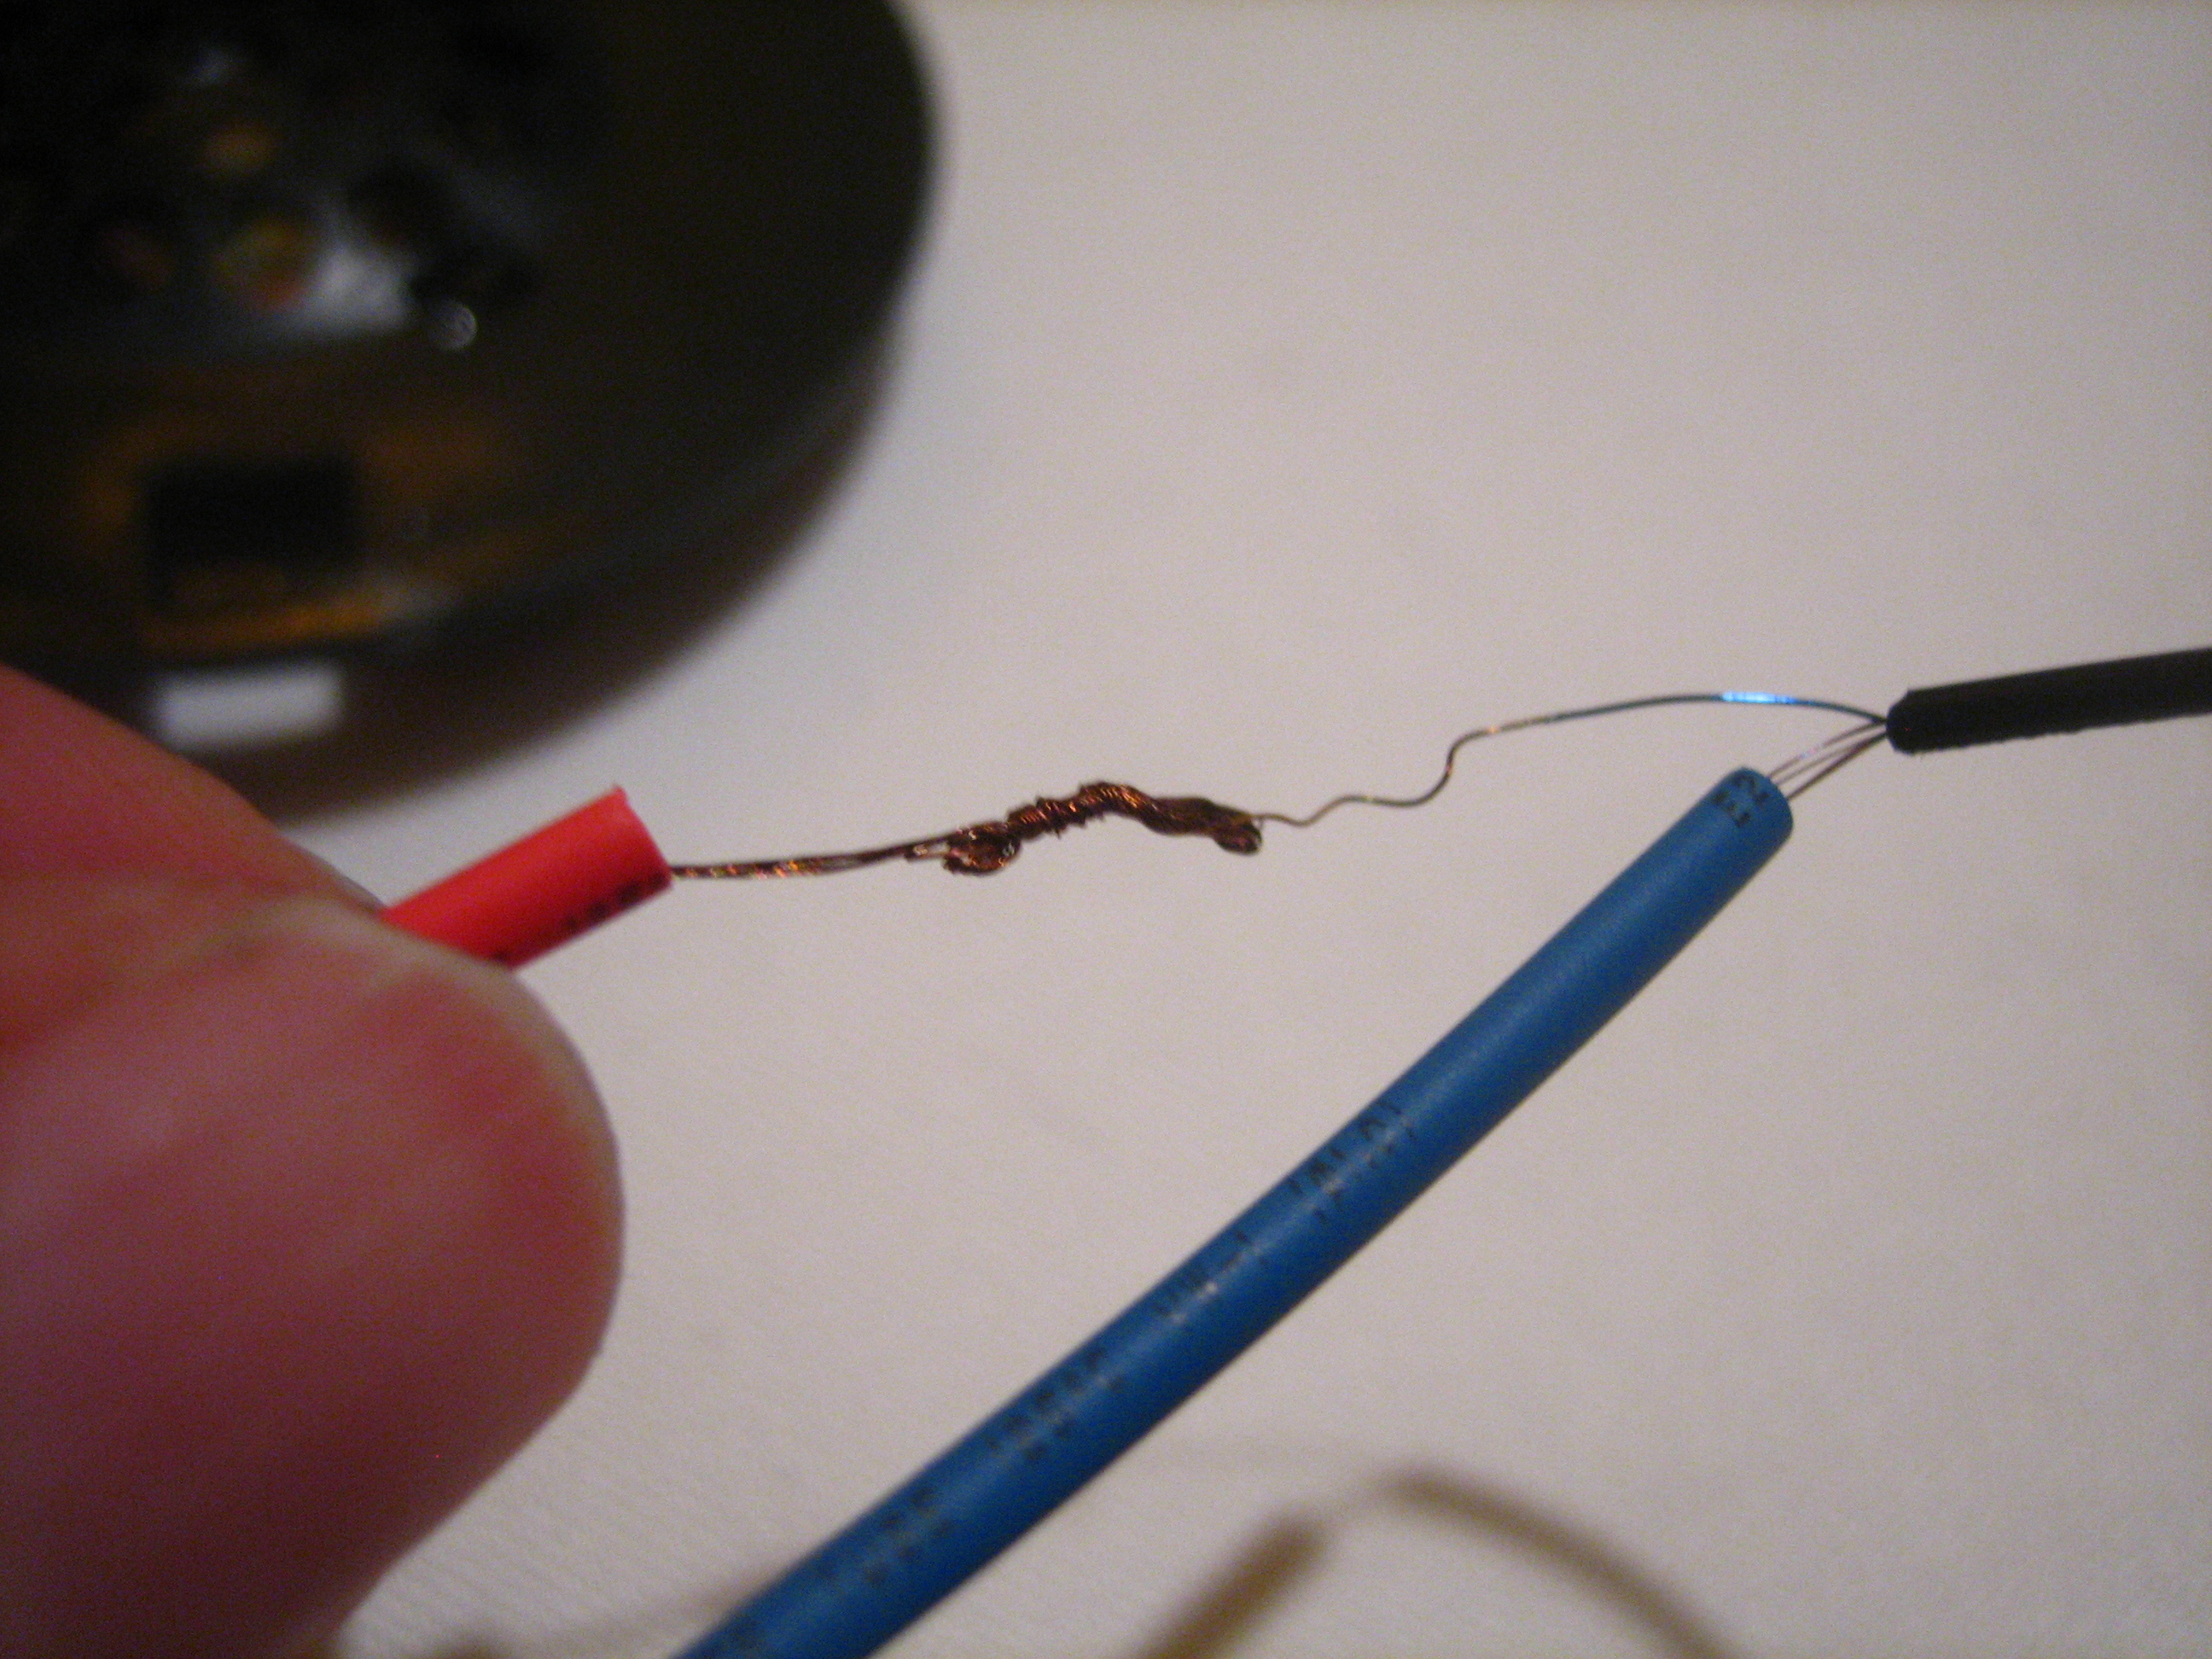
Once all 4 wires are conductive, bring the 2 sound wires together and twist them together, fold, and twist again until you have as solid and thick a connection as possible between both sides. Repeat with the 2 ground wires.

Now slide each piece of heat-shrink on top of the connections to insulate them again. Make sure to cover any parts of the wires you might have exposed while burning them.

You’re almost done with the hardest part. You should have a hybrid pair of headphones. Connect them to your favorite music player to test them. Make sure to move the cables around in different directions to ensure that the connections are solid.

If there are problems with the sound, rework your connections from under the heat-shrink until you feel they are solid.

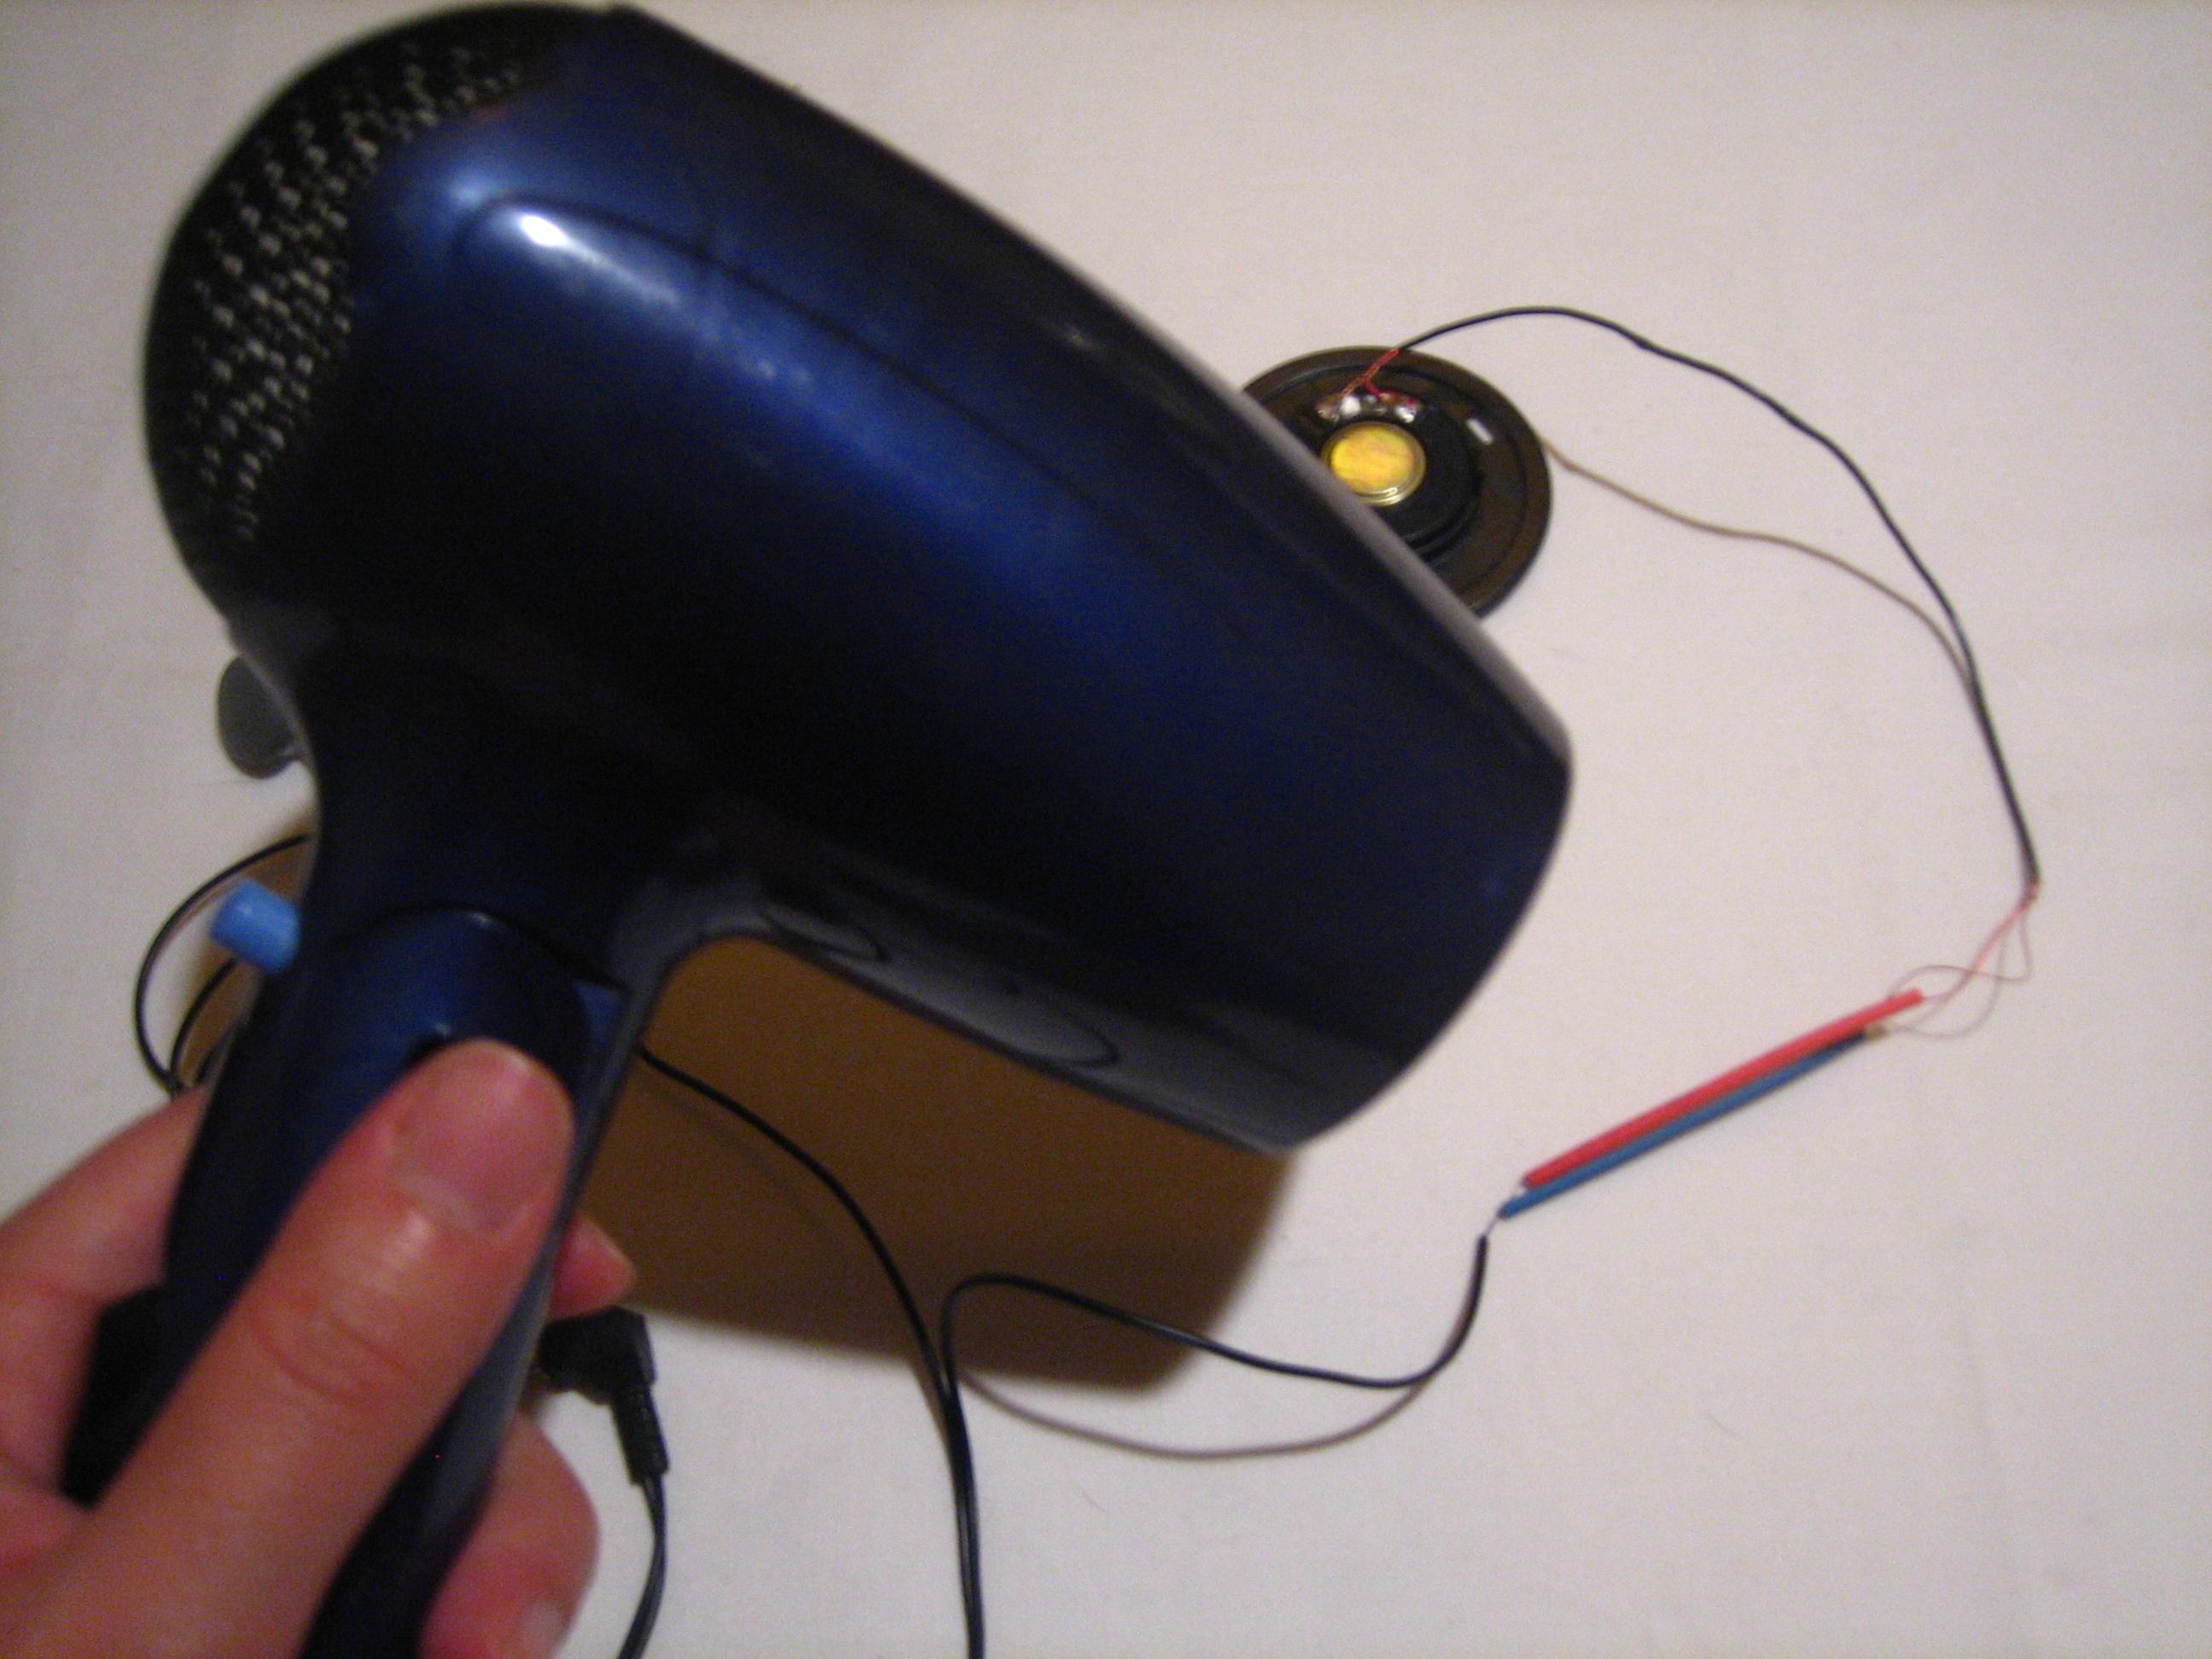
After you’ve tested the sound, use a hair dryer to melt the heat-shrink until it has shrunk enough to hold the wires together for good. Your hybrid headphones are now done.

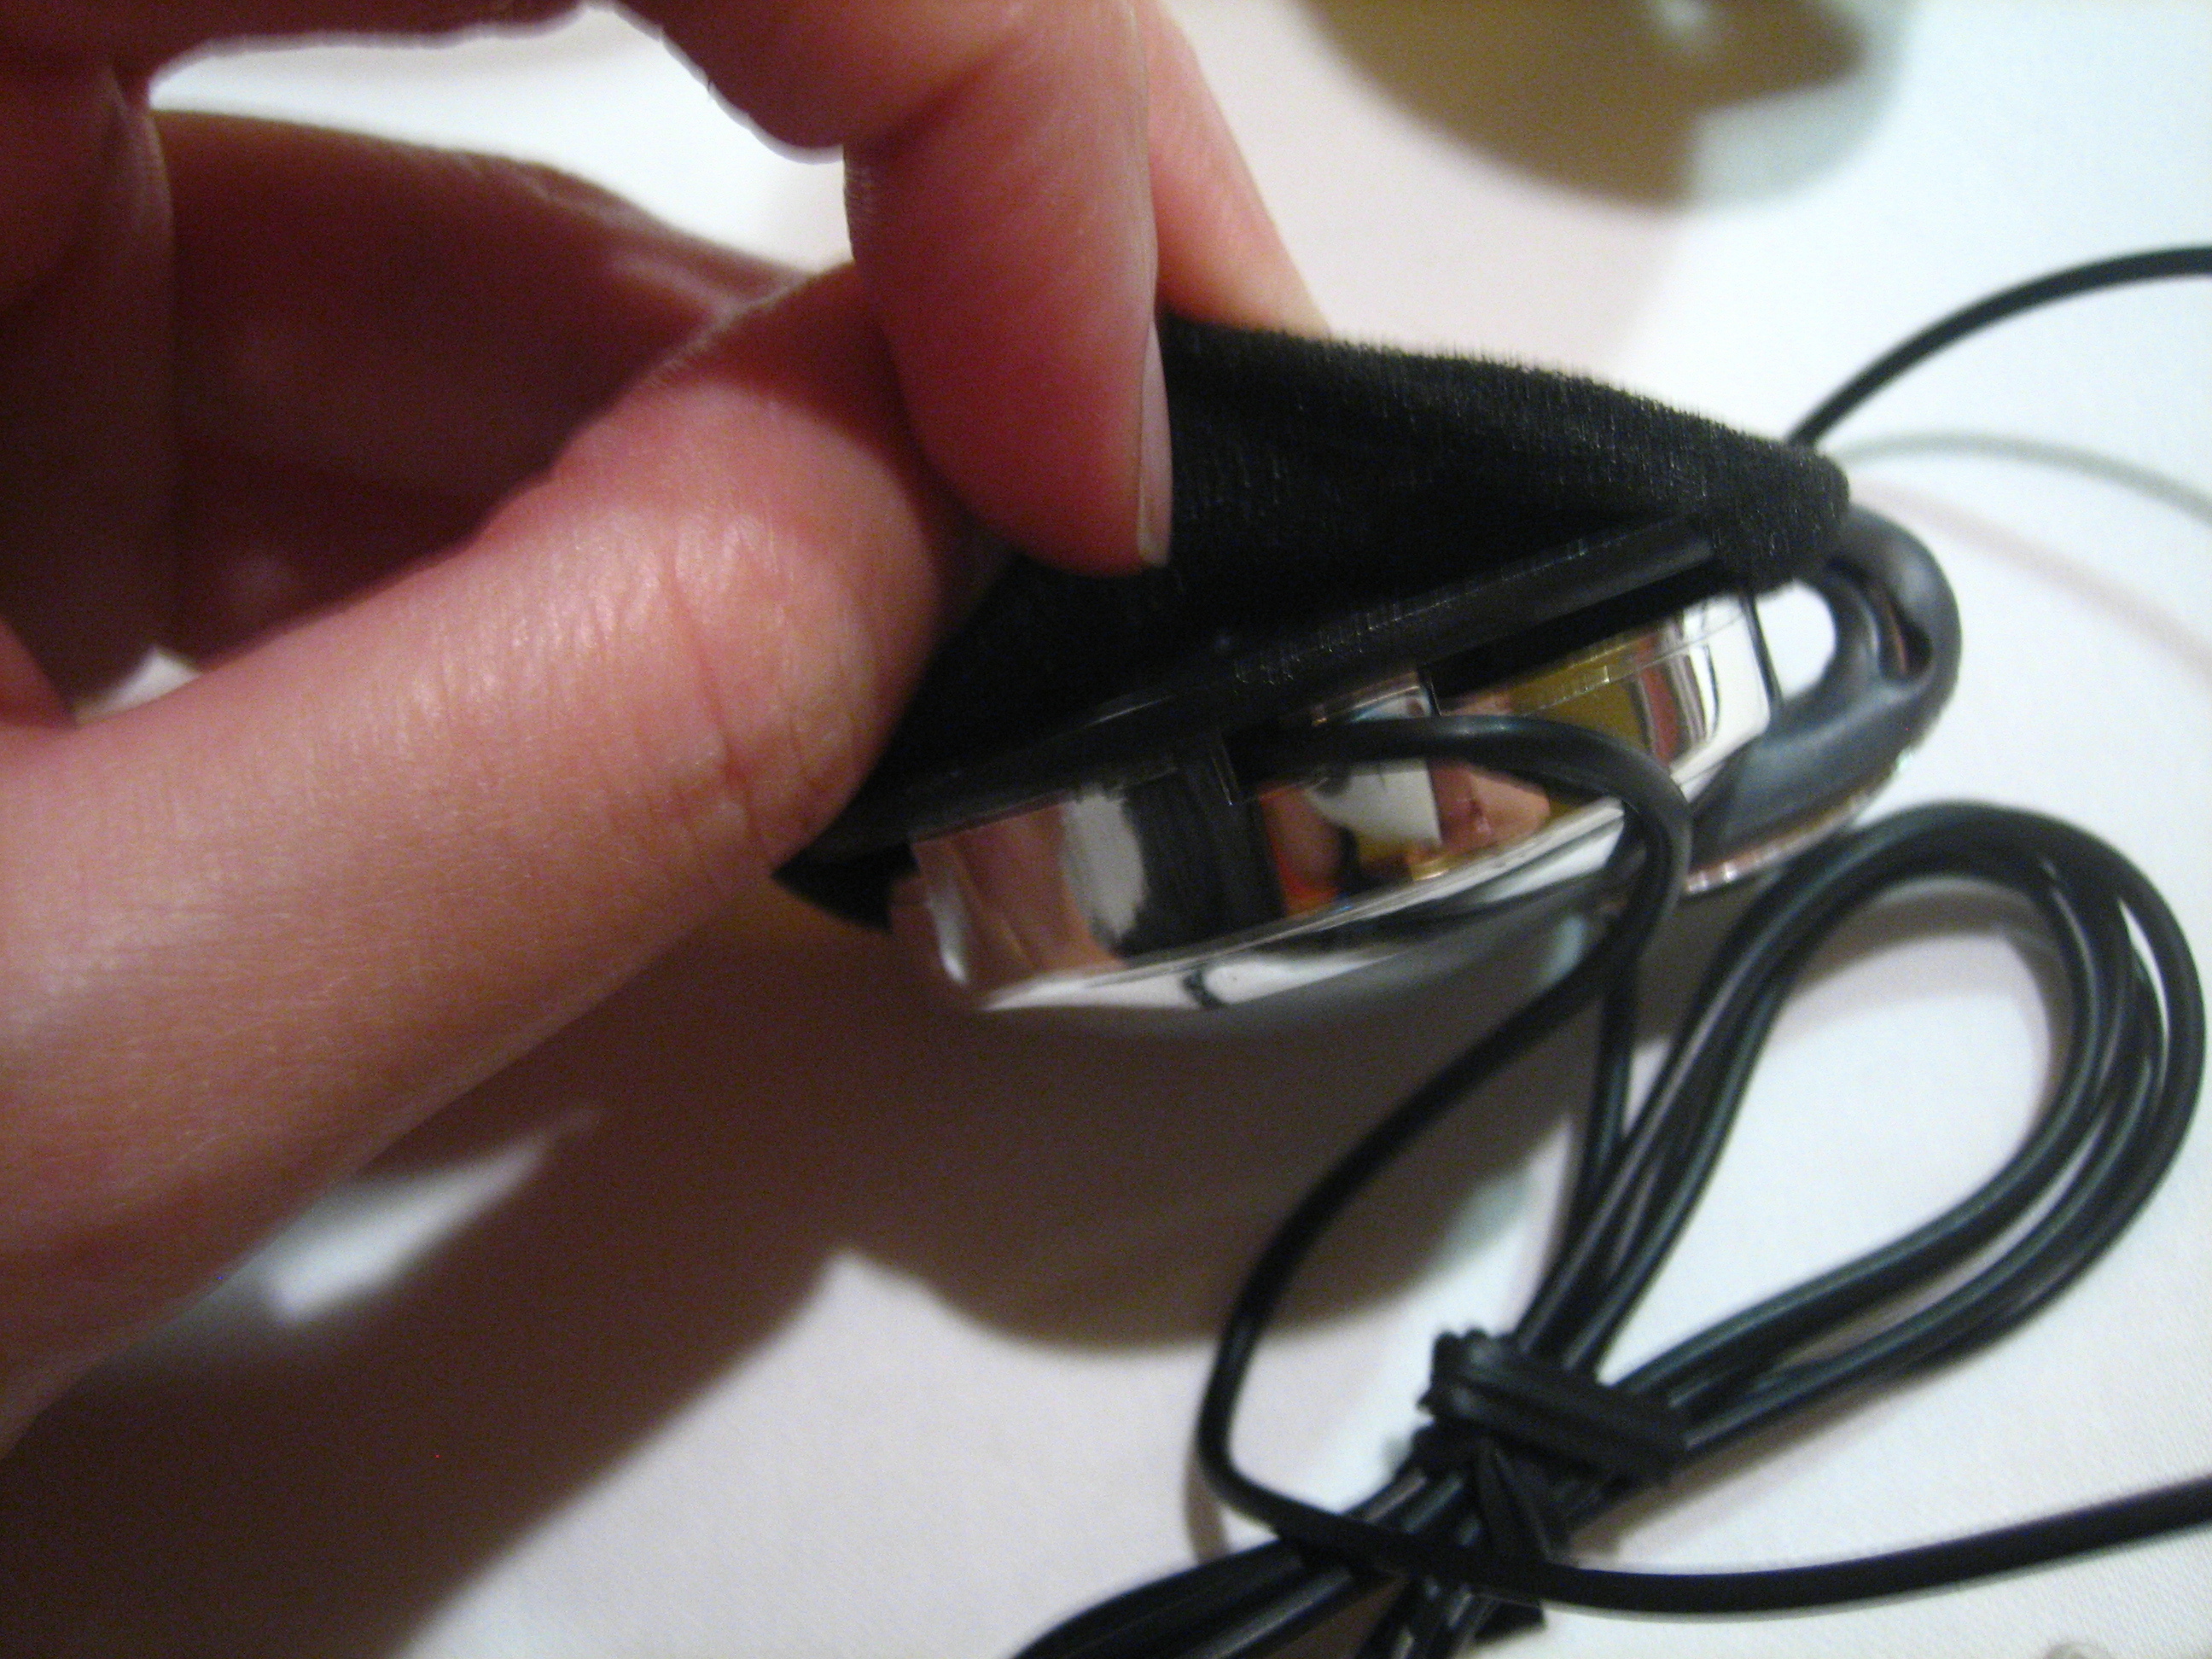
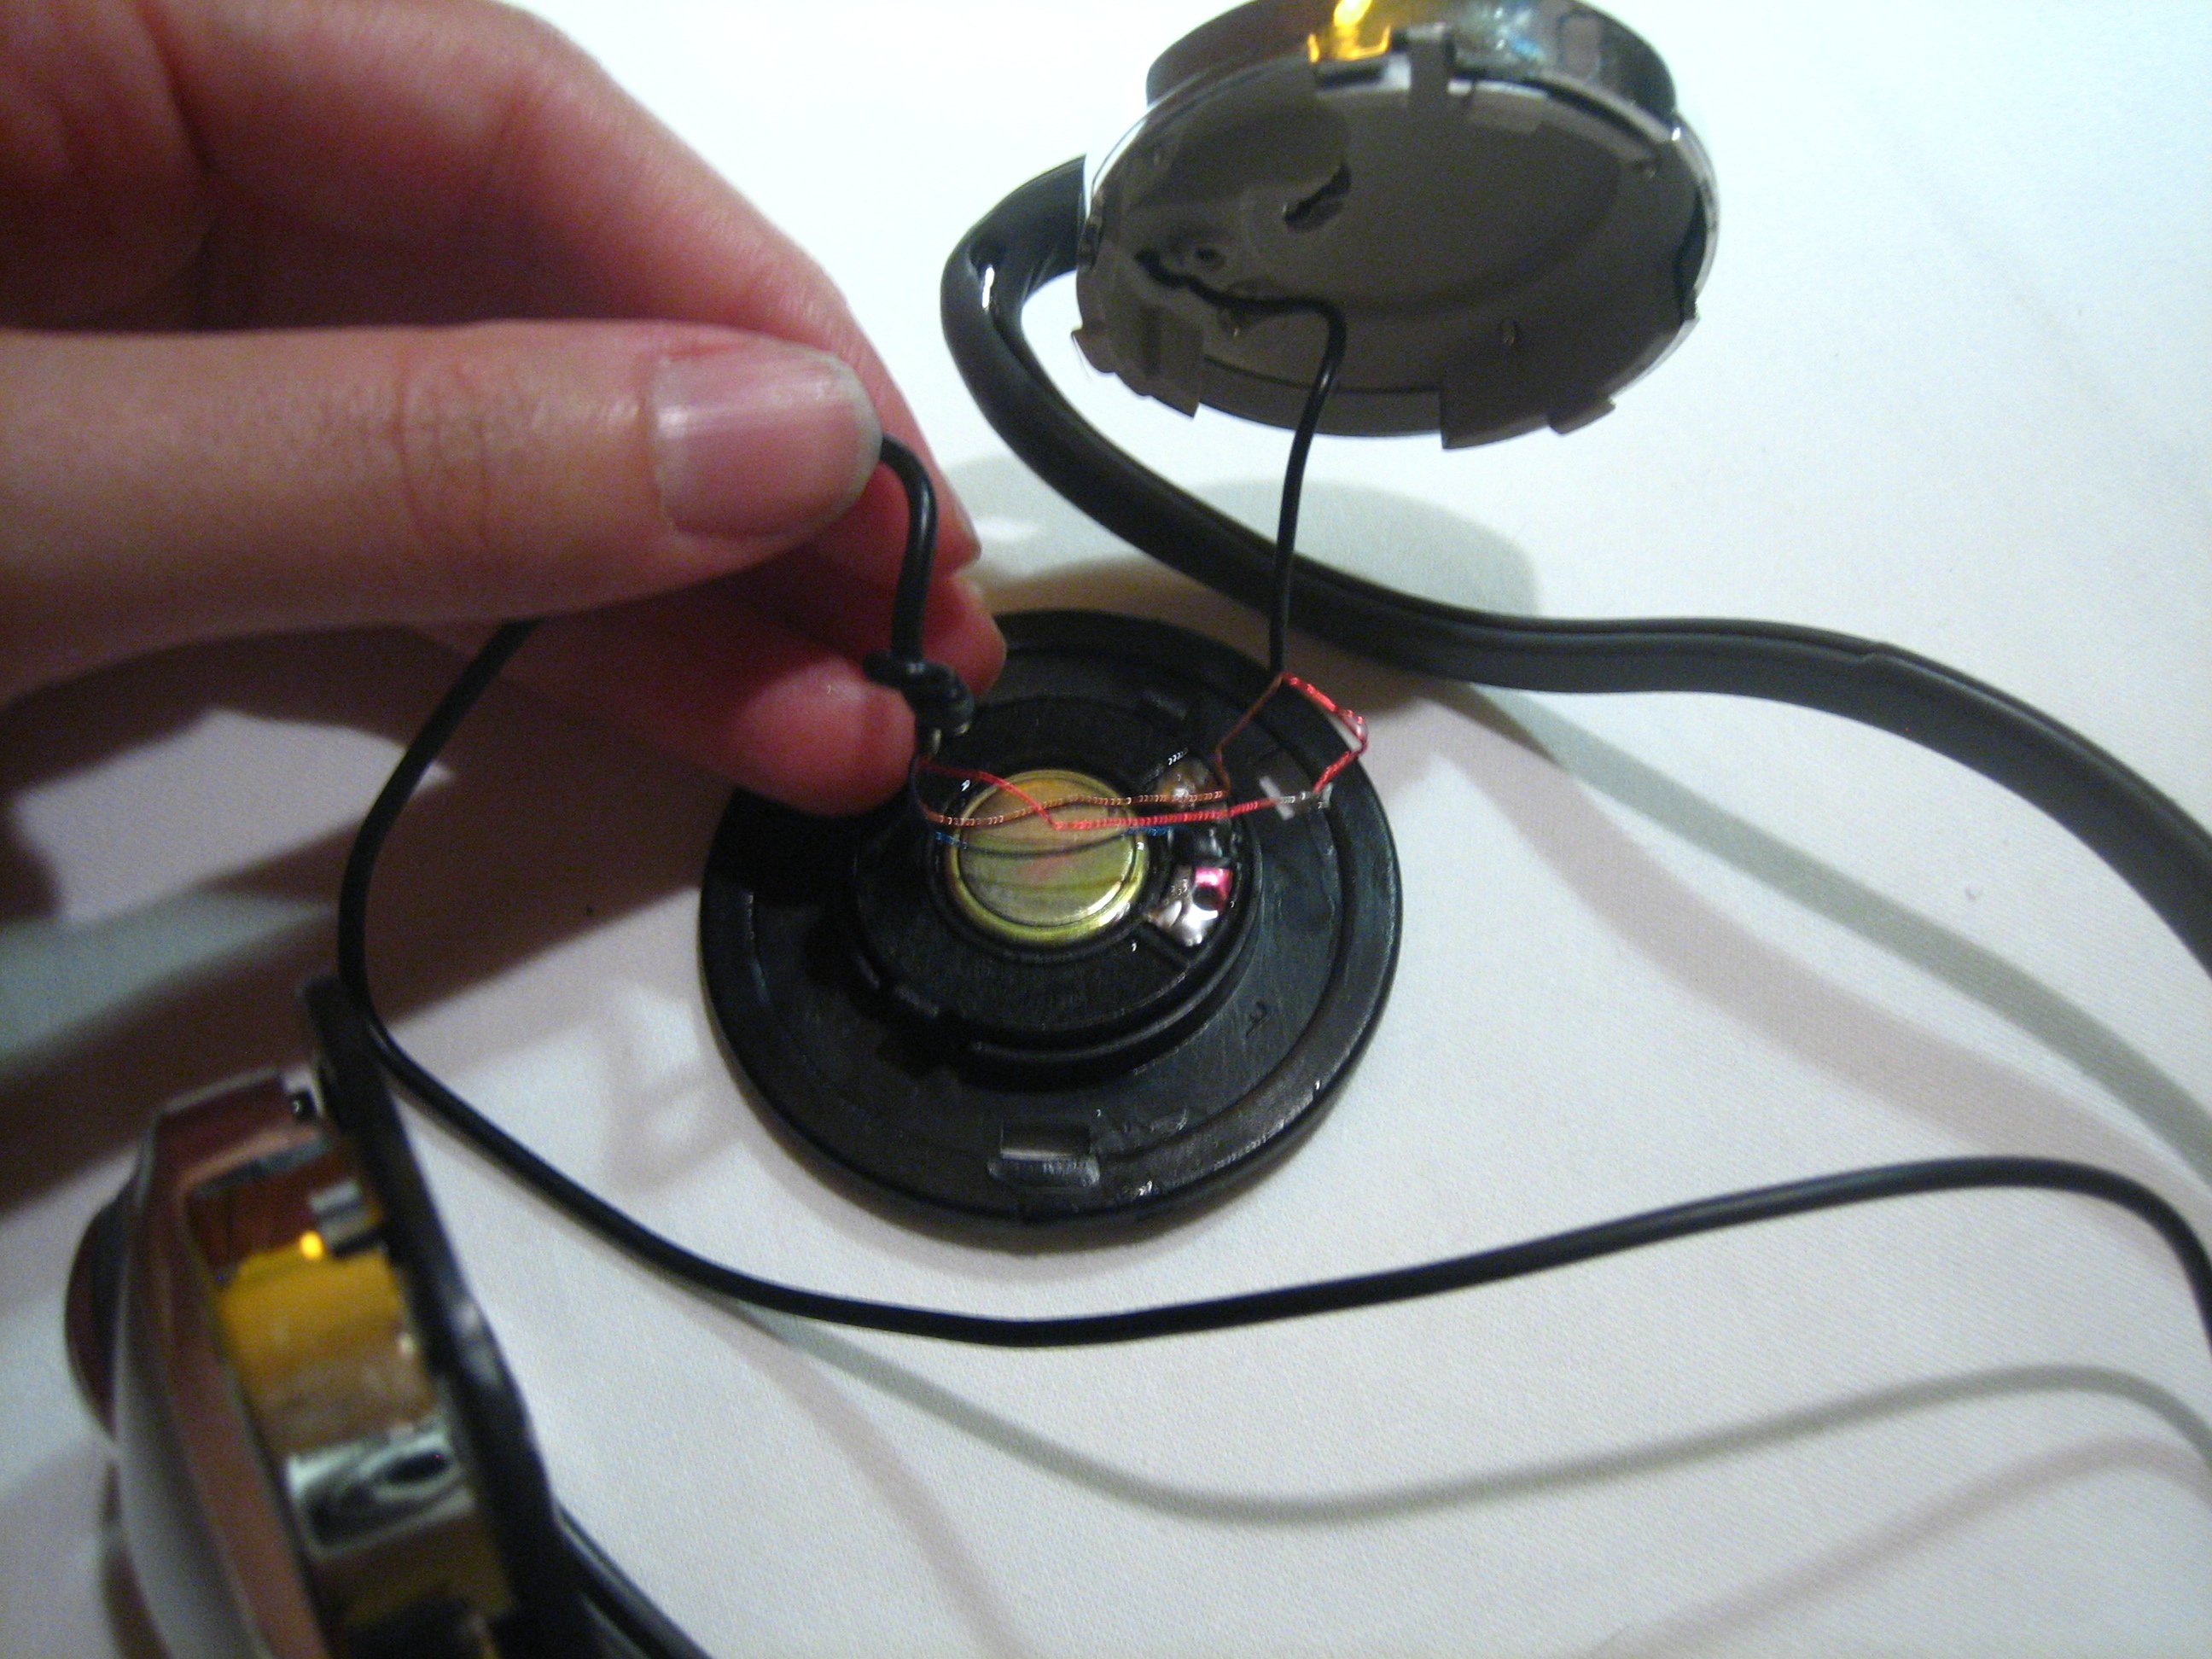
PLAN B: If you are bit more familiar with electronics, you could rework the wiring from scratch instead of trying to connect the existing sound wires. Open up both sides of your headset and unsolder the wires. Make sure you replace the cables with a wire that is soft and flexible enough. You’ll need to get a bare mini jack to solder your wires to.

Make your pillow.

Cut the outside fabric into an 8″×11″ rectangle. Add 1″ on each side if you want to sew a hem. Cut the inside fabric slightly smaller so you’ll be able to easily fold the layers together in 4. I cut mine 6½”×10″. Stitch both sides together, then fold the fabric in half to make your bare pillow.

Using extra fabric, cut a small pocket to the size of your music player. The smaller the player, the less you have to be concerned about padding it. Stitch the small pocket together, then place the pocket on the bottom left side of the open pillow with the jack looking inward. Stitch or attach the pocket in place. Velcro will give you the flexibility to remove the pocket altogether and use it as a pod sock to go.

Embed your hybrid headphones.

Identify the location of your right headphone. Place it in the center of the folded pillow in a place you’ll be comfortable resting your head. On the inside fabric, make a slit about the size of the headphone right behind the location you previously selected. Slide your open-air headphone into the slit.

Loosely stitch around the headphone to keep it in place. Don’t worry about making it tight — you might want to remove or change part of the headphones later on. Hand-stitch your original headphone foam cushion onto the exterior side of the pillow. It’ll give you a visual cue as to where the music is coming from, and will add extra padding for your ear.

Put on the finishing touches.

Place some snaps or Velcro on each side of the pillow to keep it closed. Choose a strap or snap to fold your pillow when you’re not using it.

You’re done! Turn your player on, slide it back in, and enjoy the music. Sweet groovy dreams.

Conclusion

This project first appeared in CRAFT Volume 03, pages 127-130.