


Faced with an assignment to make a plush night light, I thought, “Why light?” and brainstormed reasons for a stuffed toy to light up. In a glowworm toy, for instance, the light mimics nature. I’d been reading Michael Pollan’s The Omnivore’s Dilemma, and this got me thinking about the chain of refrigeration, labor, and irradiation involved in American beef production. So I thought, glowing irradiated meat! I know that irradiated meat doesn’t glow, and neither does toxic waste unless it’s in a cartoon, but plush toys typically represent cartoon characters anyway, so it made sense: Plush Irradiated Sirloin.
Projects from Make: Magazine
Plush Irradiated Sirloin
Microcontroller night light illuminates meaty issues.

Prepare the fabric.


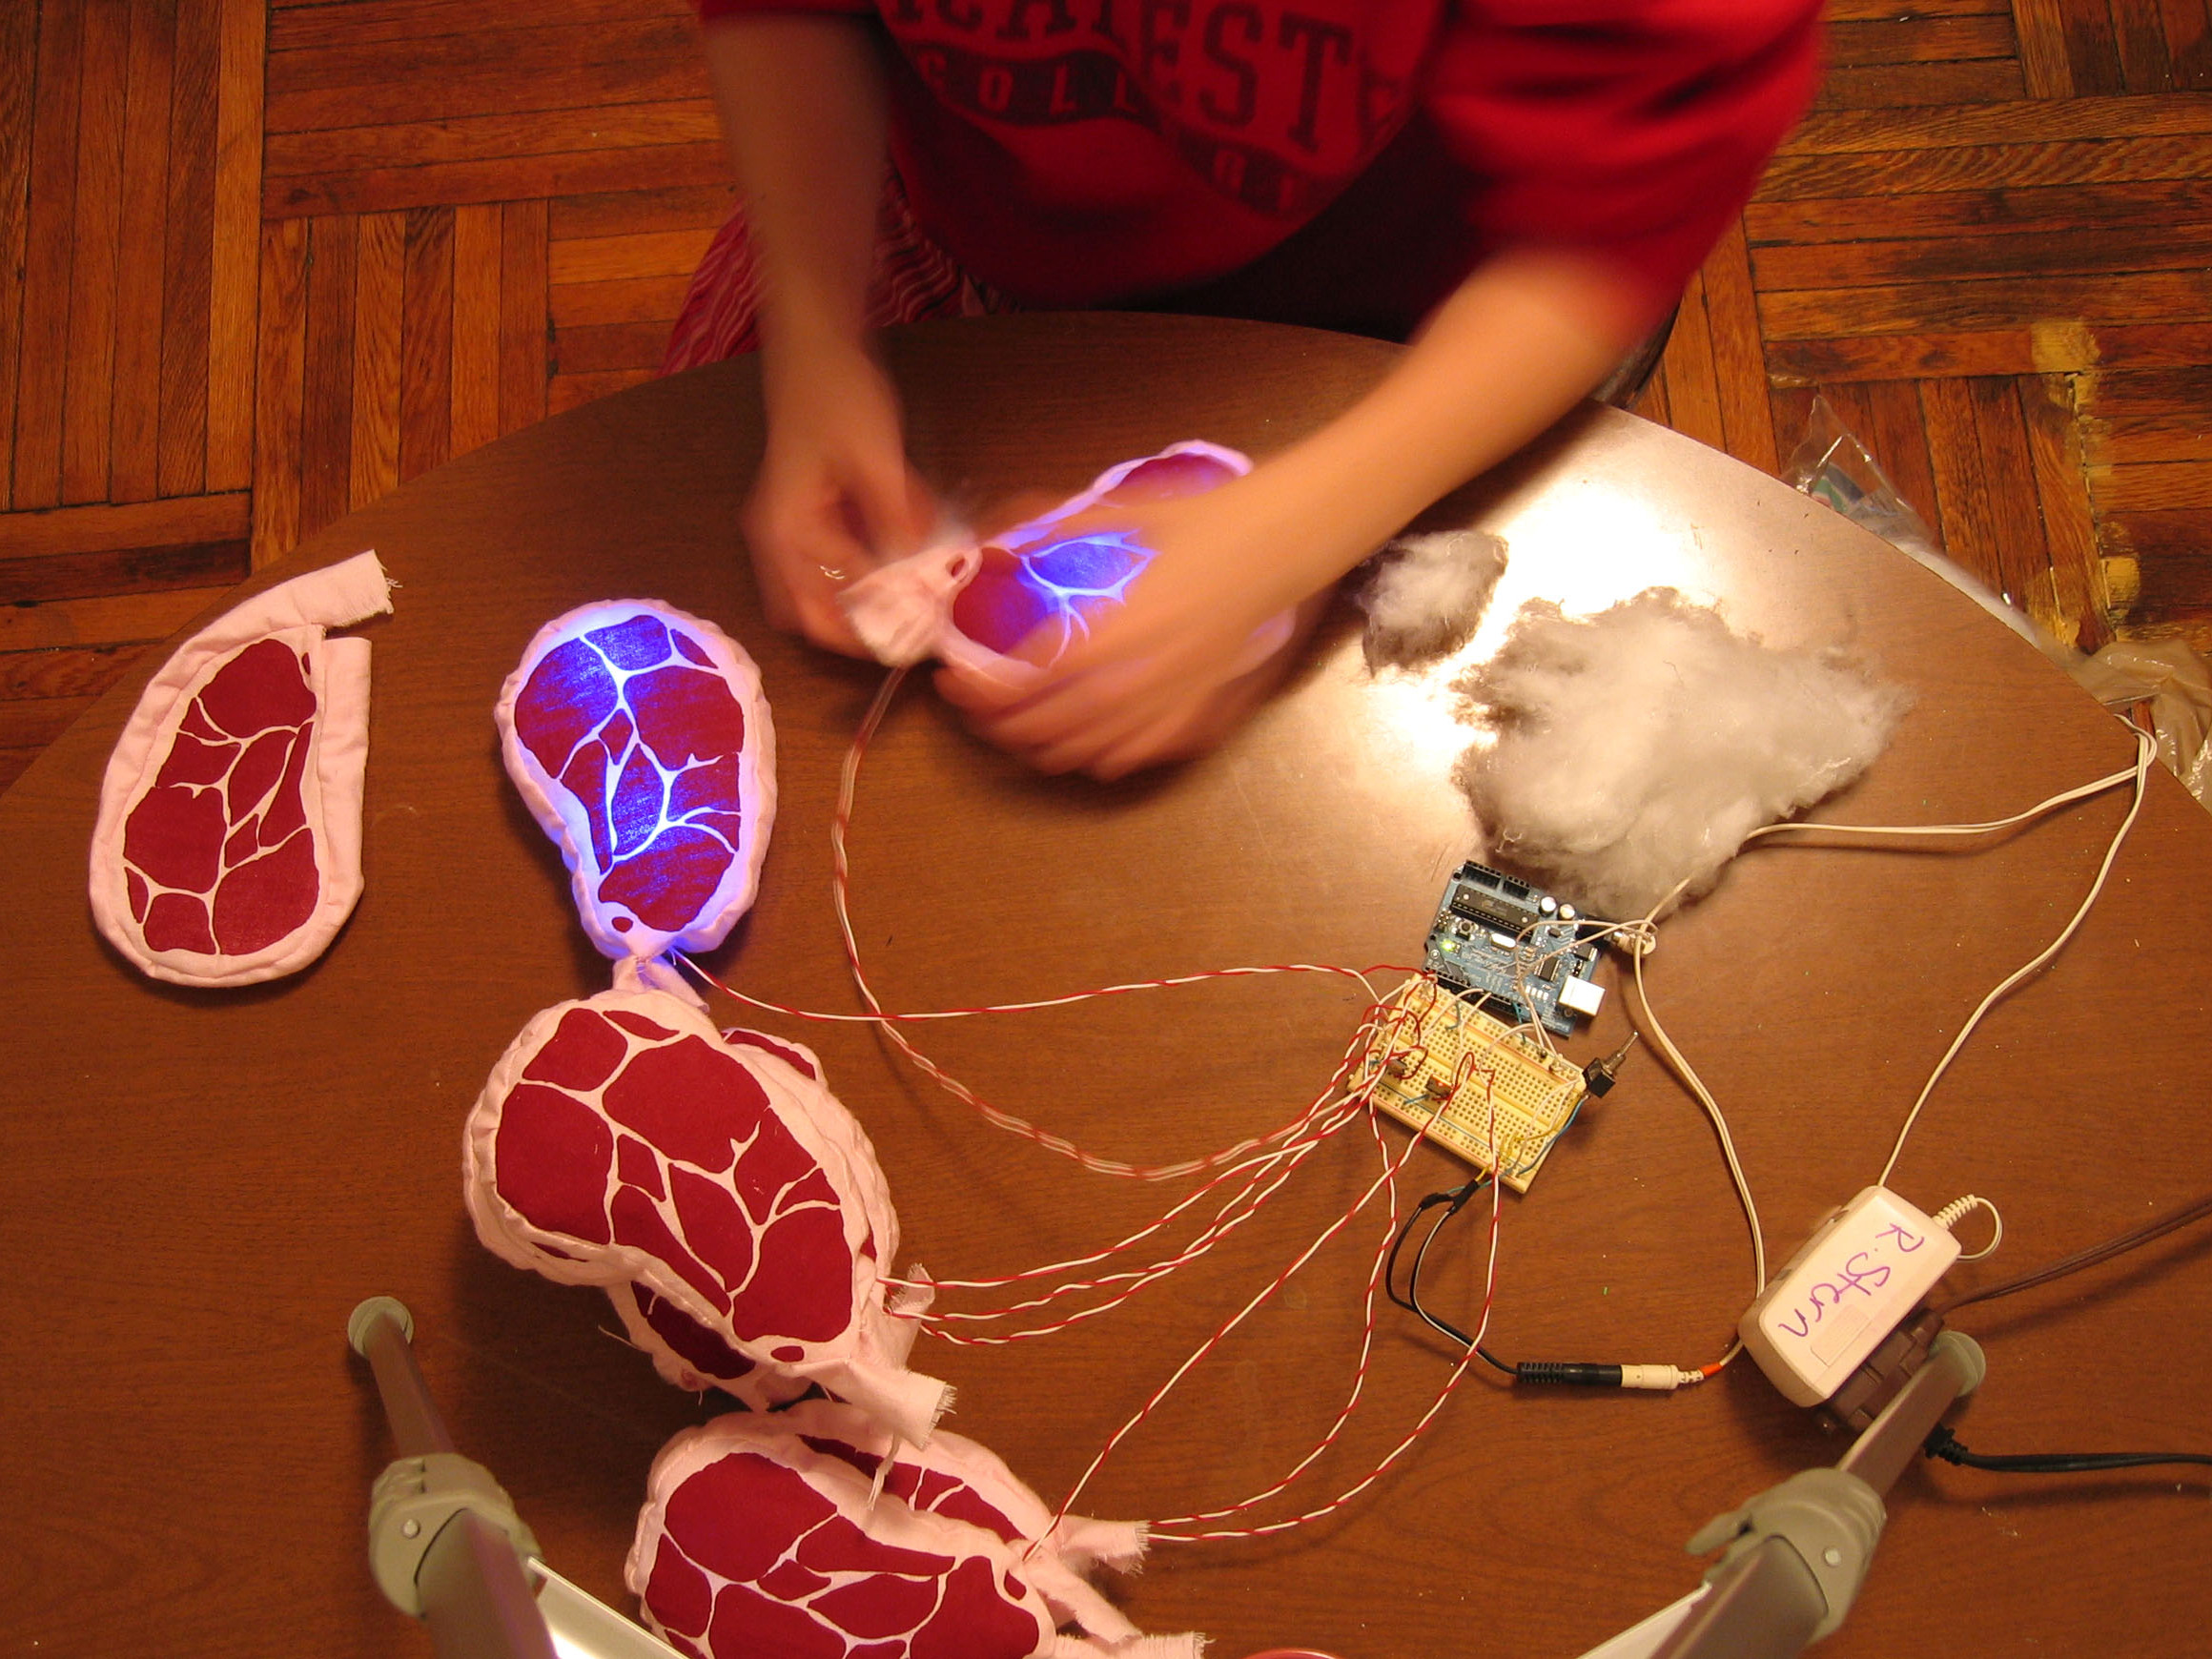
I silk-screened my steak illustration onto pink flannel and sewed the pieces together (inside out, so the seams wouldn’t show), leaving a small opening at the base of each one. (For an excellent primer on silk-screening, check out CRAFT magazine, Volume 01, page 106.) You can also use pre-patterned fabric or use fabric paint to hand-paint the design. Next, I turned them right side out, but left them empty. I had to put the lights inside before I stuffed the plush fiberfill around them!
Grab the silkscreen template: https://makezine.com/11/diyhome_steak/
Add the Arduino board.

Grab the code: https://makezine.com/11/diyhome_steak/
Inside, each steak has two 360° super-bright LEDs wired in series. These have frosted lenses that distribute the light evenly in all directions, making them perfect for the inside of plush toys. Because I wanted the steaks to glow dimmer and brighter periodically, I needed some kind of signal to control the brightness of the lights. The Arduino board, my favorite microcontroller solution lately, supports the perfect feature for this: pulse width modulation (PWM). PWM can make LEDs, which are binary, appear dimmer by pulsing them on and off, with varying time ratios, faster than the human eye can see.
The PWM signal controls the glow, but the Arduino can only output up to 5V, which isn’t high enough to power these super-bright LEDs. I had planned to power the Arduino with a 12V AC adapter, so I designed the circuit to drive the LEDs from the same source. I used 2 TIP 120 transistors to amplify the signal to each half of the meat tray, 4 steaks each. This pumps the circuit’s full 12V through 2 parallel sets of 2 LEDs (2 steaks, 4 LEDs) in series, which works out to 3V per LED.
Add the LEDs

For each steak, I made an LED insert with 2 LEDs wired in series and neatly twisted. I spaced the LEDs about 4″ apart, so that they would each light up an even half of the steak without being too close to the edges. I made the lead wires really long, and I knew they would be exposed, so I chose red and white wire to match my plush.
After wiring up the circuit and soldering and testing the LEDs, I finally assembled the steaks. It’s important to make sure all your LEDs are functioning properly first; it’s no fun to debug a sewn-together toy. Since electronics with fabrics could be a fire hazard, I covered the LED leads in epoxy (hot glue works, too) to prevent a potentially dangerous short.
I positioned each double-LED wire inside a steak, and filled around it with polyester filling. I left the LEDs plugged in, so I could see how the light diffused and adjust them accordingly. When I got them how I wanted, I stitched up the bottom openings by hand, and arranged them together on a tray.
Bask in the glow.

Each half of the tray (4 steaks) glows in alternation with the other. The pattern is subtle and soothing, the way a good nightlight should be. They’re soft, but not very cuddly, as they remain tethered to their circuit board. In the future I could embed smaller circuit boards inside each steak to make a portable, more snuggly version. I’ve also been thinking of making a larger version for throw pillows, or a smaller version with catnip instead of electronics. These steaks have been great conversation starters in the classroom and online, and I hope they inspire people to learn about the politics of our food industry.


