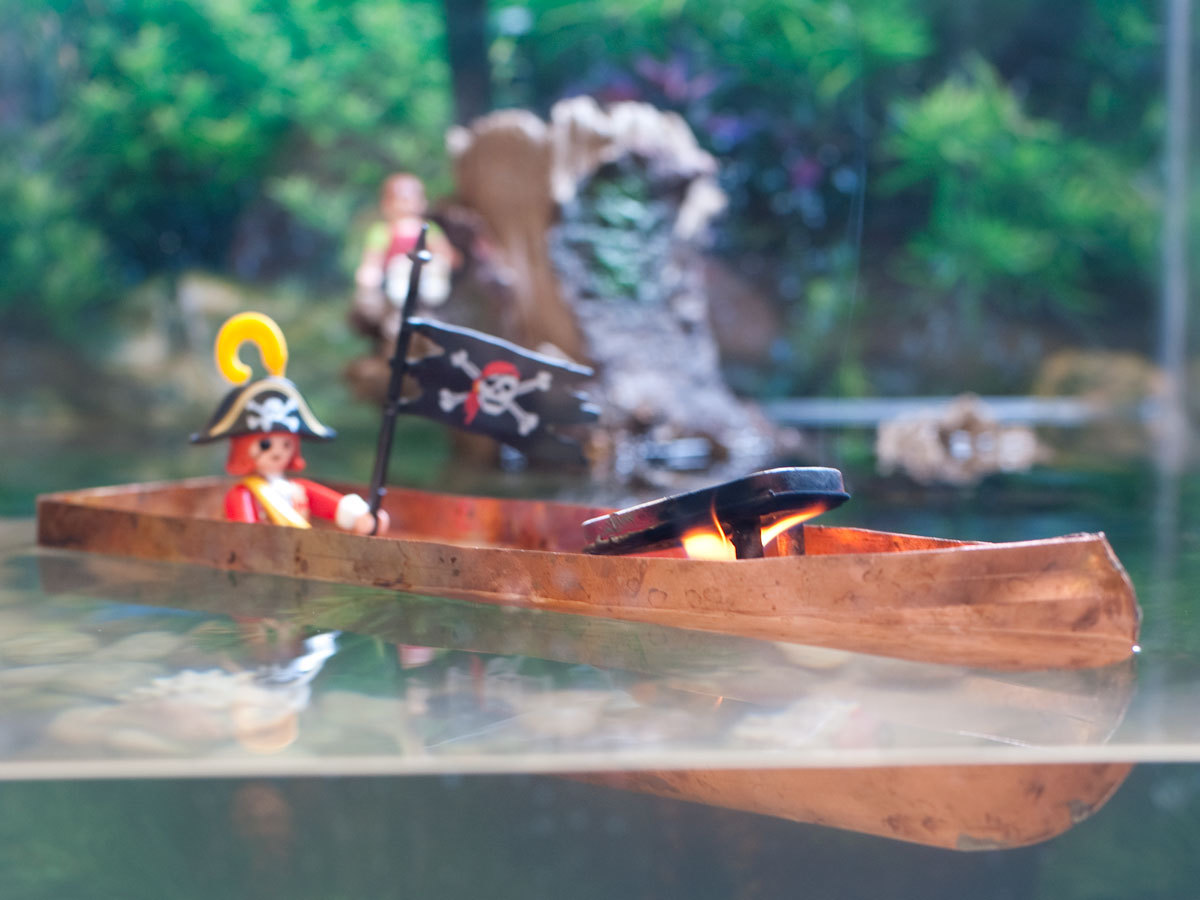
When you picture a steam engine, you likely imagine a giant cast-iron contraption festooned with knobs, valves, gauges, linkages, and wheels. This steam-powered toy boat has no moving parts and needs only a flame and the surrounding water to zip around and make its distinctively happy sound.

My interest in pop-pop boats began when I saw Hayao Miyazaki’s stunning children’s movie, Ponyo. In it, Ponyo and her friend Sosuke sail a scaled-up version of Sosuke’s pop-pop boat around a flooded city. The boat requires only a candle and some water to run.

Once commonplace, these toys have given way to battery-powered plastic. But the pop-pop boat’s underlying principle is compellingly simple and provides the home tinker with endless room for futzing and improvement.

Pedigree and Principles

First patented in 1891, pop-pop boats use a candle or other flame to heat water in a small boiler connected to one or more pipes. The pipes run down and back into the water behind the boat; when the water in the boiler turns to steam, it pushes jets of water backward out of the pipes, propelling the boat forward.

The moving water’s momentum makes the steam “piston” overshoot its equilibrium, so the steam quickly cools, contracts, and condenses back into water. This draws cool water back up through the pipes and into the boiler, where the cycle starts again. Because the water sucking back into the tube is incoherent, coming in from all directions, rather than in a directed jet, this intake cycle doesn’t pull the boat backward. (By analogy, you can easily use a straw to blow a small ball of wadded-up paper across a table, but you can’t suck it up the straw unless you’re right on top of it.)

You can think of a pop-pop boat as a reciprocating, steam-driven water hammer, an engine with pistons made of water, or an external combustion pulsejet (see MAKE Volume 05, page 102, and Jam Jar Jet).

A later design (patented in 1916) added a “sound producer” to the boiler, a slightly convex sheet-metal diaphragm that flexes with the expanding and contracting steam. The resulting rattle makes the motor sound more mechanically complex than it actually is, and gives the pop-pop boat its name.

Traditionally these boilers are built with a thin brass diaphragm crimped and soldered into place. Thin-enough brass stock can be hard to find, so I’ve come up with a design that uses castoff packaging instead: an Altoid Smalls tin boiler with an aluminum can diaphragm. Since aluminum can’t easily be soldered, I’ve substituted J-B Weld epoxy, which is up to the task: its maximum operating temperature of 500°F exceeds the melting point of most soft solders, and its tensile strength is comparable.

Ponyo notwithstanding, this type of engine does not scale up to life-sized boats (nor, for that matter, are there sea wizards or magic talking fish). Nonetheless, there’s an undeniable pleasure in a home-built toy that scoots around on its own and has no use for batteries — except, perhaps, as ballast.

Project Steps

Dismantle the mint tin.

Using a small, flathead screwdriver, gently pry the hinges of the Altoids Smalls tin apart and lift away the lid. Save it.

Carefully flatten the stamped hinges of the bottom half by tapping them with a small hammer. If your hammer is too big to fit, you can squeeze in a small brass drift or 3/8″ bolt, and then tap this with your hammer to flatten the hinges.

Pepare the boiler halves.

Circumscribe a line 3/32″ from the top edge of the tin’s bottom half. Scribe a second line 3/16″ below this, 9/32″ from the top edge of the tin.

Cut along the top line with tinsnips, removing the rolled bead from the tin. Notch the corners of the tin, cutting 90° V’s to the remaining scribed line. As tidily as you can, fold the tabs along the remaining line so that they all point inward toward the center of the tin. Lineman’s pliers work well for this.

File down the folded corners of the bottom half of the tin until you can press the lid all the way back on.

Take the lid off, flip the bottom over, and scribe a line 9/32″ from one end, parallel to the barcode. Scribe 2 more lines perpendicular to the barcode, 3/8″ in from the hinge and clasp edges of the tin.

Make punch marks at the 2 intersections with a @&&*& punch, and drill 1/8″ holes at each. Sand away the varnish and paint from the area around these 2 holes.

Attach the jet tubes.

Anneal (soften) the copper tube so that you can bend it without kinking it. Copper anneals differently than steel or glass: heat it with a propane torch until you see its surface color change, and then quench it in cold water.

WARNING: Copper conducts heat quite quickly, so use pliers or some other device (not your hand) to hold the tube while you heat it.

Use a small tubing cutter or jeweler’s saw to cut two 6″ sections of tubing. (Don’t use wire cutters, which crush before they cut.) Make sure all ends remain open.

Gently bend the tubes into identical J shapes starting 2½” from one end and curving slightly past 90°. Sand the tips of the curved ends.

Apply flux to the sanded area around the holes in the tin bottom and to the sanded tube ends. Poke the fluxed end of each tube into the tin bottom, just far enough to rest easily in its hole, then solder the tubes in place.

Try to keep the tubes parallel. It’s easy to “sweat” these into position with a propane torch, but if you aren’t confident in your torch skills, you can epoxy the tubes in later rather than soldering (before you cement the lid down!). Make sure the tubes are clear of solder before you go on.

Cut the diaphragm opening.

On top of the Altoids lid, scribe lines 3/16″ in from each edge to describe a “window.” Drill a hole in the center large enough to admit the tip of your tinsnips, then cut out the window. Gently hammer the edges flat and sand off any sharp spots. Sand the varnish off the inside of the lid.

Make the

Cut the top and bottom off the aluminum soda can, make a vertical cut, and lay the skin of the can out flat on your bench.

Place the Altoids lid rim-down on this aluminum sheet. Scribe around the lid onto the sheet, then cut along the lines with tinsnips to create a leaf of aluminum.

Gradually trim down the edges of the leaf until you can just tuck it into the lid of the tin without it wrinkling. Once you’ve fitted the leaf, pop it out again, taking care not to crease or tear it. Cut or file away any “needles” or other sharp features on the leaf.

Seal the boiler.

Lay out dollops of J-B Weld epoxy and hardener on a disposable surface.

Sand both sides of the aluminum leaf about 3/16″ in from the edges, all the way around, to take off paint and the oxide layer that clings to the aluminum. Quickly, before oxides can re-form, mix the J-B Weld together with a stick and apply it to the inside of the lid. Lay the aluminum sheet inside the lid.

Smear the J-B Weld over the flat flanges you folded into the tin bottom, paying special attention to the gaps in the corners. Press the bottom and the lid together, sandwiching the aluminum between them. Apply J-B Weld all the way around the gap between the lid and bottom, and smear some into the hinge holes in the side of the lid.

If the aluminum leaf looks sunken or gapped around the edges, blow into the copper tubes to push it up — if you have to do this, you’ll push out some of the wet J-B Weld, so look for fresh air gaps. Using a clean, disposable rag, wipe any excess J-B Weld off the surface of the aluminum. Allow the J-B Weld to cure overnight.

Pressure-test the boiler.

Immerse the boiler, put both tubes into your mouth, and blow. If you see bubbles, you have a leak. Patch it with more J-B Weld.

When the J-B Weld is dry, test the diaphragm again: put both tubes in your mouth and suck and blow — the diaphragm should pop down and up. If it’s too tight, loosen it a little by pressing firmly on its center with your thumb.

Fit the motor to your boat.

For a boat, you can use anything small and light that floats and doesn’t catch fire. For simplicity I used a 16oz ham can, but you can make as awesome a boat as you like. You can also fit a rudder to the stern.

Measure the outside distance between the 2 tubes where they bend, subtract 1″, and drill 2 holes to this measurement in the bottom of the boat, equidistant from the center. Your punch will help get these holes started.

Depending on the shape of your boat, fitting the motor in may take a little re-bending of the tubes. Be careful of hard spots in the tubes and be ready to re-anneal them.

You can solder the tubes into your boat to seal them, but it’s easier to just use plumber’s putty or modeling clay, which you can remove to make repairs or adjustments.

Use it.

To make your boat go, you must first prime the engine with water.

Turn the boat over and pour water into one of the tubes until it dribbles out the other tube. You don’t need to fill the boiler completely: just make sure you can hear water sloshing around inside. Hold a finger over the ends of the tubes and lower the boat into the water without letting any water pour out.

Light candles or a spirit (alcohol) lamp, and place them under the boiler. In about a minute, you’ll hear the water boiling into steam.

First, a few bubbles will come out, then the boat will start puttering along in the water, and as the reaction becomes more vigorous, the diaphragm will start its obnoxious song. If the motor stops, blow out the fire, or the heat may damage the seal of the boiler.

WARNING: If you blow down one of the boiler tubes, very hot water can come out the other tube, shooting you in the face with scalding water. Don’t do this — it will hurt.

Conclusion

Running on Spirits

Using candles for any length of time will coat the bottom of your boiler with soot and leave a greasy black ring in your bathtub or sink. To avoid this, use a spirit lamp. You can make a simple one by drilling a hole in the metal lid of a very small glass or metal container, threading through a lantern wick, then filling the container with denatured alcohol.

I’ve also made spirit lamps out of copper pipe caps and copper tubing. Cut a 1¼" pipe cap short enough to fit under the boiler with room for the flame, then sweat-solder it onto a sheet metal bottom. Drill holes in the cap and solder in 2 lengths of ¼" tubing: a very short one on top (the wick holder) and a longer one in the side (the filling tube and handle), bent upwards.

With candles, this engine needs more than a single small flame to get moving. Use 2 or 3 birthday candles or a tea light with more than one wick.

See how MAKE Labs engineering intern Daniel Spangler made a Copper Pipe Alcohol Lamp for the Pop-Pop Steamboat.

This project first appeared in MAKE Volume 28, page 70.