I had a dying madrone (Arbutus menziesii) in my backyard. Looking at its structure, I noticed a nice 3-pronged junction of branches a few feet above my head. I thought this would make a nice tripod base for a small side table, so with a bit of trial and error and a slice of another tree trunk for the top, this little rustic side table was born.

The antithesis to mass-produced commercial goods, this piece is funky and original by definition, made with found forest objects. It comes with a guarantee that no one else will have one just like it.

Project Steps

Find a suitable branch junction.

For the base of your table, you’ll need to find a tree branch like mine. The branches should be thick enough, about 1 1⁄2″, to support a reasonable load: at least a stack of books or magazines, although probably not a person.

It’s unlikely that you’ll have a suitable tree on your, your landlord’s, or your neighbor’s property. Check with a local arborist. They cut down trees all day long. Let them know what you’re up to, and for little or no money they’ll probably have a nice base for you in a few days.

Look for a deciduous hardwood. Conifers won’t offer 3- or 4-branched junctions. They’re also filled with sticky gummy resin. It’s also best to find a tree that’s been dead for a while. The wood will be dry and stable, which is preferable.

If you do have a tree available, grab a saw and cut it down. Now, downing trees is pretty dangerous work. My tree was small and manageable. If you don’t have much experience with tree work, find someone with experience to help.

When obtaining your base, leave plenty of extra length on all the legs.

Get a slice of trunk for the top.

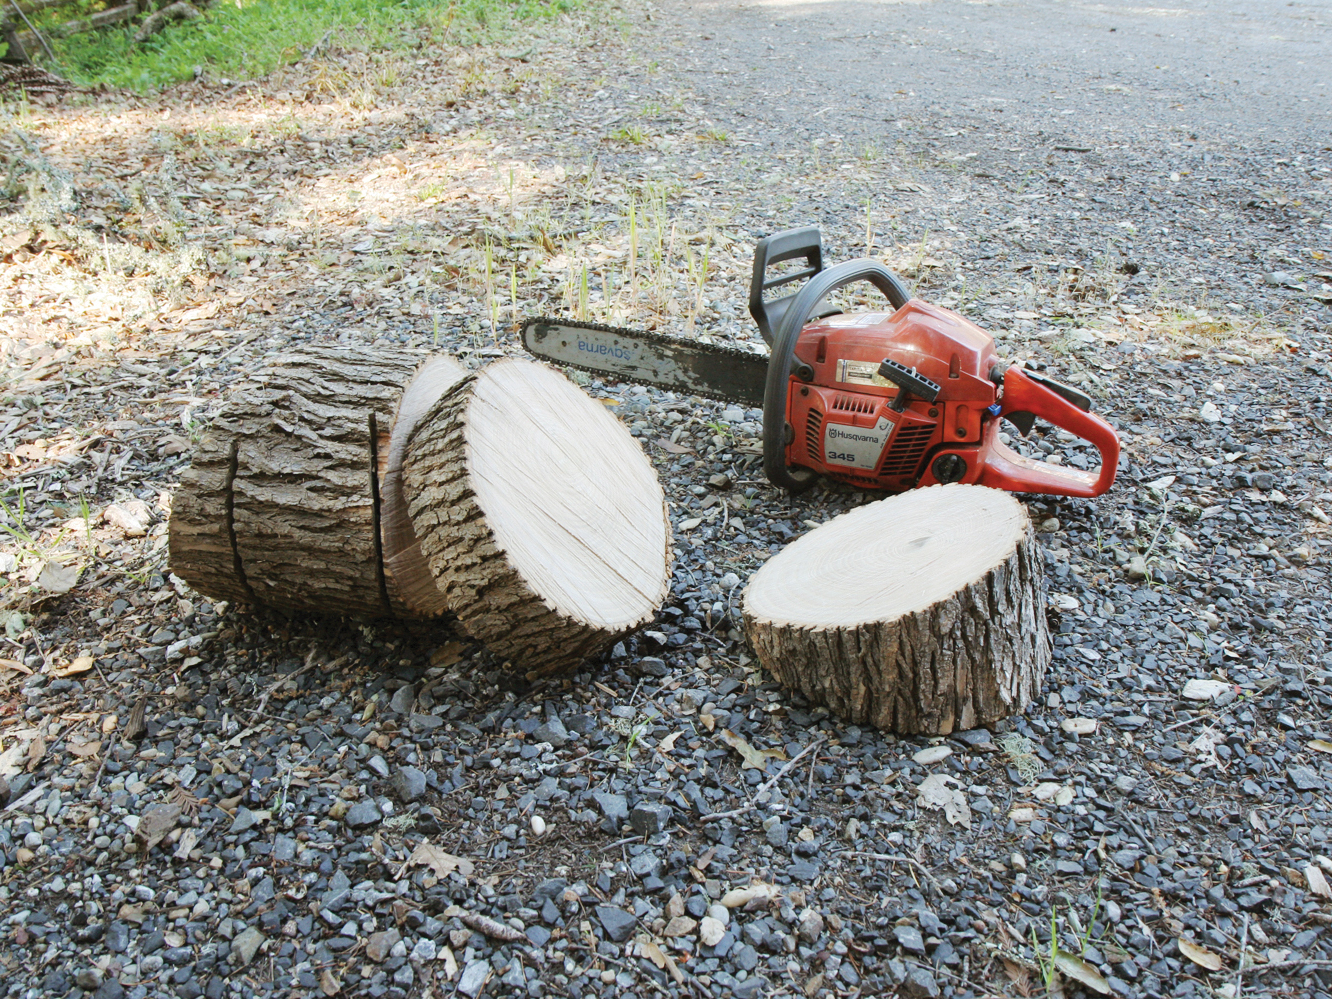
For the top of the table, you’ll want a cross-section of a larger tree, about 10″ to 12″ in diameter. Once again, an arborist is your best bet. Just have them cut a few cross-sections of a tree trunk. Ask them to cut 2″ to 3″ slabs and to make them as even as possible. In this case, it will be difficult to find dry wood. So just go with “green” hardwood. I recommend maple, oak, or walnut.

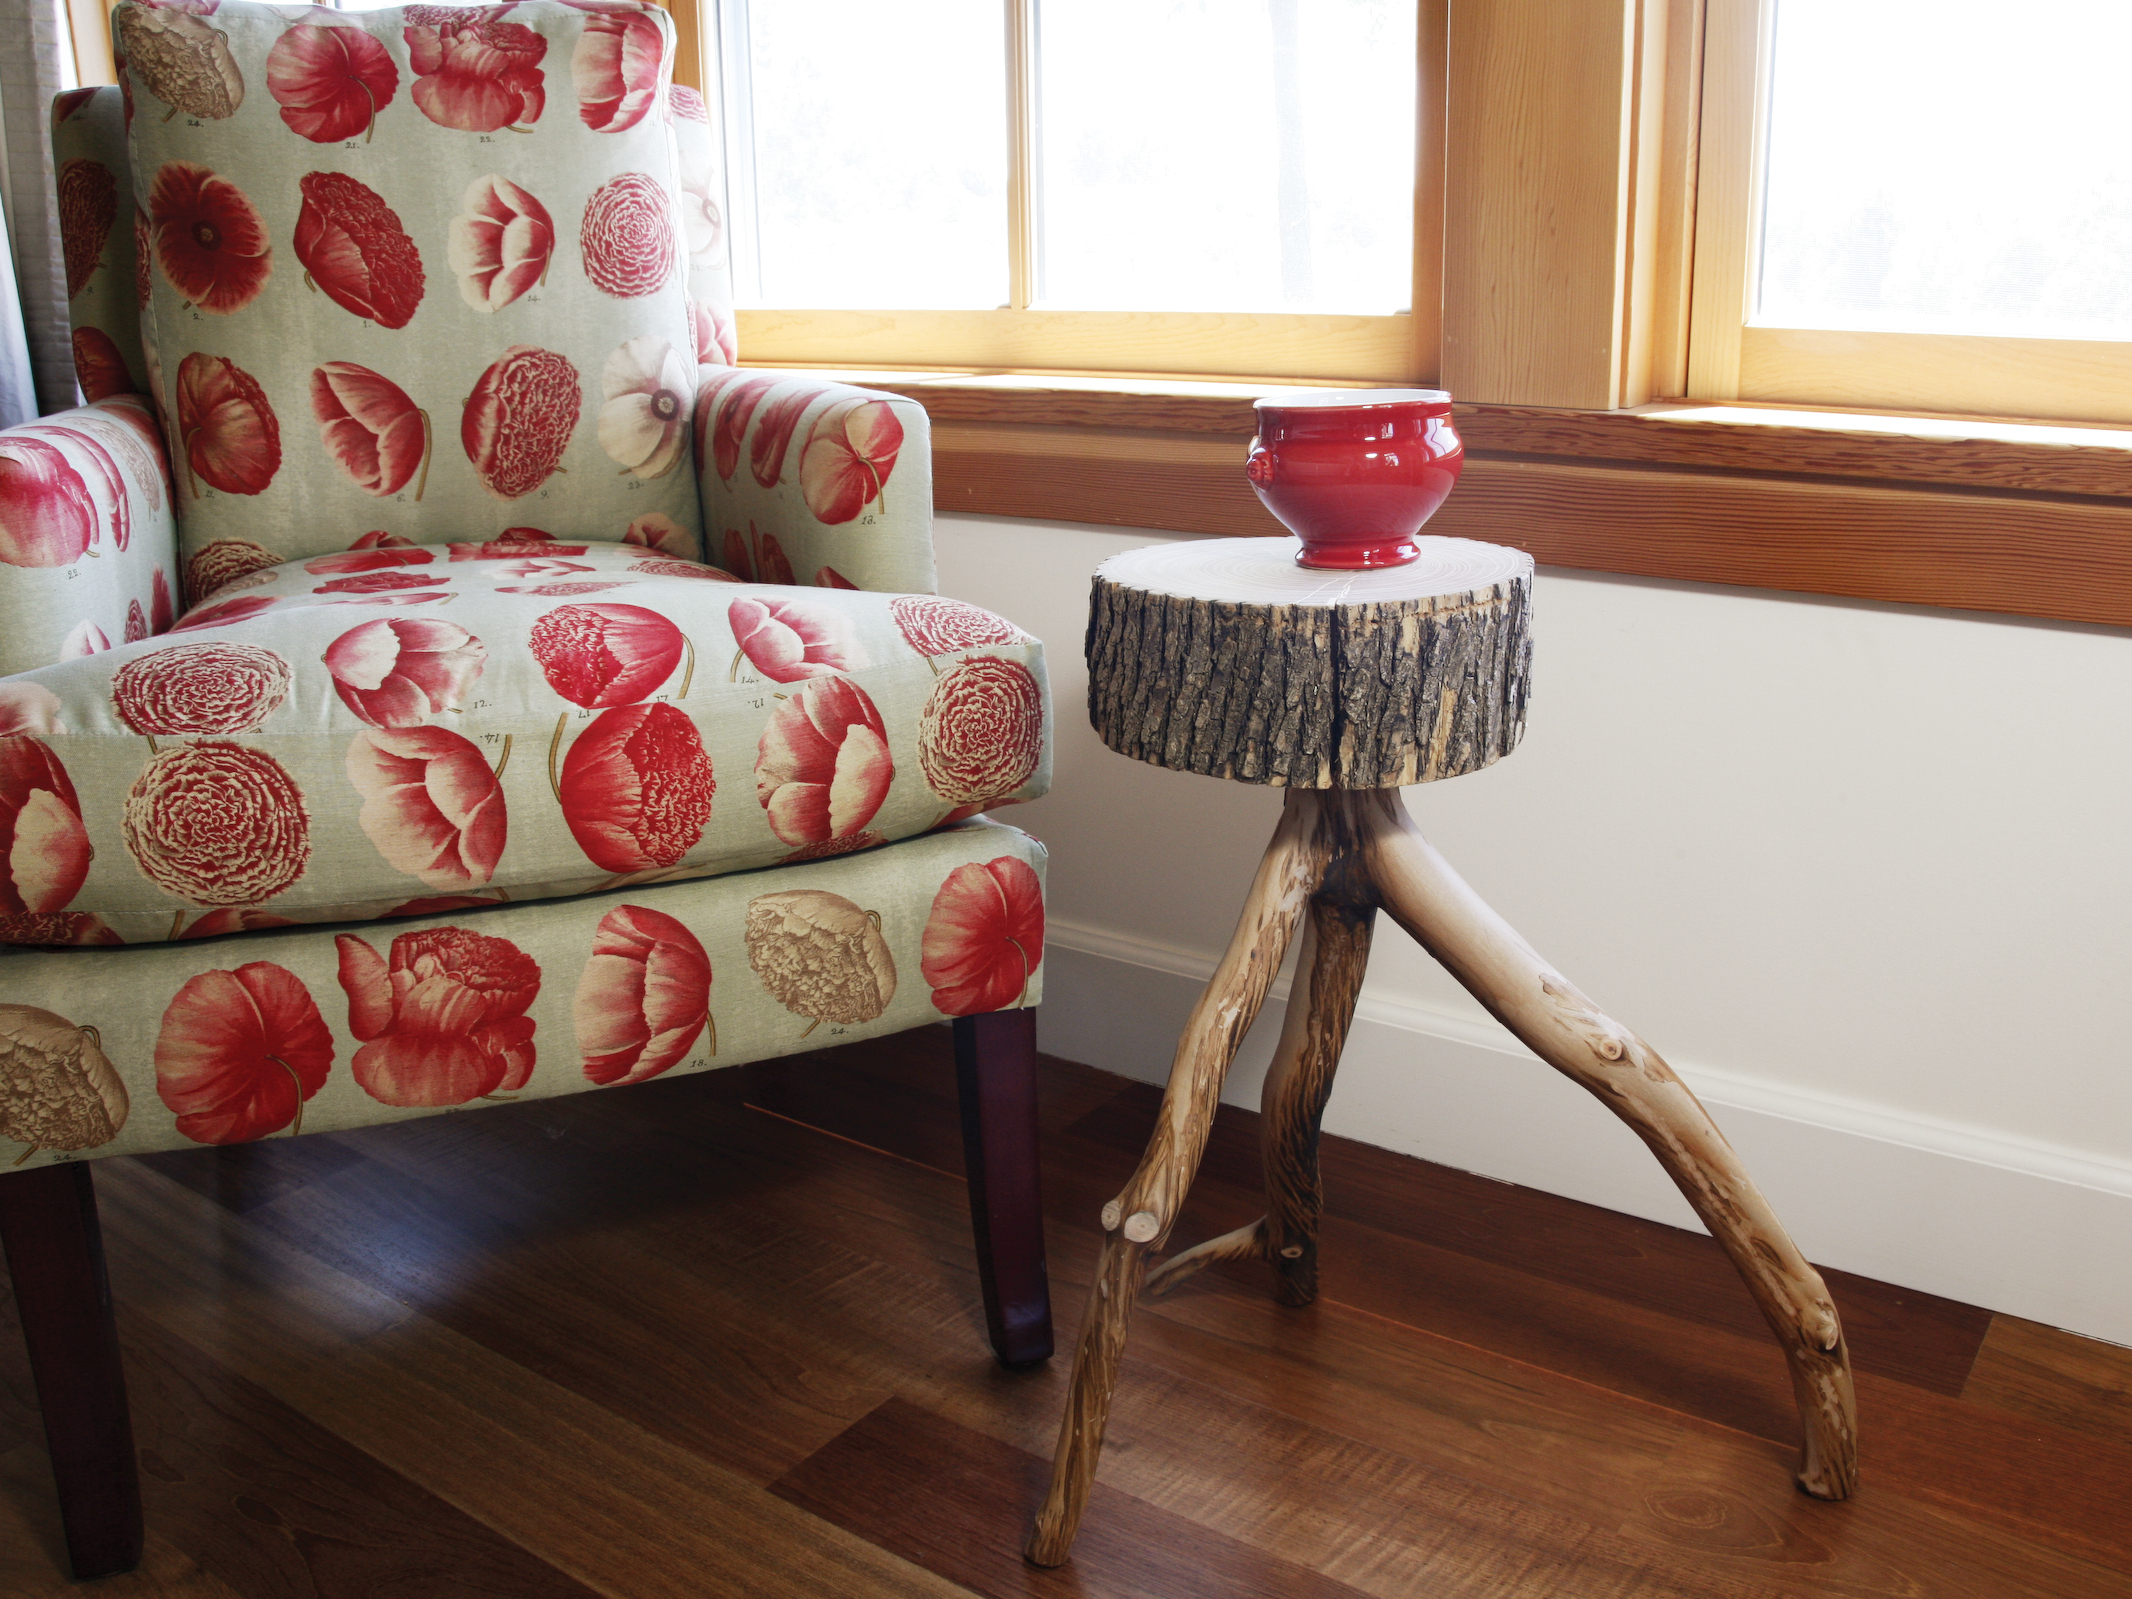
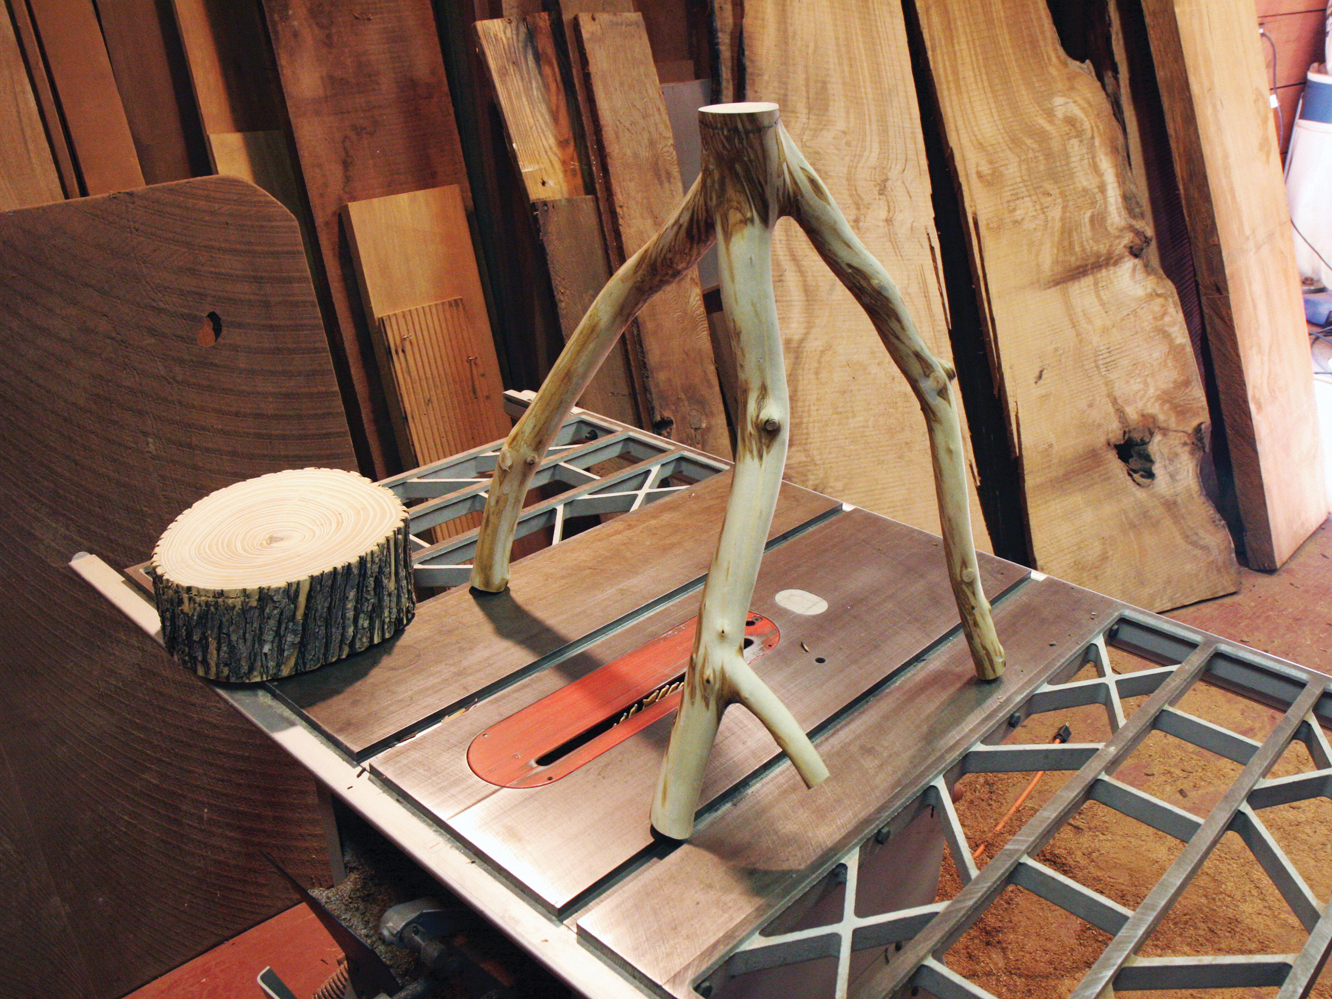
Depending on the type of tree and time of year, the bark may or may not peel easily. For this project, I peeled the bark off the base and left it on the top. Any way works, so it’s up to you.

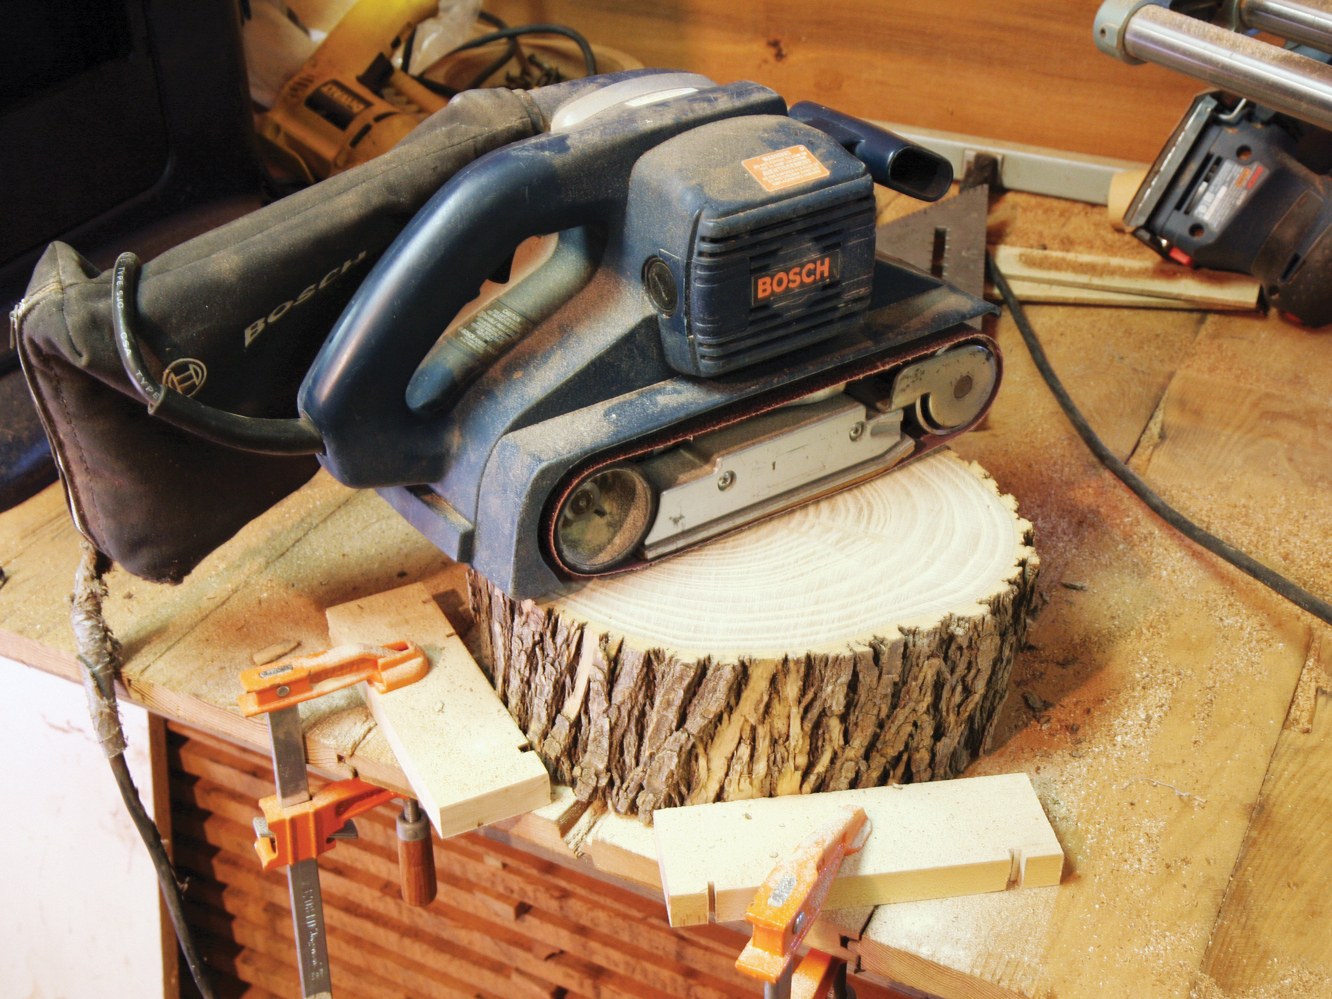
Before you move on with the project, inspect your base and top for any signs of insect damage or rot. Numerous neat holes in the surface of the wood are indicative of insect infestation. So are fine dust or granules. If either of these conditions exist, go back and pick a new base. You don’t want to inadvertently introduce wood-eating beasties into your home.

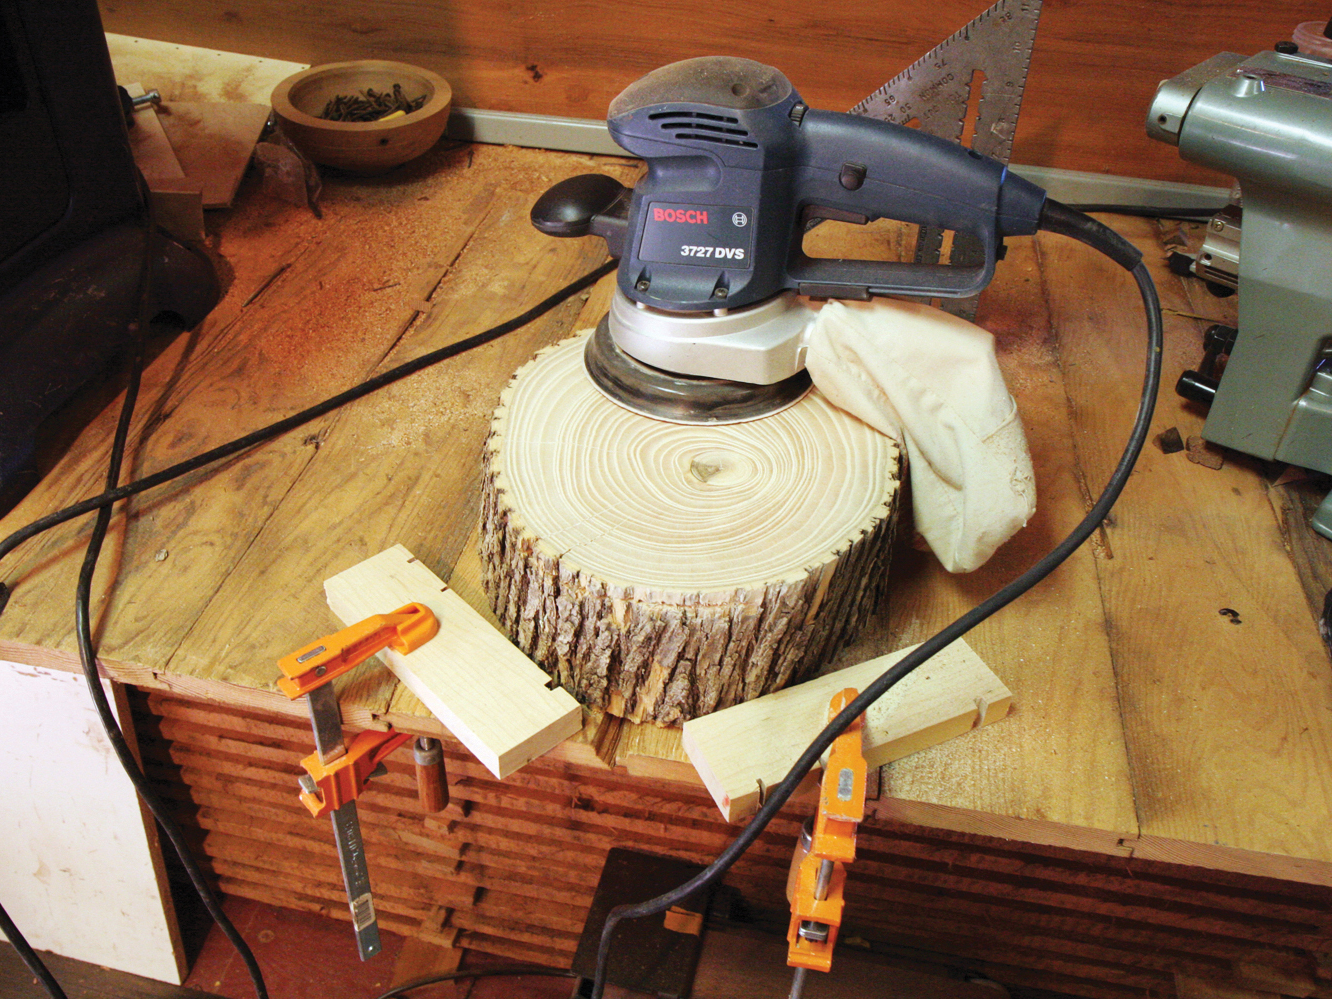
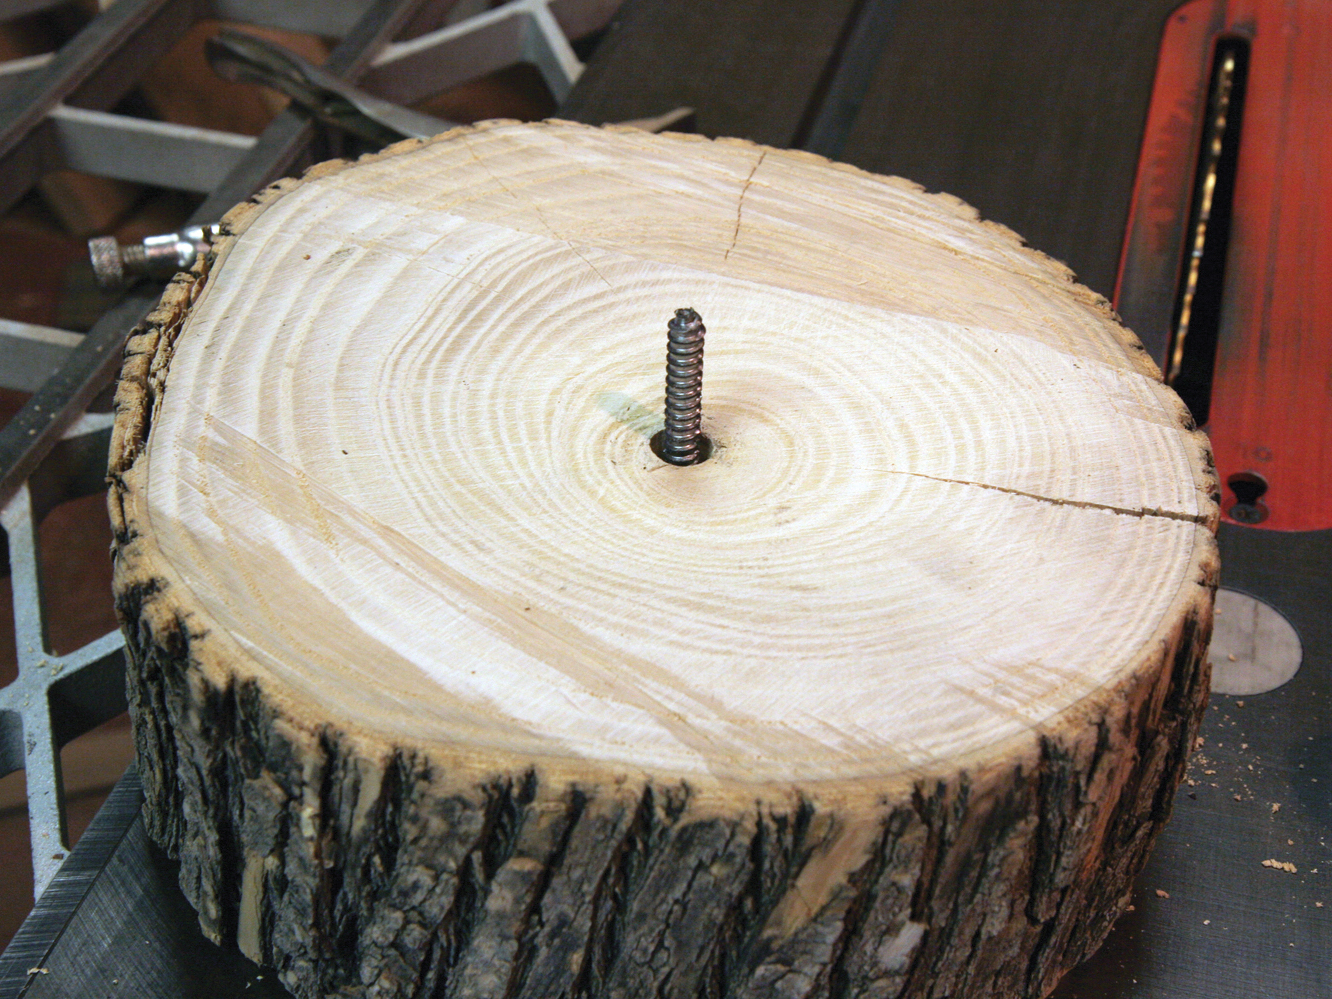
Finally, it’s highly likely that the cross-section for your top will form, or already has, radiating cracks. The outer rings of the cross-section are less dense than the center rings. As the wood dries, the amount of shrinkage is greater in the less dense areas. This is normal and, in my opinion, adds character.

As an alternative to rough wood, some Asian restaurant supply stores offer cutting boards that are simply sections of tree trunks. One of these will make a fine top for the side table.

You can find some at http://wokshop.com, in with the cleavers and knives.

Tame the top.

Take a look at your trunk cross-section. One side is going to be easier to work, having fewer deep saw marks, for example, than the other. You’ll save yourself some work by making that the top surface.

A belt sander will make evening out the top surface a breeze. Start with a rough grit, like 50. Now, just grind that sucker flat.

You’ll notice in that I screwed 2 pieces of scrap wood into my worktable to secure the cross- section while sanding. Unless you like stopping fast-moving chunks of wood with a tender area of your body, this technique is highly recommended.

Remember to rotate the top occasionally to even out the grit marks. If you don’t have access to a belt sander, use an orbital sander with 60-grit paper. It will take longer and you’ll use more sandpaper.

Turn the top over and clean up the bottom. You don’t need to be perfect here, just even it out a bit.

Change the belt to a medium grit, 100 or 120. Work the top surface until smooth. Finally, using an orbital sander and 120- or 150-grit paper, sand the top surface even smoother.

Join the top to the bottom.

Connecting the tabletop to the base is easy. In most hardware stores you’ll find something called a dowel screw: basically, 2 screws connected head to head. Select the largest dowel screw that fits; it shouldn’t be longer than the top is thick. Select a drill bit that’s almost as wide in diameter as the dowel screw. Just line them up and eyeball it.

You want the screw threads about 1/8″ to 1⁄4″ wider than the bit. Make a mark in the center of the bottom (underside) of the top. Drill a hole as deep as 1⁄2 the length of the dowel screw. Be very careful not to drill through the top.

Wrap a small piece of tape around the drill bit at the desired depth before you drill.

Join the top to the bottom, continued.

Trim the stem of the base to a length that suits you. Cut parallel to the limb joint.

Join the top to the bottom, continued.

Drill a hole directly in the middle of the base stem. If you taped your bit, drill to that depth. Using Vise-Grips or other pliers, screw the dowel screw into the top. It should penetrate to the middle of the screw. Now, using the top for torque, screw the stem to the base. Tighten it well.

Level and finish.

Set the table on its legs. Check the level with, well, a level. It helps to check the level of the surface your project is sitting on as well. Don’t assume that your floor is true.

Trim the legs down to about the height you desire, but a little longer. Using the level and a saw, trim the bottoms of the legs until you get the tabletop perfectly level. This sounds simpler than it may actually be to accomplish.

If your top was pretty green, you should wait to apply a finish. How long? Weeks. Months. You can use mineral oil or walnut oil to provide some protection while it’s drying.

Once it’s dry, sand the top with 220- or 240-grit sandpaper. If you don’t like the cracks in the top, fill them with an appropriately hued wood filler and re-sand. Apply any wood finish you like. If you oiled it, you want to avoid water-based finishes.

Conclusion

This project first appeared in CRAFT Volume 08, pages 101-104.