LightweightAndFlexibleHorns_BreannaCooke_FinishedHorns1

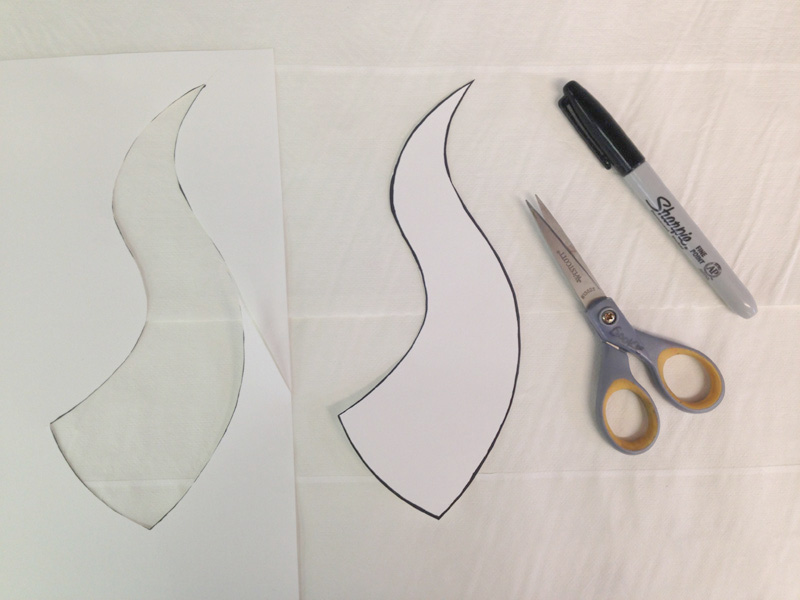
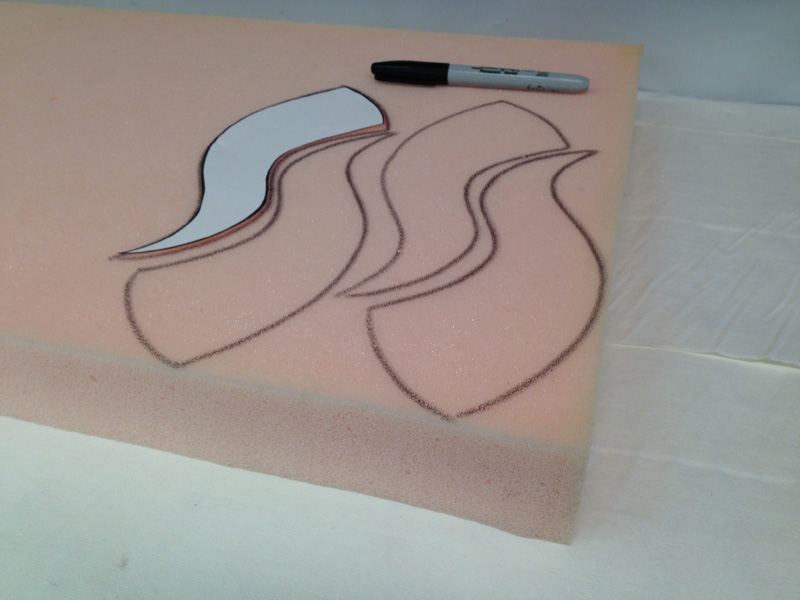
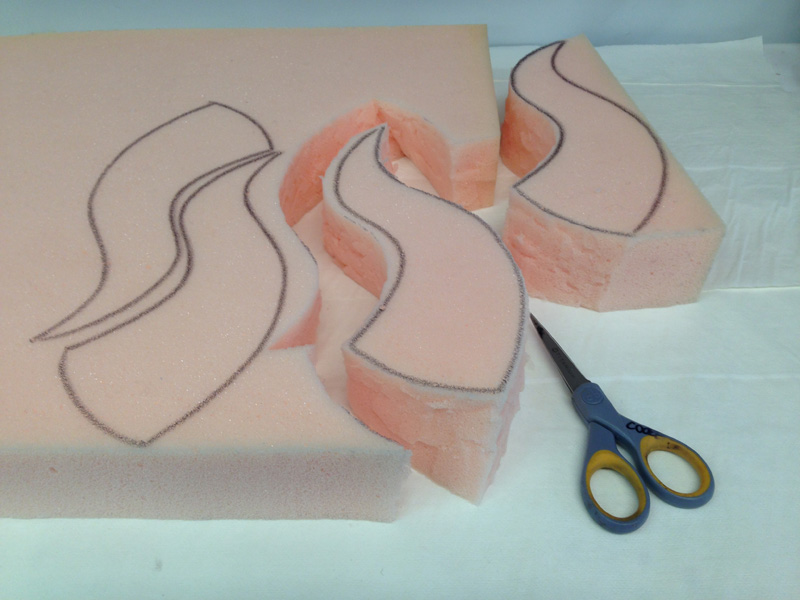
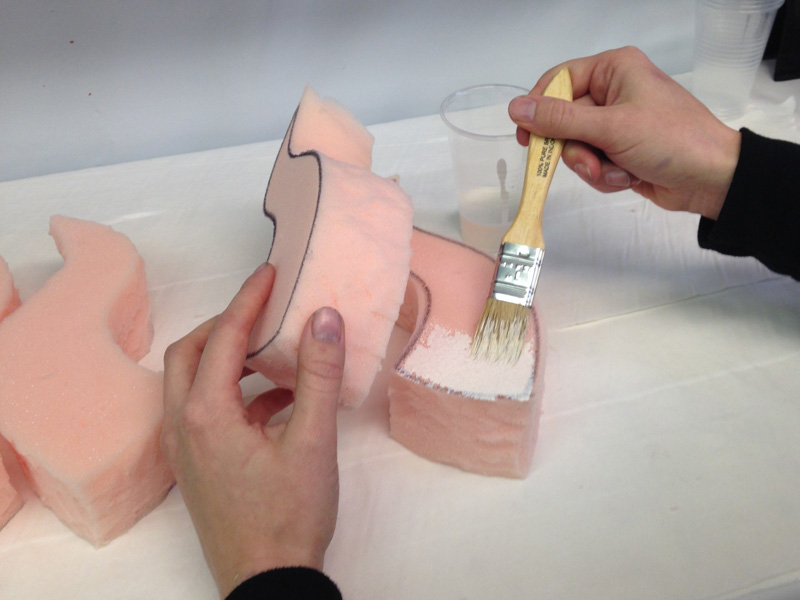
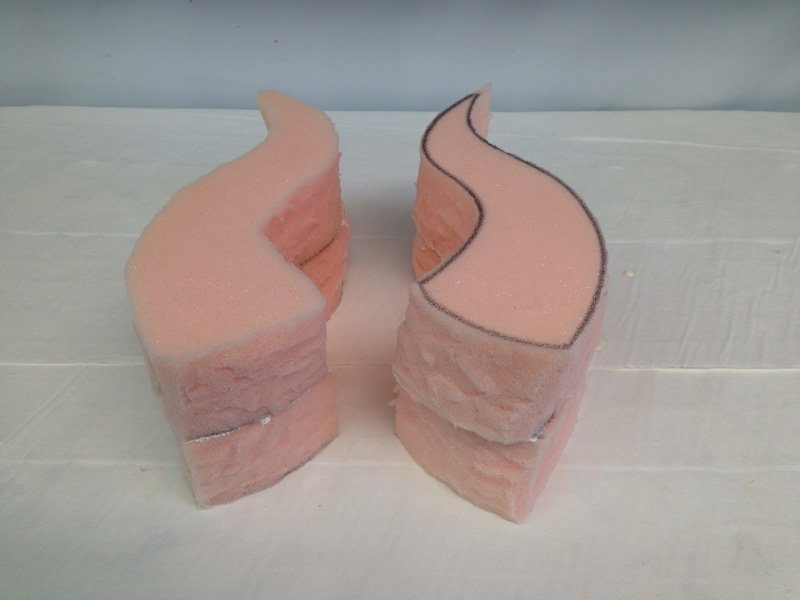
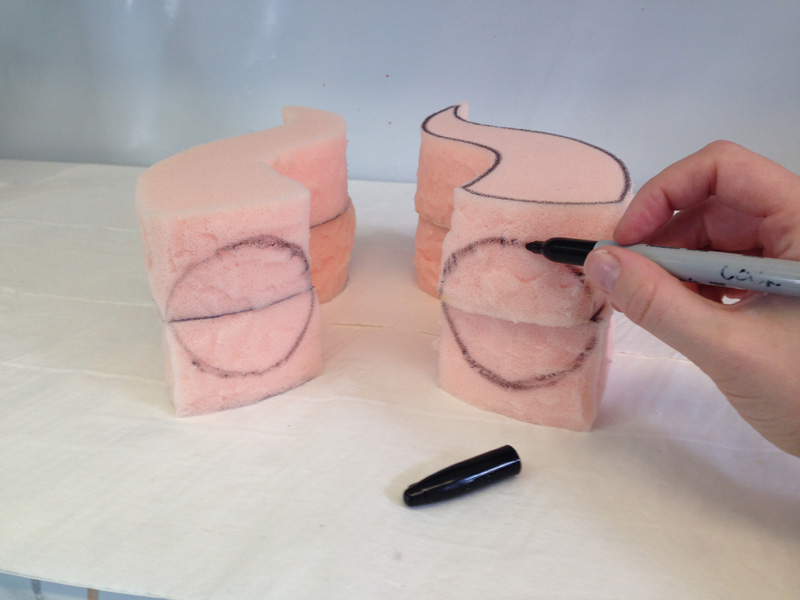
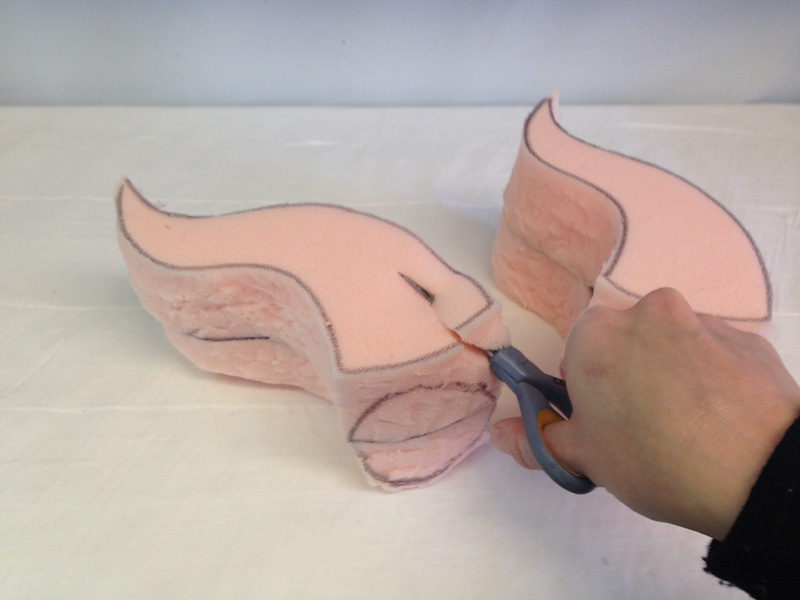
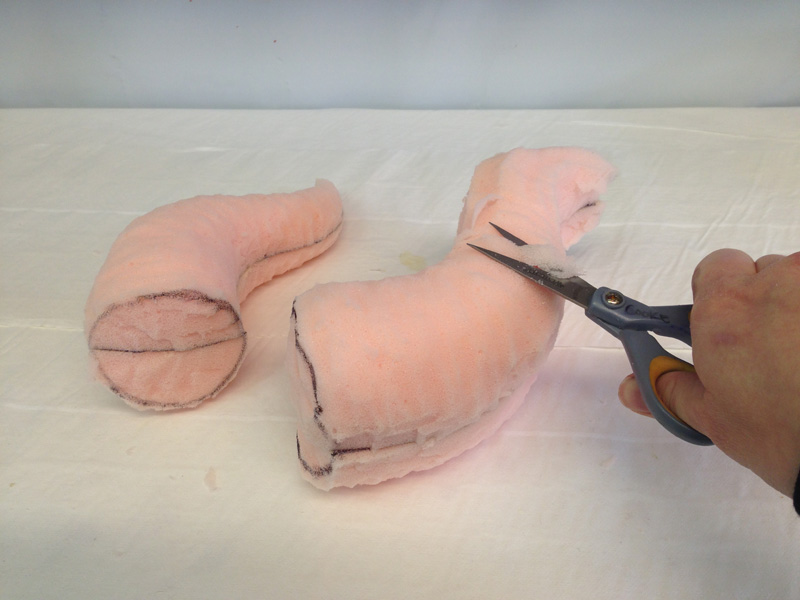
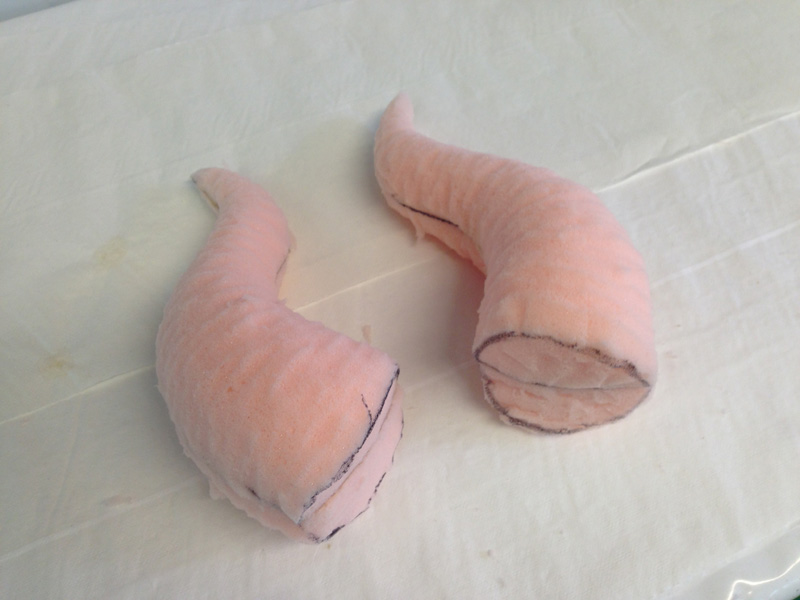
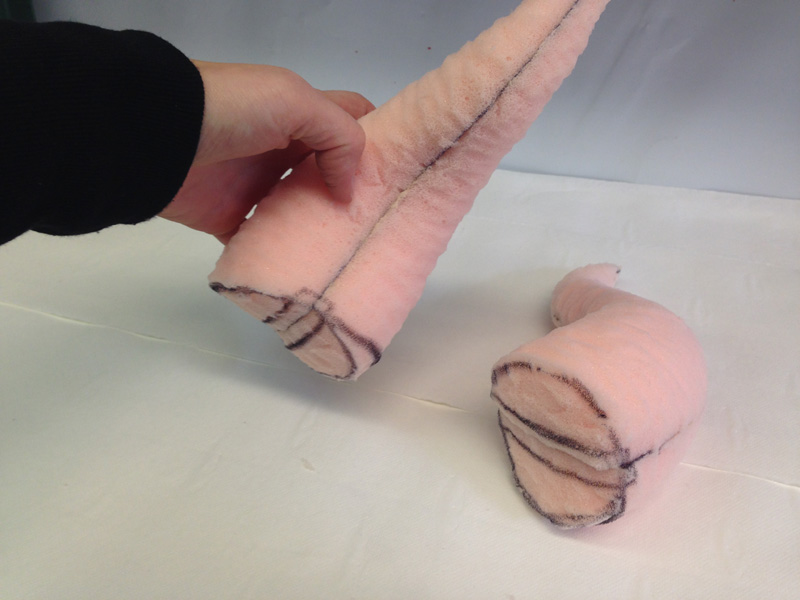
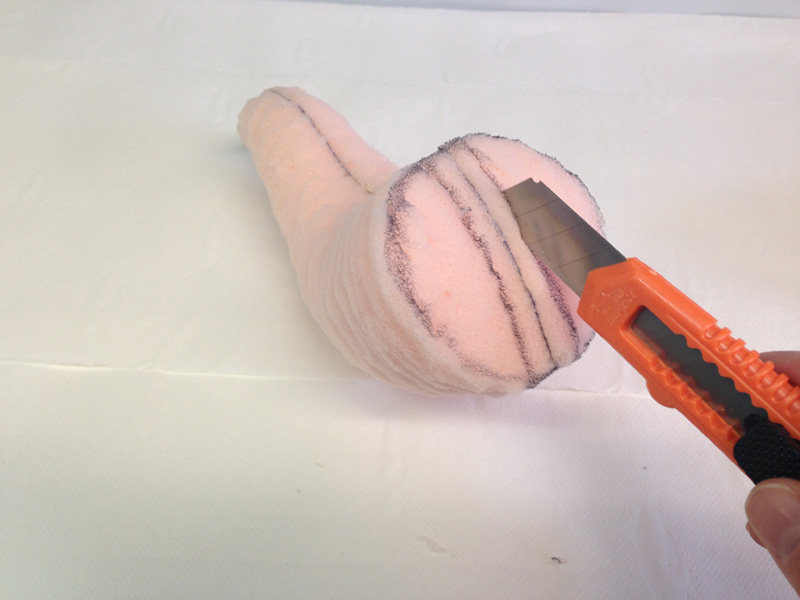
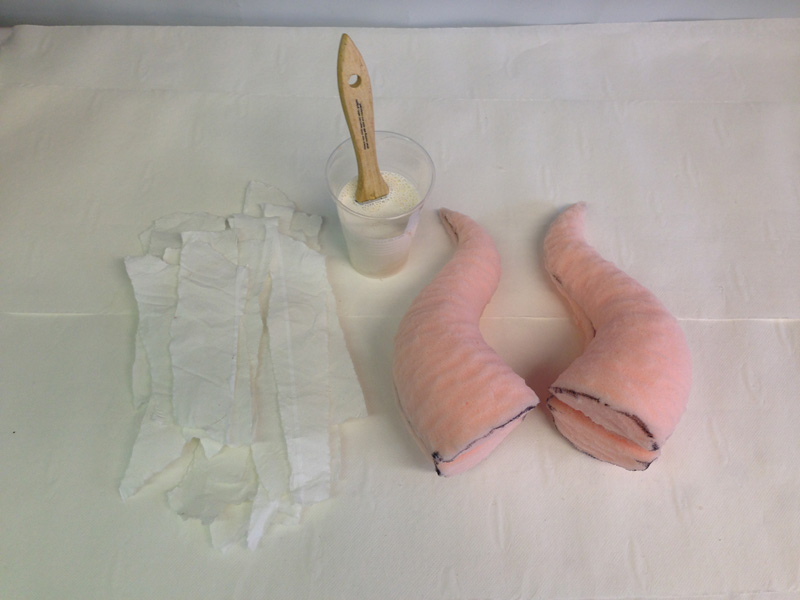
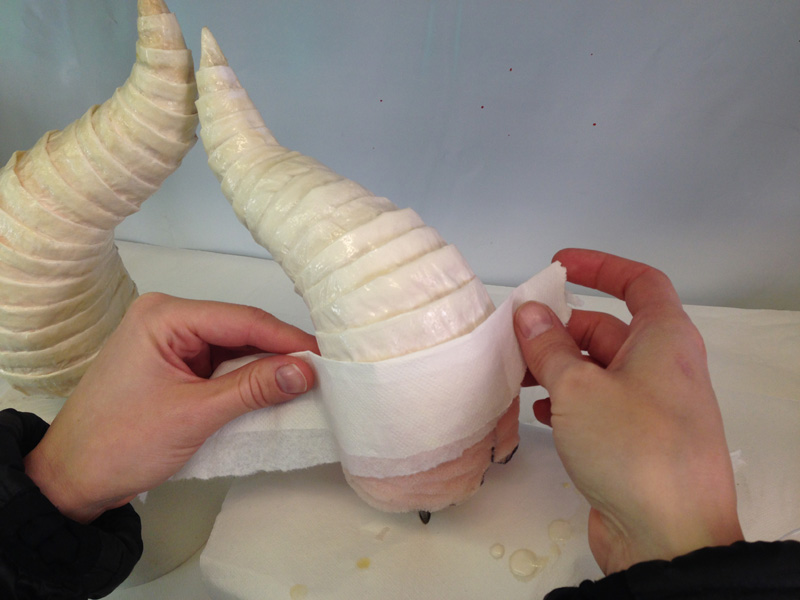
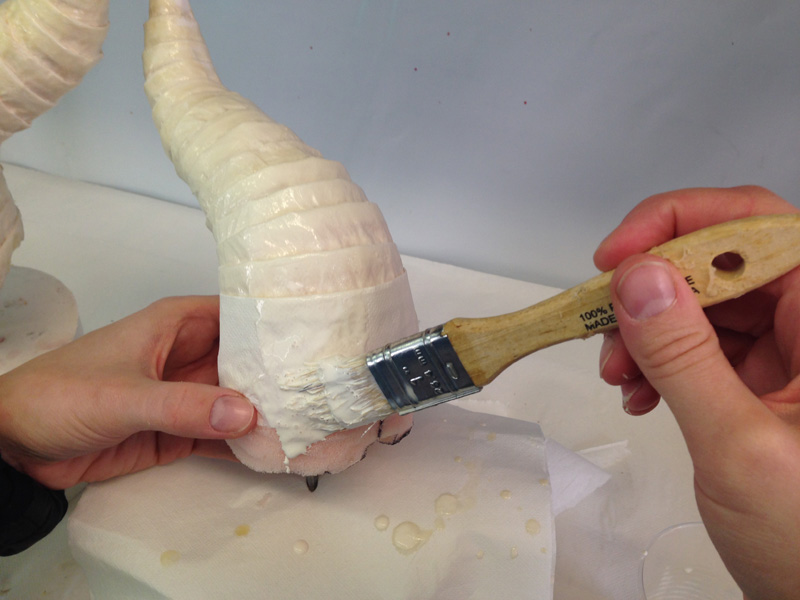
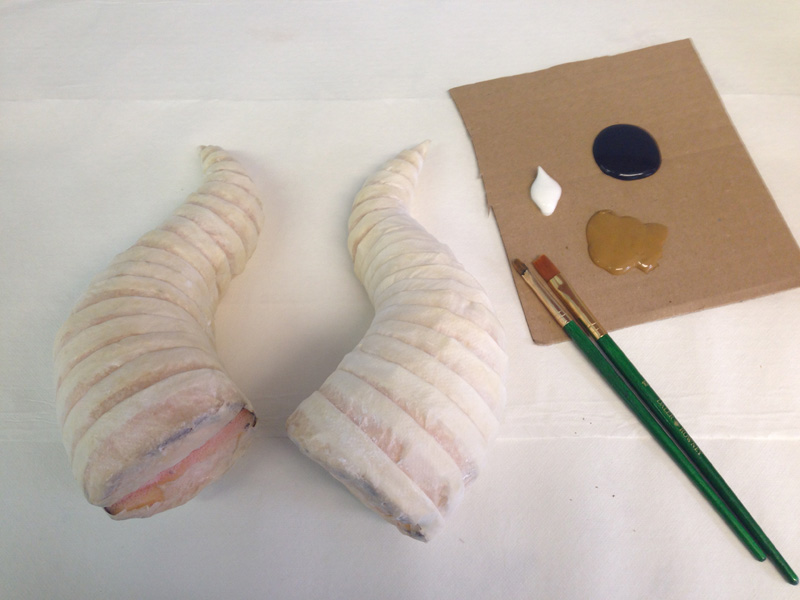
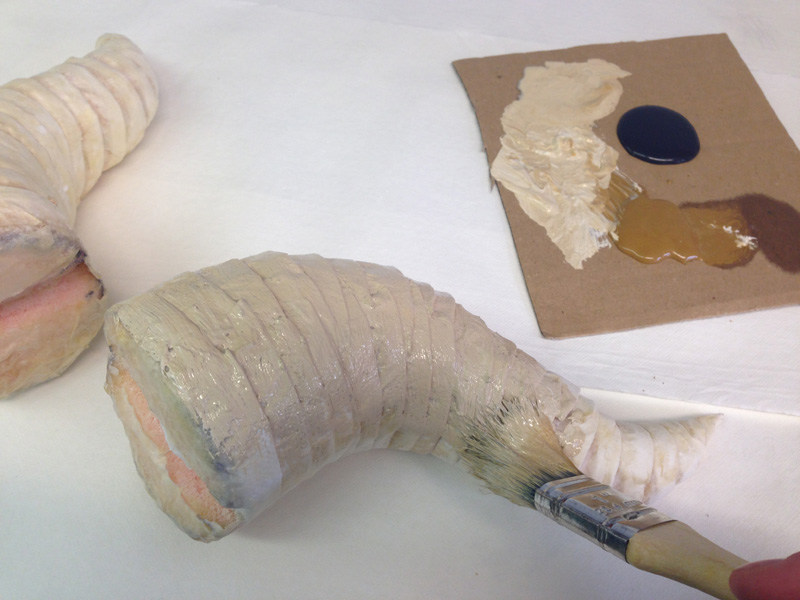
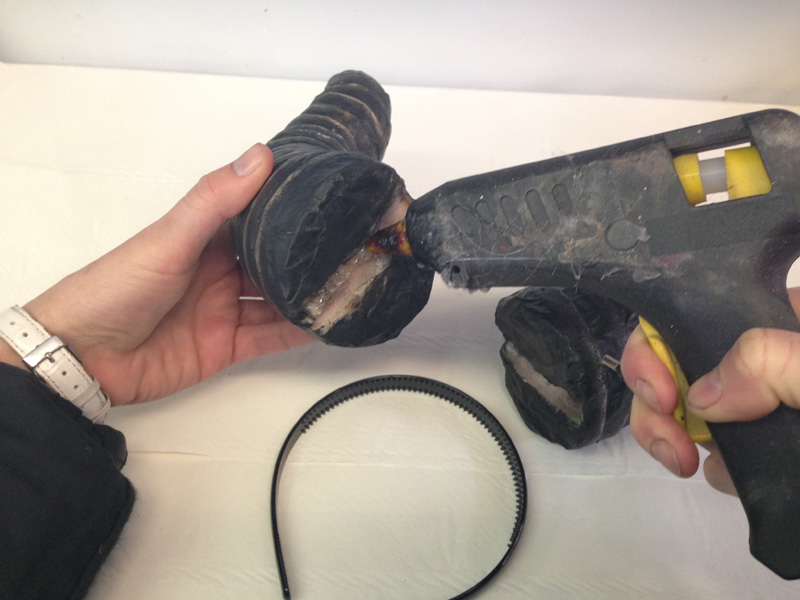
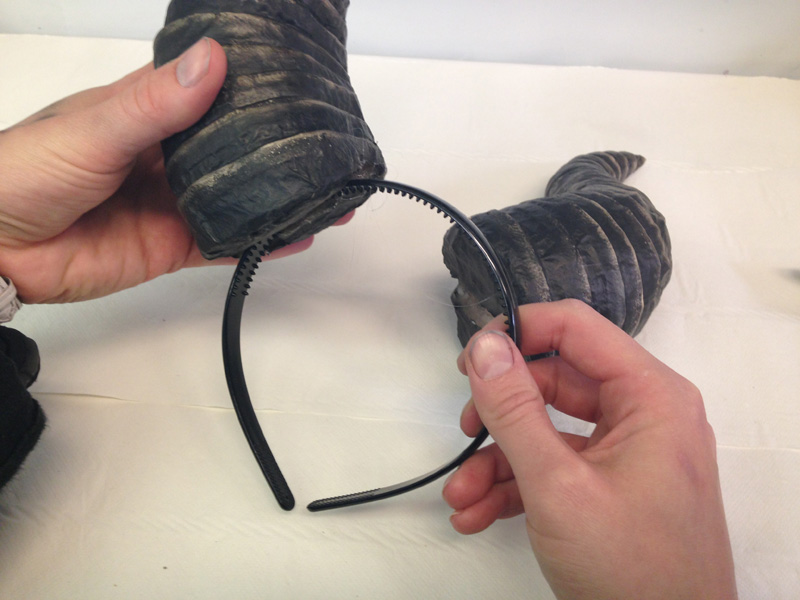
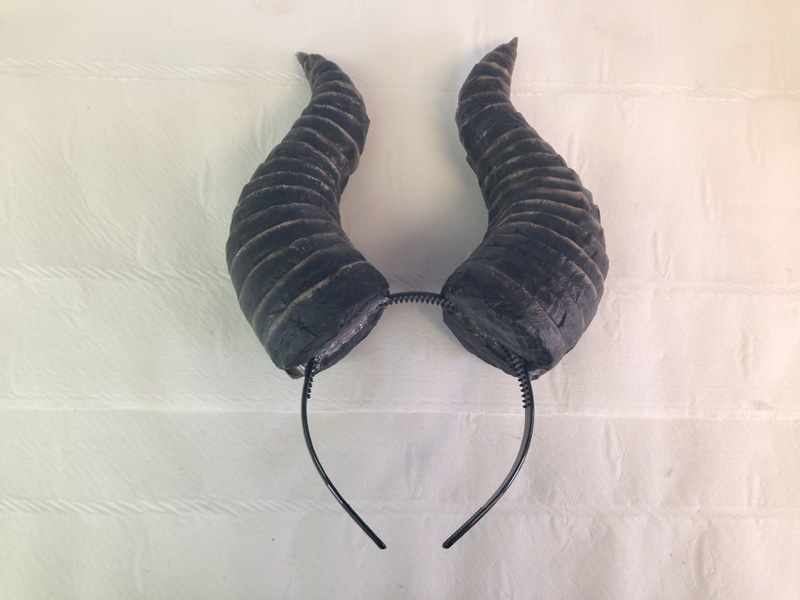
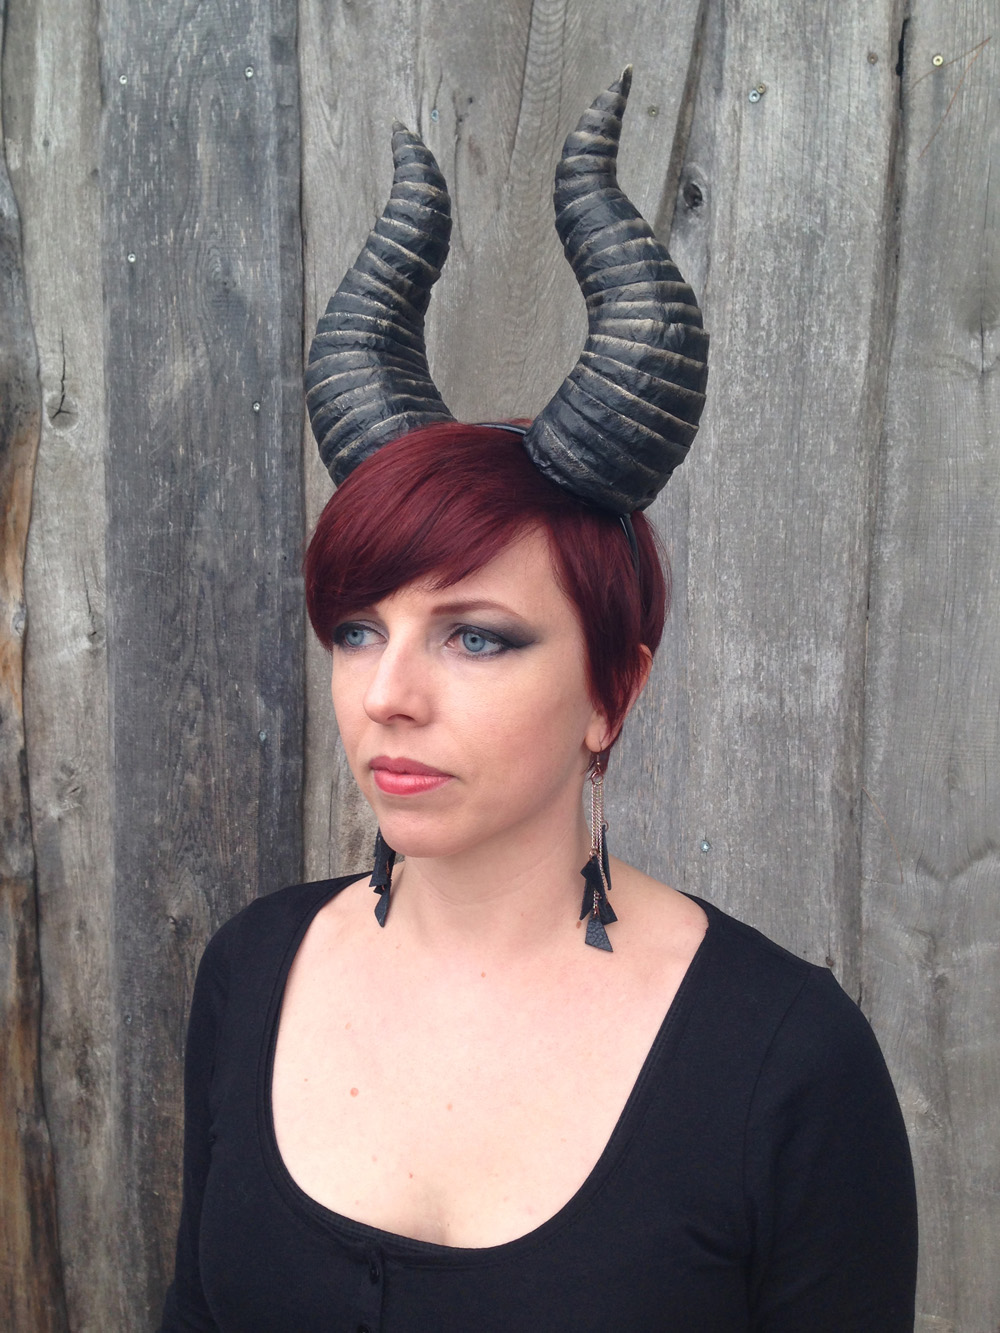
These horns are easy to modify to fit the shape and size of your costume character. You can also modify the texture to make them as realistic or as fantastical as you need. I’ll show you how to carve the horns from flexible foam then texture them with a liquid-latex technique that looks great.

LightweightAndFlexibleHorns_BreannaCooke_FinishedHorns2


Project Steps

Make a paper pattern

Draw your horn shape on a piece of paper and cut it out.

Trace horn onto foam and cut it out

Trace your horn pattern onto the foam with a marker and cut it out with scissors or a box cutter knife.

If your foam is not thick enough to use as one layer, cut out duplicate horn shapes so you can glue them together to make a thicker piece of foam.

Glue foam layers together

Using hot glue, liquid latex, or contact cement, glue the 2 layers together. Here I used liquid latex. Let it dry before working on shaping the horns.

Draw guidelines

With the marker, draw the shape of the base of the horn onto the bottom of the foam.

Refine the horn shape with scissors

Using scissors or a box cutter, slowly trim off small pieces of foam to shape the horn. Don’t worry about making it perfectly smooth.

As you work on the second horn, compare it to the first one to be sure they are the same shape.

Final trimming

With the marker, draw the outline for the trench on the base of the horn. Then cut out the trench using a box cutter. It should be deep enough to fit the hairband in so that the horn will sit flush against your head.

If you’d like your horns to tilt backwards, trim the base of the horn at an angle.

Covering the foam horns

Tear apart strips of paper towel that are long enough to wrap around the horns. Brush a layer of liquid latex onto the foam, apply the paper towel to the latex, then brush on another layer of latex to coat the paper towel.

To create ridges on the horns, roll the edge of the paper towel before applying it to the horn.

Add paint

Be sure the horns are dry before you paint them. When the latex is dry it might still be tacky, so powdering it with baby powder will remove the tackiness.

The horns can be painted with regular acrylic paints. Start with a light colored base coat, then build up more dark colors.

To achieve the rough gradient effect, us a dry-brushing technique, where you put a bit of paint on your brush and let it become slightly dry as you apply it to the horn.

Glue to hairband

Attach the horns to the hairband with hot glue or contact cement. Fill the trench with glue, then push the hairband into place. Don’t worry if there is a slight gap at the end of the trench. As long as the horns are securely attached, they’ll be fine.

Conclusion

The horns can be modified in multiple ways and can be attached to a helmet or headpiece. To make the hairband even more comfortable, wrap the plastic with fabric or ribbon. For added security, especially for a performance, glue small hair combs to the base of the horns and/or sides of the hairband.