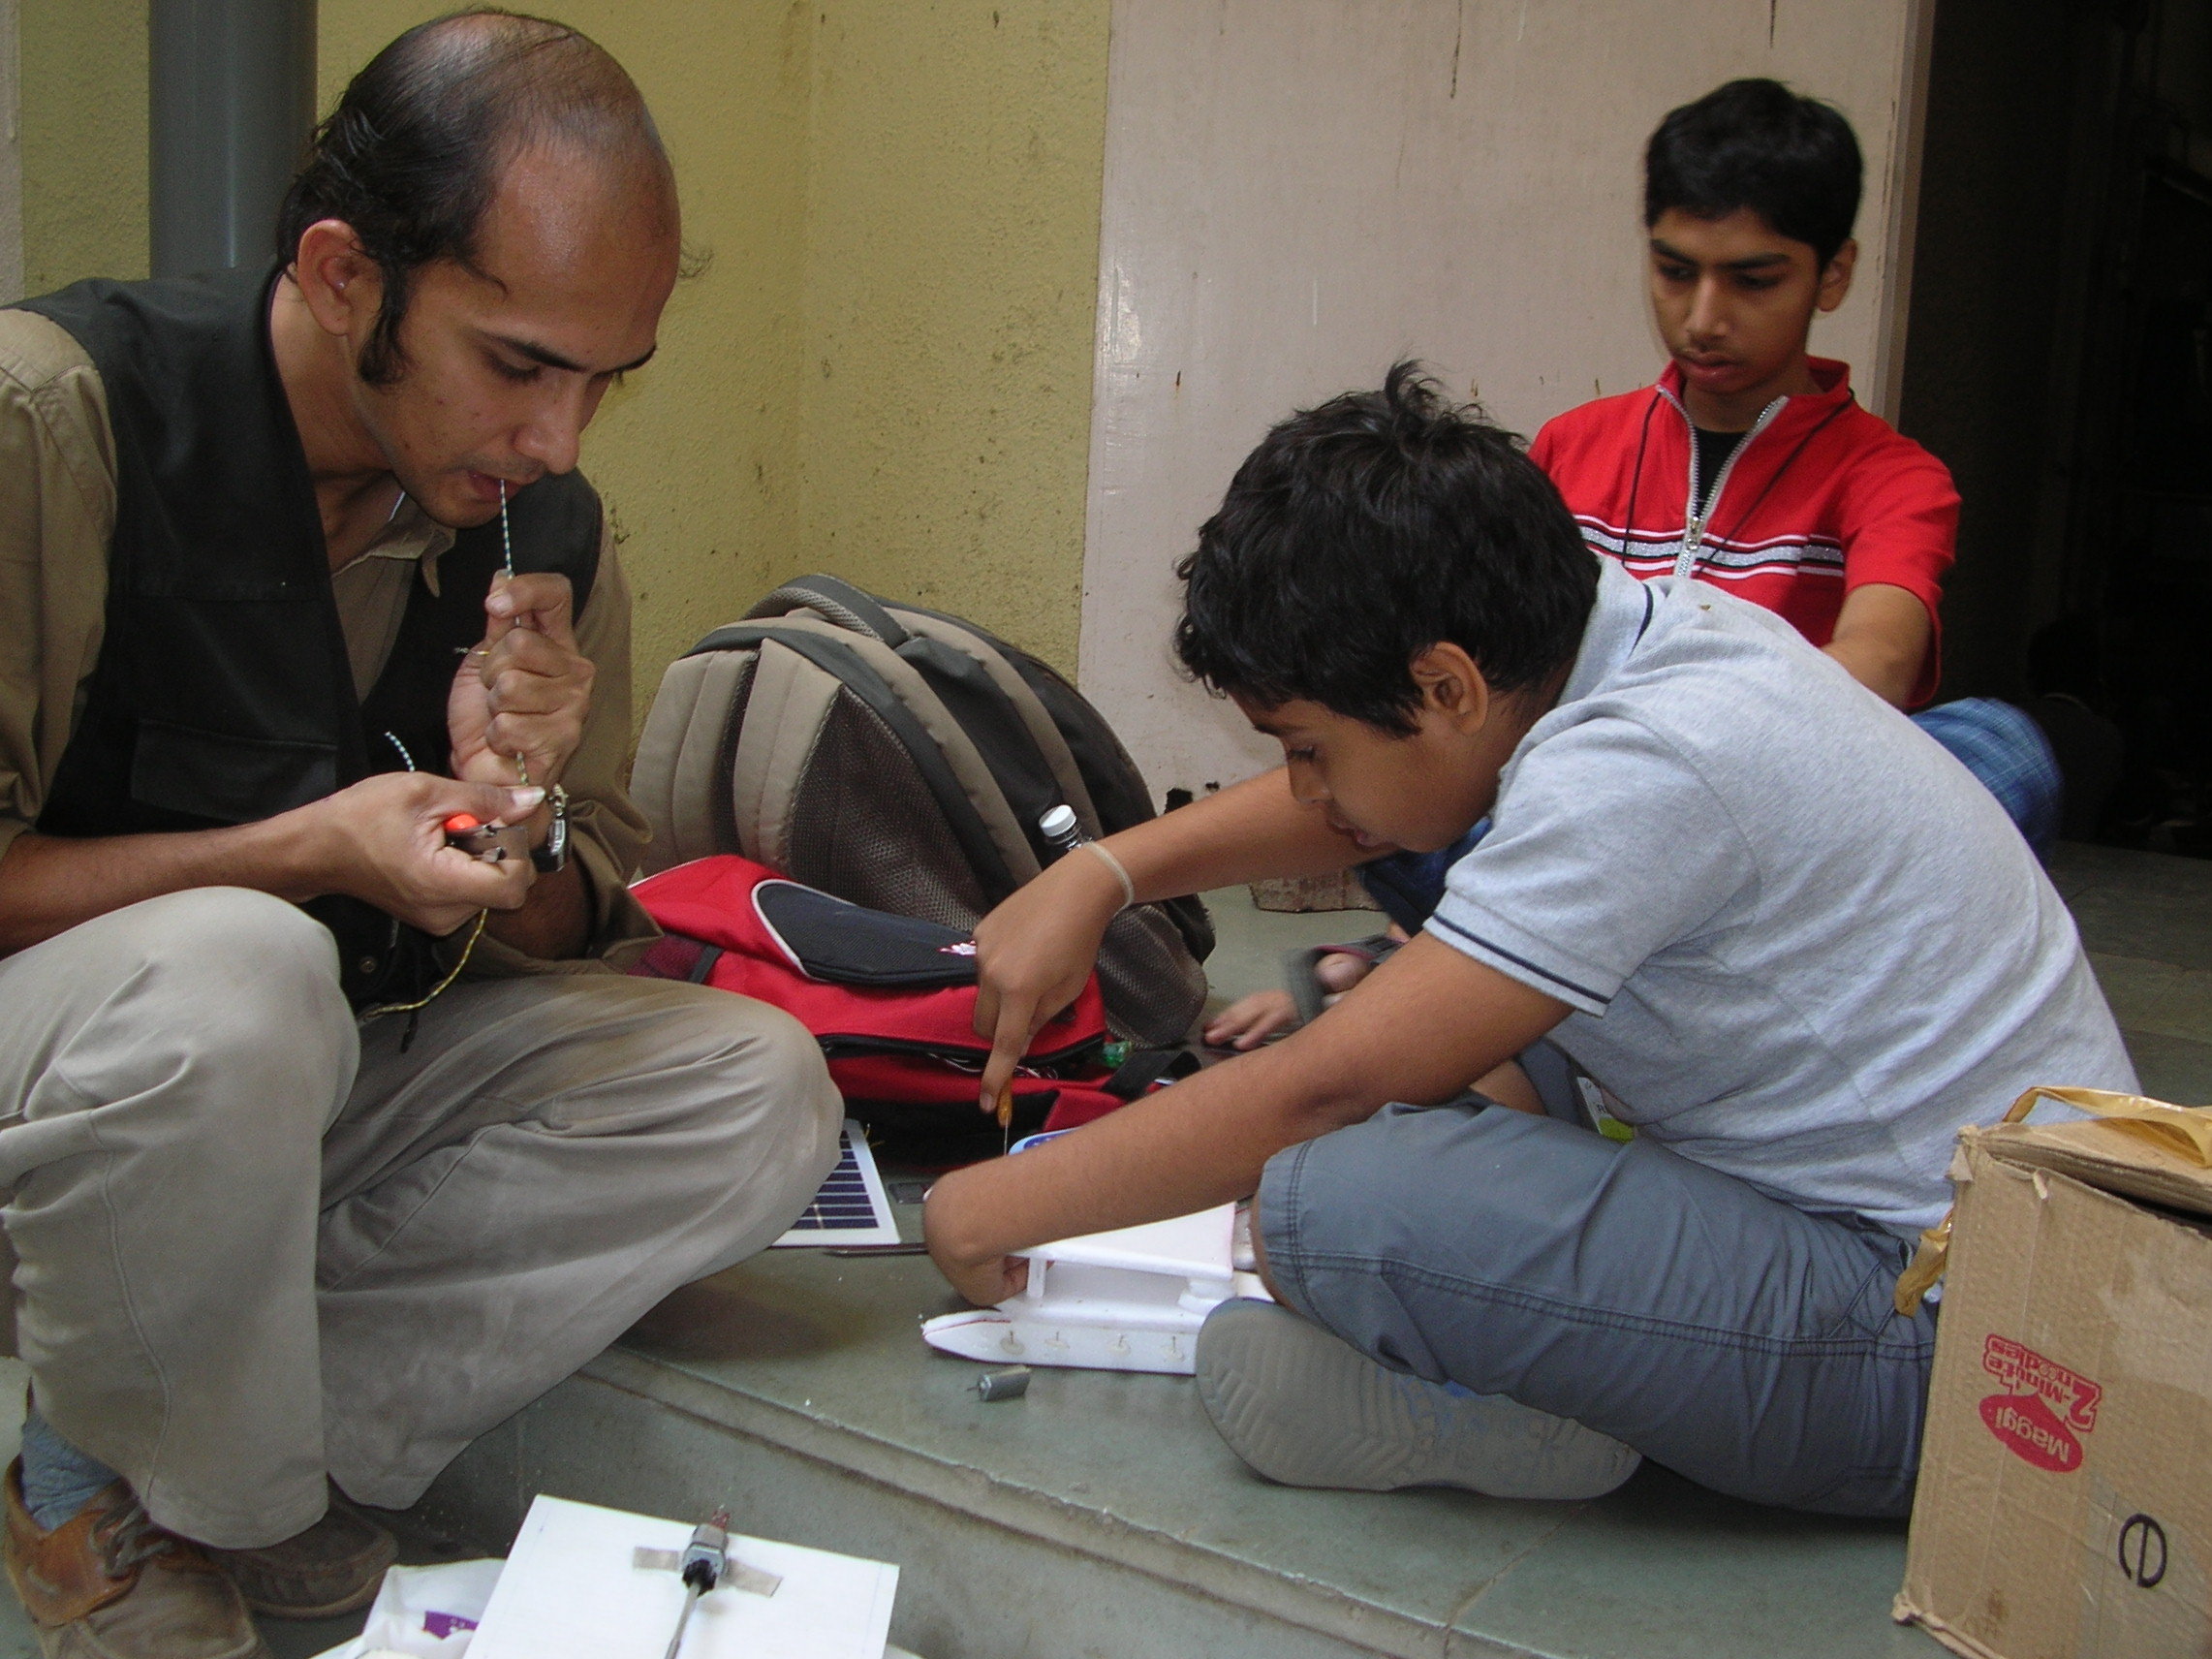
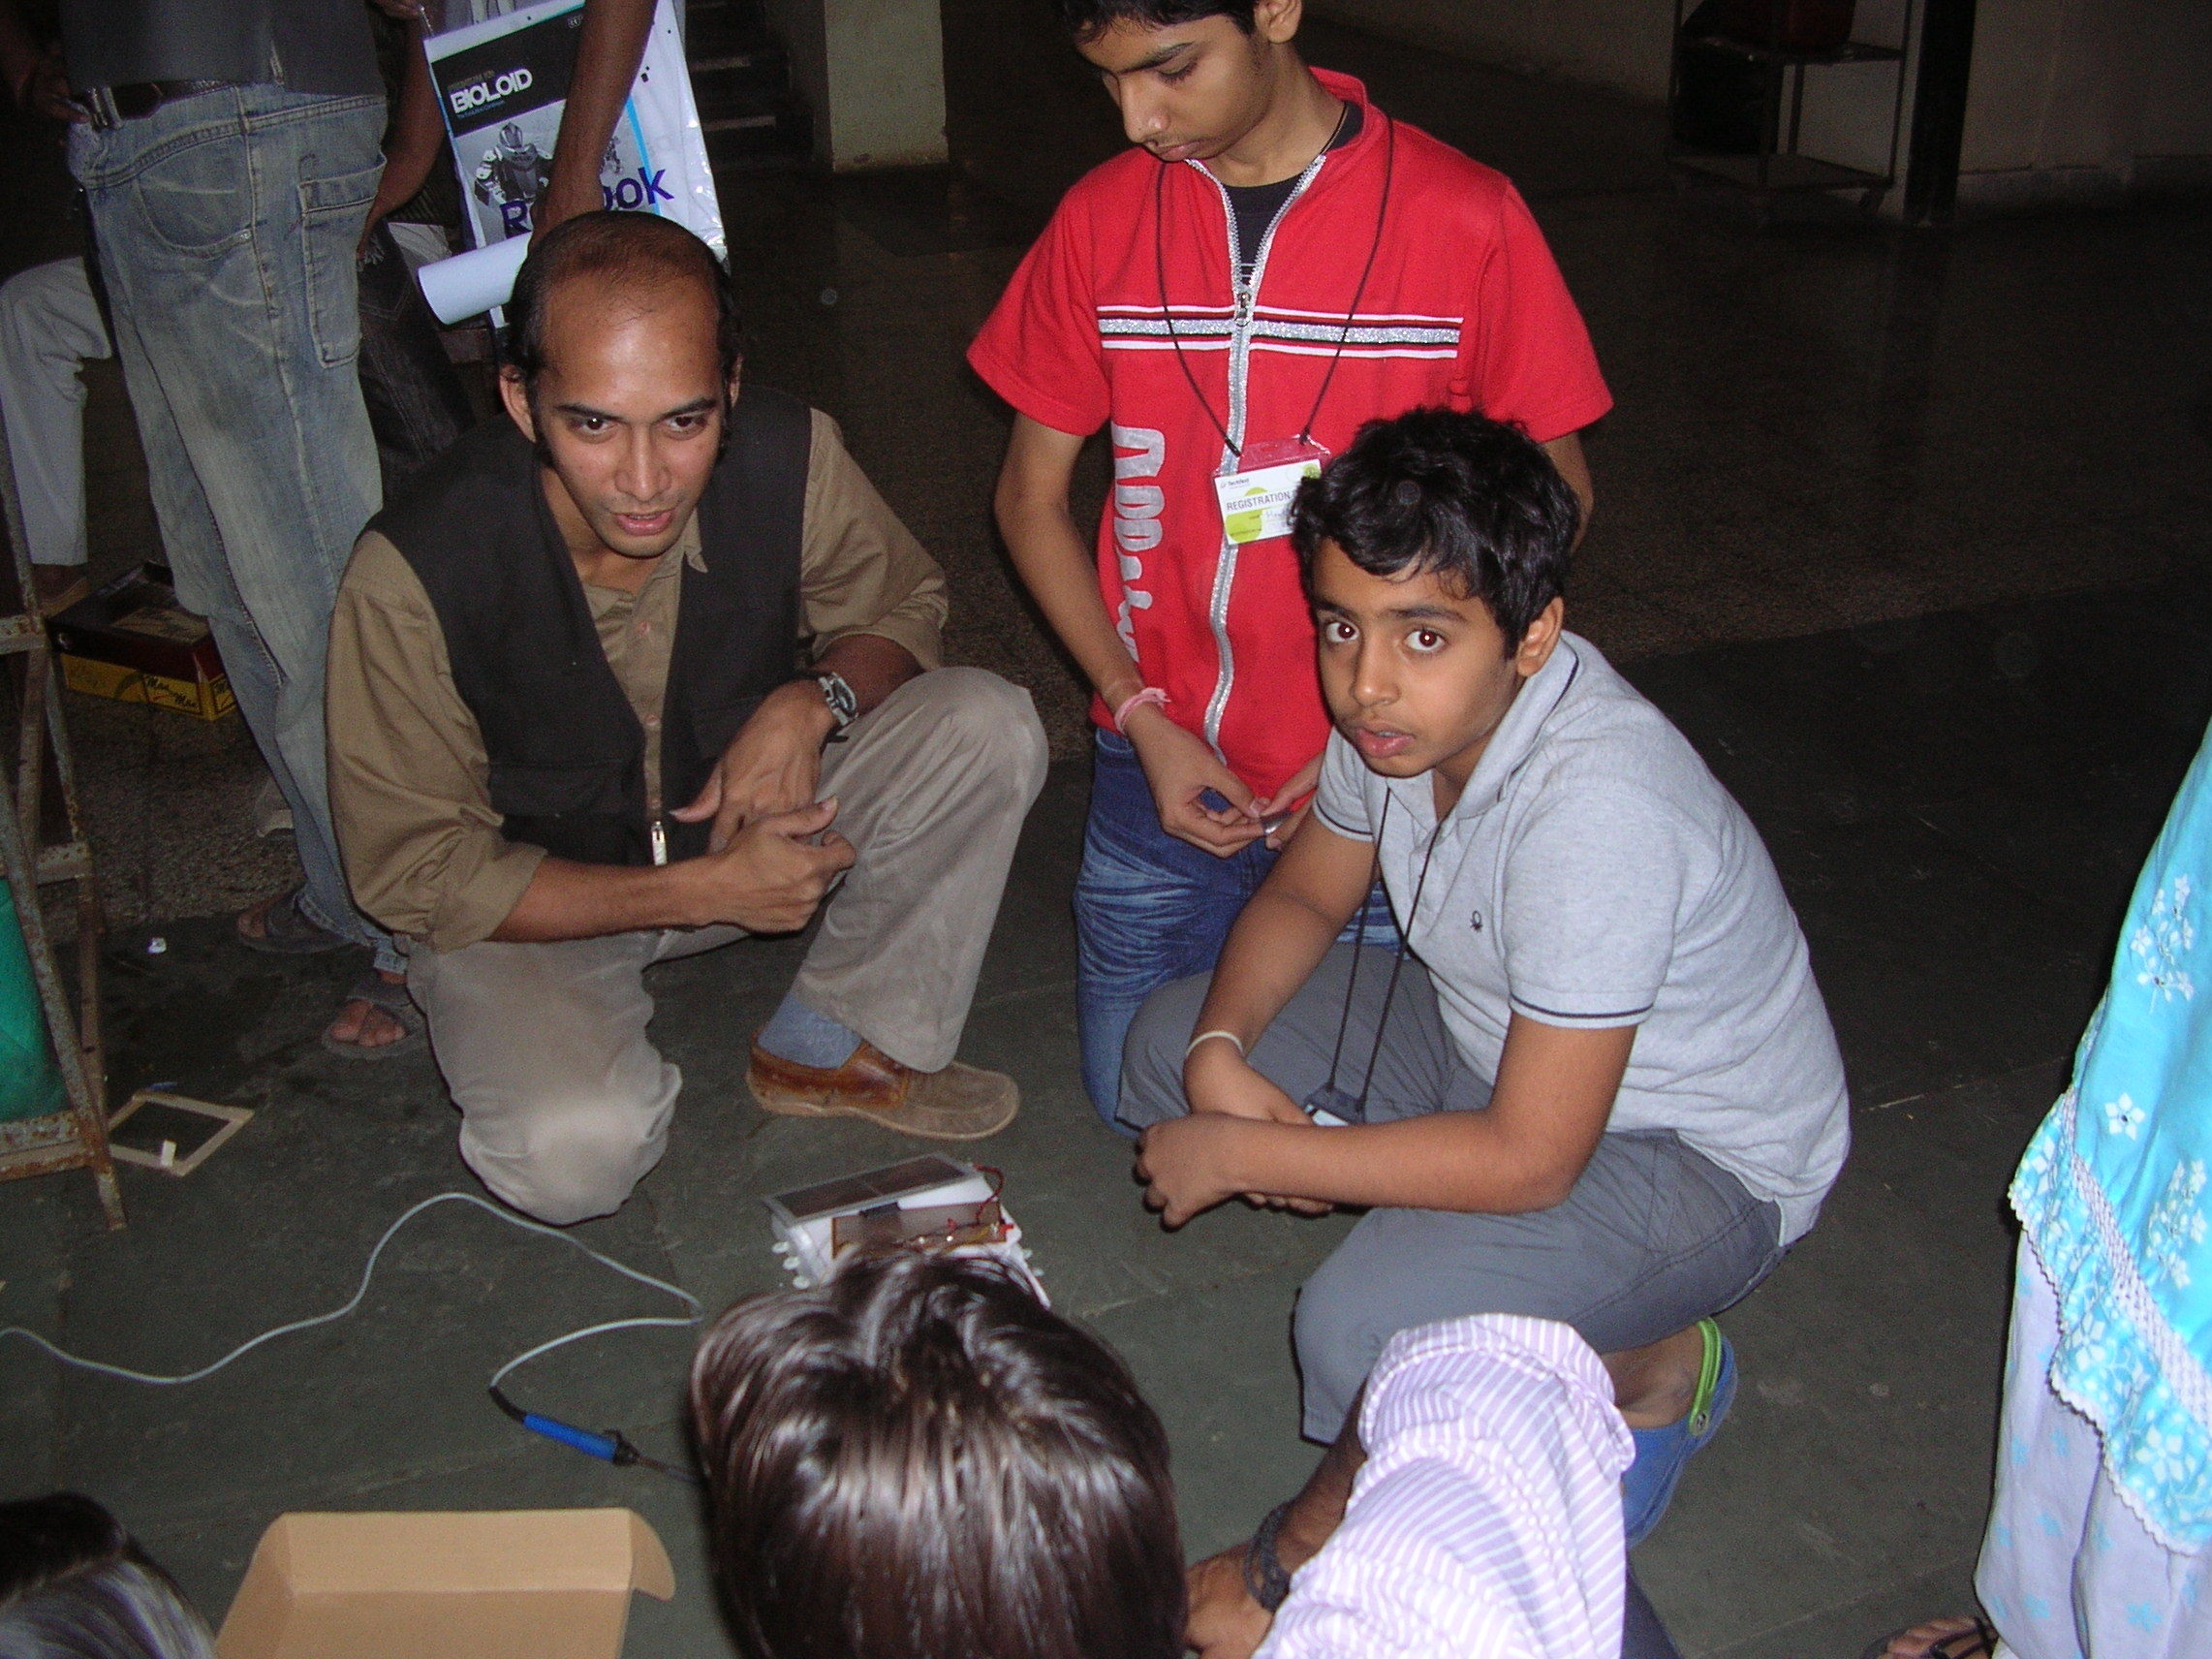
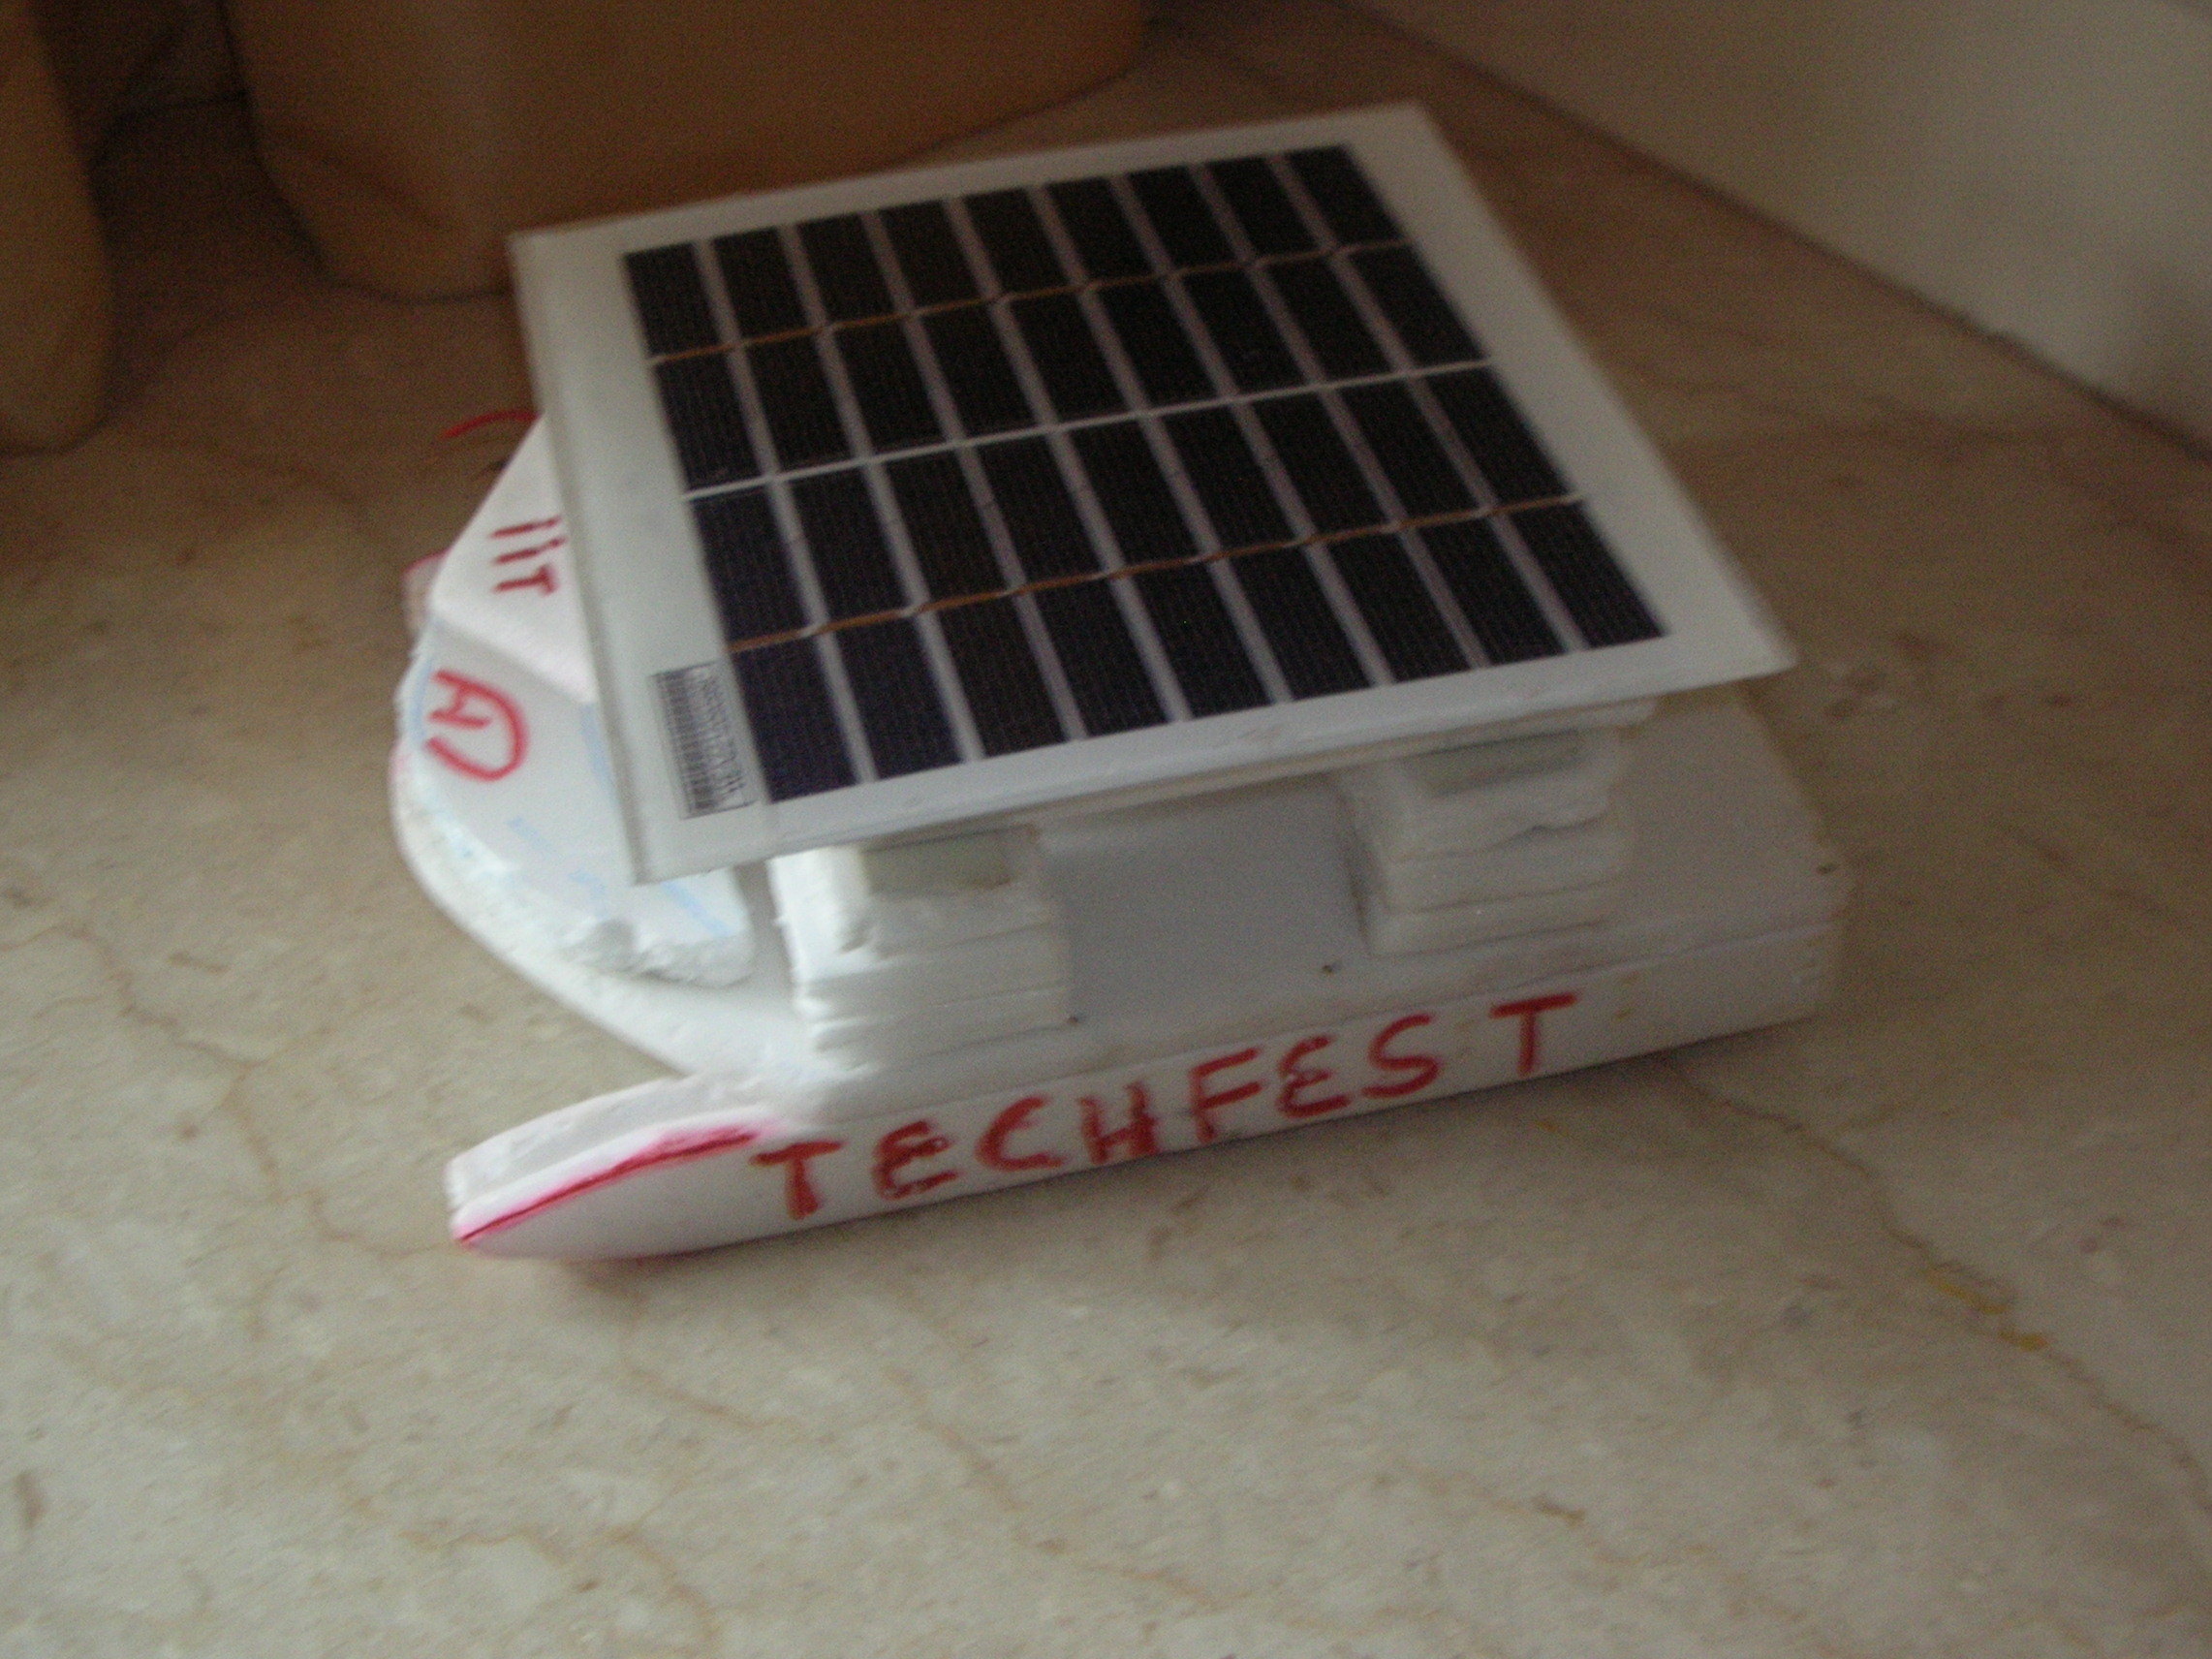
I built this project when I was in the 6th grade, for a competition at the IIT Techfest in Jan. 2010. The IIT Techfest is a competition for engineering students. However, my love towards making this brought me into making this project guide. I am now in the 8th grade! We have not given you the measurements of the parts so that you may go and design your own boat and its parts. We have only given you info on how to assemble the entire boat.
Projects from Make: Magazine
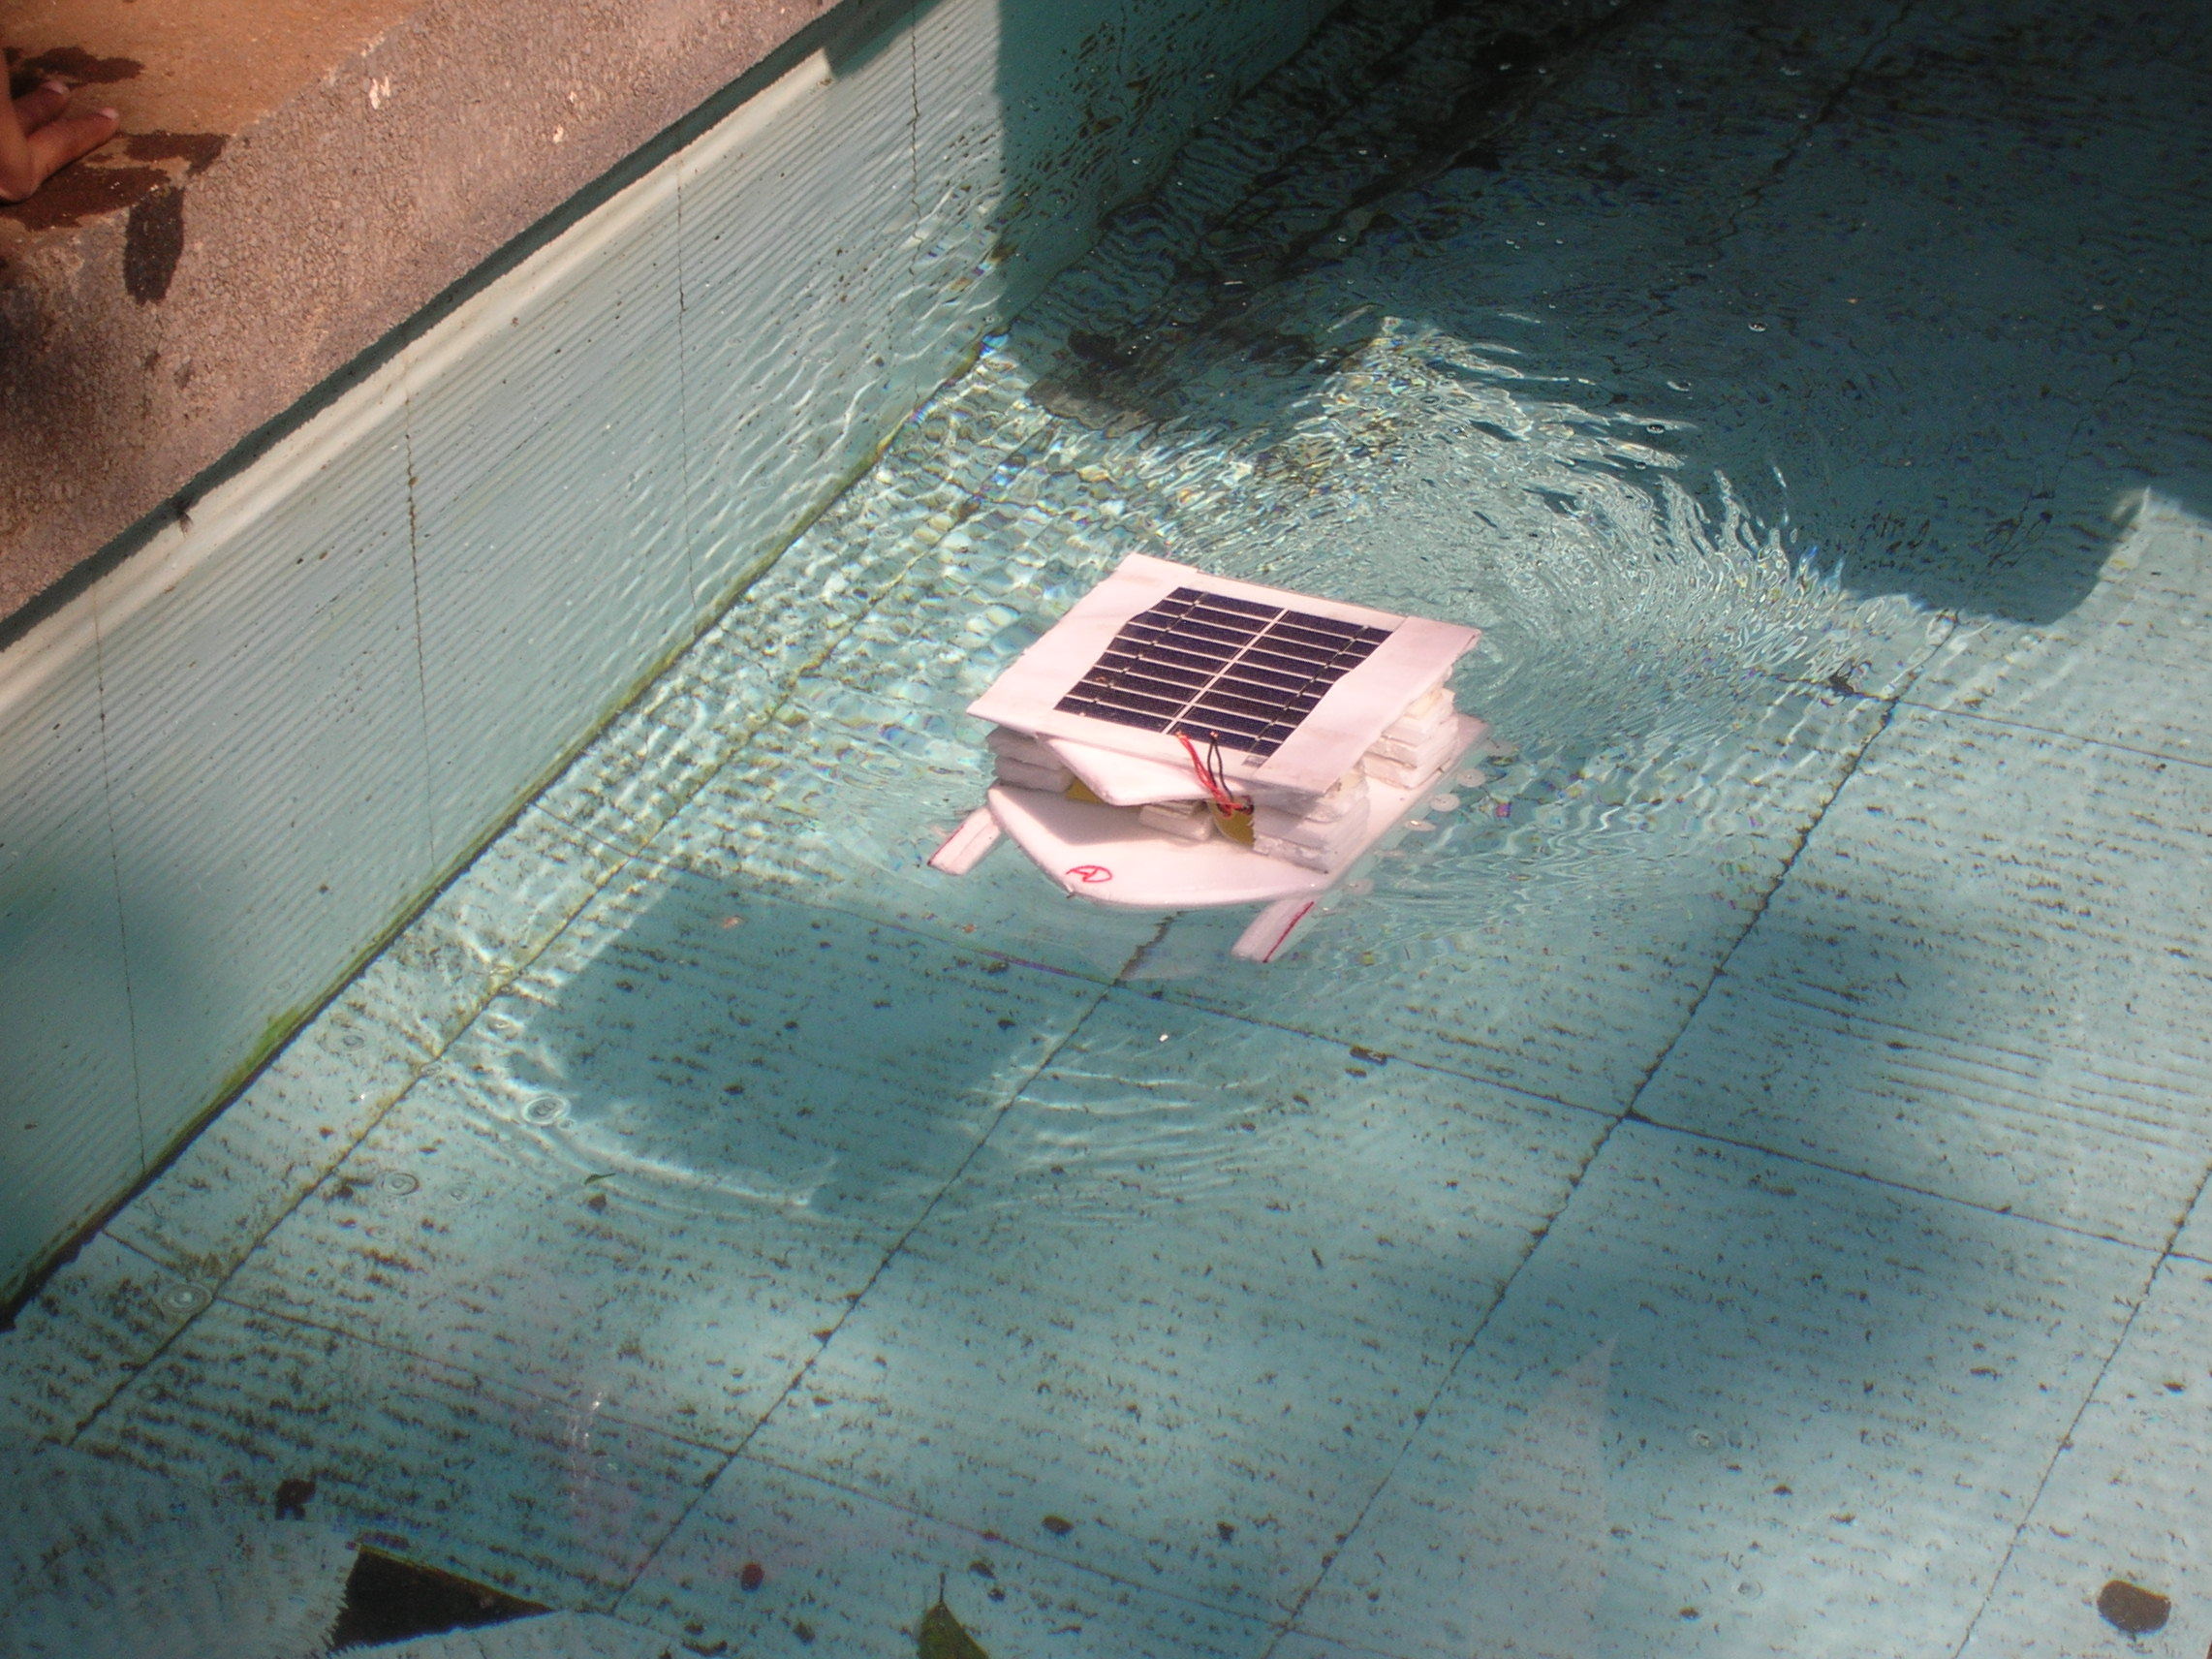
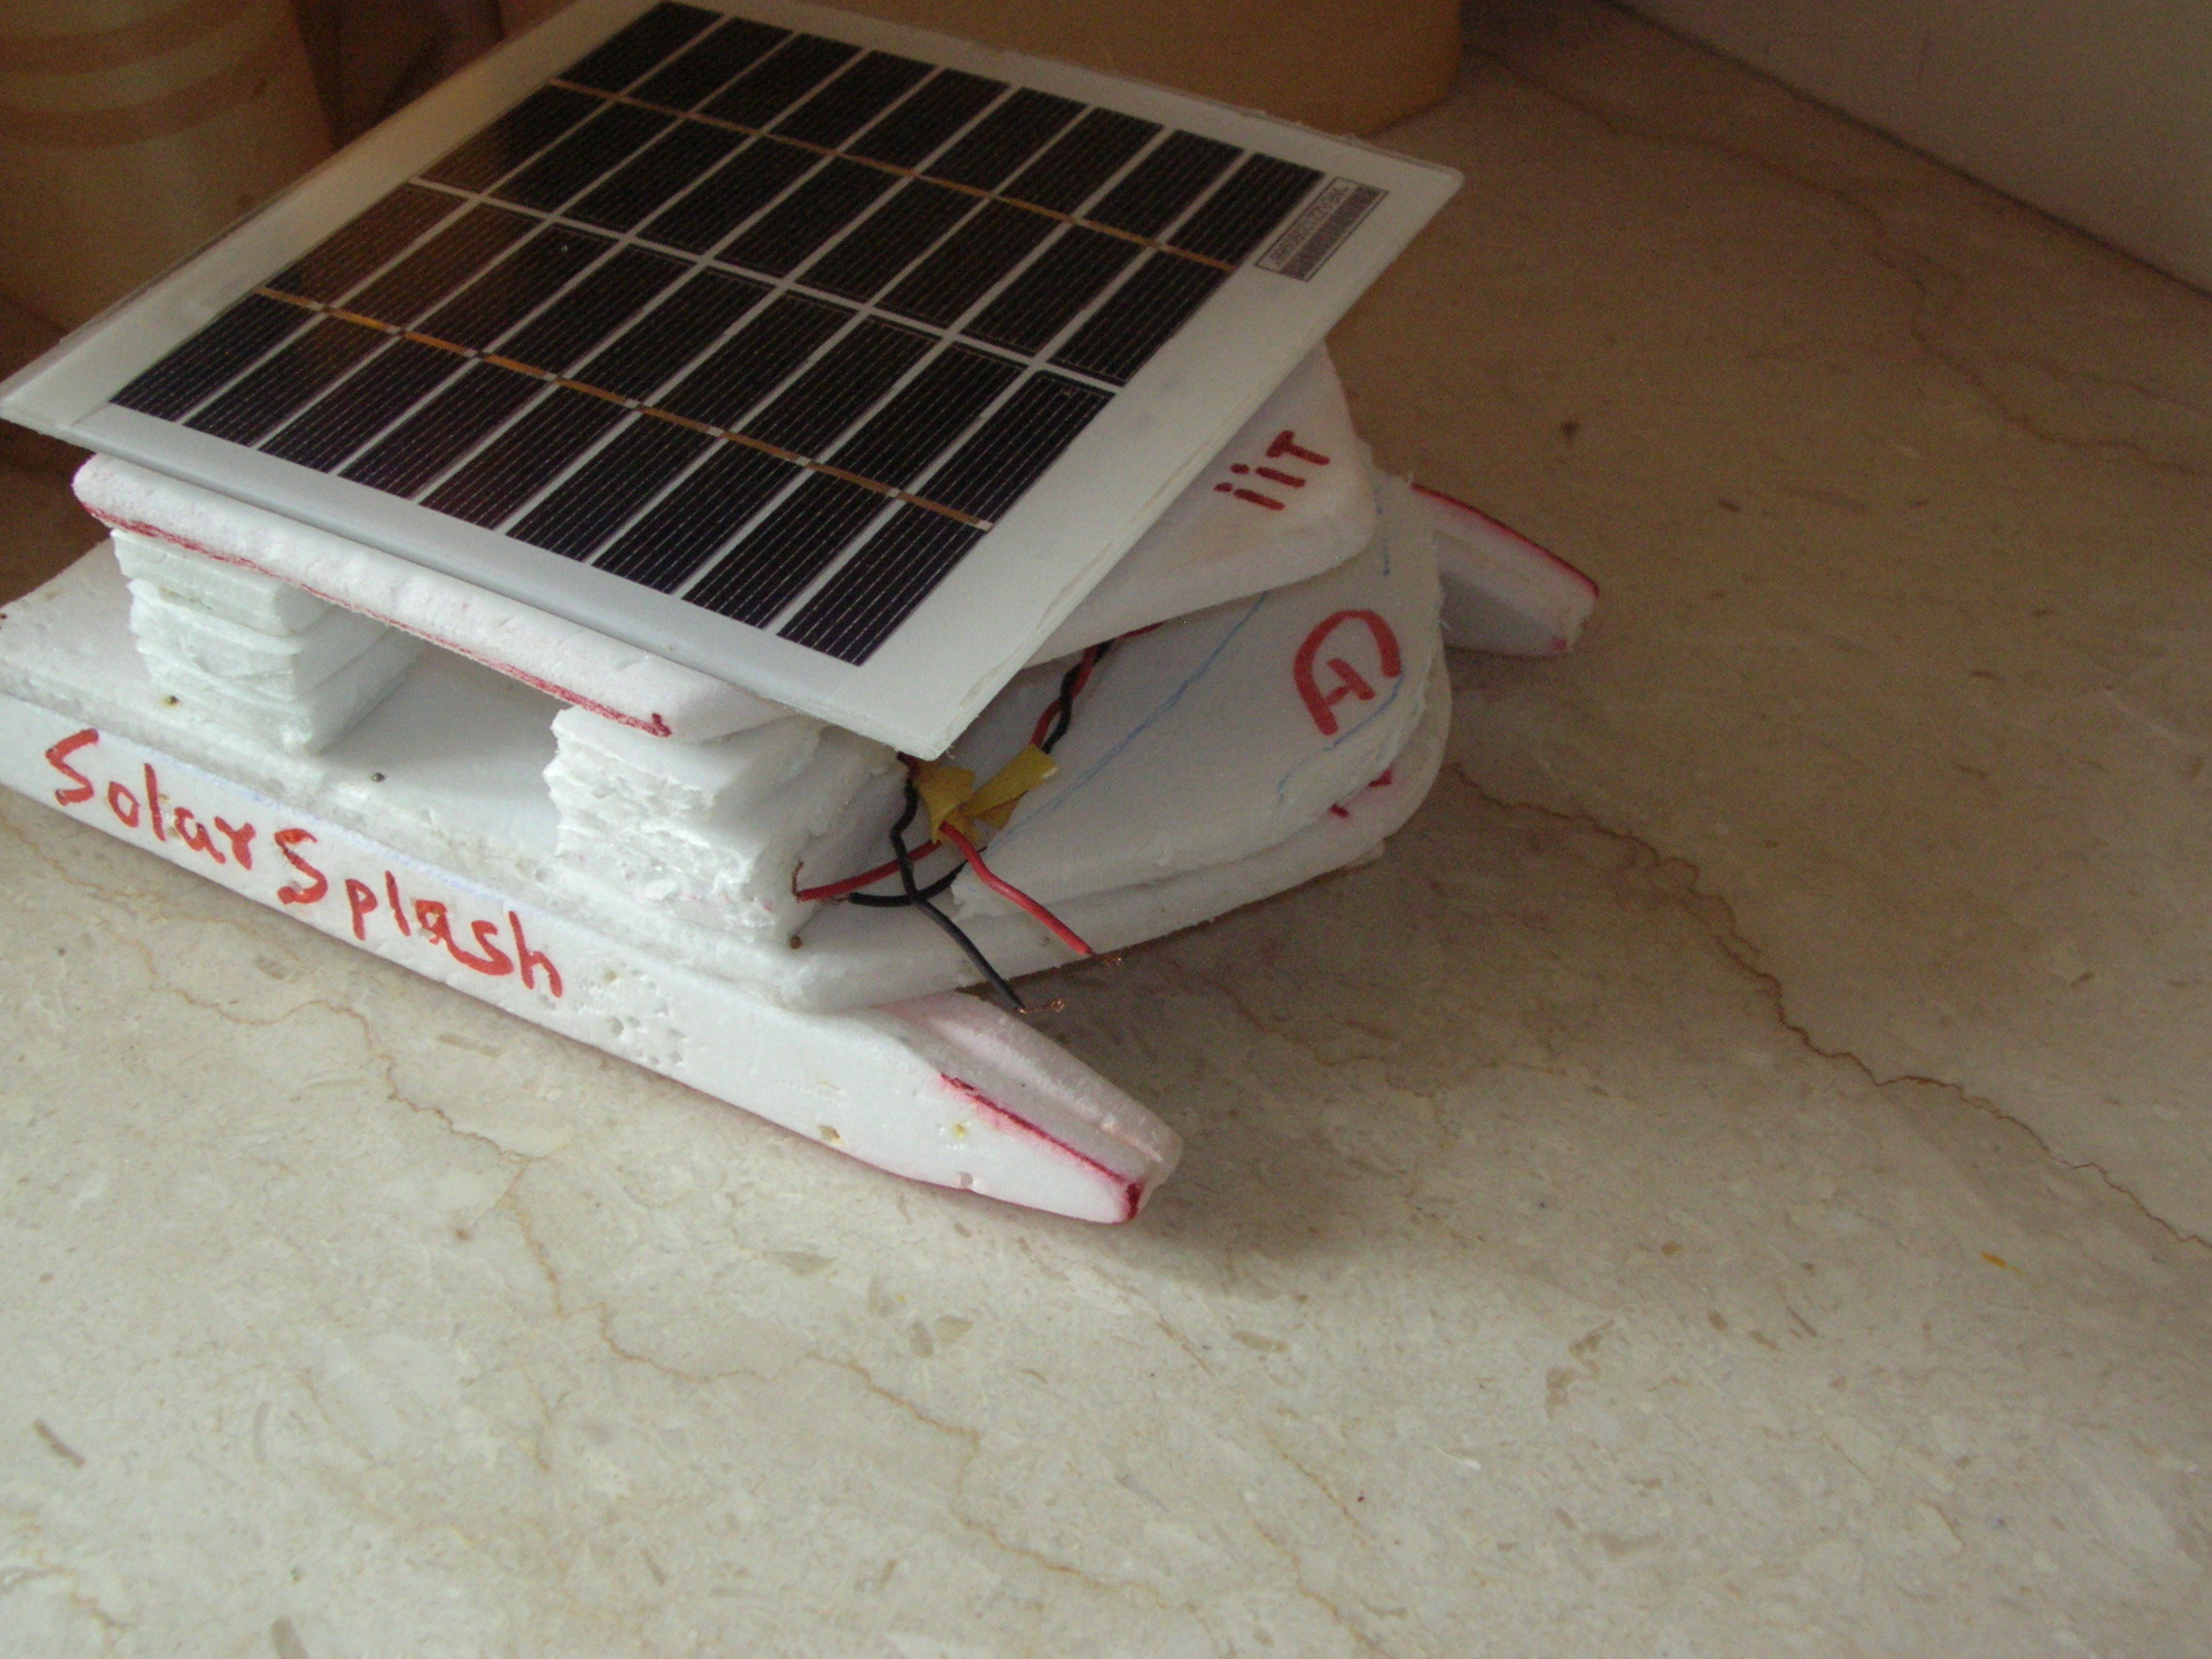
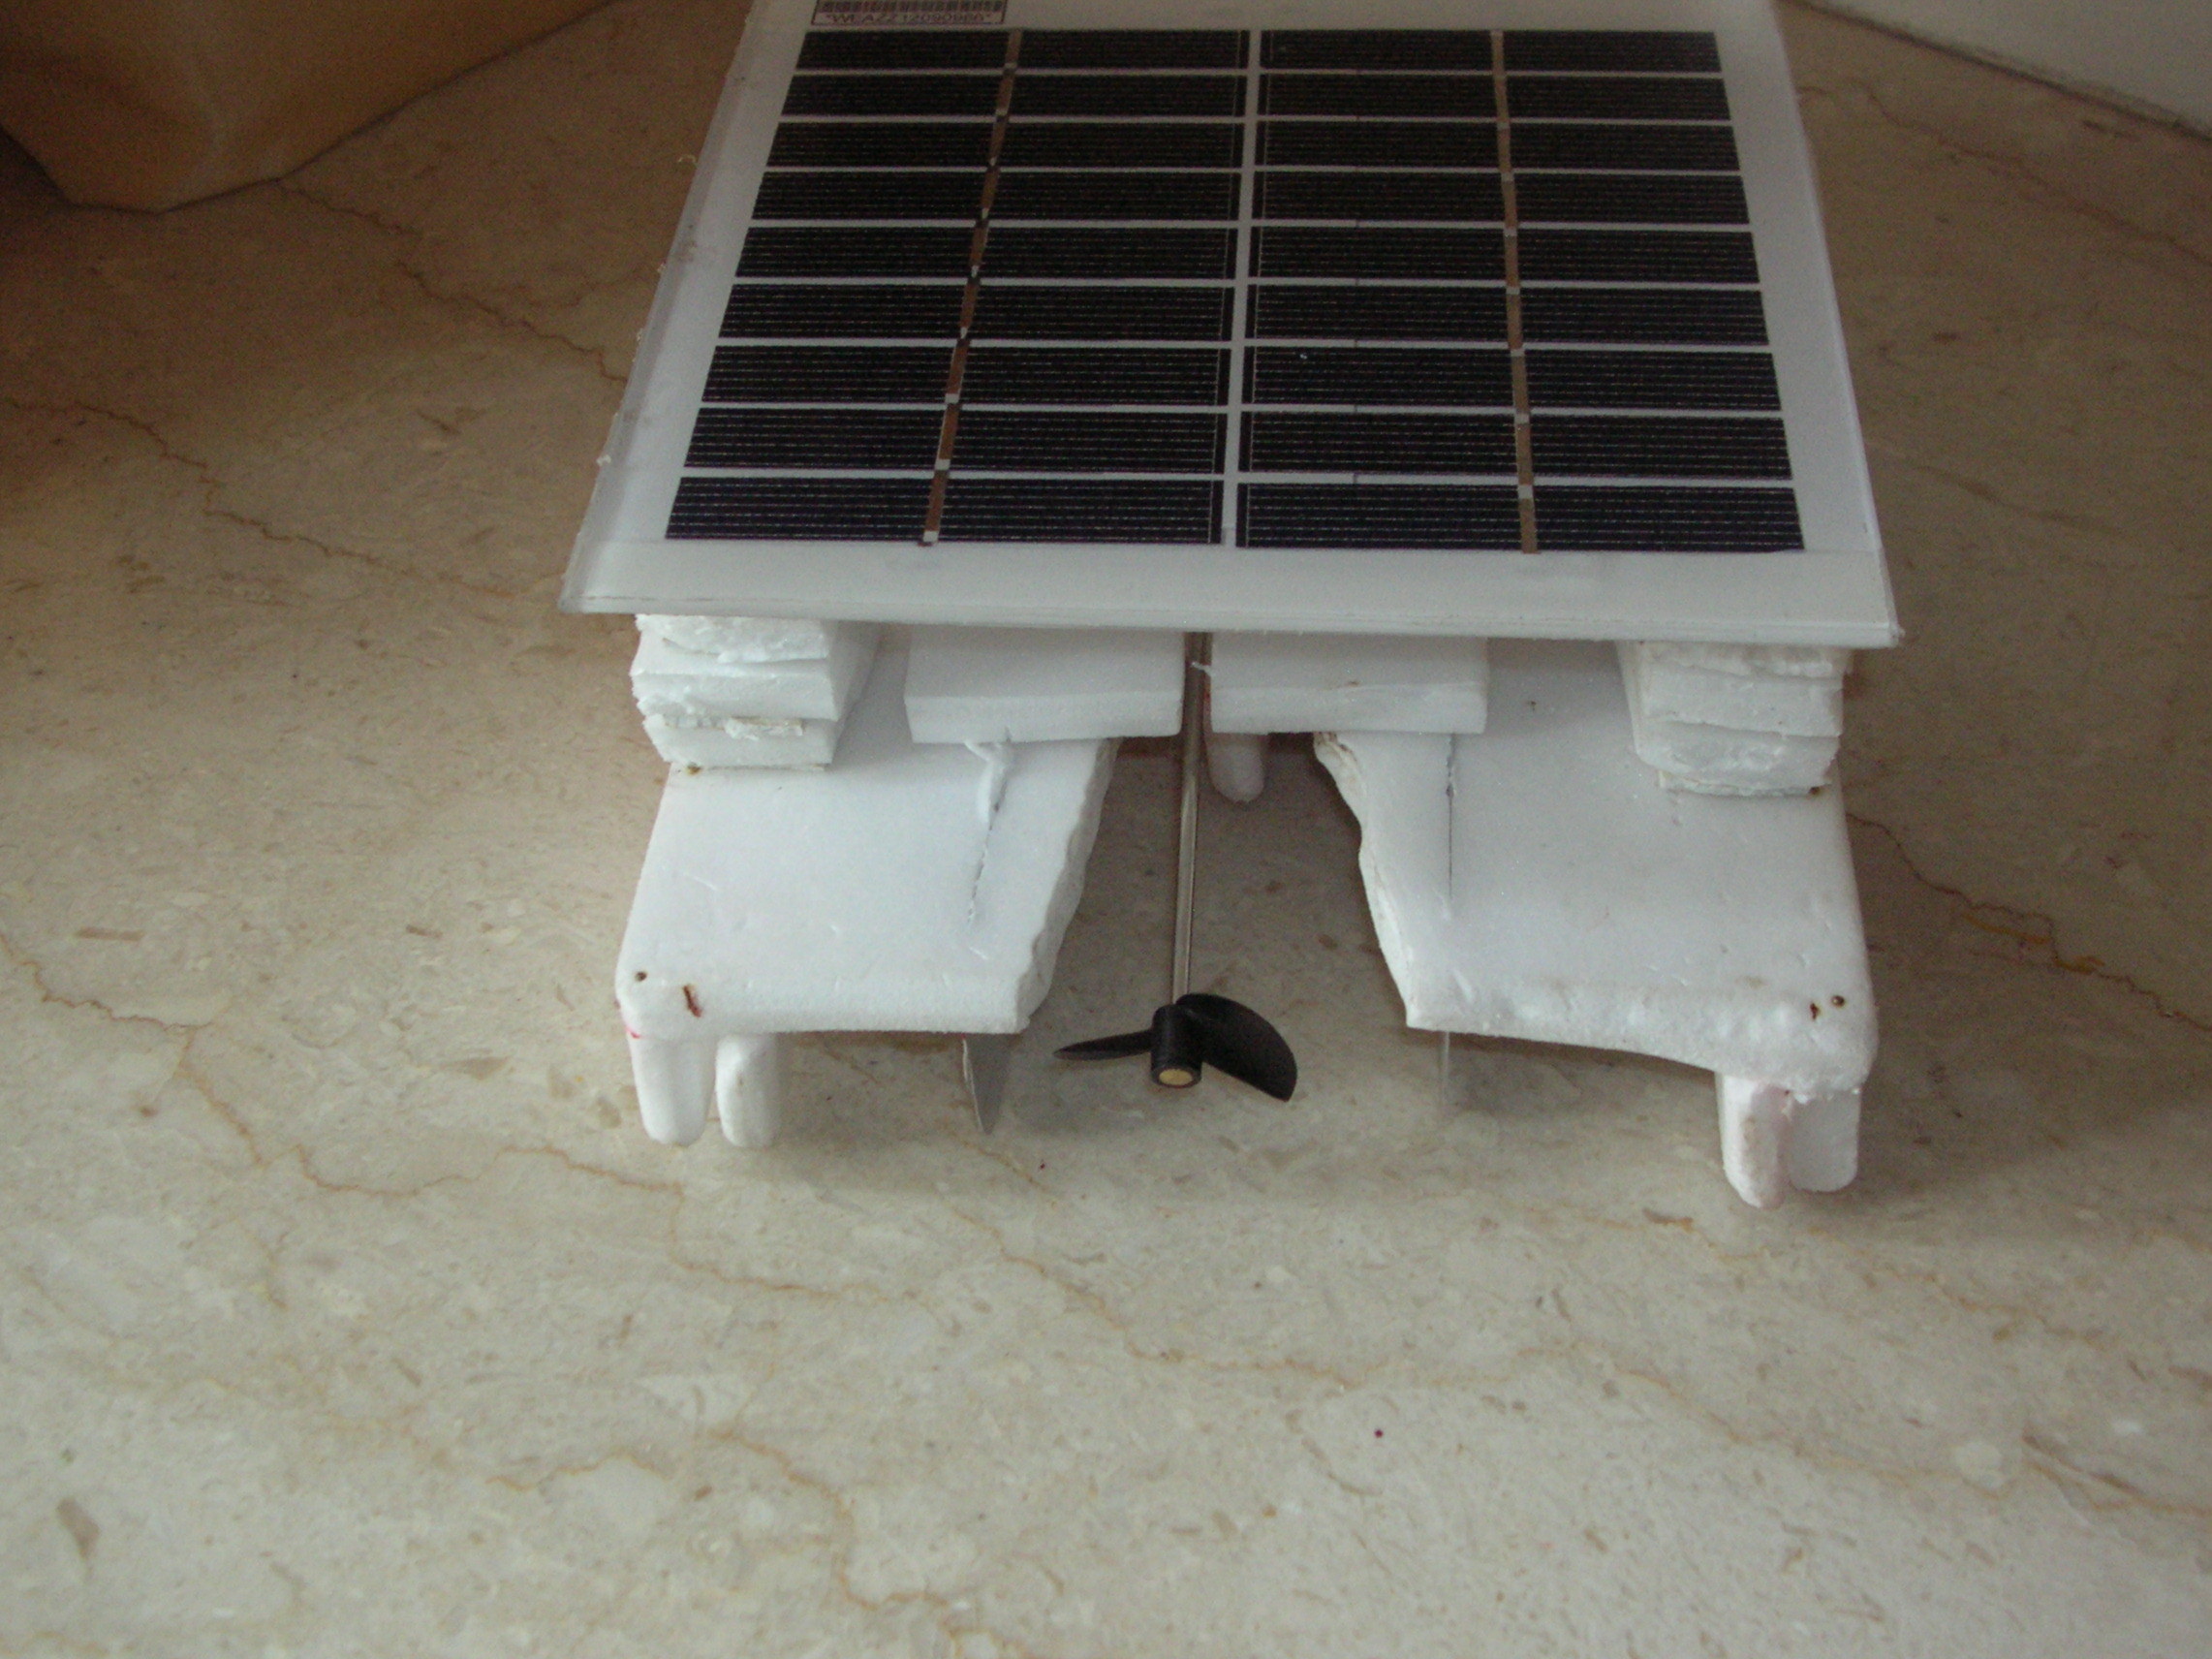
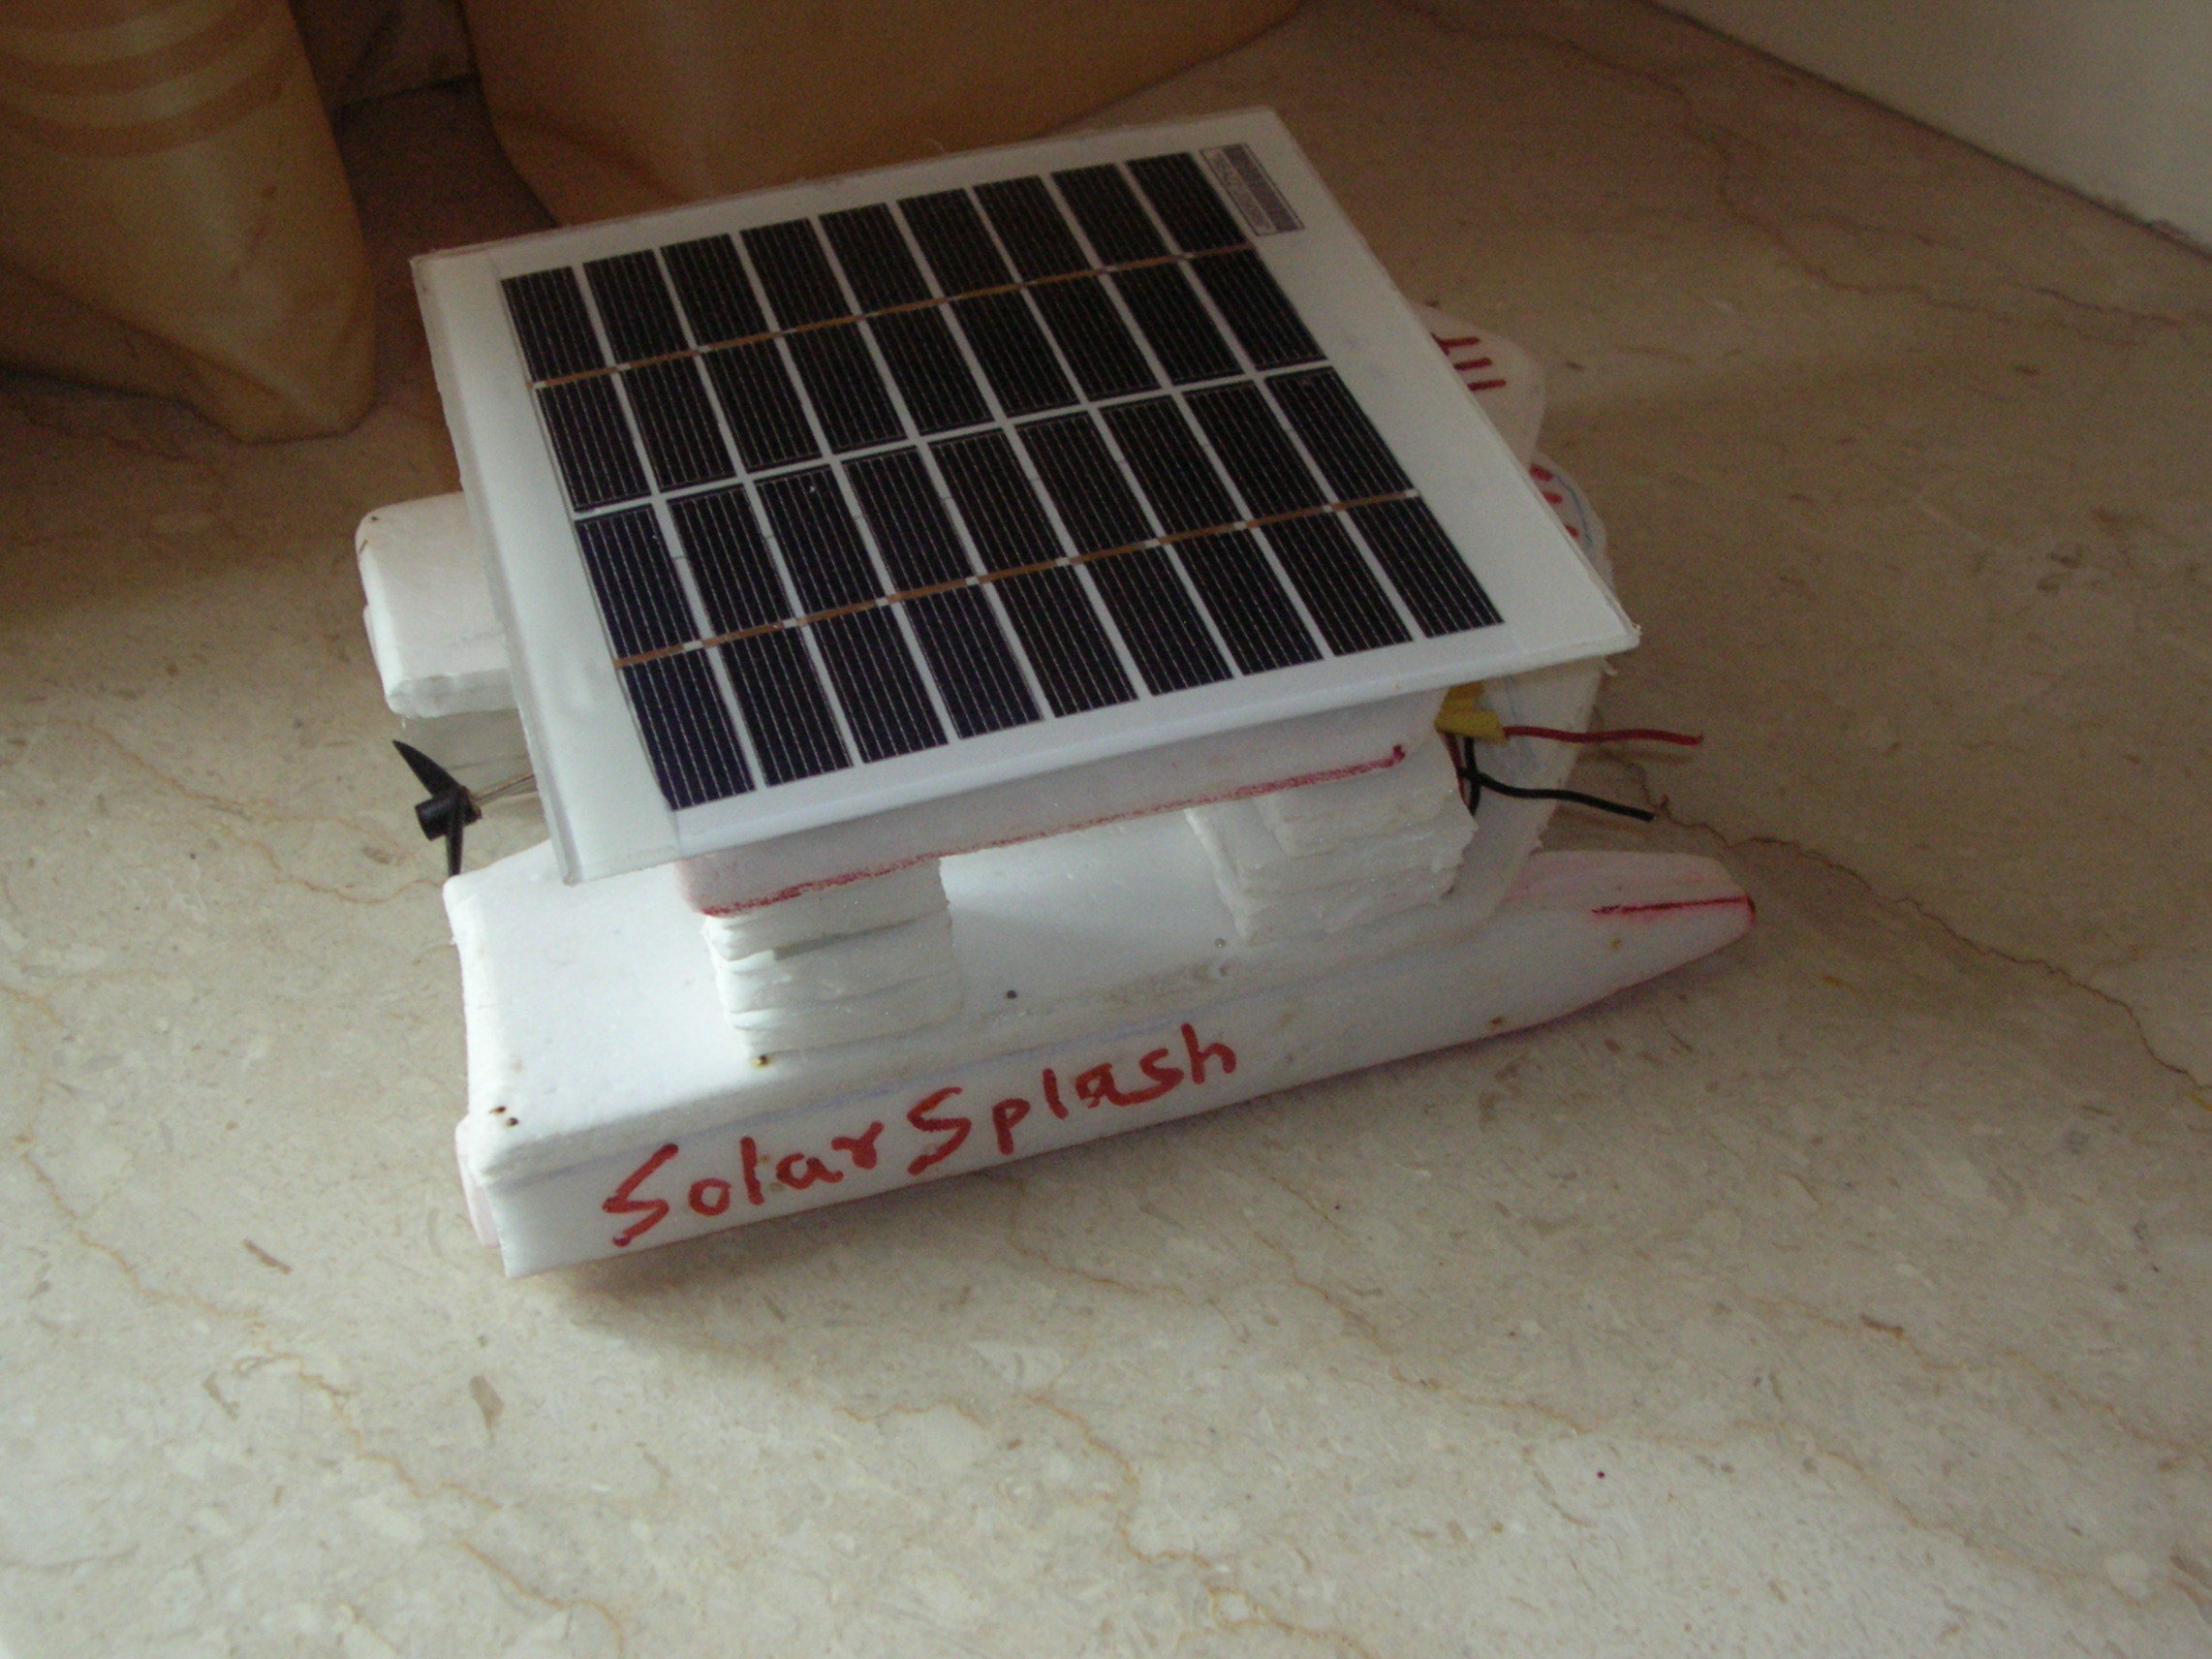
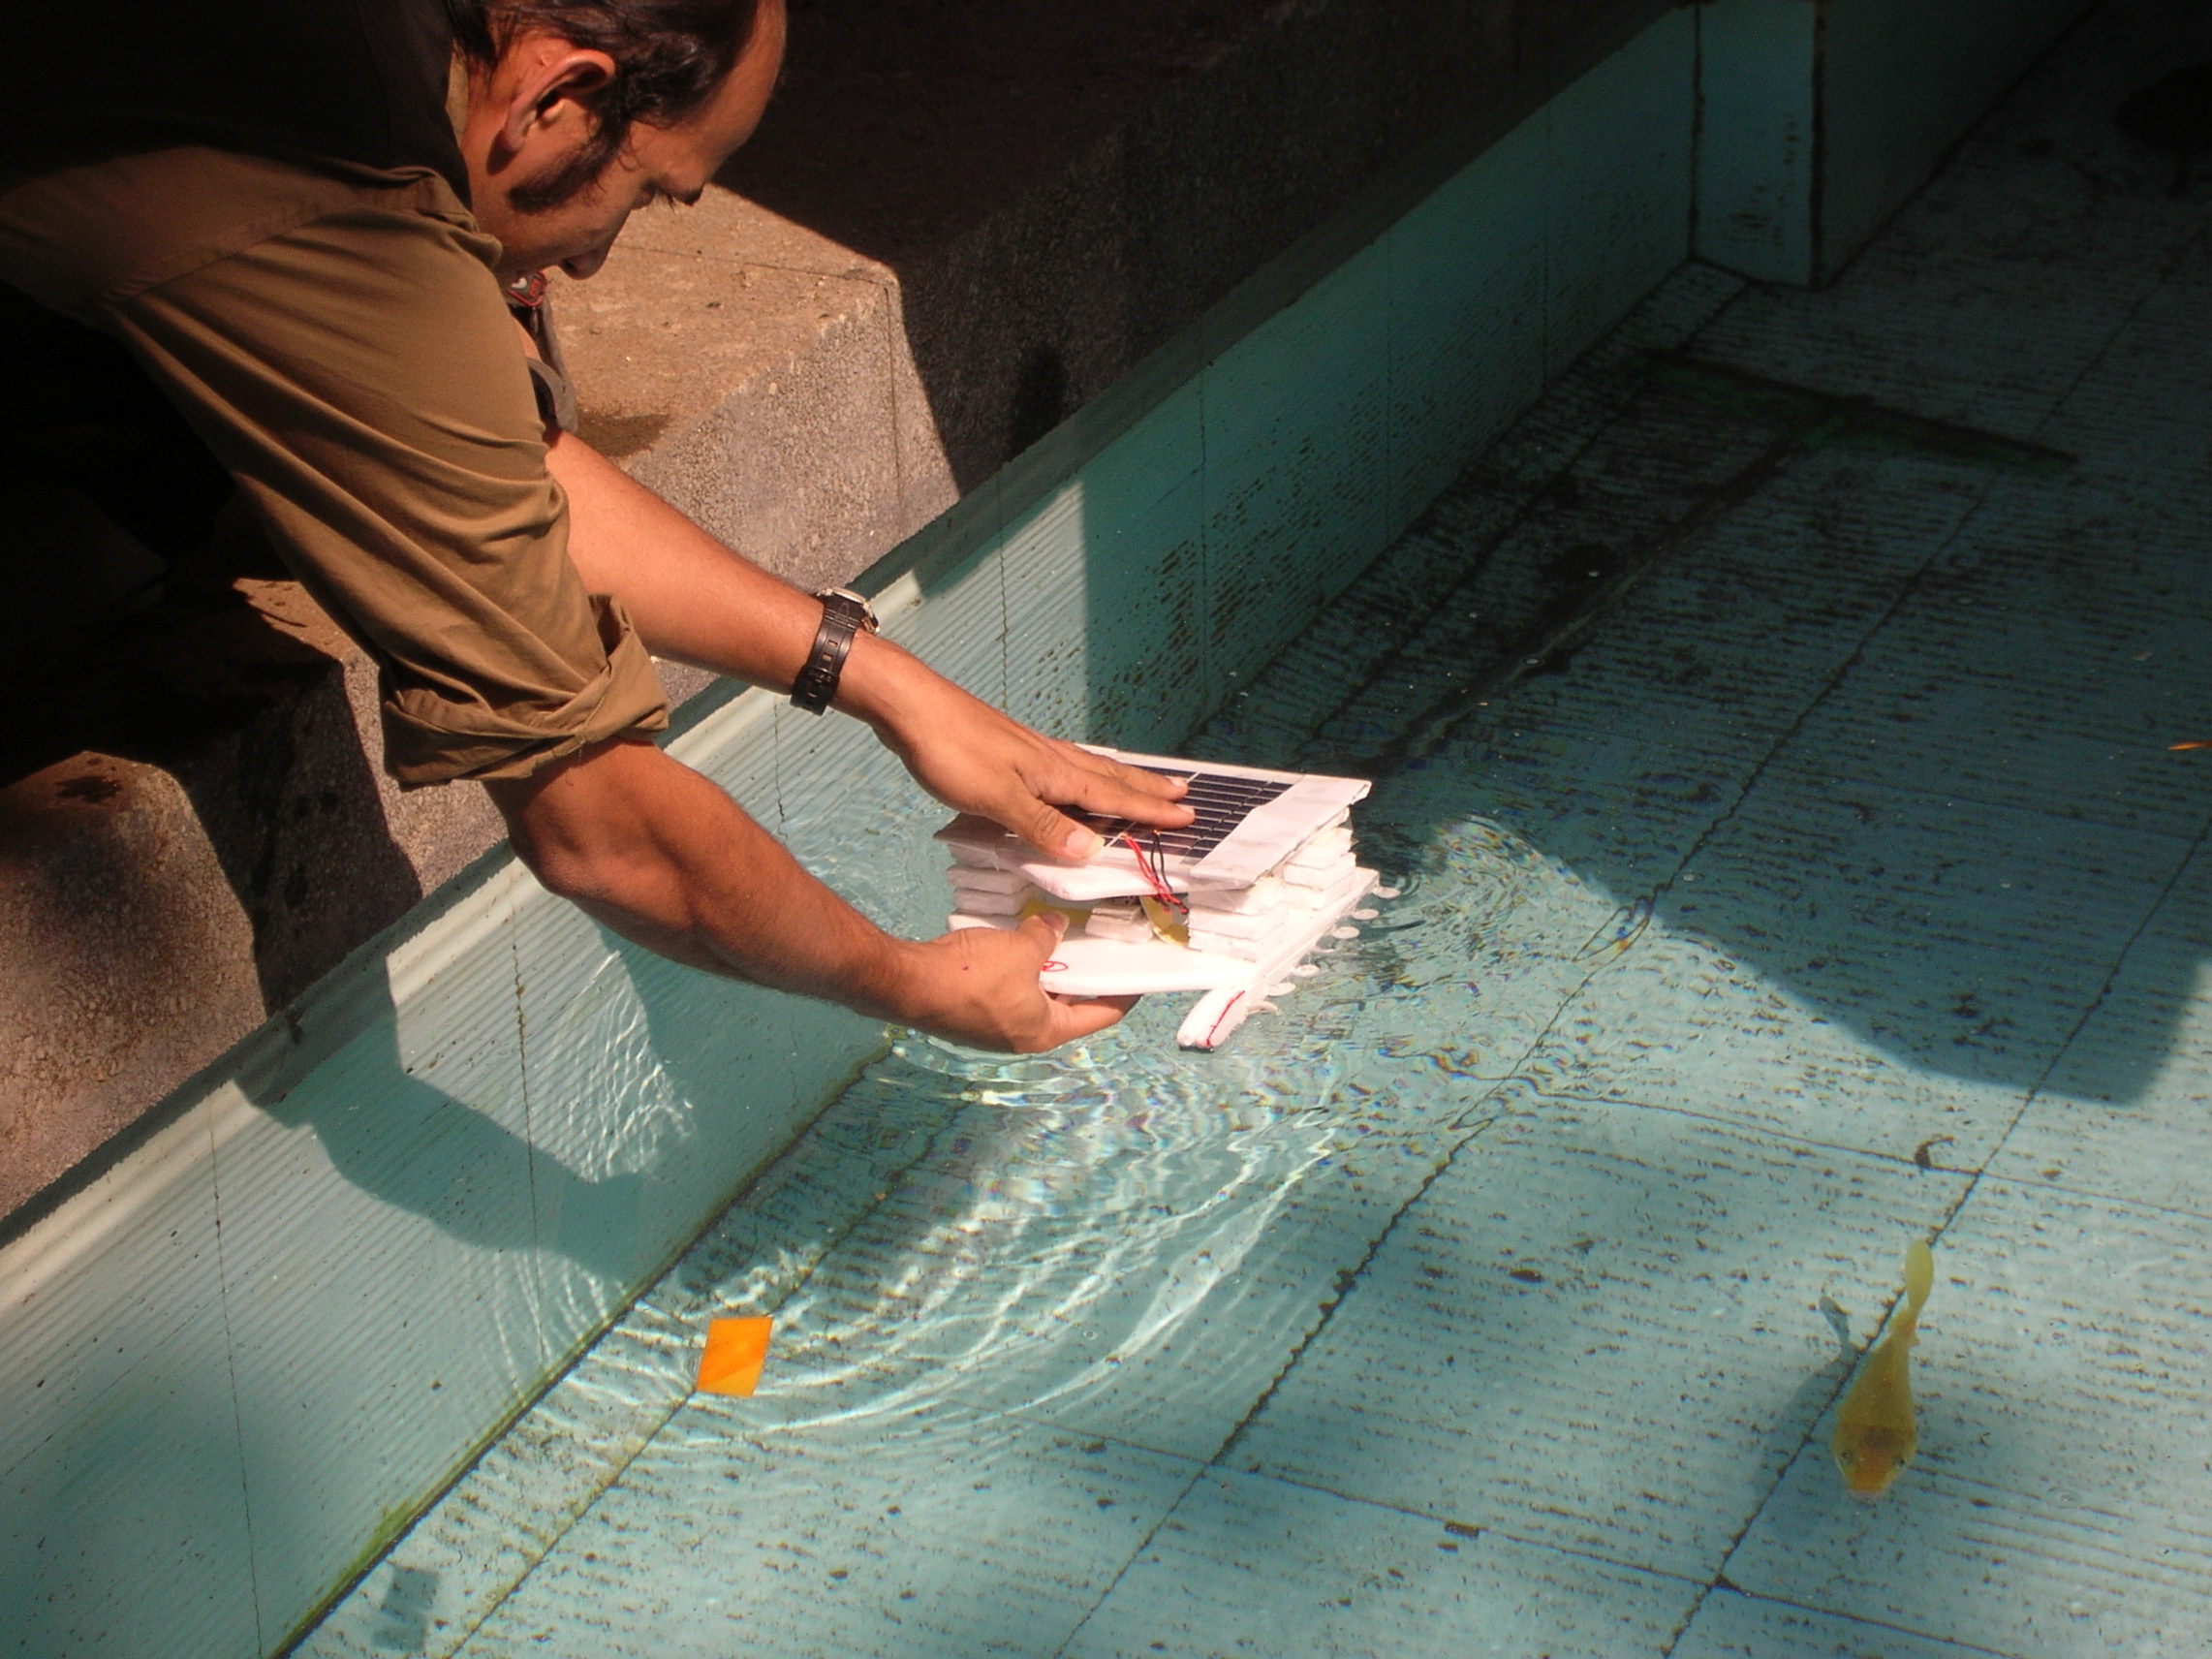
Solar-Powered Boat Prototype
This project will go about making a DIY solar-powered boat prototype. However due to a few problems on our main PC, we were unable to give the circuit diagram for the same. We will soon supply the diagram.