


I do a lot of electronics projects and have recently taken an interest in stained glass. I love to solder, but the fumes from flux and rosin aren’t very good for you. I decided to build my own fume extractor to solve this problem.

I do a lot of electronics projects and have recently taken an interest in stained glass. I love to solder, but the fumes from flux and rosin aren’t very good for you. I decided to build my own fume extractor to solve this problem.
I got tired of having to work in the garage and set up fans for ventilation so I decided to build my own fume extractor. I spent about $20 on parts which includes 3 extra filters, but I bought a lot of things new that you might just have sitting around for free.

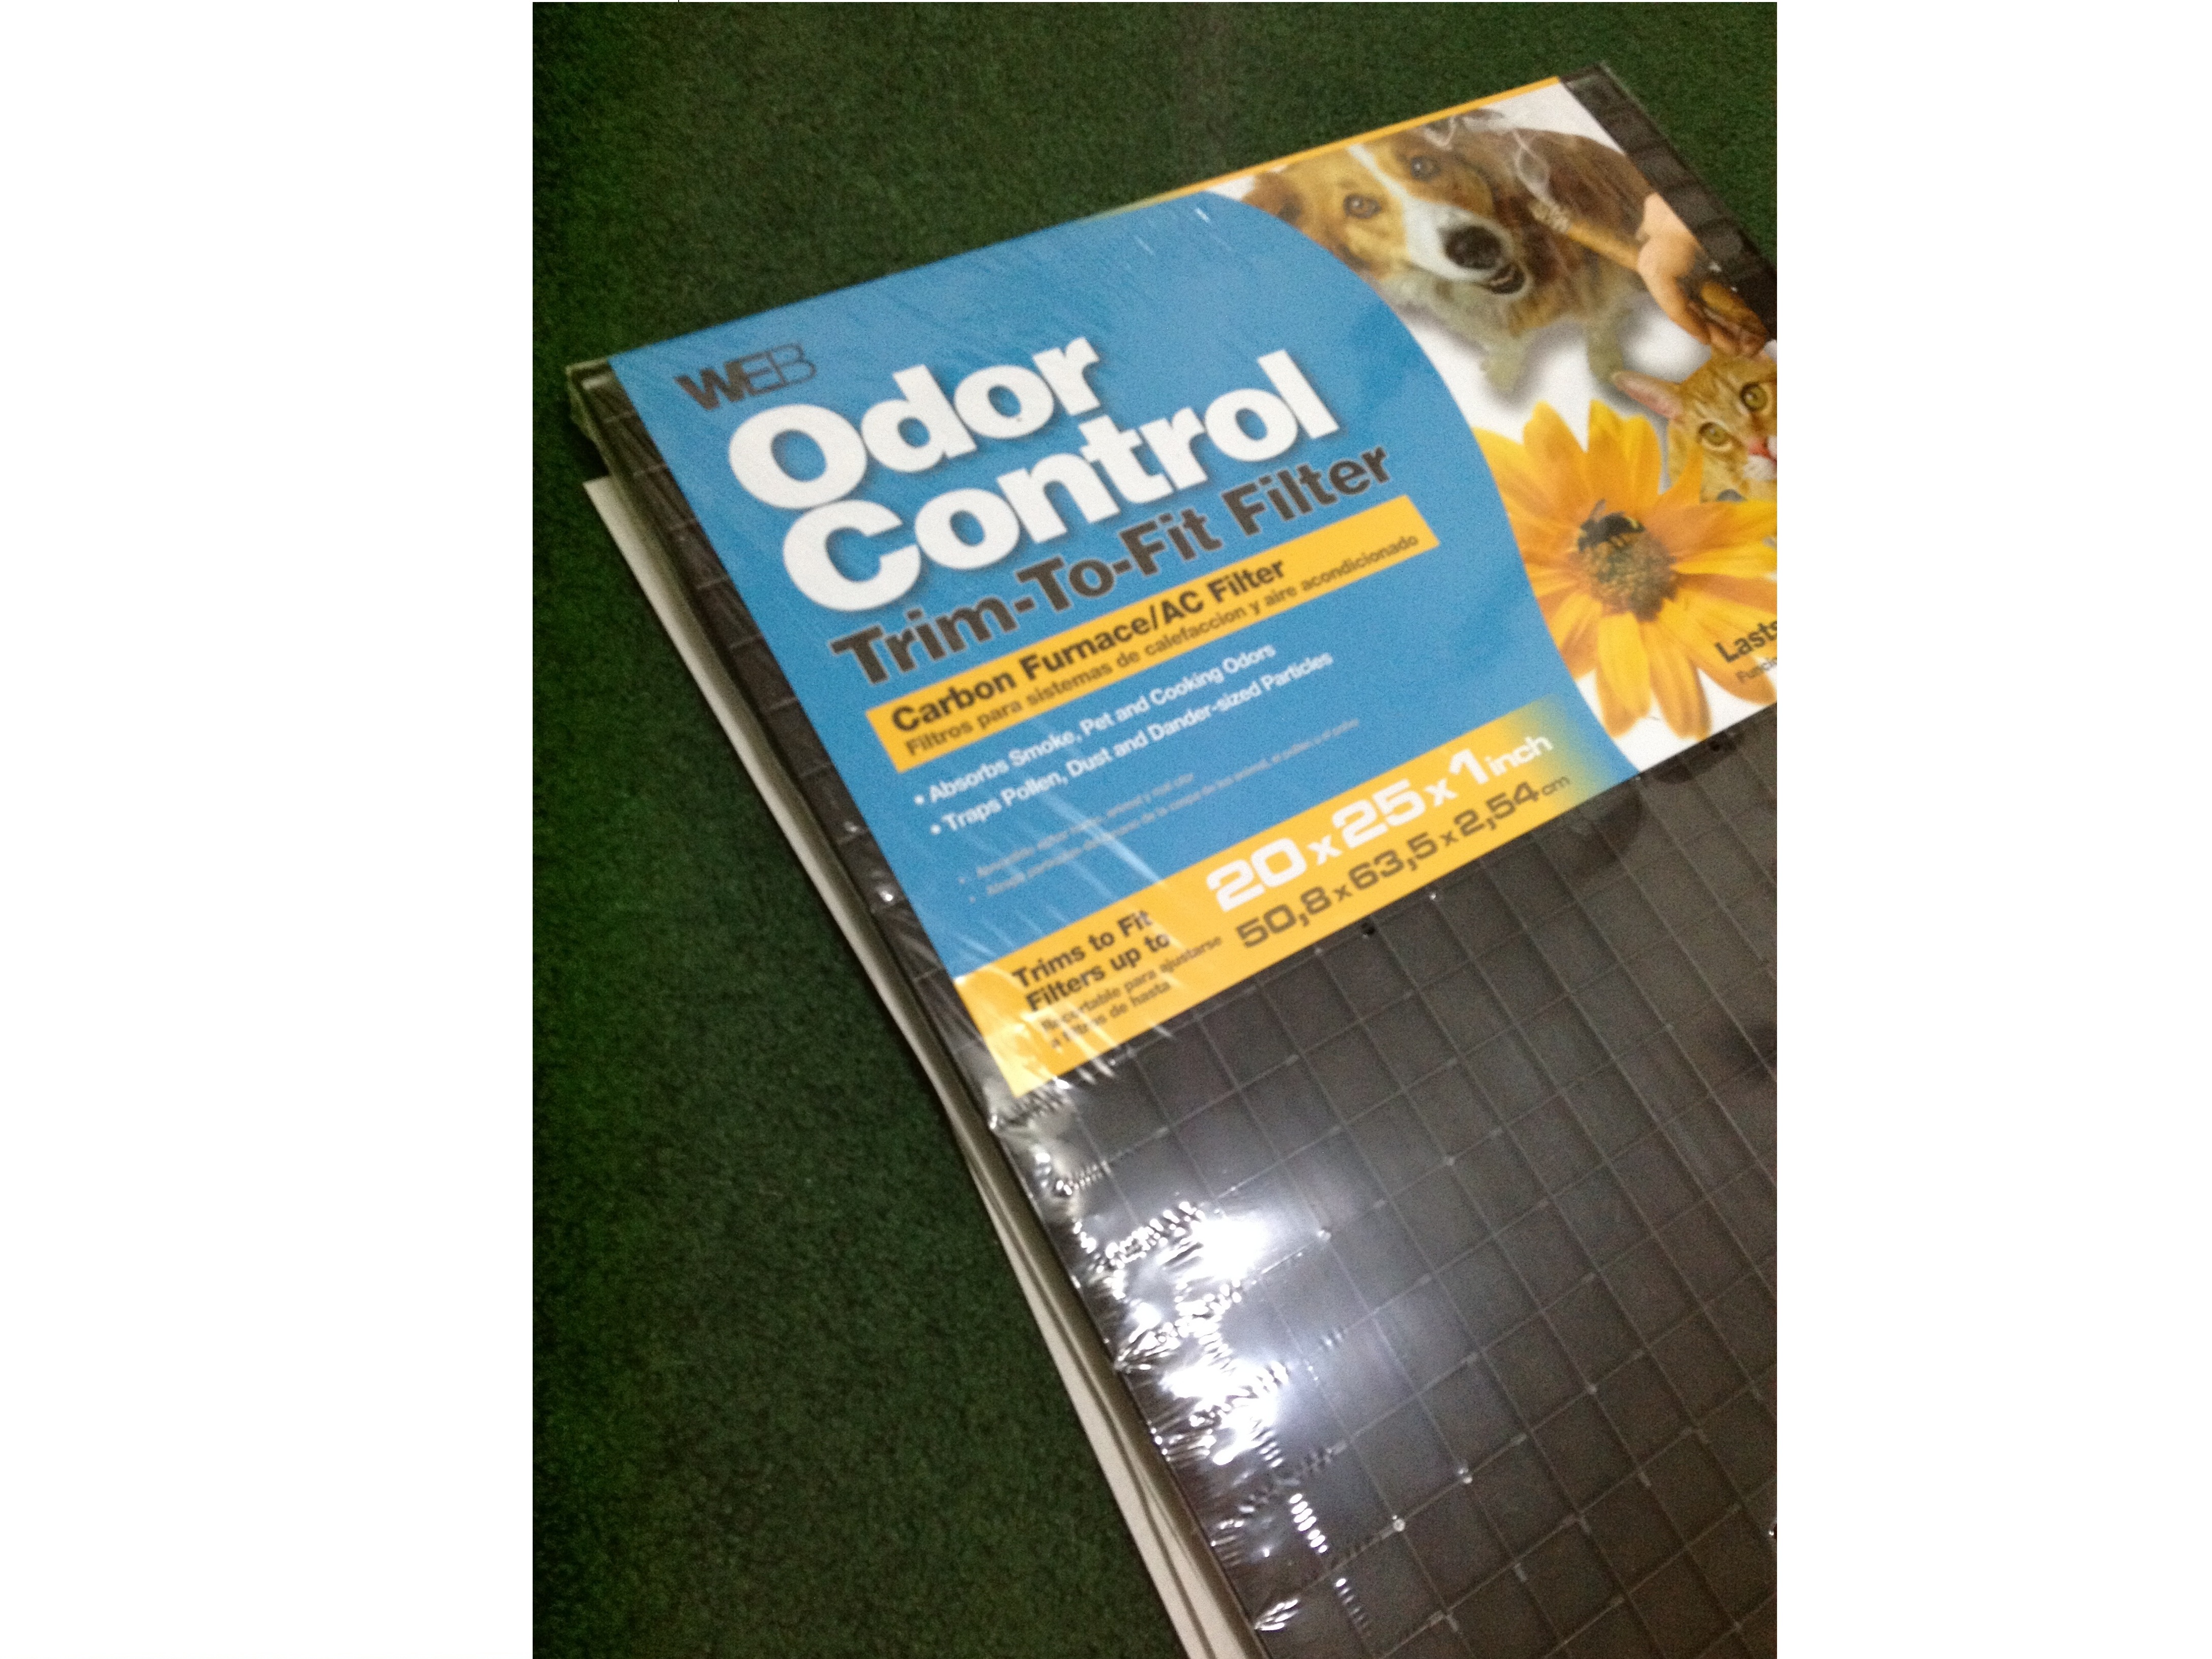

First, I did some shopping. I purchased 4 PC fans that were on clearance. I also purchased an activated carbon air filter (a universal “cut to size” type).
Then I looked around for an enclosure to house the fans and air filter in. I ended up choosing a tupperware container originally intended for storing cereal. Obviously you could repurpose some fans from old computers and house everything in a cardboard box, but I decided to spend a few dollars to make everything look nice and clean.
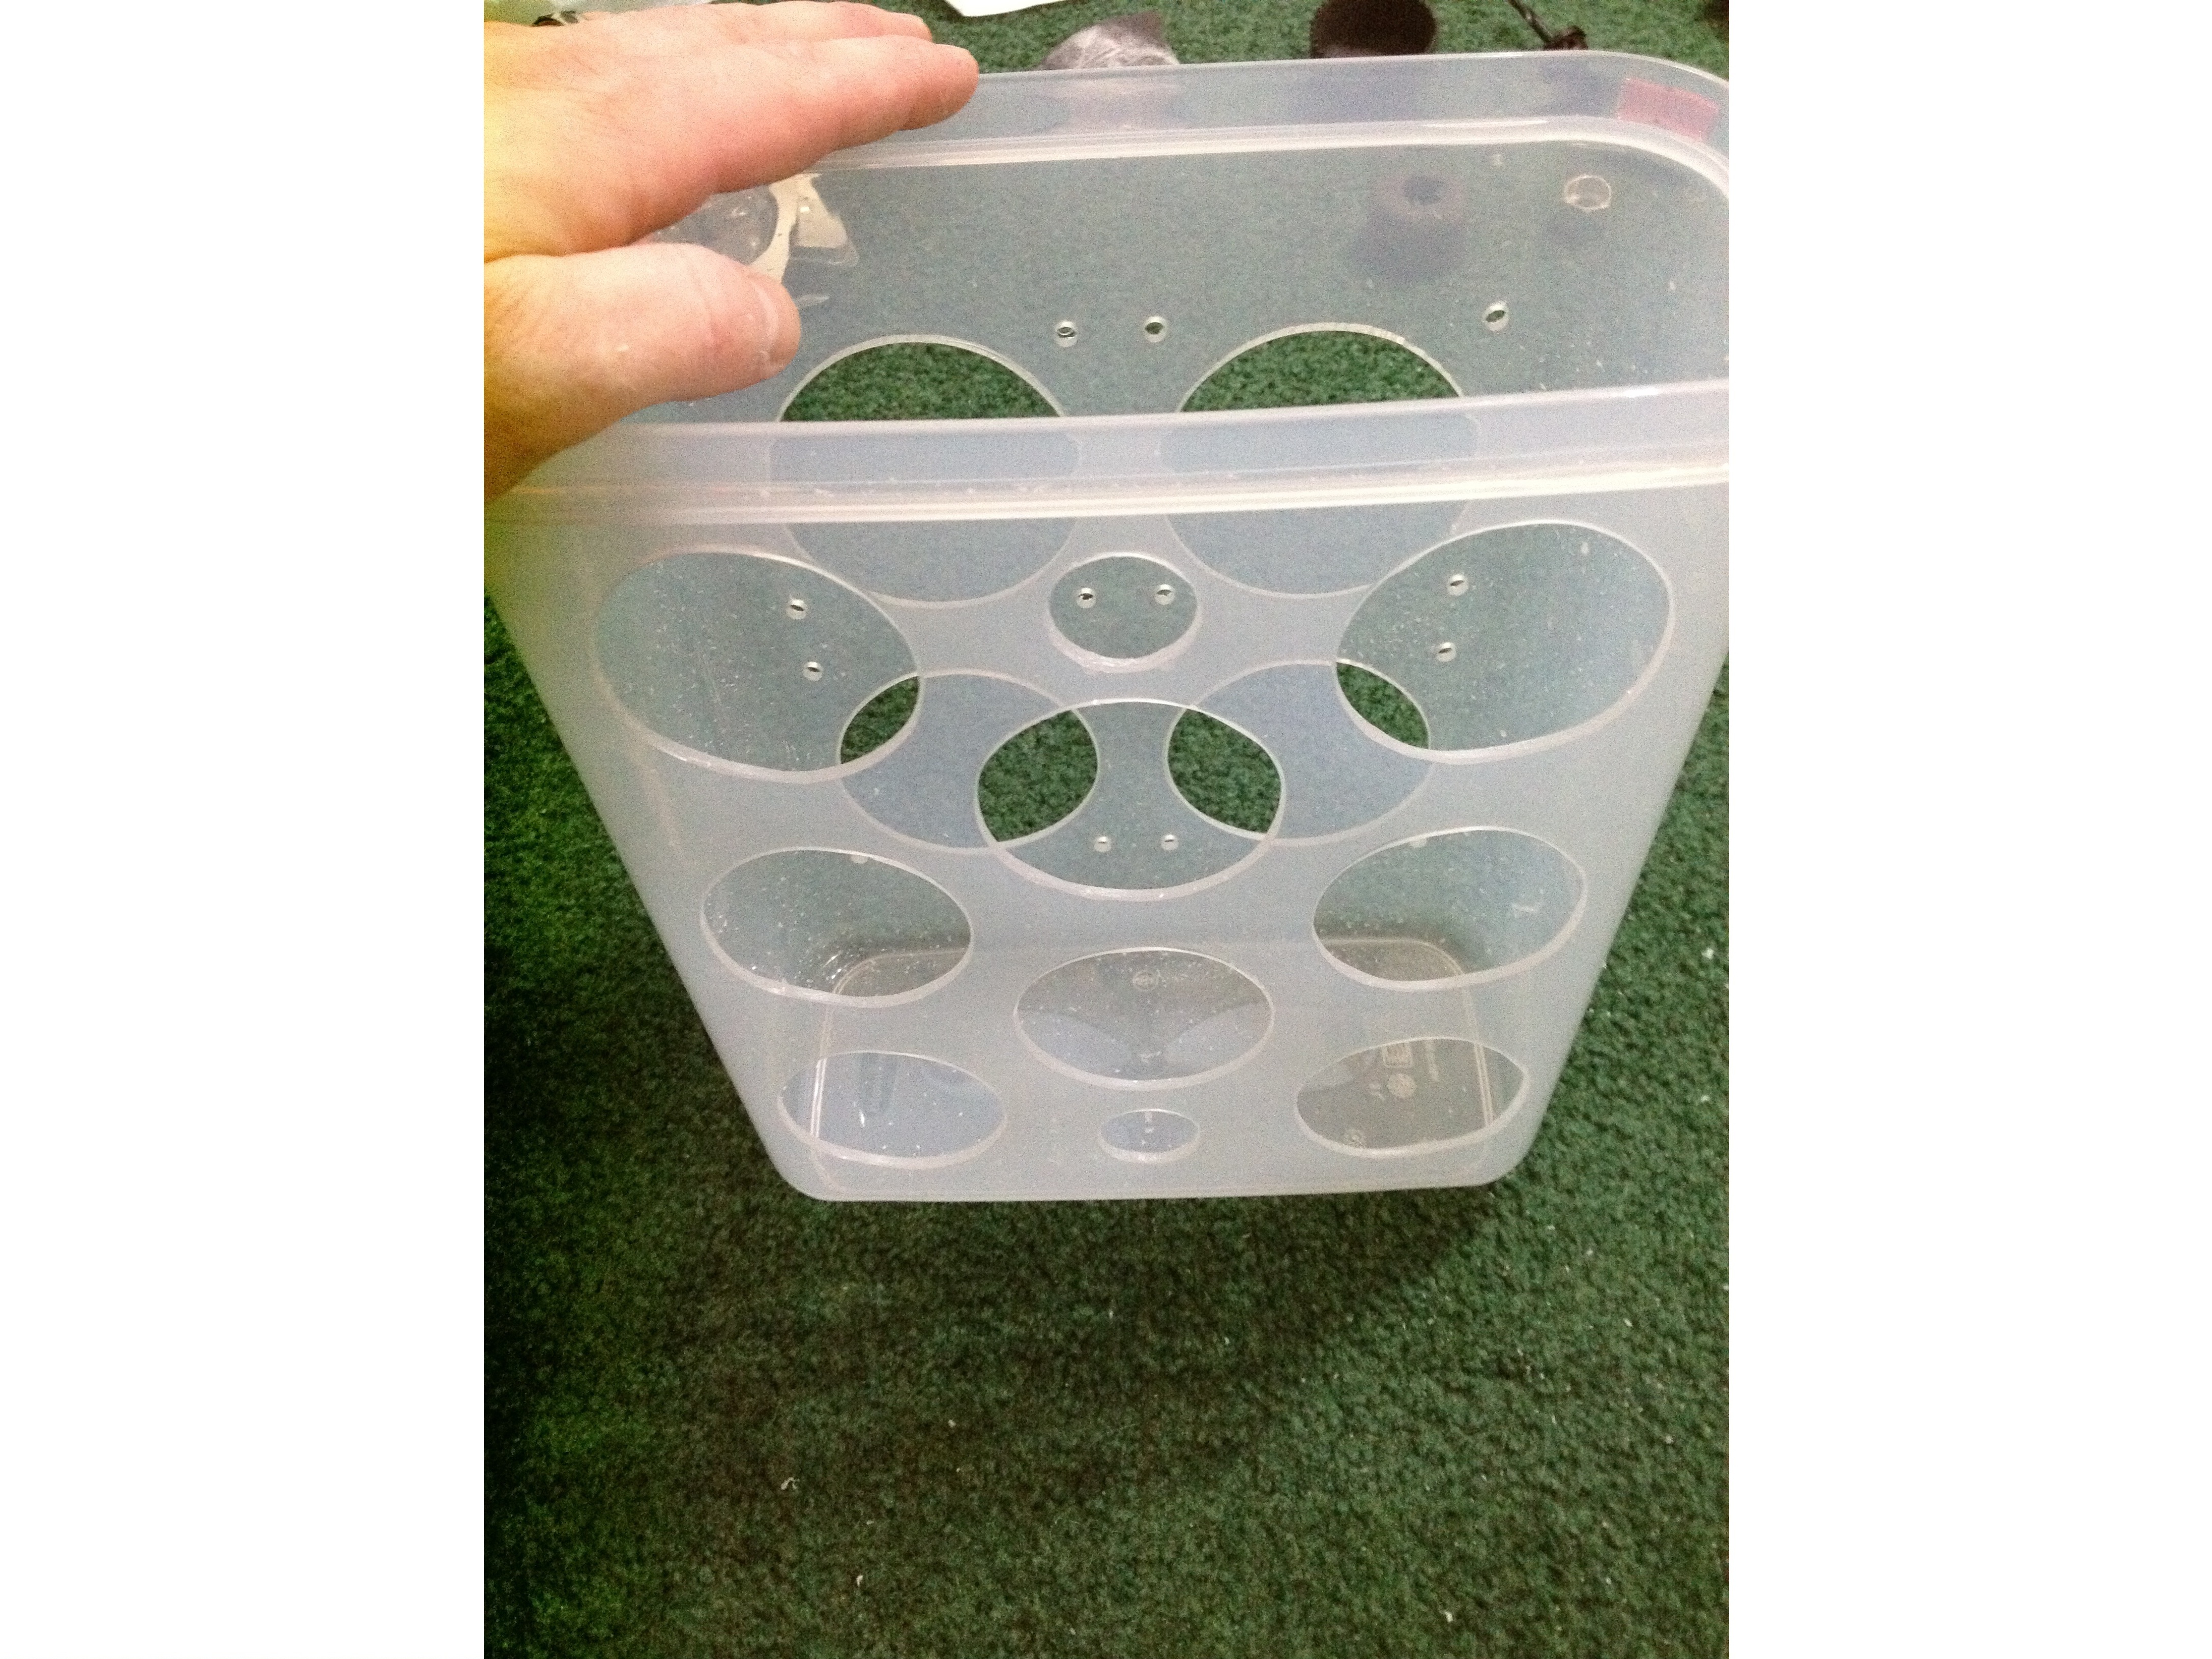
I decided to use this enclosure upside-down because it was wider at the top and it will be more stable this way. The third picture in this series is my “concept” layout.


After obtaining all of the required parts, I decided how to lay them out. I like to trace patterns like this on grid paper; it is easy to center and align, plus you can tape it directly to whatever you’re working on to accurately locate your cuts.
I pre-drilled all of the holes with a small drill bit using the patterns that I made.
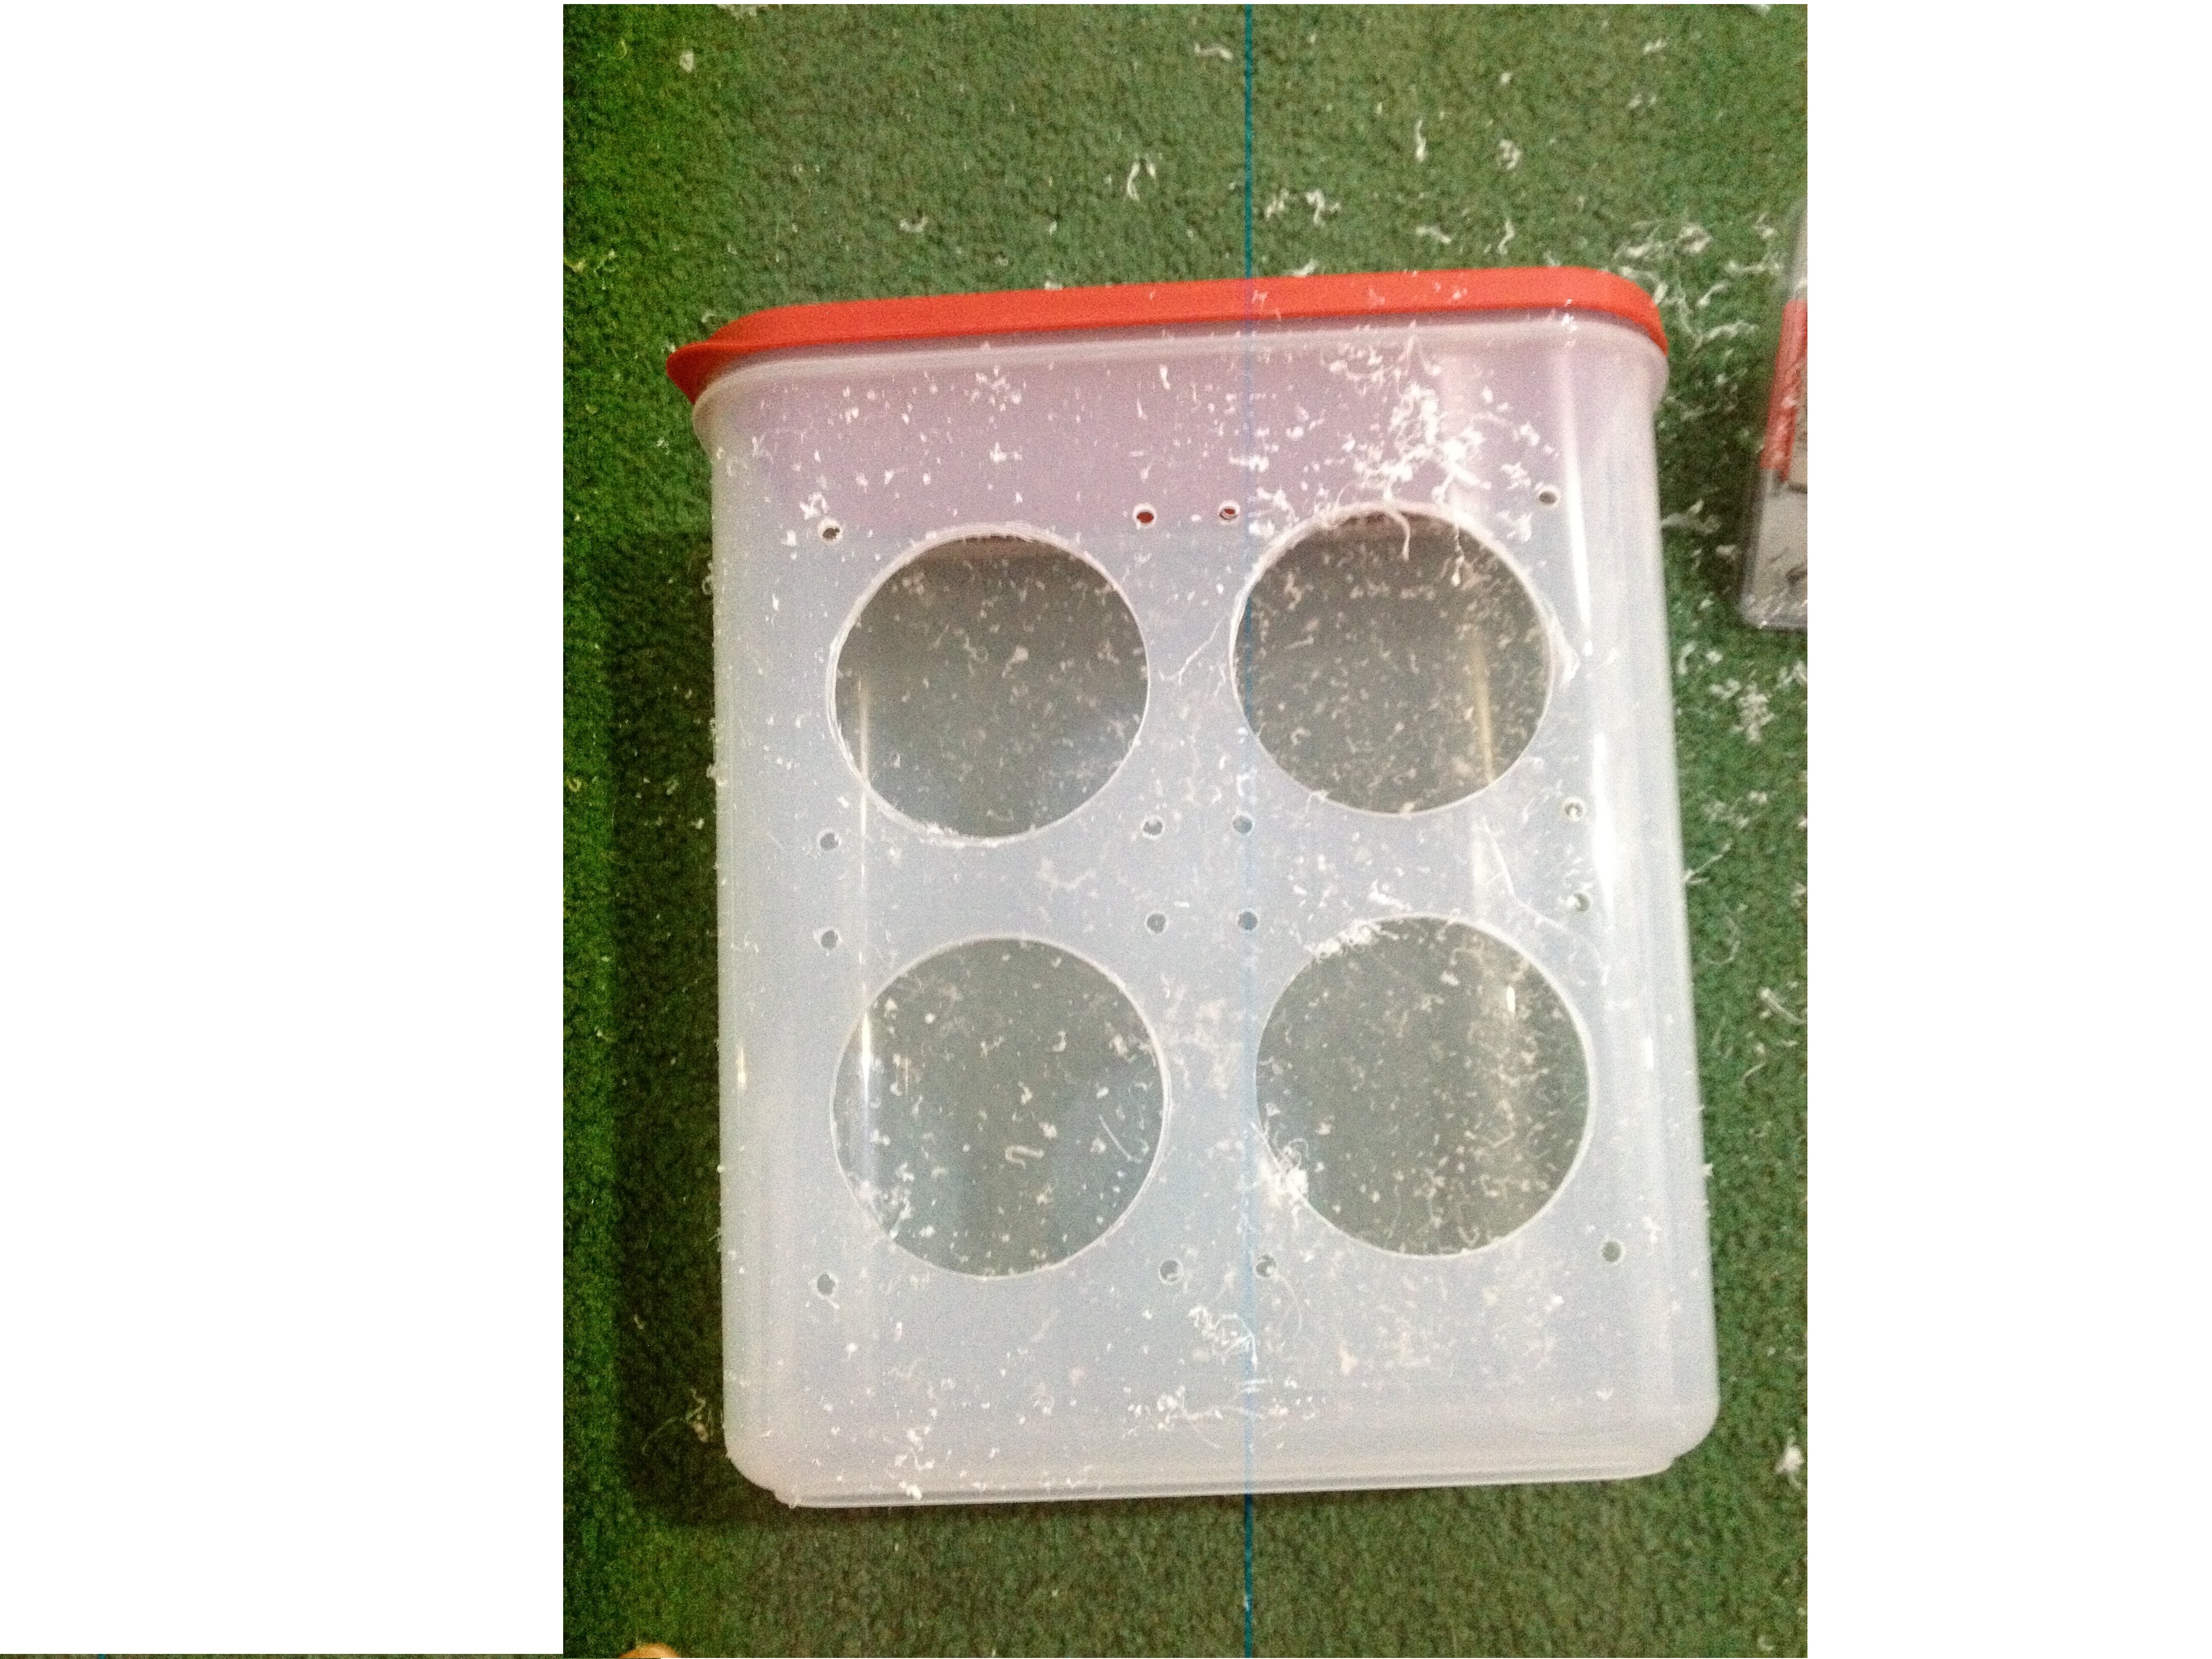
After removing the paper patterns, I used hole saws to cut out the larger circles. On thin plastic like this, I flip the guide bit around so that it doesn’t start to mill sideways and make your round hole turn into an oval.

After cutting plastic with a hole saw like this, you’ll have some rough edges. (especially if your blade is dull or you are impatient while cutting). I used a rotary sanding drum in my drill to refine the shapes of the cutouts and a razor blade to trim away the flash that was left over. This makes a big difference that you can see in the “before” and “after” pictures.
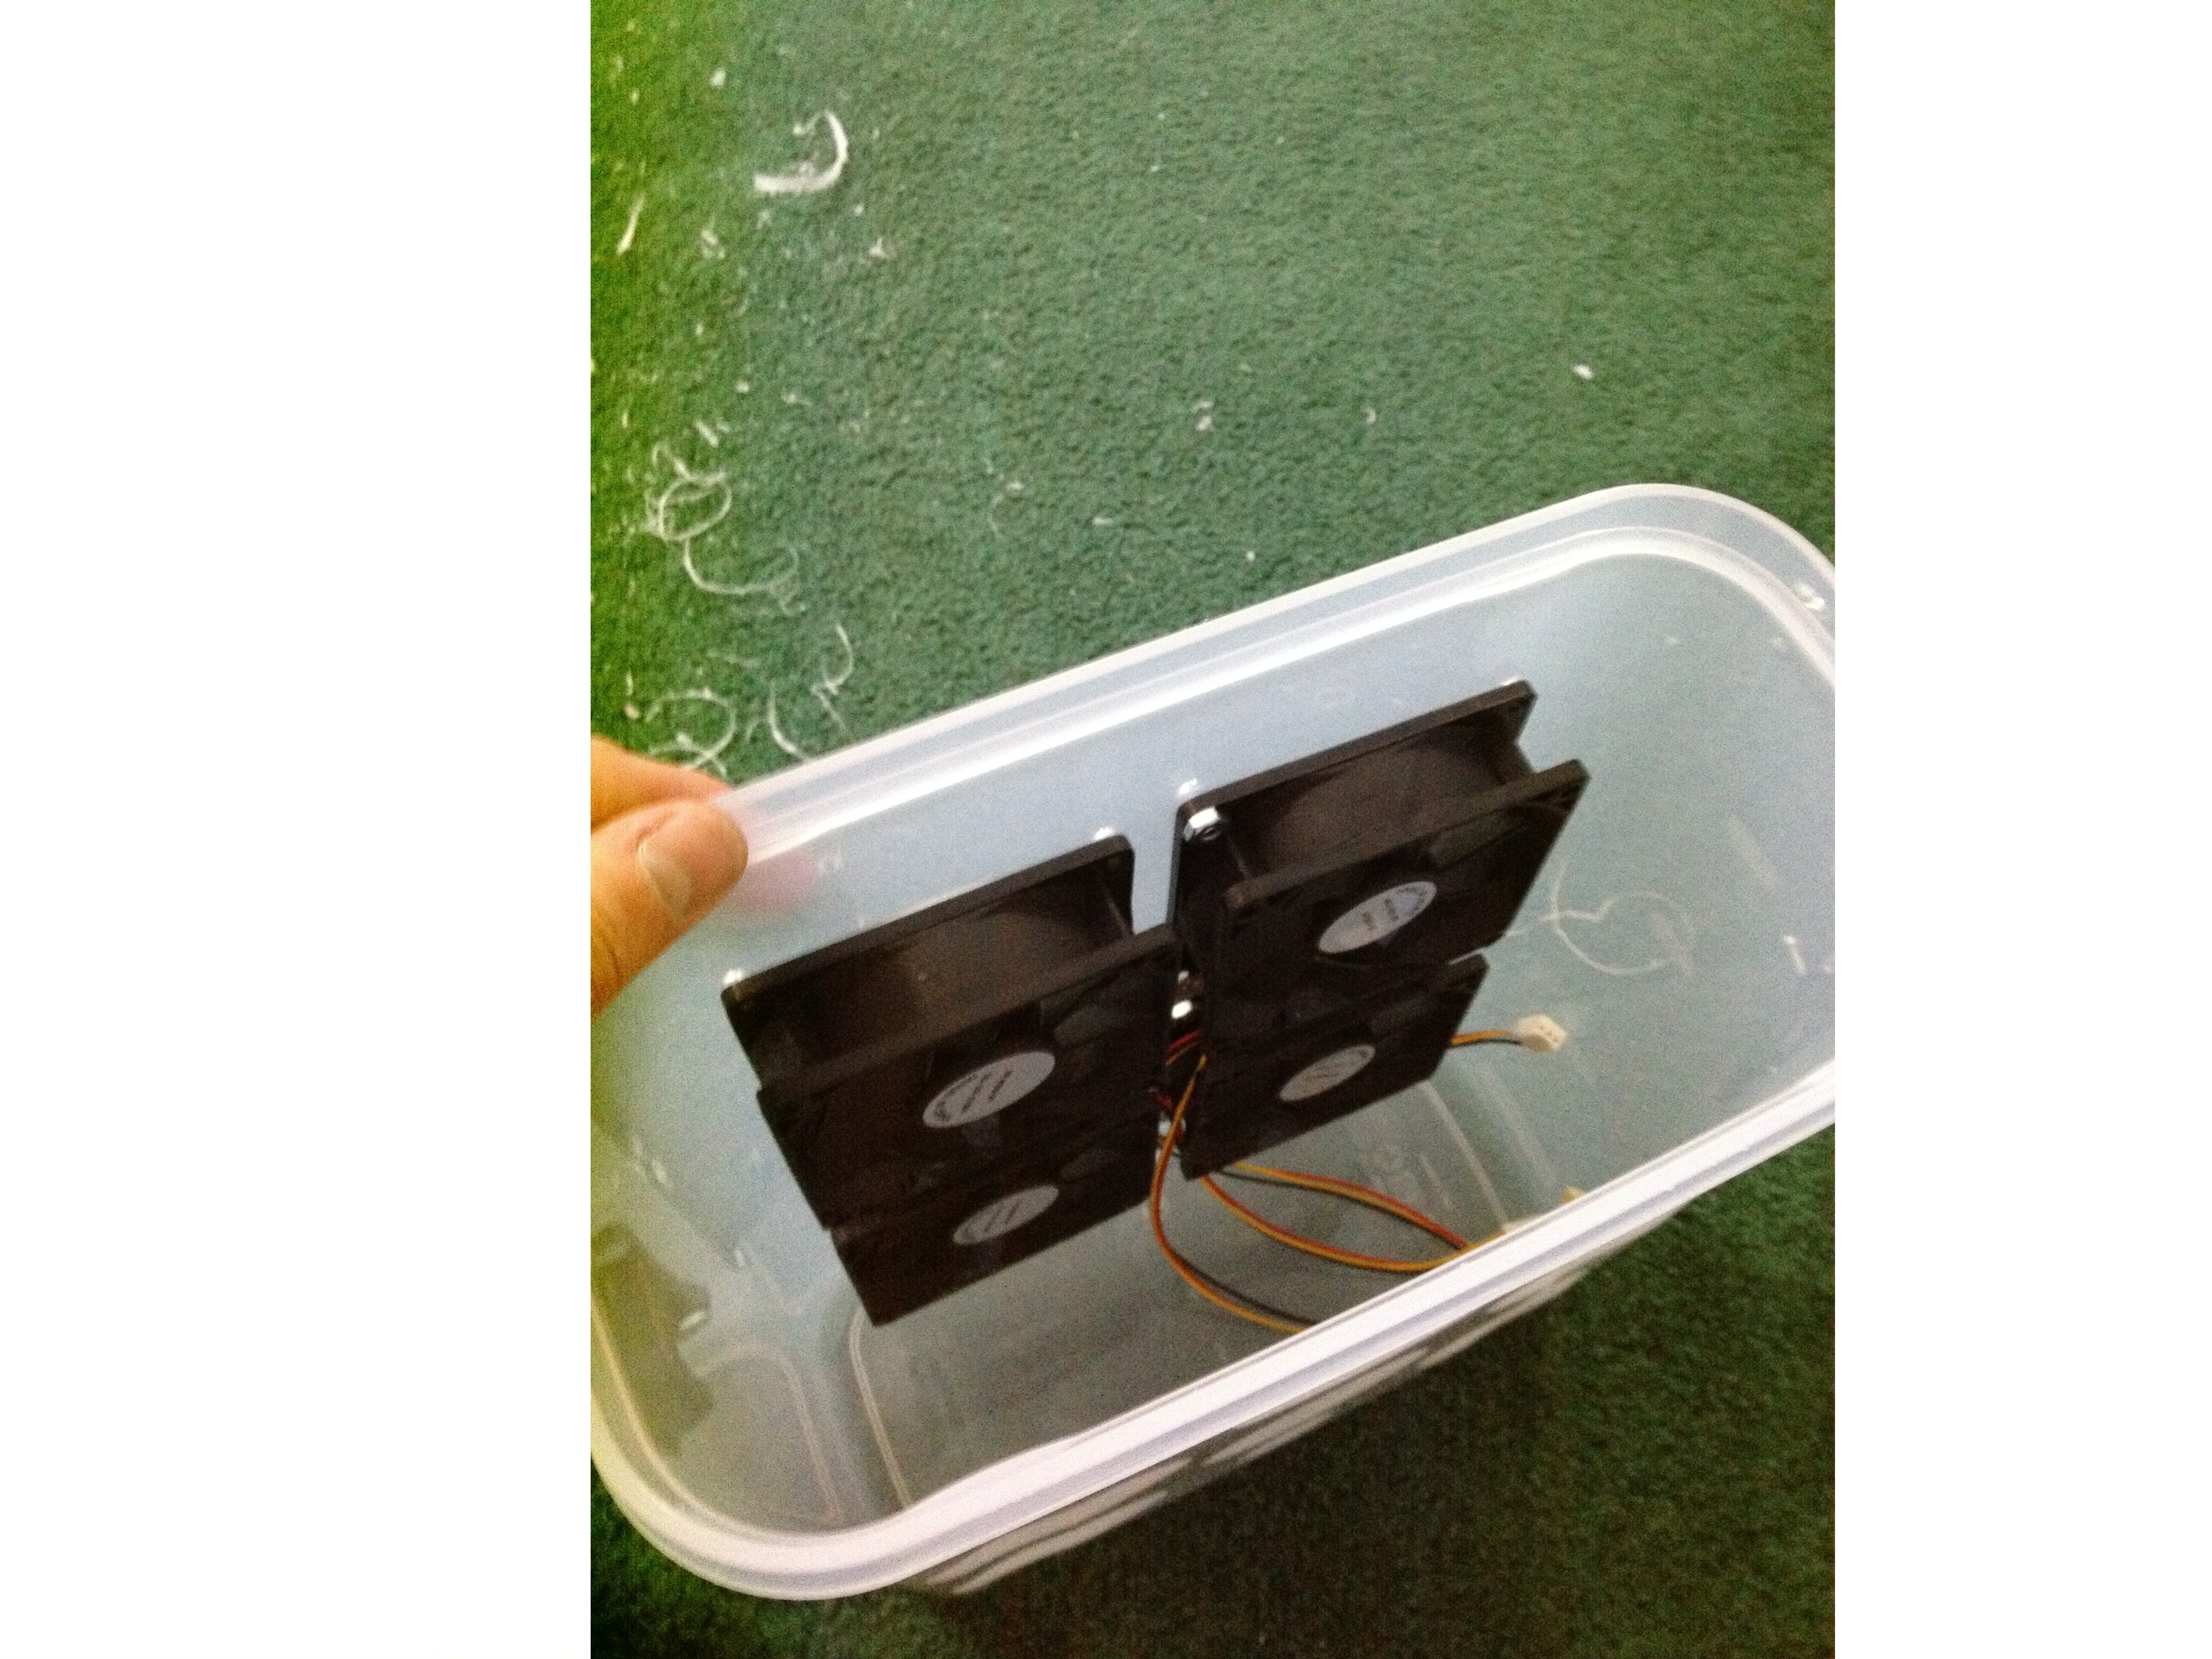

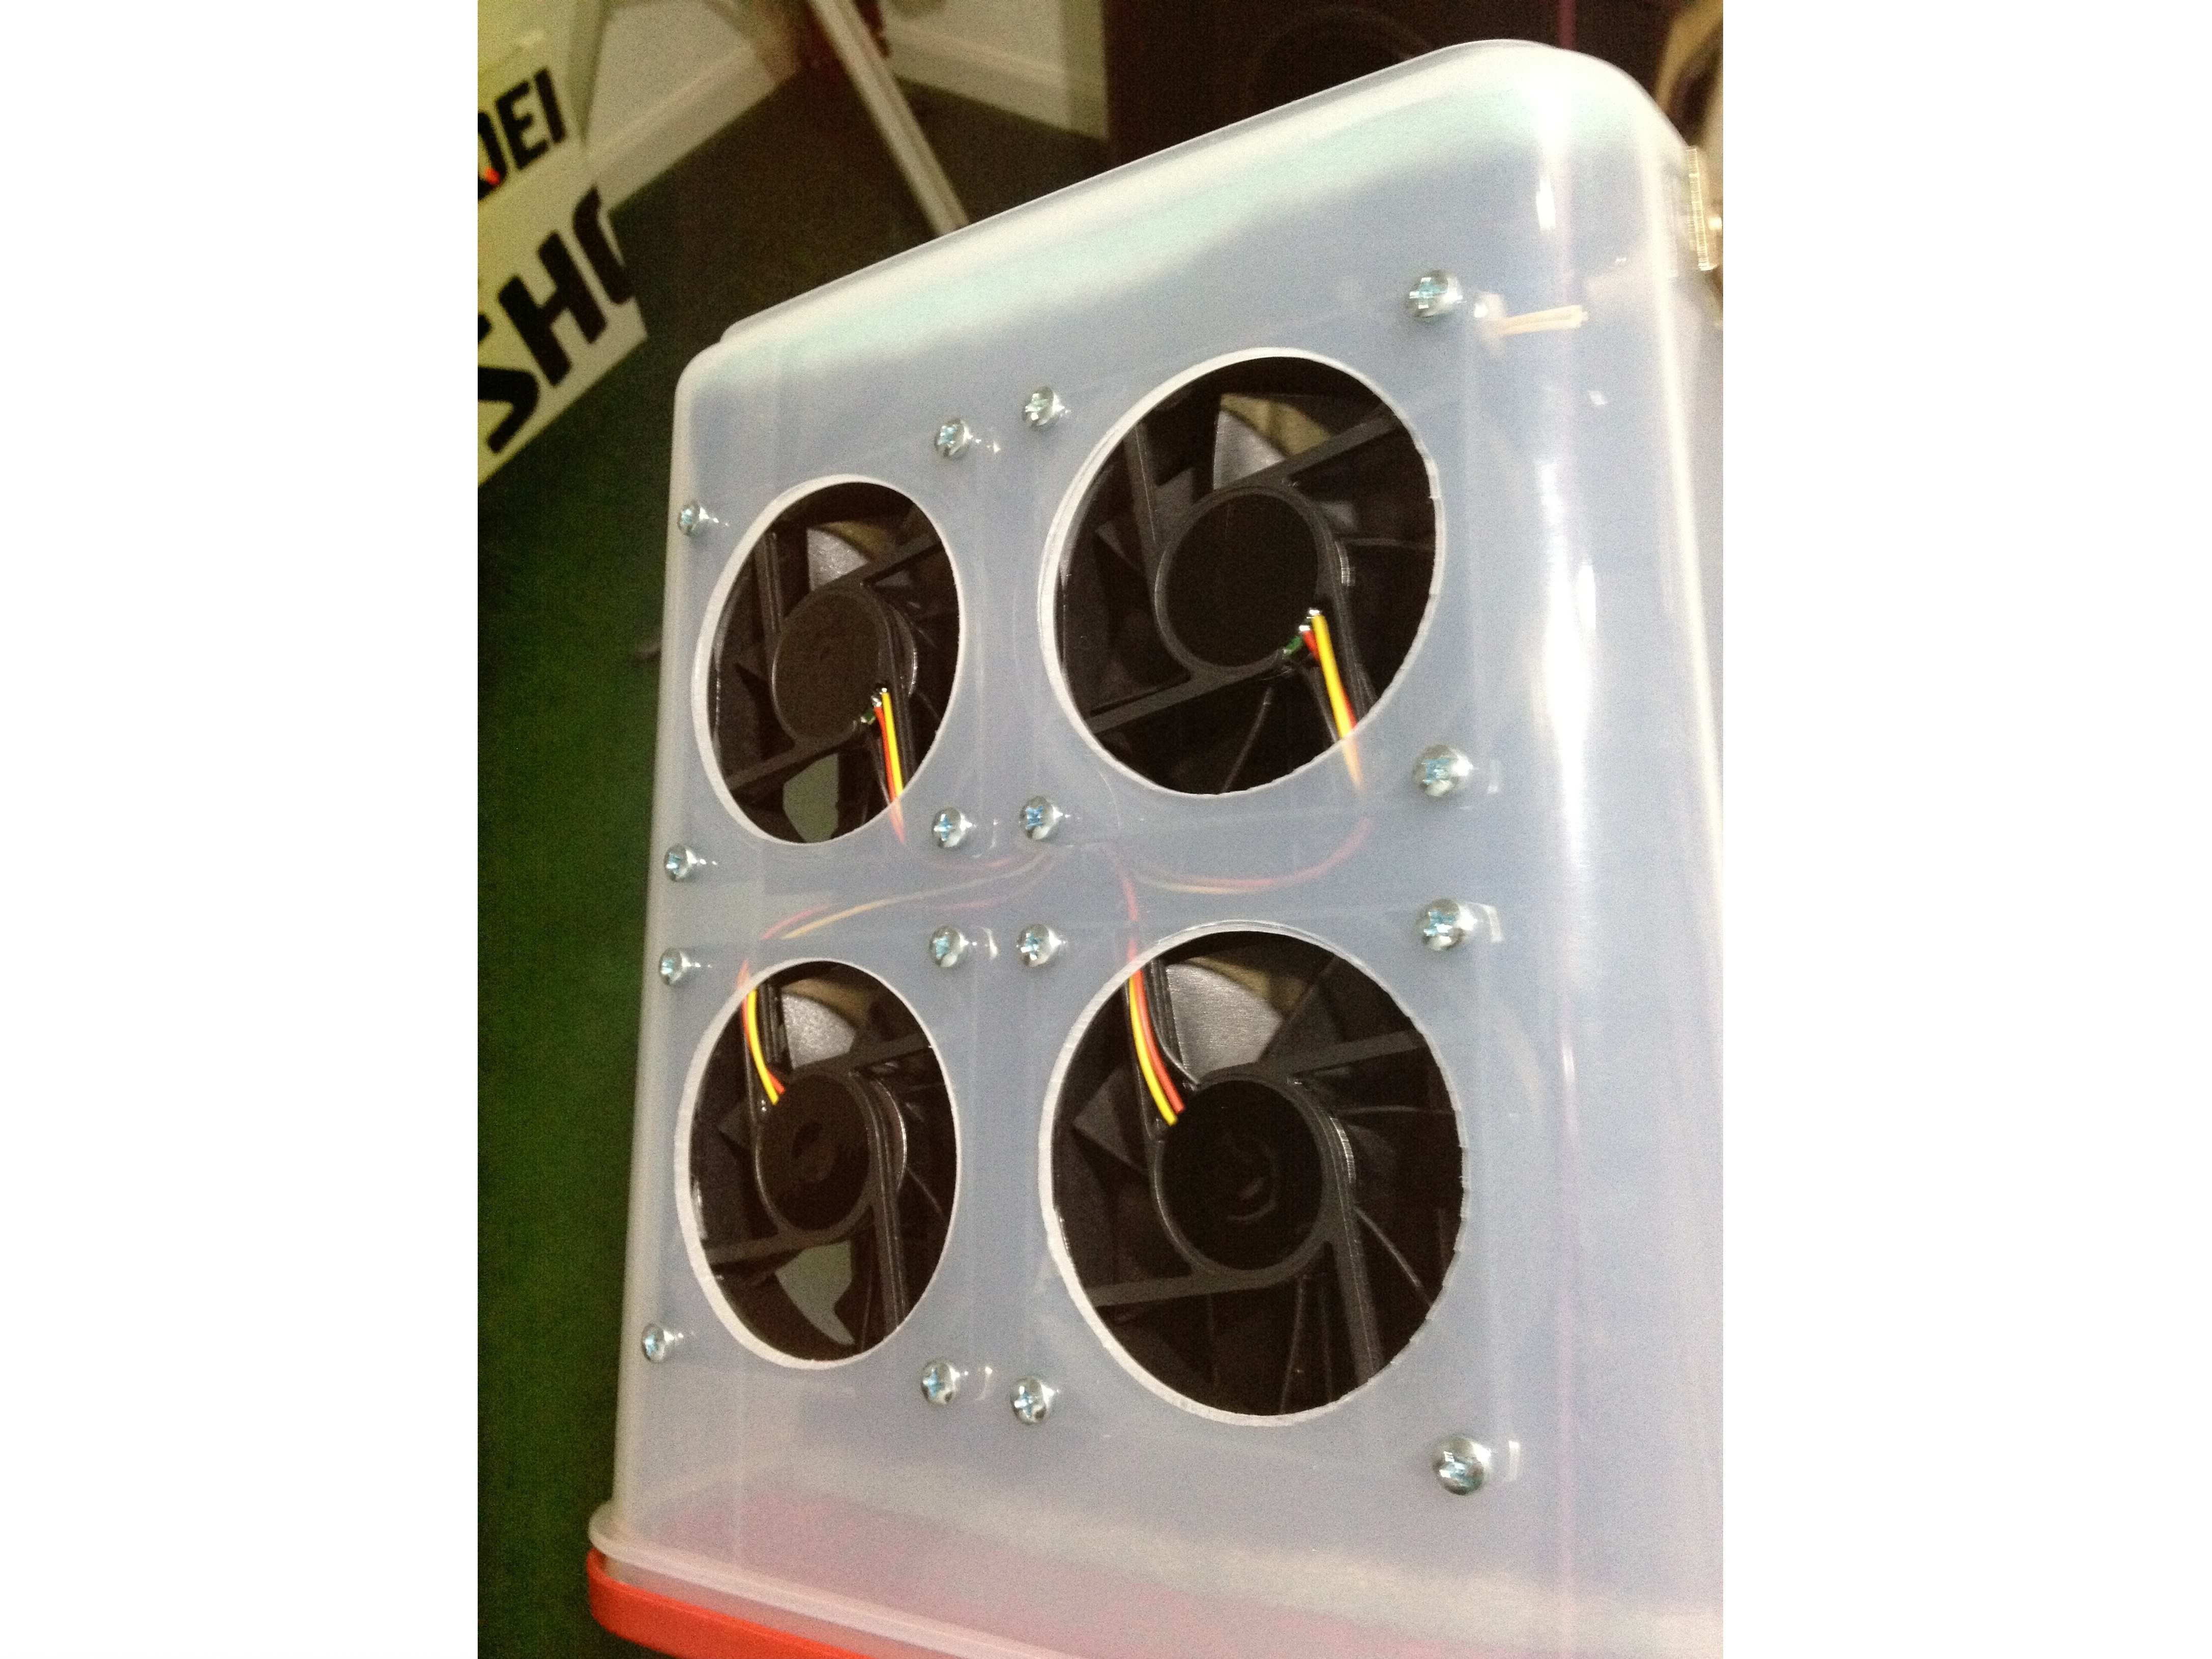
After the enclosure has been cut and cleaned up, it’s time to mount your fans. I made a trip to the hardware store to get some small machine screws and tiny nuts to match.
When you mount the fans, make sure to orient them so that the wires end up where you intend for them to.
This step was a little tedious because it was hard to start the little nuts. If I were to build this project again, I’d find screws that threaded directly into the plastic of the fans and not worry about using little nuts.
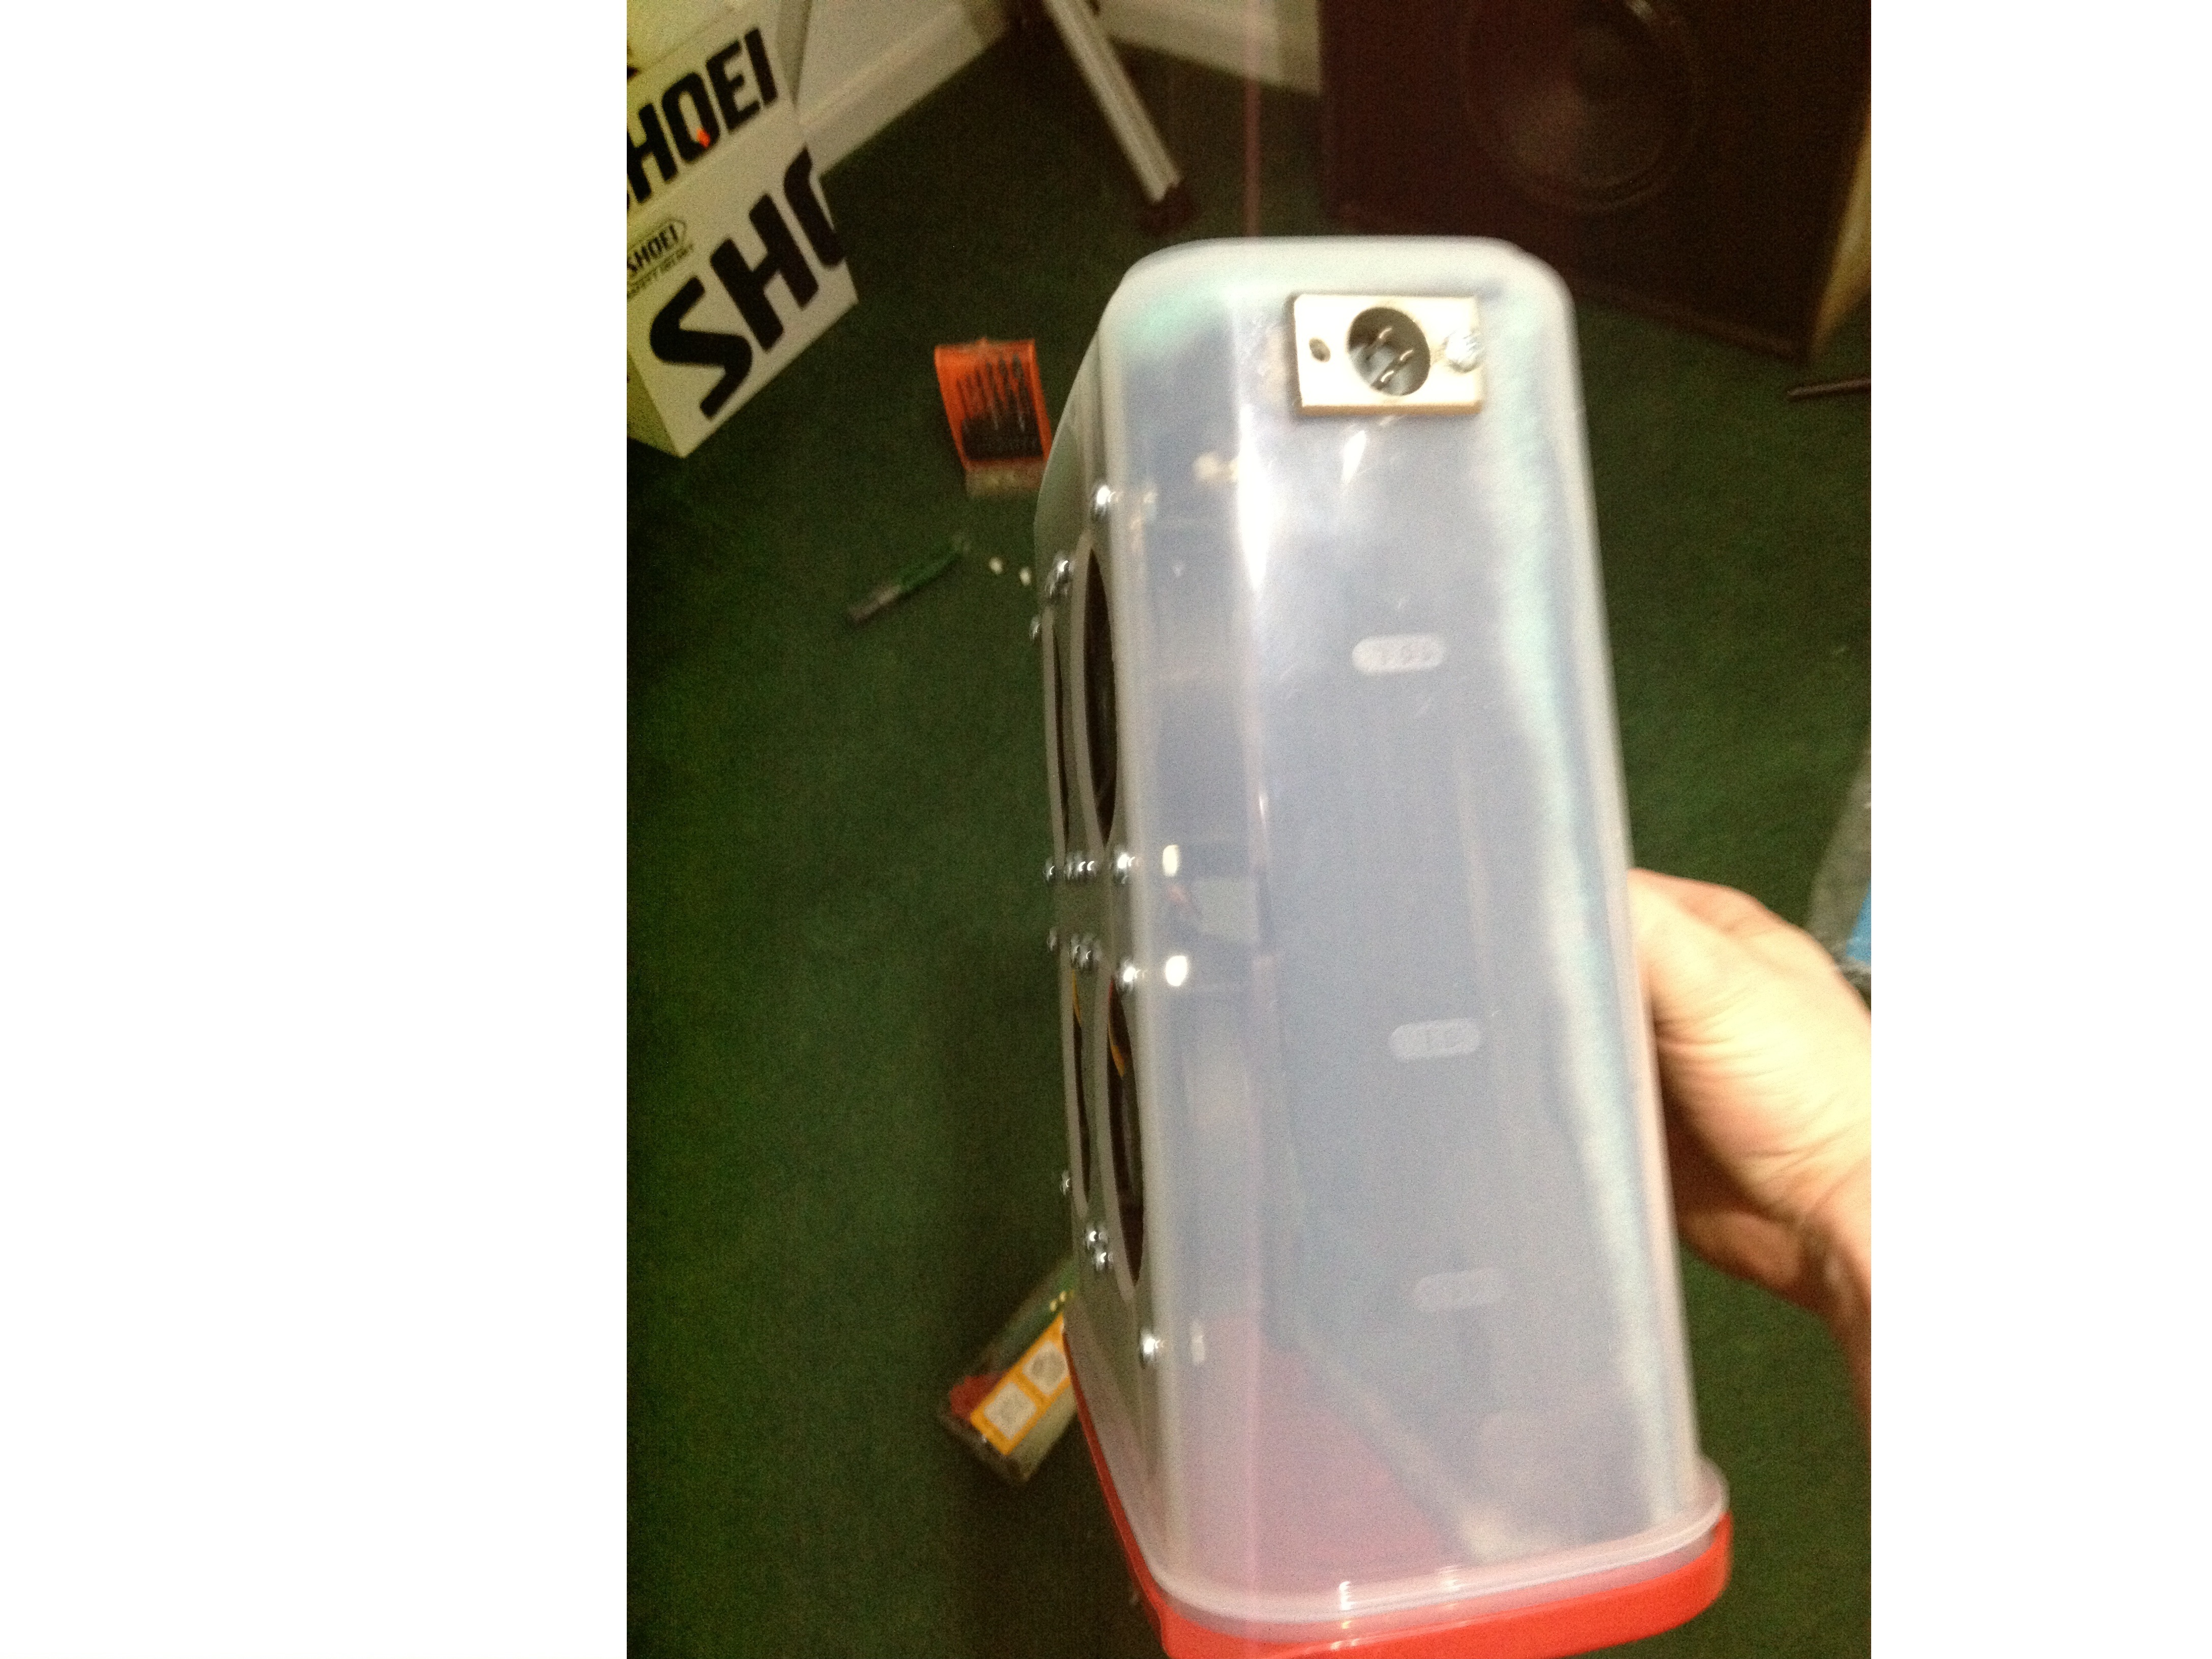
Next I installed a connector for power. I happened to have a panel-mount XLR (microphone) jack sitting around, so that’s what I used. These fans run on 12vdc (48vdc is commonly used with these connectors), so I didn’t have any concerns about the suitability of this type of connector even though it is not normally used only for DC power.
It is not pictured, but I also found an old laptop power supply that output 12vdc like the fans run on. I soldered a matching female XLR cable connector onto this power supply.
Be sure to match the voltage of the power supply to the circuit that you’re powering, take note of the fans’ polarity, and connect the cable connector and panel jack using the same pins. If you’re not familiar with basic electronics, google what happens to voltages when you put devices in series and parallel so that you don’t send your fans the wrong voltage or overburden your power supply. Ohm’s law is important :)
Obviously you can use whatever type of connector you like as long as it is rated for the voltage and current that you are using. Also, use a female connector on the side that the power is coming from so that the power supply can’t short out on anything.

Now that the enclosure is made and the fans are wired to a power connector, there’s nothing left to do but construct the filter.
The type of filter that I purchased required me to cut the element to size and then make it the meat of a sandwich between two (also cut-to-size) plastic lattices. Make the lattice small enough to fit inside the enclosure easily and cut the foam large enough that it seals itself against the sidewalls.
You can see a leftover piece of the plastic lattice in this picture.
There was enough filter media in the kit I bought to make 4 filters.


That’s all, it’s finished! Insert the filter into the housing so that it doesn’t interfere with the fans and plug in the power.
I’ll add some action shots in the near future!
I am well pleased with the fume extractor that I built. It works well and I can solder inside the house without bothering anyone or being exposed to the fumes. I will be experimenting with using more than one filter medium at a time and retrofitting a speed control/power switch. If I were to do it all over again, I think I would buy more powerful fans, but I may retrofit those as well.


