Embroidery became an obsession of mine about six years ago. Then it took a turn: I wasn’t content stitching only on fabrics; I wanted to intersect new planes with stitches.

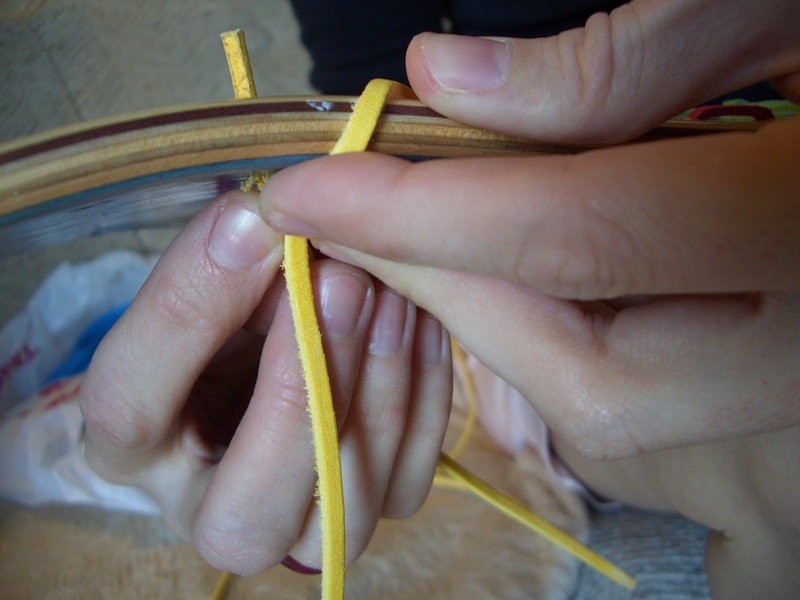
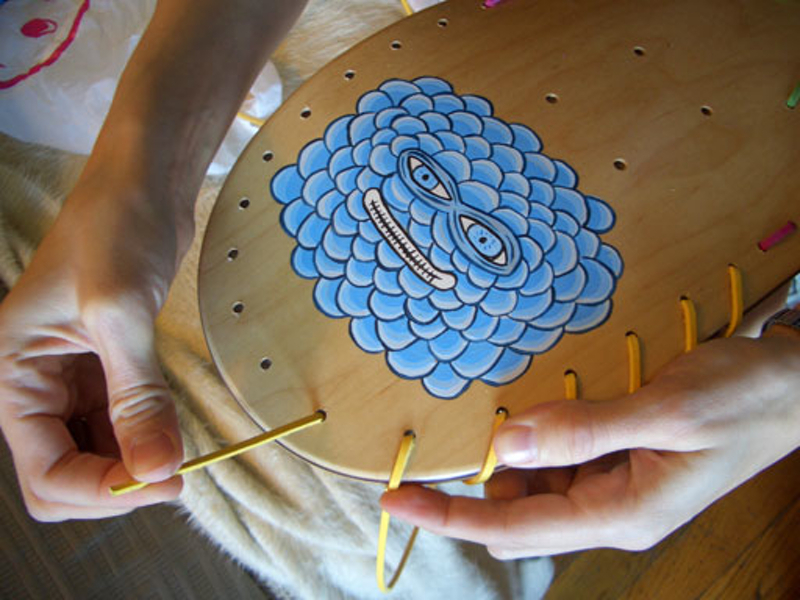
Then last spring I was invited to participate in a group show of mocked-up skateboards to benefit the Knoxville Skatepark in Tennessee. This was an exhibit that would include painters Gary Baseman, Dalek, and the Art Girls. I guess I could’ve painted a board too, but instead, I decided to embroider it. Kickflip all you want, just go easy on the boardslide.

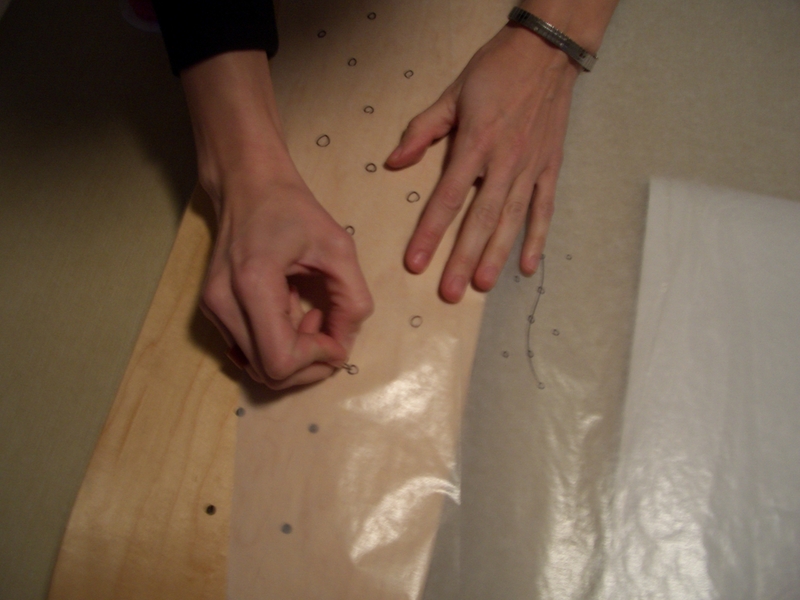
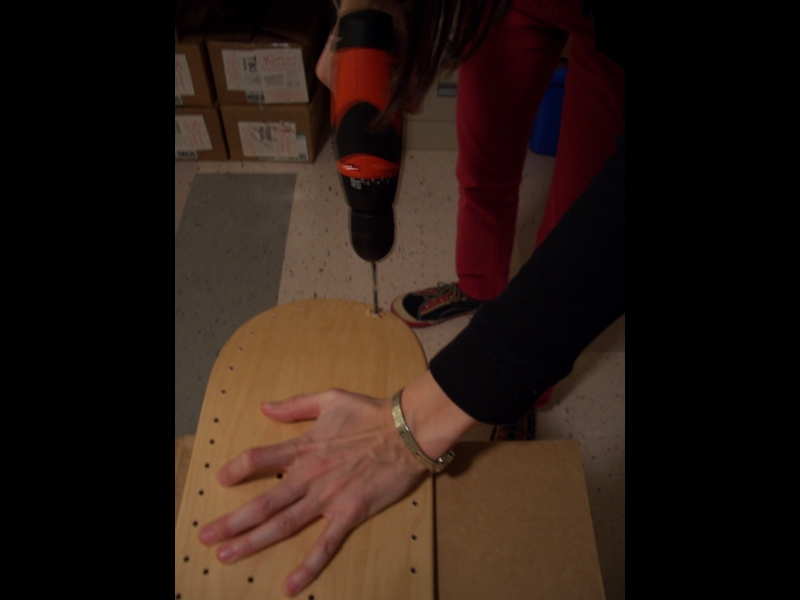
If you want to compromise the structural integrity of your skateboard in the name of art, just follow my easy steps! Austin-based artist Tim Brown (timlandia.net) painted some clouds on it for extra jazz.

Project Steps

Make the template.

For this first attempt, I kept the design simple. You’ll have to anticipate where the thread (in this case, leather lacing) will be coming through the board and pre-drill those points.

Make a configuration of points on tracing paper based on the endpoints of an embroidery stitch. This skateboard uses the feather stitch, whipstitch, running stitch, and straight stitch. Each drilled hole is where a needle would intersect fabric, or in this case the board.

Transfer the template.

Lay your template over the blank deck, and with an awl or tack, mark points on the board for drilling.

Drill holes.

If you intend to ride the board, you’ll want to add grip tape to the top of the board before drilling. Drill holes on the points you marked.

Lace the board.

Make a knot in one end of the leather lacing. Pull through the front of deck and continue through pre-drilled holes. To make a laced edge, simply drill evenly placed holes near the edge of the deck and wrap the leather lace around the edge.

Finish.

Secure knot at end and daub all knots with wood glue. Add wheels, and step on board!

Conclusion

This project first appeared in CRAFT Volume 01, pages 121-122.