10-IMG_3668a
The finished stand

Tables, workbenches, or even printer stands are those unsung heroes of our lives that basically just sit there, but are nonetheless essential. After all, who really wants to work and eat off of the ground all the time?

1-IMG_3641
The “before” situation

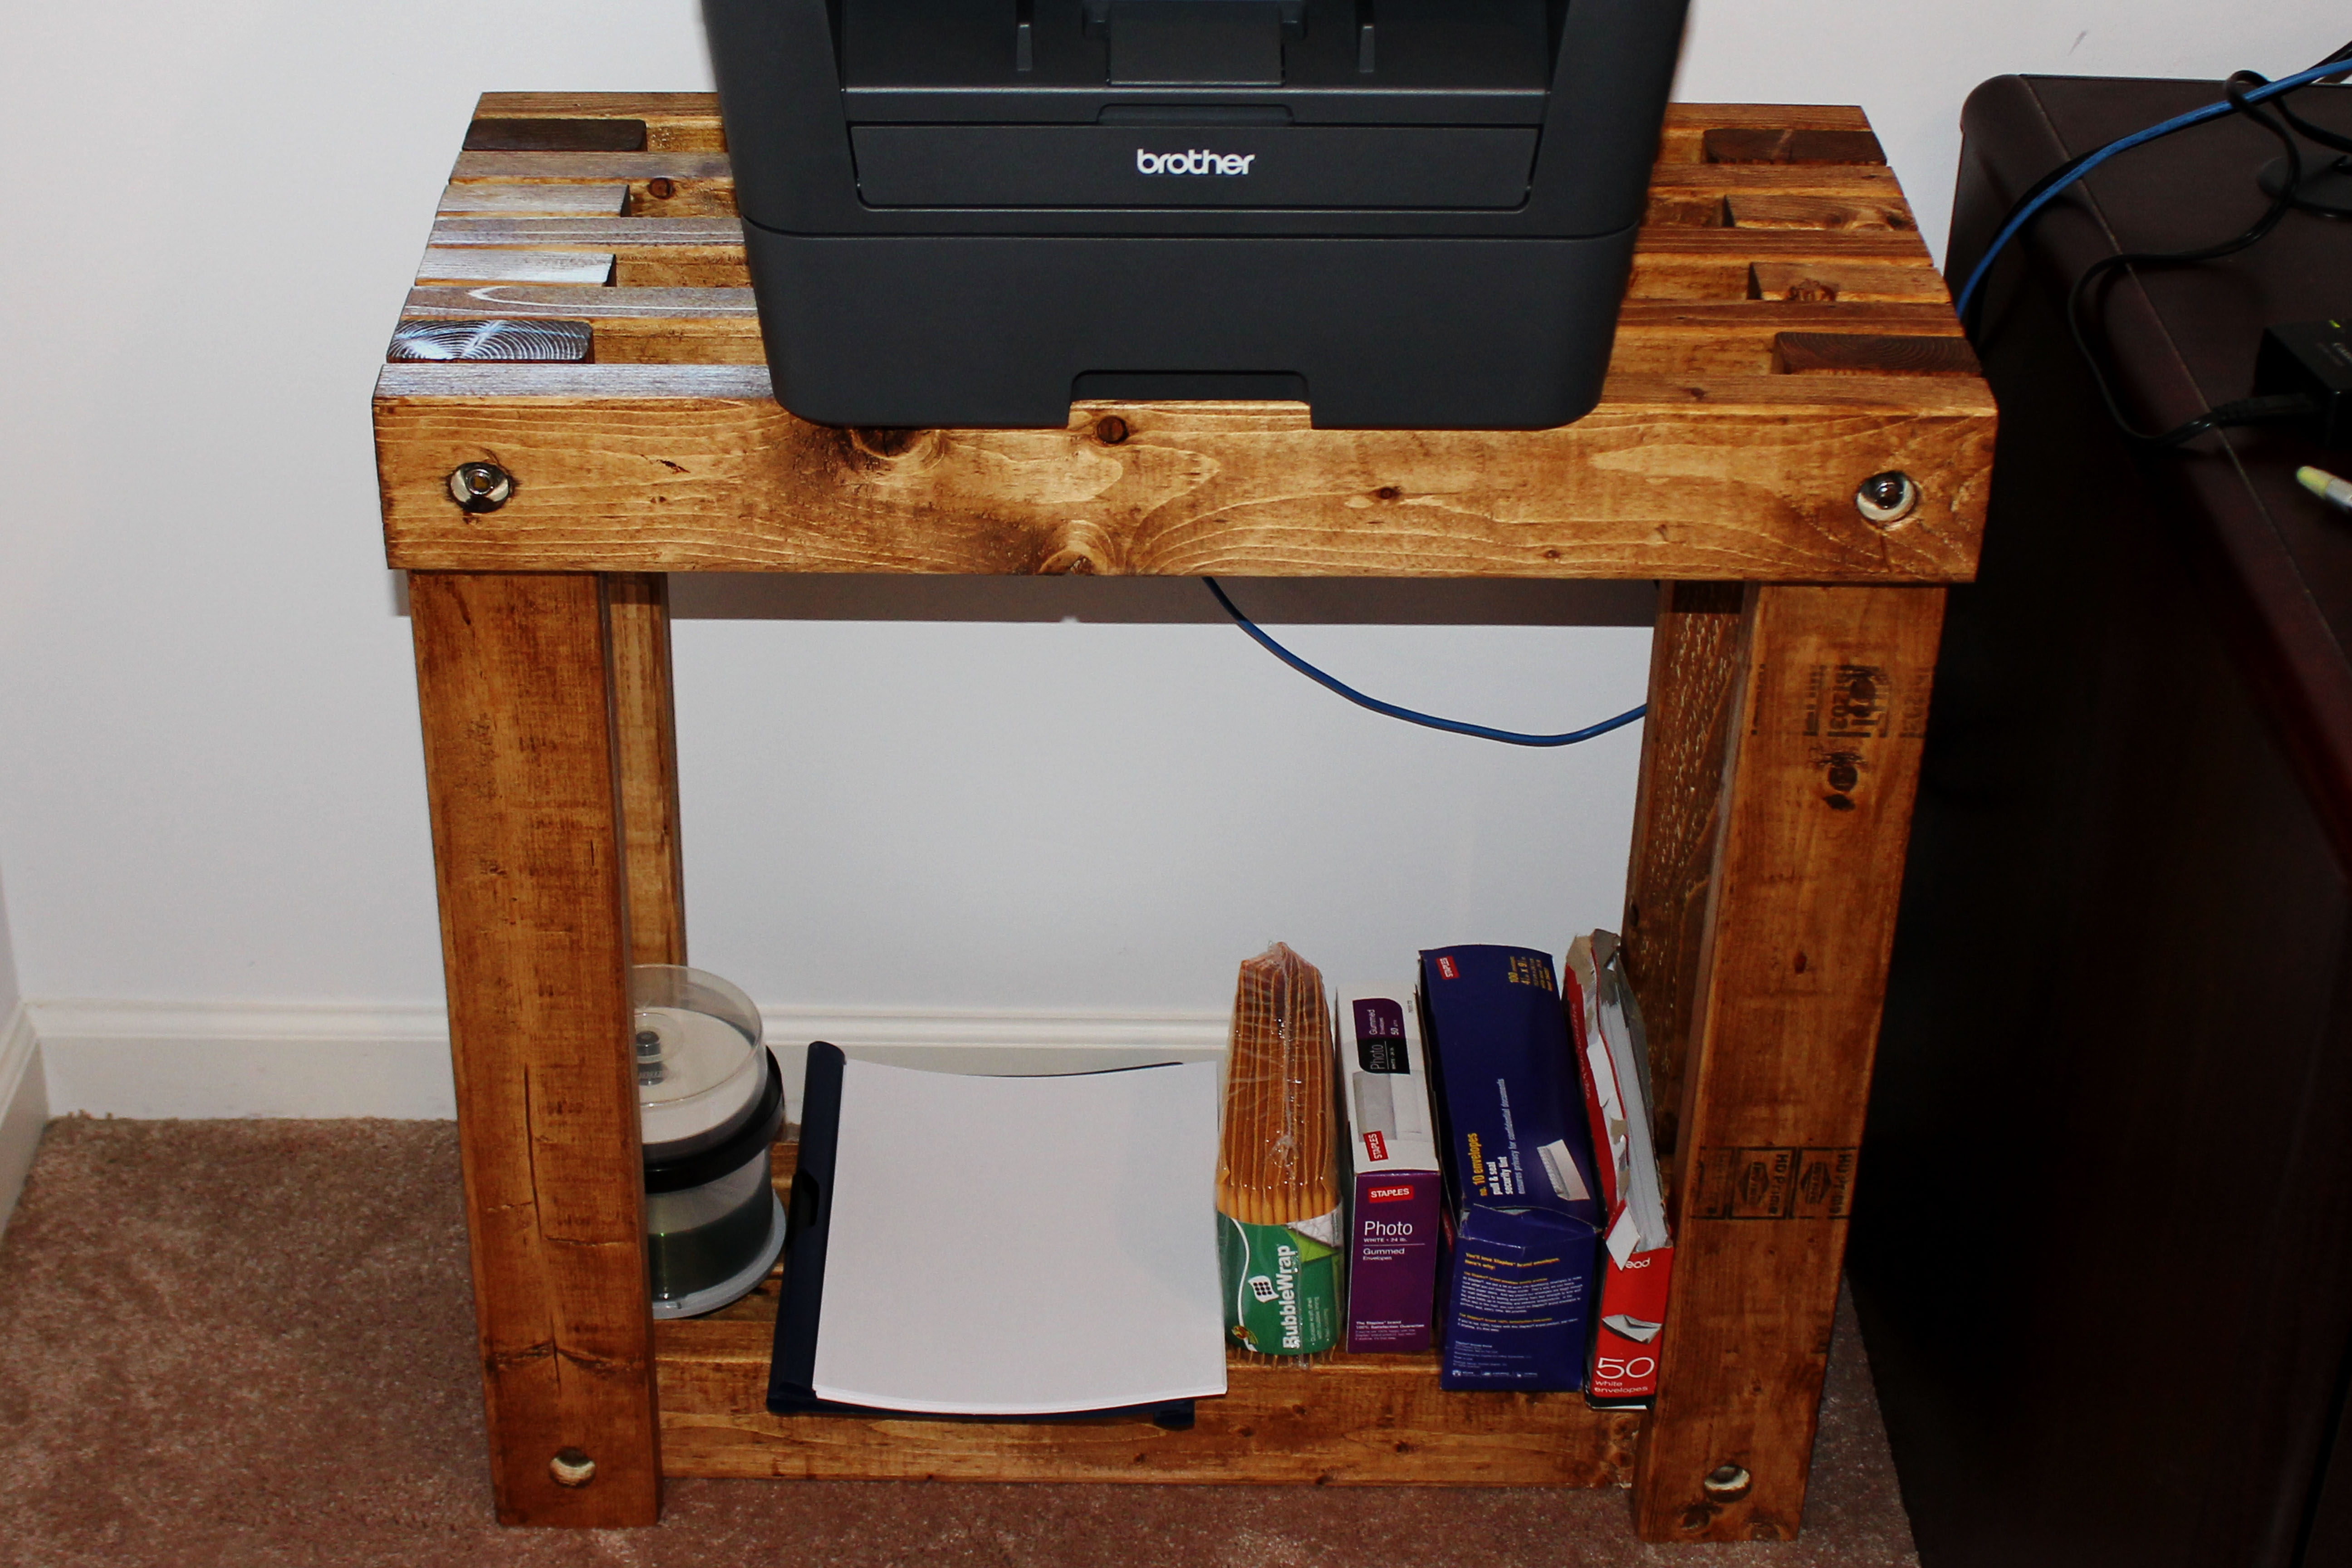
In my case, I had nearly all of the tables and desks that I needed in life, except for a place to put my printer. After a move, my previous stand had never really been set up correctly, and with a new and heavier printer, it seemed like a good idea to invest in something sturdy. I didn’t have to construct it out of 2×4s, but I’d been mulling over this sort of design for a while and thought it would look good, if overbuilt.

The Design

1-IMG_3601a

After some debate about height and width, I decided that it would be simplest to make each long 2×4 structural element 28″ long for a square table. This simplified construction, as only these and 3½” long spacer sections were needed. The proportions ended up working out nicely, as I’d measured my original stand to see what would work best.

Project Steps

CUT WOOD TO LENGTH

3-IMG_3613

Measure and cut 12 pieces of 2×4 to 28″ and 8 pieces to 3½” in length. If you have a miter saw with a stop on it, this can be very helpful for consistent pieces. I didn’t have one, so I used one length of wood as a template for the others.

DRILL HOLES

4-IMG_3620

Drill a ⅜” hole in each long piece wood that you have, 1½” from each end. The spacer sections will also be 1½” from the end, in the middle of the piece. If you have a vise on your drill press or milling machine, this can be very helpful to maintain a consistent hole position by marking or setting a stop.

COUNTERBORE HOLES

4-IMG_3646

Counterbore two 28″ pieces on either side to a ⅝” depth. Additionally, counterbore four other 28″ pieces in the same manner on only one side to form your vertical supports. Use a digital readout if you have it to get the depth consistent, or you can mark the bit as shown in the picture.

Sand your cut wood with a power sander or by hand. The counterbored pieces are most important, as they will be on the outside of the final assembly.

PREPARE ROD

5-IMG_3628

Cut two lengths of 3/8-16 rod to 13¼” and two lengths to 10¼“.

START ASSEMBLY

6-IMG_3633

Lay out your bottom pieces as shown in the photo. Thread a 10¼” length of rod through both holes and secure with nuts and washers.

MORE ASSEMBLY

6-IMG_3639

Attach double-counterbored sections to either side of the table’s top loosely with the remaining sections of threaded rod, while duplicating the bottom wood assembly to fill in inside the vertical supports. You may have to hammer and/or twist the rod to get it to travel through all the holes. Spacers should be assembled with the cut ends horizontal.

Tighten nuts as securely as possible, and your structure is ready to be finished!

SAND SURFACES

7-IMG_3653

Sand the top surface and top of the bottom 2×4 assembly so that the table surface is smooth. Wipe excess dust off before staining.

STAIN

8-IMG_3654

Stain the table surfaces. I used a stain and eurethane mixture that seems to work quite well. I’d recommend gloves, as, like the name implies, it can stain your fingers.

DRY AND USE!

10-IMG_3666

10-IMG_3665

Let the first coat of stain dry for the time recommended by your stain. Sand lightly, and add another coat. Let this second coat dry, and you have a very sturdy table ready for your printer!