This project was inspired by my son’s love of Hot Wheels cars and making them go fast, as well as my husband’s love of making cool toys for him and wanting any excuse to play with power tools. This car launcher shoots out Hot Wheels-type cars using rubber band power, and it’s makeable using materials you probably have lying around the garage or in the scrap pile.
While I can take credit for the concept and documentation of this project, the design and execution were all by my quite handy maker husband, Dameion. This can either be a stand-alone launcher, or can be modified to attach to a standard Hot Wheels track. Here’s how to make one yourself, or maybe even two so you can race!
Before you begin, gather the materials and tools listed.
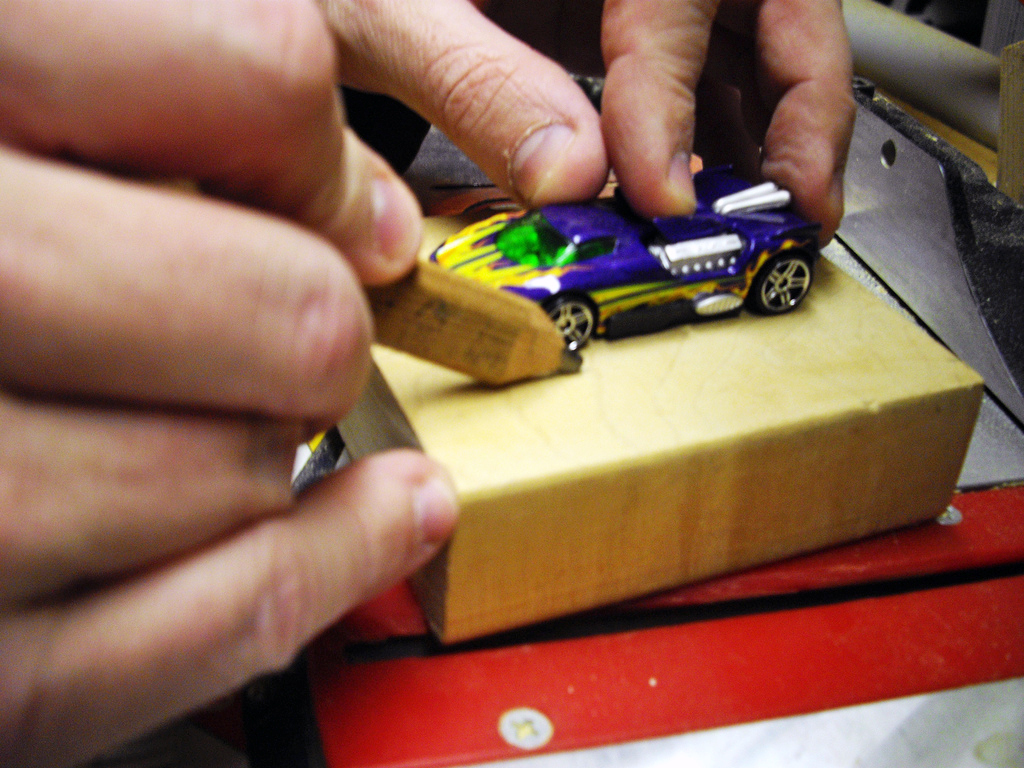
Find the center of your wood block, center a car on top of it, and mark the car’s width just outside each wheel.
Use a pencil and straightedge to draw 2 reference lines for cutting, slightly outside the car’s width; ours were about 1″ in from either side of the block. Cut the block along both lines. Now your wood is in 3 pieces. The 2 side rails will hold the car in place, and the middle block will move to launch the car.
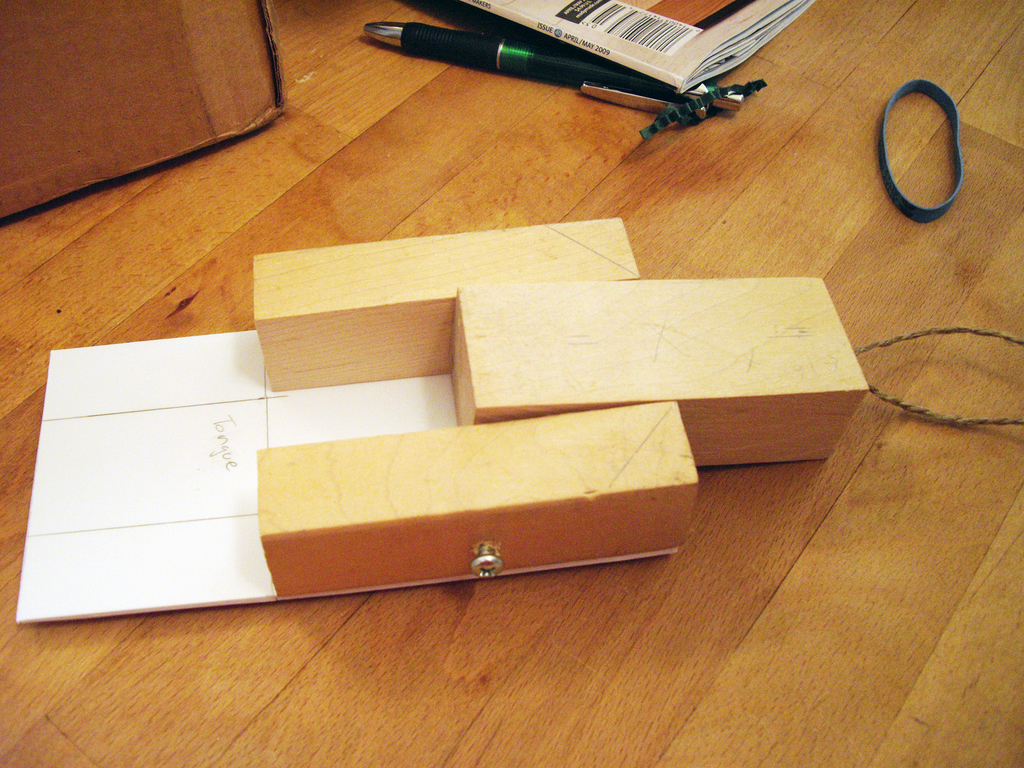
Reassemble your 3 pieces of wood, placing a few business cards between each piece as temporary spacers (cut these in half lengthwise so they don’t show and get in your way).
Measure your reassembled block’s length and width, and sketch the dimensions onto the plastic for the base. For a standalone launcher, mark it 2″–3″ longer than your wood block on the front, for a loading ramp. If you’ll be attaching the launcher to a track, you can just make the base the same size as the block. Cut the base out, and sand the edges of the plastic.
Drill pilot holes about ½” in from each corner of the base, and centered on each of the side rails. Then drill the holes slightly larger than your screws, so they don’t crack the plastic. Use screws to attach the base to the blocks. Remove the spacers and make sure that the middle block moves freely.
Mark the center of one side, drill a pilot hole, and partially screw in a short screw. Repeat for the other side. These 2 screws will anchor your rubber band. If you like, you can add more screws, to give different levels of tension or to accommodate different-sized bands. We ended up with 3 on each side. On the back of the middle block, mark the very center and screw in a small eye screw.
At this point, it’s a good idea to test that everything is working. Insert your rubber band through the eye screw, then stretch its ends over the side screws. When you pull back on the eye screw, the middle block should slide smoothly in and out.
During testing, we decided to add more screws so that the tension could be adjusted to make it easier for a child to operate. We also trimmed the corners off the back. These steps are optional.
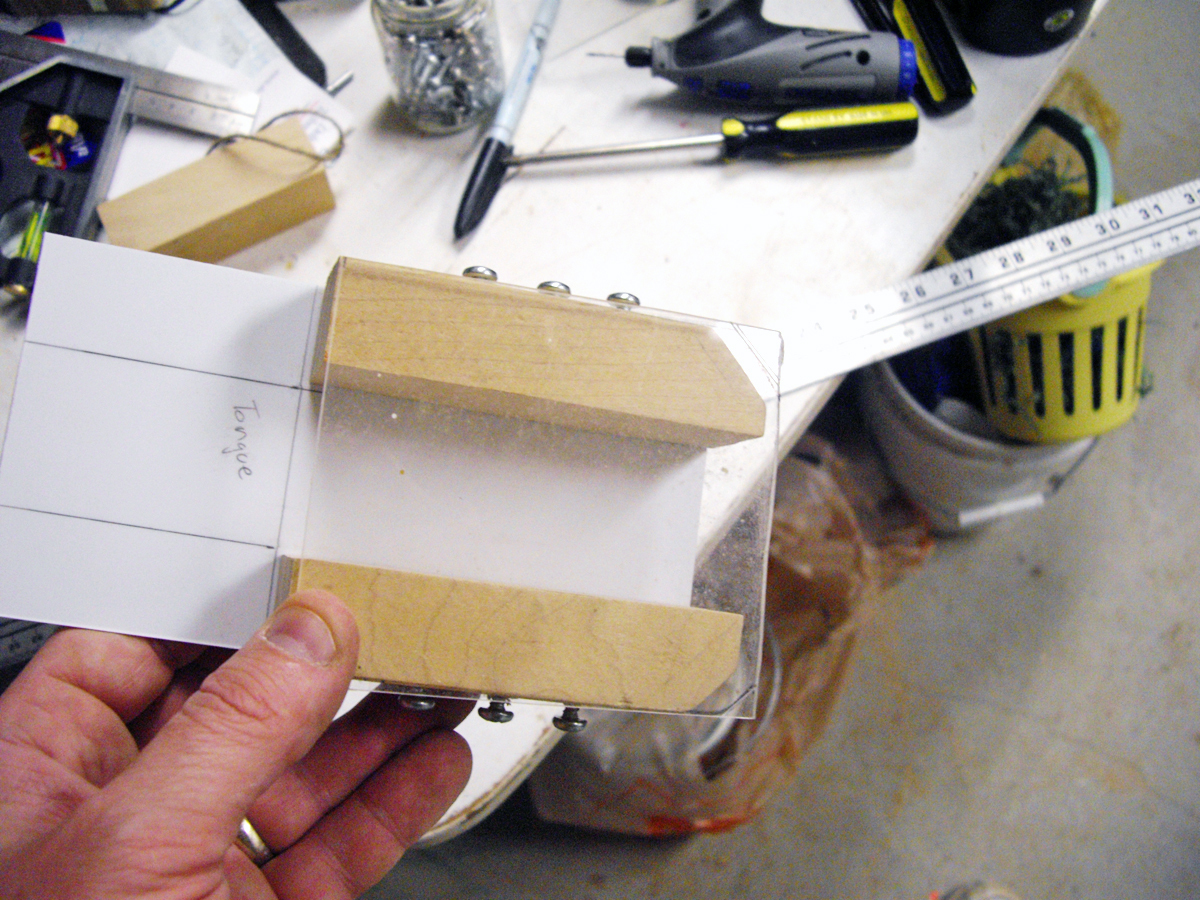
Measure and mark your clear plastic to match the top of the block. Score deeply along your lines, then snap off the excess plastic. Use a sander or sandpaper to sand any rough edges down to the lines marked.
Attach the top as you did the base in Step 2, making sure to drill the holes larger than the screws. (The washers we used here were for looks only. They’re called finishing washers. If you have them, use them, but they’re not necessary.)
So that it doesn’t scratch any surfaces, we added some glue-on rubber “feet” to the base.
A candle rubbed along the sides of the middle block will make things run smoothly.
Optional: Decorate with stickers, paint, whatever you like!
Optional: To attach your launcher to a track, use a track connector as a template to cut your own connector out of plastic. Then super-glue your connector to the bottom of the base.
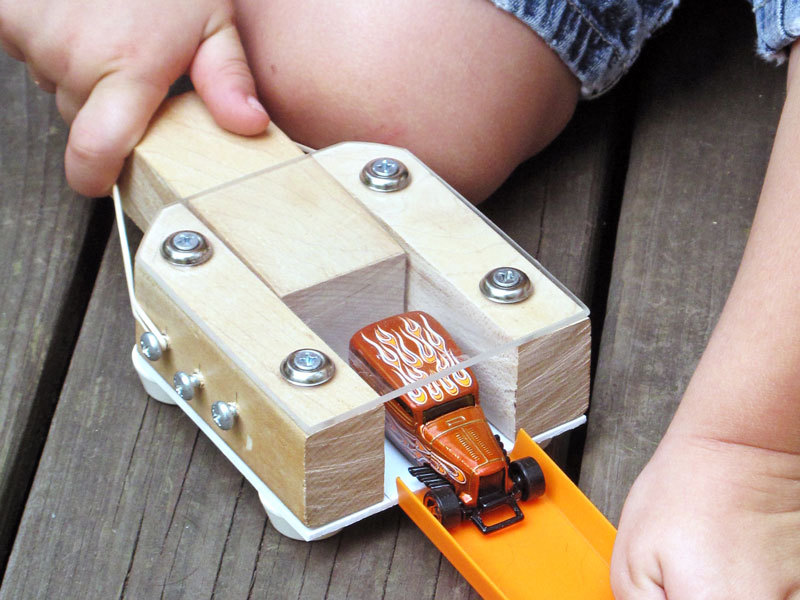
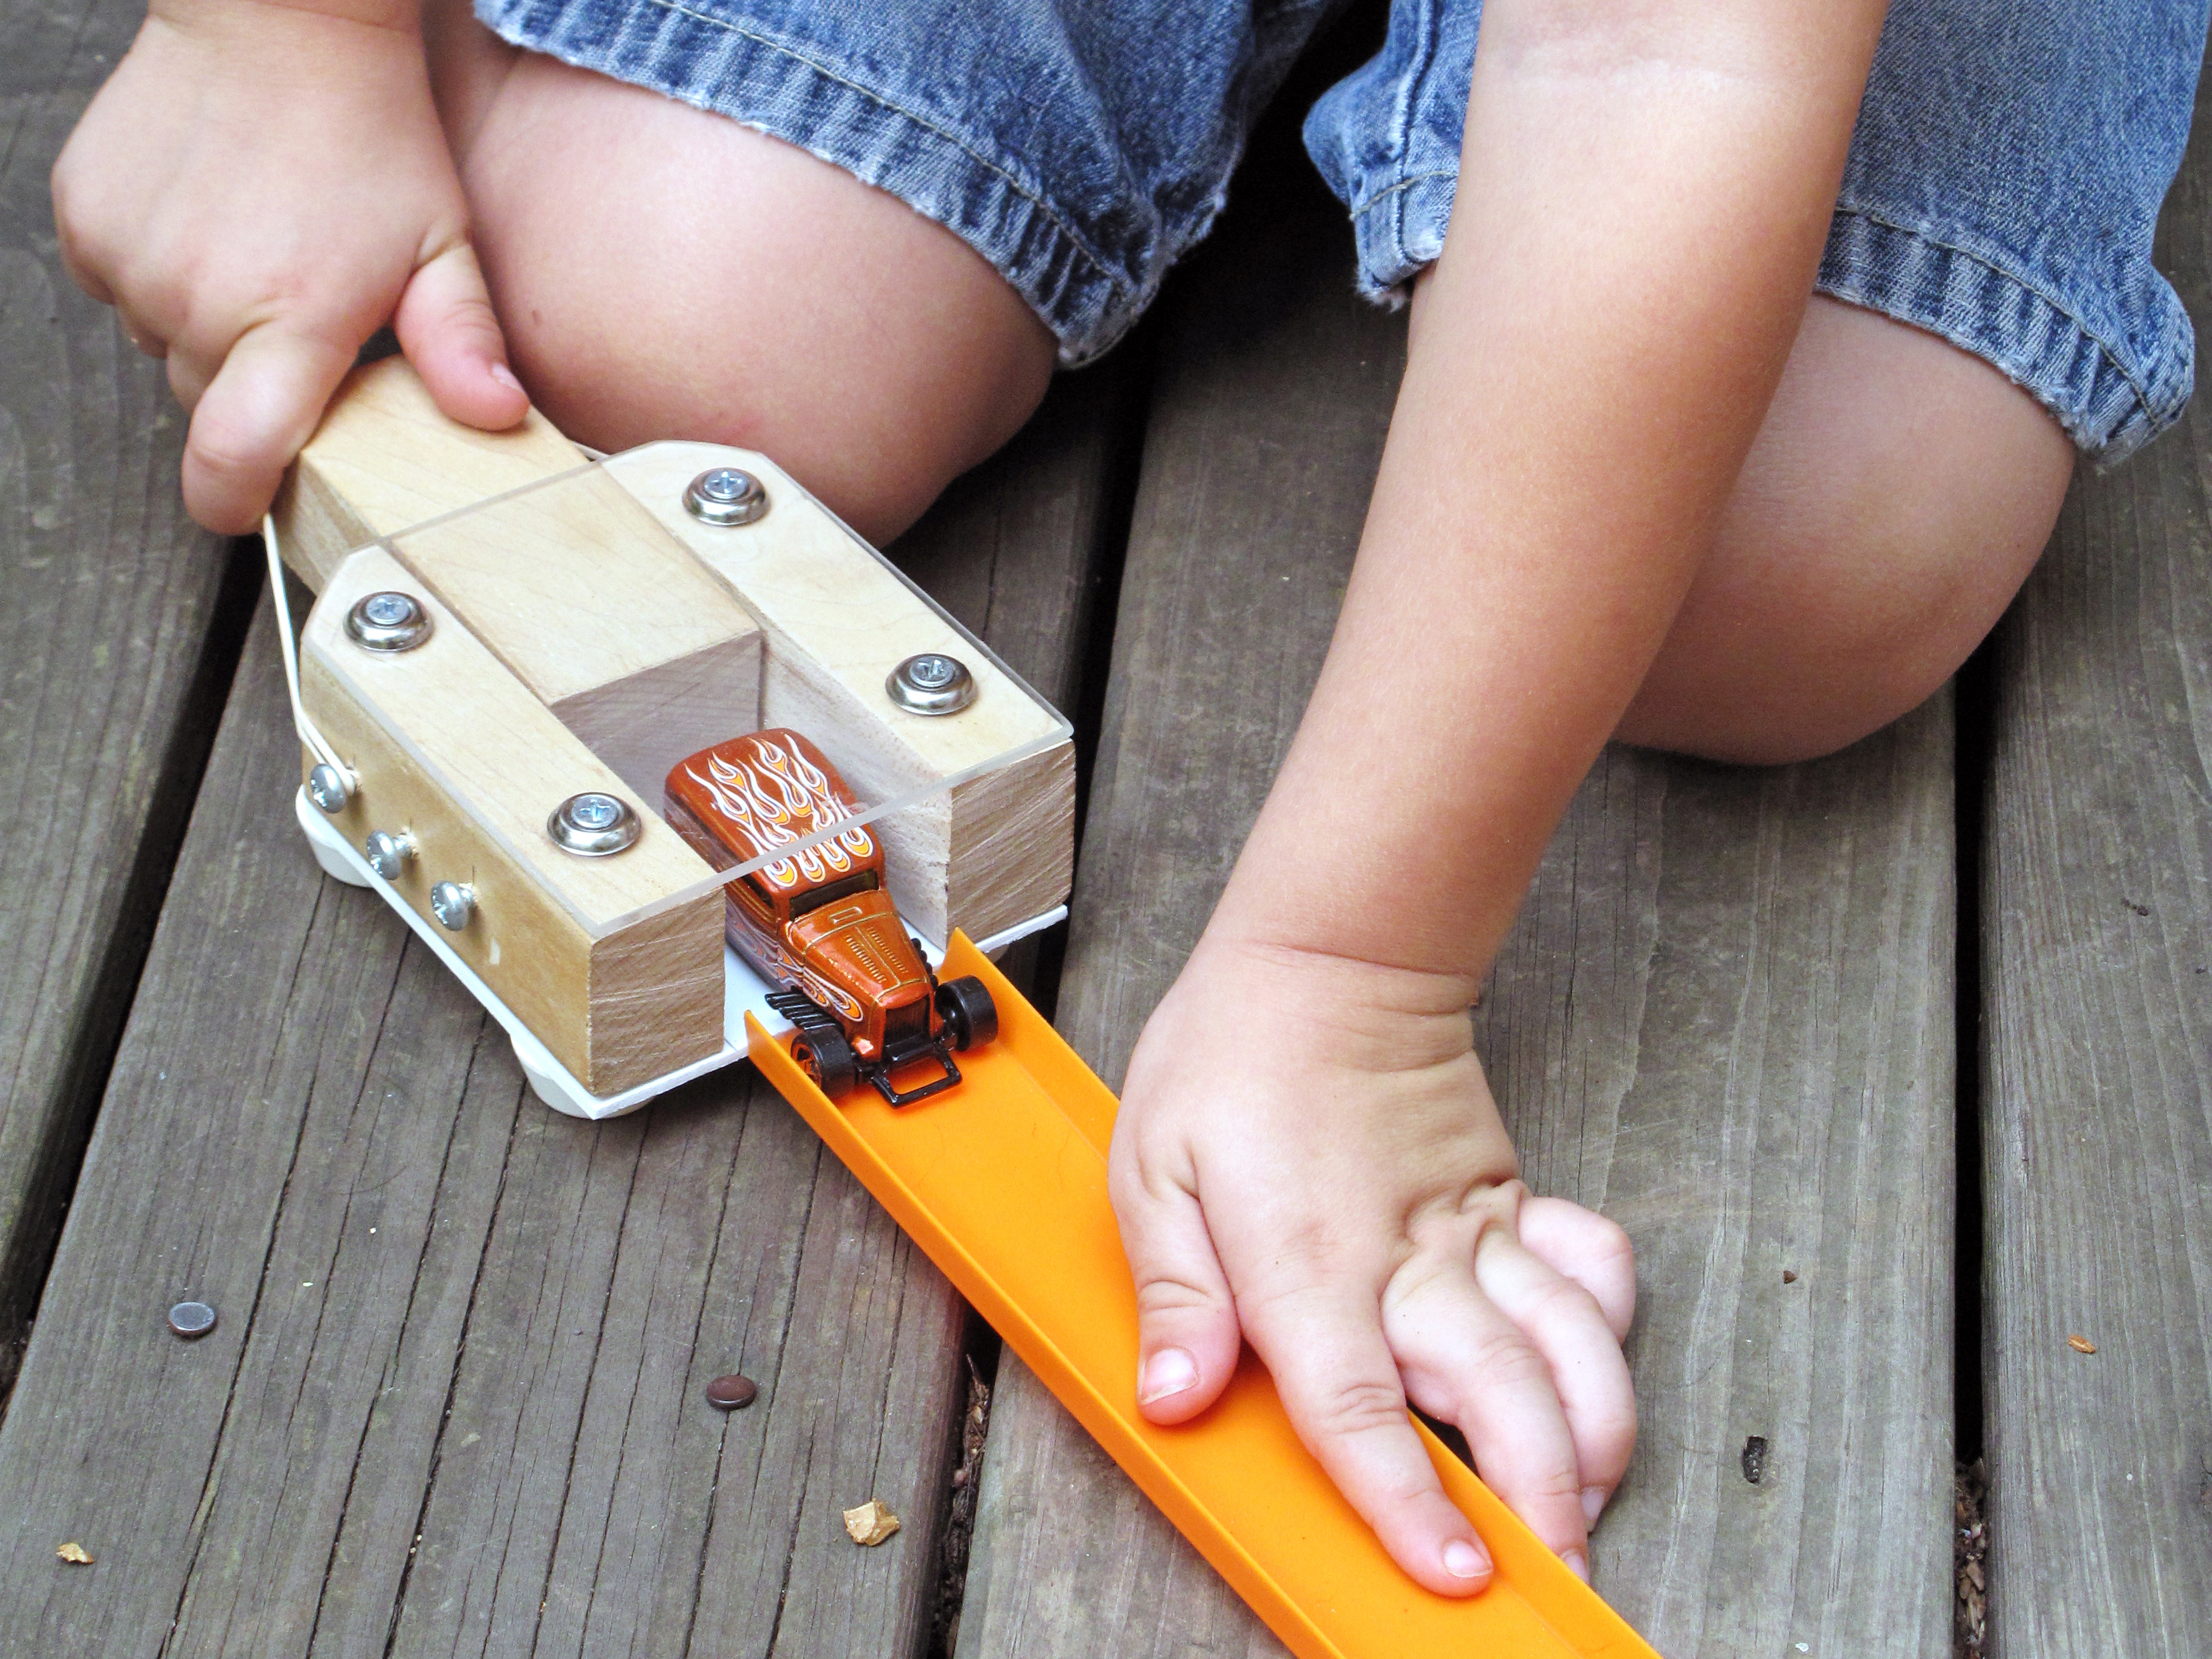
Attach your rubber band as in Step 3 and pull back the eye screw (we tied some twine to the screw to make this easier for kid-sized hands).
Put your car in the slot, and let go! The car shoots across the floor … Yay!
Be sure to instruct small children in the care and handling of the launcher before letting them go to the races. Leave it on the ground! No pointing at people!
Conclusion
This project first appeared in MAKE Volume 20, page 135.
Our websites use cookies to improve your browsing experience. Some of these are essential for the basic functionalities of our websites. In addition, we use third-party cookies to help us analyze and understand usage. These will be stored in your browser only with your consent and you have the option to opt-out. Your choice here will be recorded for all Make.co Websites.
Allow Non-Necessary Cookies
Escape to an island of imagination + innovation as Maker Faire Bay Area returns for its 15th iteration!
Buy Tickets today! SAVE 15% and lock-in your preferred date(s).