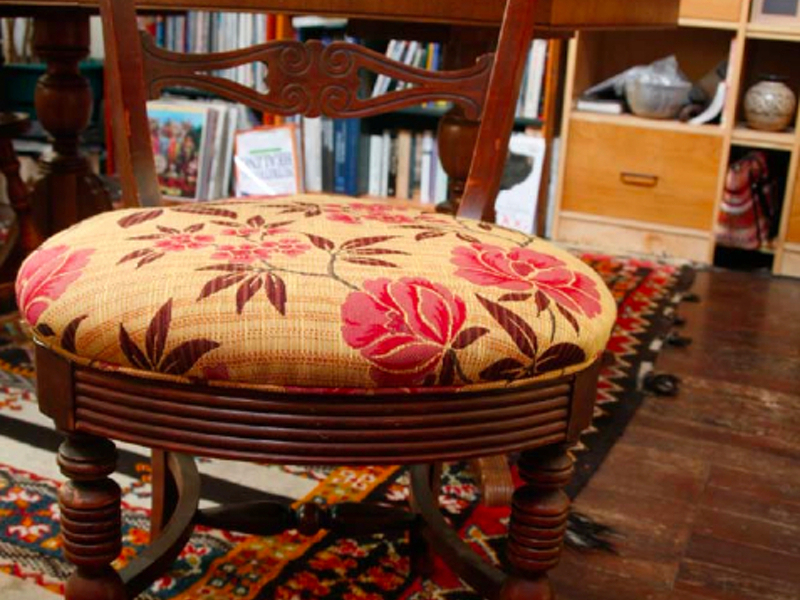
Dining chairs are an integral part of good times. Where there’s dinner, wine, and company, there are chairs. But dining chairs are notoriously uncomfortable: no fun for the buns. With simple modifications, that can be changed. Plywood slip seats can be altered to allow a bit of flex, a tad of padding, and a big difference in comfort. At your next dinner party, don’t be surprised if your guests won’t leave!

This article teaches you the basics of upholstery, and our online supplement includes additional techniques for softening that slip seat (see http://craftzine.com/07/101). After this project you’ll be ready to move on to an armchair or chair with a loose cushion.

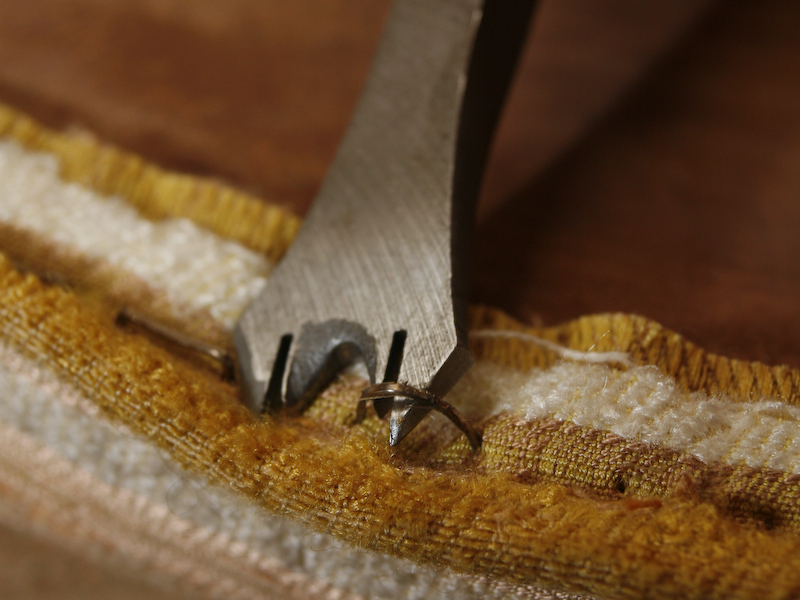
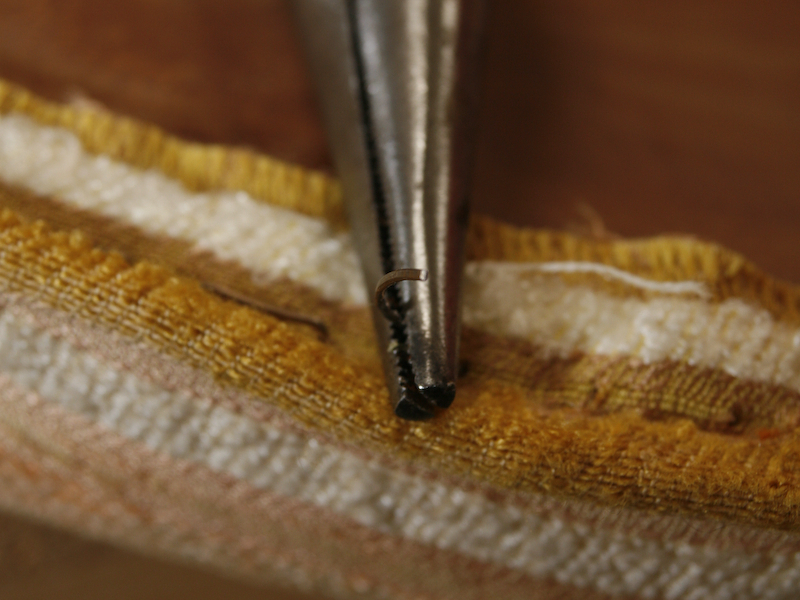
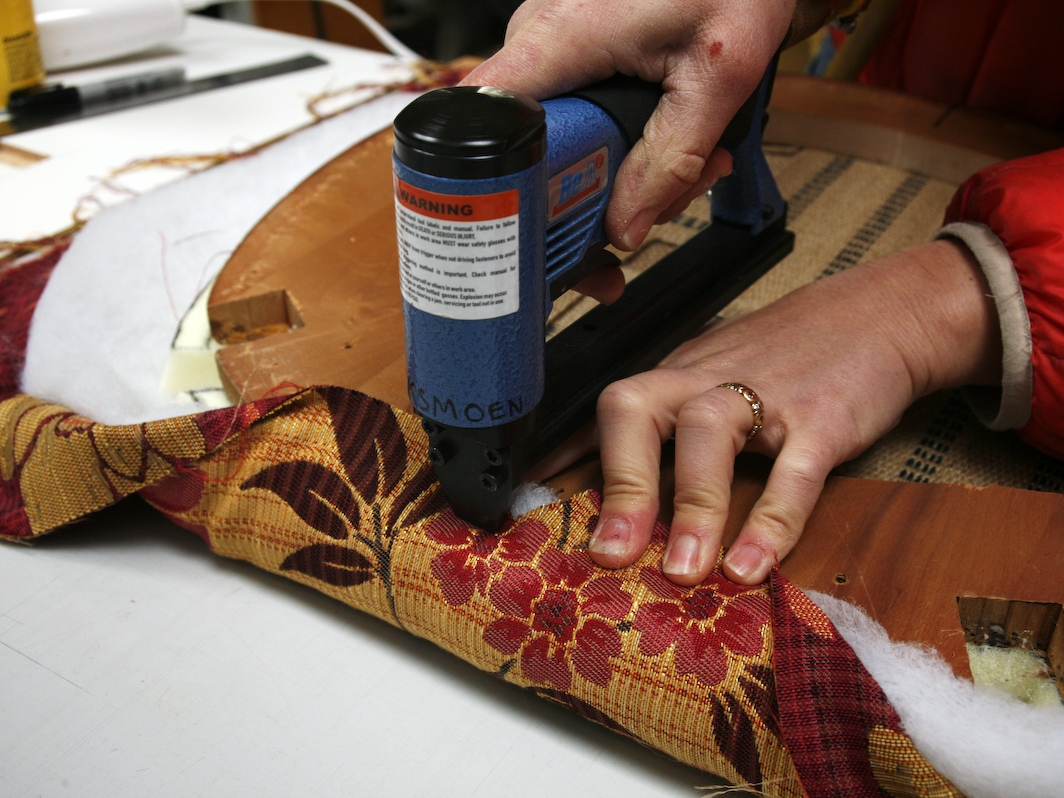
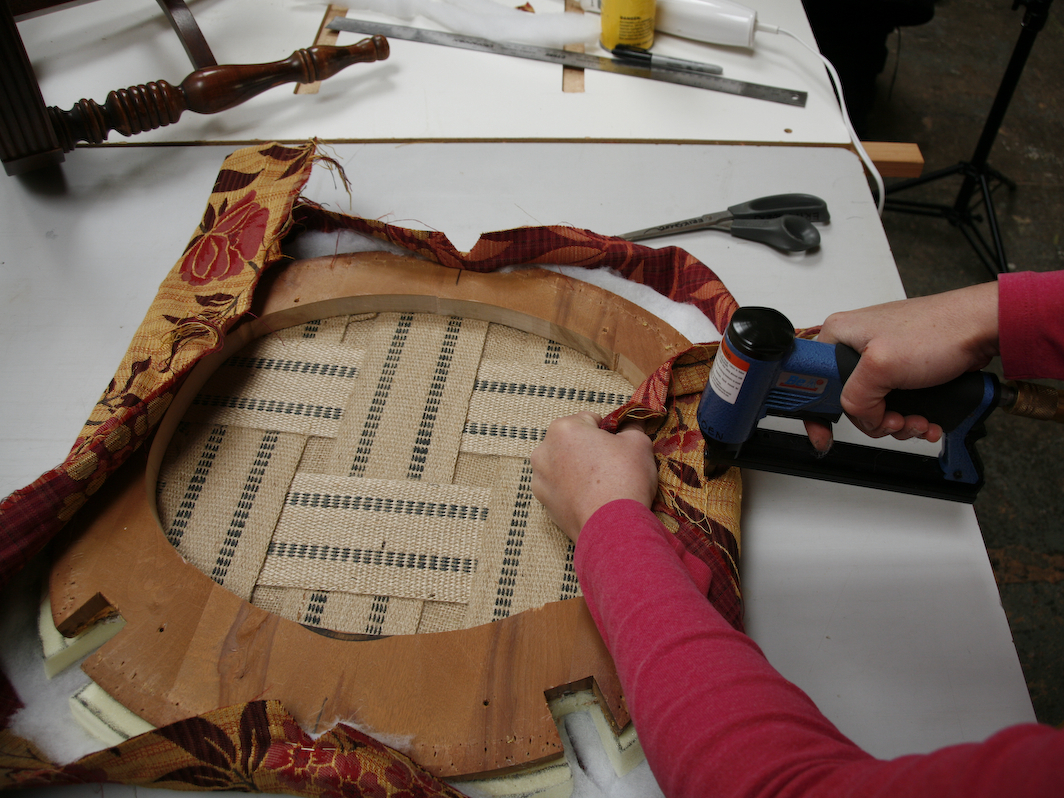
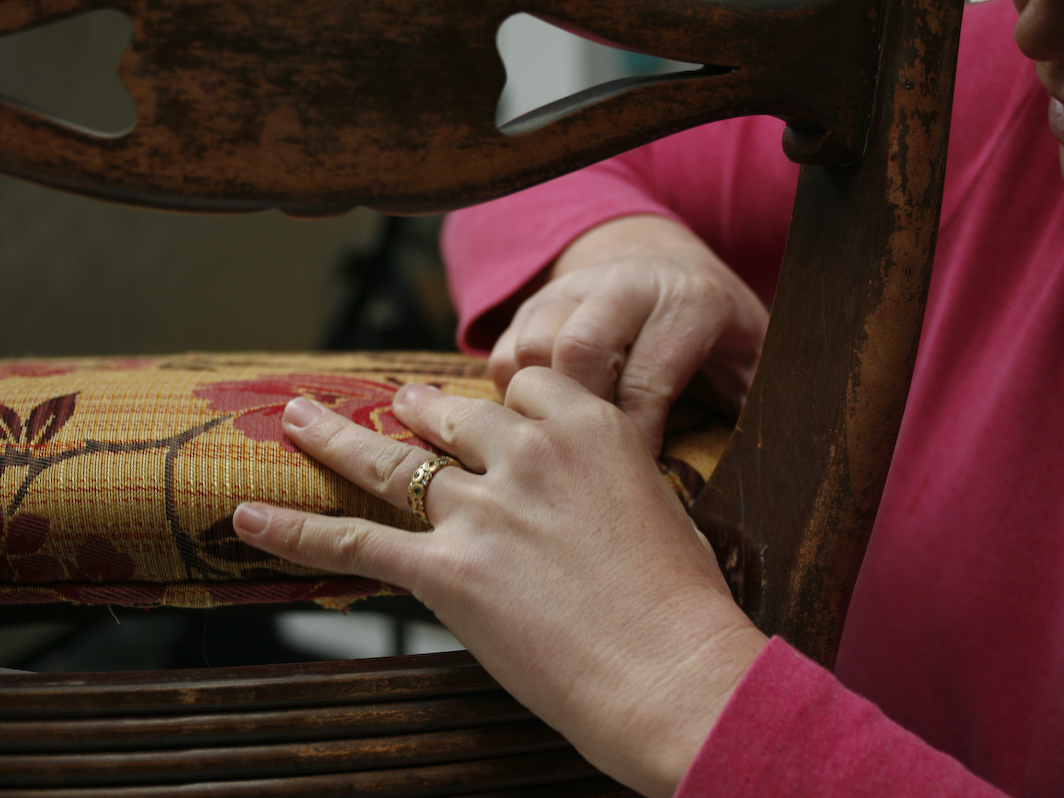
Upholstering with tacks is the most traditional method, and the least expensive for startup costs. You just need an upholsterer’s brass tack hammer with a magnetic tip, and tacks. Any stapling described in this article can be accomplished with tacks. (Or you can use a pneumatic upholstery staple gun, which is easy on the wrists, fast, and gentle on the fabric.)

There’s a lot of gorgeous fabric, but it’s not all that appropriate for upholstery. Upholstery fabric should be a weave, never a knit, and should have very little stretch along the grain. It should be sturdy enough to withstand having staples put in and ripped out. Jacquards, brocades, denims, and heavyweight woven wools are all good choices.

Project Steps

Prepare your chair.

Check the frame and remove the seat. You want to start with a chair frame that is in good repair. Check for loose joints and for cracks in the wood. See if the chair is structurally sound by giving it a good wiggle. Turn the chair upside down into a secure position. Remove only the screws that go straight down to fasten the seat to the frame; leave the horizontal screws on the cross bracing alone. Remove the seat, and put the screws in a safe place where you can actually find them later (important step!).

Rip and strip. Time to put on your safety glasses: tacks and staples make unpredictable trajectories when you yank on them. If you can’t get hold of a proper staple remover, an oyster shucker will do the trick. You’ll need to remove all the staples and/or tacks from the seat before you reupholster. This is a tedious chore, but necessary so that the new staples can penetrate the wood.

Check the seat. If the plywood seat pan looks cracked or weak, get a fresh piece of high-grade Euro-ply. The thickness of your seat pan will help to determine whether to make a webbed seat or a slotted seat. (Instructions for these techniques are available at http://craftzine.com/07/101.)

Pad the seat.

Trace your seat onto your foam. Mark another outline 1⁄2″ beyond the edge of the seat. With the foam on a flat surface, cut along the outer lines. I use an electric turkey slicer that cuts very clean lines in foam, but if it’s 1″ thick or less, sharp scissors works. Cut perpendicularly so the edge of your foam is squared, not beveled. If 1″ of foam isn’t enough, repeat to make a second layer.

Take the seat pan, foam, and spray adhesive to a well-ventilated area. Following the instructions, use spray adhesive to coat the surfaces of the seat pan and the foam. Once it’s tacky, flip the seat onto the foam, which should extend 1⁄2″ beyond the seat. Put an oversized piece of batting on a flat surface. With your seat foam-side down, center it on top of the batting. Gently lift the batting up to the bottom of the seat, and trim the batting to cover the bottom seat edge, approximately 2″ oversized, all around.

Cover the seat with fabric.

Fold the fabric down the middle lengthwise and mark the midpoint of the edge with chalk or notch with scissors. Do the same folding the fabric across its width. On the underside of the seat pan, measure and mark the center of the sides, front, and back. Place the fabric on the table right-side down, and center the oversized batting and upside-down seat on top of it. Line up the center notches in the fabric with the center marks on the seat. This is especially critical if your fabric has any stripes or linear patterns.

Gently pull the batting and fabric layers up around the front edge of the seat pan. Shoot 1 staple or hammer 1 tack to secure the center point of the fabric about 1⁄2″ to 1″ inside the seat edge. Keeping everything aligned, stretch the fabric across the seat and secure with 1 staple to the center of the back. You want to pull firmly enough to soften the cut edges of the foam, to create a slight dome, and to ensure there is no slack in the seat; however, you do not want to overstretch the fabric and cause ripples or divots along the edge. Repeat this at the centers of the sides.

Covering the seat continued.

Flip the seat right-side up and take a look. If your fabric is misaligned, you’ll need to pull the staples or tacks and try again. One trick is to put in easy-to-pull “temporary” tacks or staples while you’re placing your fabric. Do this by hammering in your tack only halfway, or by rolling the tip of your staple gun onto one corner, so the staple goes in at a 45° angle, leaving a triangular opening.

If you have a round seat, divide the space between your center point staples, pull the fabric into place, and staple. Split the difference again so that the fabric is evenly distributed around the rim and secured in about 16 spots. Pull and staple the remaining areas to keep fabric taut and even all the way around. Trim the excess fabric about 1⁄2″ from the staples. If you have a rectangular seat, work your way from the centers toward the corners, pulling the fabric taut as you go. Place the staples no more than 1⁄4″ apart in a row to create an even edge. Stop about 2″ short of the corners.

Remove any extra bunched-up batting from the corner area. Pull the fabric diagonally across the corner point, and place 1 staple about 1″ in from the edge. On both sides of the corner, turn the remaining fabric at the corner back under itself to form a triangular pleat. Pull that straight over the edge, and finish stapling the fabric down. Trim the excess fabric about 1⁄2″ in from the staples.

Covering the seat continued.

Unless you have notches or welting to complete, you’re almost done. If there are any notches cut into the seat pan to let in the legs, you have some tricky cuts to make. Flip the seat upside down again. Cut the fabric down the center of the notch, stopping about 1″ short of the bottom of the notch. Continue the cut in a Y shape, heading toward the 2 corners of the notch, stopping about 1⁄2″ short of the actual corners. If you cut too deep, it can show on the chair seat. Yank the triangle of the Y down as tight as you can, and pop a staple into that piece, staying as far from the edge of the fabric as possible so that it won’t fray. You won’t have much room to work, so do the best you can. Once the triangle piece is secure, yank down the flaps on the sides of the notch and staple them to the walls of the notch. If a rectangular seat has square notches at the corners, instead of cutting a Y, cut a 45° diagonal line toward the corner, again stopping at least 1⁄2″ short of the actual corner.

Finish your chair.

Your seat is done. Pop it back onto the chair frame, and screw it back into place. Then have a seat! You deserve it.

Conclusion

This project first appeared in CRAFT Volume 07, pages 132-137.