wooden ring-9
Photography by Sandra Rodriguez

Growing up, I loved watching New Yankee Workshop on PBS. I was always so amazed by the many different projects the host was able to create. My favorite projects were always those created on a wood lathe. I didn’t think I’d ever have the chance to learn how to use a wood lathe, because my dad didn’t have one and his tools were the only ones I could access. When I got to college, I took a manufacturing class. As soon as I stepped into the wood shop, I noticed the giant wood lathe, and I knew I had to learn how to use it. Although I learned how to make a few different things with it, I never had the chance to make anything for fun.

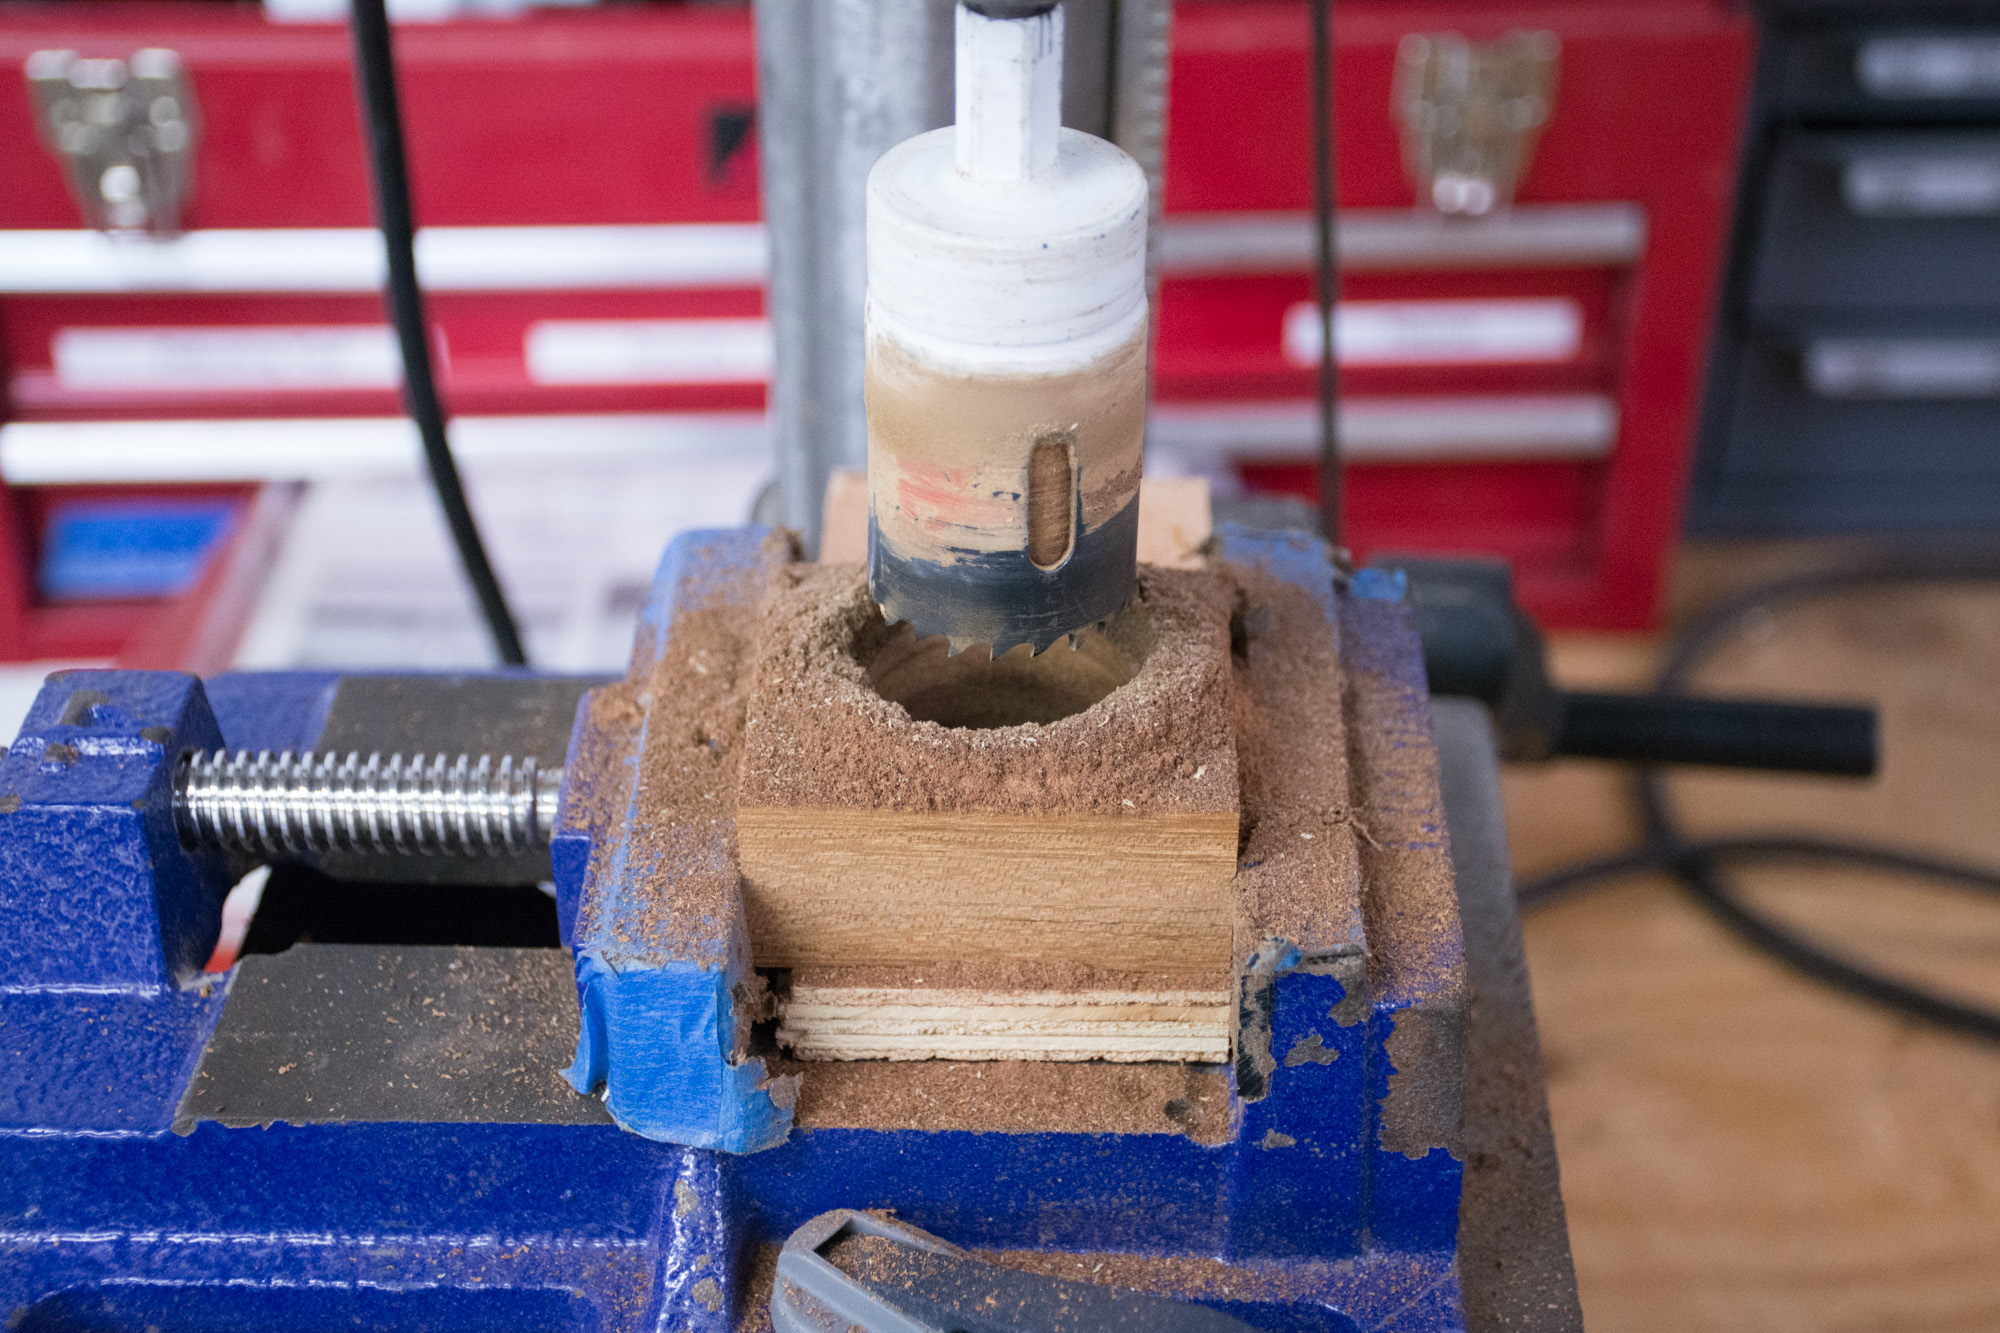
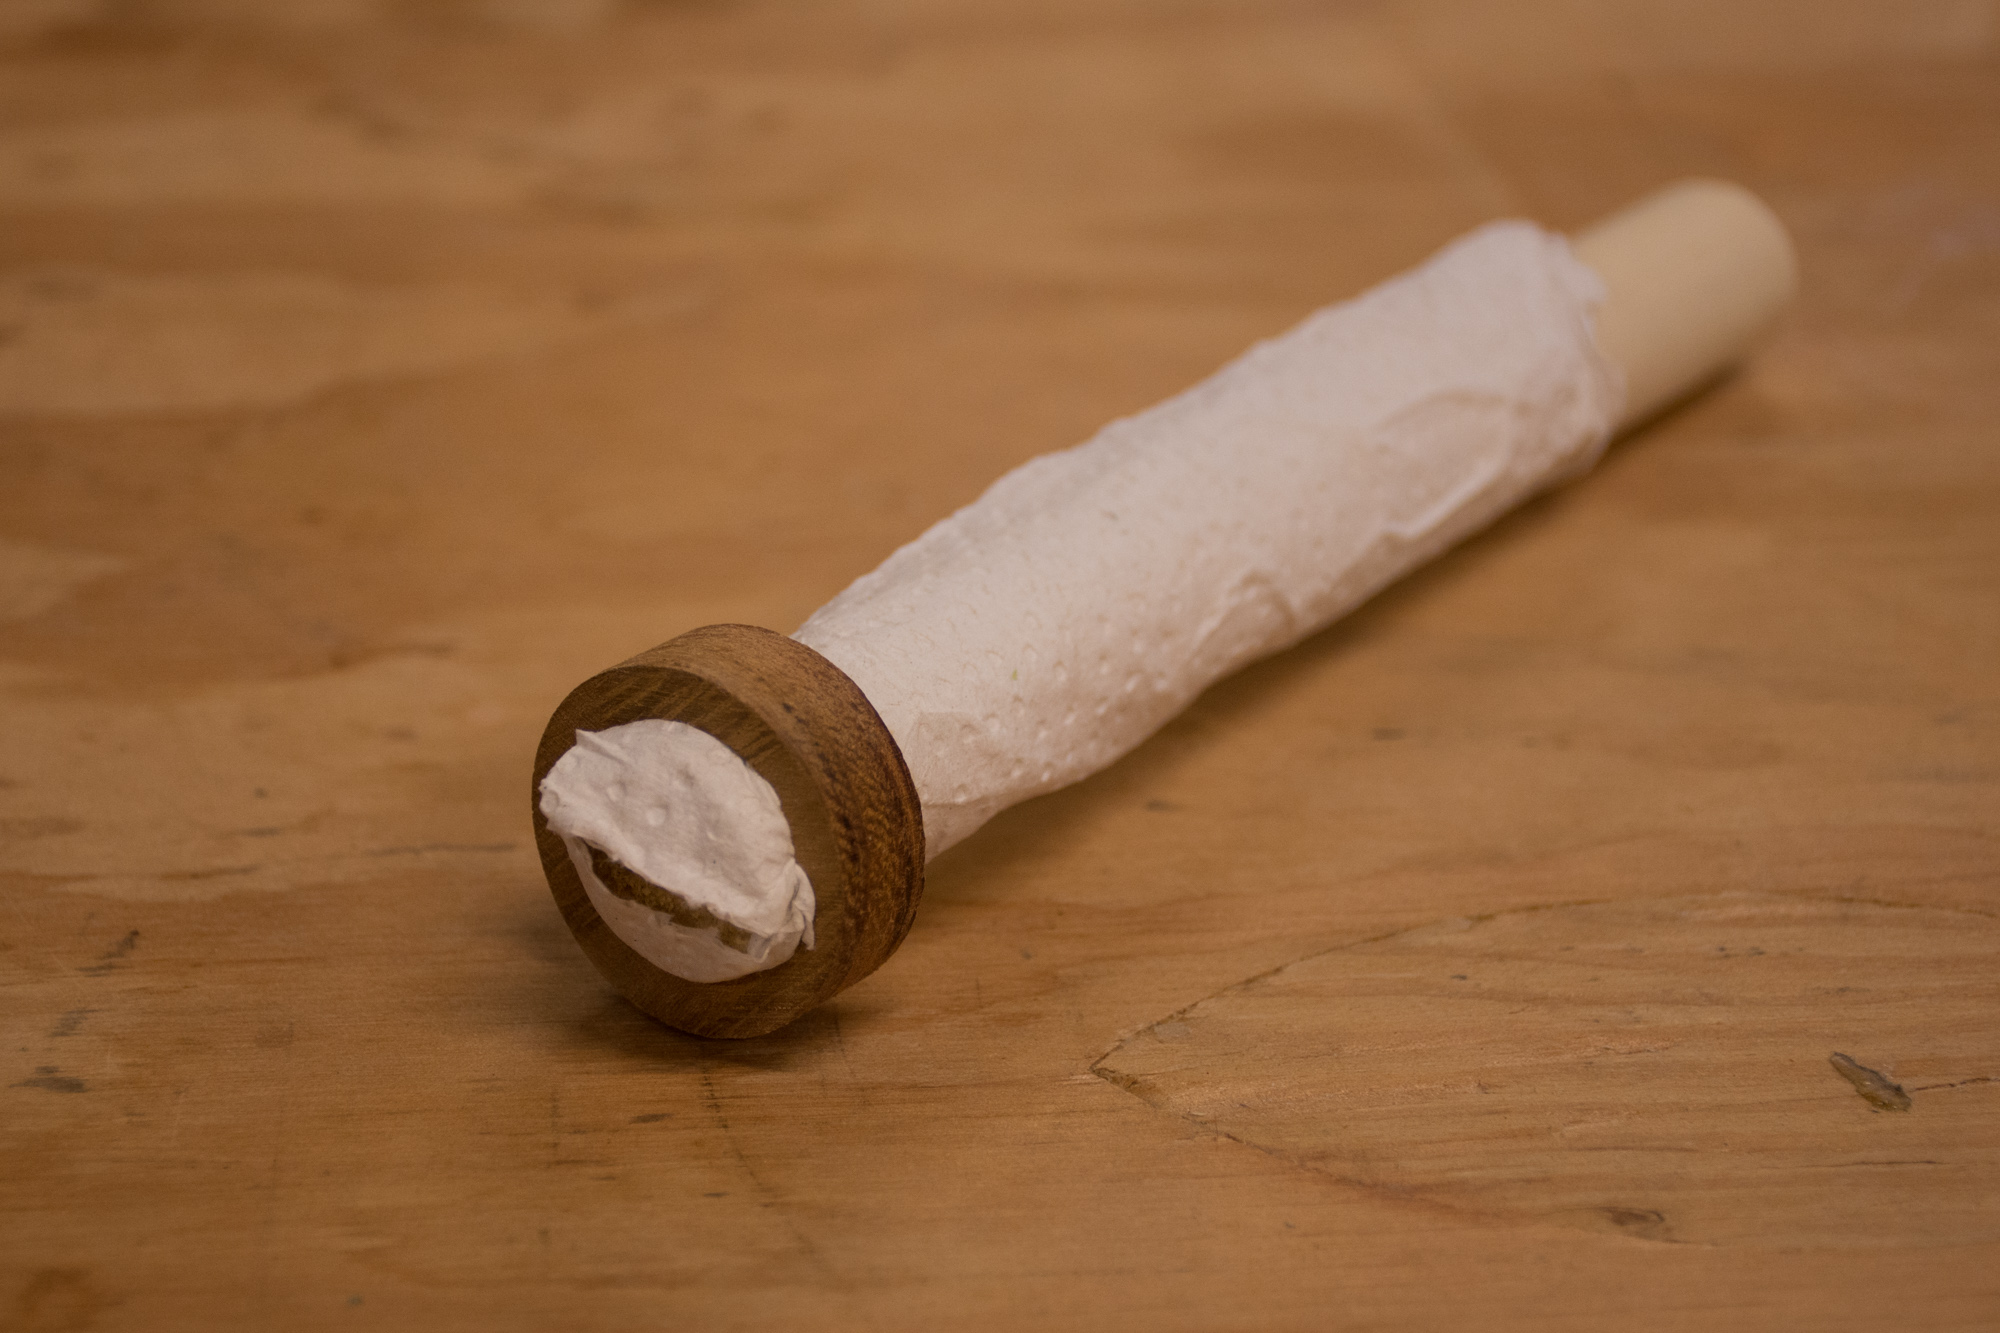
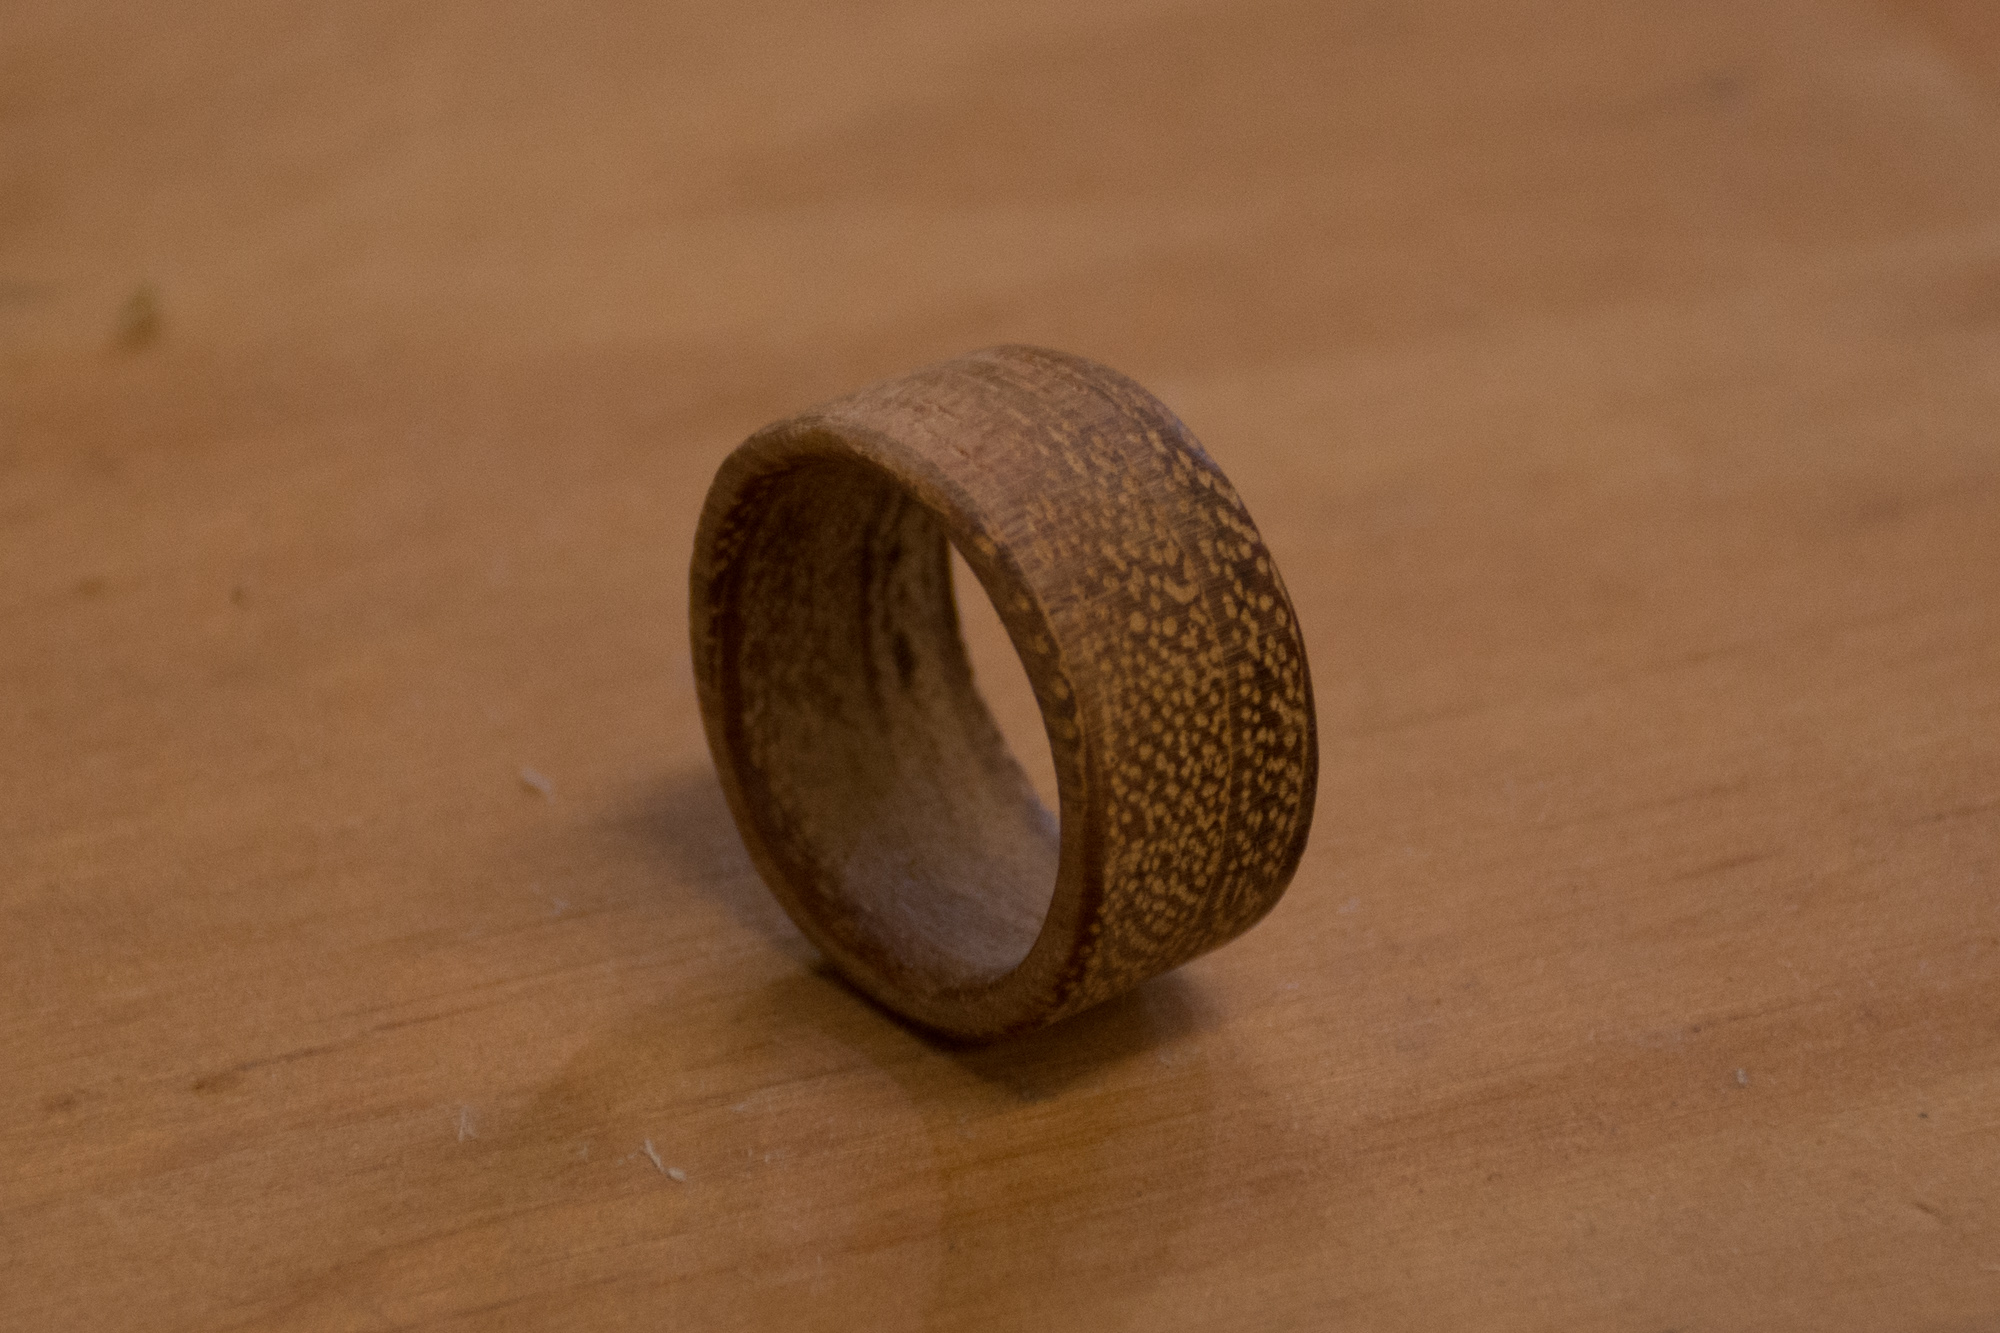
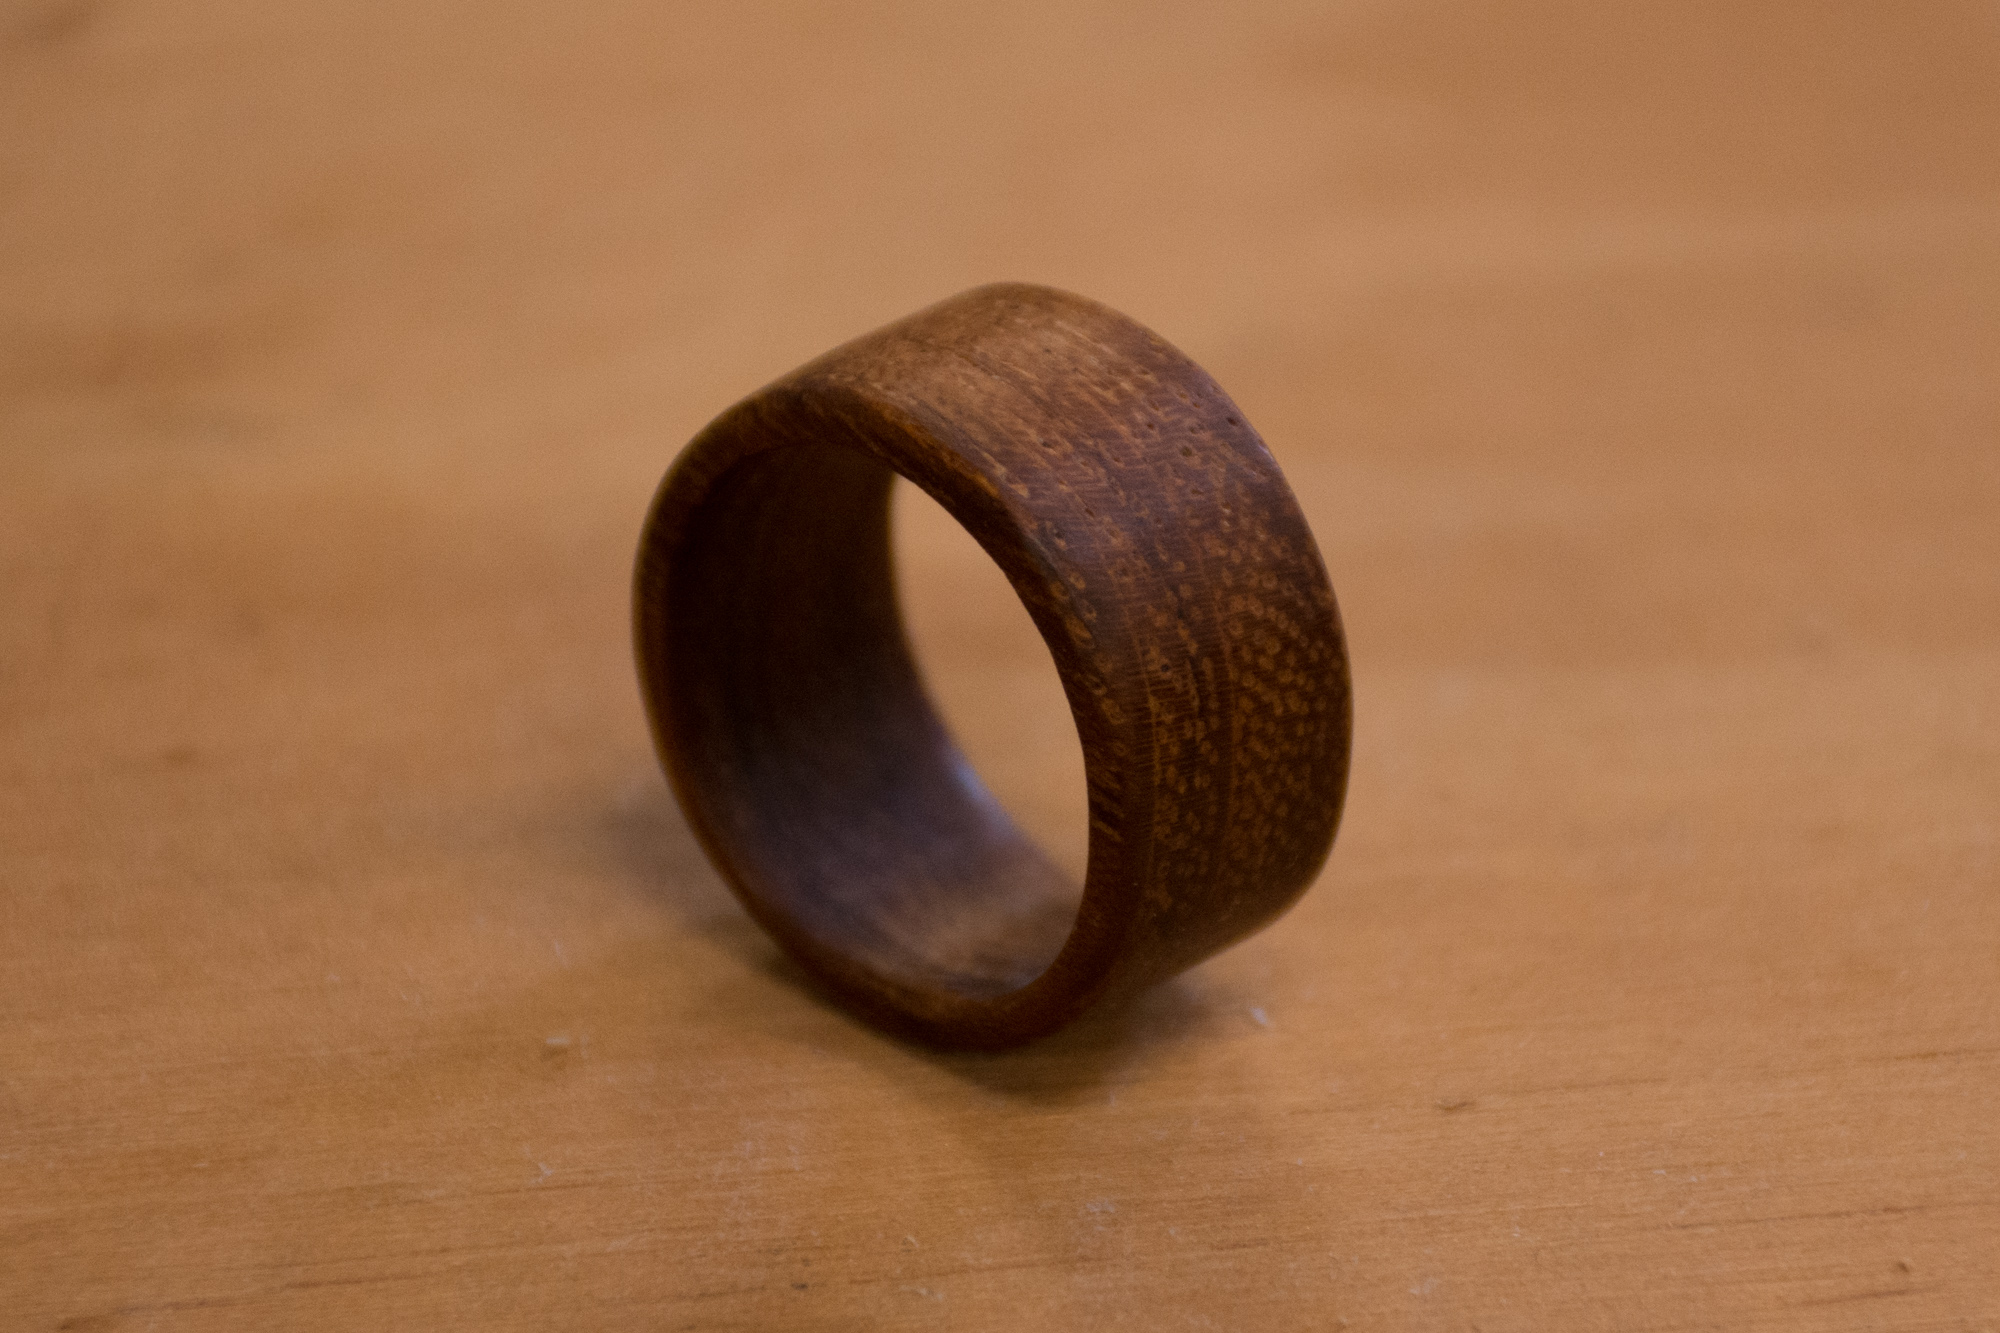
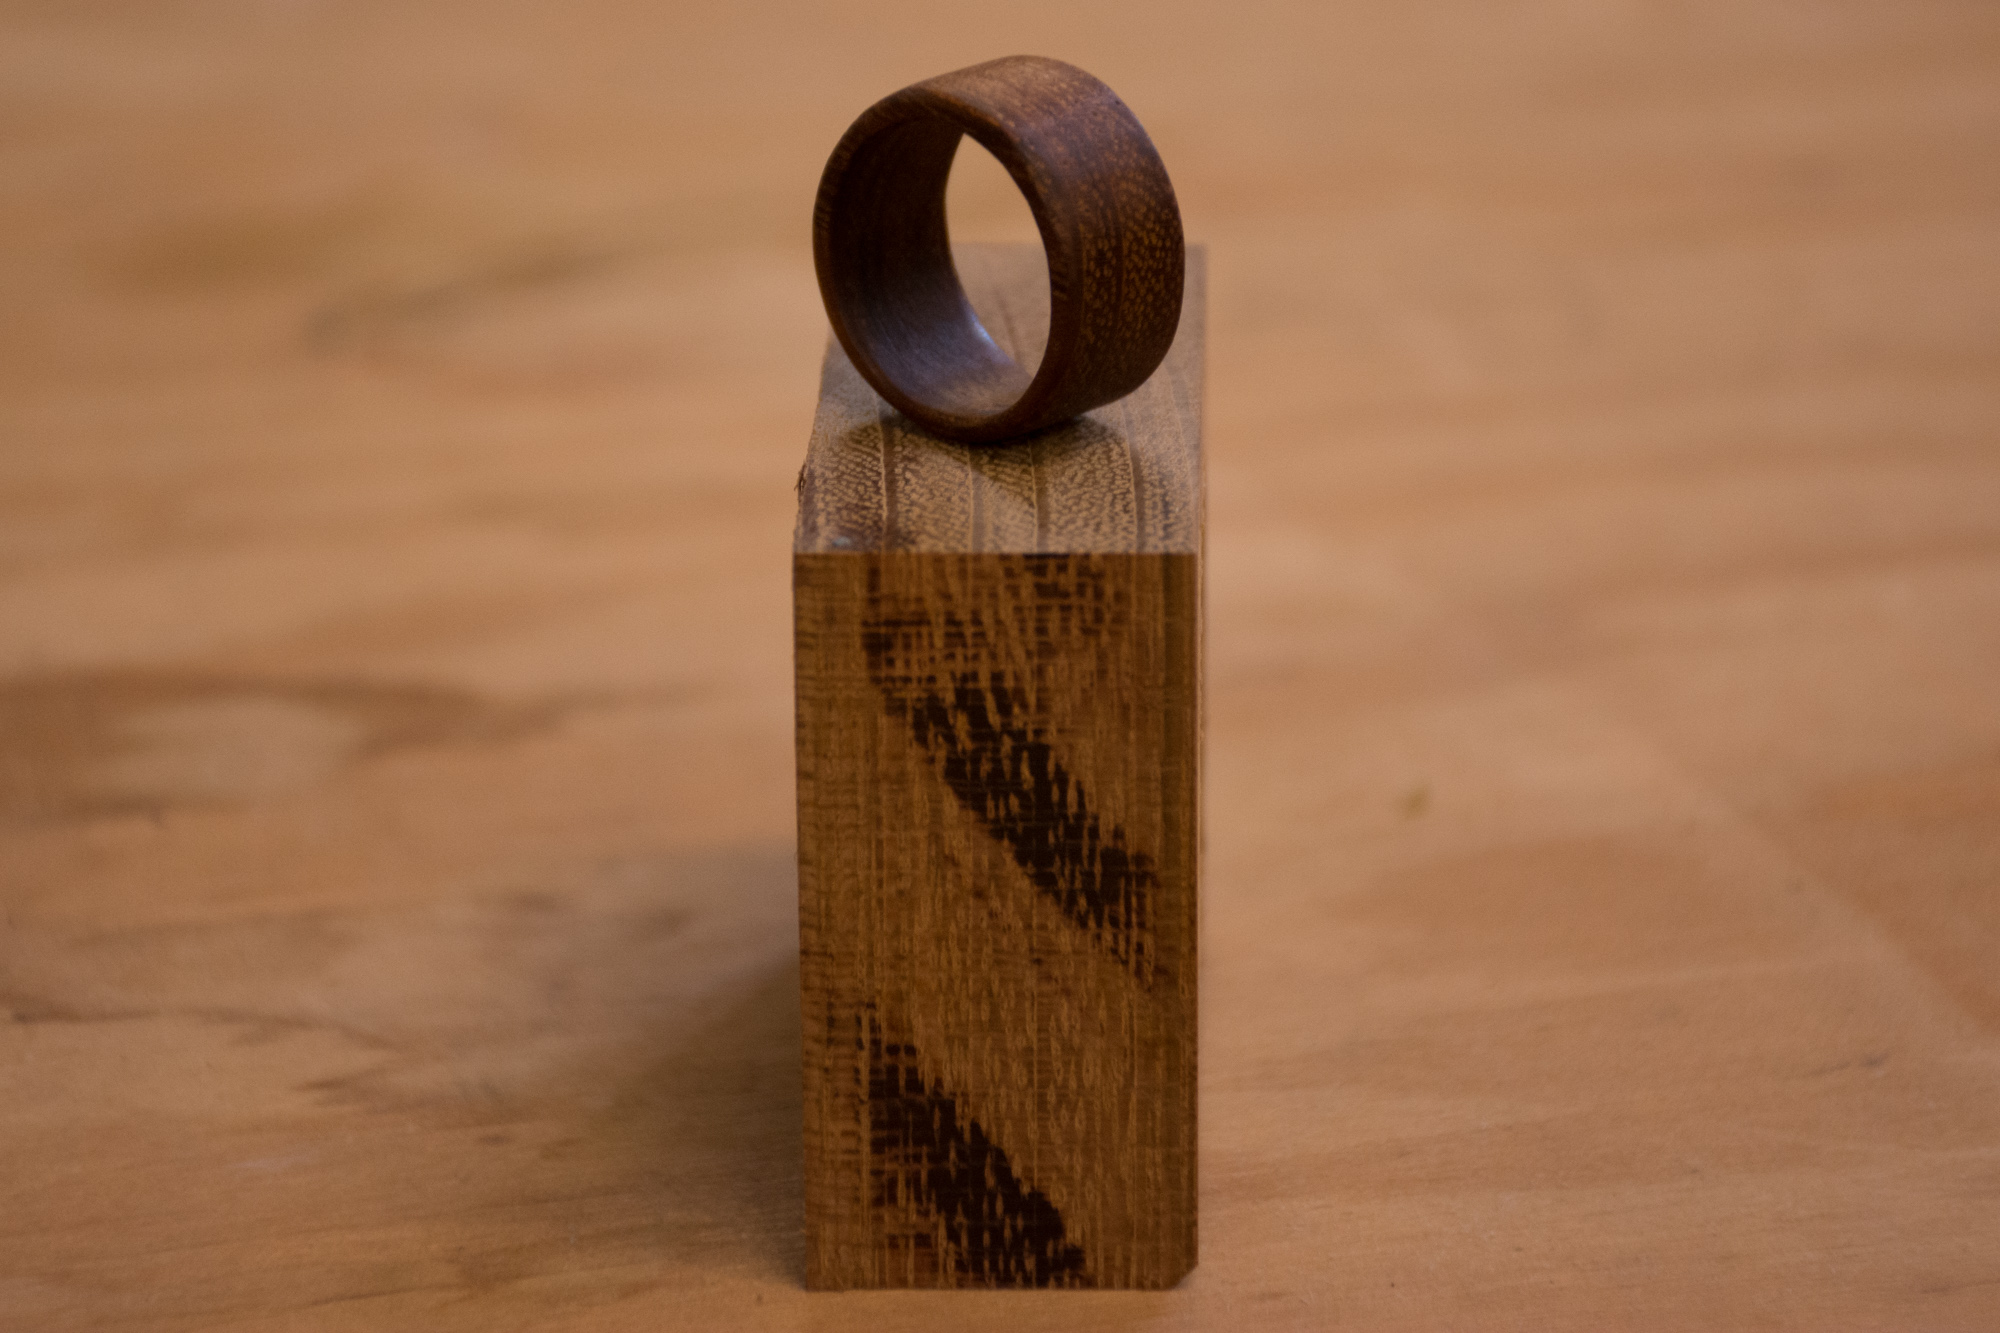
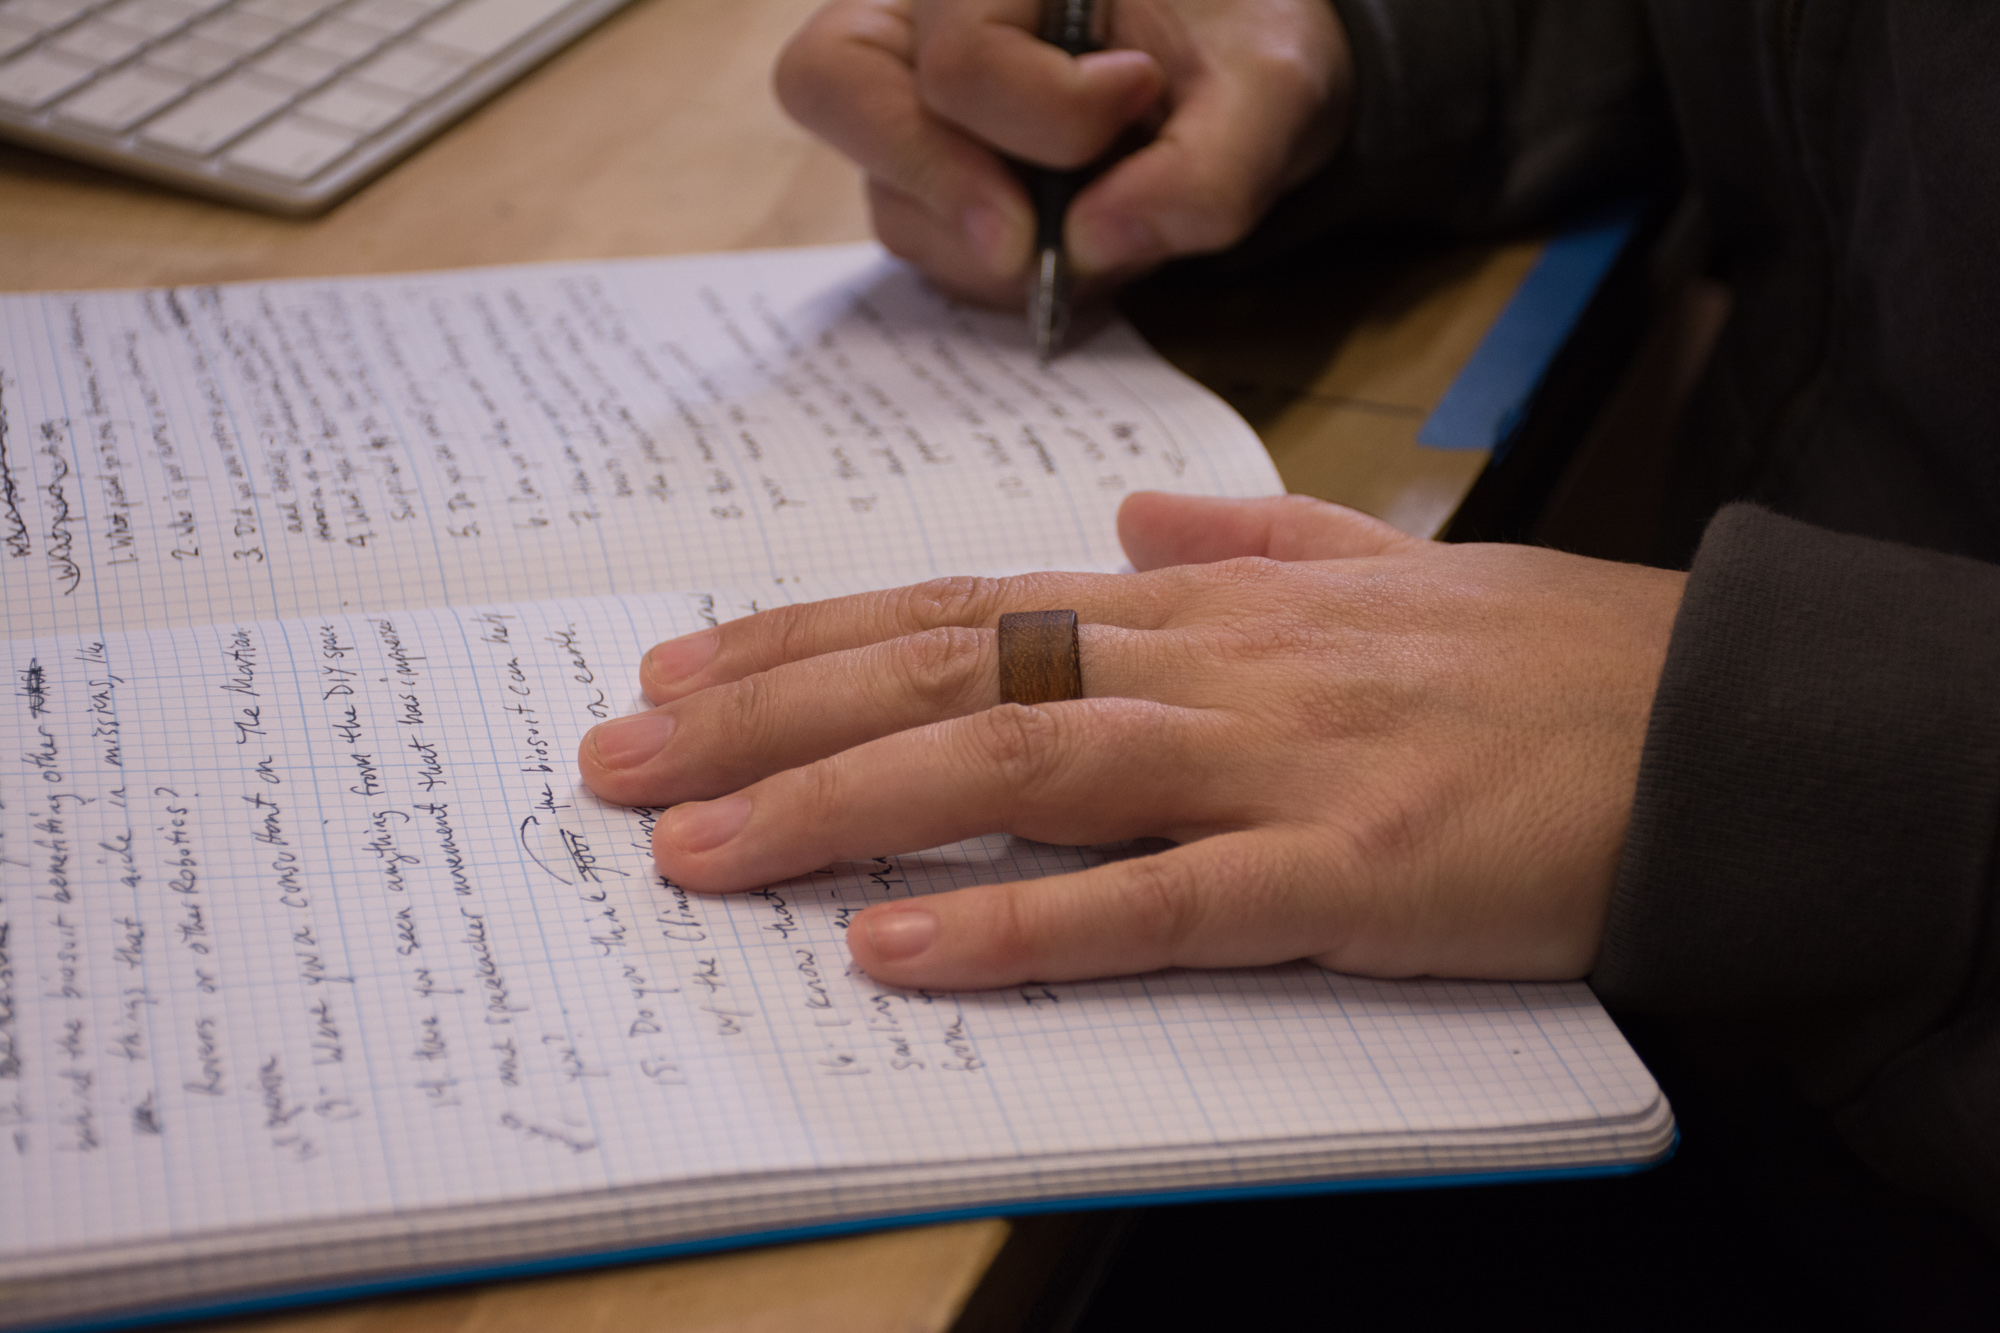
I no longer have access to a lathe, but I still wanted to make a wooden ring. I looked all over the internet to see if there was a simple way to do this, but I couldn’t find anything that was as simple as using a drill press. I didn’t add any inlays or any other types of decorations (I just wanted a simple band); however, I can’t imagine it would be difficult to add to this simple design.

Project Steps

Set-up wood block on drill press

Cut a piece of scrap wood so that it is narrower than the wood you’ll be using for the ring.

Stack the wood for the ring on top of the scrap wood and secure it into the vise. The scrap wood should be loose, while the wood for the ring should be tightly secured in place.

Clamp the vise onto the drill press bed.

Create a roughly shaped wooden ring

Lightly score the wood with a 1″ hole saw. Cut into the wood just deep enough to help you line up your ring later.

Find a drill bit that is slightly more narrow than the width of the finger the ring will go on.

Drill a hole all the way through the wood.

Cut out the ring using the hole saw. The initial scoring will help line up the ring so that it isn’t off-center.

Refine the shape

Depending on the initial thickness of the wood, you might need to use a saw to cut the ring so that it fits better.

To aid the sanding process, it helps to mount the ring onto a wooden dowel. Wrap a napkin or some kind of cloth around the dowel to friction fit the ring onto the dowel.

Sand the ring down to the desired width using the sandpaper (or a disk sander to help speed up the process). Use the round file to round out the inner part of the ring.
I sanded up to 600 grit, but you can always go higher to achieve a smoother finish.

Apply a finish

Once the ring has been sanded as desired, apply a finish to bring out the natural beauty. I used beeswax with orange oil, but you can use whatever you have on hand.