


I used the time it took to get both my internet and my computer fixed to create my largest project so far.
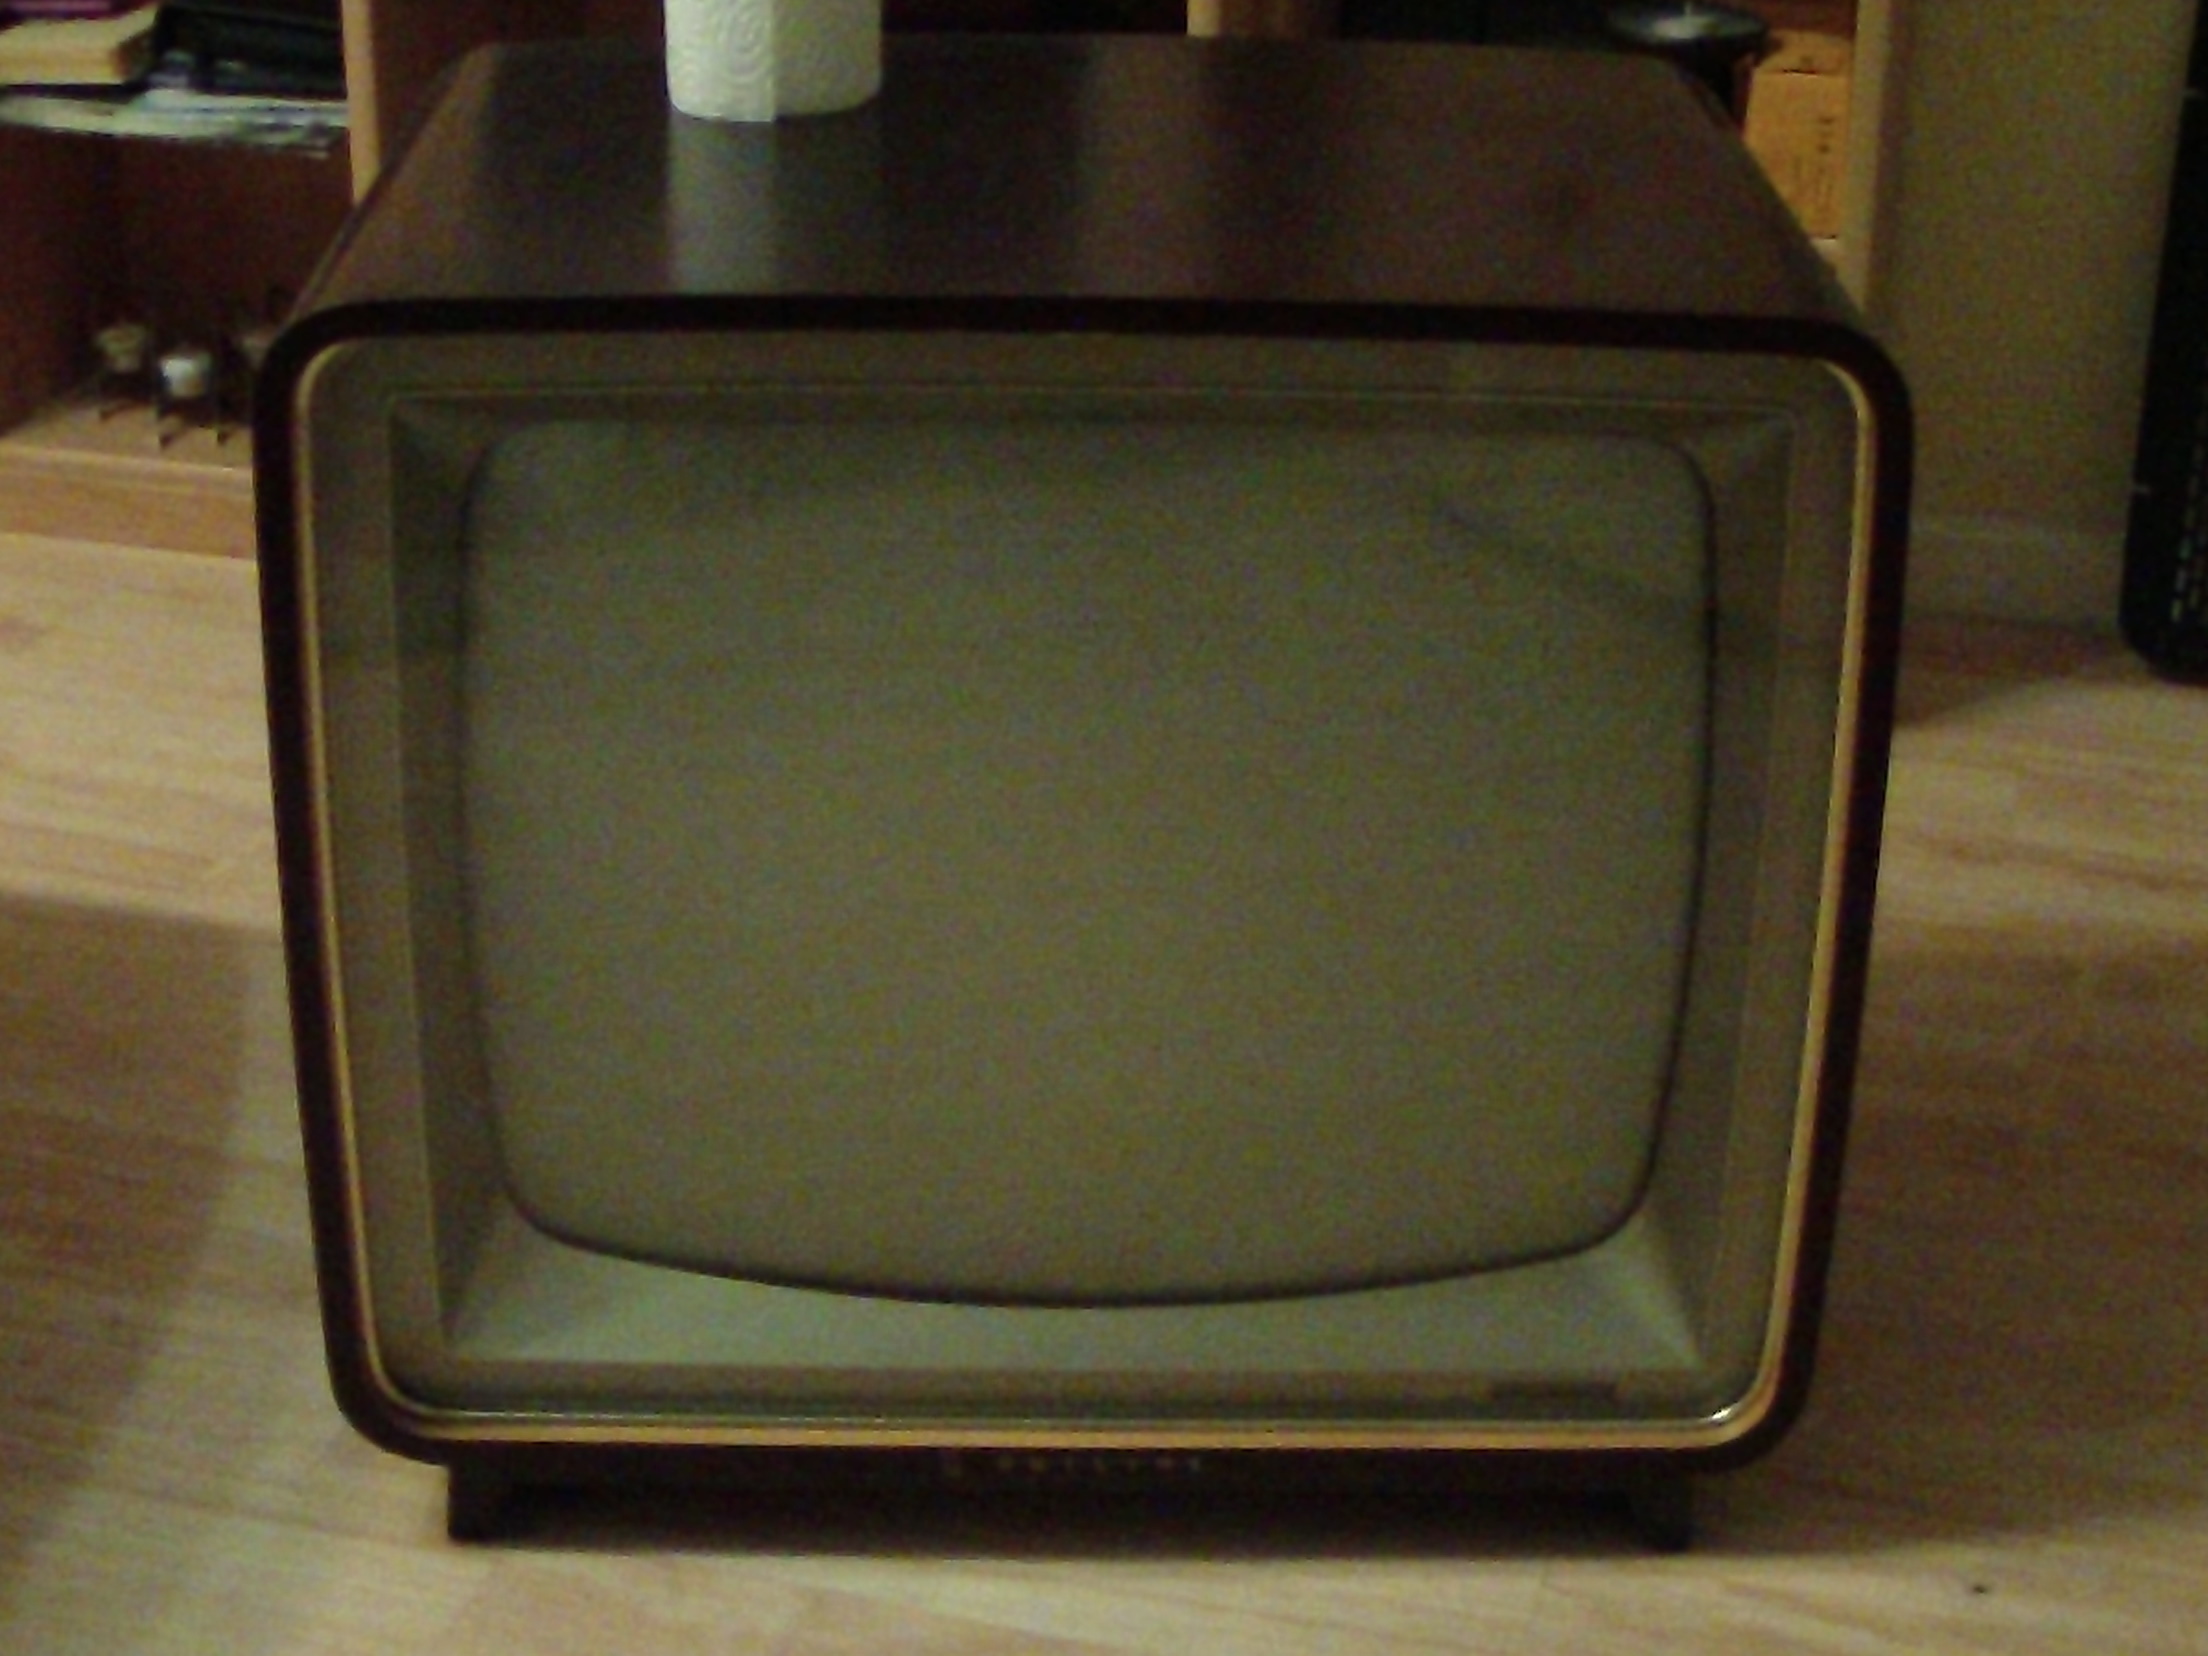

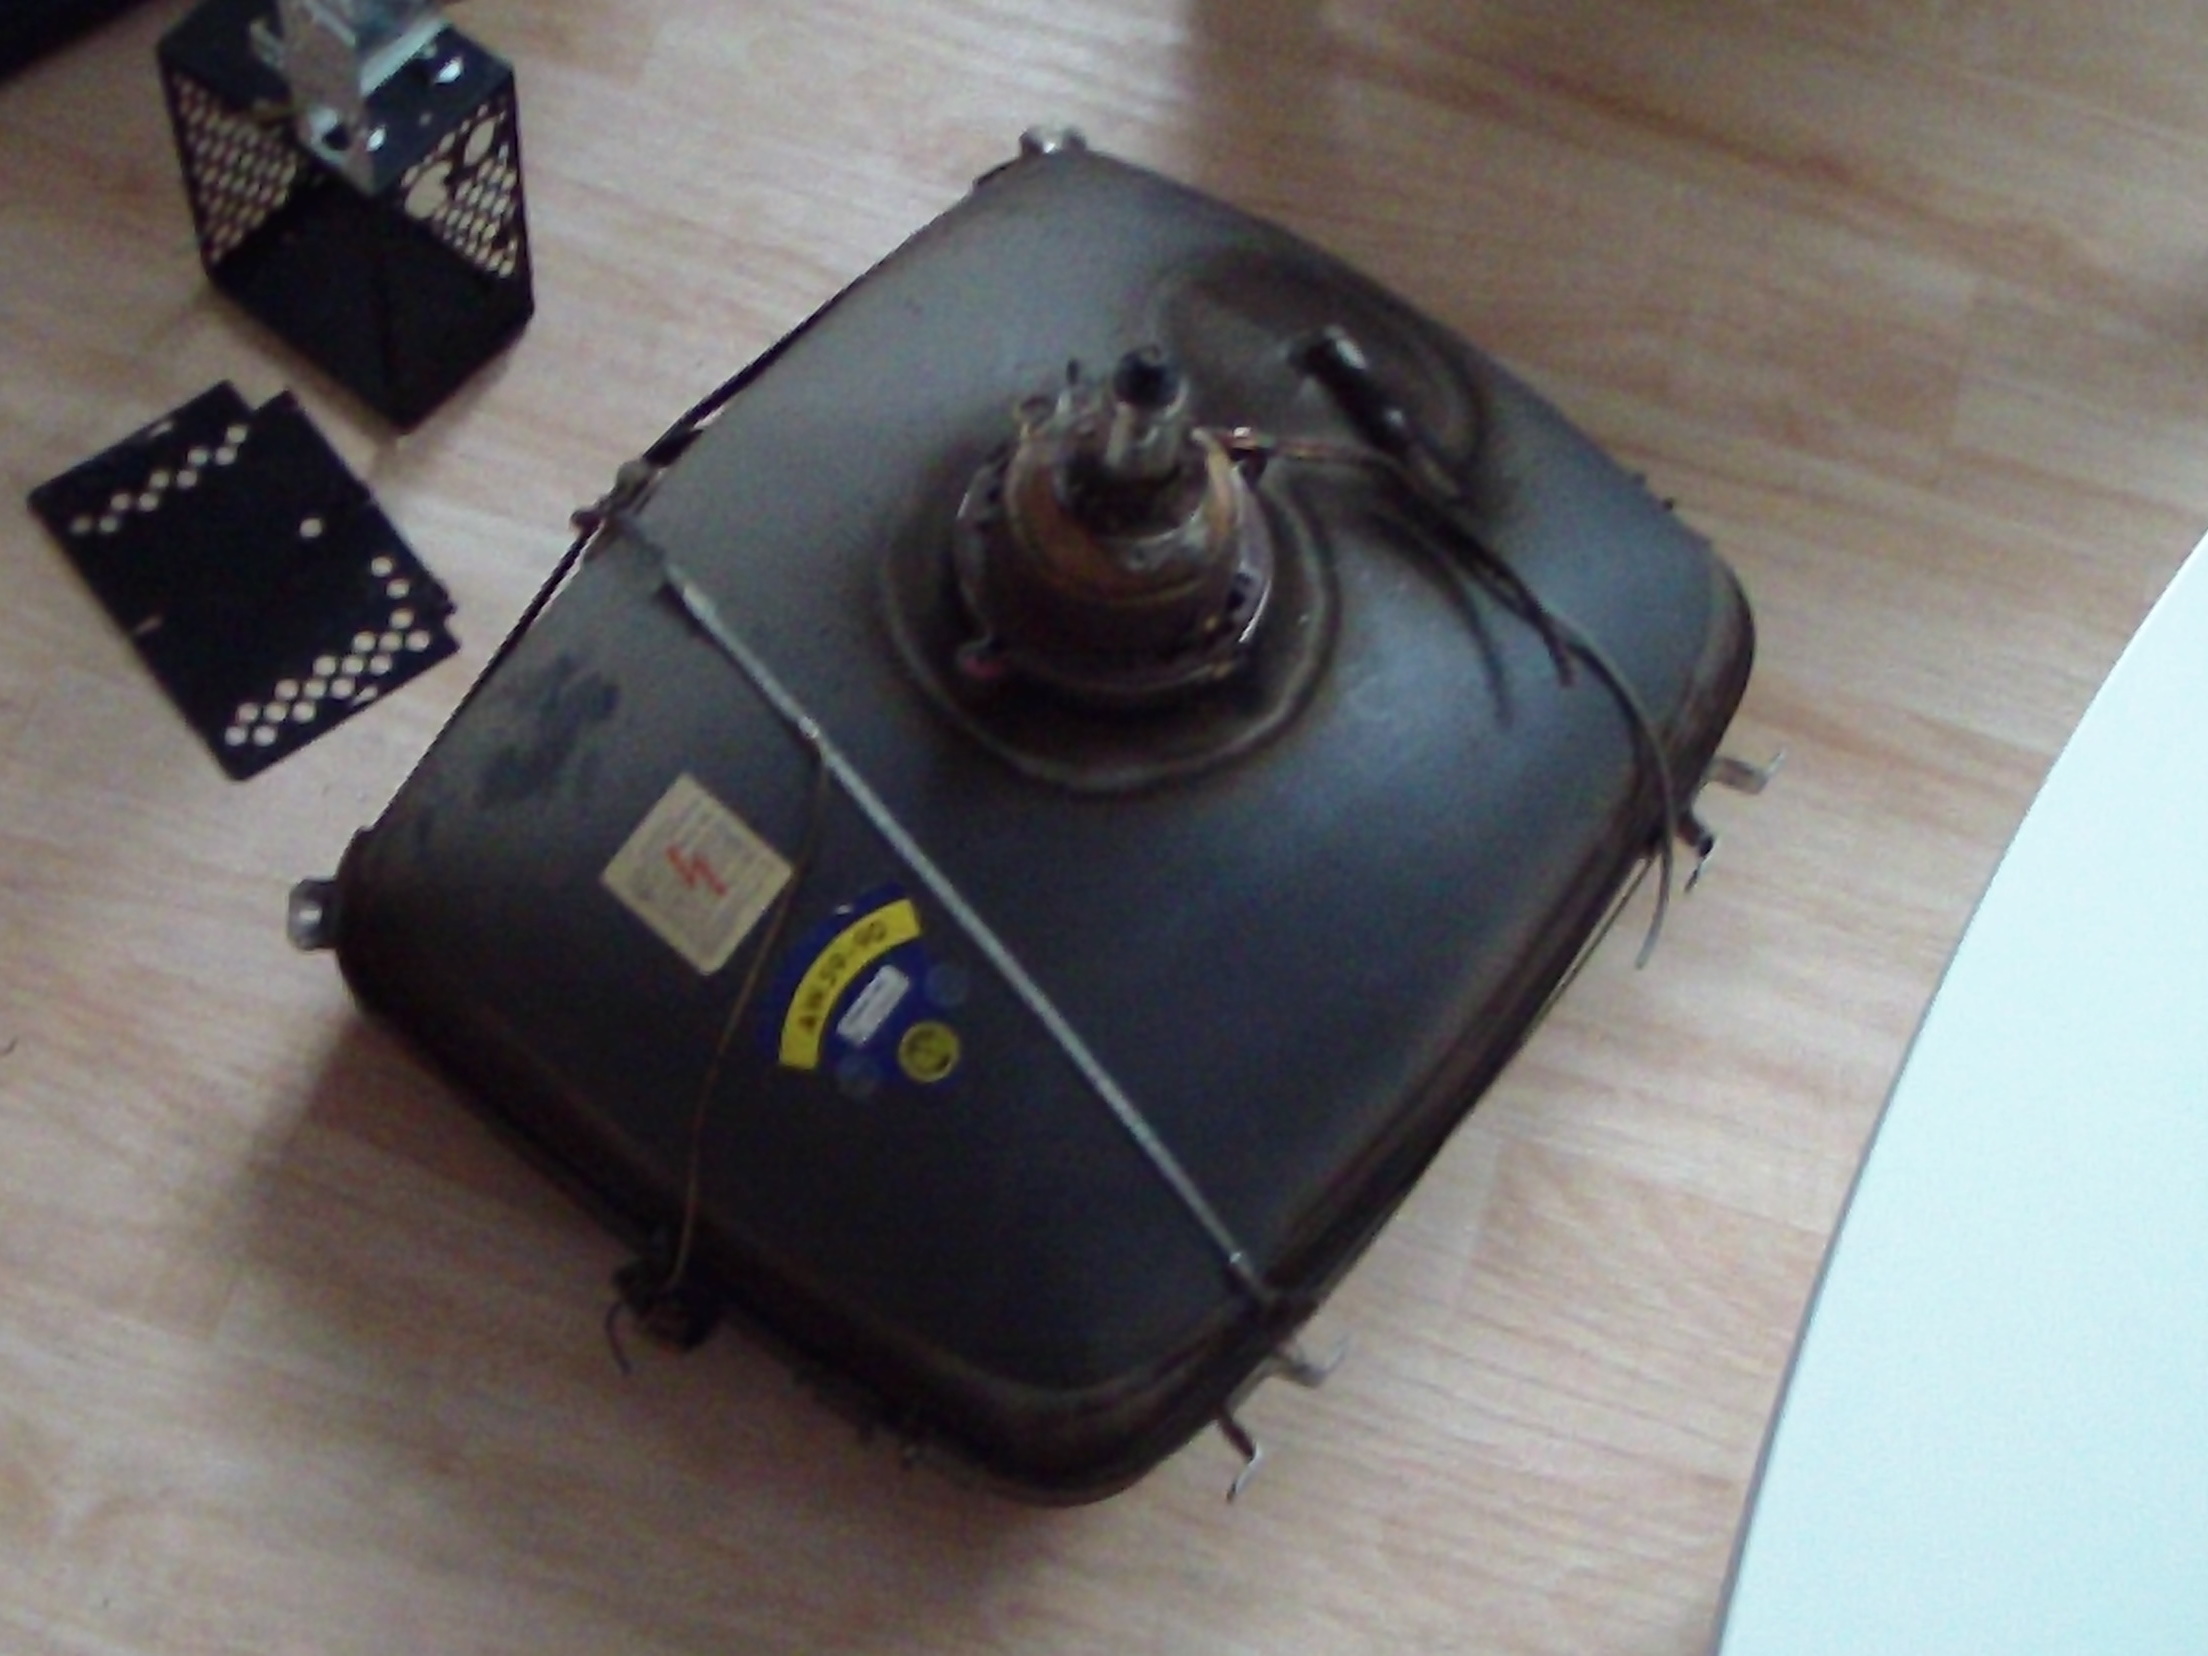
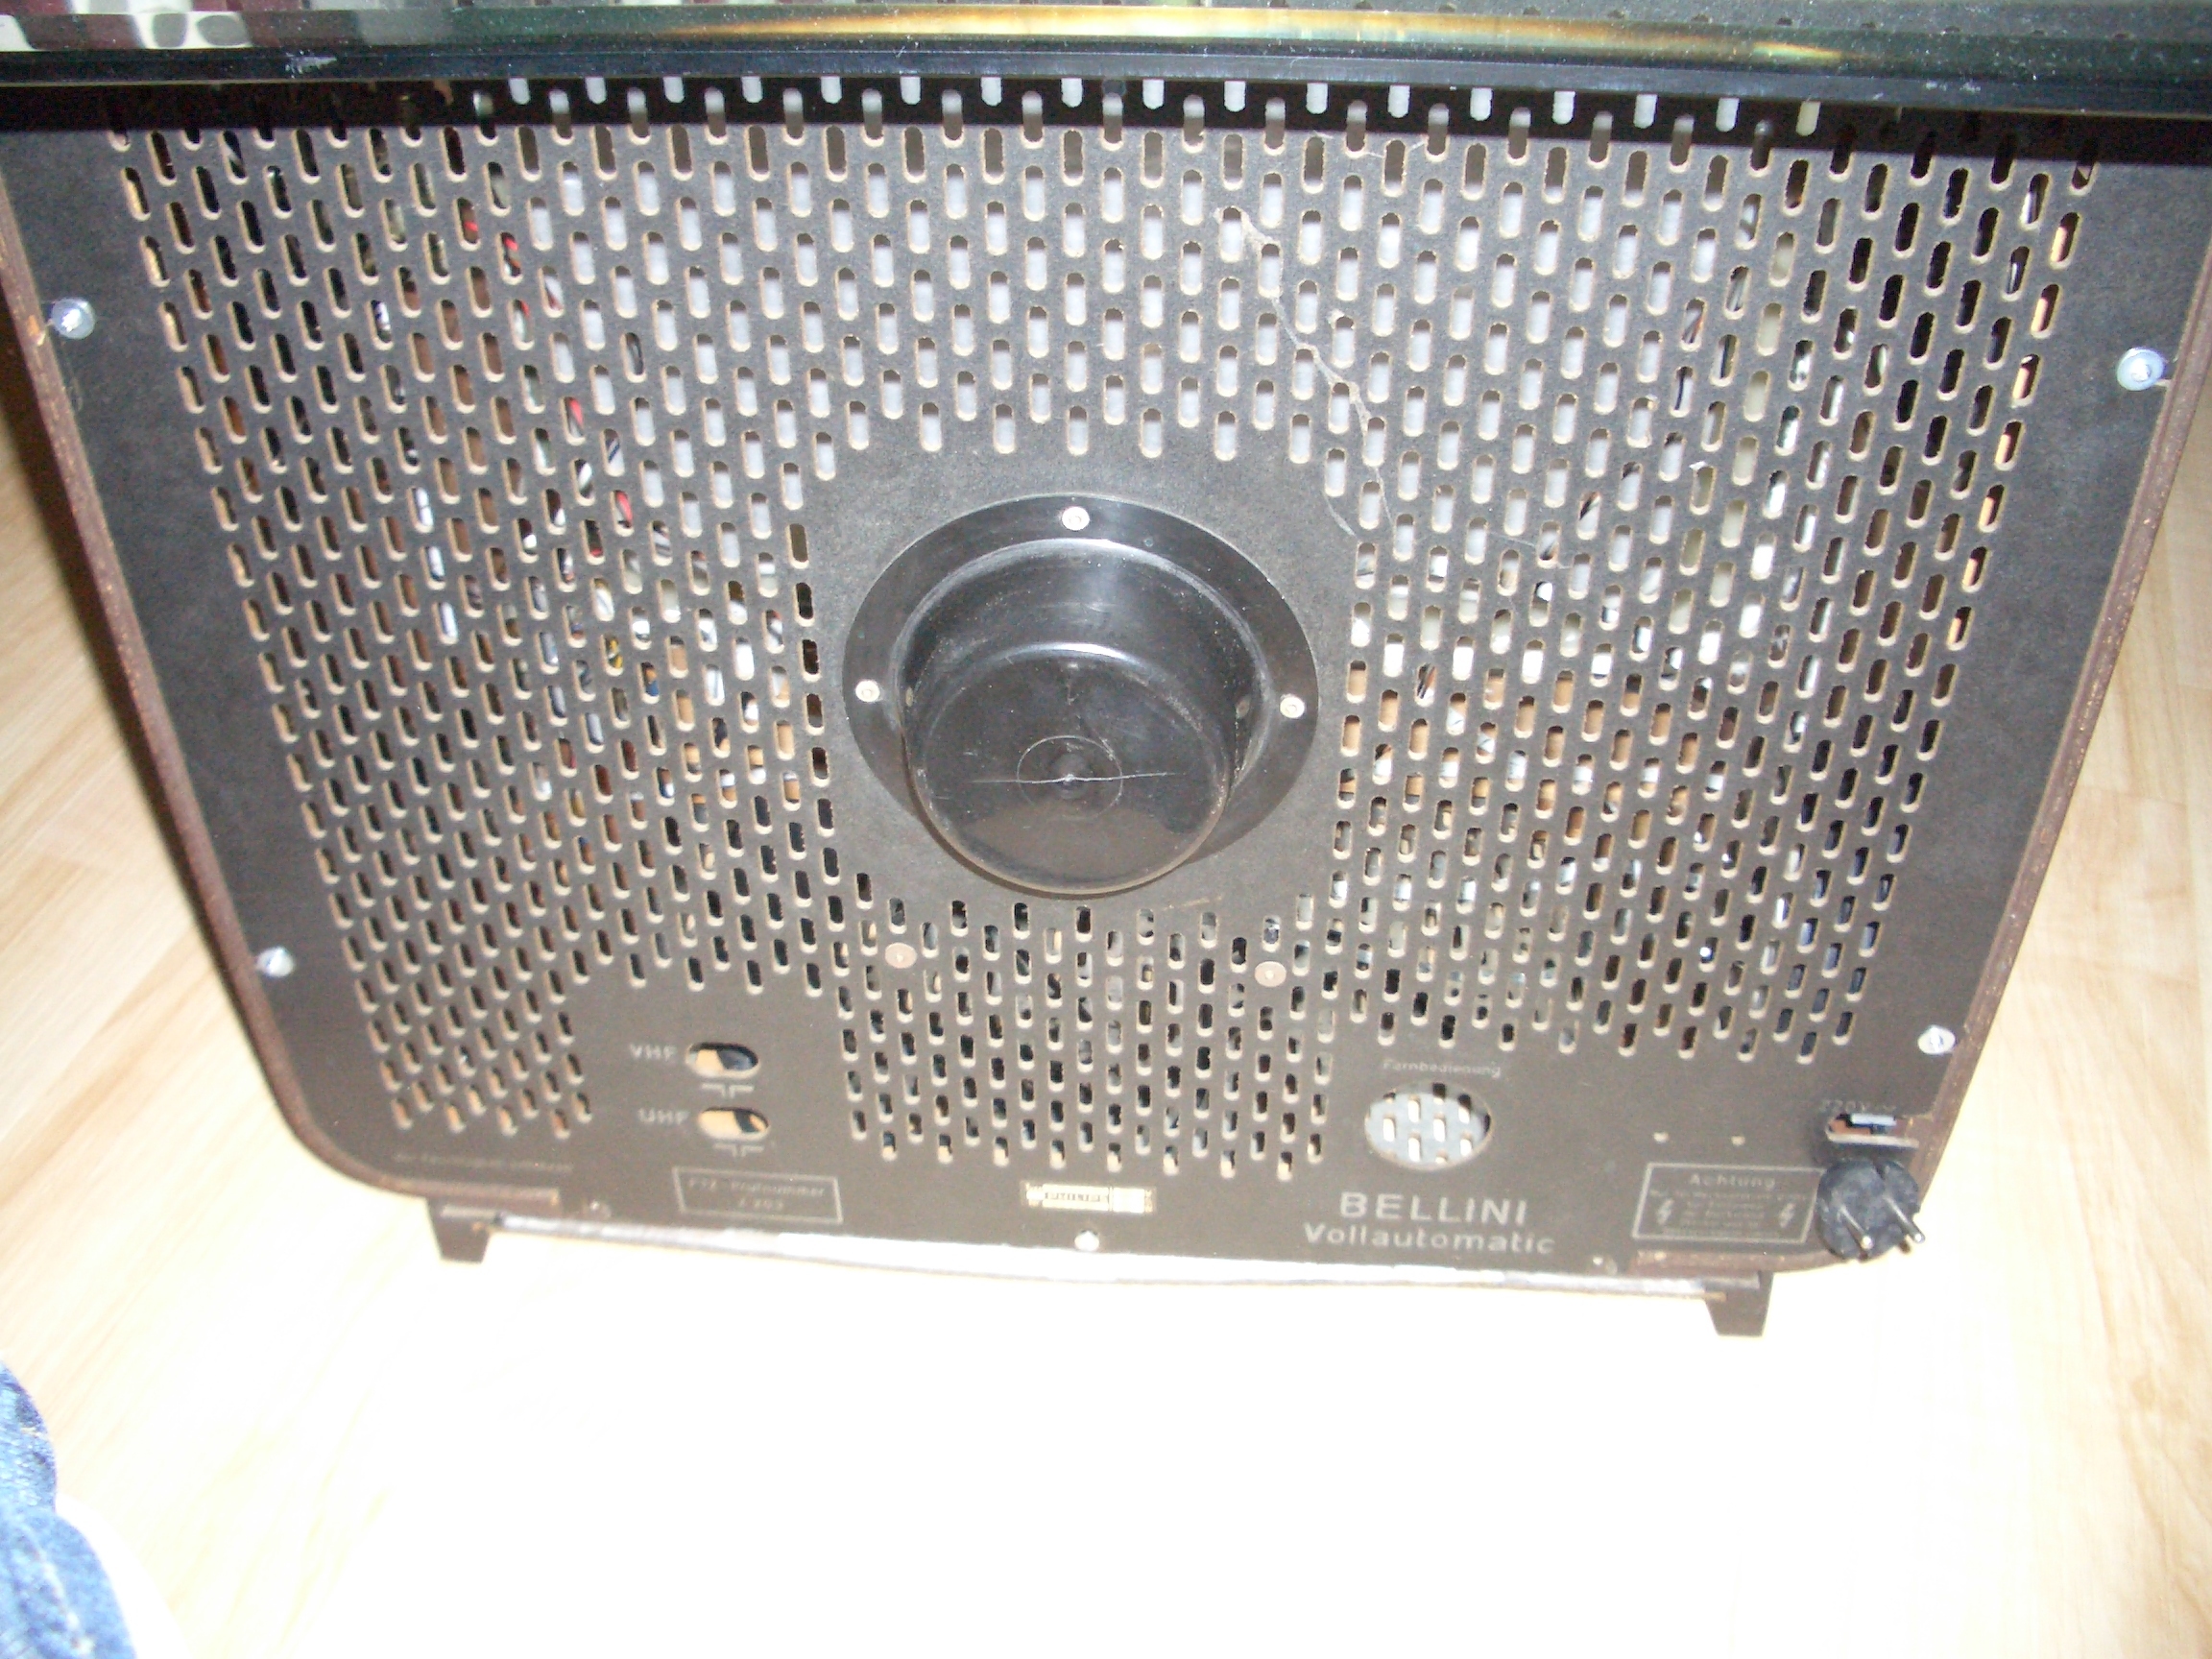
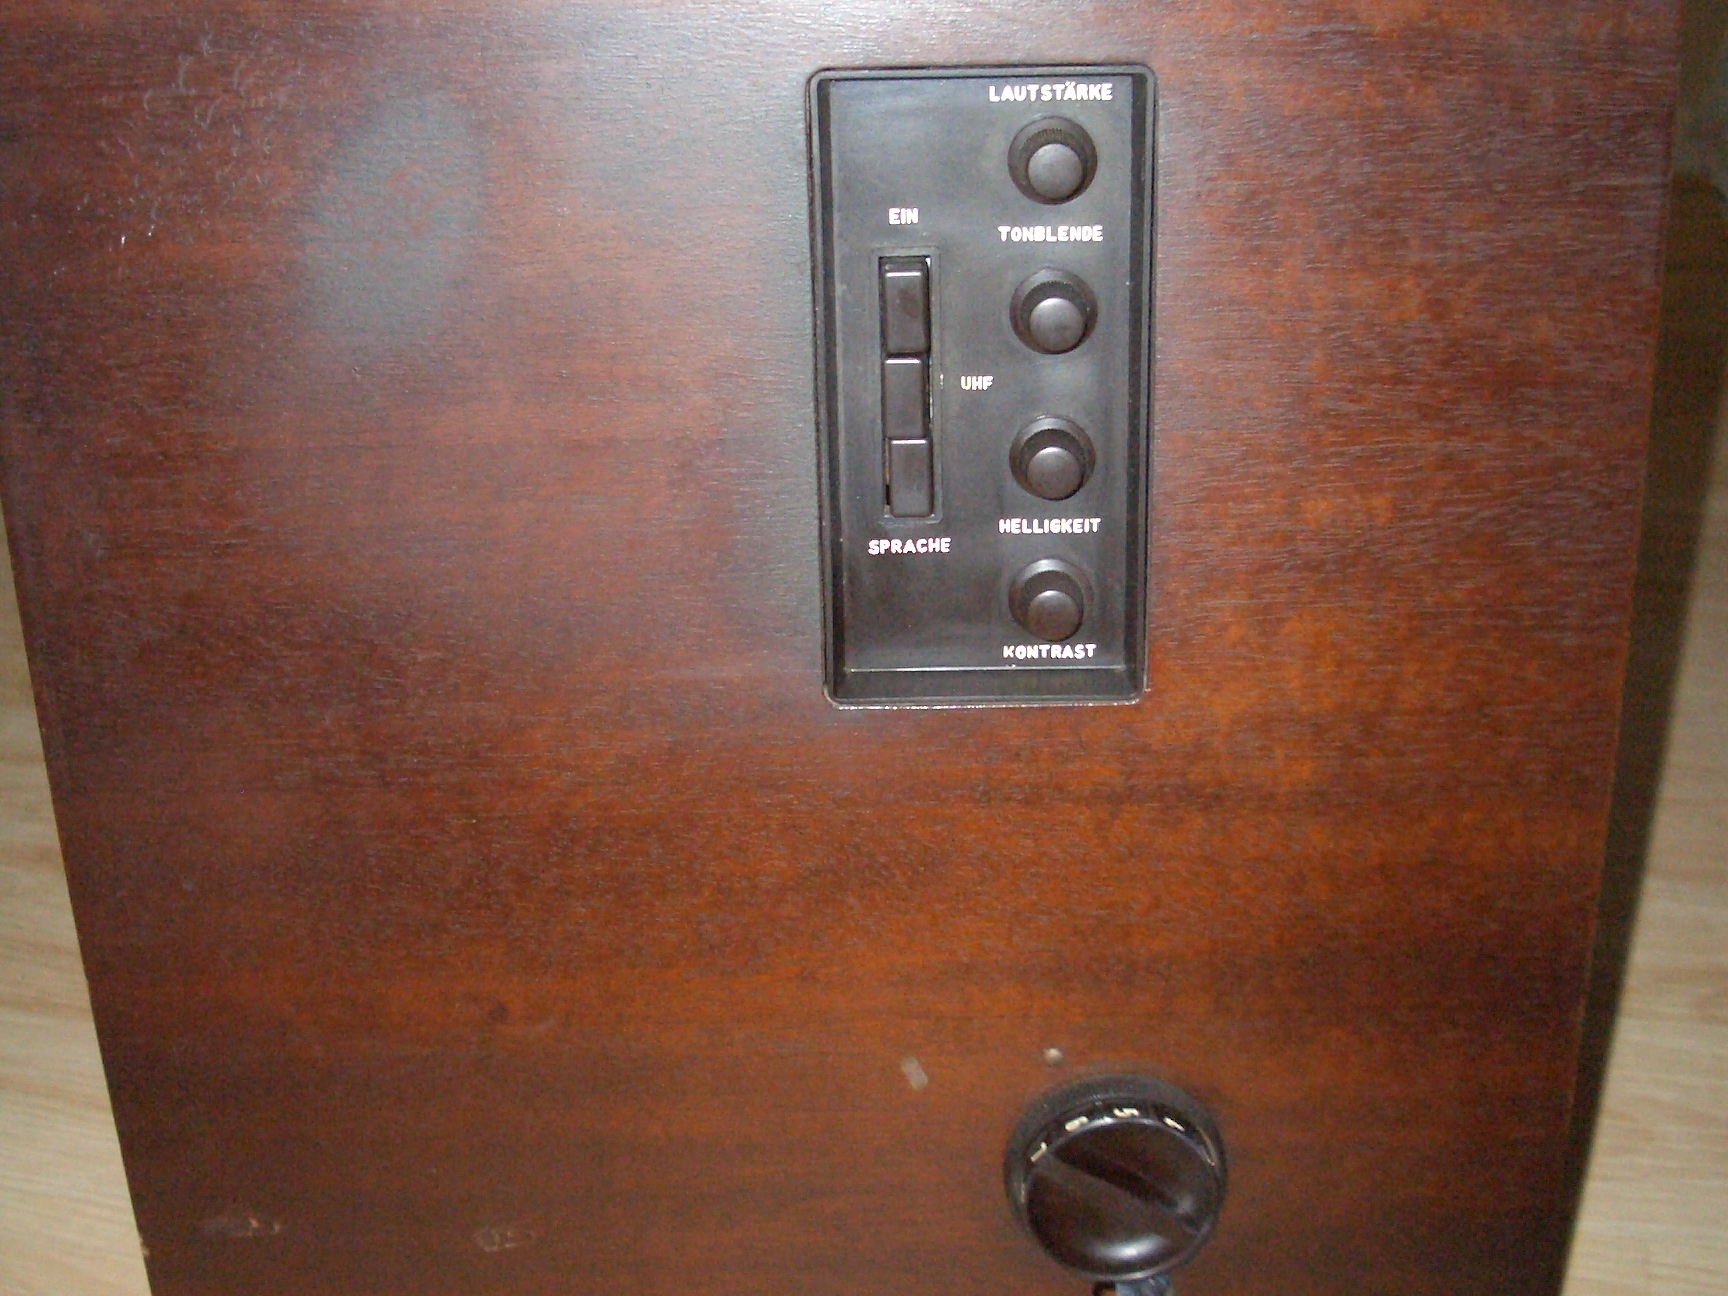
First you need to open the TV and gut out the original electronics including the large and heavy screen.
CAUTION: A TV is a device that stockpiles large amounts of high voltage. BE INSULATED DURING THE ENTIRE DECONSTRUCTION PHASE TO AVOID LETHAL ELECTRIC SHOCKS!
CAUTION: The picture tube is made of glass and has a high degree of vacuum inside. HANDLE IT WITH CARE AND WEAR EYE PROTECTION. If it breaks it will implode and scatter shards of glass everywhere. If you do not know how to render it safe, take it to a professional TV-repair technician for disposal.

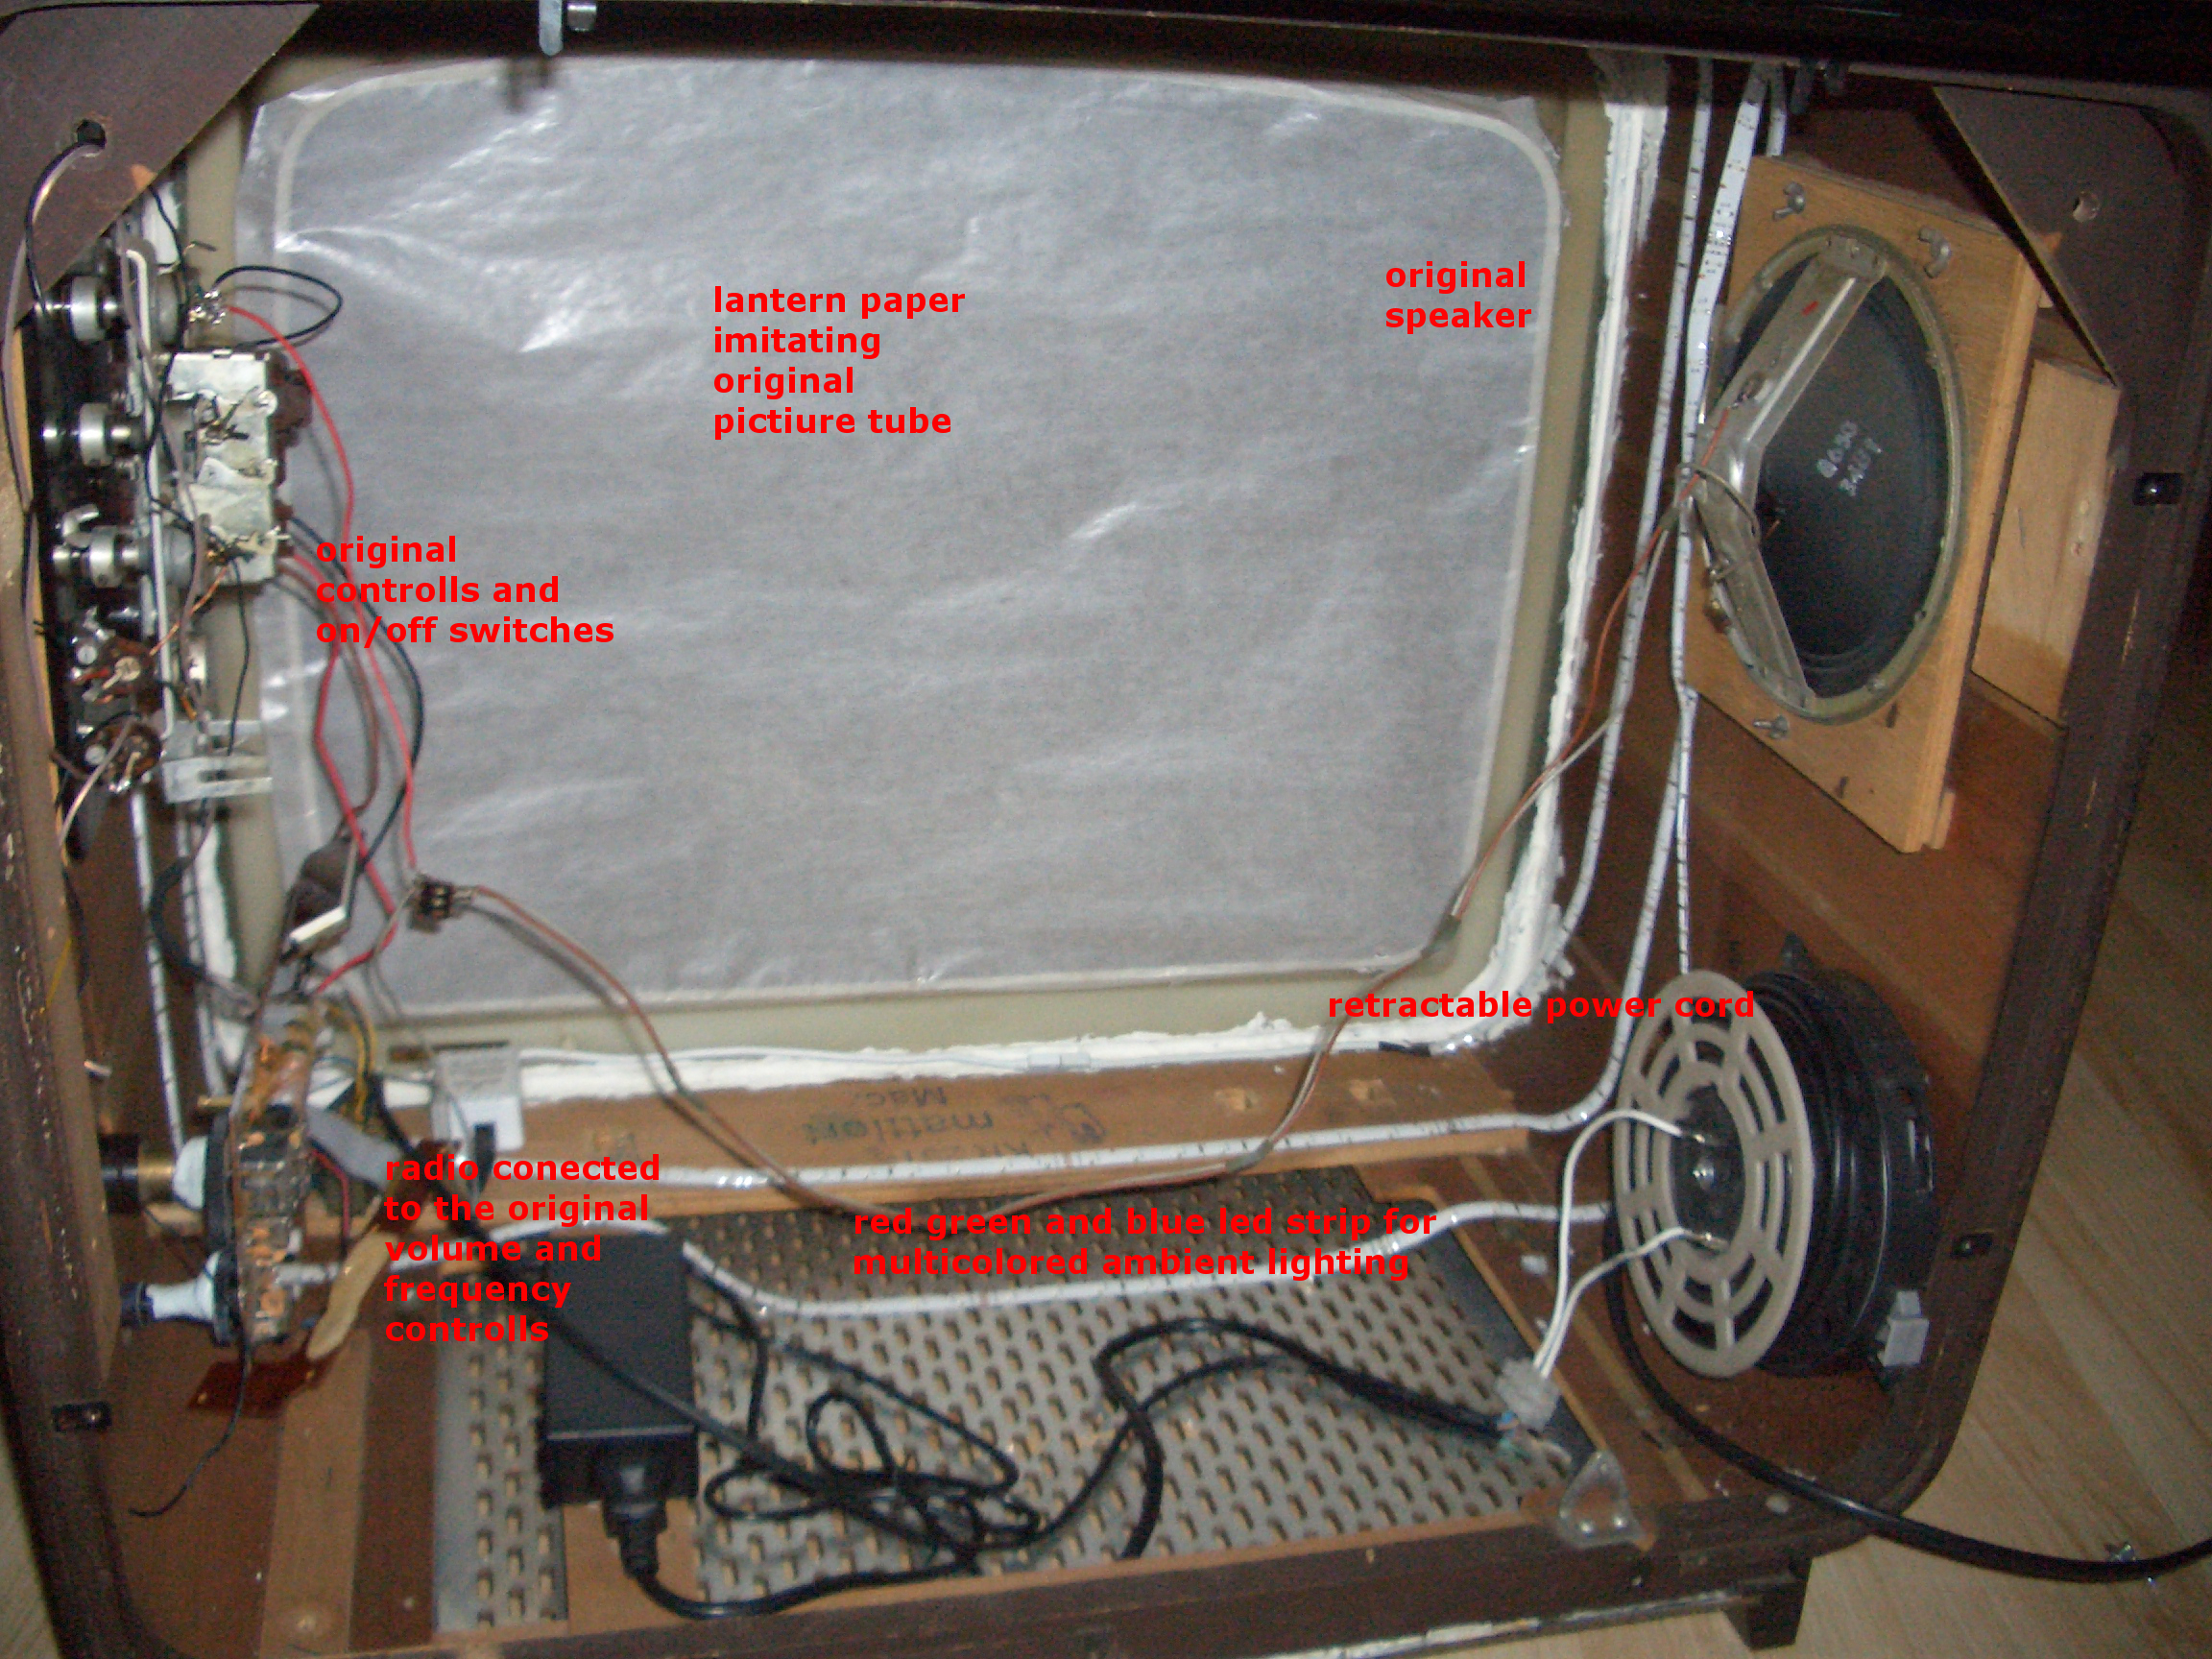
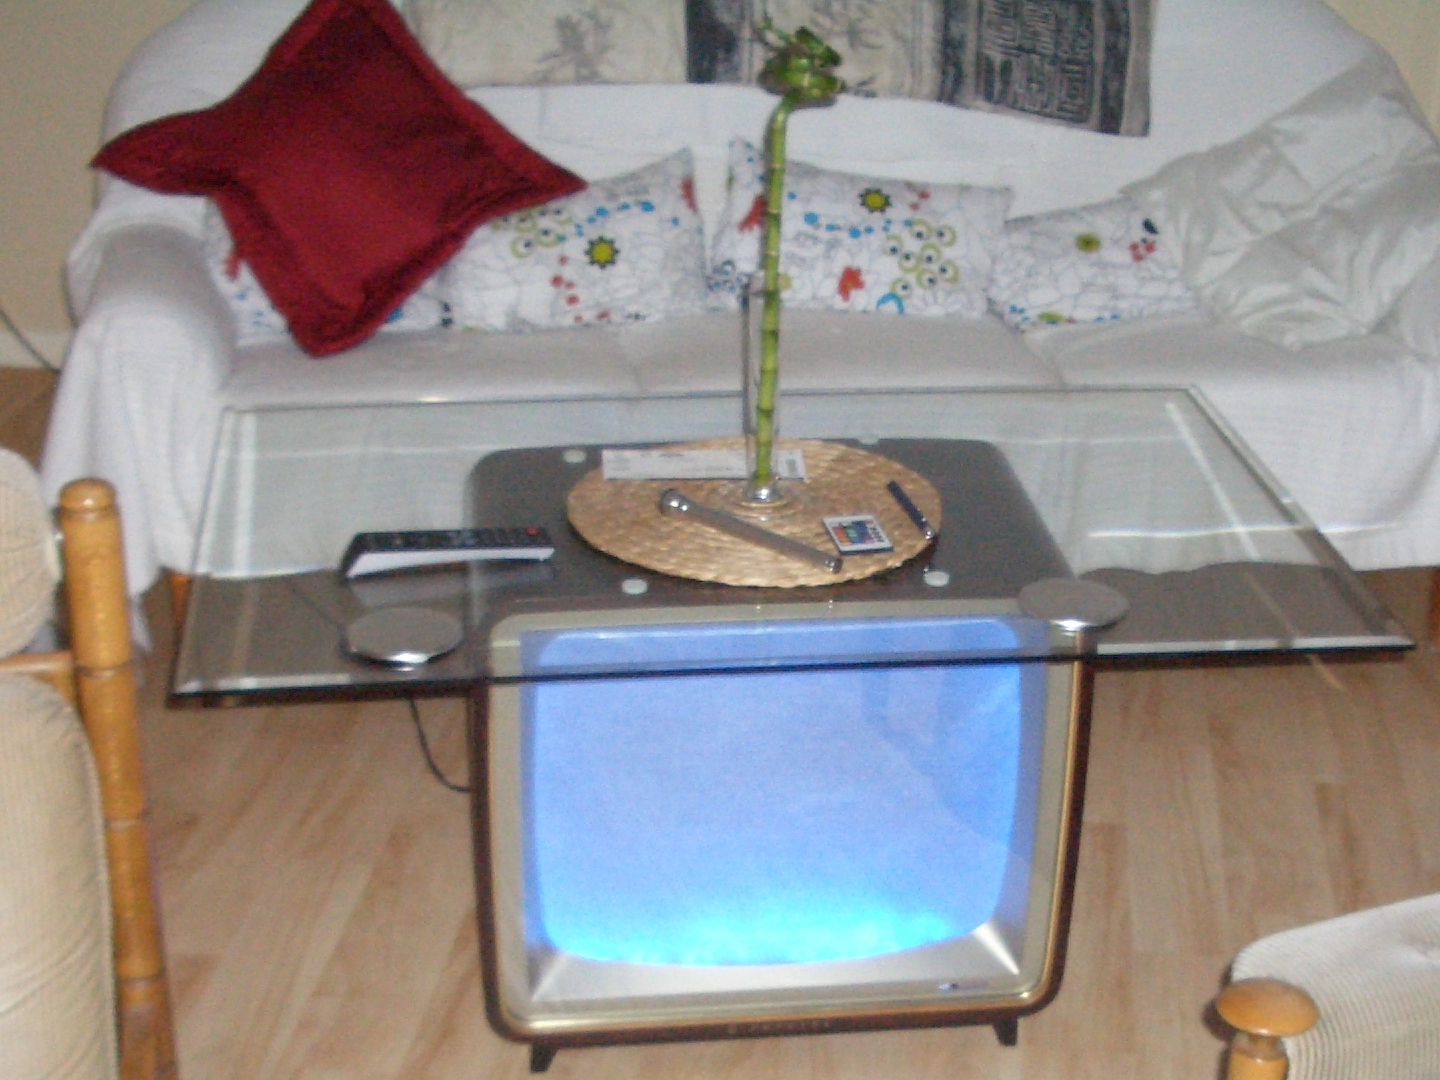
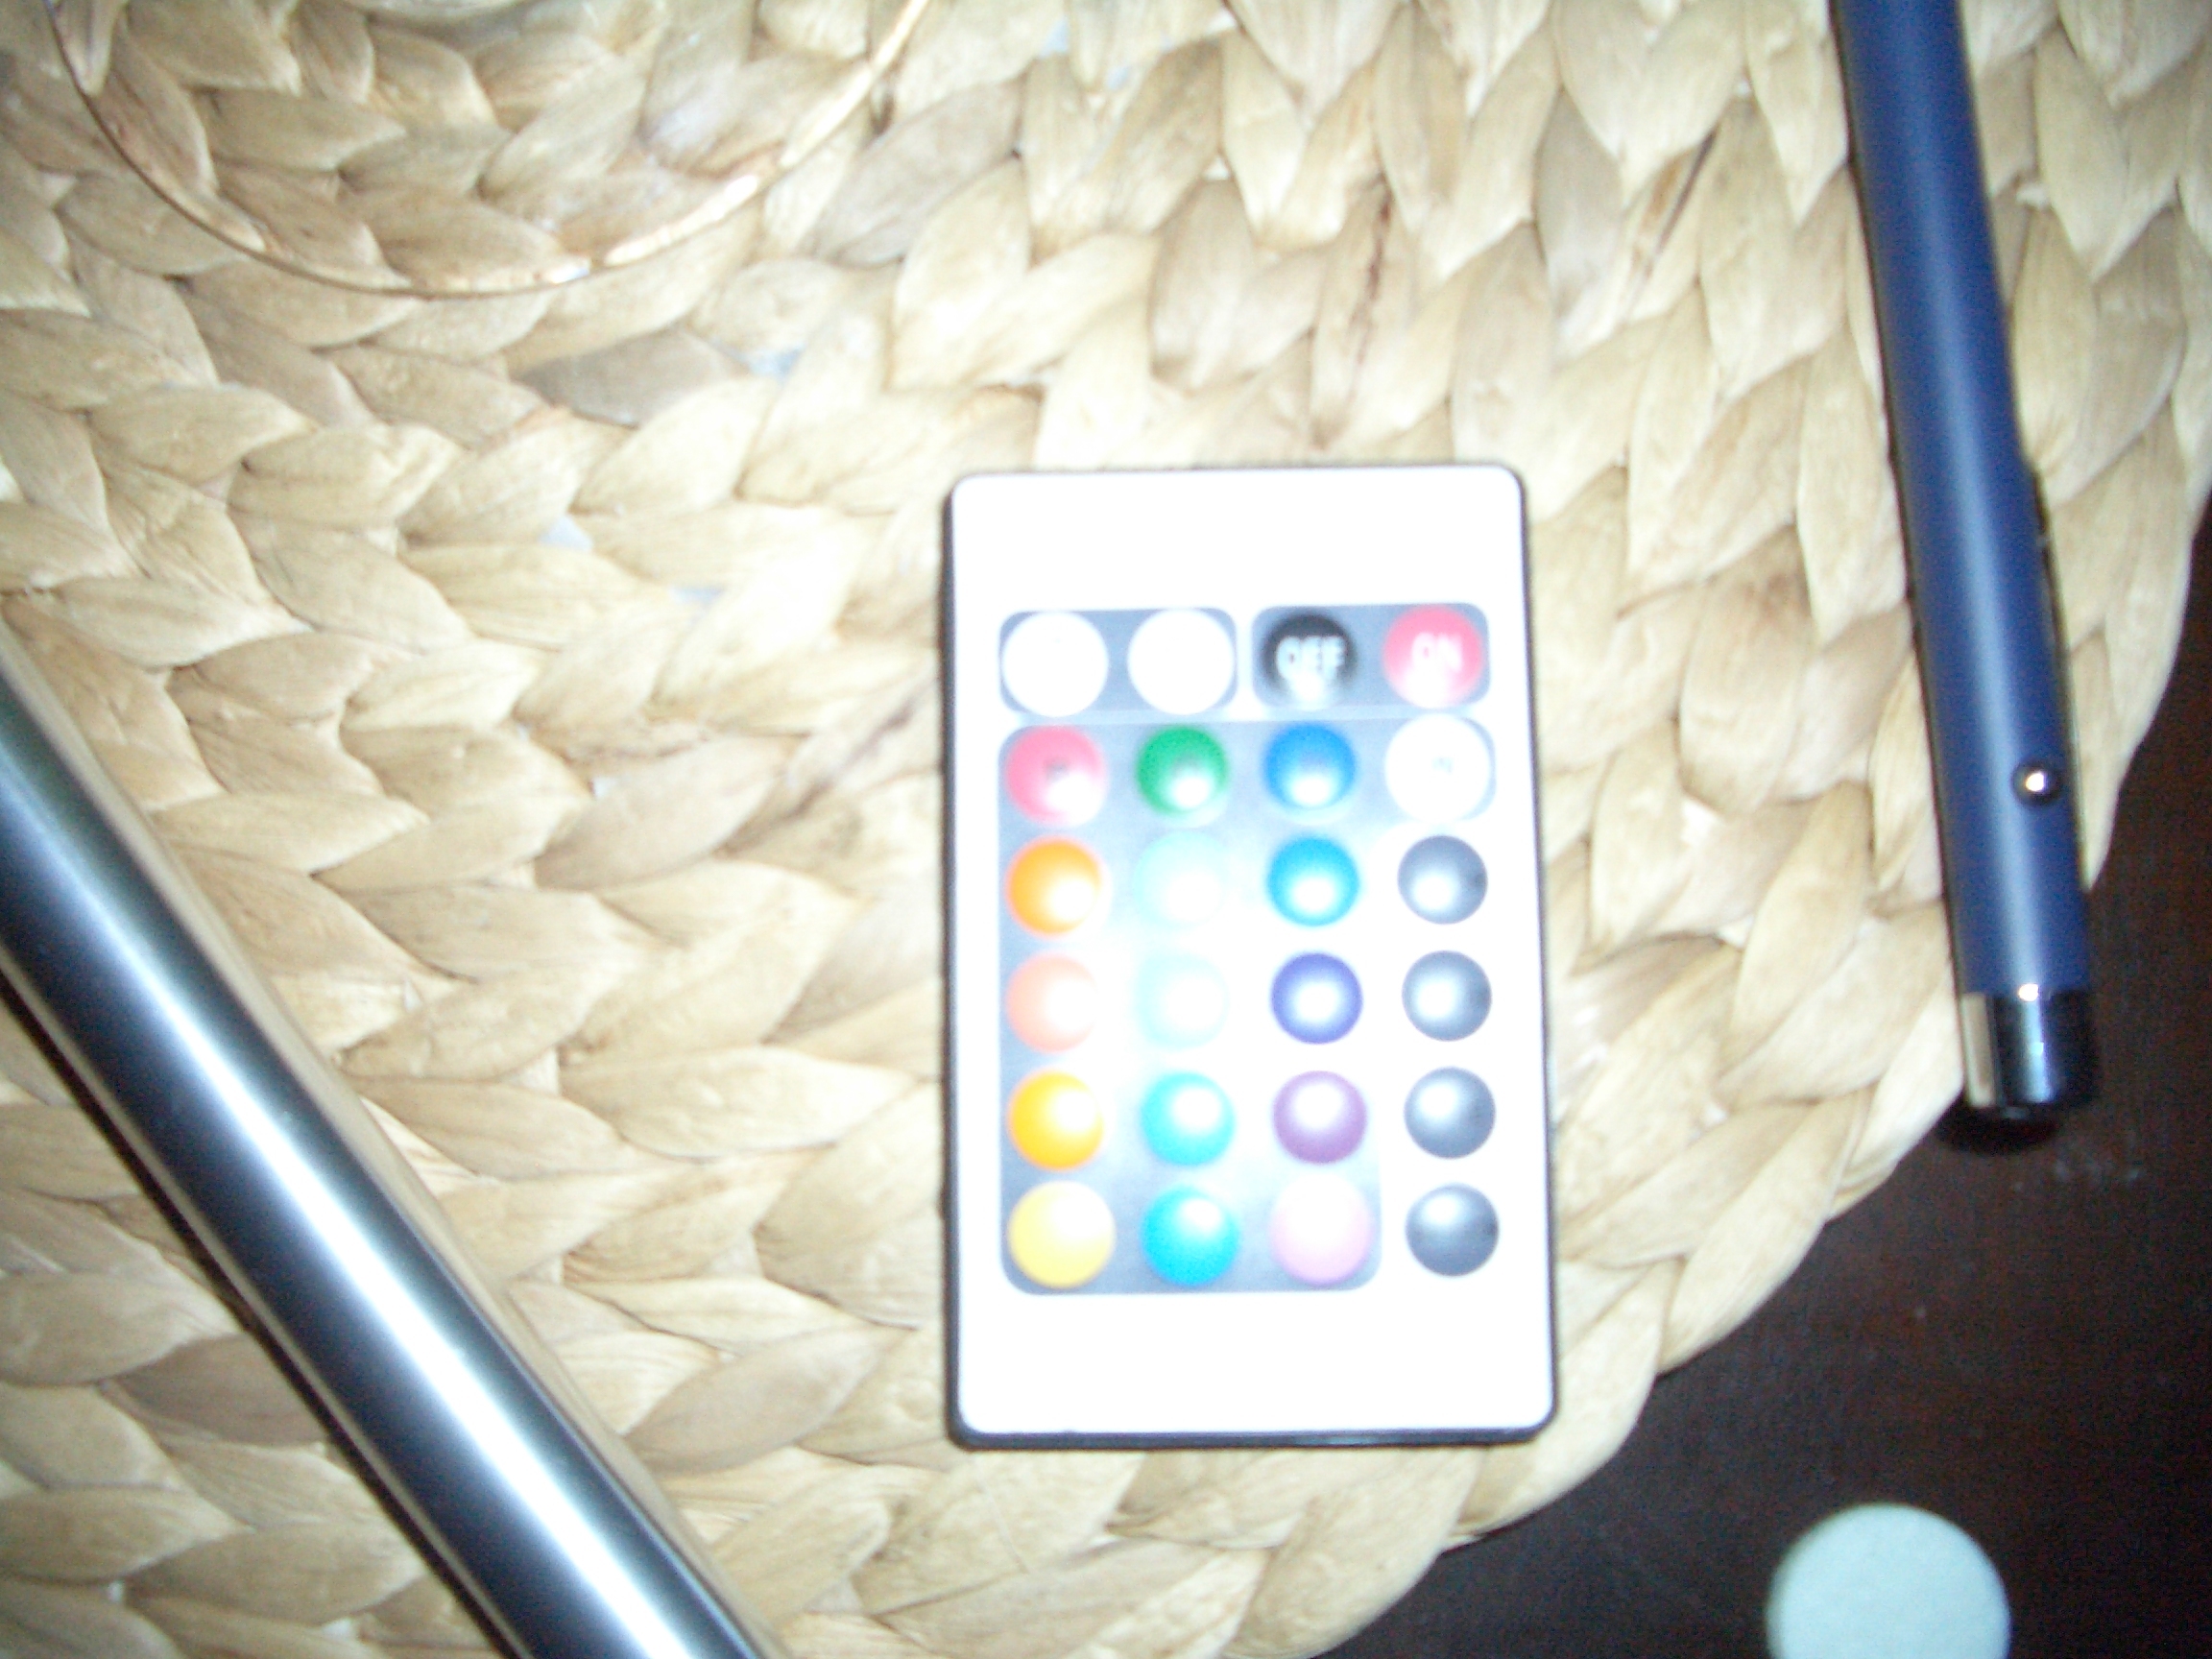
Once the TV is hollowed out it is just a question of where to place all the new components.
As this can vary depending on the vintage TV you might use I thought this photo might help in giving you an idea on how to lay things out for your project.
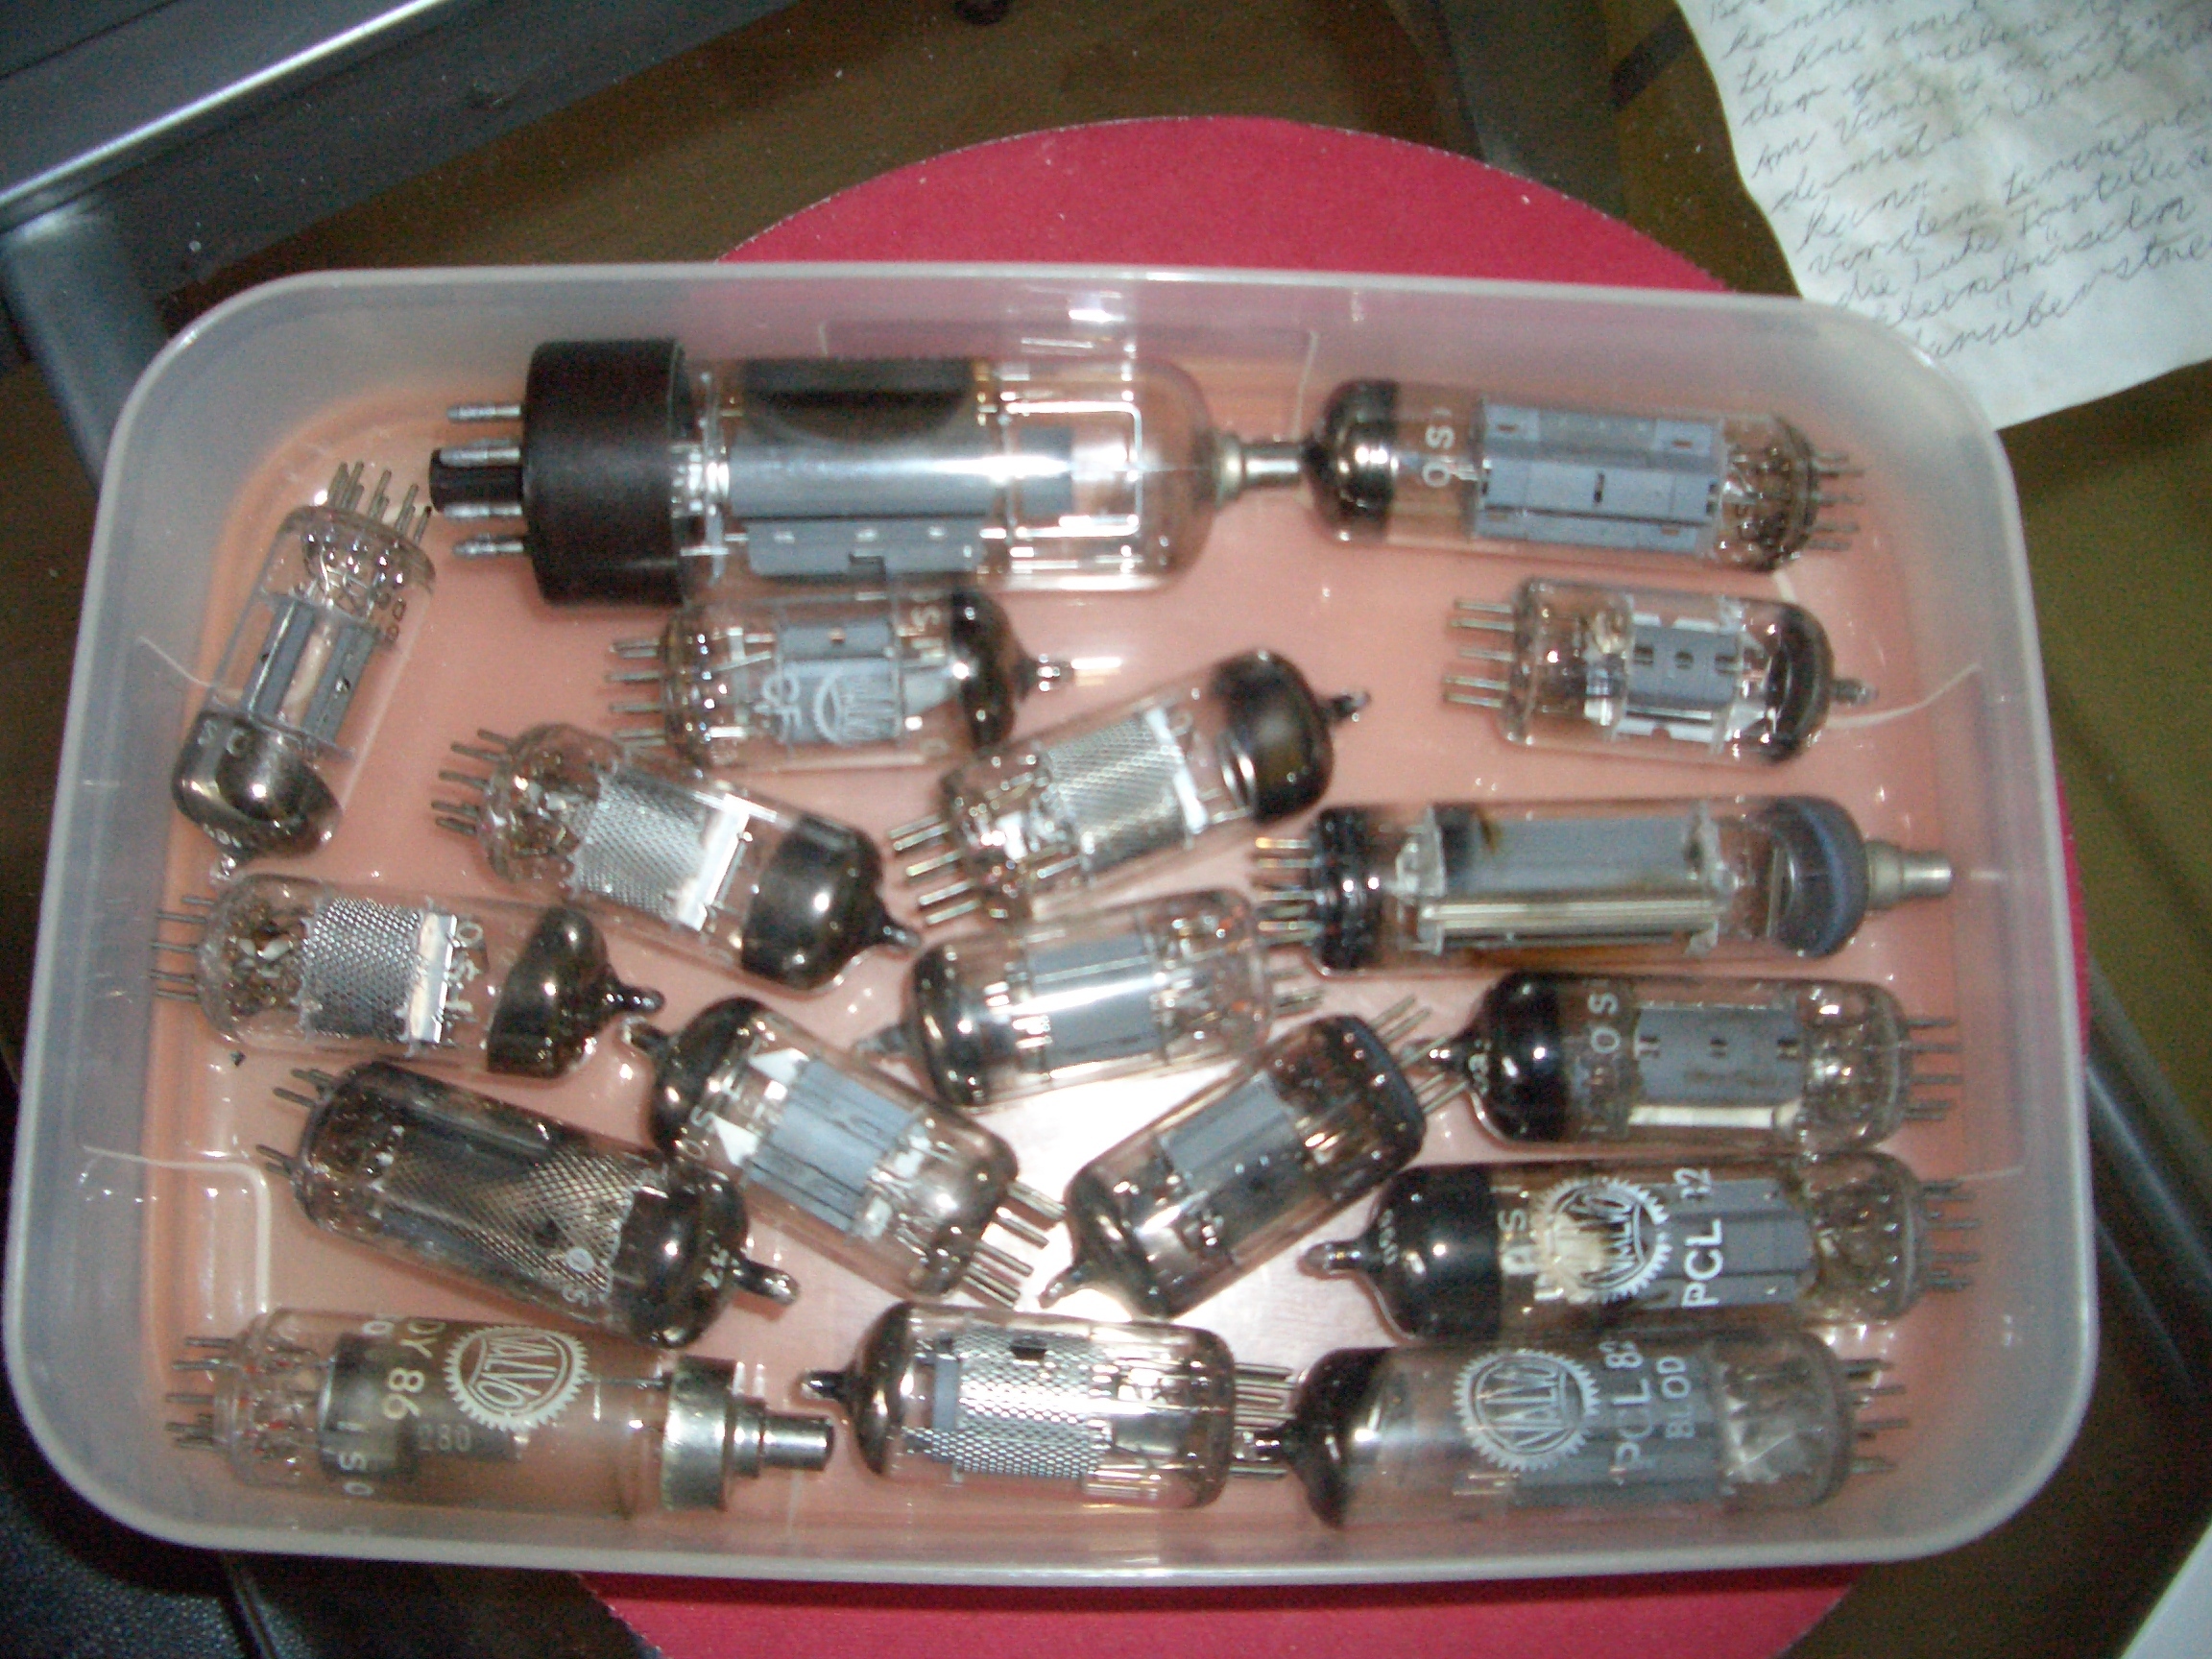
Save the vacuum tubes for future projects.

Once you have embedded all the electronics you wanted, close the TV.
Put some felt strips on the top of the TV and place the glass tabletop on it.
If you ask, some furniture stores might have such tabletops for you to have for free.
They will have been lying under a thick layer of dust as spare parts for furniture that is no longer for sale. So they will be glad to be rid of it. Saves them the disposal costs.
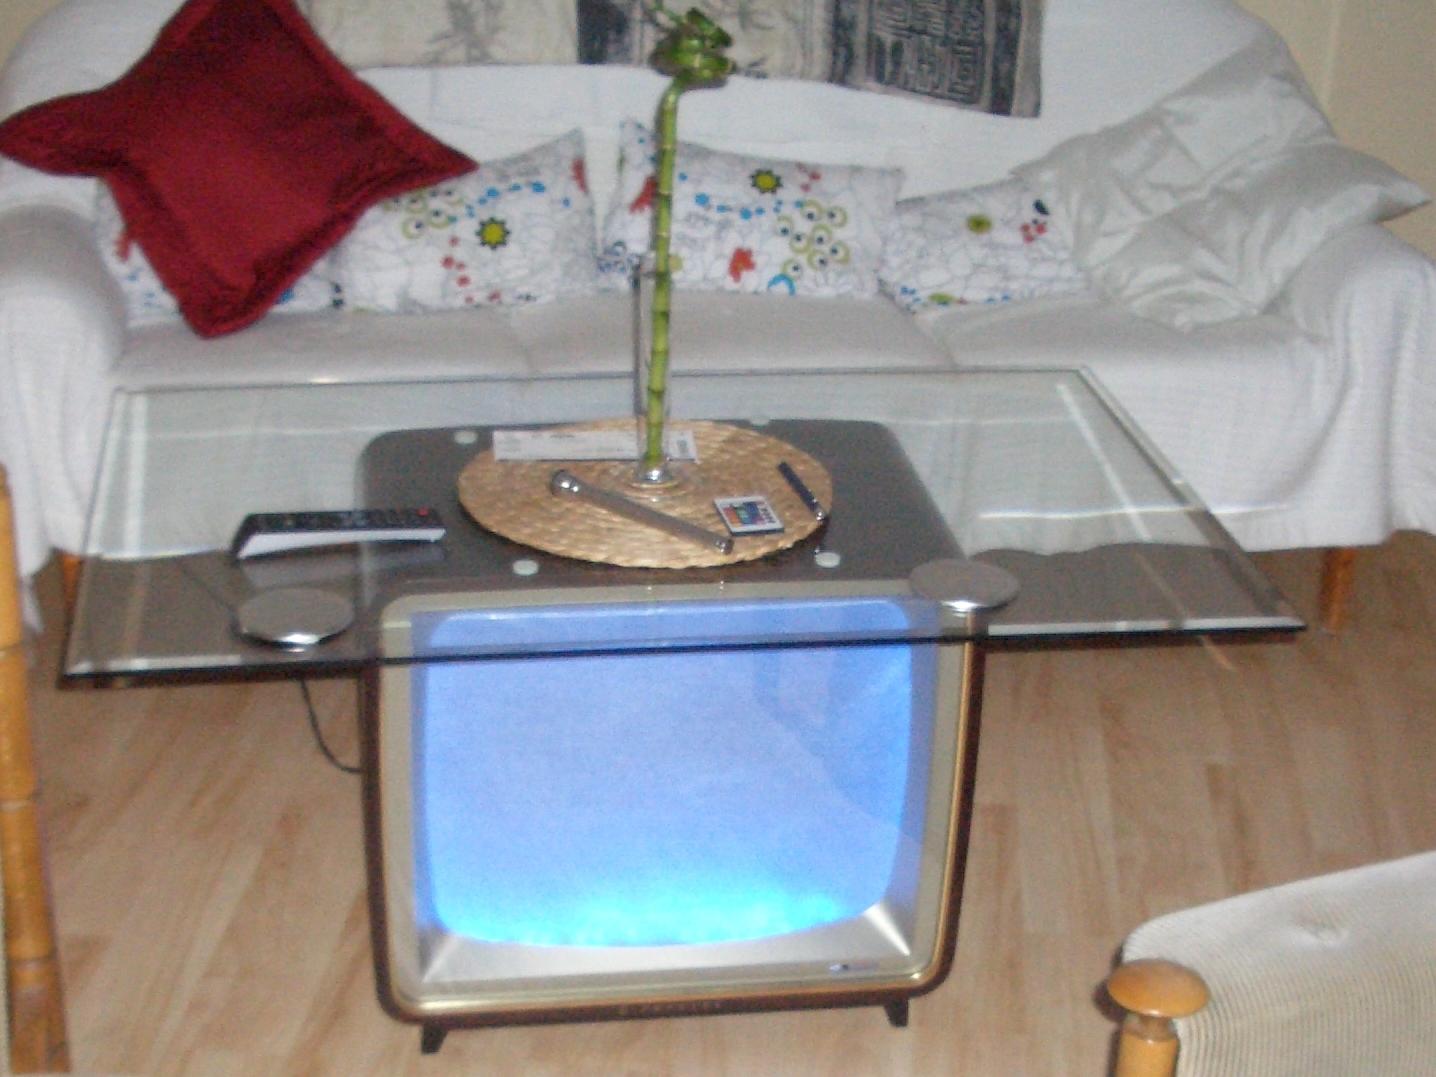
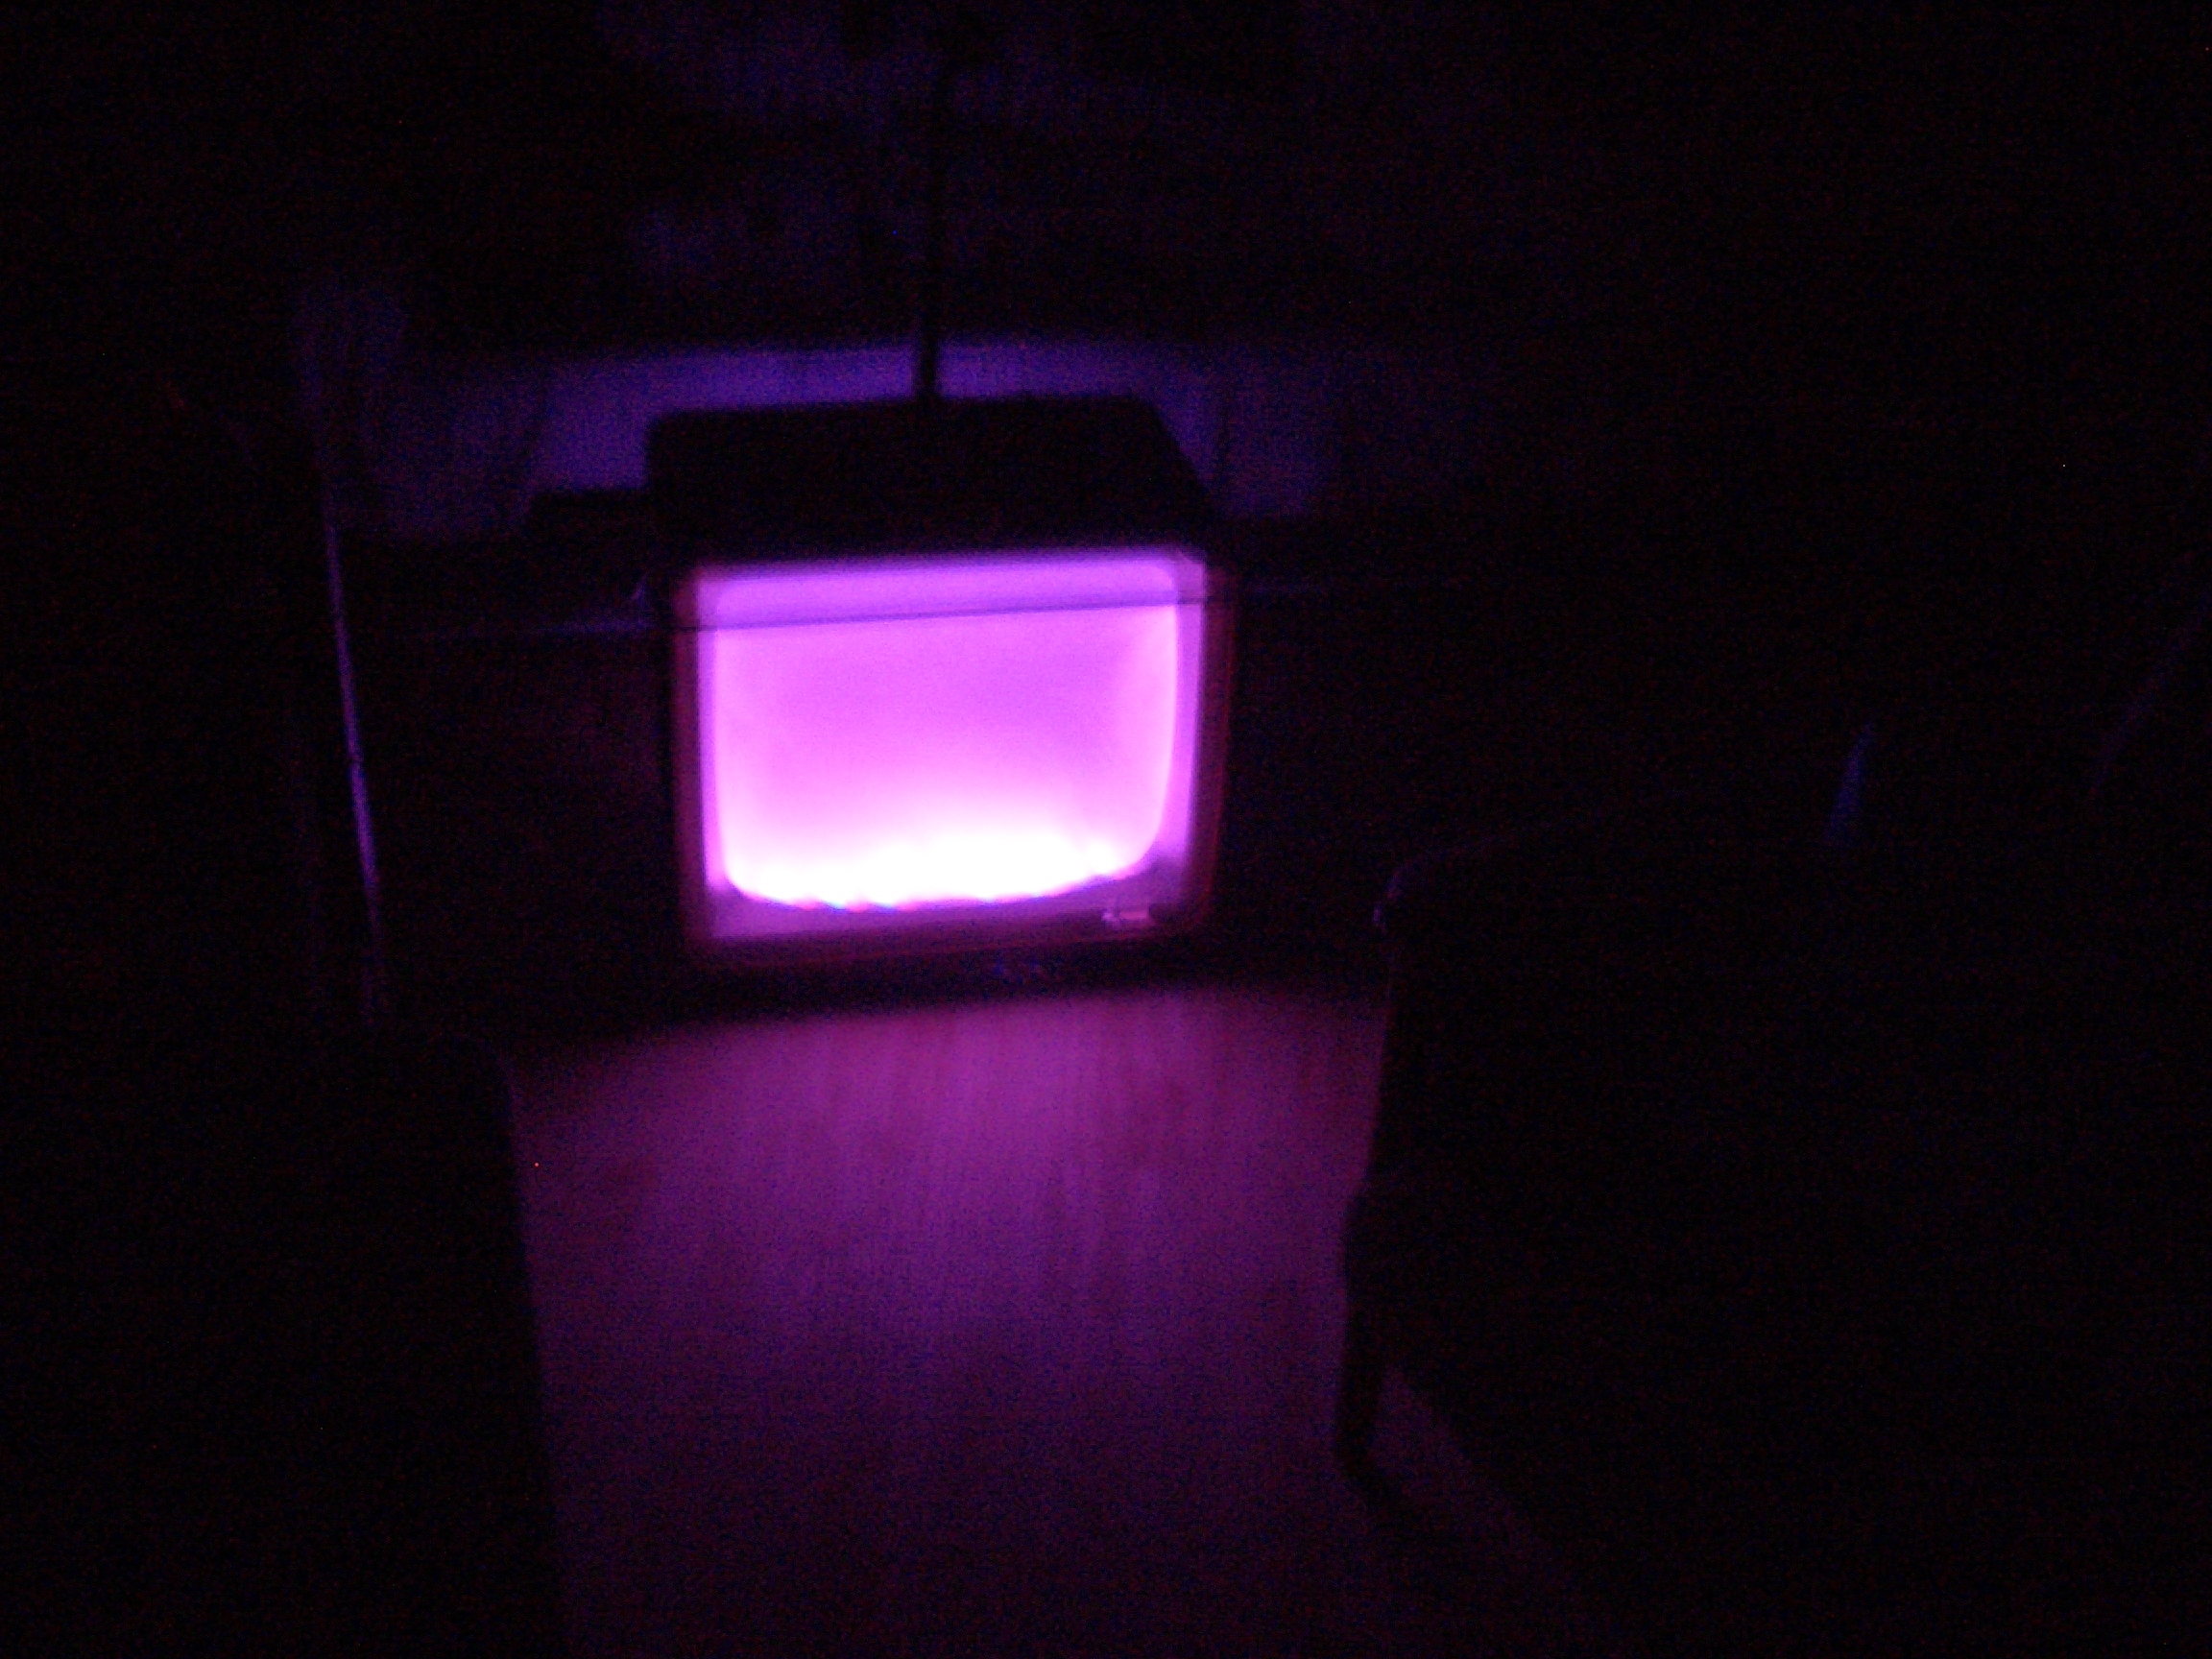
All that is left to do is to enjoy your coffee table. It will always start a conversation. ;)
For more images and video feel free to check out my site.


