Final Shelf 1The wall shelf is a great project that looks good, and can easily be made in a weekend. The small size makes it a great decorating accent that can hold pictures, small decorative items, or anything else you can think of.

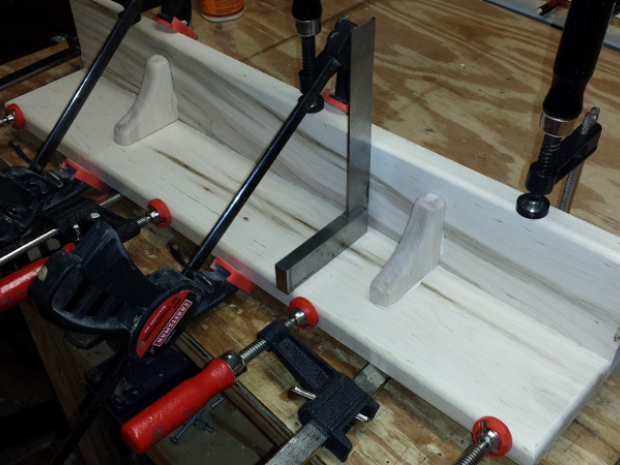
The example in the pictures I made out of ambrosia maple, but any hardwood will work well for this project. I used 4/4 rough sawn stock, but if a jointer and planer are not available pre-milled stock that is 3/4″ thick can be used.  A good wood glue will be needed as well.  The tools I used for this project are as follows

This project comes from the Sears Essential Woodworking Tools series.

Project Steps

Stock Prep

The first task is stock prep. I used a circular saw to cut down the stock into manageable pieces. I start out with three boards that are about an inch wider than final width, and a couple inches longer. I run one face of each board at the jointer till each is flat and then the planer to get the opposite face parallel. Still at the planer I bring down the boards to a thickness of 3/4”, alternating faces each pass. Back at the jointer I edge joint one edge of each board and then using that as the reference edge cut each board to width on the table saw. Using a miter gauge on the table saw I square up one end and then cut the other end to bring each board to length. At this point I have 4 pieces, one for the top, one for the back, and two small squares for the brackets.

Joinery

With all the pieces sized, I started working on the joinery, starting with the dados for the brackets. The dados on the top and back boards, must line up with each other, so care was taken with layout for these. The dados are 3/8″ wide, cut with a 3/8” straight bit on the router. To help line up and keep the dados straight, I used a shop made T-square jig. Using a couple sharp chisels, I square the ends of the dados. A 3/4” wide x 3/8” deep rabbet is made on the top piece to accept the back. This is done on the table saw with a dado stack, with an auxiliary fence. The brackets need a couple tongues that will fit into the dados. I did this on the router table with a 3/8″ rabbeting bit. Please take care with these small pieces, and use a small parts jig on the router table, otherwise your fingers will get too close to the spinning bit. I trimmed the front of the tongues so that they would fit in their dados using the band saw, and a chisel to clean up the cuts. I then checked everything for fit, and made adjustments as needed.

Decorative Elements

With the joinery completed, I then worked on the more decorative element of the brackets, again using small part jigs for safety. I made the brackets with a cover shape, but any shape could be used. I accomplished this by taping the two brackets together, and drew out the shape on one. I used the band saw to cut out the shape, leaving the line. I then cleaned up the shape with the oscillating spindle sander. After getting the shape looking good, I separated the pieces and rounded them over on the router table, again using a small parts jig. I decided to have some fun with the brackets, and instead of leaving two quarter round with a flat space, I used a rasp and sand paper to further shape the brackets so that the front profile had a more rounded and refined appearance.

Glue-Up

With the brackets complete, I sanded all the parts as it is easier to do so before glue-up. I also rounded over the faces that wouldn’t be accessible by the router after everything is glued together. From there, I put glue into all the joints, and clamped it up. After 20-30 minutes I cleaned up any glue squeeze out, then left the glue to dry for a few hours. I finished the round overs, including some hand work with the rasp to make the round overs on the inside corners meet together. Finally I went over the shelf for one final sanding.

Finish

I will apply the finish on the shelf this spring, where I will apply two coats of boiled linseed oil, and allow that to cure. For the top coat, I will apply 4 or 5 coats of shellac.

This shelf is very easy to build, even with a basic set of tools. I would encourage you to not only try building this shelf, but be creative with it to make it your own as well!