


This description will help teach how to:
- build a containment chamber for the air
- attach generators and flaps
- set up a circuit to light an LED or similar load
This system converts the up and down motion of moderate frequency swells or waves into electricity.The system works by exploiting the changing volume of air in the chamber as waves pass by. Air is forced in through one opening and out through the othe
This description will help teach how to:
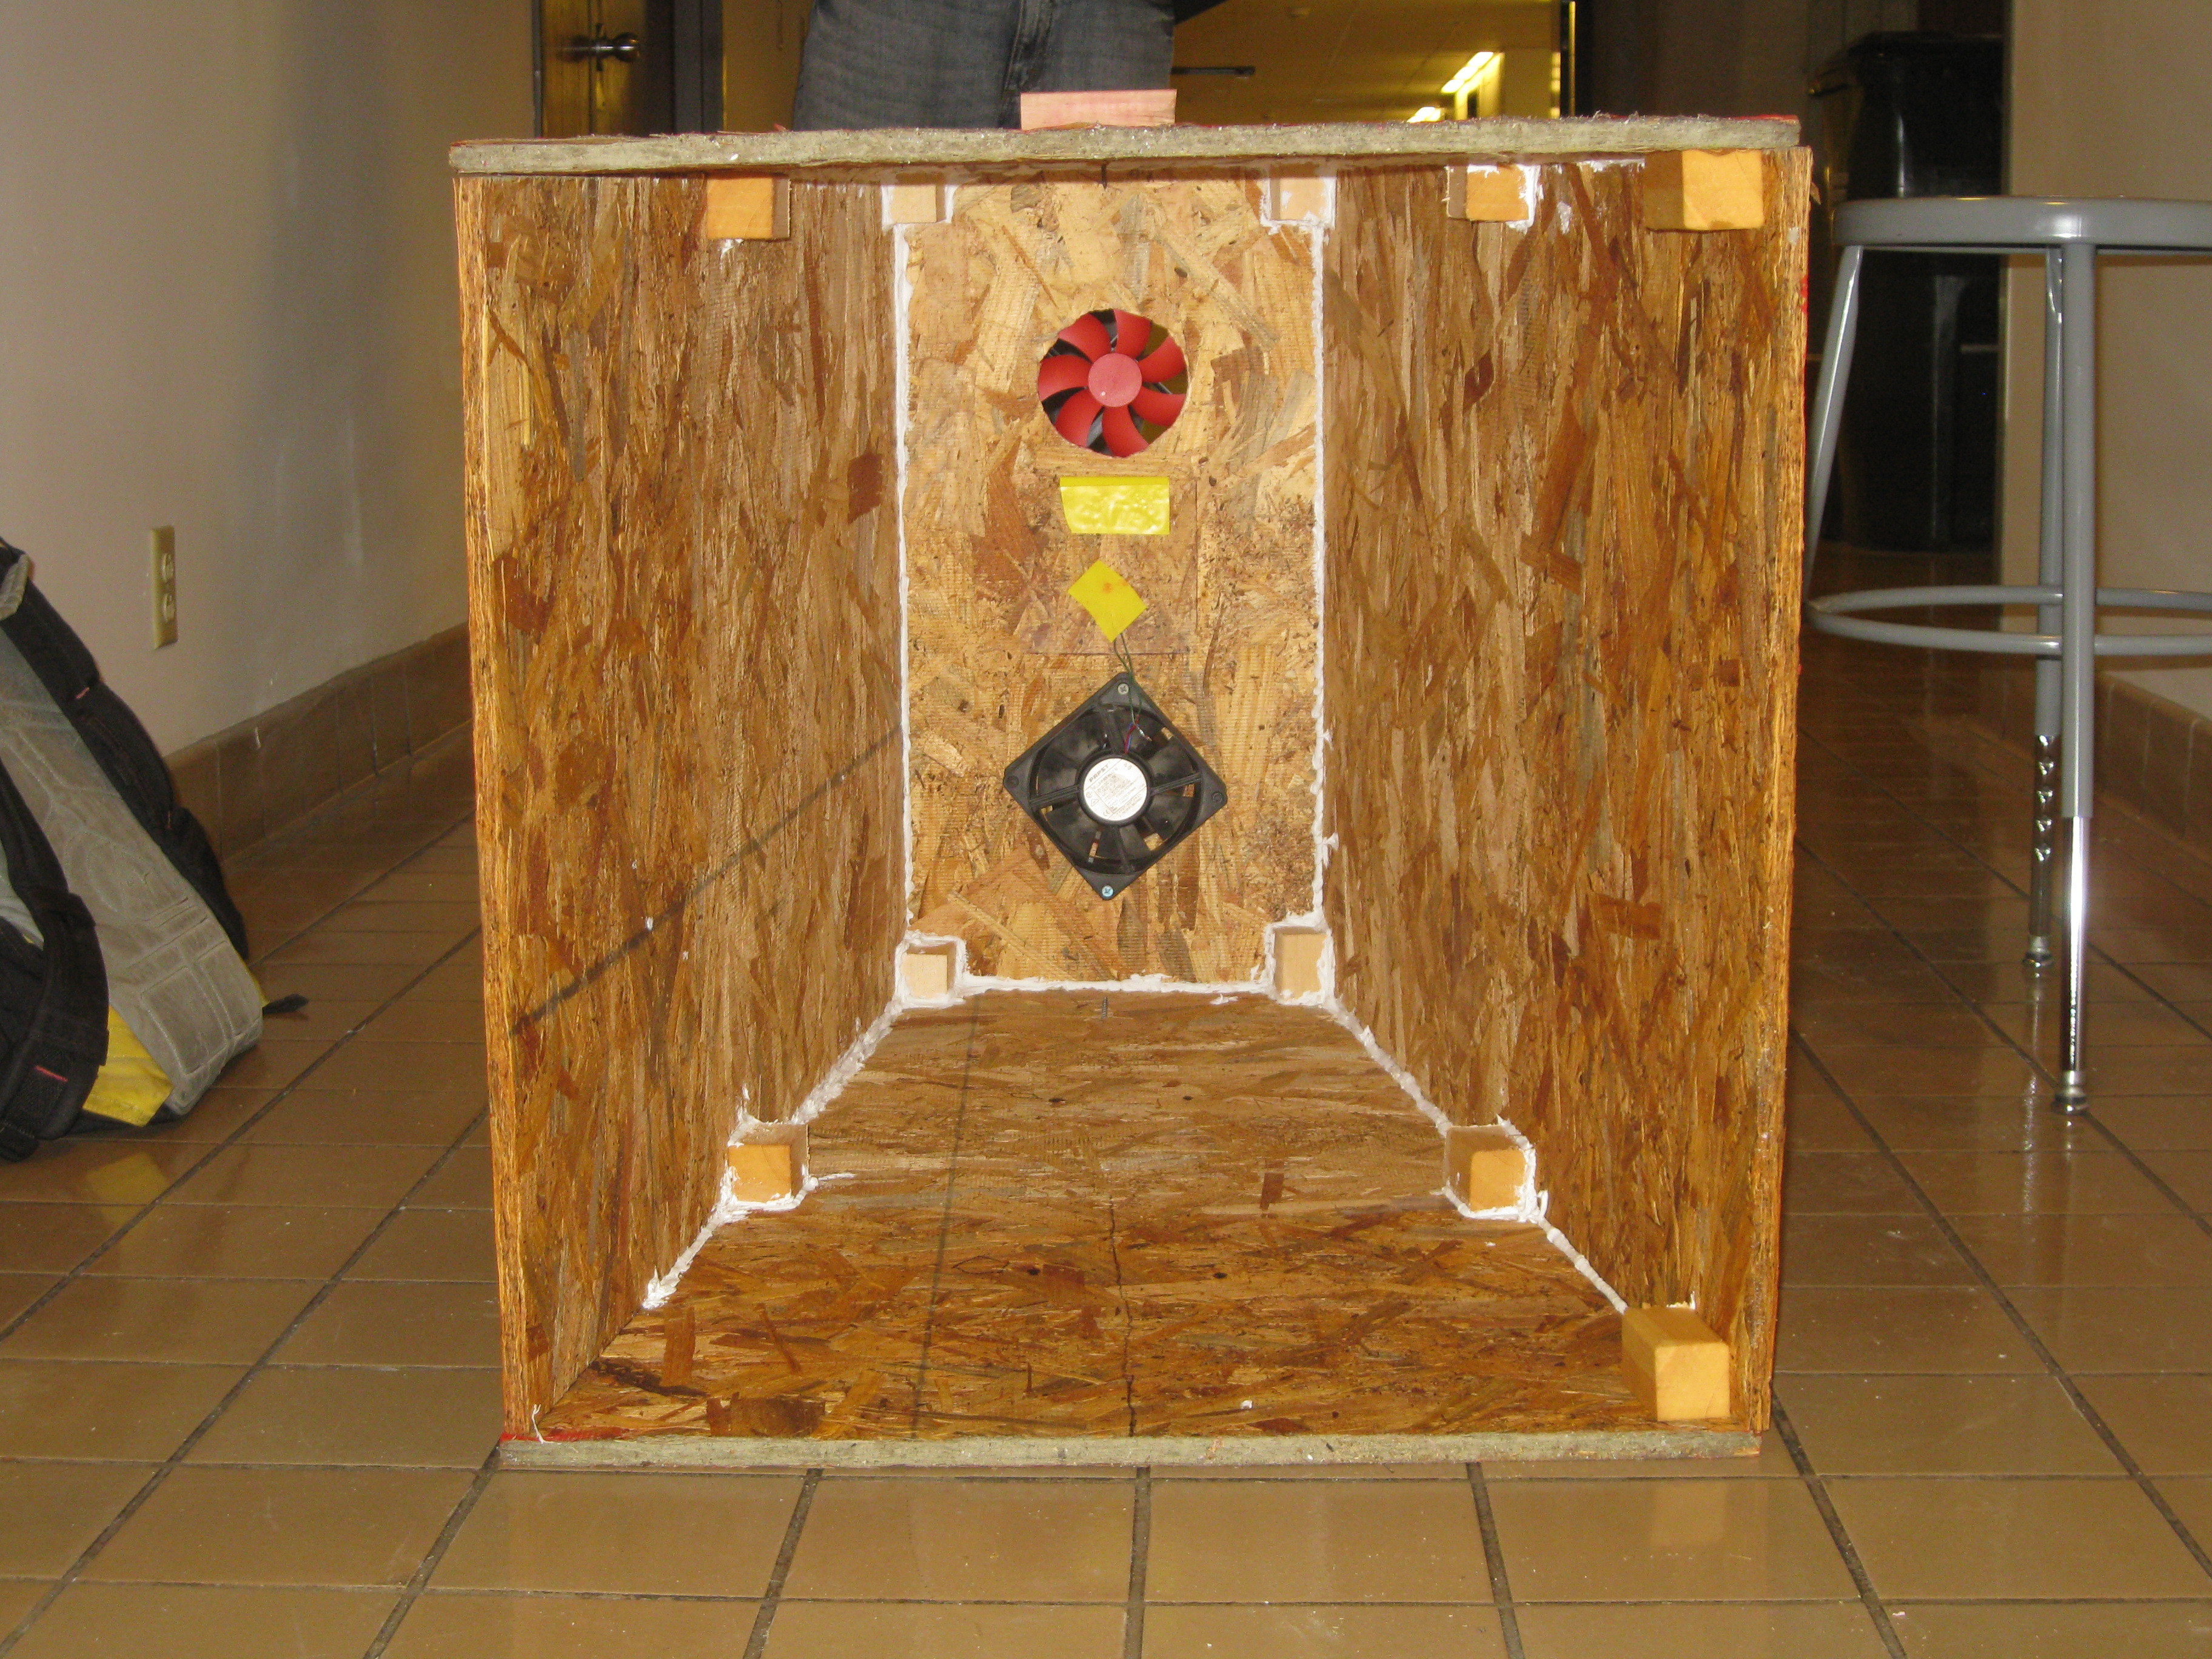
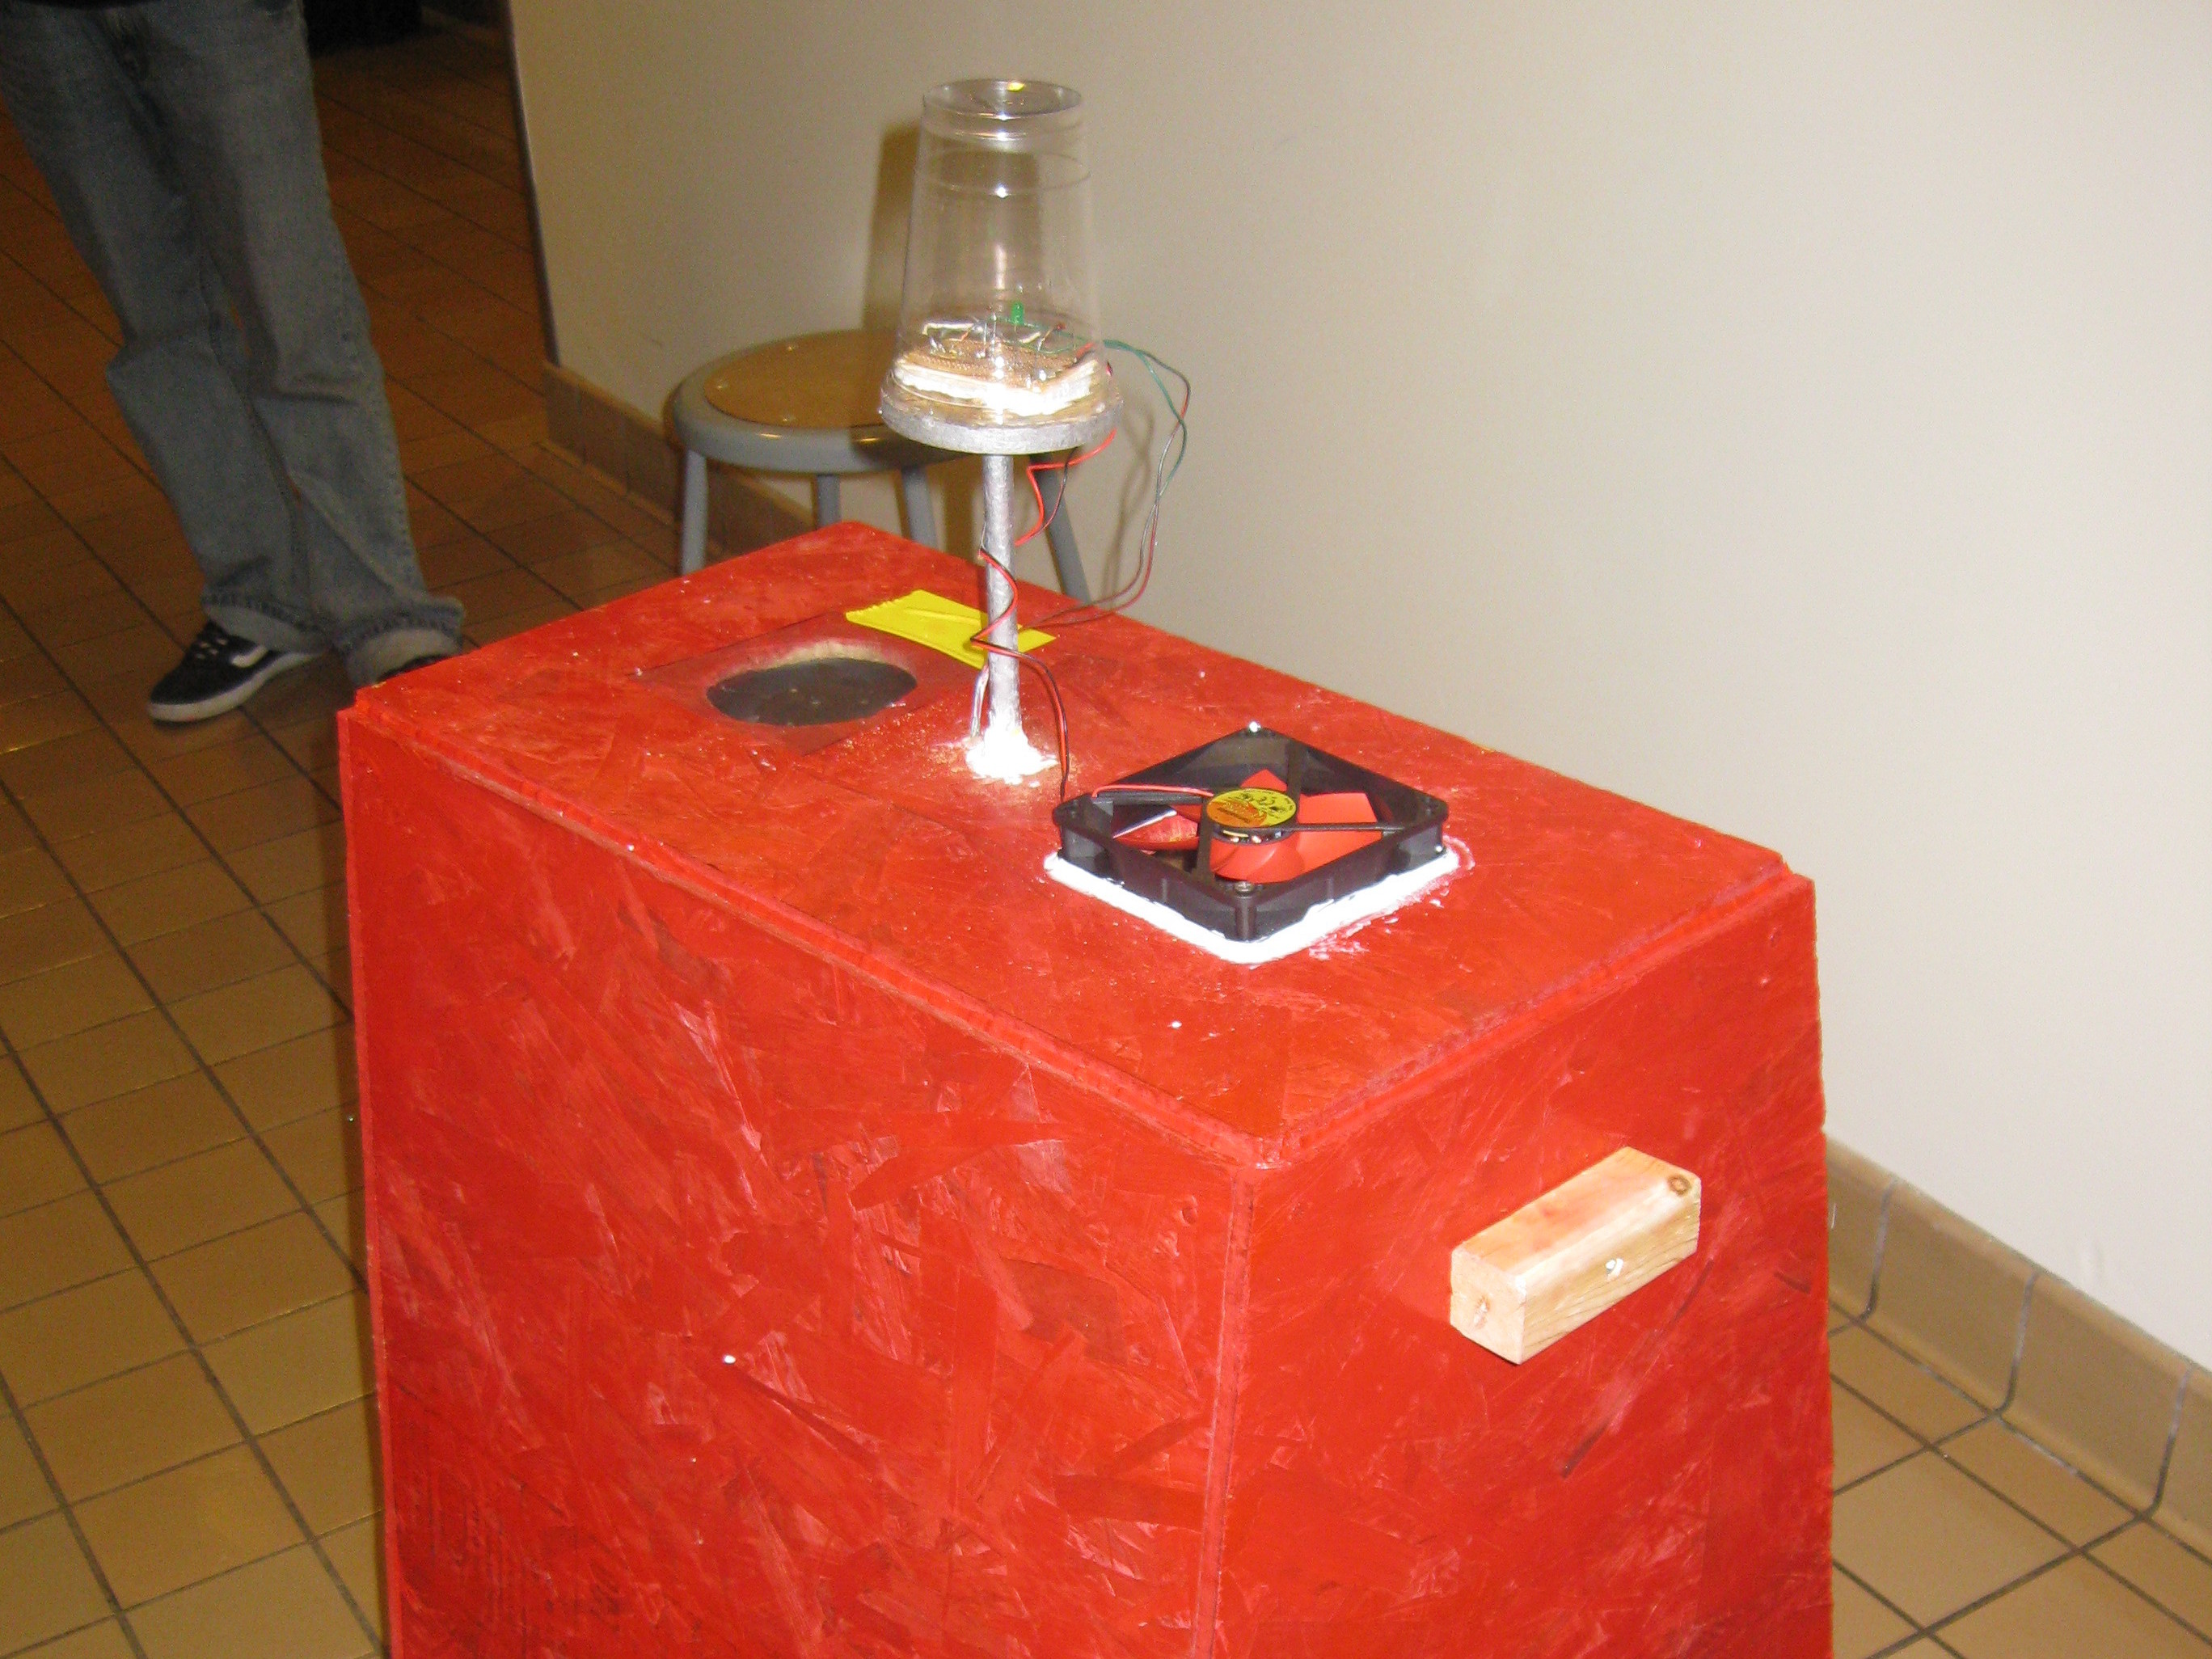
You want to make a chamber that will be closed on all but the bottom side. The simplest design is a 2’x2’x2’ box with only five sides. Our second design (shown on the left) was more of a trapezoidal prism.
First, we’ll start with the cap piece. Decide where you want your fans and use the drill and saw to make bores slightly smaller than the fans. Add a small bore for the wires from one fan to come back up through the box.
Make the side pieces. Assemble the chamber by using screws, wood glue, and wood scraps (for added strength).
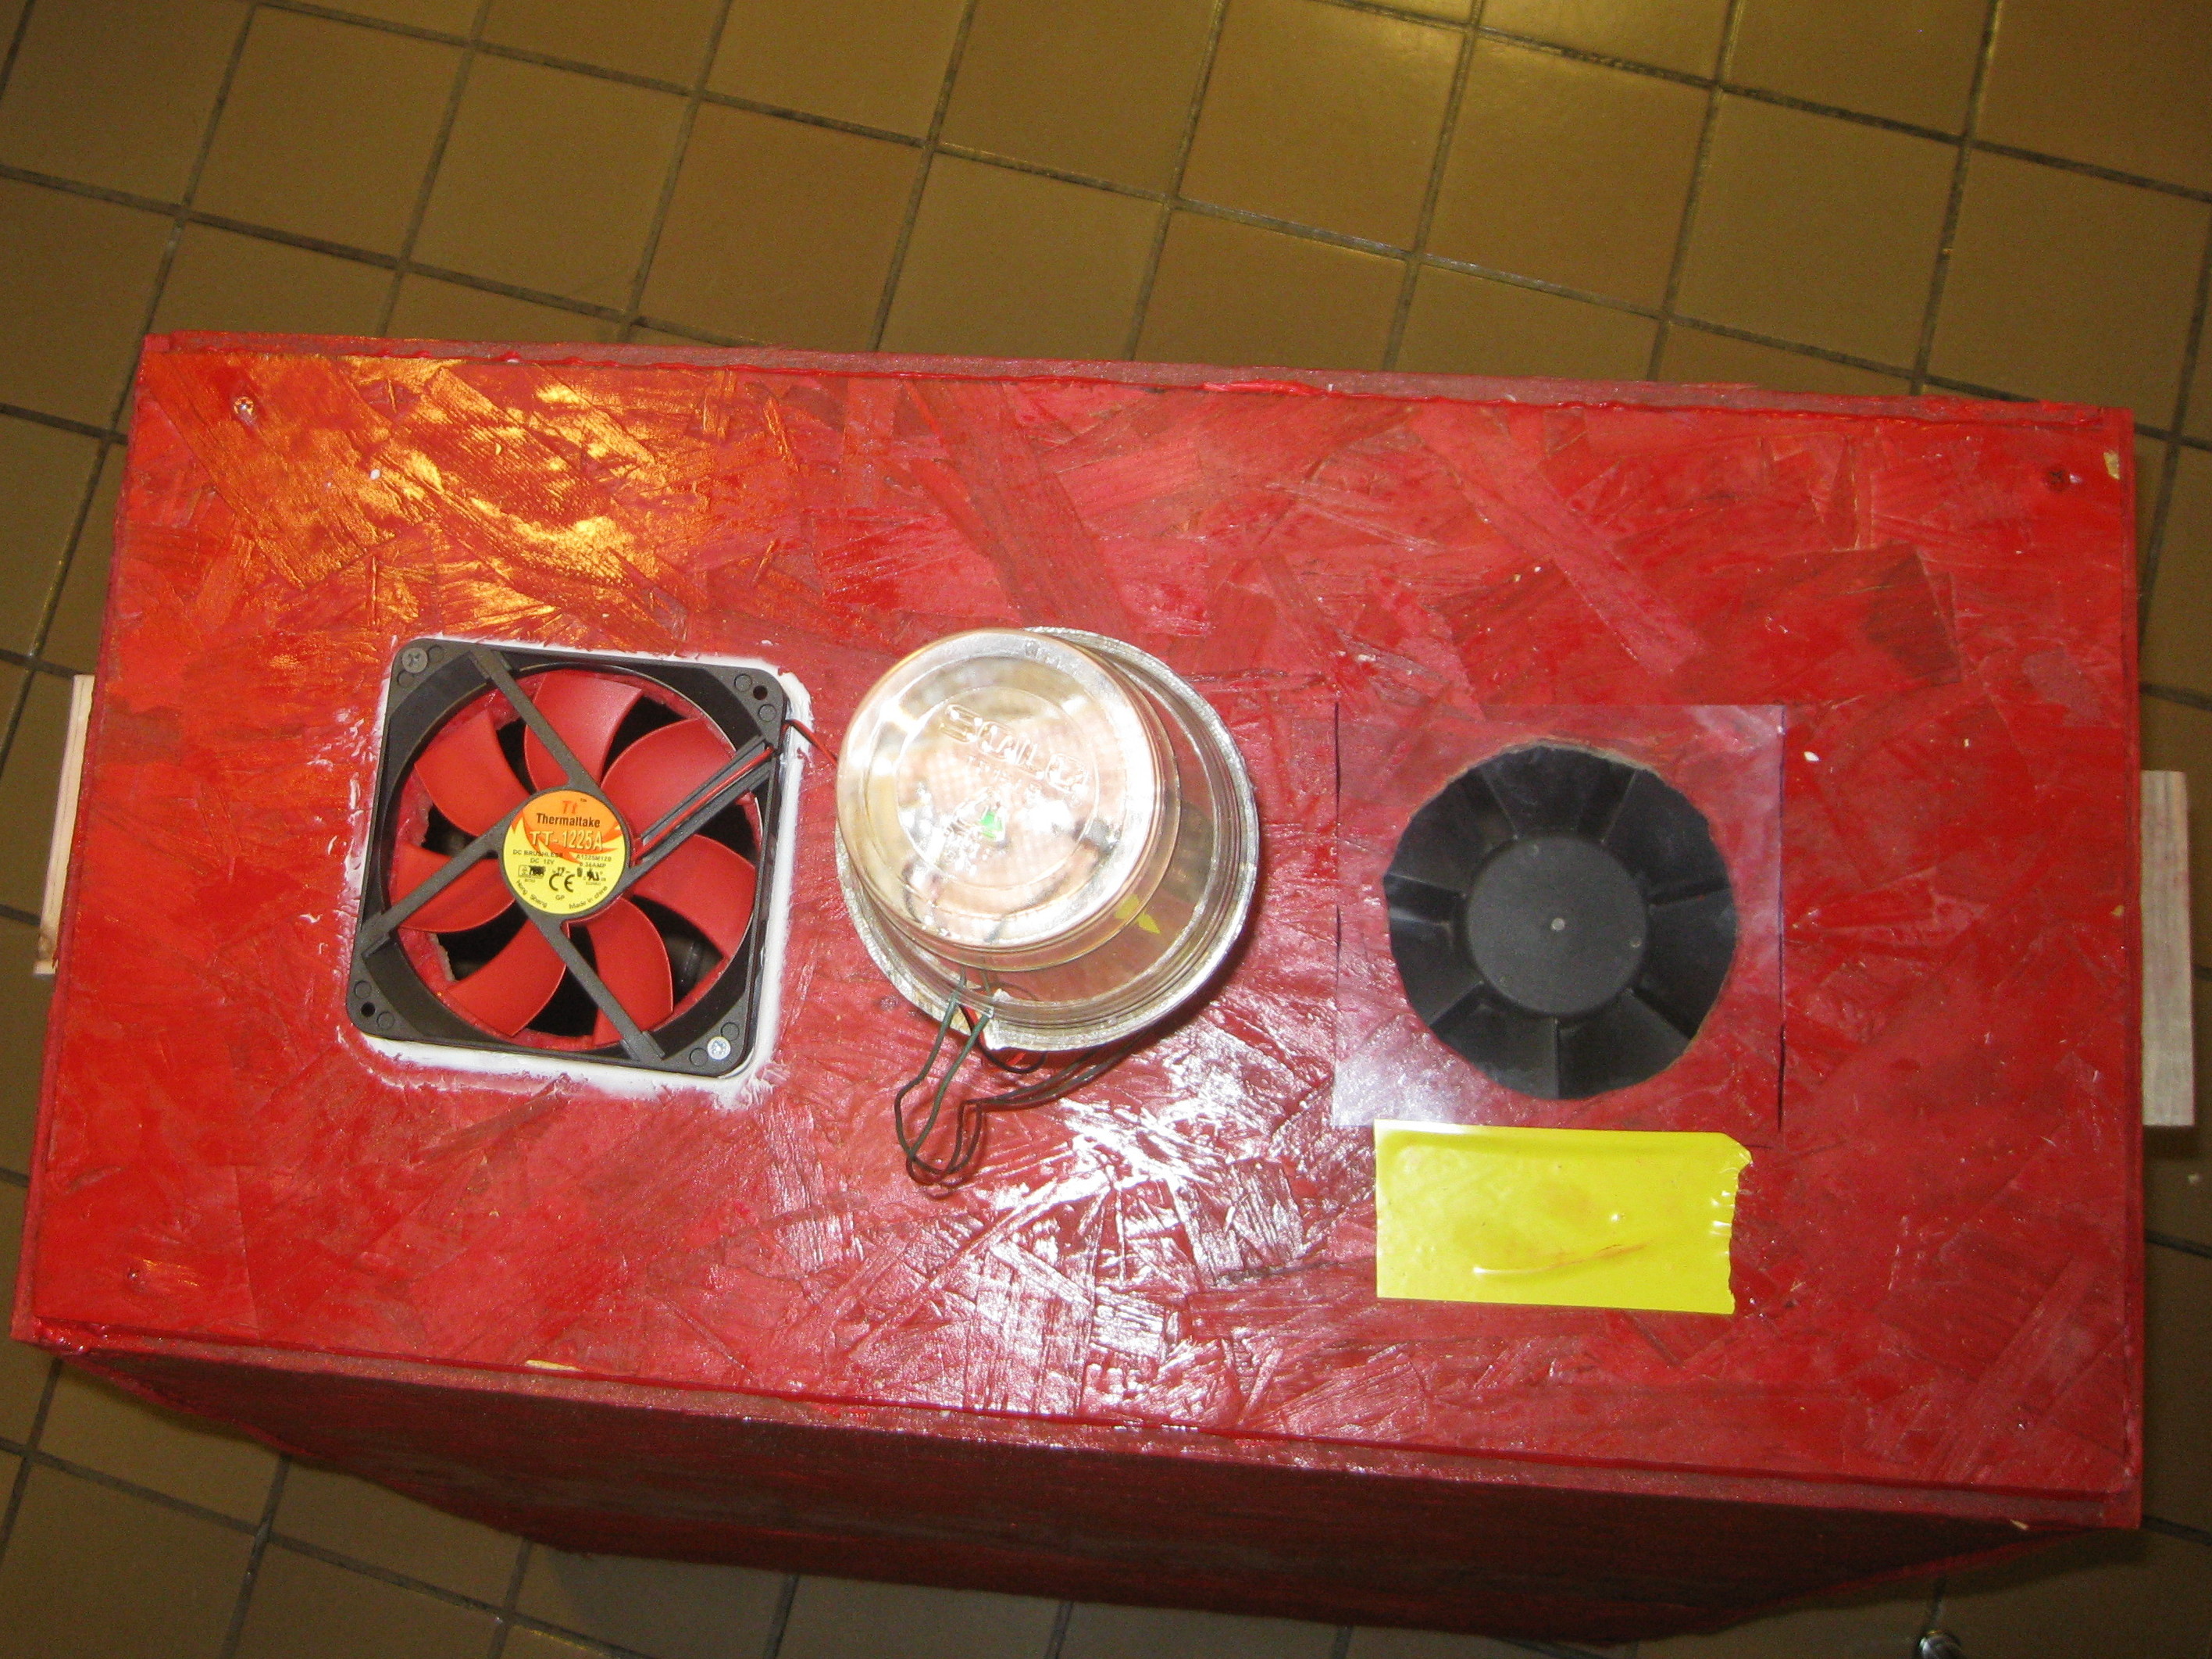
Attach the fans to the chamber in a down facing orientation. One should go inside the box and the other should go outside the box. Secure with screws.
Take the thin plastic sheet and cut two squares large enough to cover the holes made in step 1. Place over the opening opposite of the fan and tape one edge.
This will serve to let air move only one way through the system and thus let each fan spin in only one direction (so that the generated voltage isn’t switching constantly).
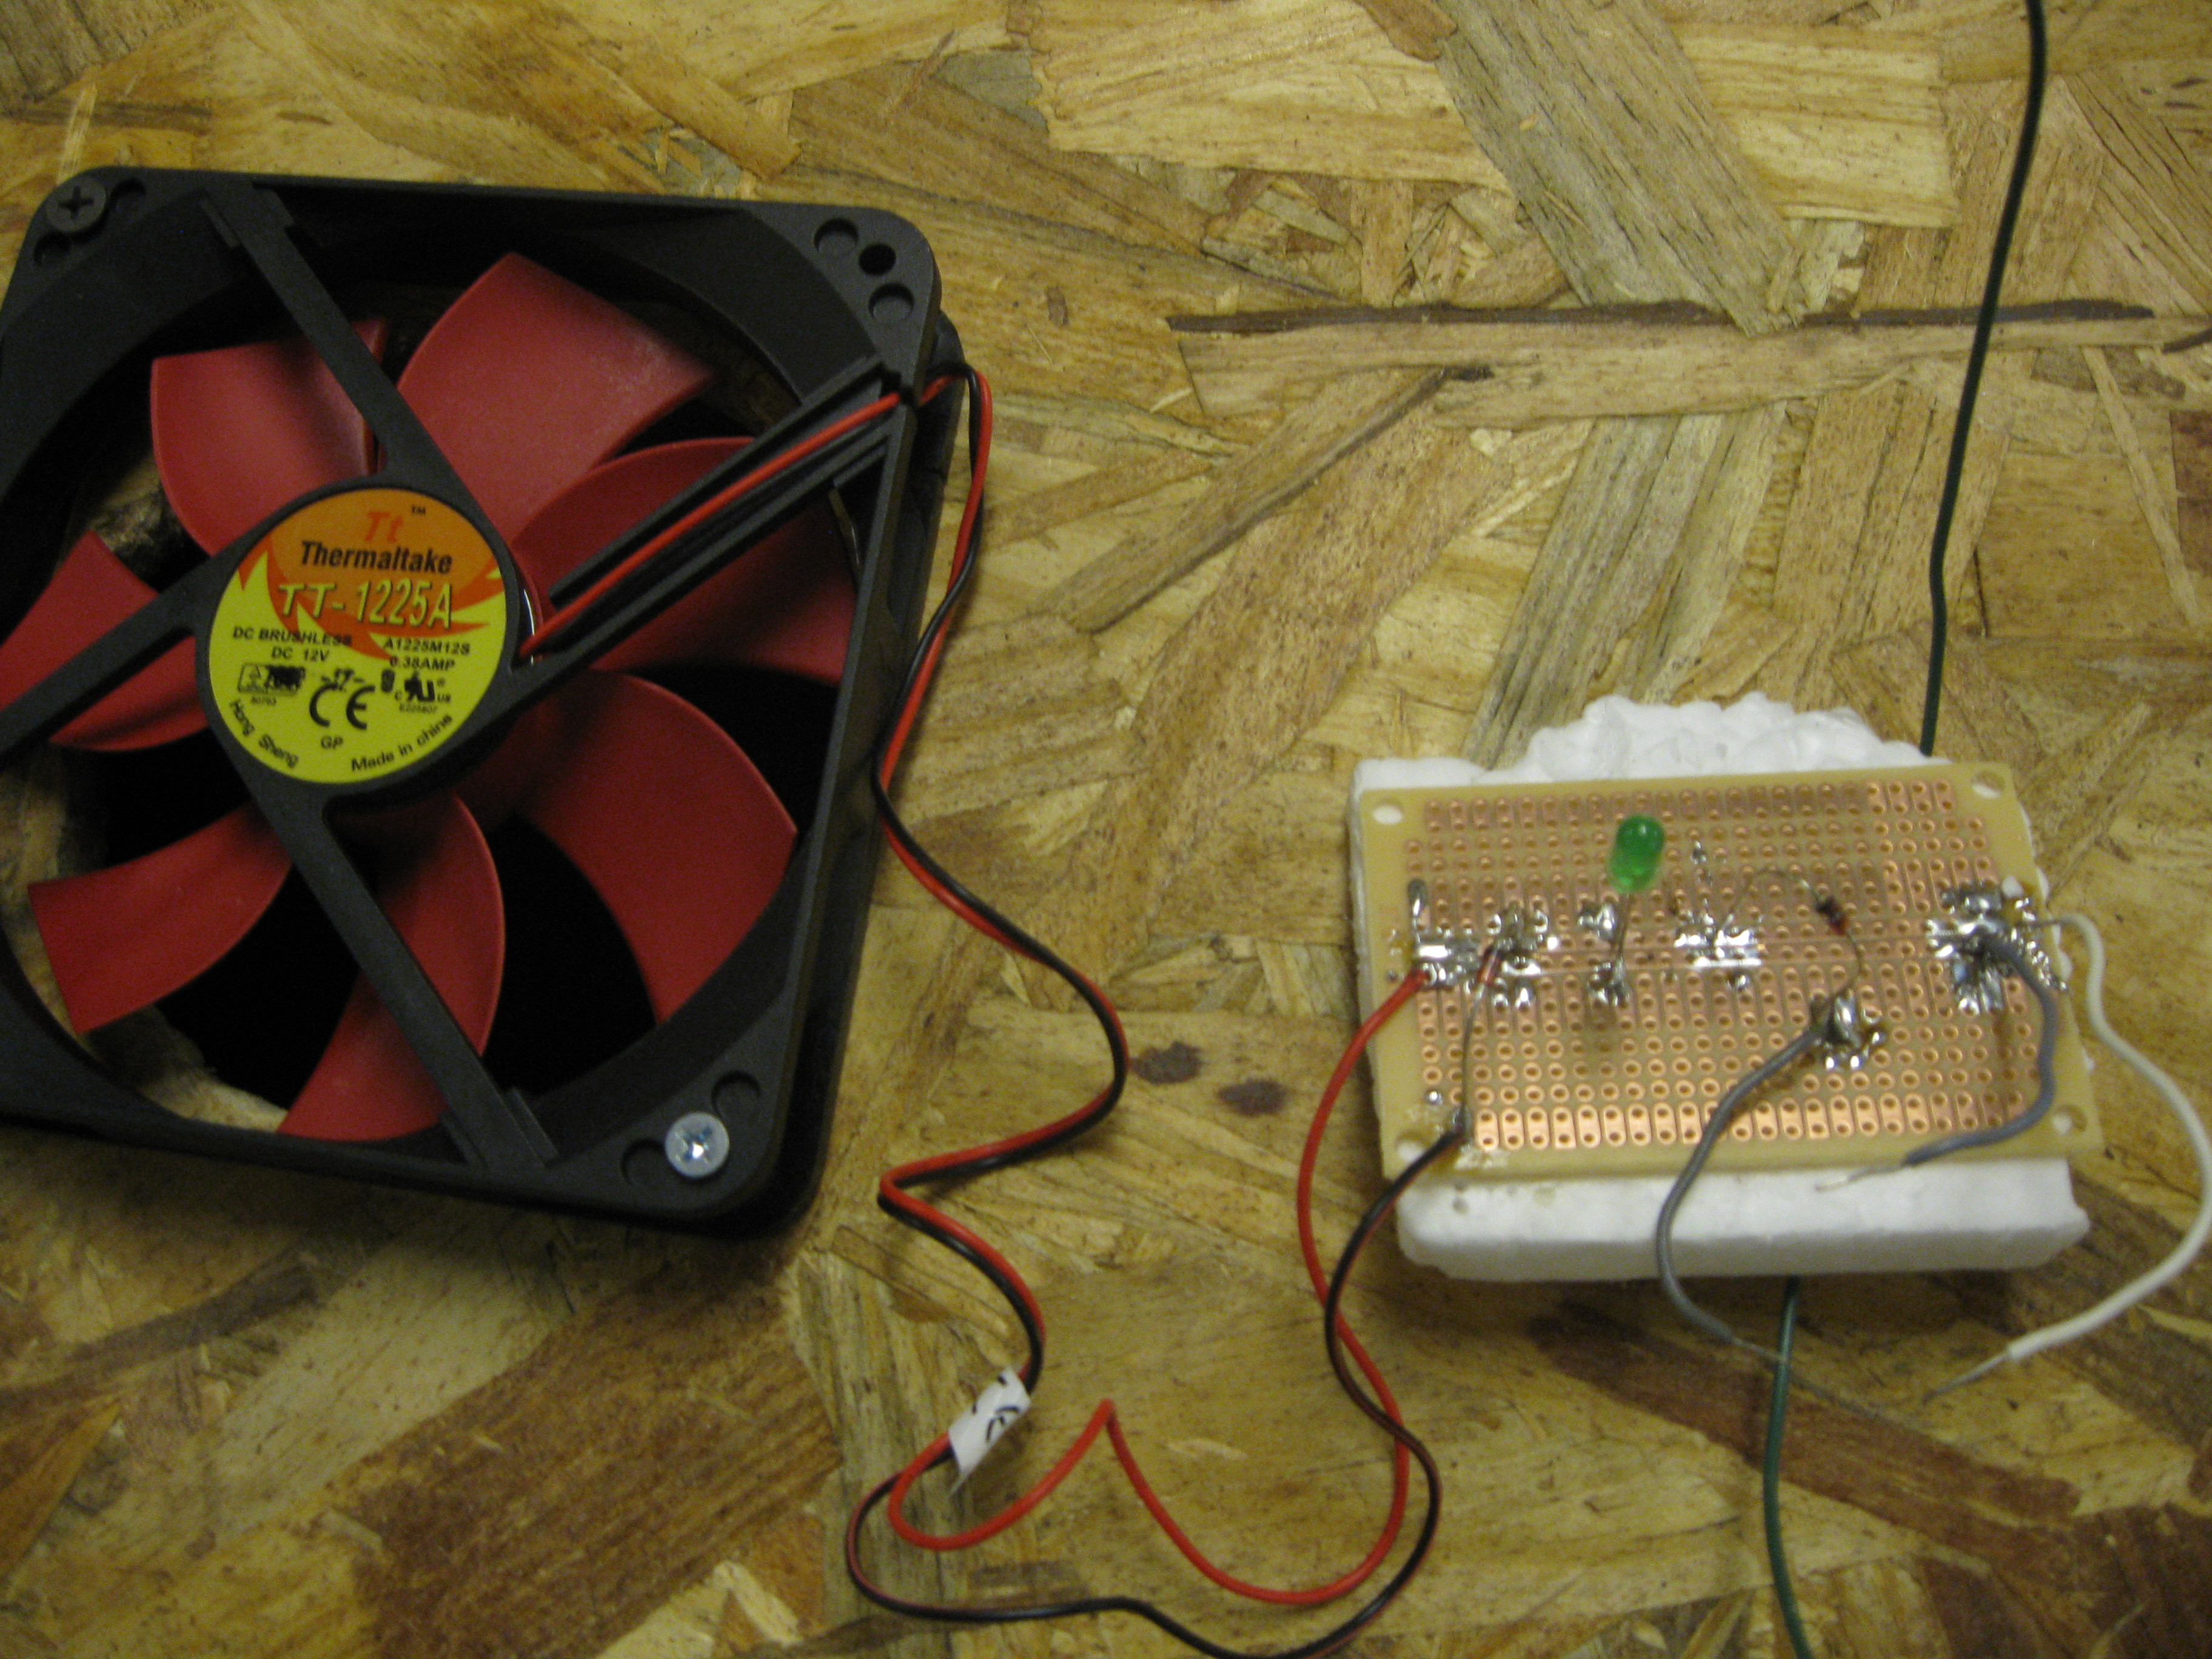
Using the bread board and solder, connect the LED (or other load) to the diodes and then the fans.
The diodes serve to let the current go only one way to the load. For example, if you charge a battery with the fans, the voltage in the battery may become too large and will actually start turning the fans in the opposite direction (or at least providing resistance to the driving air). The diodes serve to prevent this.


