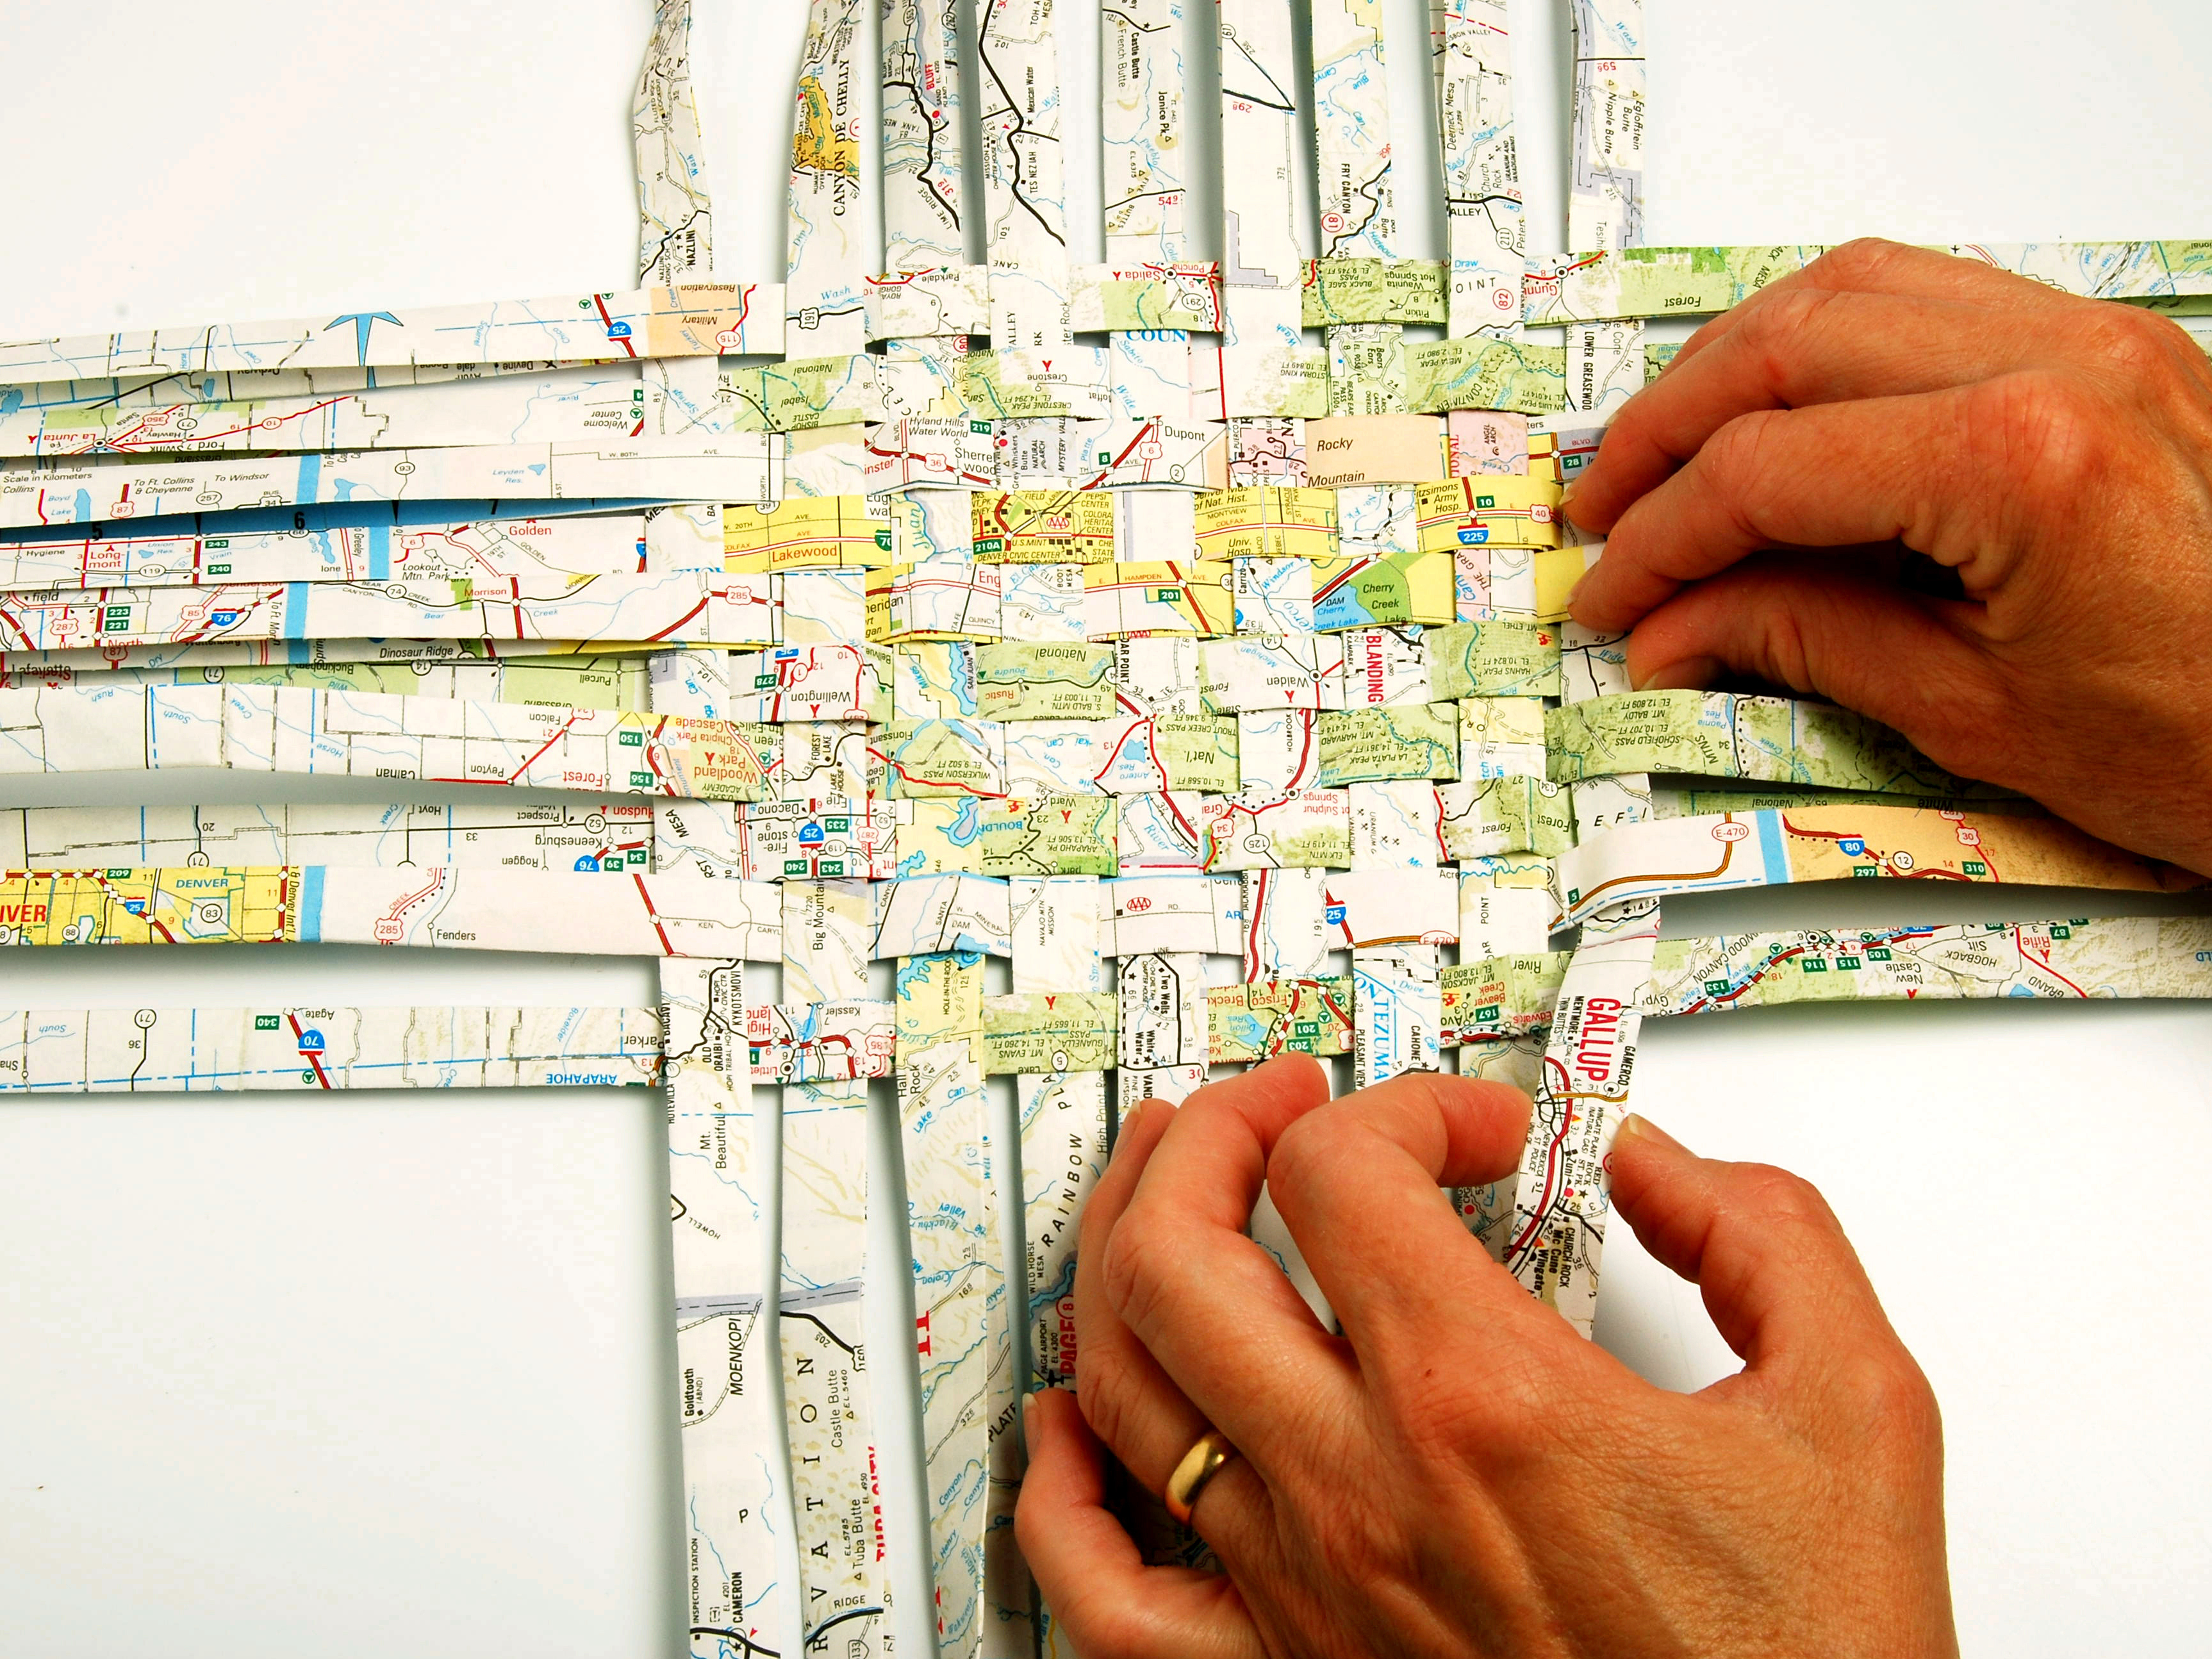
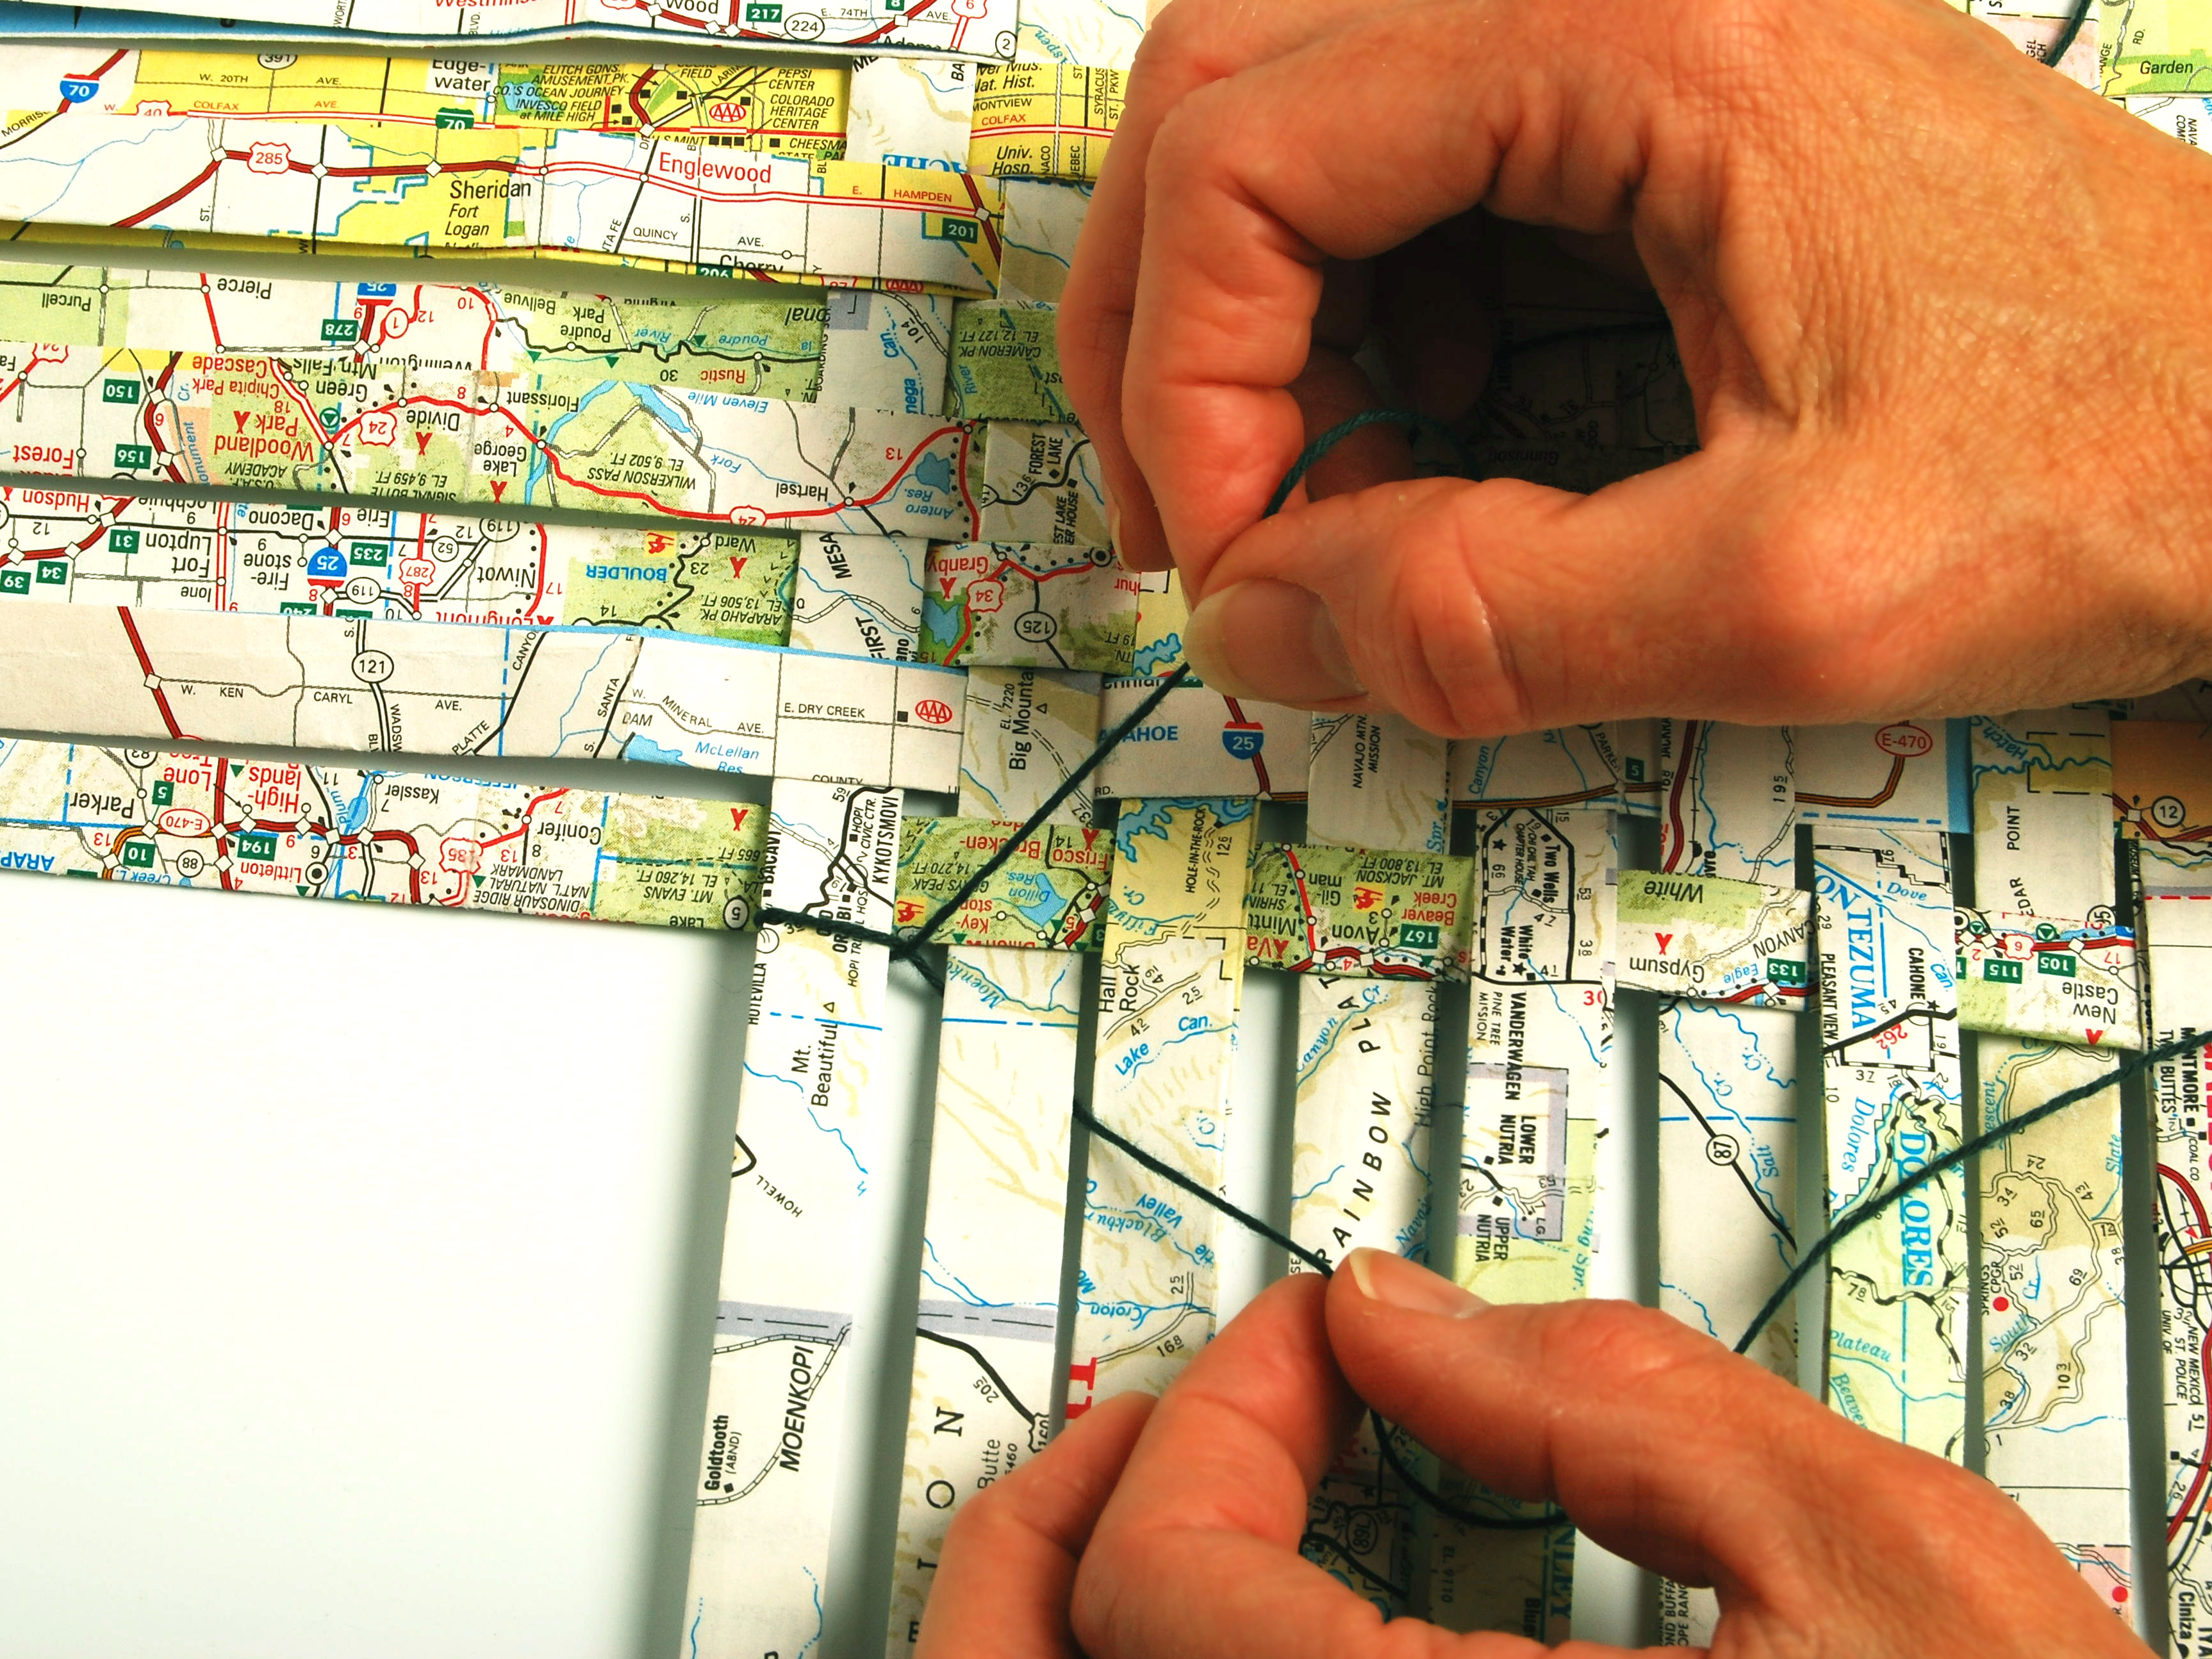
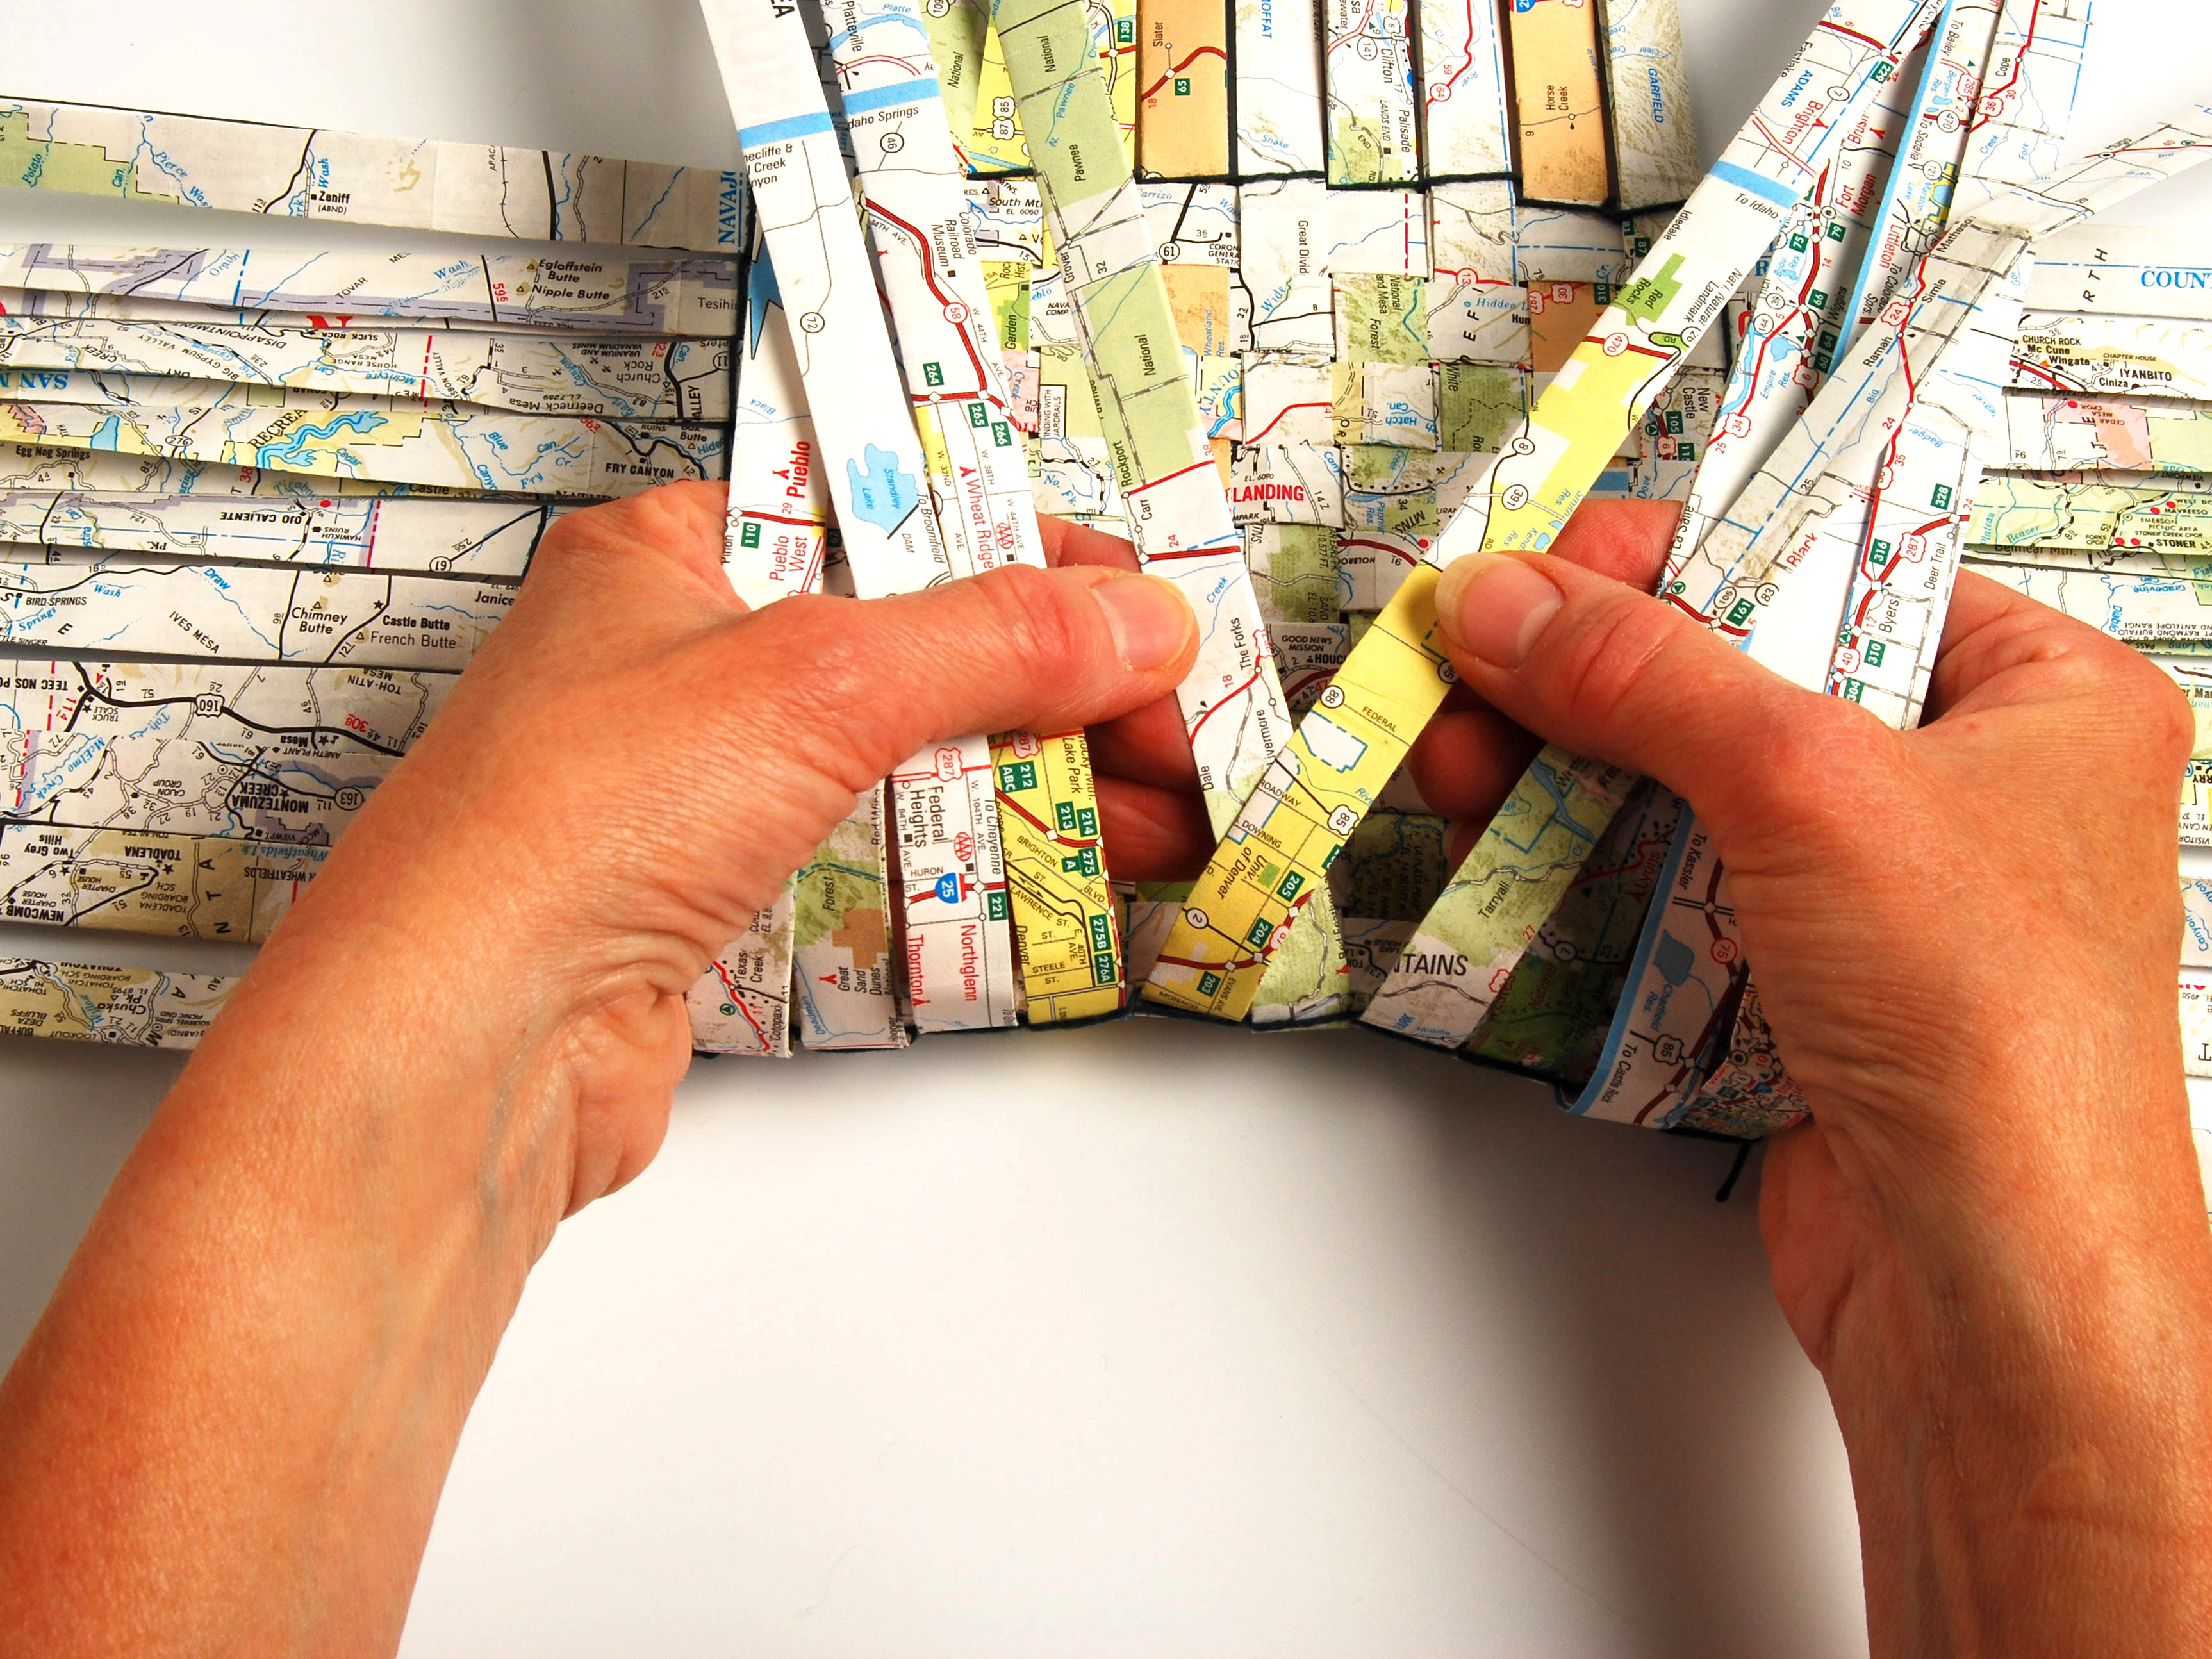
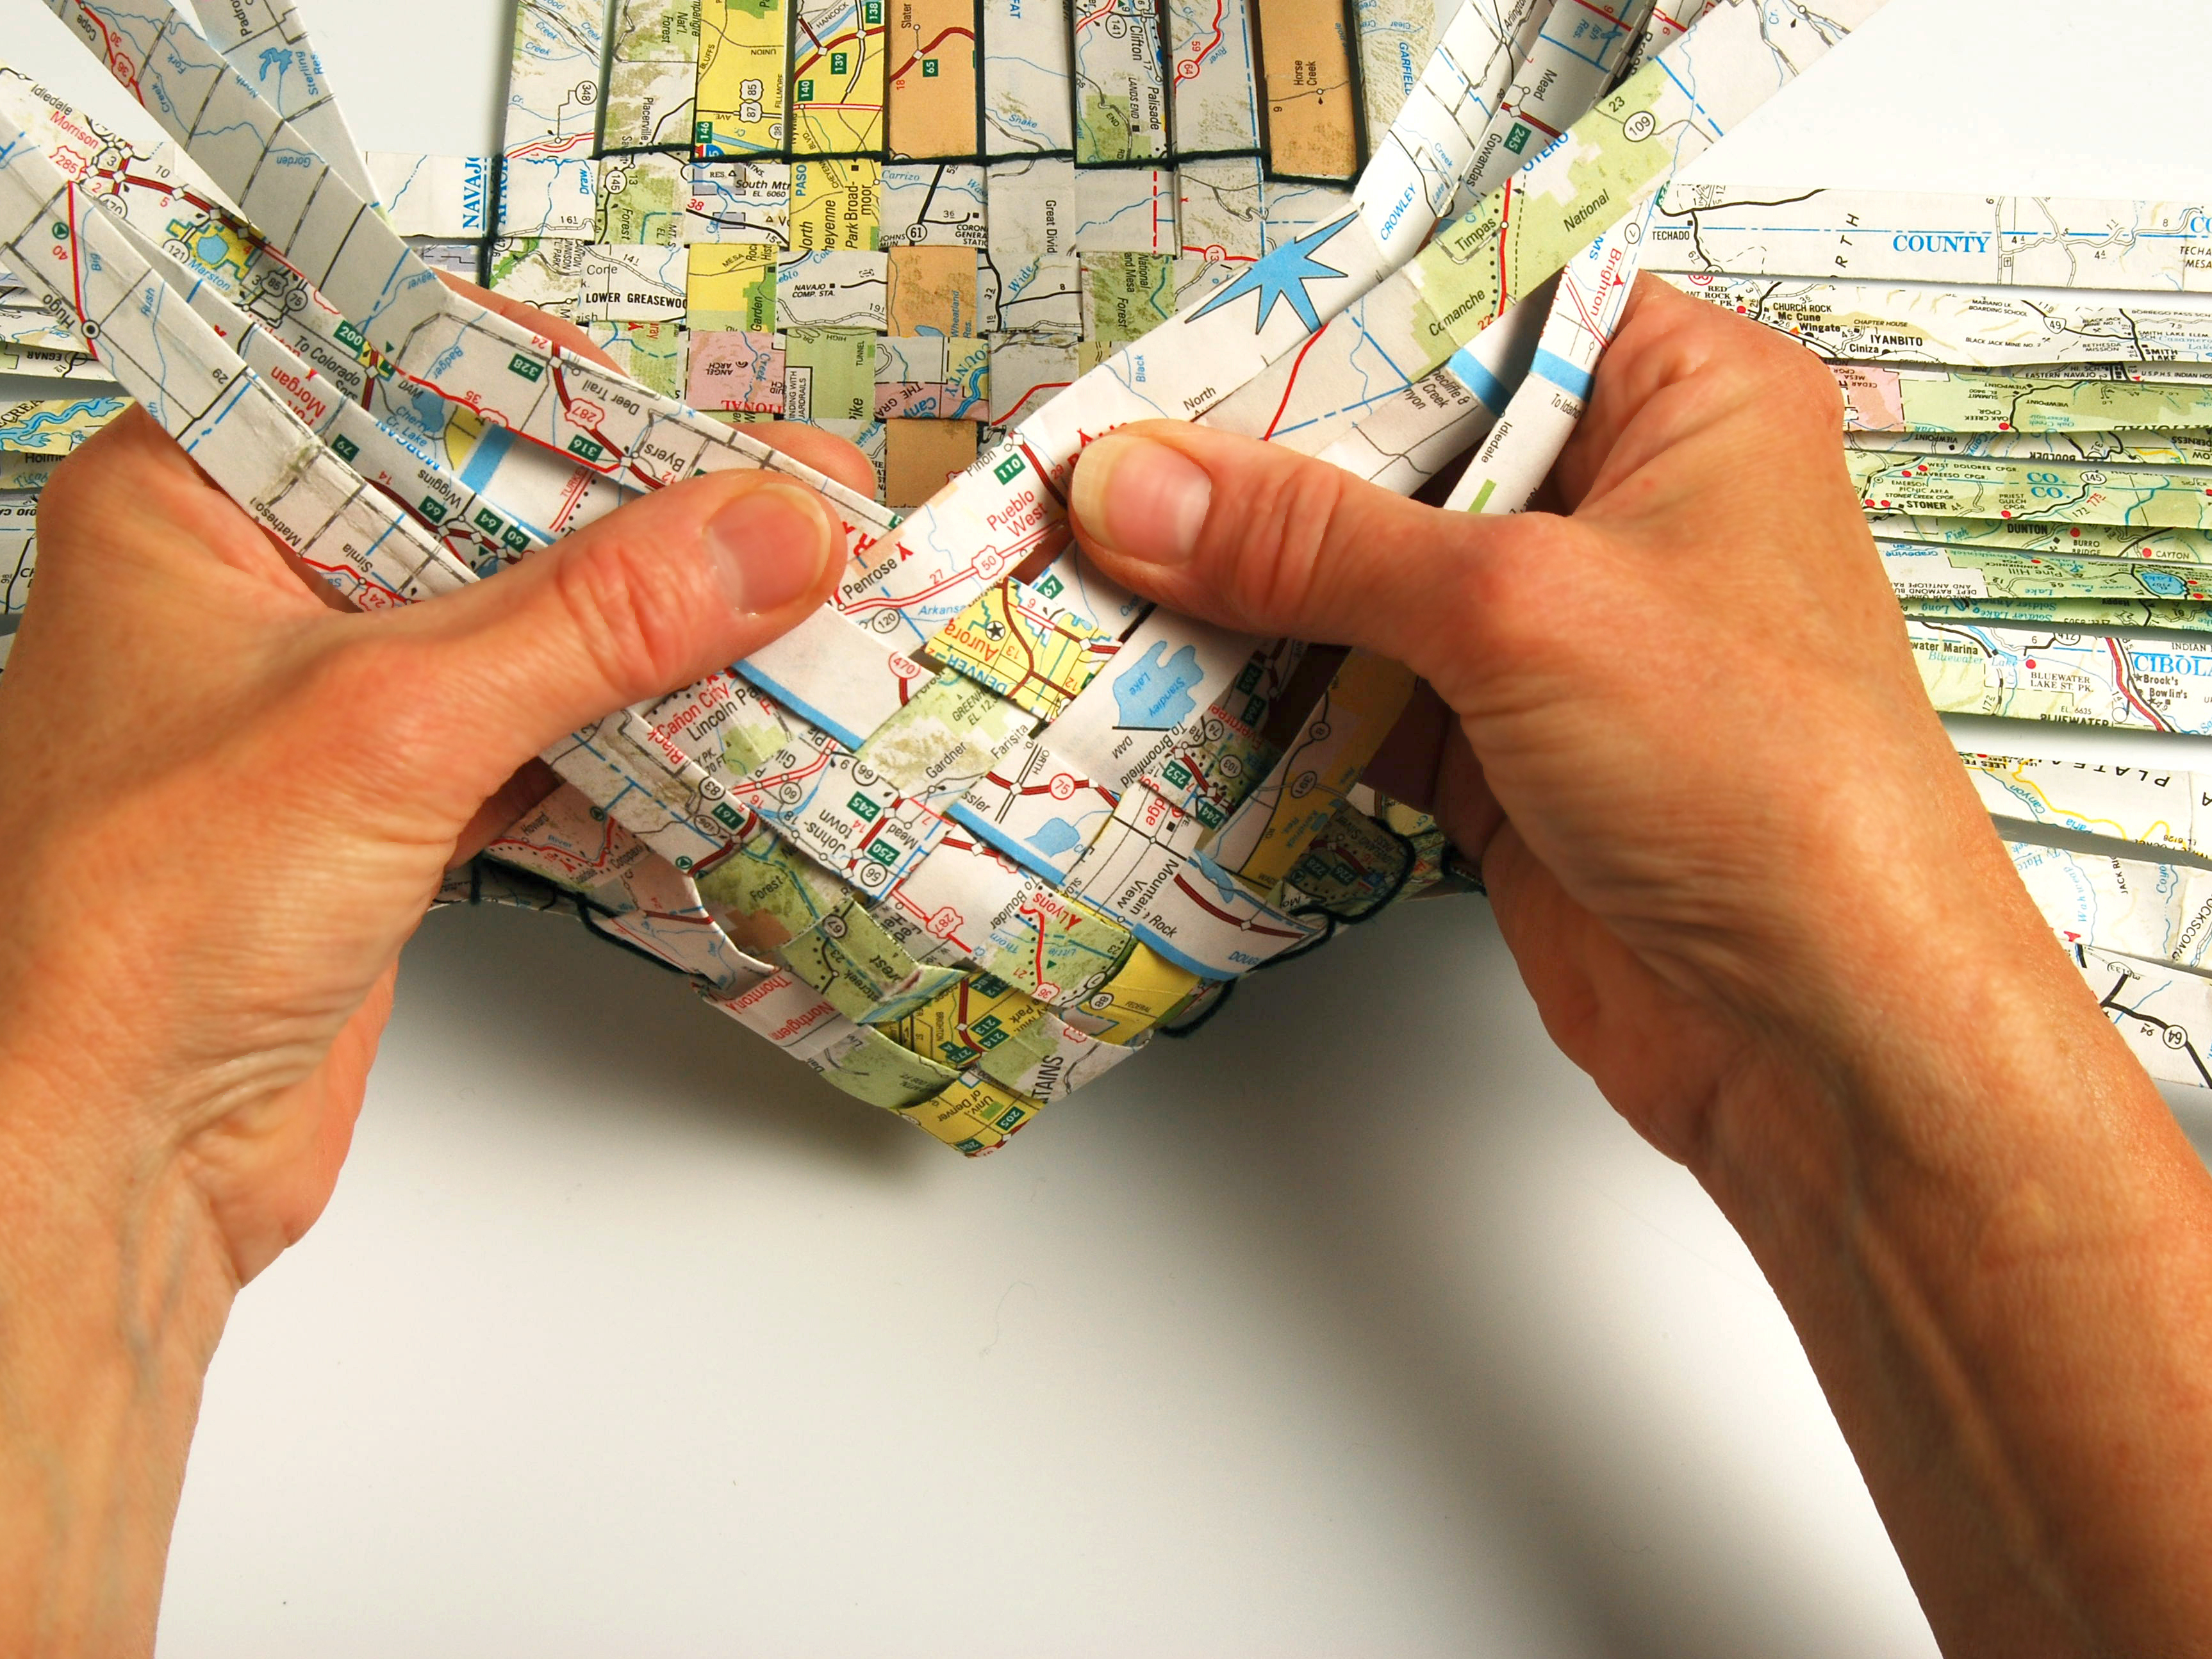
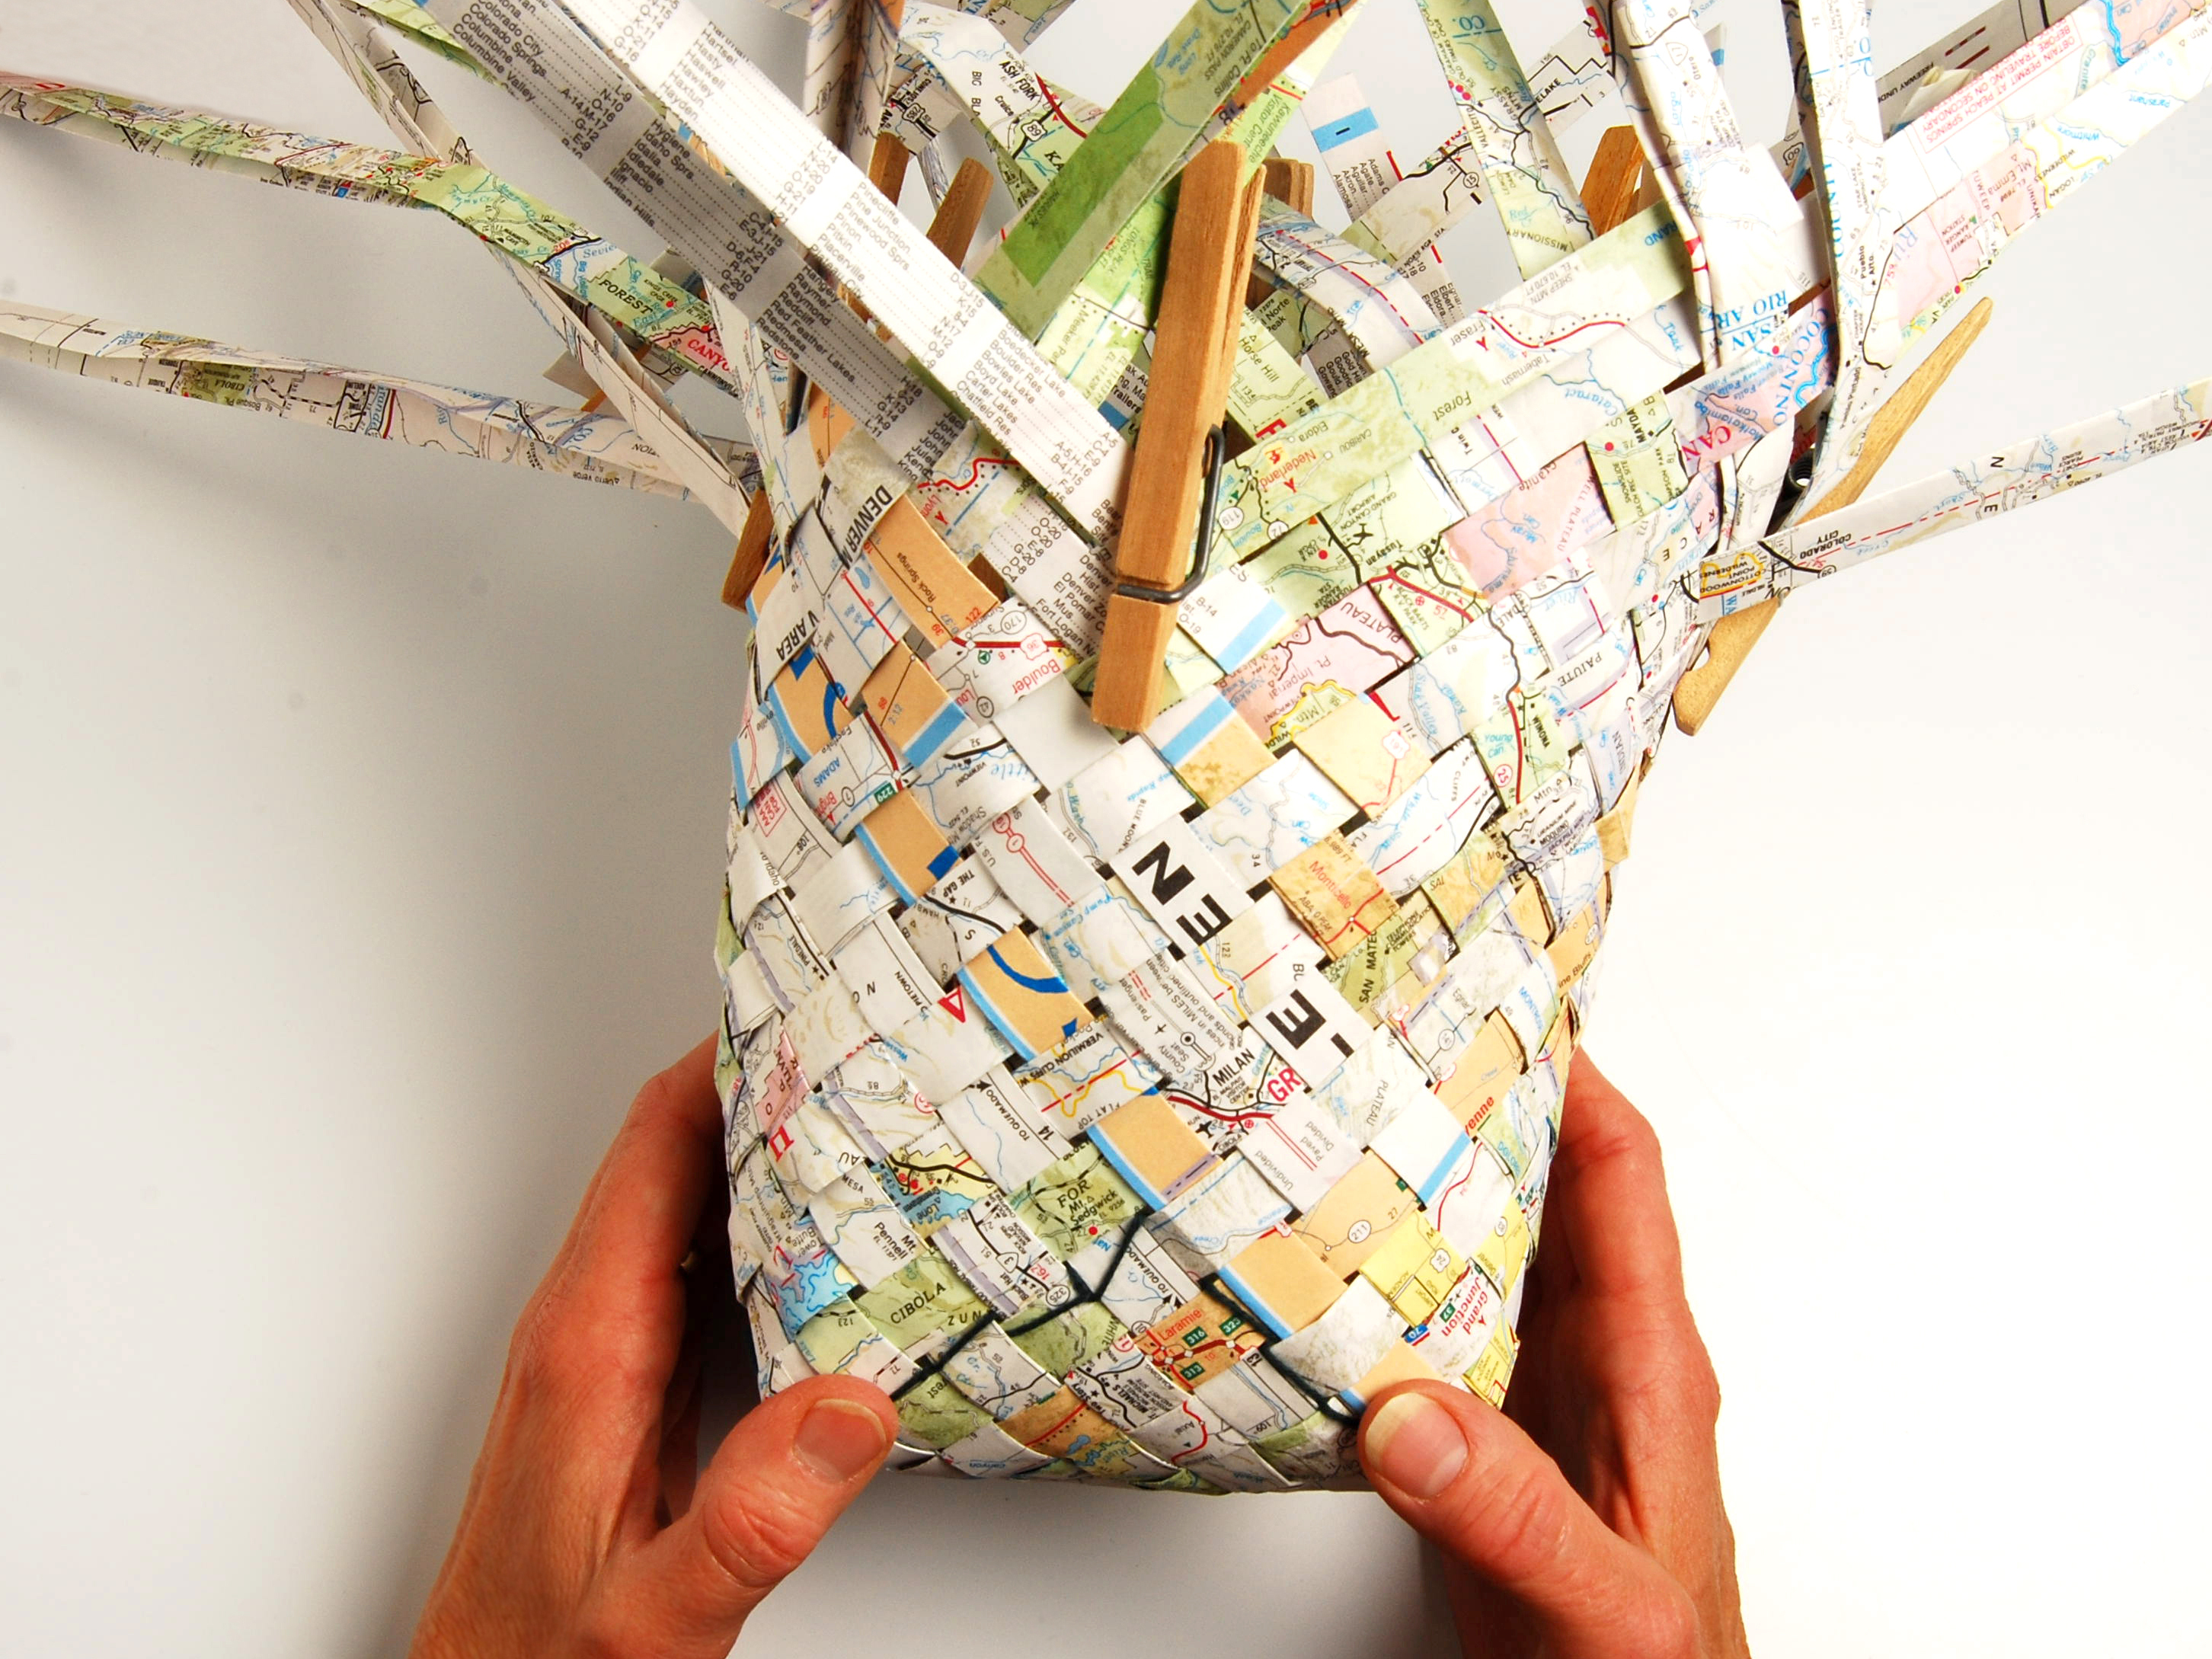
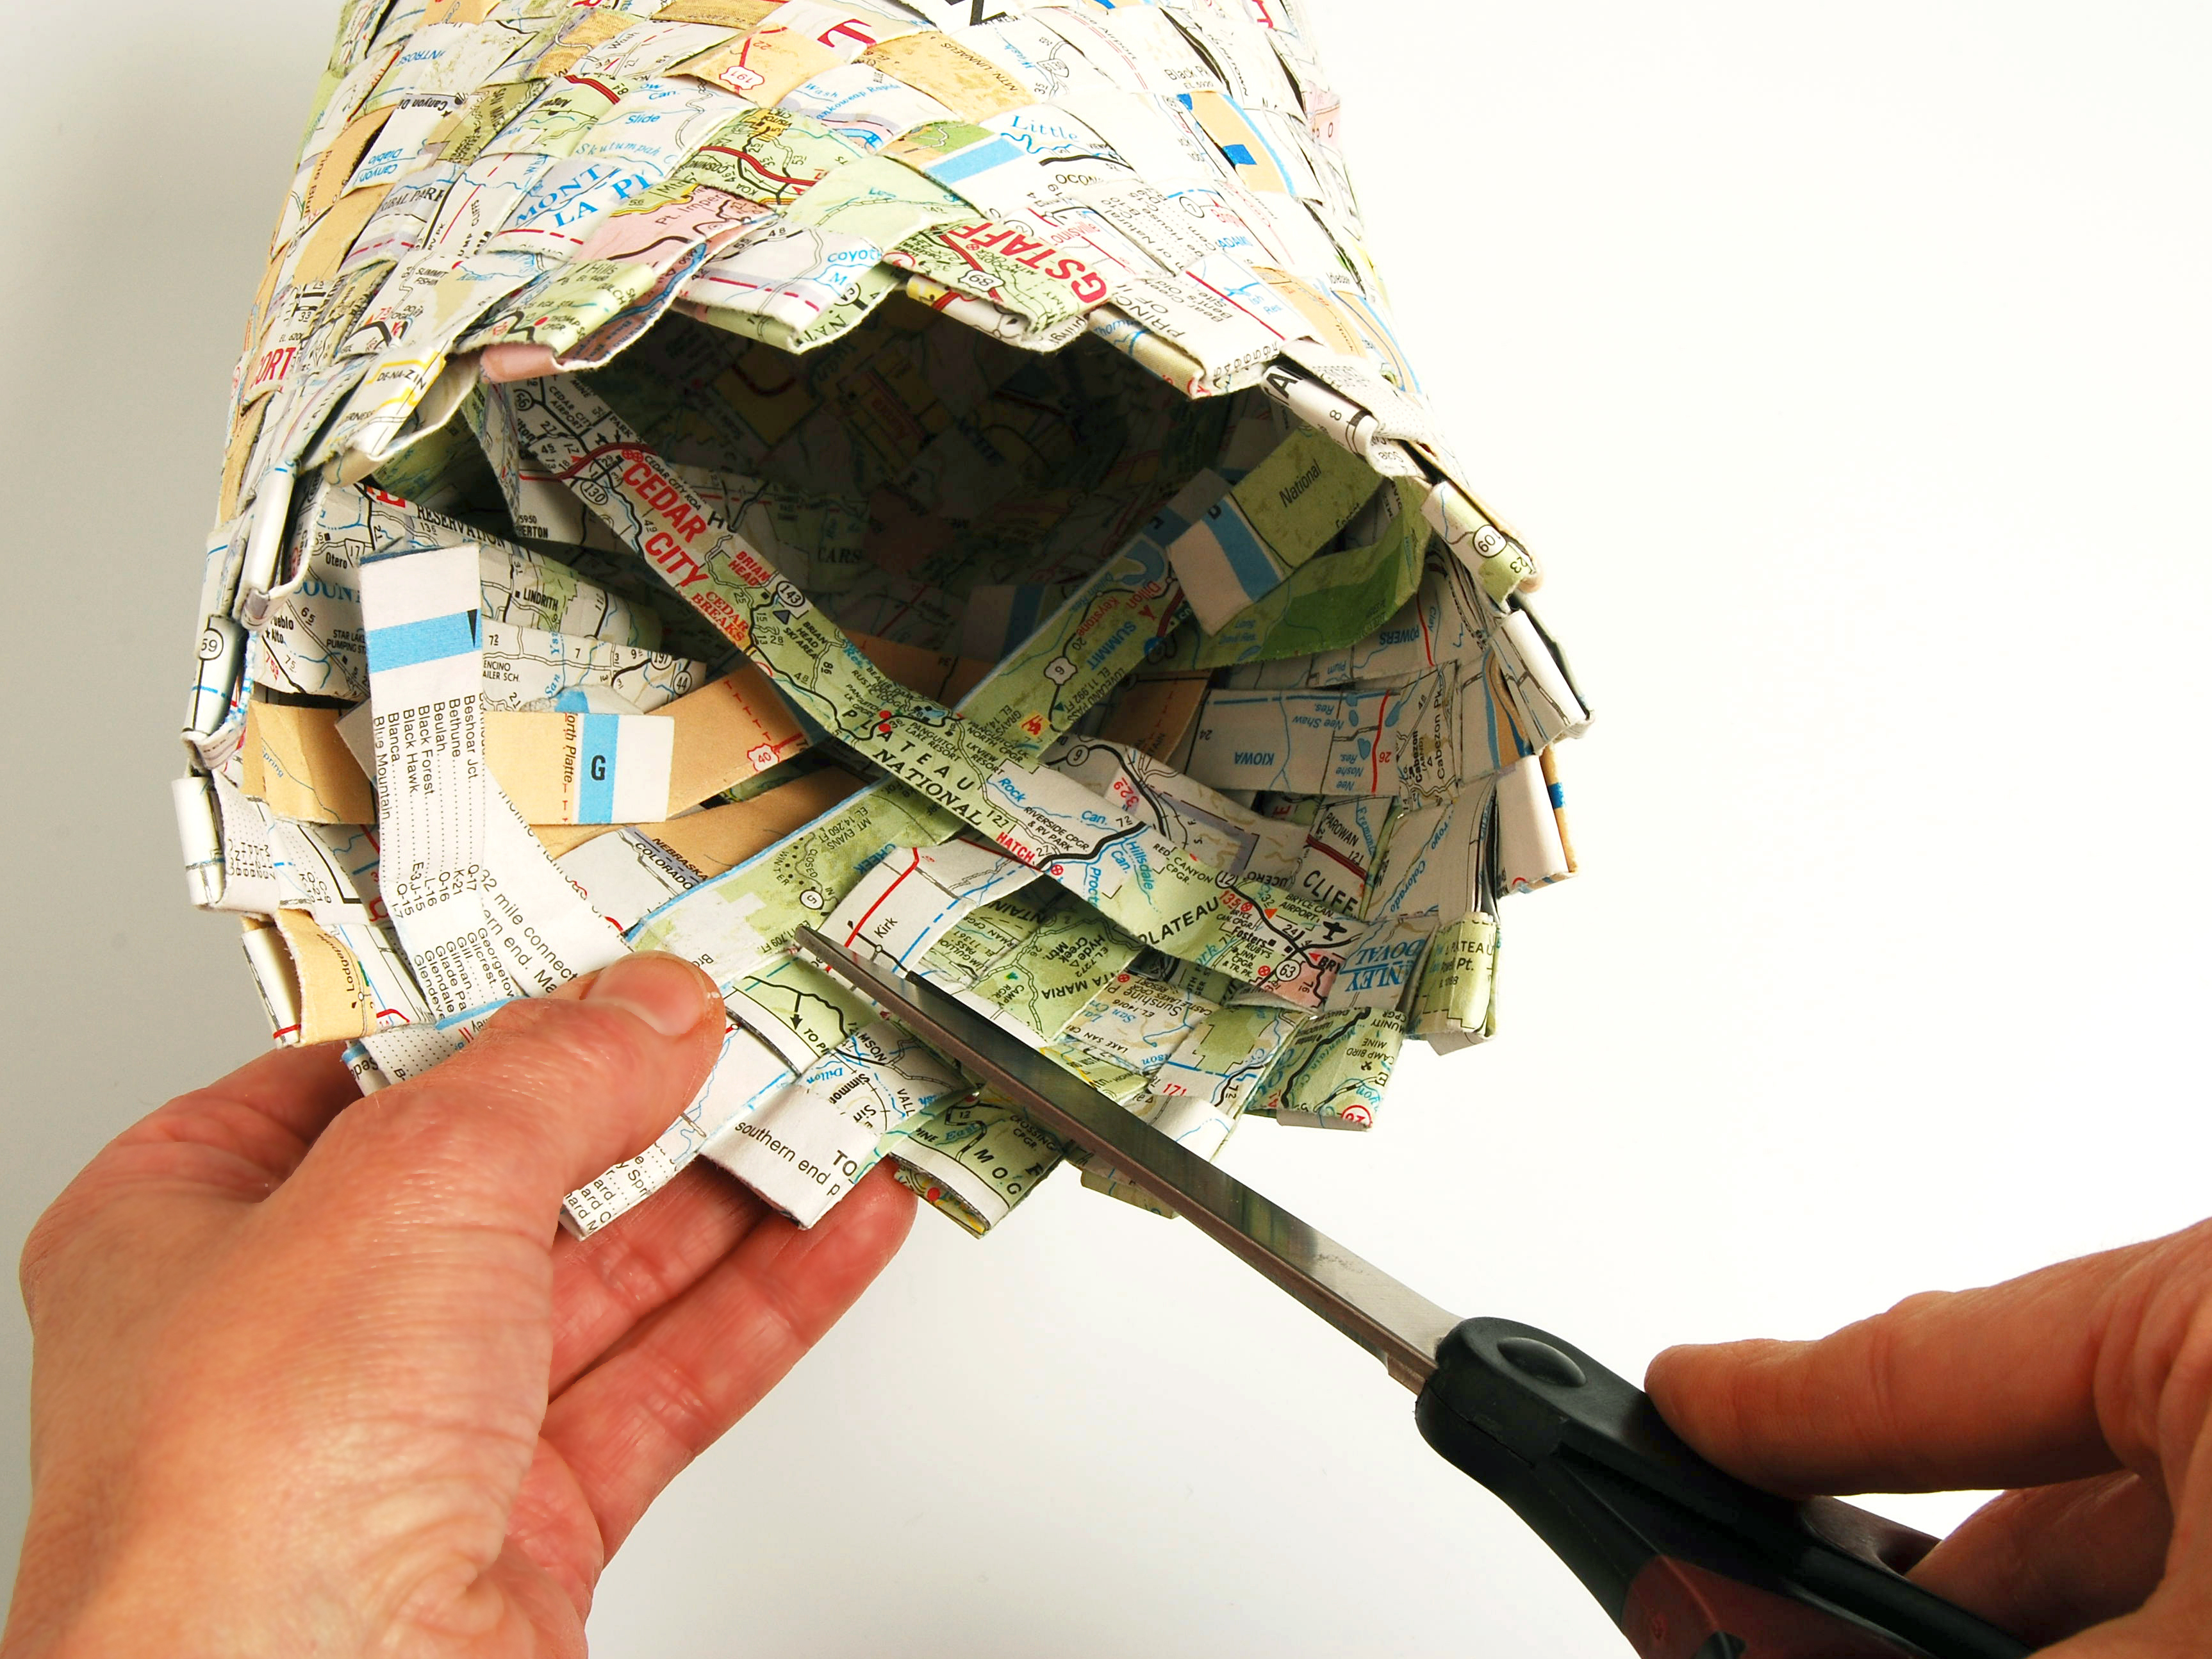
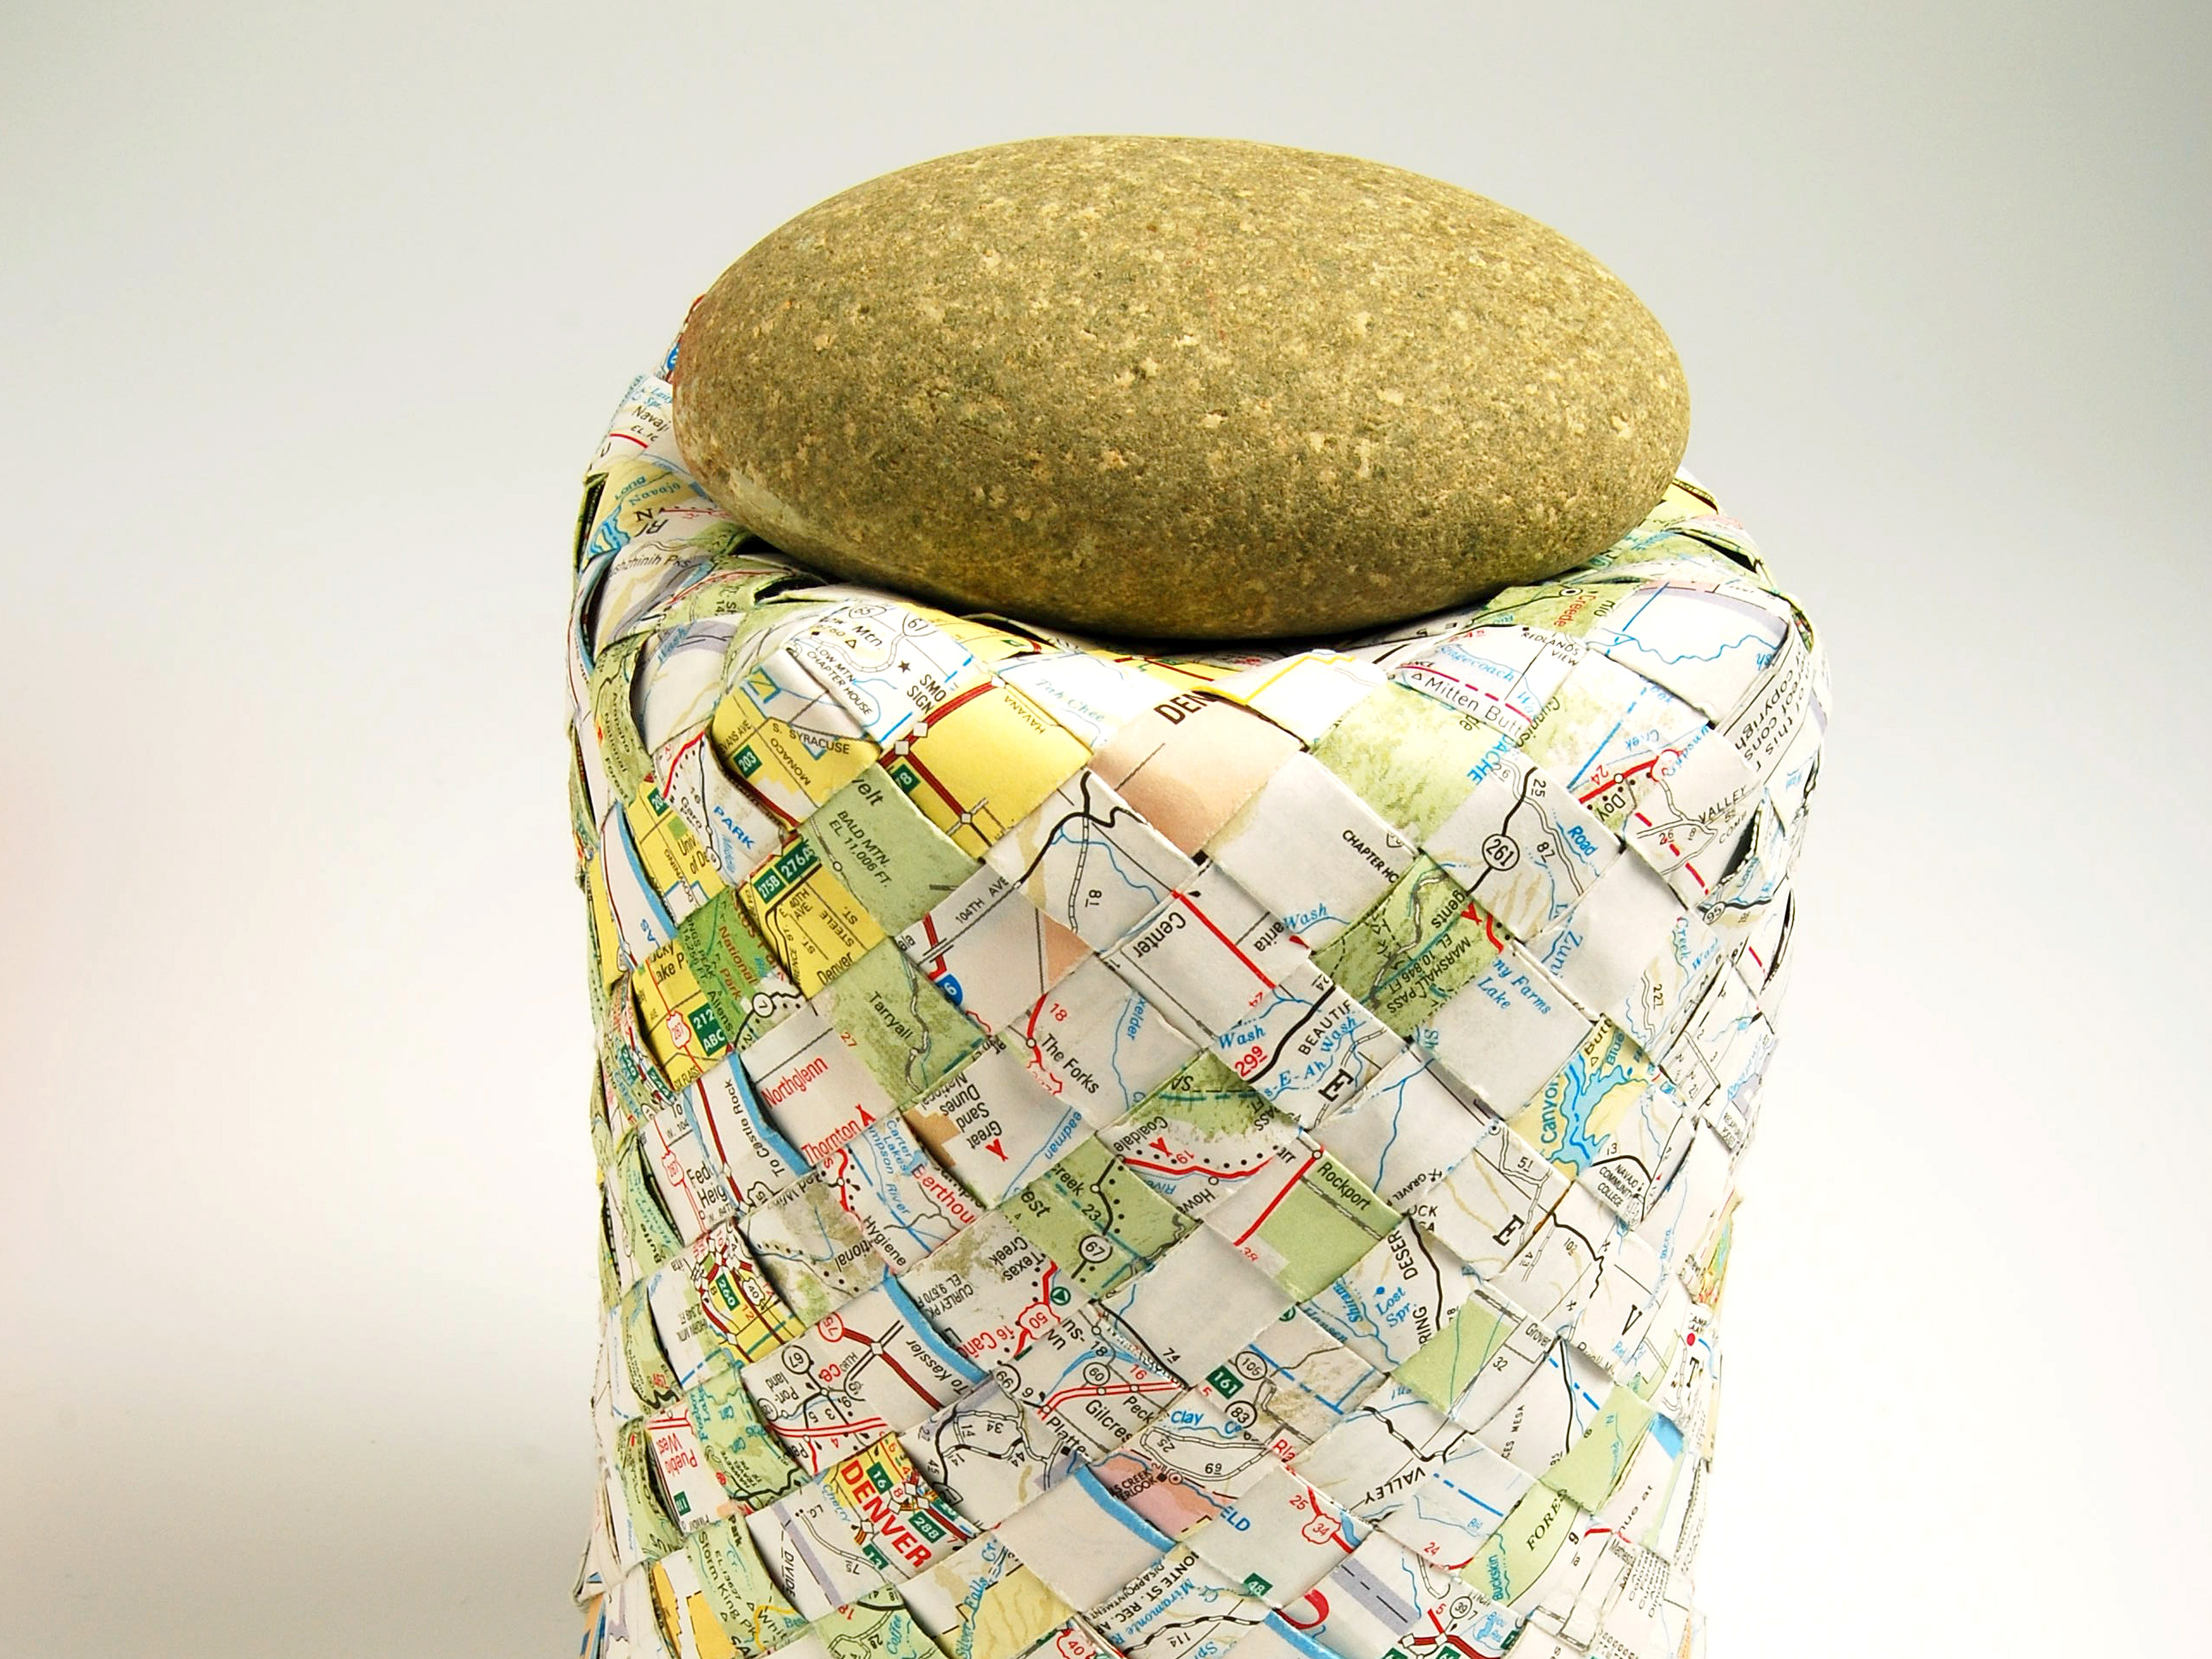
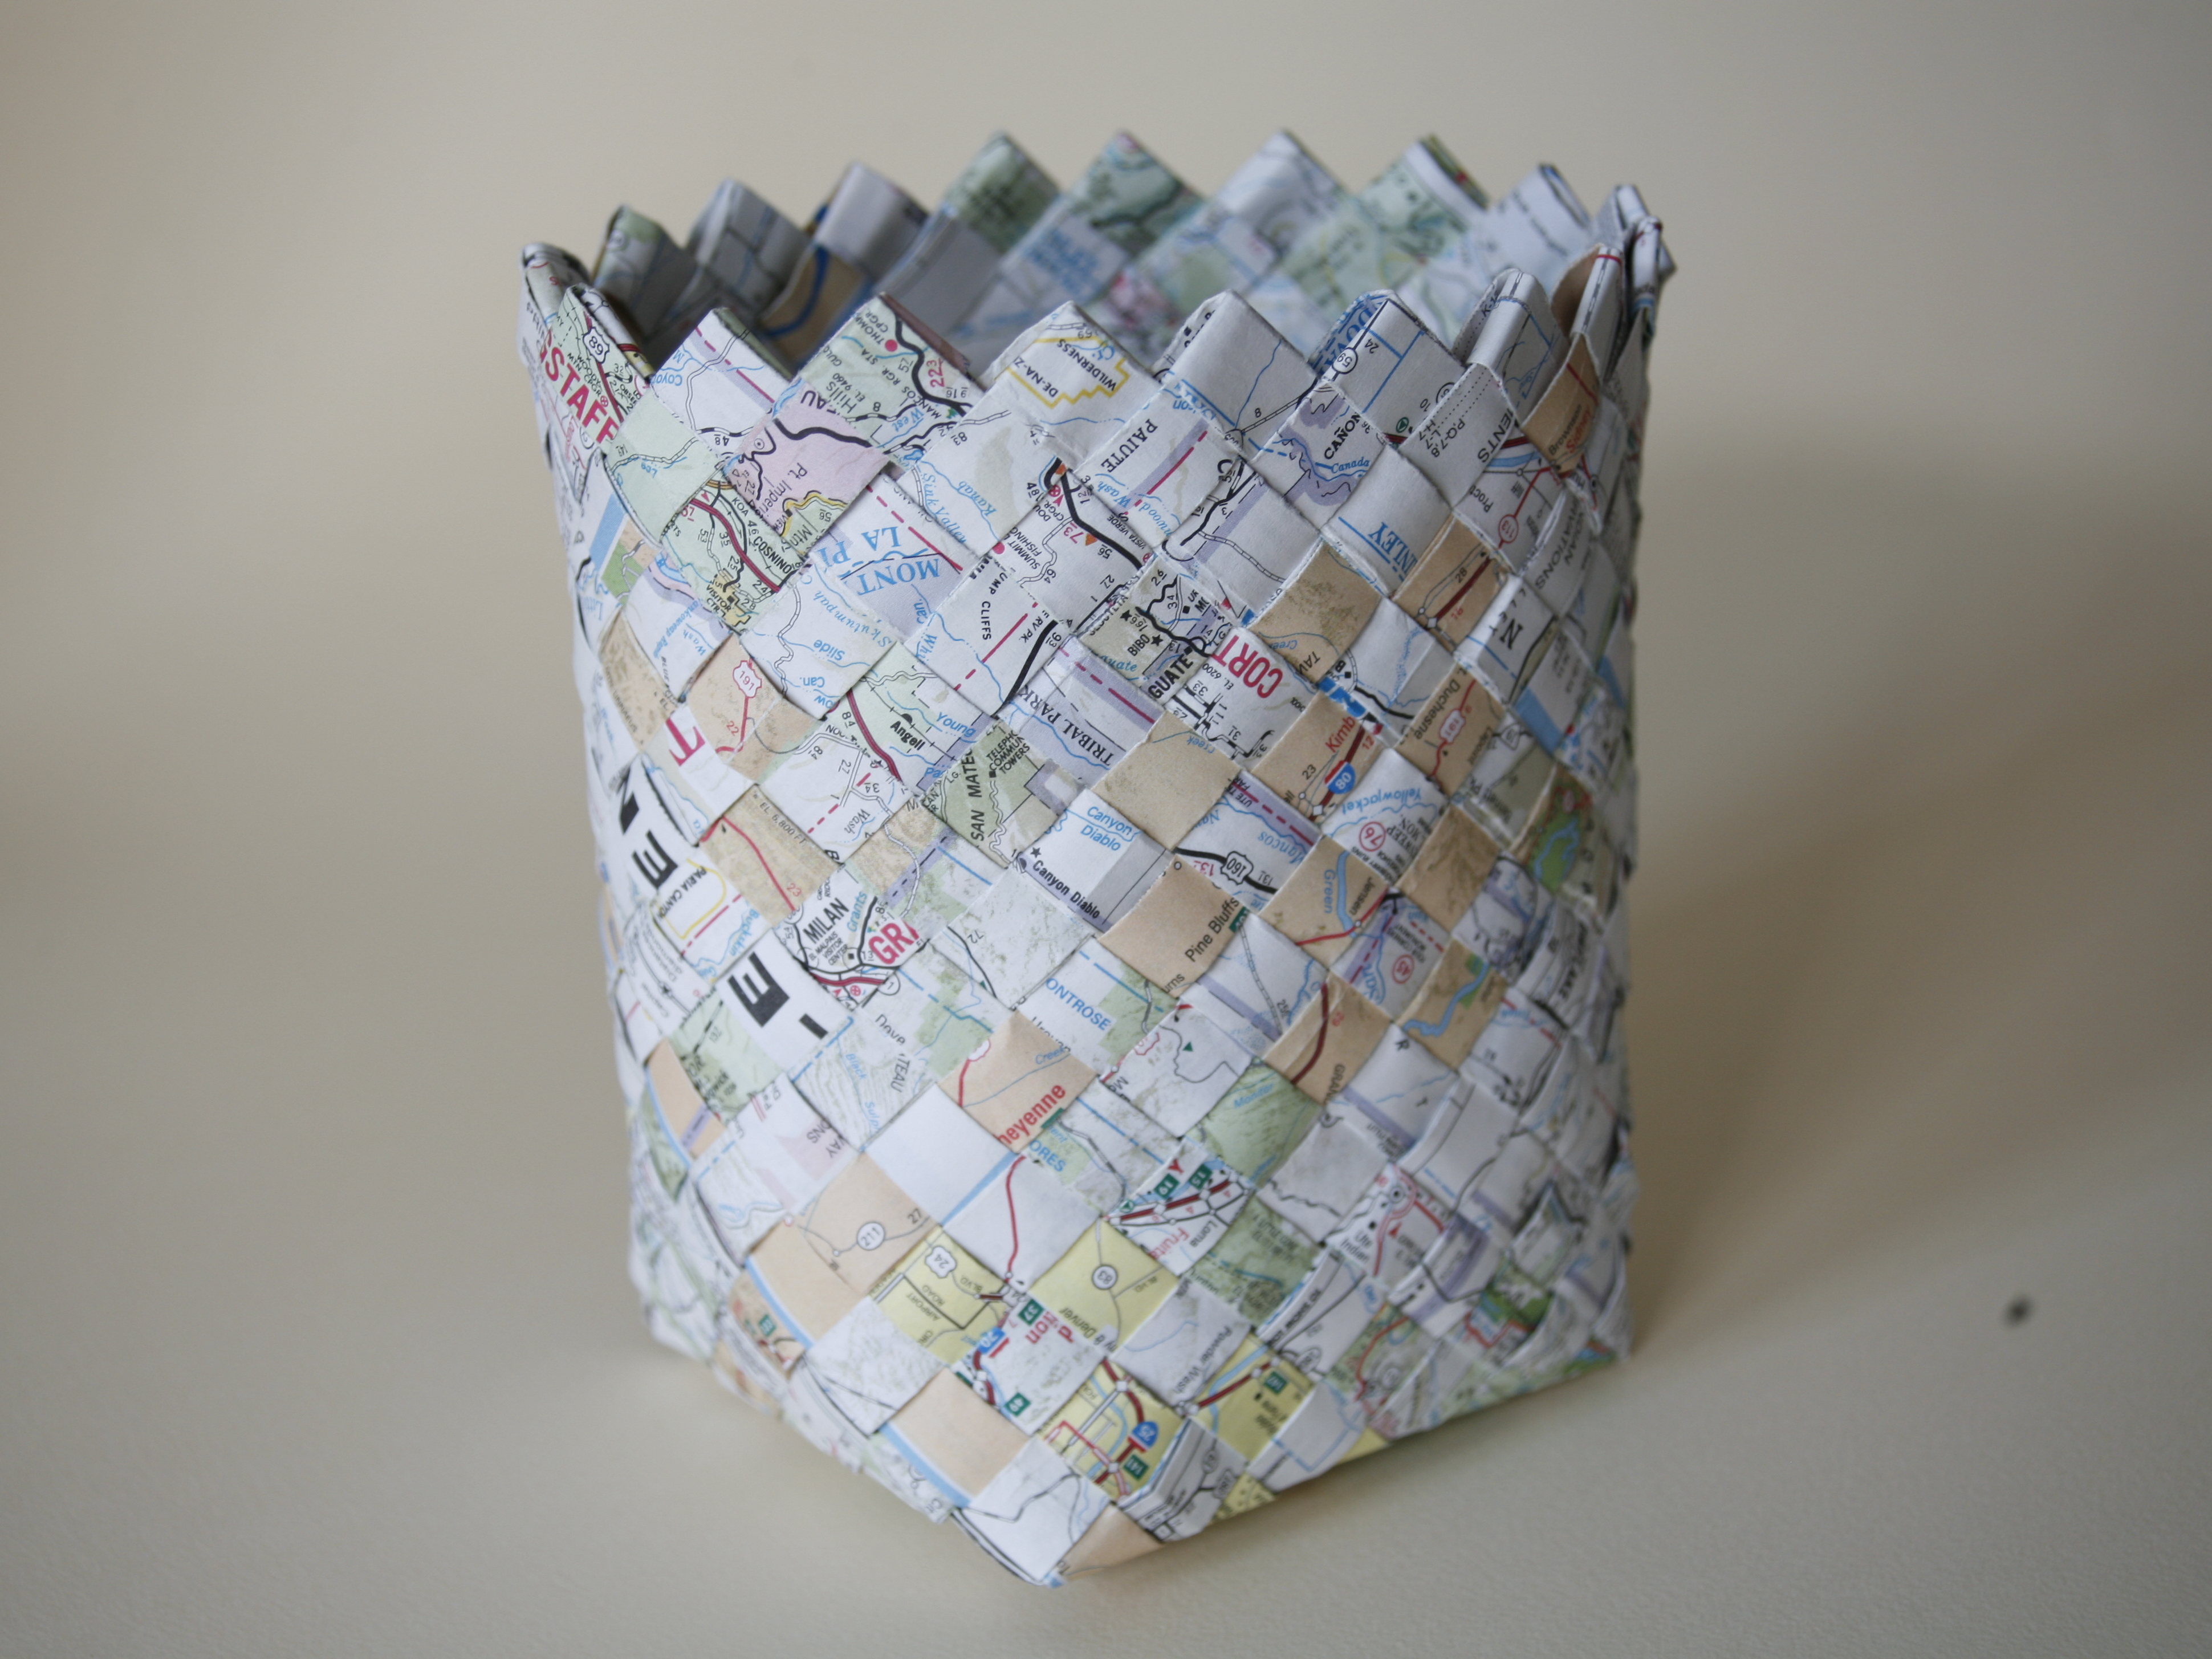
Think of basketry as three-dimensional weaving. If you ever wove paper as a child, that’s the basis for this plaited basket. You begin by weaving a flat base, and then upturn the strips (called stakes or weavers) to make the sides, in what is referred to as bias plaiting. You’ll be surprised by how sturdy your paper basket will be.

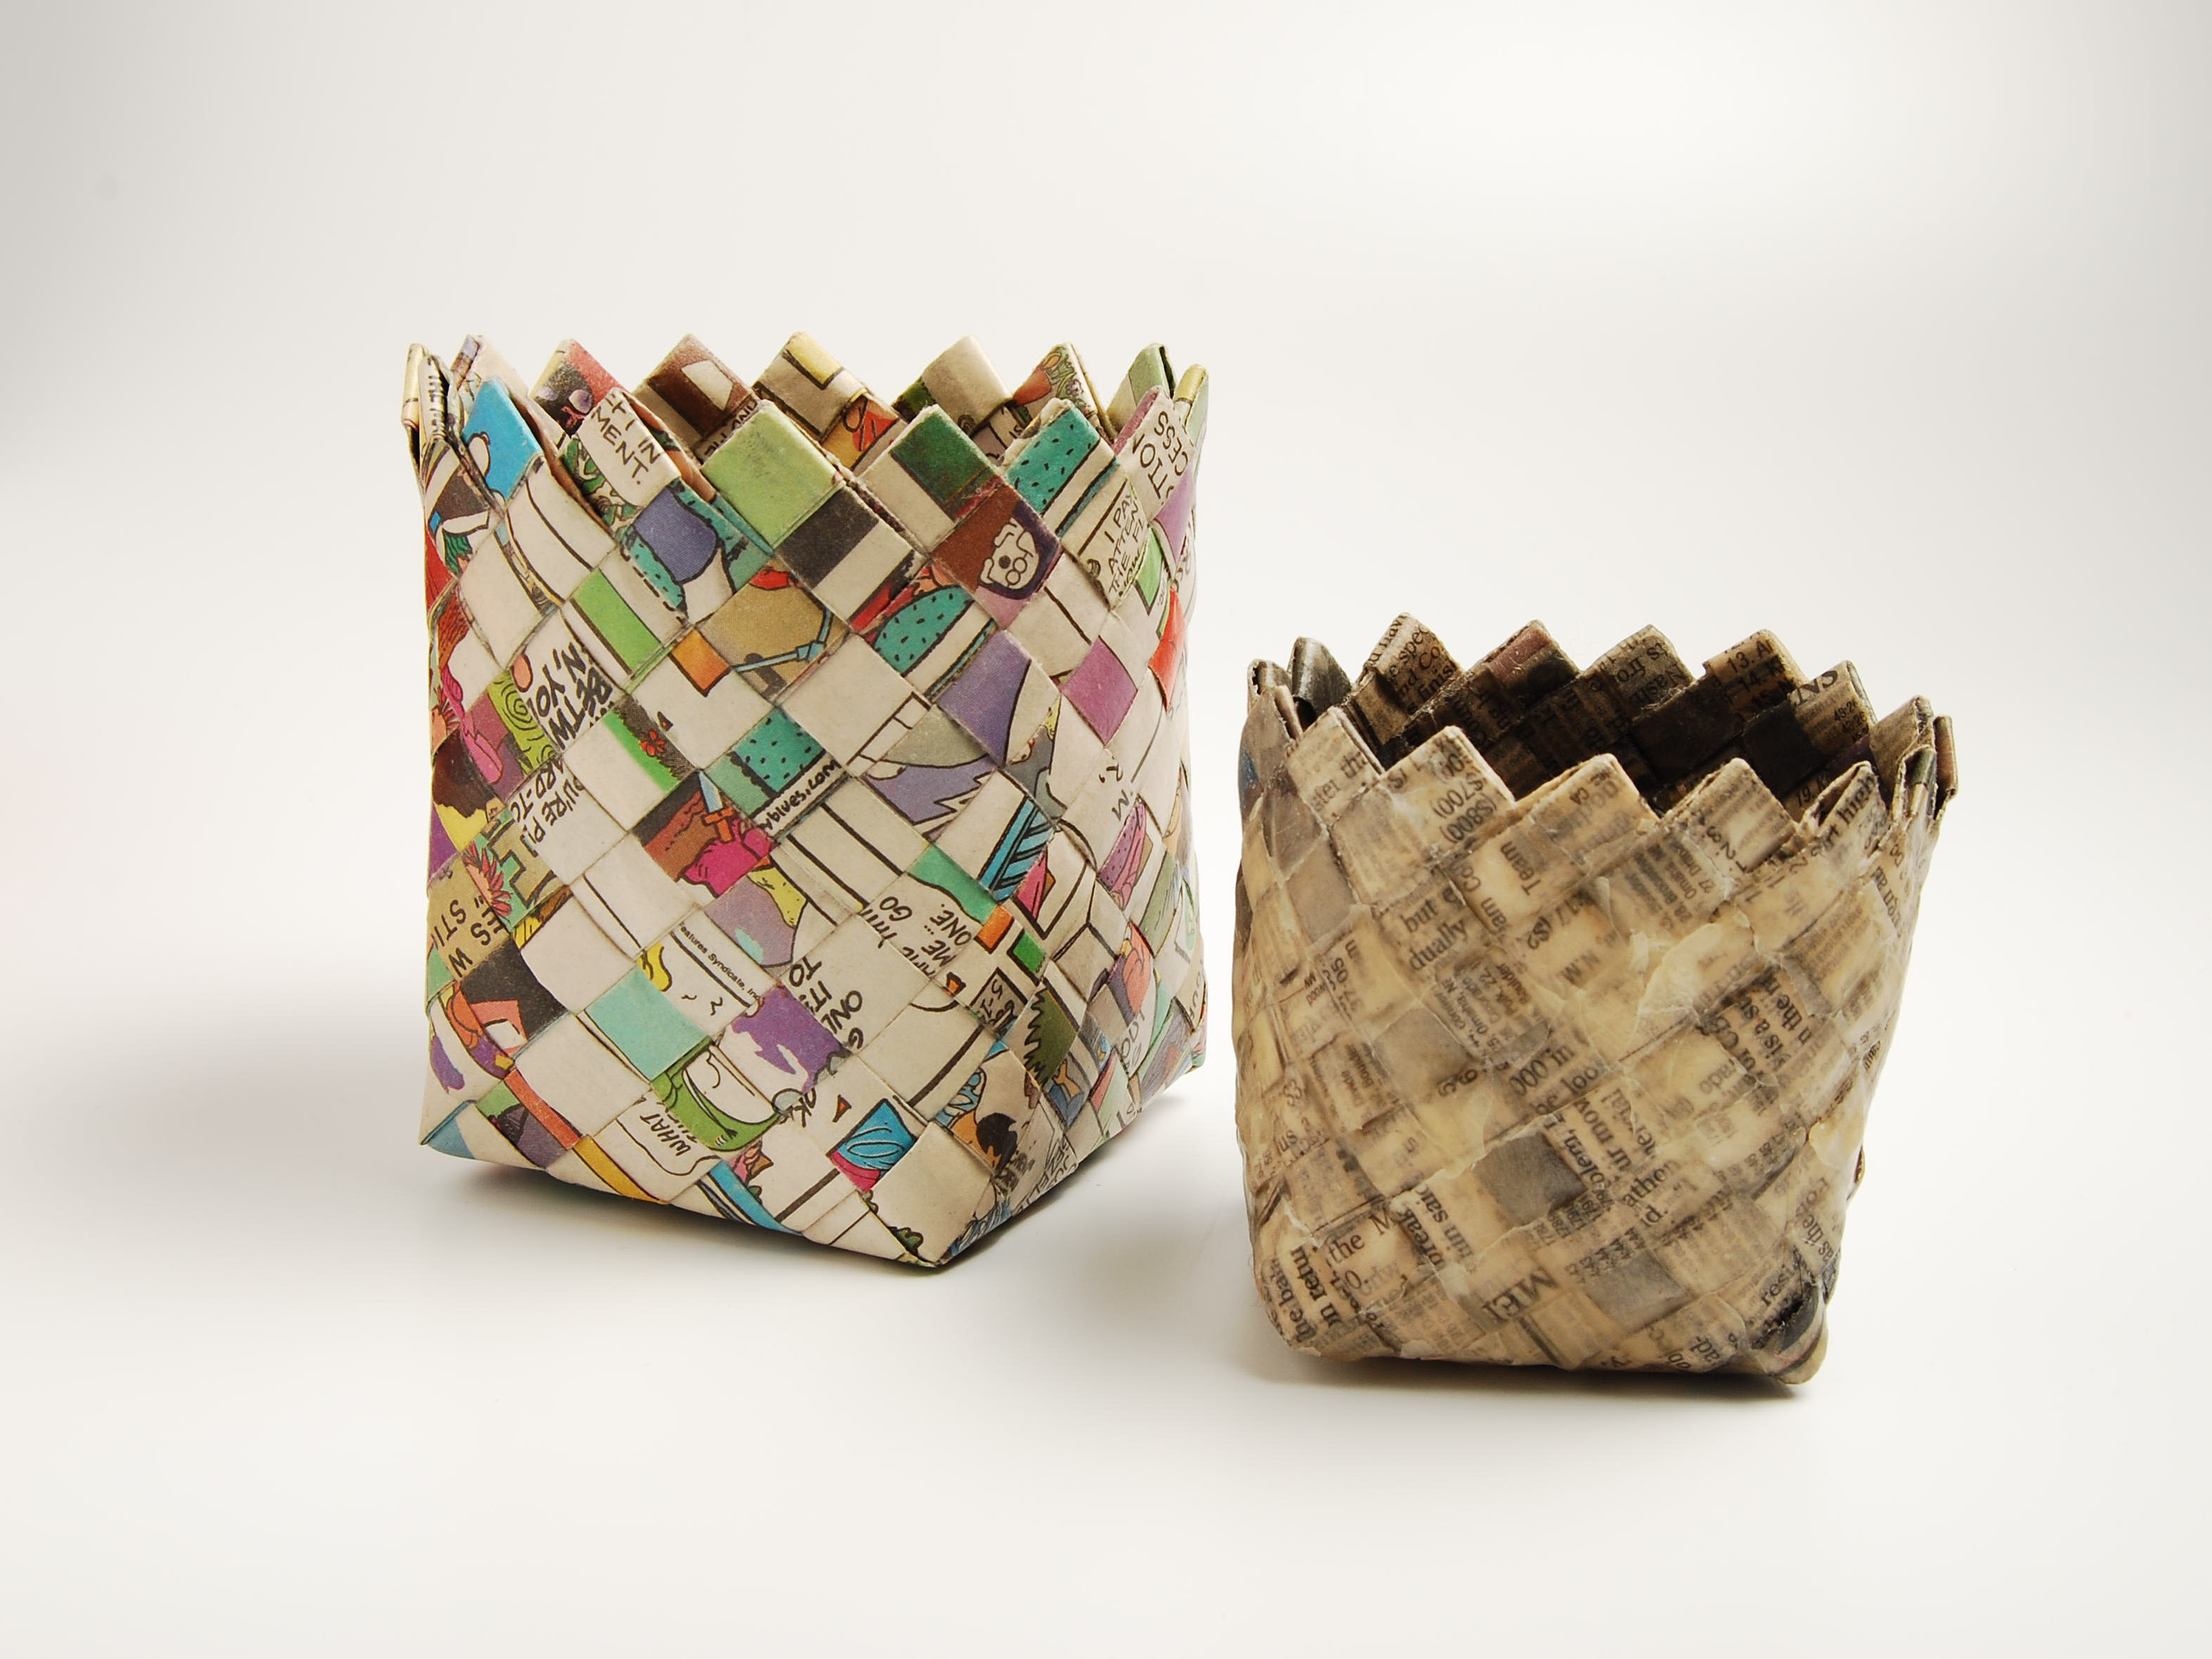
Baskets can be called a true handcraft because almost any basket you’ll see anywhere in the world has been woven by hand. It’s one craft they just haven’t learned to make well by machine.

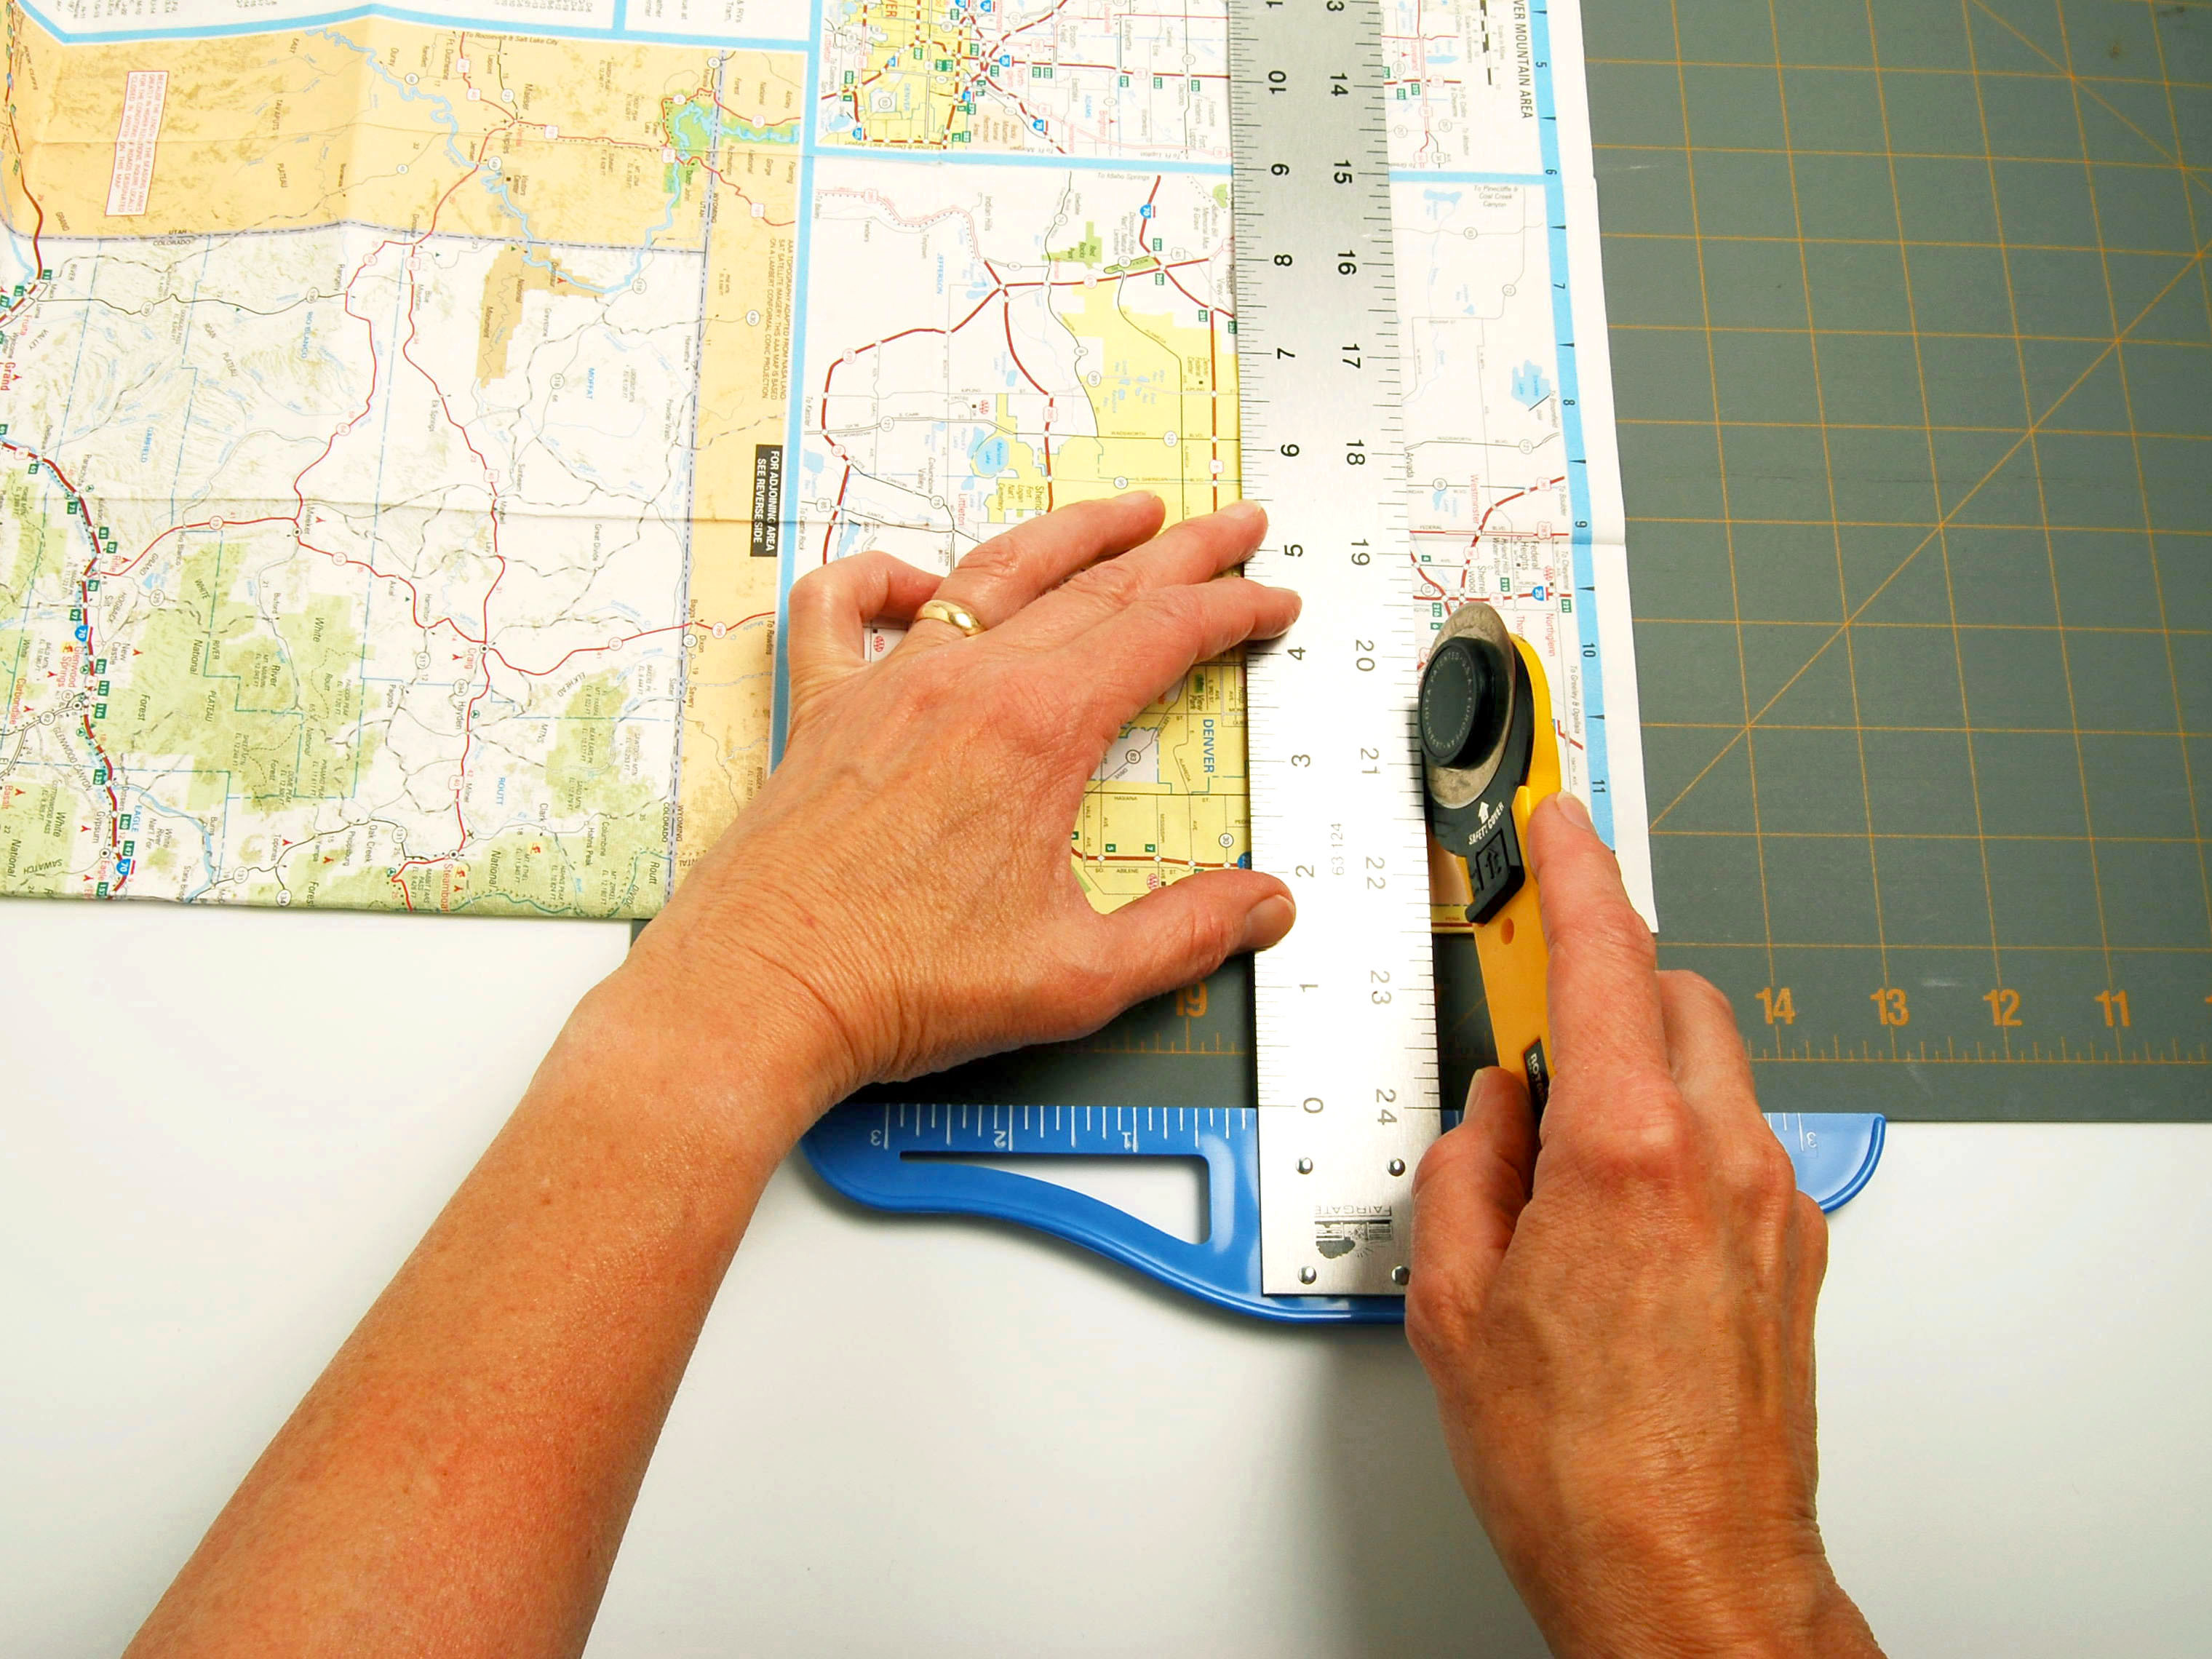
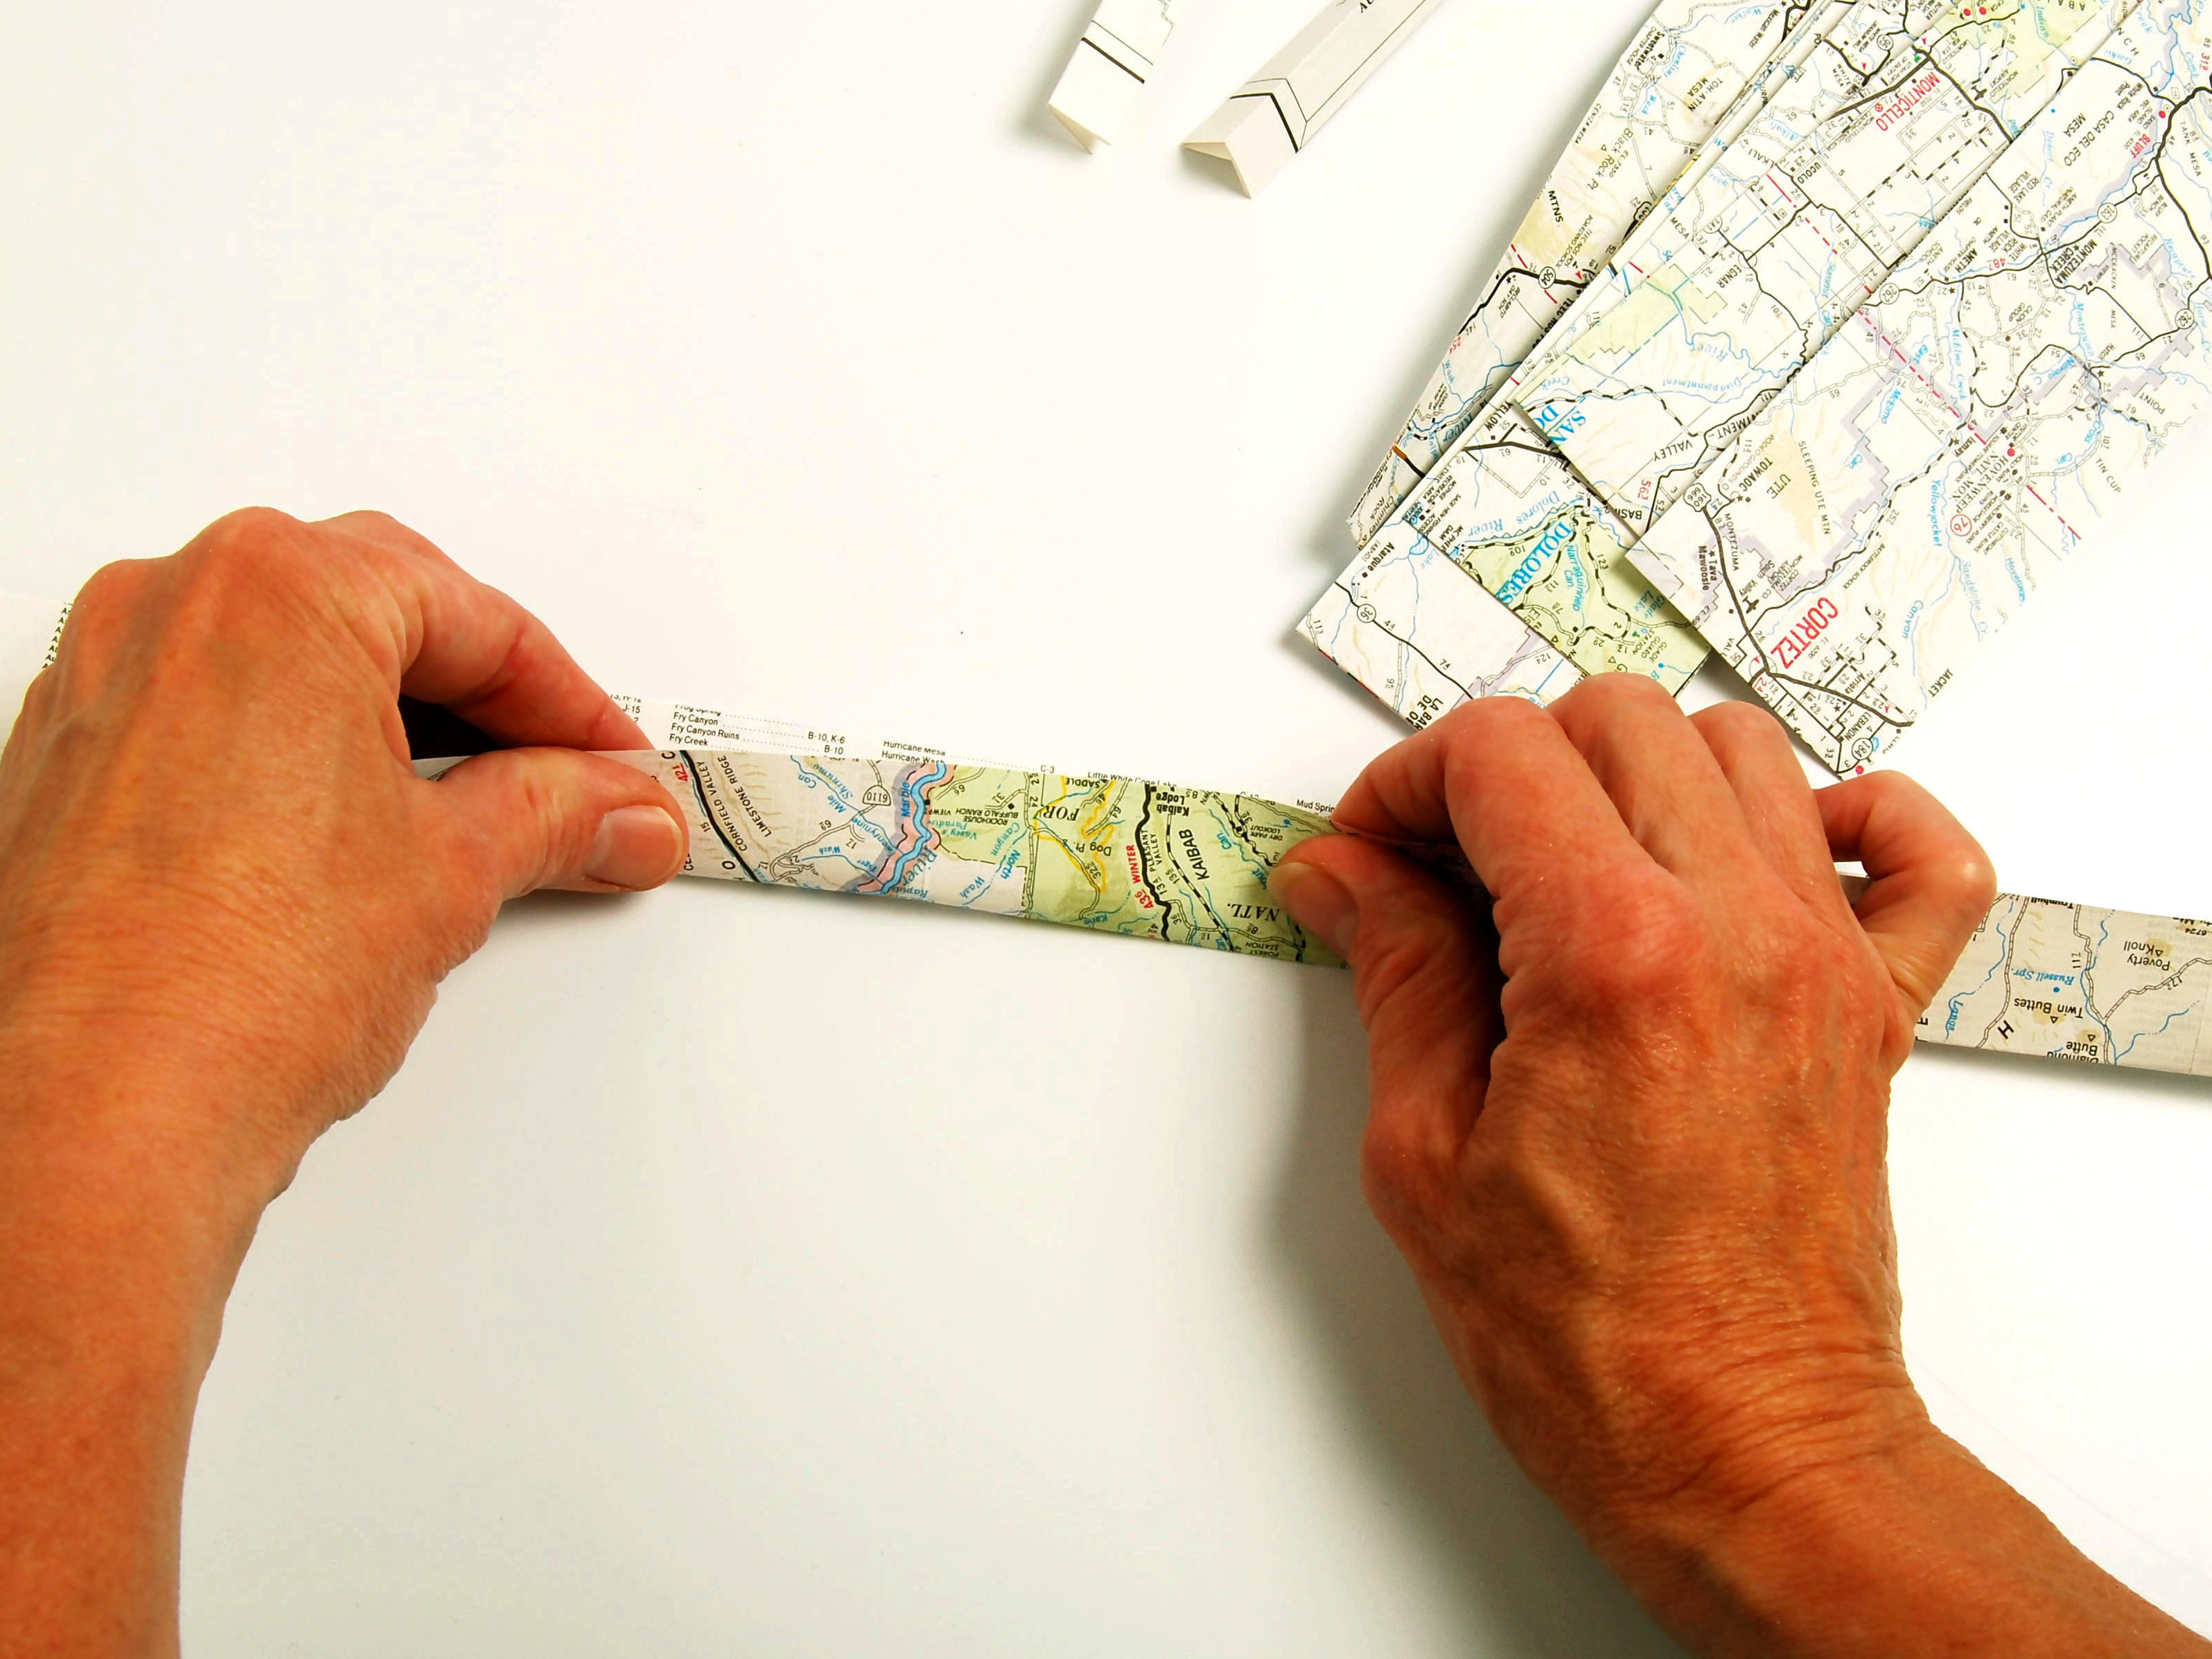
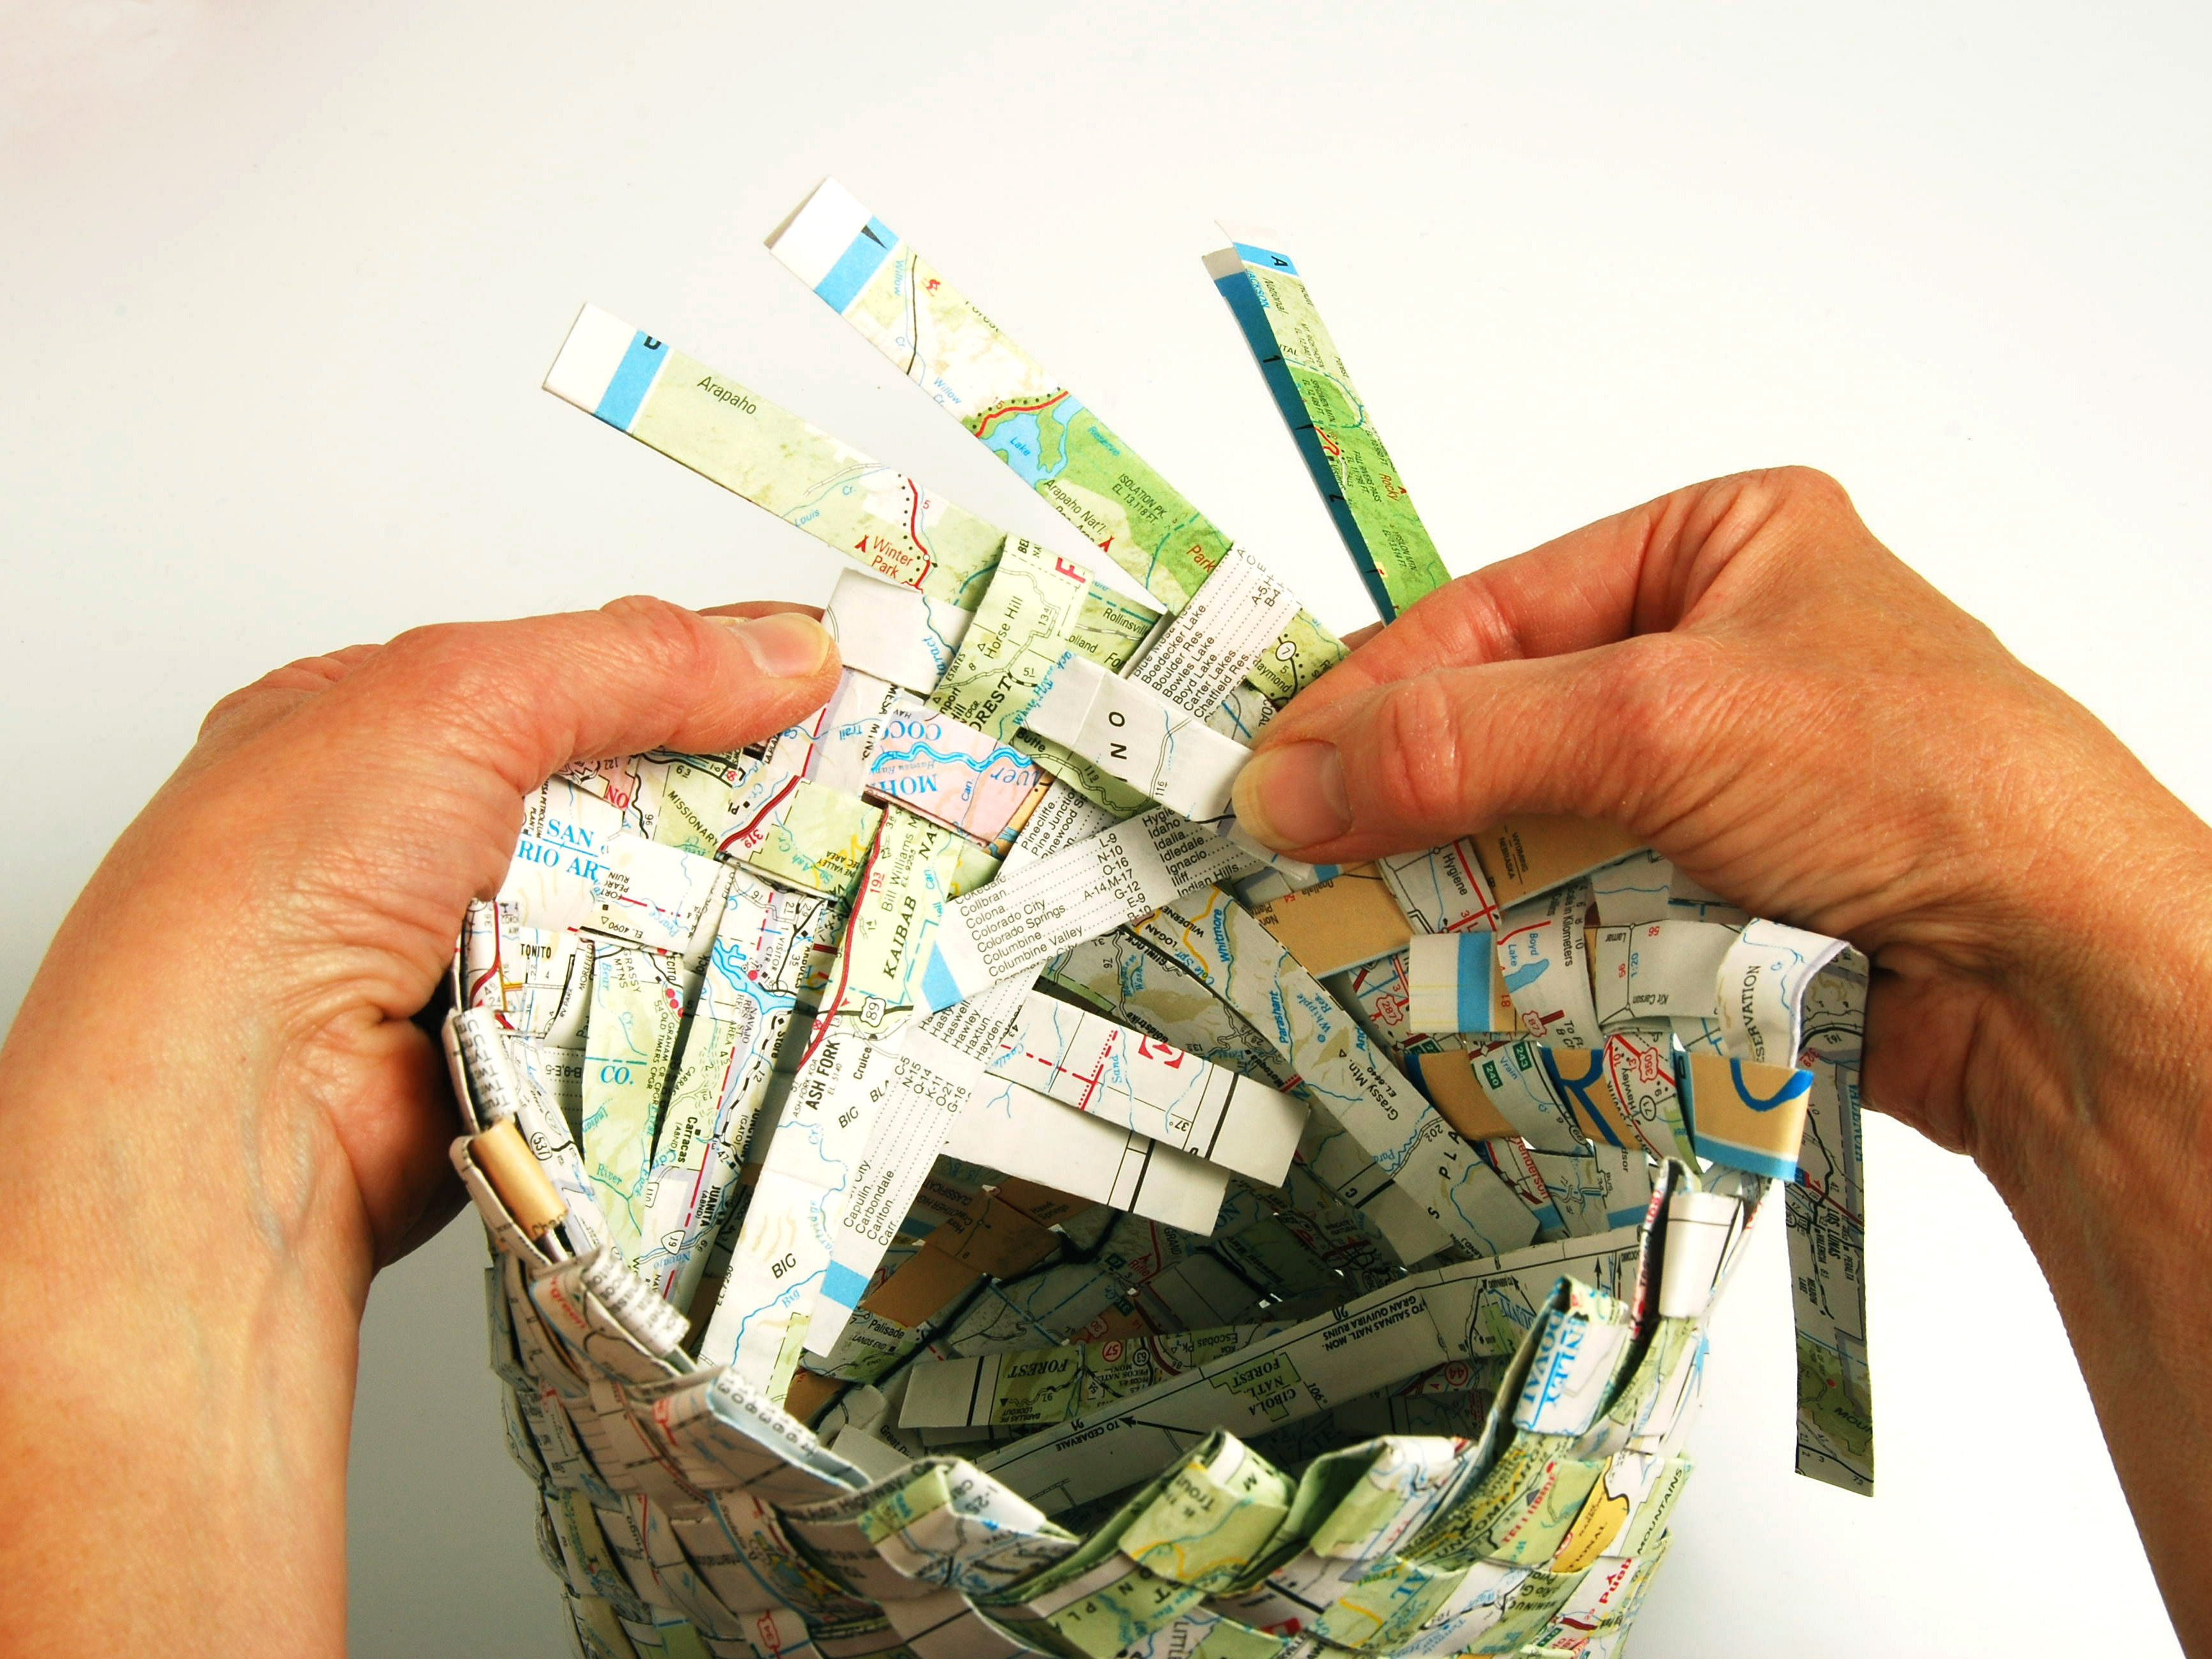
This project repurposes maps from your travels to weave a practical, attractive basket full of memories of trips taken and experiences had along the way.

Project Steps

Prepare the strips.

Cut off any parts of the map you don’t want to use. With the map turned lengthwise, cut 20 weavers 2″ wide (the longer the strips, the larger your basket can be). I made my weavers 37″ long, based on the longest length of the map.

Fold each strip in half lengthwise. Then fold the edges to the center, and finally, fold these edges together, creasing tightly. The more uniform and crisp you make the strips, the better your basket will be.

Weave.

Weave over, under, over, under (plain weave) for a square base, 10 weavers in both directions.

If you point the folds toward the center of each side, you’ll have a better result when you weave the corners.

Twine.

Using string or thread, mark the base by twining around the edges. Measure a length of lightweight string 10 times the circumference of the base and fold it in half. Fold this string around a weaver so that one end of the string is underneath the weaver and the other end is on top.

To twine, simply twist the ends together between the weavers, then place the top end underneath the next weaver while leaving the bottom end on top. Repeat until you reach the beginning, and tie the ends together.

Continue weaving.

Weave the sides, working one side at a time. Divide the weavers on one side in half and weave the halves together. Beginning with the center weavers, cross them, and weave both out to the edge.

Weave the remaining weavers in the same manner. Tighten the weavers by pulling out the slack. The weaving will poke out where the weavers cross. This is as it should be, and will be the new corner.

You’ve now woven a diamond. Secure this side with a clothespin. Repeat for the other 3 sides.

Join the diamonds by weaving them together. Continue weaving until your basket is as tall as you like it, or until you run out of weaving material. You’ll notice that if you follow one weaver, it travels from one side of the basket to the other.

Finish the edge.

Working in pairs, fold one weaver over the other and down into the weaving on the inside, then repeat for the other weaver. Do likewise with all the weavers.

If you have holes in the bottom or sides of your basket, this means it’s not tightly woven. You can fix this by pulling the weavers from the bottom of the basket to the top, to take up the slack. Keep tightening weavers until they are snug against each other. This is well worth the effort in the final product.

Once you’re satisfied with the tightness of the weave, check the top edge to see that it’s even and then trim the ends on the inside.

Create the base.

To create a flat, sturdy base, I place the basket over a container and then weight the bottom with something heavy, like a rock.

After a few hours, I crease along the bottom edges for a basket that sits flat and stable on the table. If you want a very stiff basket, you can dilute white craft glue with water and paint the basket inside and out.

Alternatives

The Sunday funny papers are a colorful choice for basket weaving. I choose the funnies with the brightest colors. A monochromatic alternative is a basket woven of pages devoid of photos with lots of small print, such as want ads. After weaving, I treat the surface with melted beeswax for a muted, aged appearance.

Conclusion

This project first appeared in CRAFT Volume 05, page 124. http://craftzine.com/05

Related posts on Craft: Online:

Flashback: Woven Map Basket

http://blog.craftzine.com/archive/2010/0...

How-To: Upholstery Tricks

http://blog.craftzine.com/archive/2009/0...

Craft Project Archive

http://blog.craftzine.com/archive/craft_...