YarnBowl3

How do you try out some 3D printing if you don’t have a 3D printer? Well, you could build up sculptures with a hot glue gun, kind of the same idea behind the crowdfunding hit 3Doodler. But that’s stinky and messy, and you might get burnt.

Carla Diana had the idea to make a bowl out of yarn. The filament that 3D printers use come on spools, just like yarn, thread, wire! What kinds of one-dimensional materials can you turn into sculptures?

Making yarn bowls can be great fun if you have the right materials. Make sure your yarn or twine is made of 100% cotton. Other natural materials may work. Wool may not as it repels liquid pretty well. Acrylic and other synthetic materials probably won’t absorb the glue and your bowl won’t keep its shape. Also, don’t dilute your glue too much, as you need enough to keep it all together.

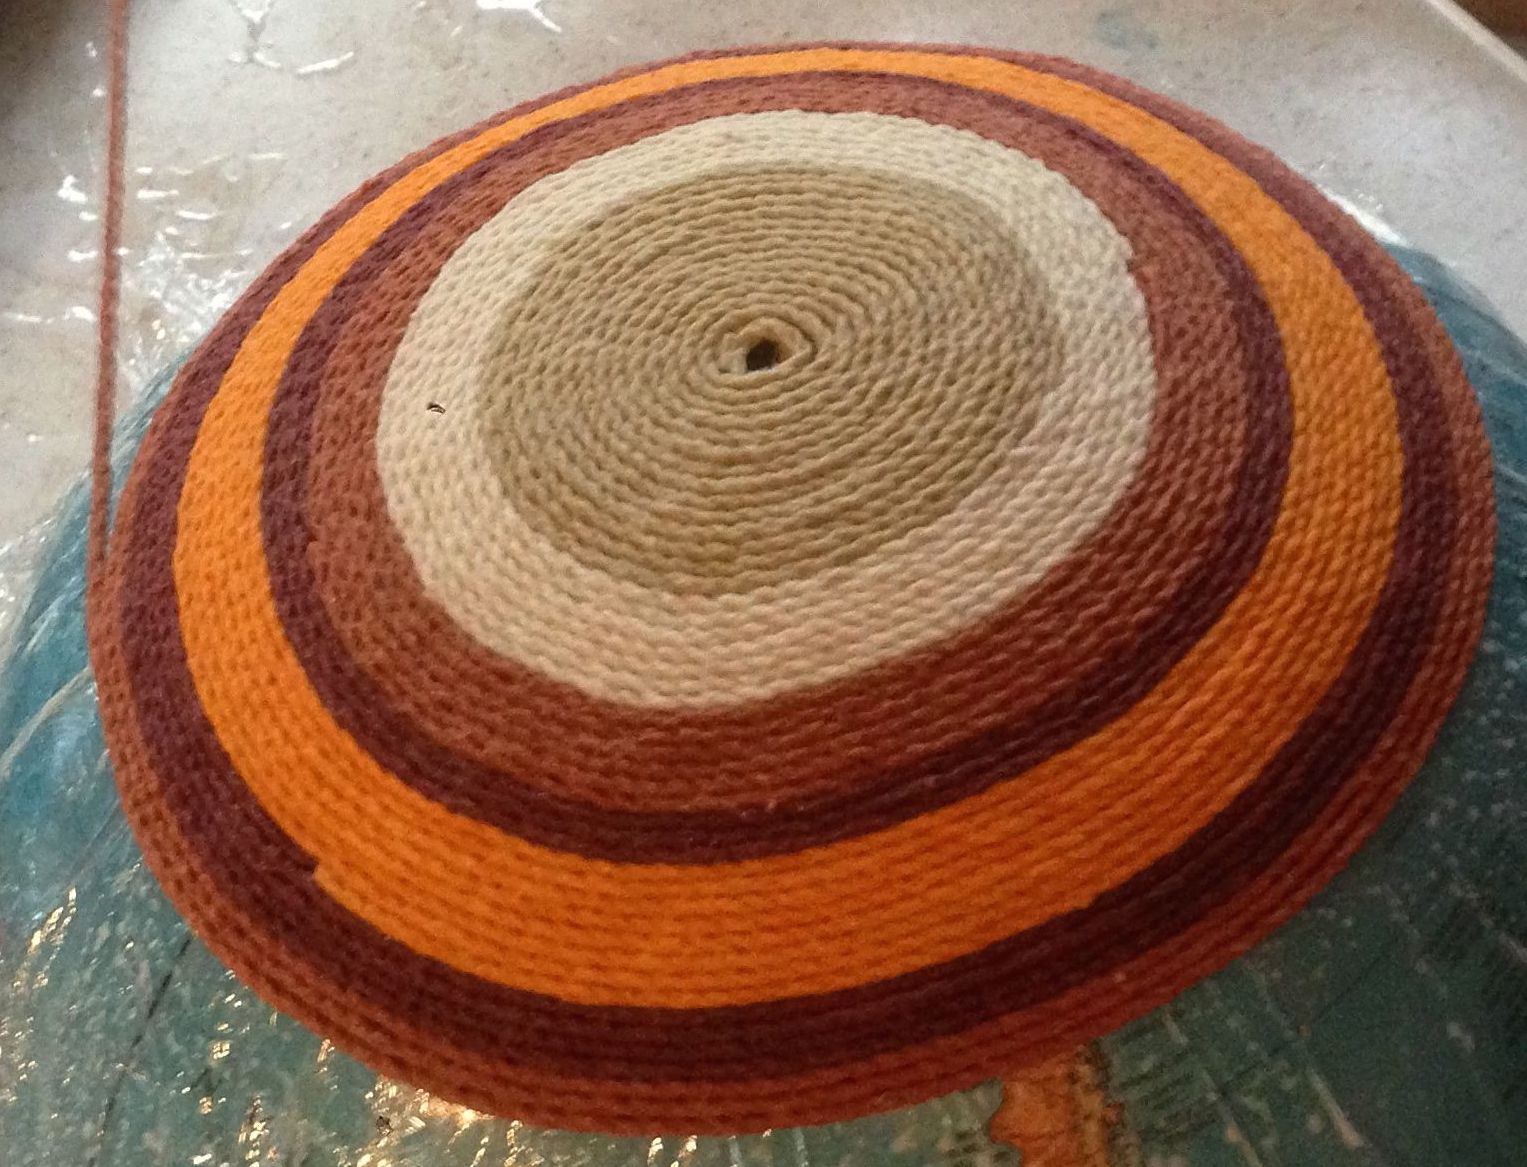
The winding style pictured here, with tight rows that go bump up against one another, resembles more what a 3D printer does. But the “freestyle” version is faster and easier. Try them both and see which one you like best!

Note: The freestyle version below was made and the steps were photographed by Lena Bridonneau and Sebastien Bridonneau. The final freestyle version was photographed by Gunther Kirsch.

Project Steps

Cover your mold with a protective layer of plastic.

I used a hemisphere of an old globe I salvaged from a free box.

A freestyle bowl works well on any kind of bowl-shaped mold, including a soup bowl.

Make your yarn sticky and oozy.

Squeeze out a large puddle of white glue into your upcycled saved-from-the-landfill container.

If your glue is too thick, you can dilute it a little bit. Just don’t add very much water at all! (My first attempt was too wet, and I ended up having to add a lot of extra glue after I wound it up.)

Dip your yarn in, being sure not to tangle it up too much onto itself (in which case, you’ll probably have to start again. The tangled sticky length of yarn is really hard to turn into a bowl.)

Let it soak in the glue for a minute or two.

Start winding.

This next part is a little tricky. First, the easy part: pull out your sticky yarn from the puddle of glue. Squeeze out any excess liquid.

Now, hold the end of your wet yarn in the top center of your mold, and then pull the yarn around in a tight circle. Then continue to pull it tight as you wind around and around so that you are building a disc of wet yarn in a tight spiral. I don’t have a great picture of the very beginning (I took a picture when I was trying to do three strands at once, which didn’t work so well. Do the same thing–but with just one strand!)

Add new colors, and keep winding.

When you’re ready to add a new color, just line up the next length of wet yarn so that the end of the old color and the start of the new color just touch.

Add more glue.

You may find that your bowl is pretty wet. Take some bag or paper towels and try to soak up the excess liquid.

If you think that there may not be enough glue to keep it together, you will want to dribble on some more glue and spread it into the fibers of the yarn. Important: spread the glue in the same rotating direction as the winding you’ve done so far.

Dry in place and remove.

Find a warm, dry place to put your bowl on its mold while you wait for it to dry. It took nearly 24 hours for our bowl to dry.

Remove carefully when completely dry! Watch for rows of your bowl that are breaking away as you take the bowl off the mold. If you see it separating, return the bowl to the mold, add more glue to it and wait for another day for it to dry.

Variation: A freestyle bowl

For a faster bowl, you can drape the yarn in a freestyle fashion.