YouTube player

Written, photographed, and illustrated by Billie Ruben

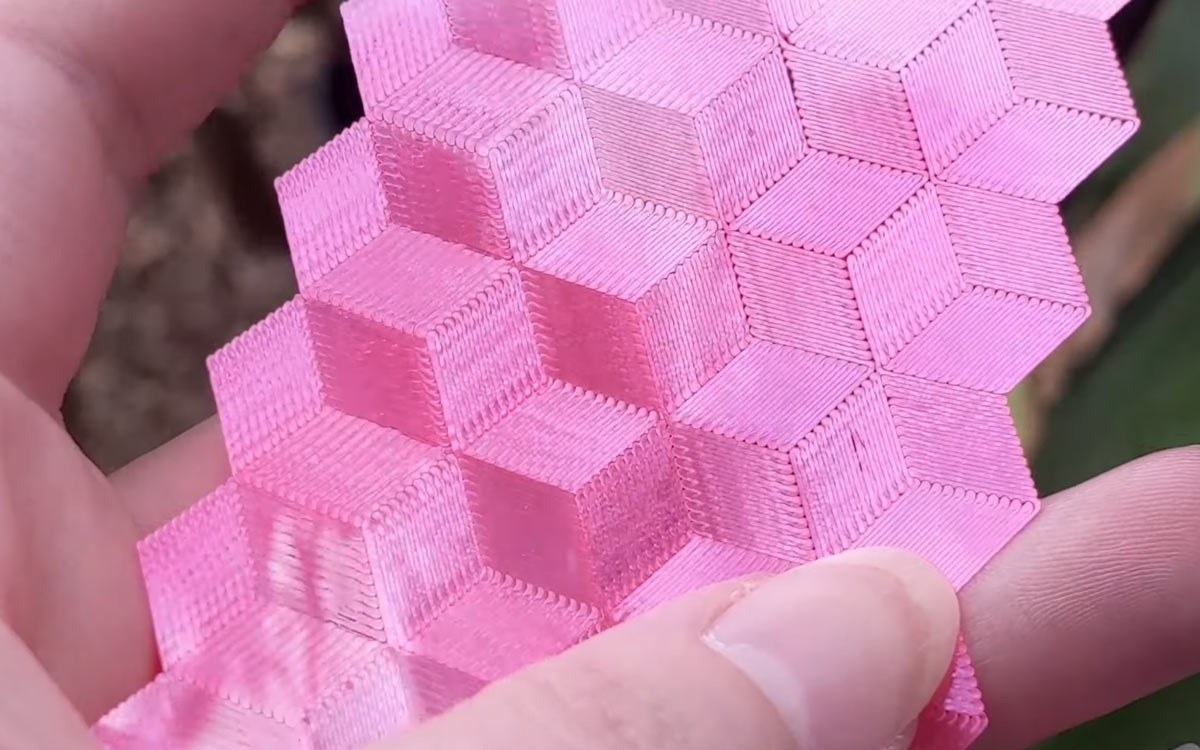
When it comes to 3D printing, you may think you’re locked into using the output of your slicer to build your creation, but there’s a lot you can do with the G-code. I’ve started adding patterns to the bottom by controlling the direction of the lines on the first layer of the 3D print. It’s done by creating an SVG image, converting it to G-code, and replacing the first layer of the model’s G-code with that of the pattern. 

Project Steps

Make an SVG of your pattern pt.1

Using your favorite vector software, make your pattern as an SVG. Keep these notes in mind:

The lines of your pattern will be lines of your print.

Make an SVG of your pattern pt.2

Pixels in your SVG equate to millimeters in Cura.

The stroke/line width in your SVG needs to match your line/nozzle width in Cura, otherwise your pattern will be over/under-extruded.

Make an SVG of your pattern pt.3

Ensure that the lines in your SVG just touch each other — no overlaps or gaps — to fill the whole area.

Join all your lines up, to avoid import errors and reduce travel moves.

Add a skirt to your pattern, to prime your nozzle.

Make an SVG of your pattern pt.4

For delta printers, center your design around the top corner in your SVG as the center point of a delta is at 0,0.

For Cartesian printers, place it inside the top left corner.

Slice the model to which you wish to attach the pattern

Open your file in Cura. Set up your normal print settings. Choose “Save to File” when finished, then close it — you won’t be printing just yet. 

Install the SVG to G-code plugin

Open the Cura marketplace and install SVG Toolpath Reader by Ghostkeeper.

Turn your SVG into G-code

Drag your SVG file into Cura to convert it to G-code. Check that the nozzle is starting at your skirt by hitting the Play button. If it isn’t, attach your skirt to the other end of your pattern (in the SVG file).

Check that the pattern covers the base of your model by overlaying two top-view screenshots in an image editor, and click Save to File to save the pattern G-code. 

Replace the first layer code of the sliced model with the code for the pattern.

Open your model G-code in a text editor, delete everything between the lines that say ;LAYER:0 and ;LAYER:1 , and paste in the corresponding section from your SVG pattern’s G-code.

Time to print 

Save that spliced G-code file and print it on the printer for which your Cura is configured.

Tidy it up

After printing you’ll probably have some leftover bits of your pattern sticking out. Trim these off with a pair of scissors. You’re all set!

Going further

I’ve since made a second pattern using this method, based on a Gosper curve. Next I would like to try this with a wood-grain pattern using wood-grain filament. I also think these kinds of patterns would be cool in semi-transparent objects like lamp shades.

Conclusion

If you get stuck anywhere, check out my video tutorial at the top of the post or reach out to me on the socials: linktr.ee/BillieRuben

If you make your own I would love to see, so please tag me! Happy printing!