


See Part 1 of this guide here. Thanks to Bart Patrzalek for the tip, and Brian Adams for the instructive How It’s Made video segment.
Reverse the coil for a tighter curl!
See Part 1 of this guide here. Thanks to Bart Patrzalek for the tip, and Brian Adams for the instructive How It’s Made video segment.
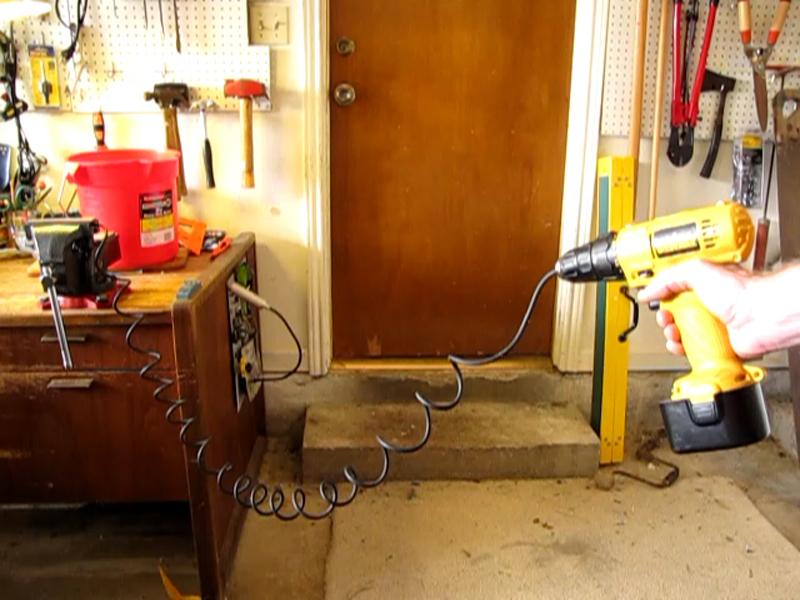
First, here’s what the cord looked like after our initial curling operation. This is the same cord, BTW, that I made when I first wrote about this trick three years ago, and it has held its coil quite well in the intervening time in spite of regular use.
You can see that the coil in the cord, in this state, follows the right hand rule. Also, I count 19 loops.

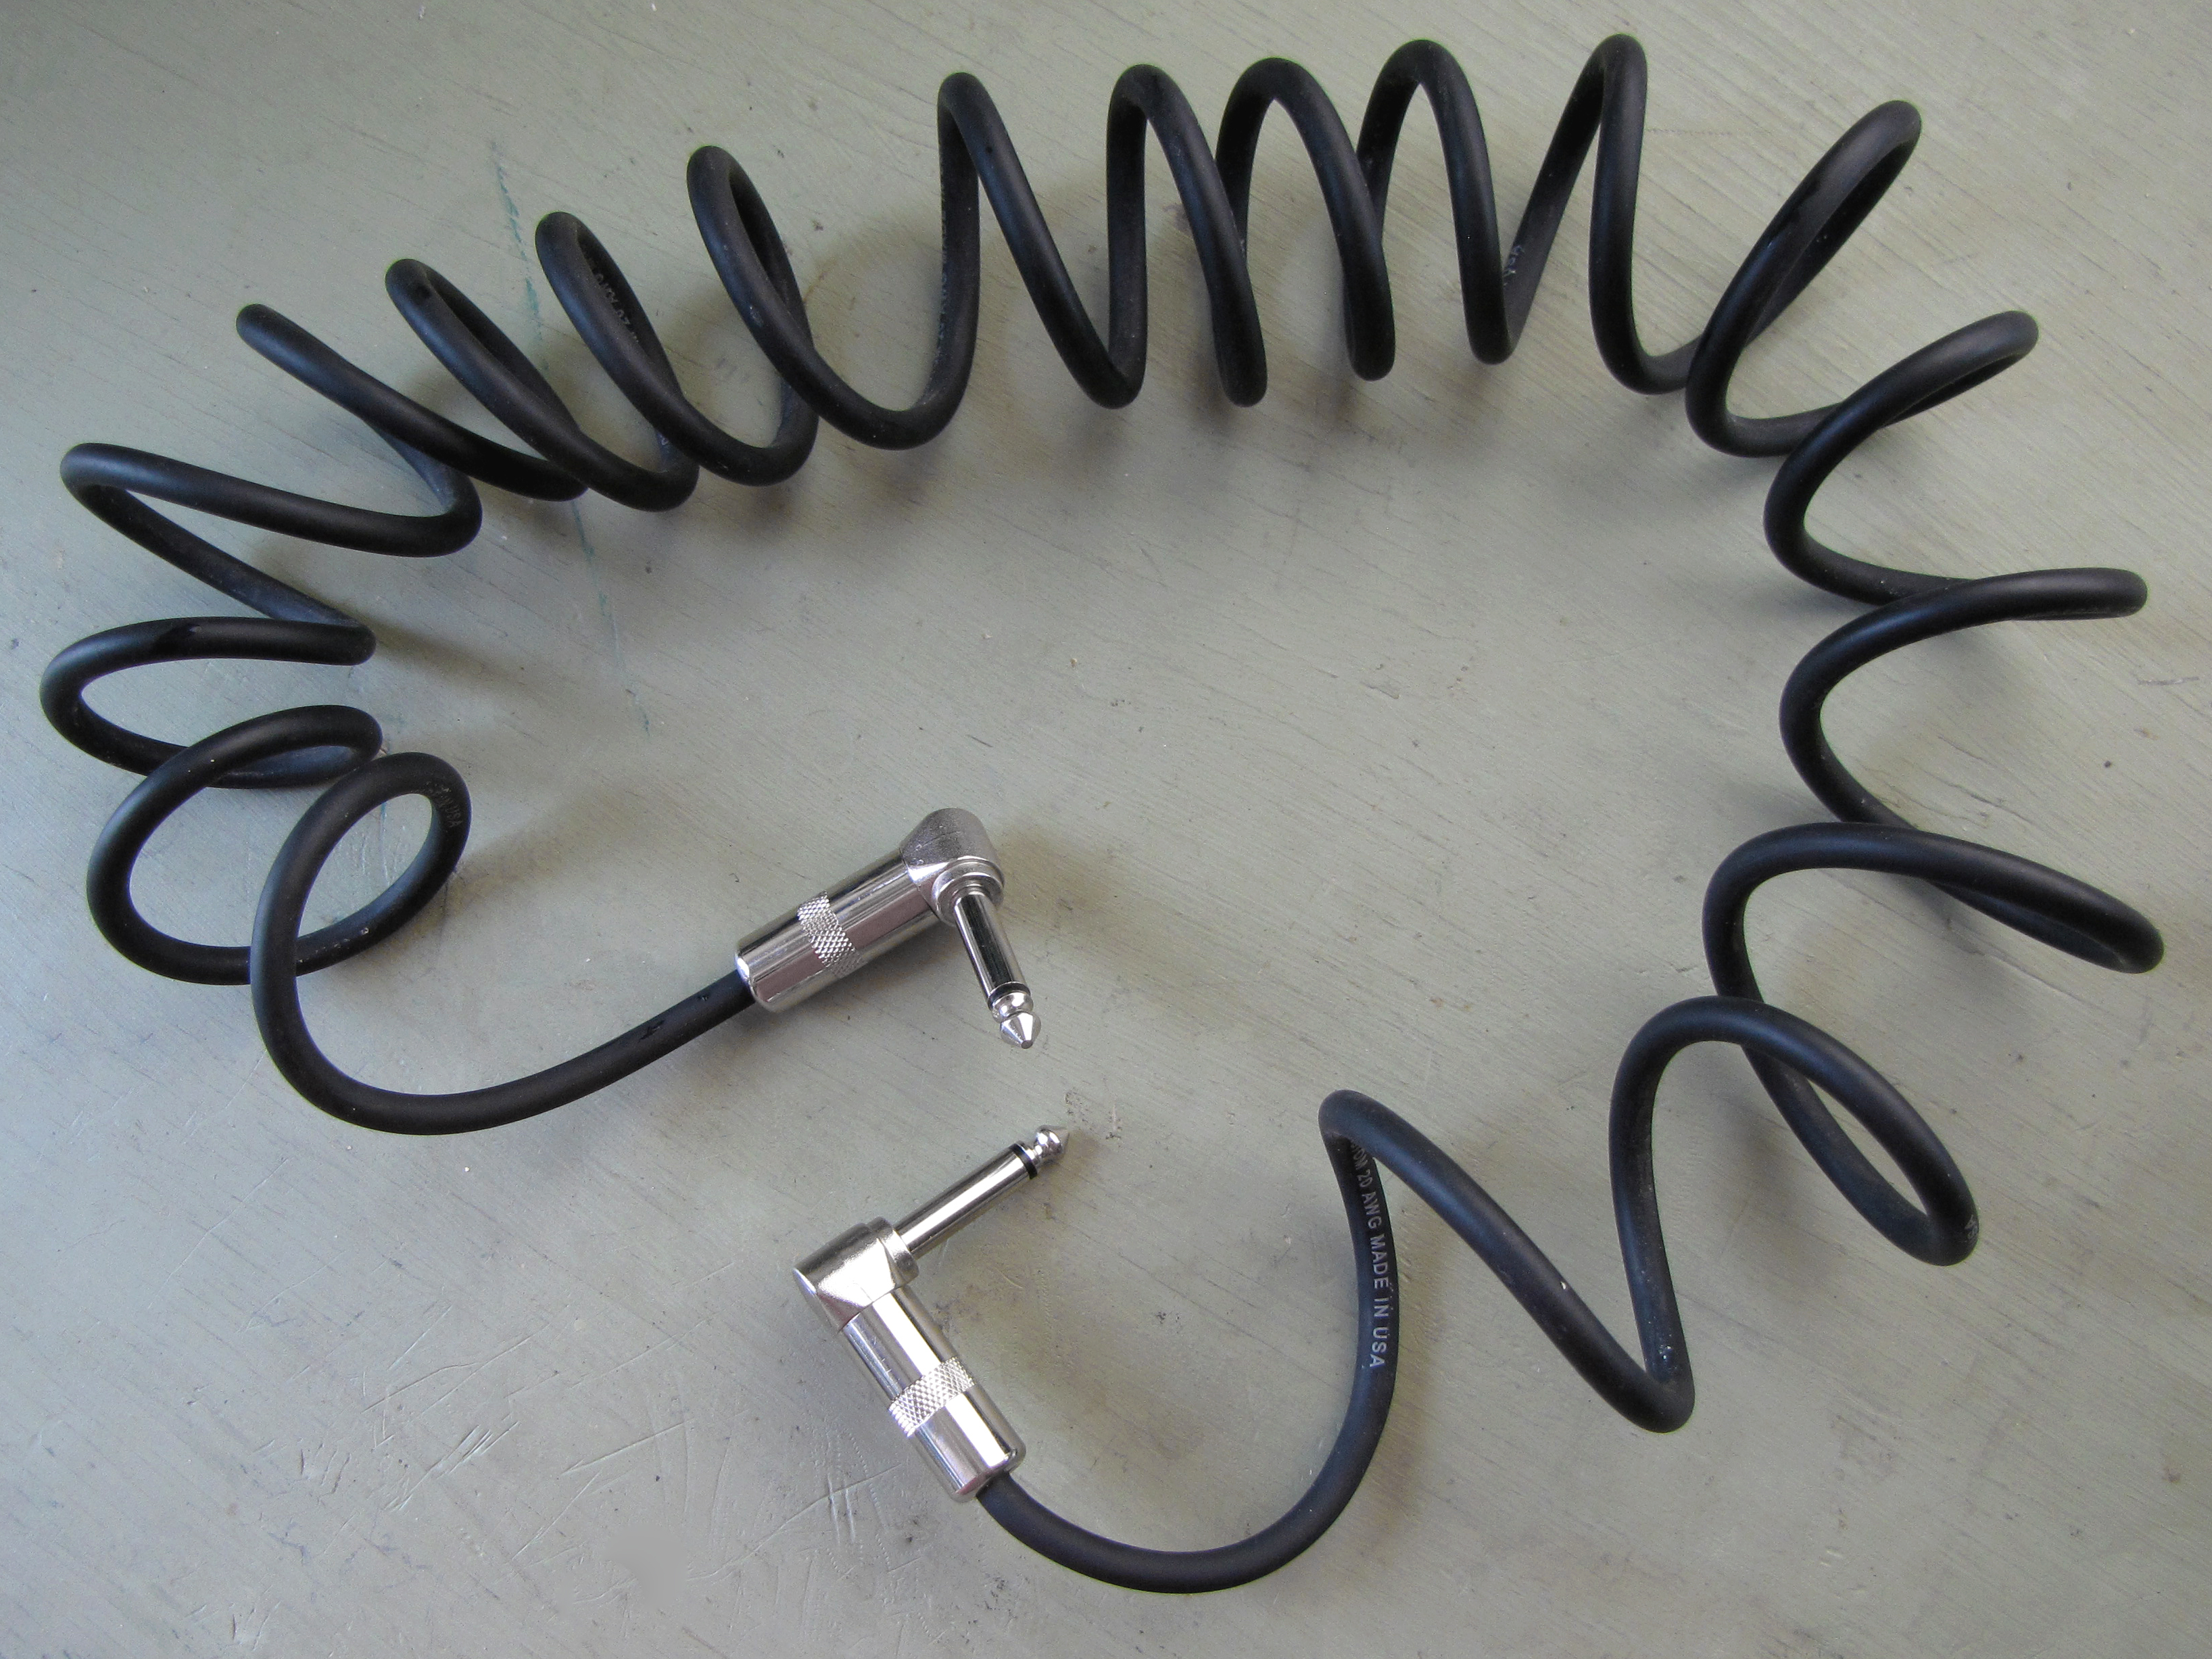
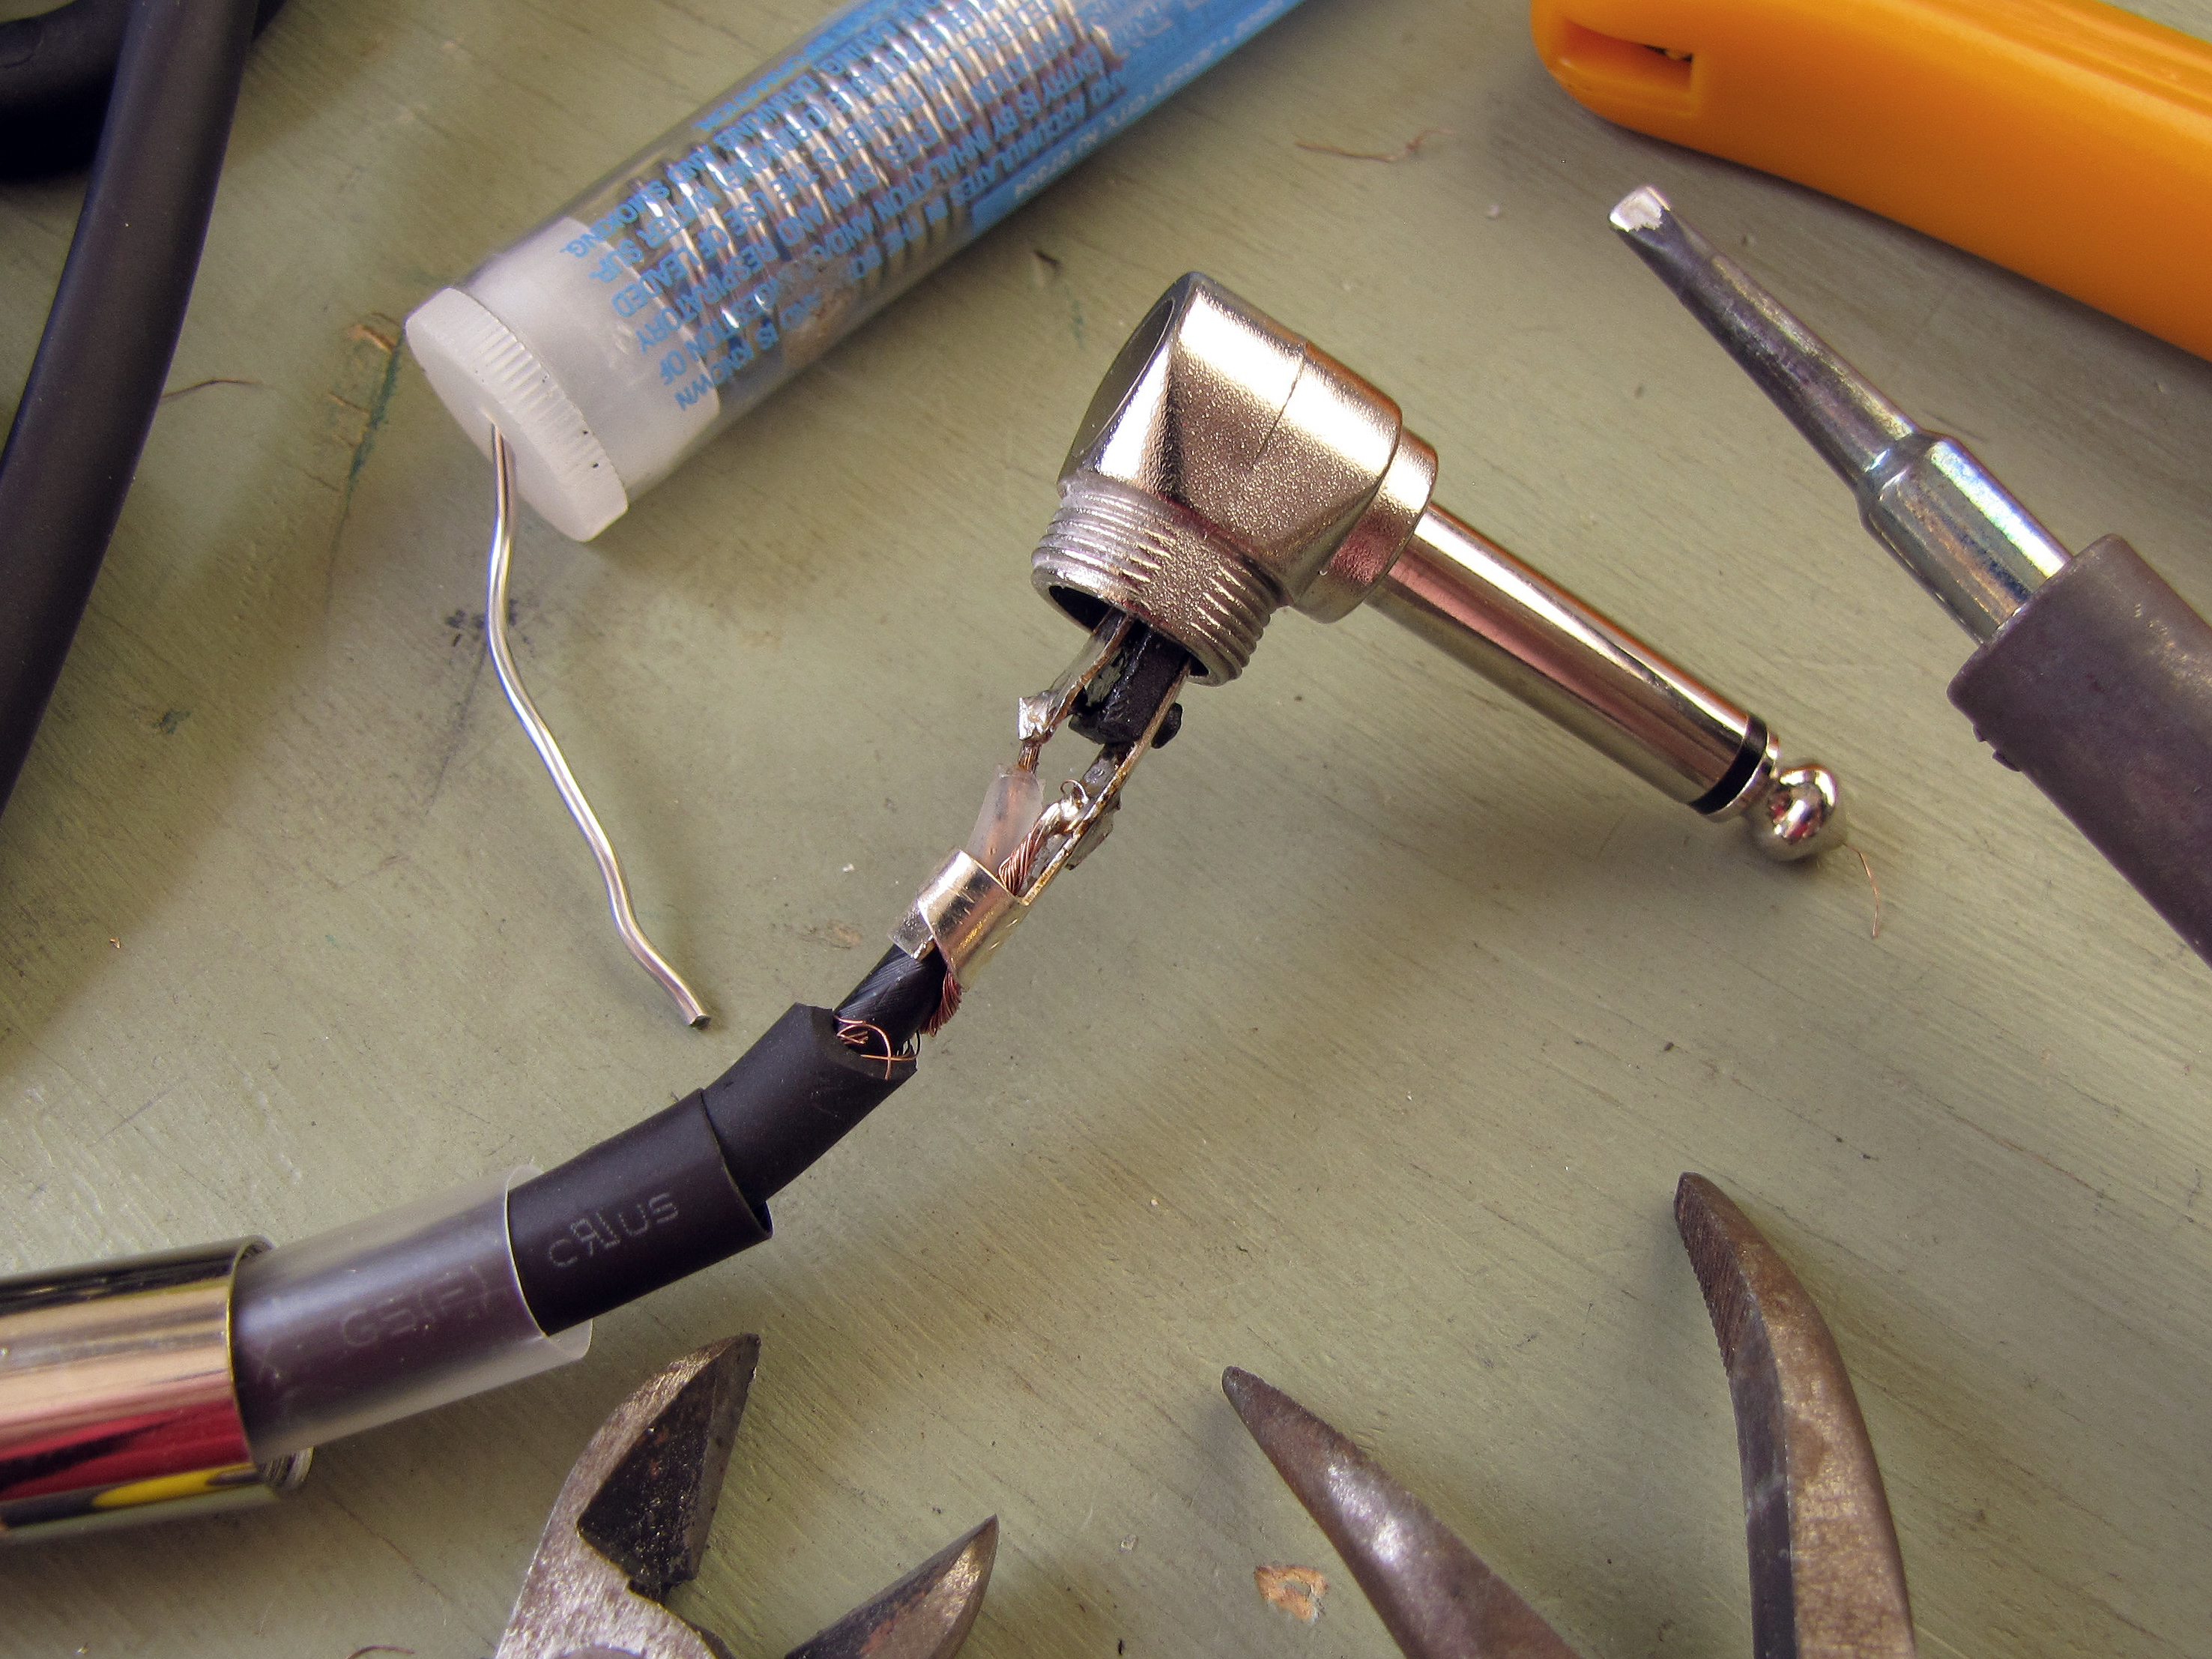
Though the initial thermal coil-setting step in this process can be completed with the connectors in place, the coil reversing process pretty much requires that they be removed. In the case of my 1/4″ mono phono plugs, this means unscrewing the ferrule, slitting and removing the heat shrink tubing, and desoldering each of two wires from the connector at each end of the cable.

Clamp one end of the cord in a vise or other secure, stationary mount.
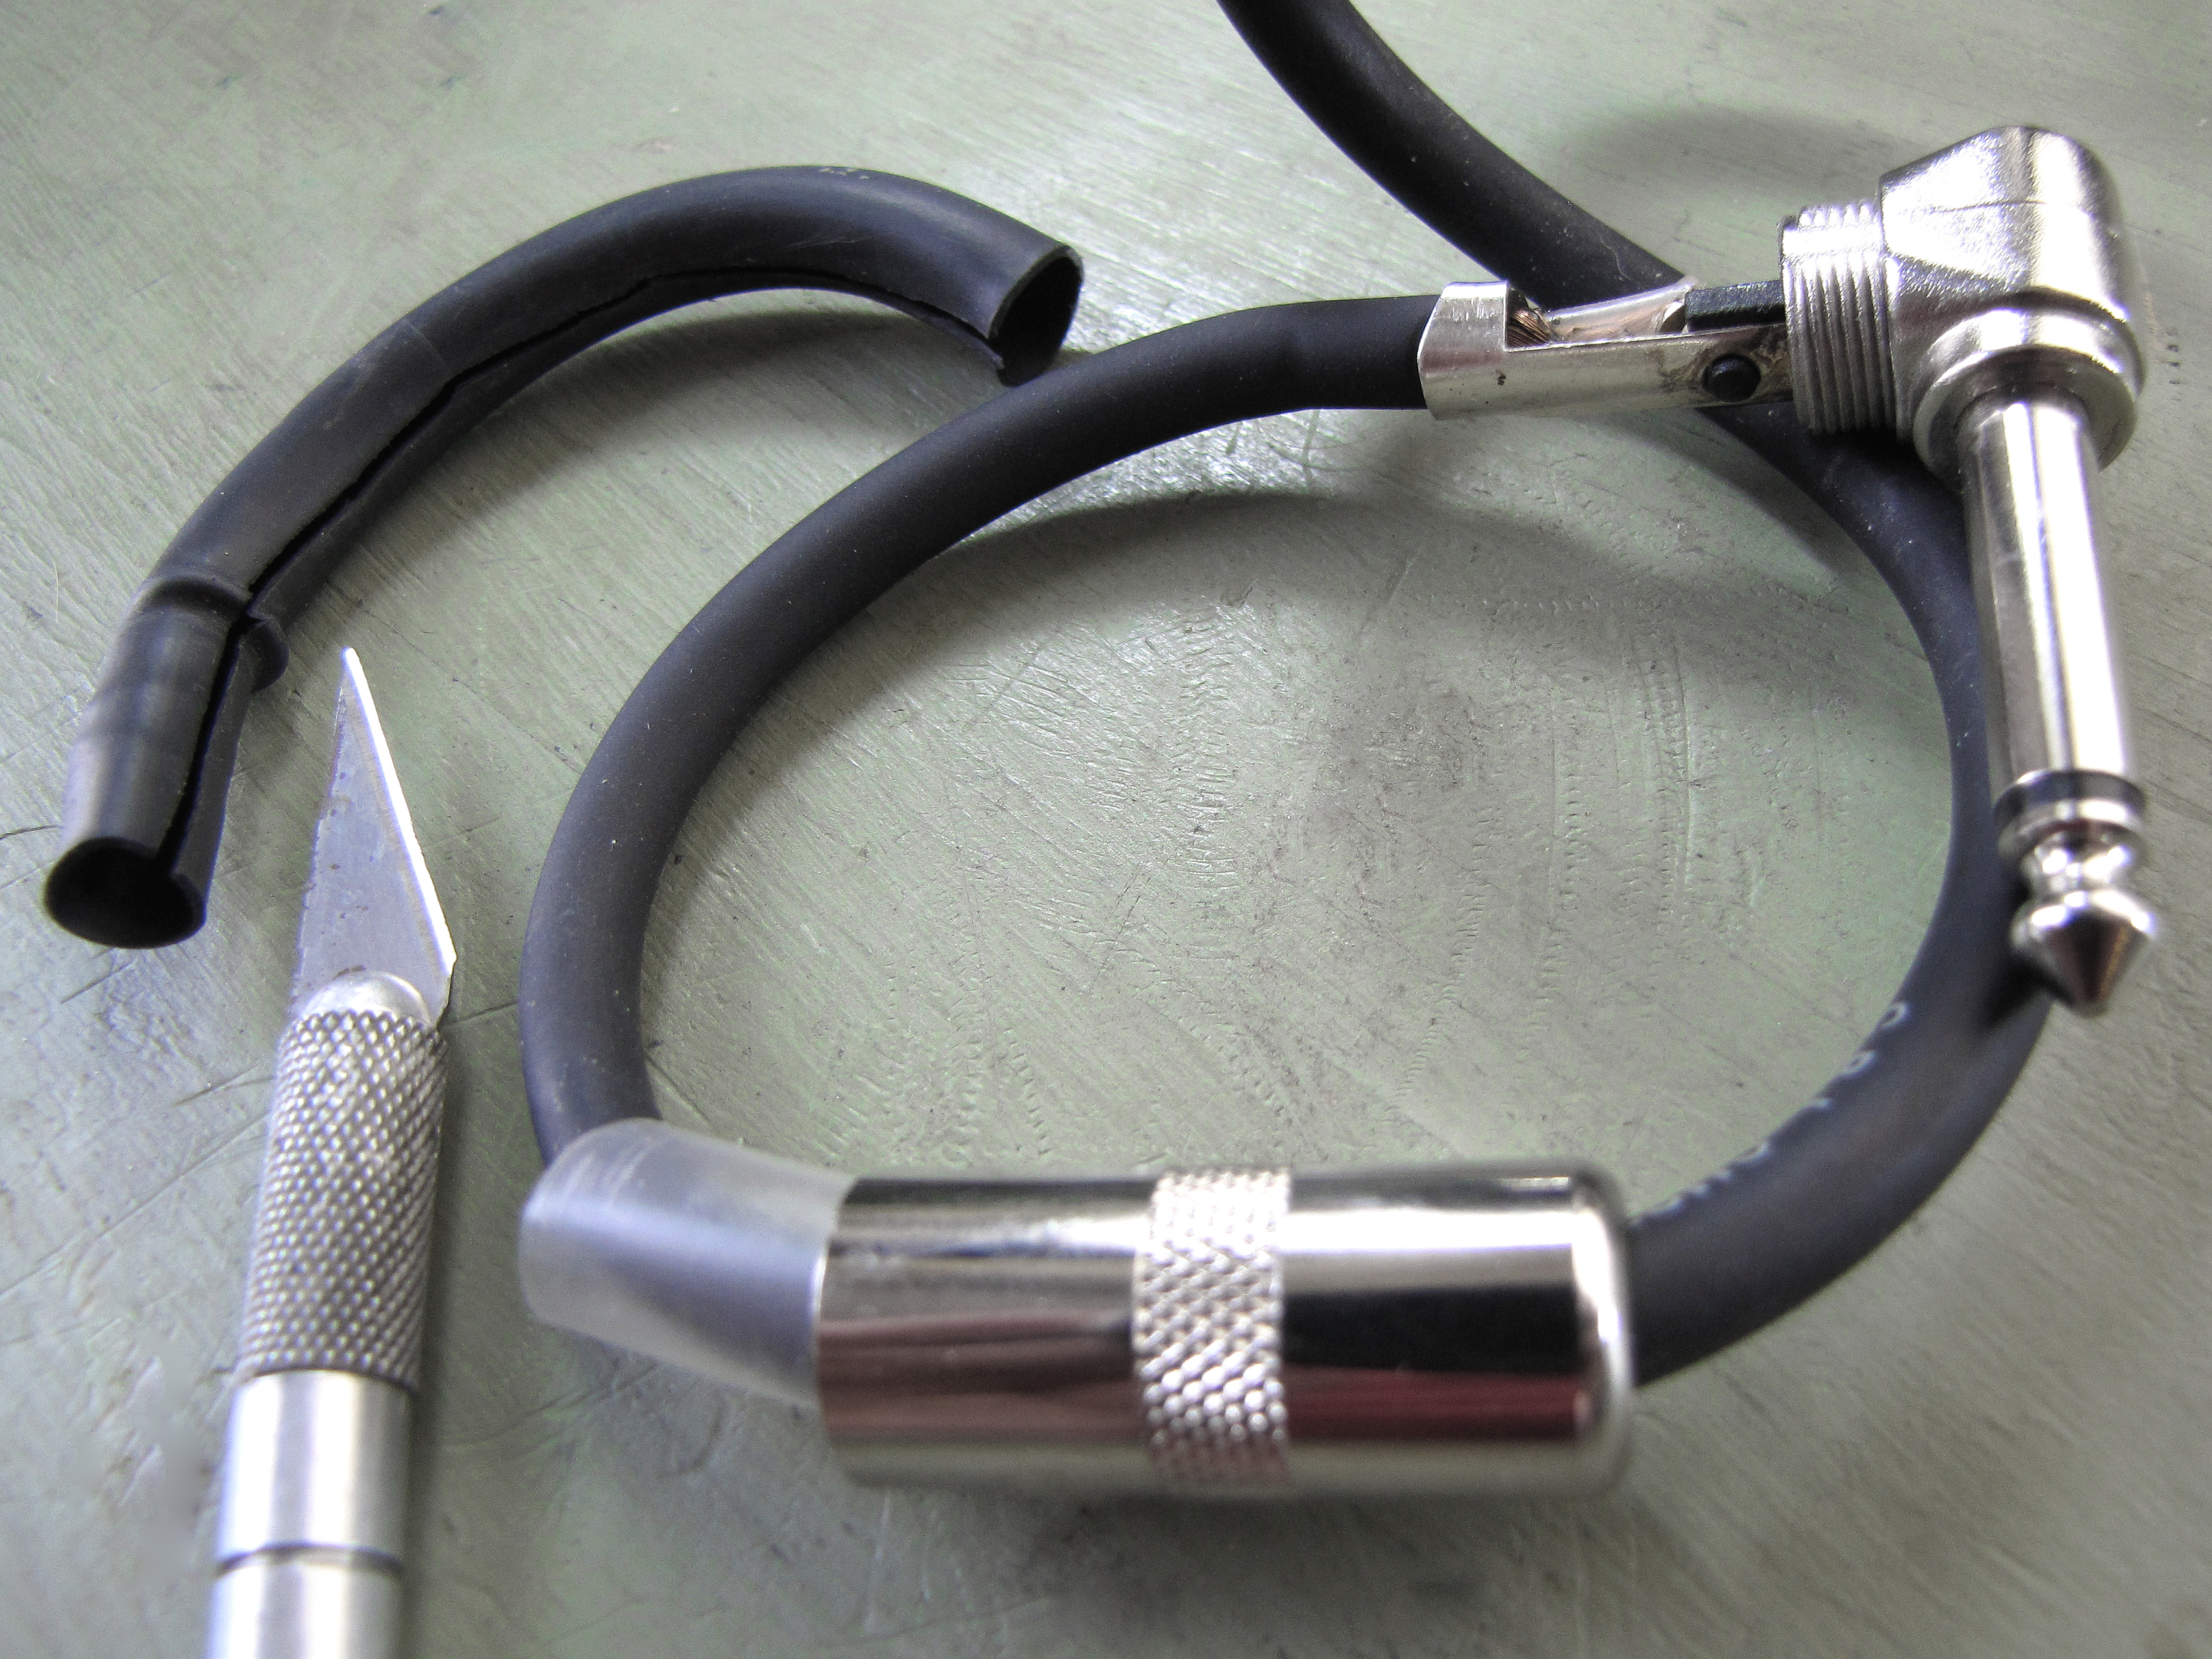
Chuck the other end of the cord into your electric drill, just like you would a large diameter drill bit. Crank the chuck down hard and really bite into the cable. If you damage it, worst case is you have to cut off 3/4″, or so, and strip a bit of wire.


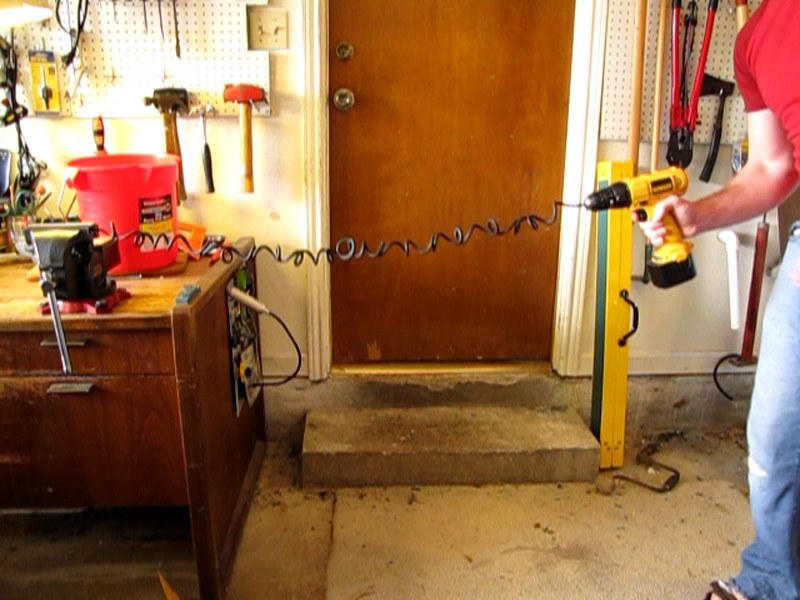
Make sure your drill is set to twist in the direction that is opposite the coil already set in the cord.
Stand back far enough to get some tension in the coil. In the picture, the cord is more slack than I think is ideal, but I wanted to be able to get the whole thing in-frame for the video.
Take a deep breath, pull the trigger, and have fun. Don’t stop until the coil has reversed all the way along the cord’s length.
The cord may tangle up a bit, as you do this. Don’t worry, it will still work, though it may take a few minutes of fiddling to get the tangles undone when it’s over.
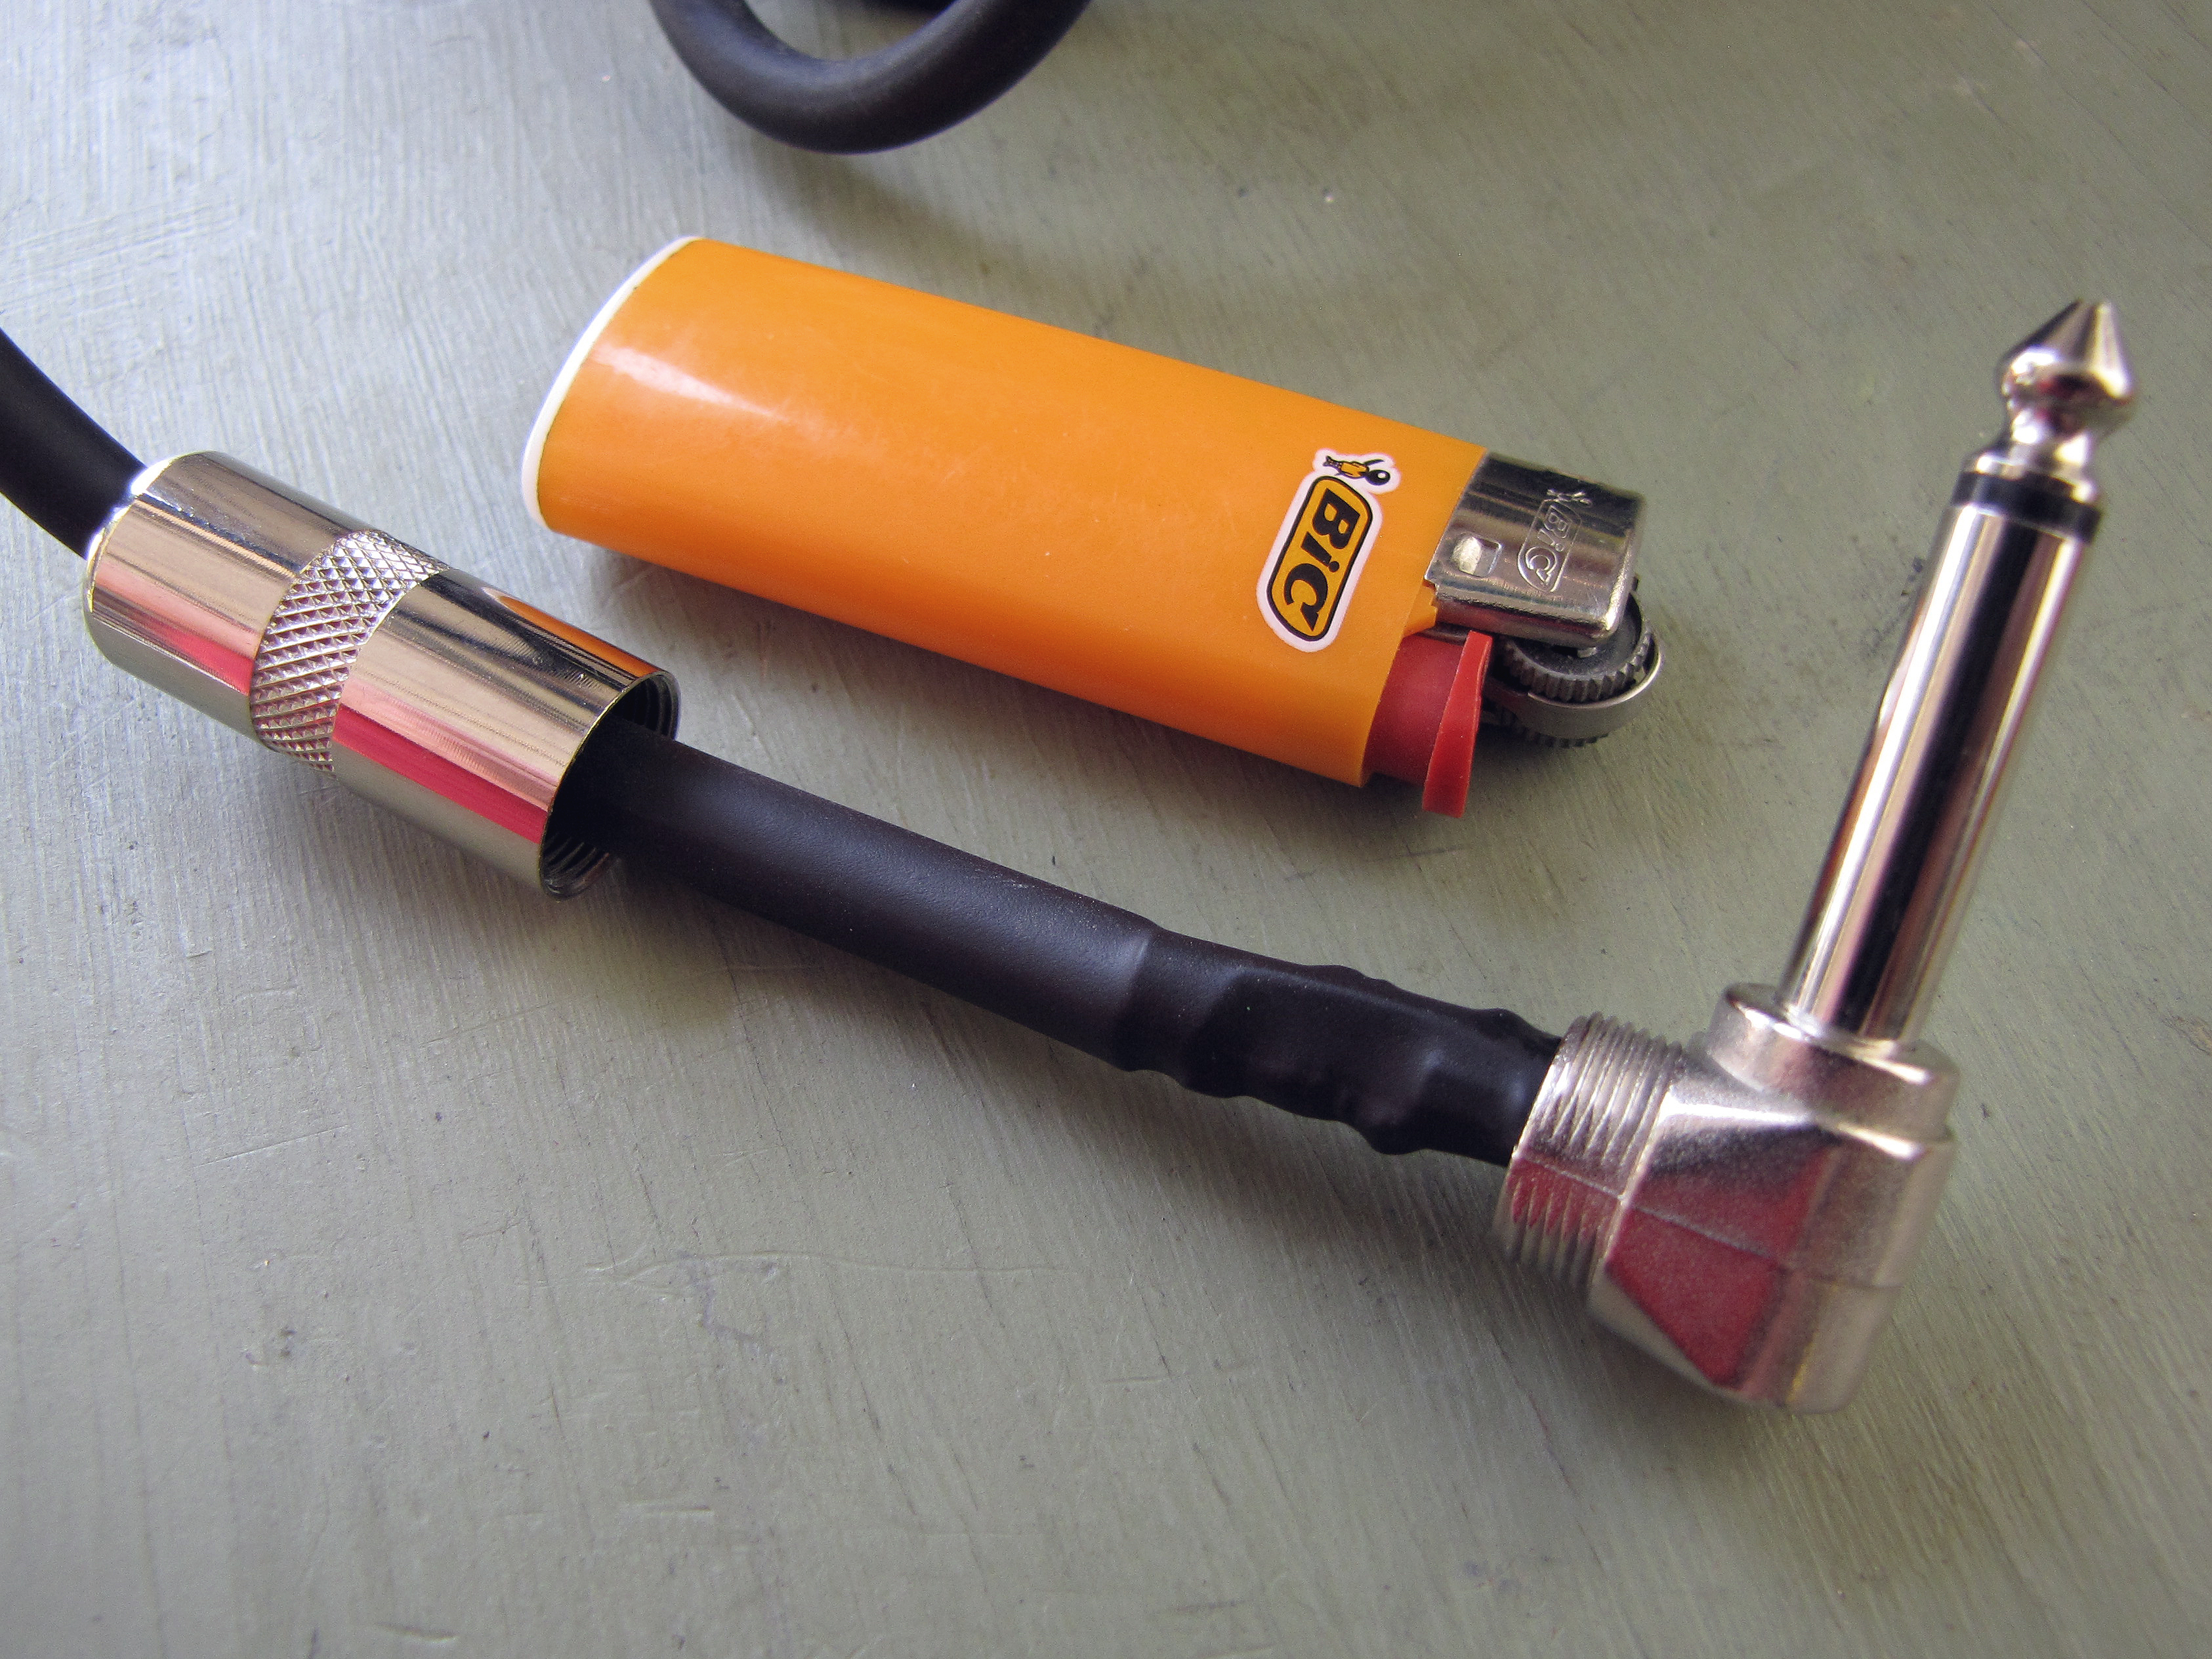
Assuming you’re working with 1/4″ phono plugs, like I was, the first thing to do is slip 6cm, or so, of 6mm diameter heat shrink tubing over each end of the cord. Be sure to do this before you solder both connectors back on.
Resolder the connections. If your connectors include cable clamps, reseat them using small pliers.
Slide the heat shrink tubing over the freshly soldered connections and shrink it in place over a lighter or candle flame.
Screw the ferrules back onto the plugs, and you’re done!
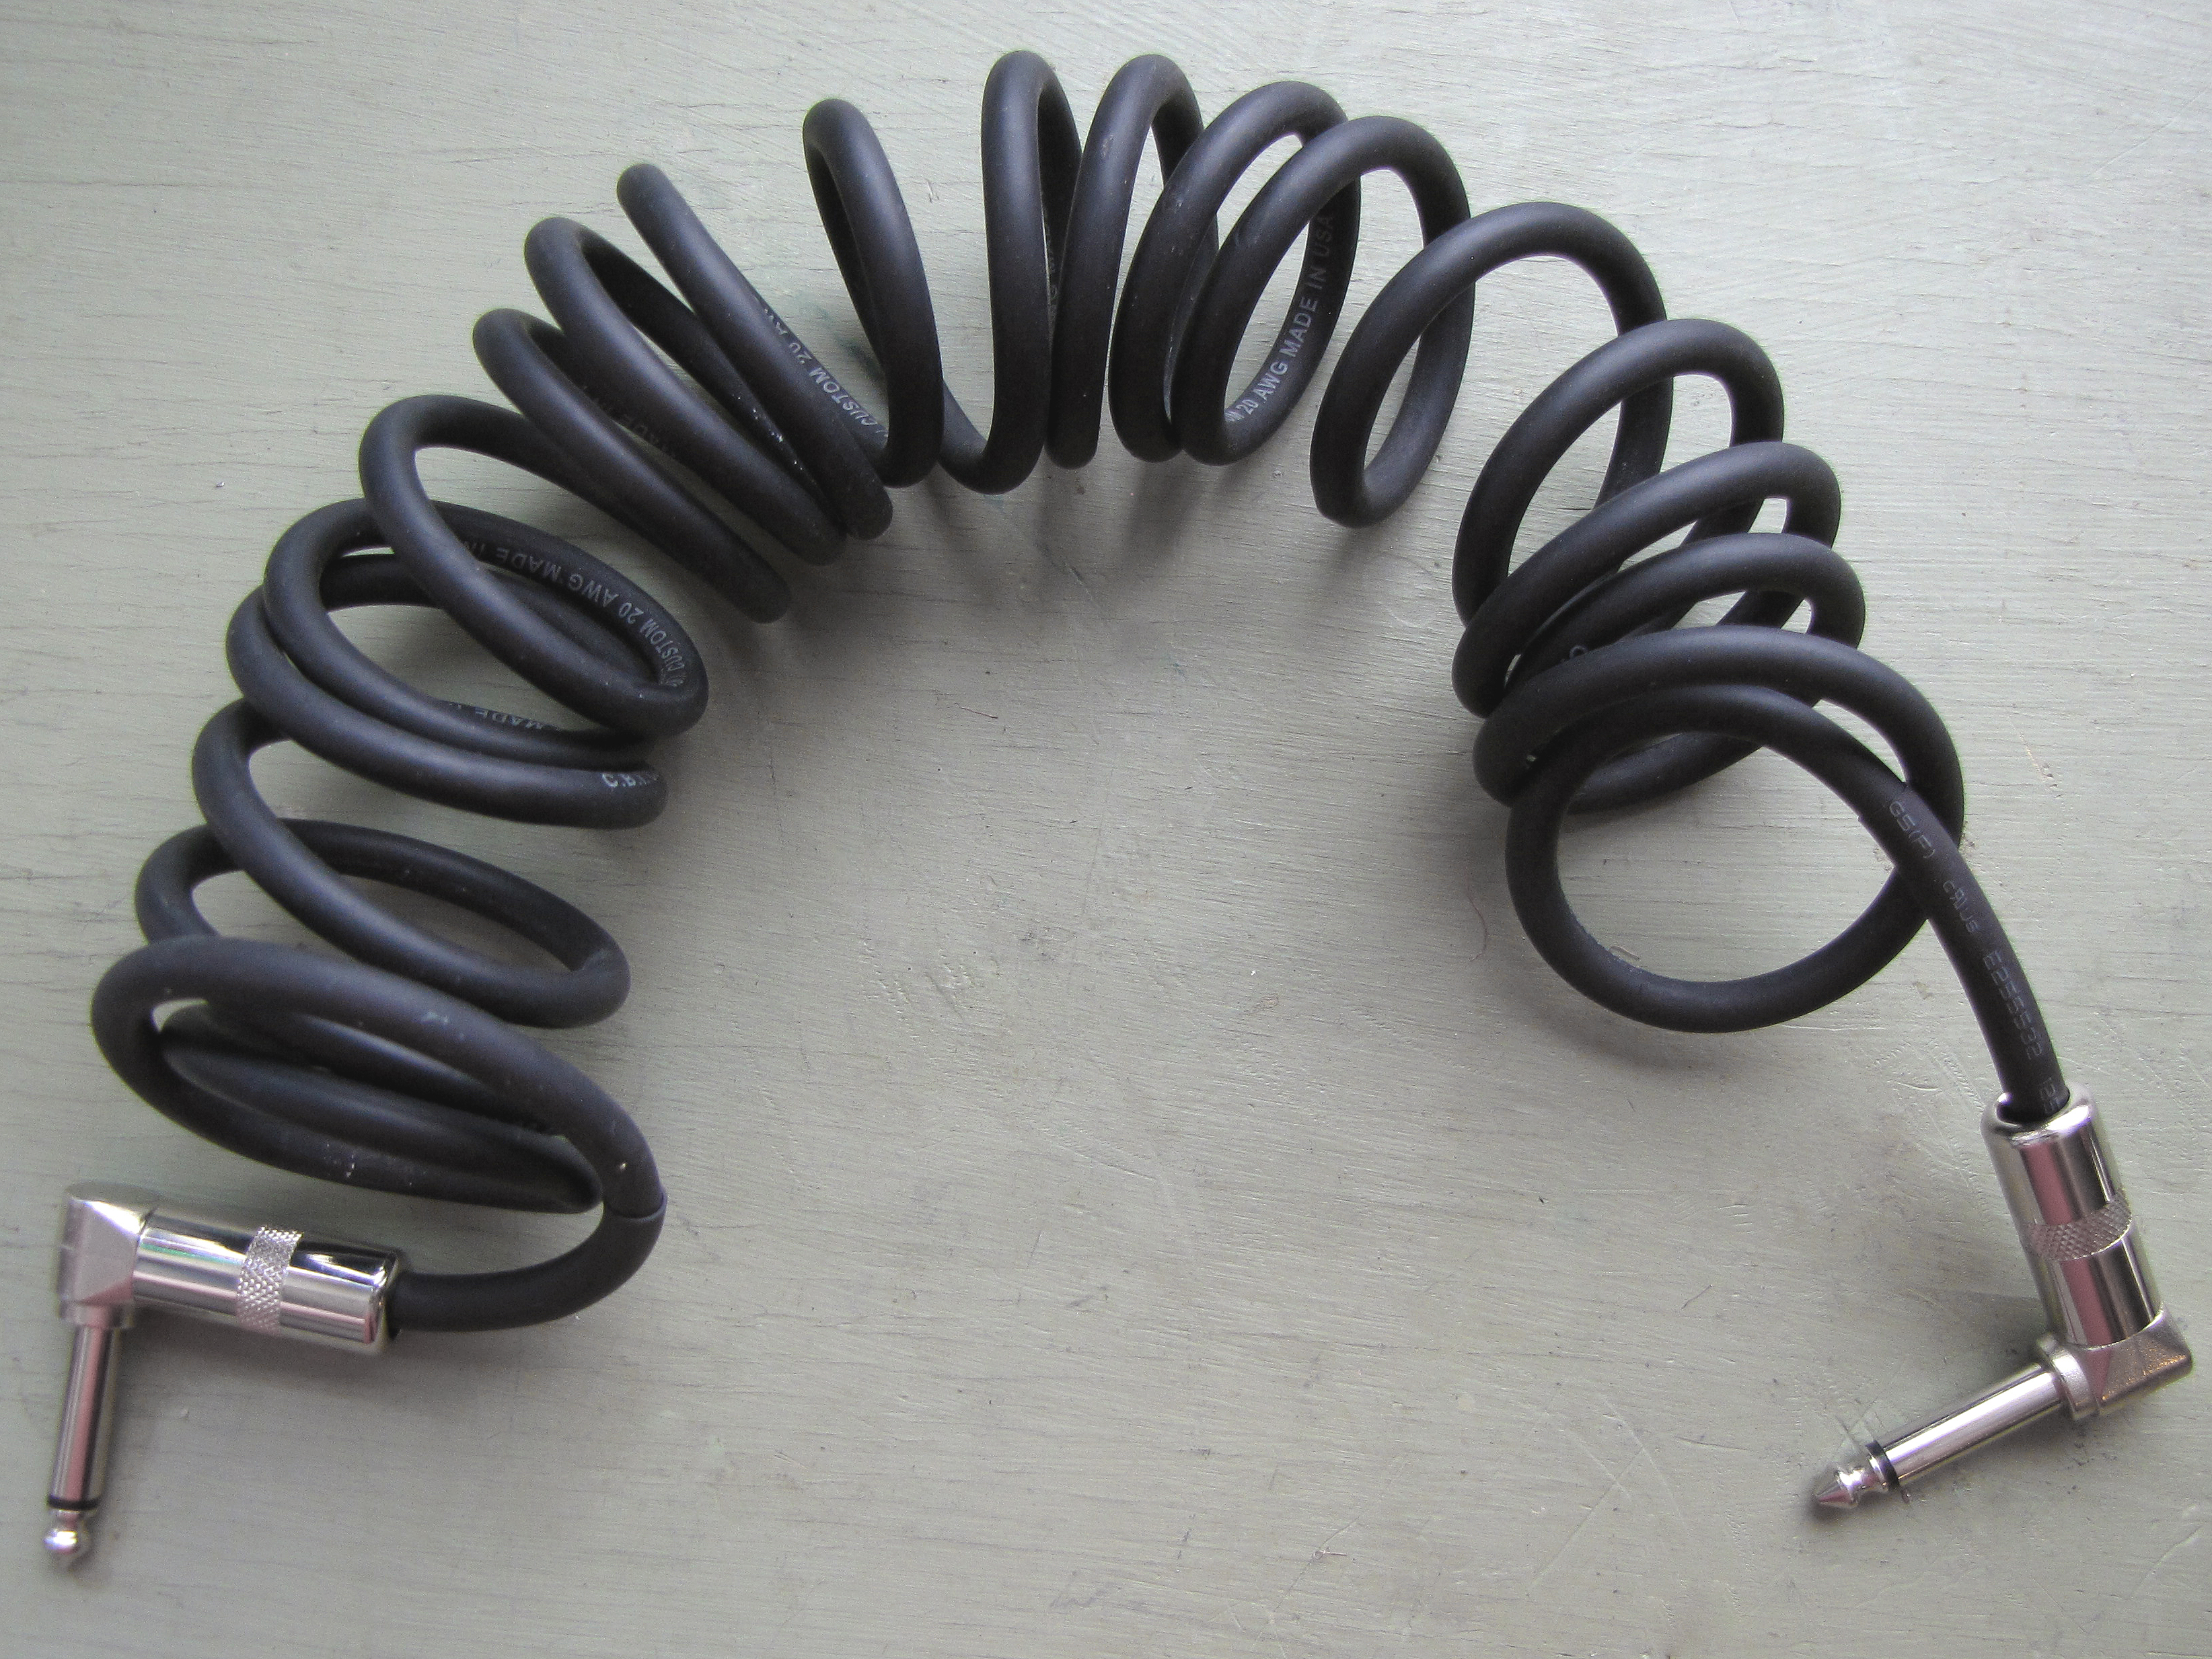
Here’s the cord after reversing the coil. As you can see, it now follows a left-hand rule and, interestingly, seems to have two more turns (I count 21) than before.
There's no doubt in my mind that the reversed coil is considerably tighter than the starting coil. What I should've done, in retrospect, is take before and after photos showing the cord hanging freely in space. This would clearly have demonstrated that the "after" coil is noticeably tighter, because it doesn't stretch nearly as far when hanging freely. Alas, I didn't get the necessary "before" photo, so you'll have to take my word for it. But if you do decide to try this for yourself, don't repeat my mistake: get that shot! And then share it with the rest of us! Please!


