7 Marking and Measuring Tips from Jimmy DiResta

Workshop

We love the Jimmy Tips videos that Jimmy DiResta has been posting to his YouTube channel. Turns out, Jimmy and Alex of Let’s Prep Together, have been posting a series of Instructables that tease out the tips from the series into written instructions and animated GIFs. They’ve done one on hot glue, one on painting and brushes, and one on sanding and scrapping. Here are seven great beginning measuring and marking tips from their 26 Geometry, Rulers & Patterns Workshop Tips Instructable.

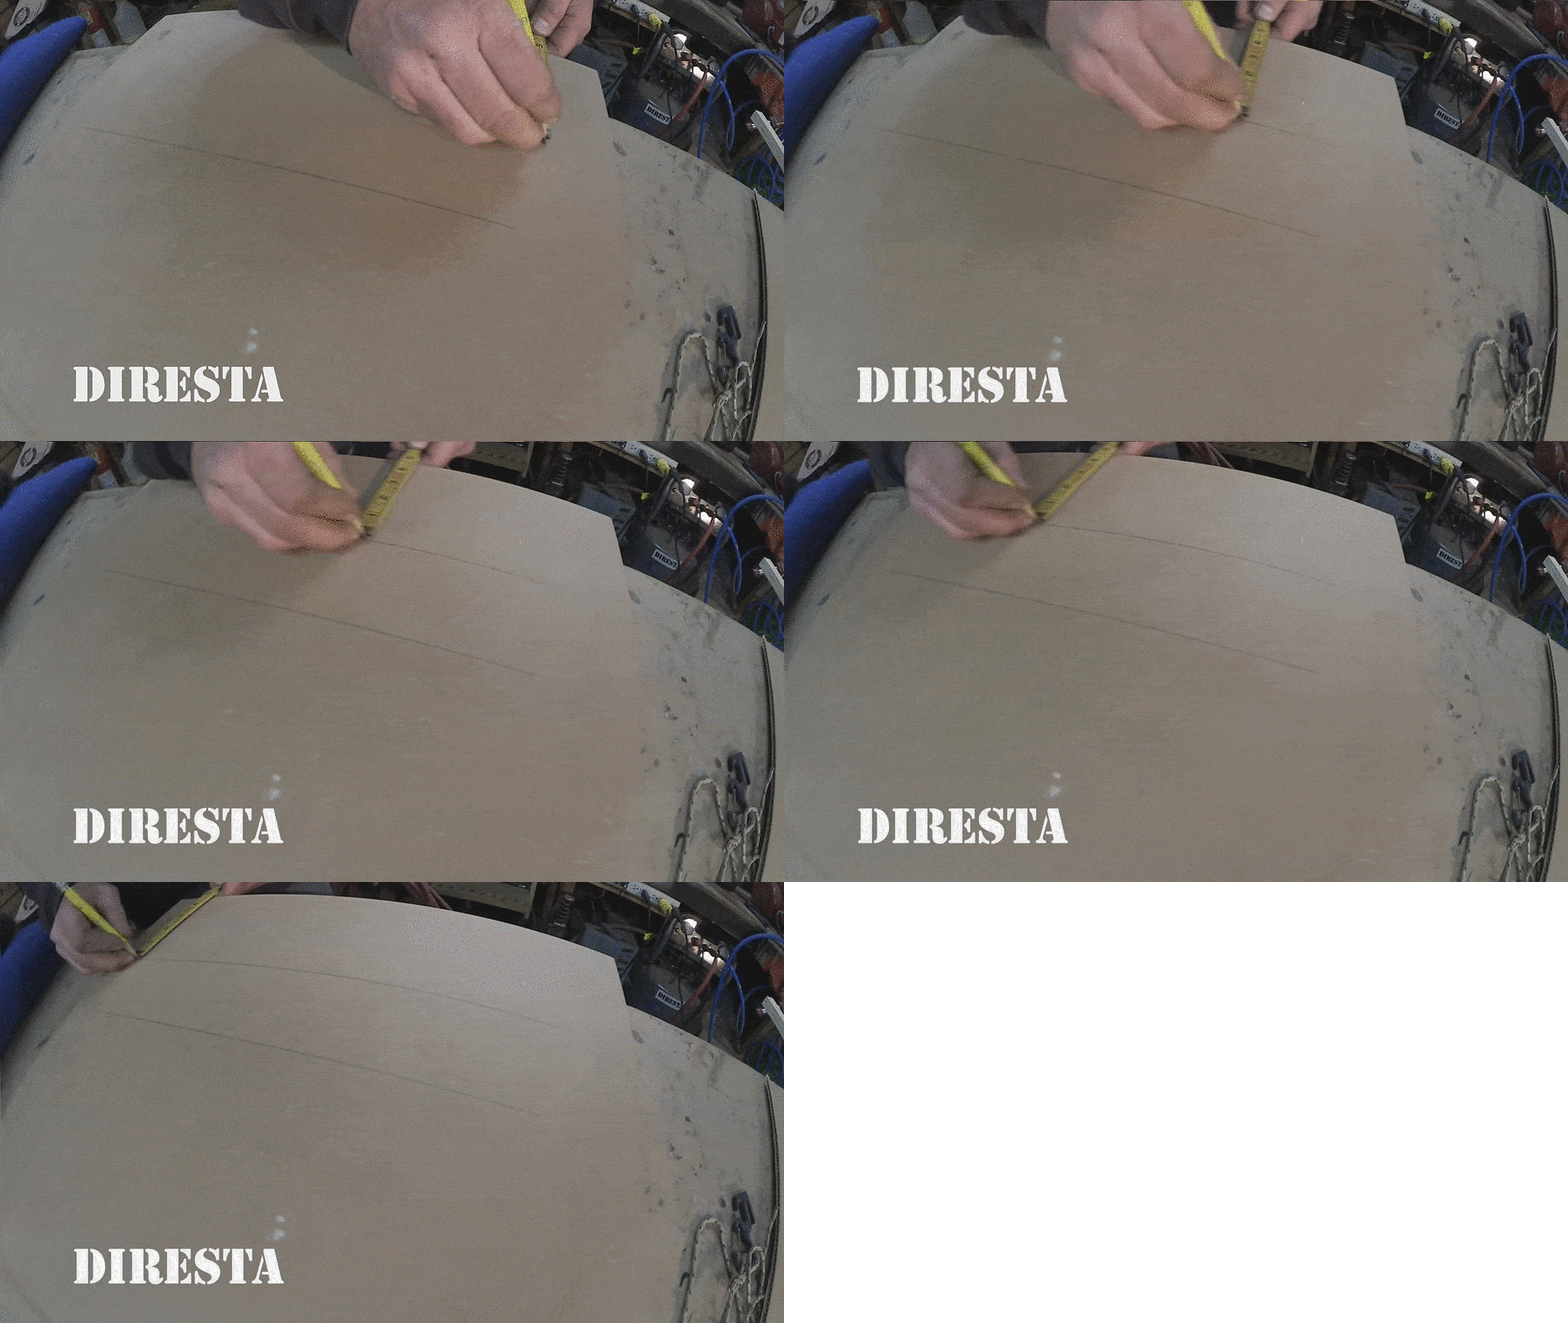
How to Draw Straight Lines without a Ruler
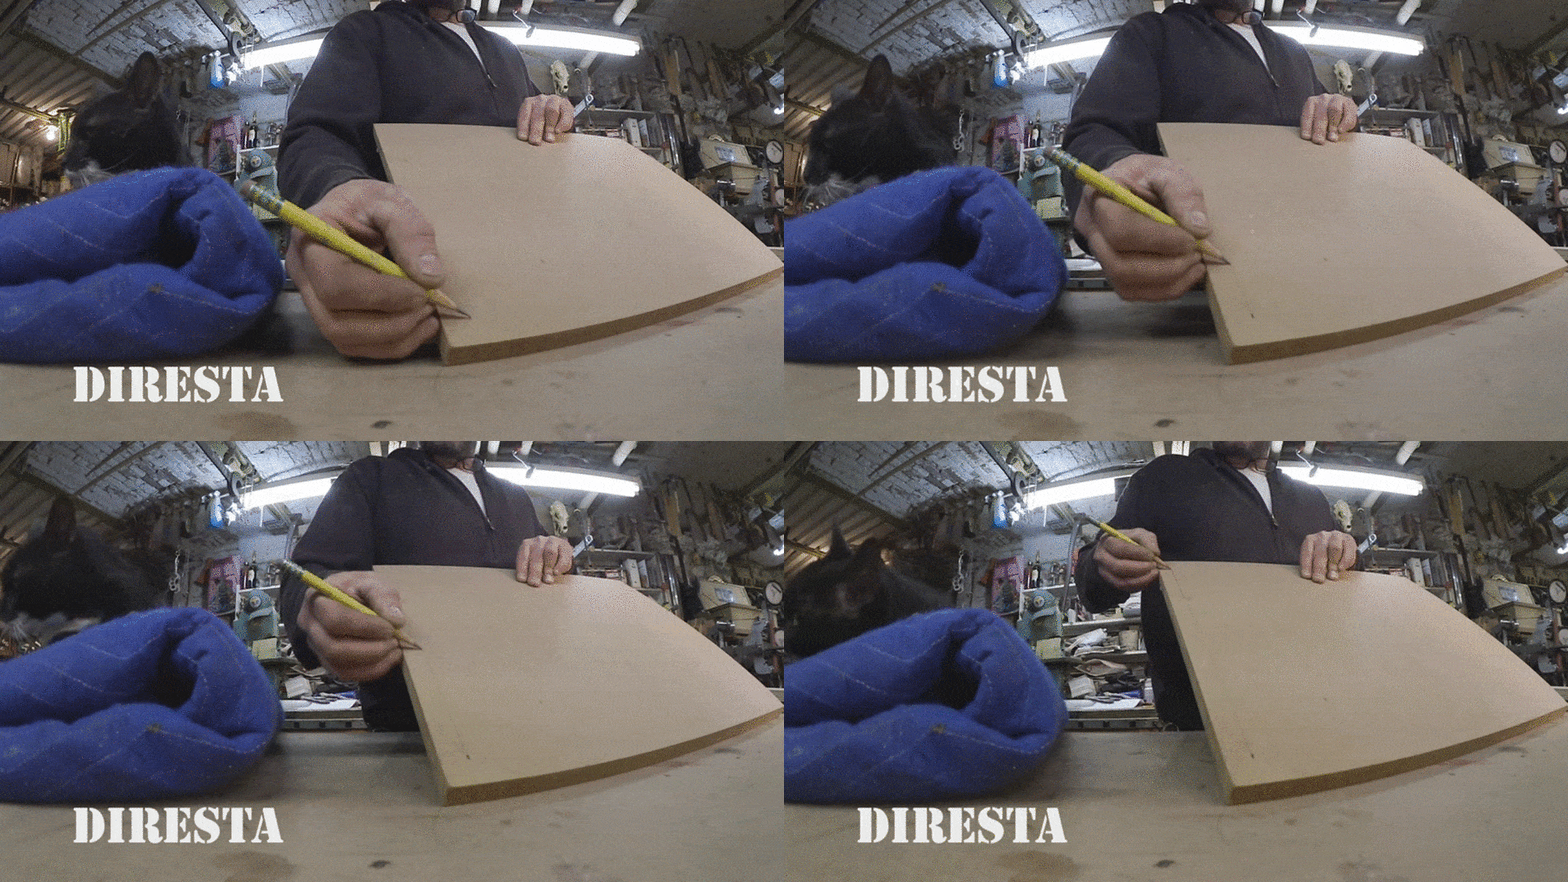
measuring tipsI definitely had an “ah-ha” the first time I ever saw Jimmy do this. All you do is “hold your pencil in your hand and try to keep the fingers in exactly the same potion while you follow the edge with the tip of your finger.”

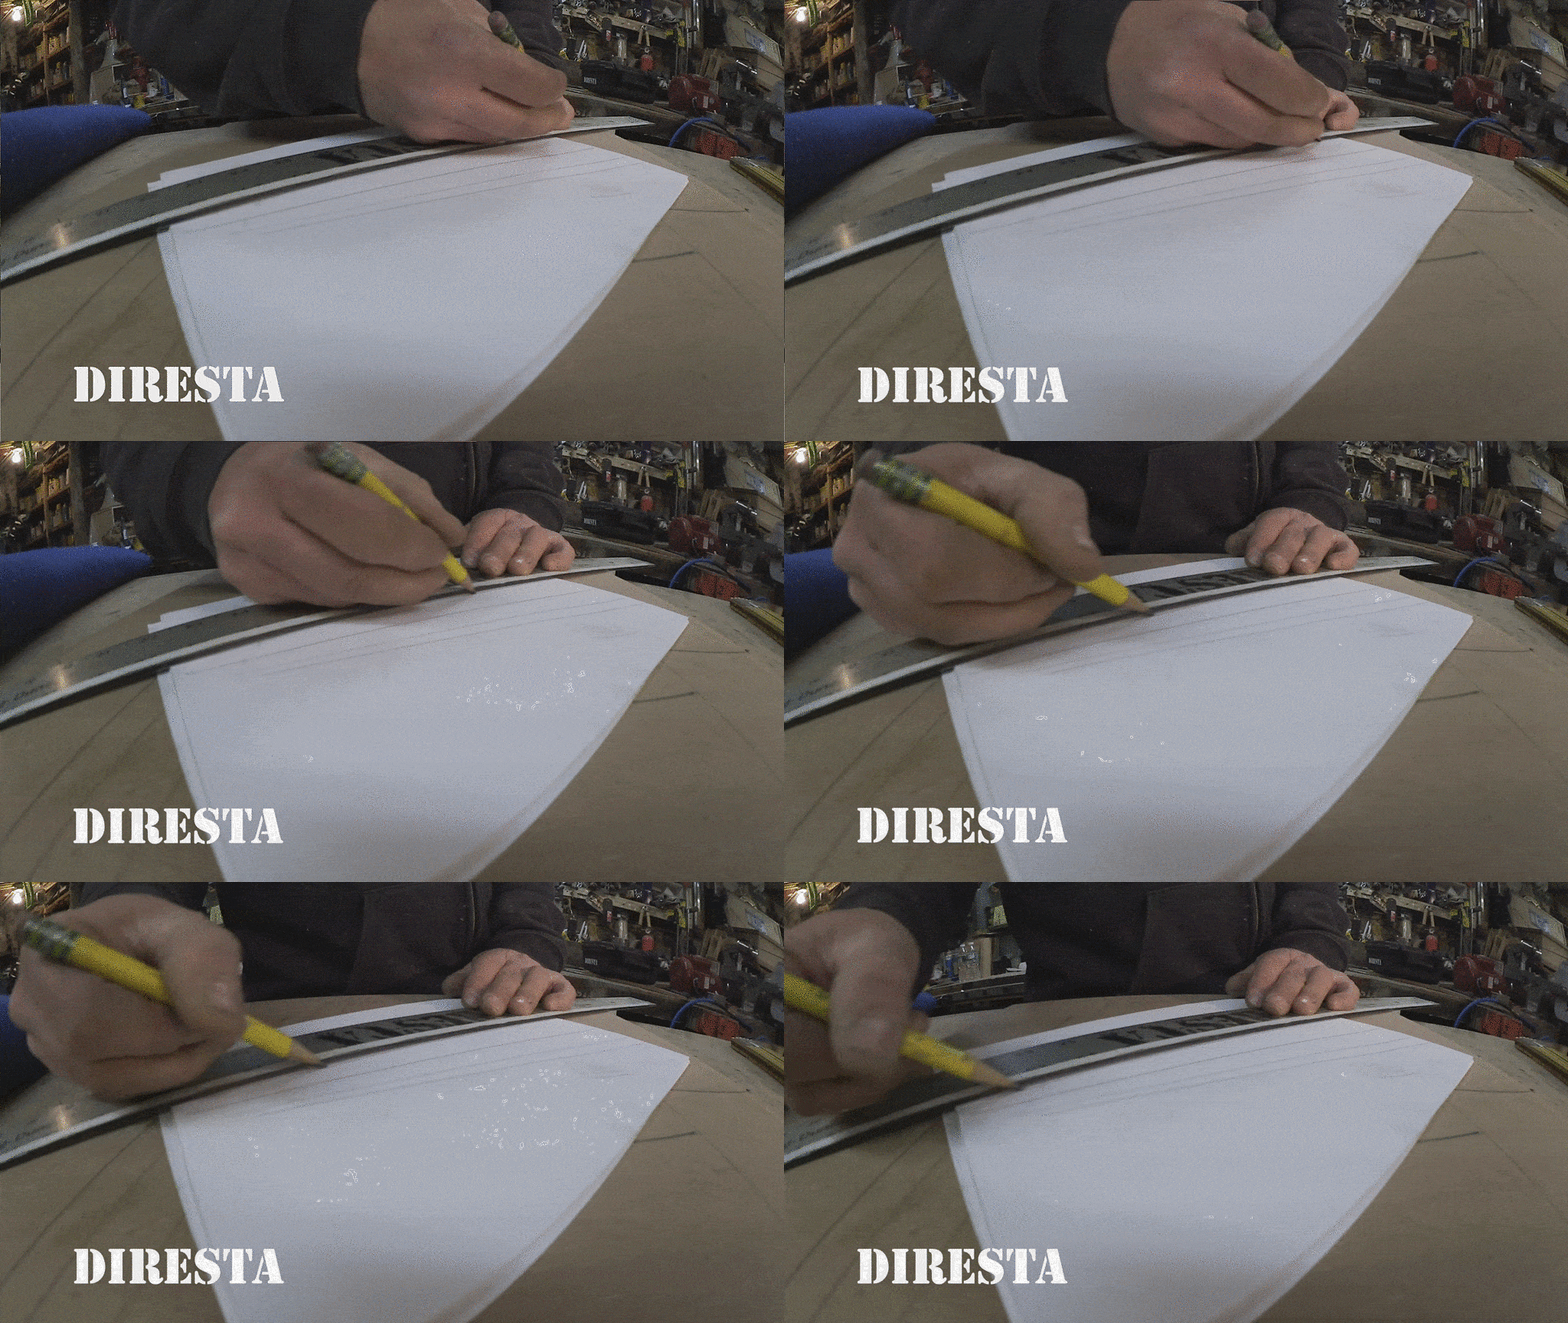
How to Draw Parallel Lines

direstaMeasure_2If you need to draw a series of parallel lines farther from the edge, “You can use a yard stick, ruler, or just a piece of wood for this trick. Even a tape measure would work for this but is getting more difficult the further away you get from the edge.”

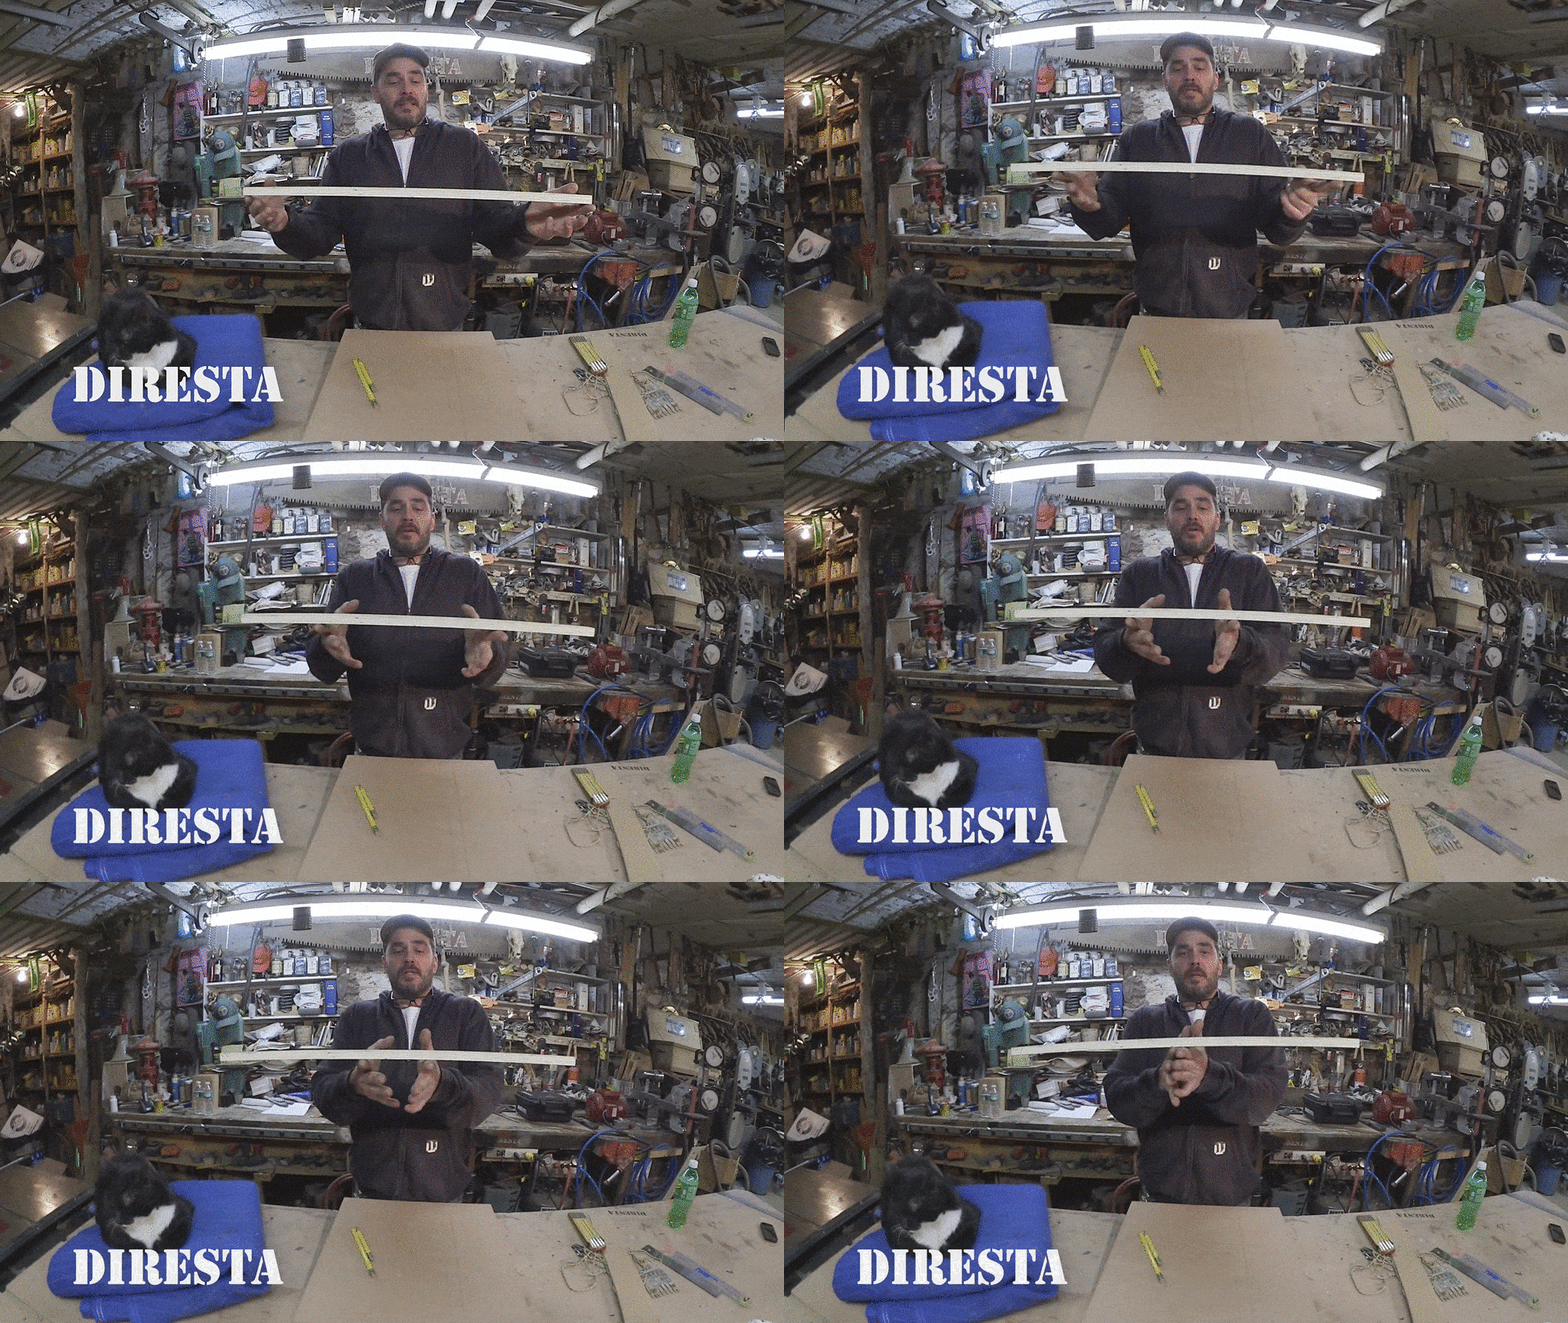
How to Find the Rough Center on Dimensional Lumber

direstaMeasure_3If you find the balancing point the middle of a piece of dimensional lumber, you have also found its rough center — handy if you don’t have anything to measure with.

How to Draw Circles with your Tape Measure
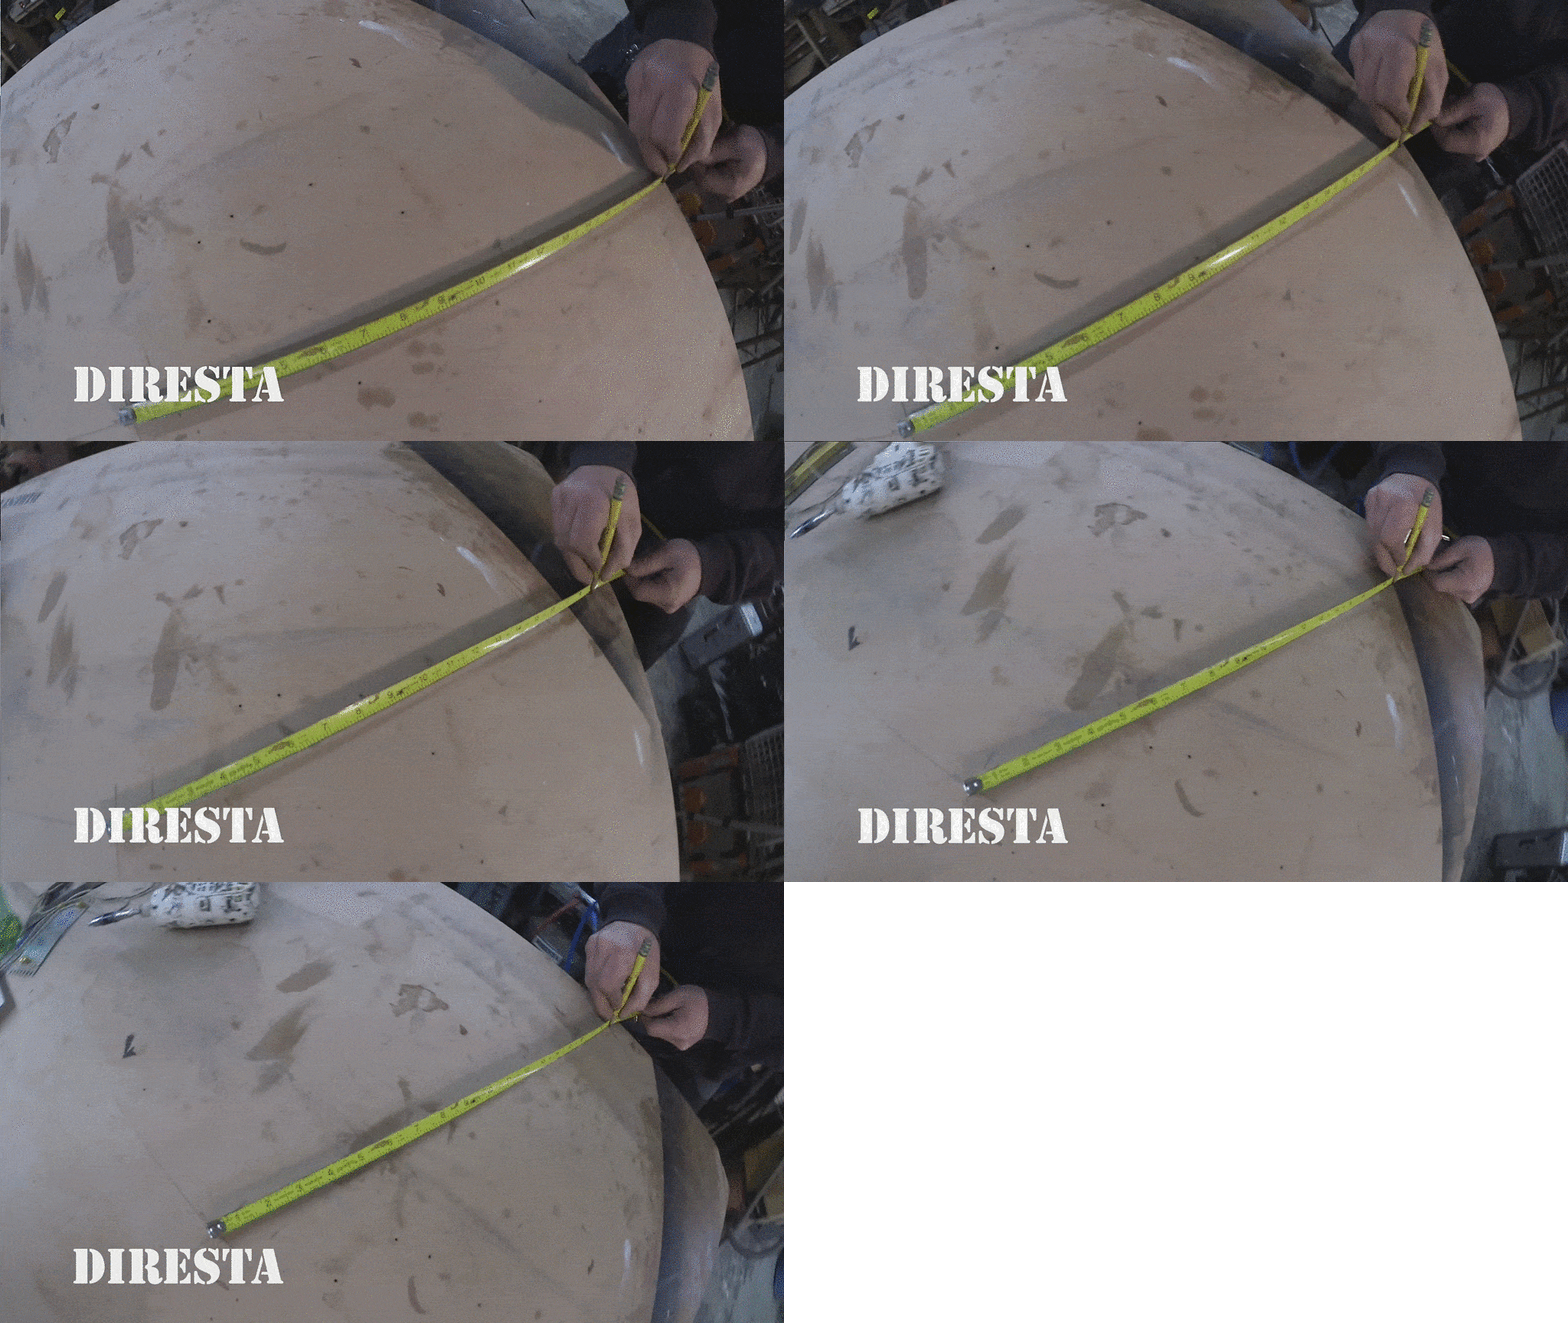
direstaMeasure_4If you sink a screw in the center of the circle you wish to scribe, you can then use the notch in the hook on the end of the tape measure to anchor the screw. Next, by holding a pencil steady at your desired radial distance and moving the tape in a taut circle, you can scribe your circle.

How to Keep Your Pencil Sharp

direstaMeasure_5To keep your pencil’s point sharper longer, twist it between your thumb and index finger while drawing it along. This way, you’re constantly re-pointing it while you’re using it.

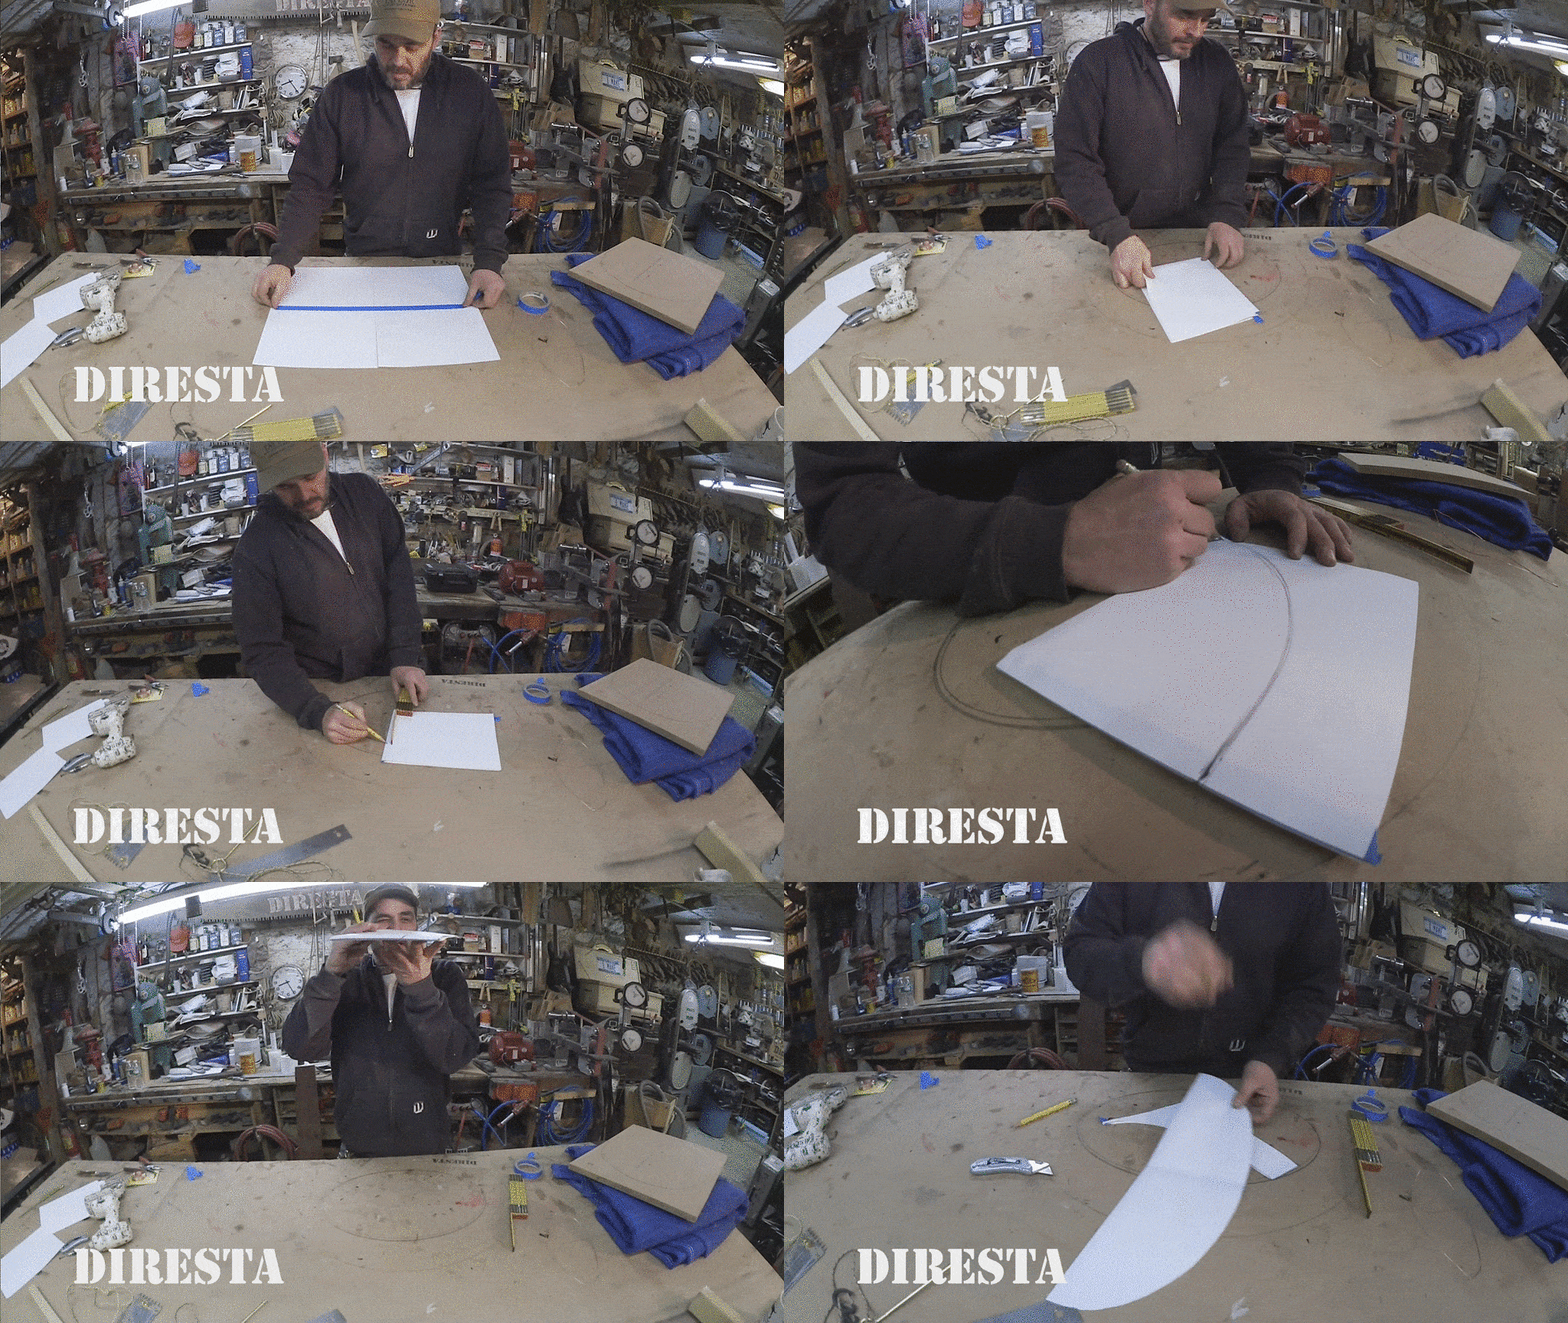
How to Create Ellipse Patterns

direstaMeasure_7“To create large ellipse patterns you can tape four sheets of paper together. Fold them over so they are the size of a single sheet. You can now use your desired measurements for the final shape to sketch a curve. Once you have checked that the curve is fair you can cut the pattern out.”

Transferring an Image with a Pencil

direstaMeasure_8

This is an oldie but goodie that you likely already know. If you need to transfer an image but don’t have any sort of typical transfer media, simply rub the graphite from your pencil onto one side a piece of paper to create one. Flip the paper over, draw your image while pressing down fairly hard, and the graphite on the underside of the paper will transfer on to your work piece.

These are just seven of the 26 measuring, marking, and pattern making tips found on the Instructable and in the original Jimmy Tips video. The video is also embedded on the Instructables page.

Discuss this article with the rest of the community on our Discord server!
Tagged

Gareth Branwyn is a freelance writer and the former Editorial Director of Maker Media. He is the author or editor of over a dozen books on technology, DIY, and geek culture. He is currently a contributor to Boing Boing, Wink Books, and Wink Fun. His free weekly-ish maker tips newsletter can be found at garstipsandtools.com.

View more articles by Gareth Branwyn

ADVERTISEMENT

Escape to an island of imagination + innovation as Maker Faire Bay Area returns for its 16th iteration!

Prices Increase in....

Days
Hours
Minutes
Seconds
FEEDBACK