YouTube player

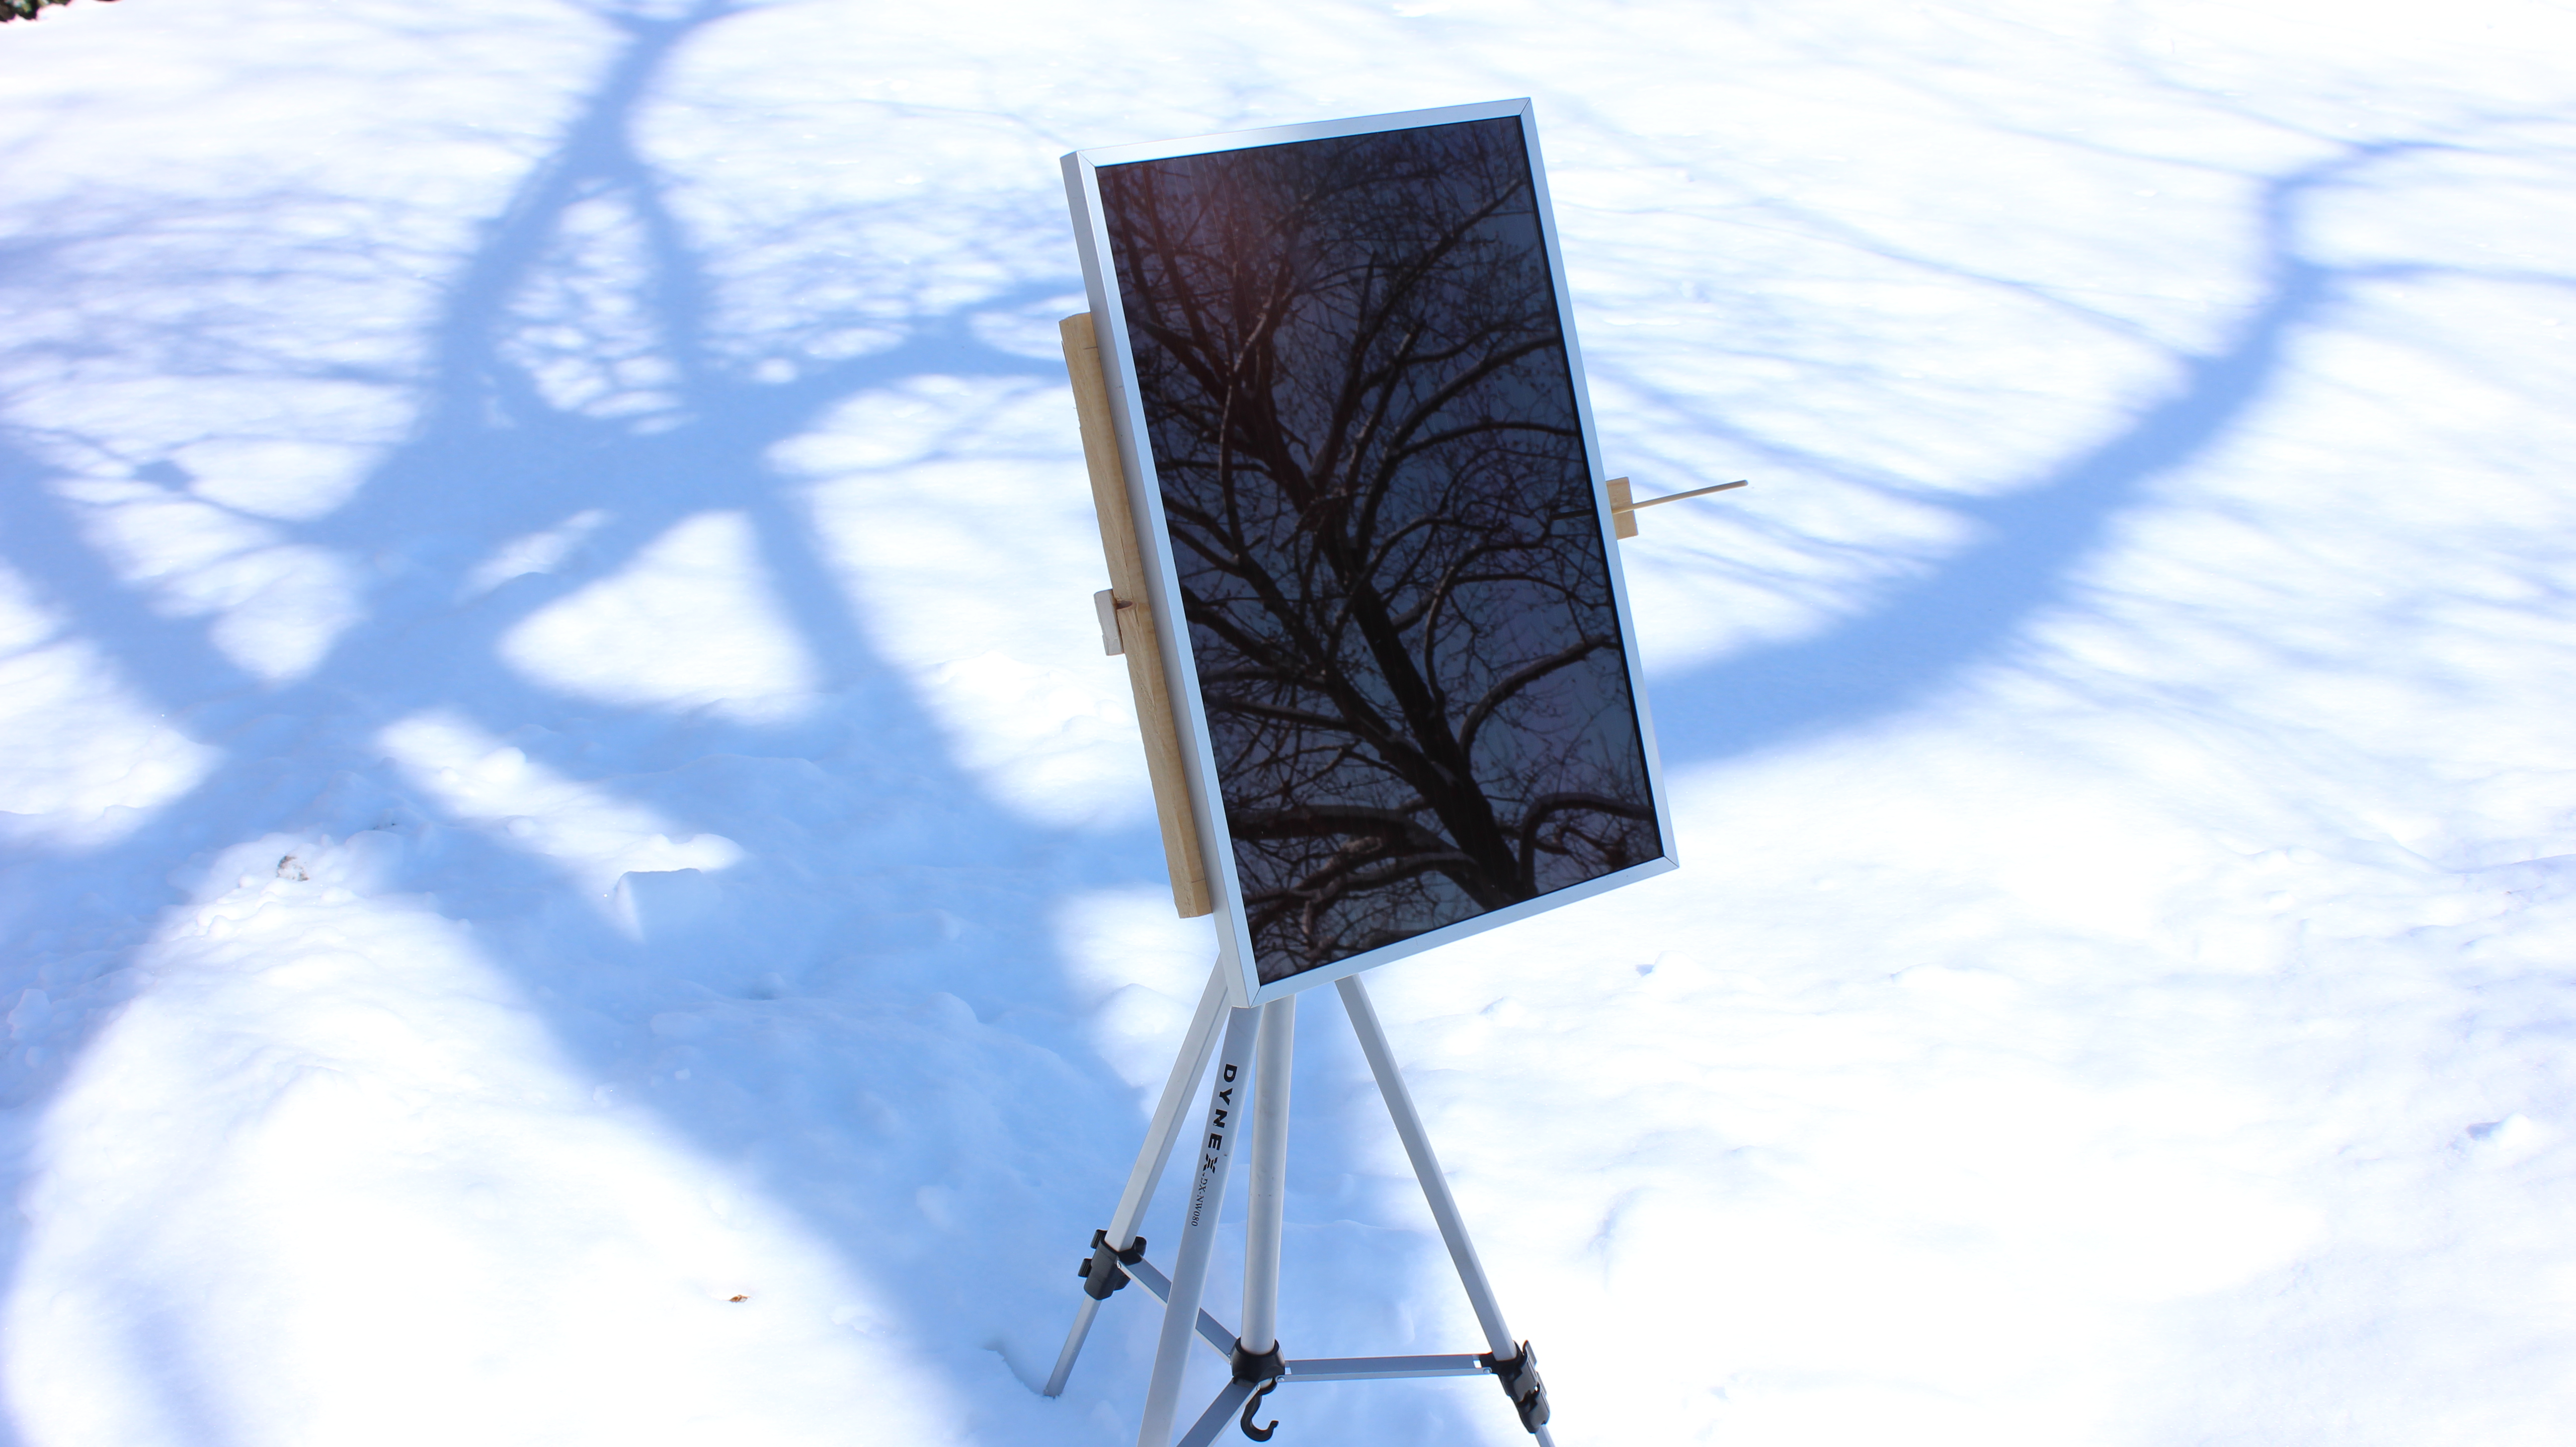
Solar panels are great for getting power in remote locations, but you always need to find a way to set up the panel once you get there. A great way to do this is with a tripod mount.

A standard camera tripod is lightweight and collapses to a very small size. So it is easy to transport, and also adjustable. You can always get your panel into the optimal position to catch the sunlight. All you have to do is make a simple adapter so that you can mount a solar panel to the tripod.

In this project, I am going to show you how to make a tripod mount for your small solar panels.

Project Steps

Choose a Tripod

The first thing that you need is a tripod. There are a lot of different brands and models that can work. The most important factor to consider when choosing tripod is the maximum weight rating; you need a tripod that can safely support the weight of your panel and the mounting hardware.

I am using a Dynex DX-NW080 tripod. This has a maximum weight rating of 6.6 pounds. I wanted to stay well below this. The combined weight of the solar panel and the panel mount was 4.6 pounds. This gave me a safety buffer of 2 pounds. The larger you can make your safety buffer the better.

Locate and Measure the Mounting Brackets on Your Solar Panel

Most solar panels will come with some kind of mounting bracket built into the solar panel’s frame. We are going to build a wooden adapter frame to attach onto these brackets. Start by measuring the spacing between the holes on the mounting brackets. On my panel, the holes on the mounting brackets were spaced out 11.5″ on each side and the spacing between the two sides (center to center) was 11.75″.

Cut the Lumber

Now we need to cut the 1×2 lumber. We will need three pieces: Two shorter pieces will mount to the sides of the solar panel and one longer piece will connect them together.

The two shorter pieces of lumber should be 1.5″ longer than the distance between the mounting bracket holes on each side. With my panel, that ended up being 13″ (11.5″ + 1.5″). The longer piece of lumber should be 3″ longer than the spacing between the mounting bracket holes on opposite sides. In my case that was 14.75″ (11.75″ + 3″).

Add Mounting Screws to the Two Side Boards

In order to hang the solar panel on the adapter frame, I added four screws to the two side boards. These need to be centered on the boards and spaced out the same distance apart as the holes on the panel’s mounting brackets.

First, I marked the locations with a pencil. Then I drilled pilot holes at each of the four locations. The pilot holes help to prevent the wood from splitting when you add the screws.

Then I added a wood screw at each location. The heads of the screws need to stick up enough to be able to securely mount onto the brackets of the solar panel.

Slide the Side Boards Onto the Frame of the Solar Panel

Fit the screws on one board into the holes in the mounting bracket on one side of the panel. Then slide the board to one side to ensure that the screws will slide into the slots on the mounting bracket appropriately. Once the screws are slid into position, the board should be held tightly against the side of the solar panel frame. If the board is able to wobble back and forth, then you need to tighten the screws a little. Do this for both boards.

Position and Mark the Location of the Cross Bar

Now it is time to add the cross bar. Lay the third bar on top of the two side bars. Line it up so that the bottom of the cross bar is flush with the lower edge of the bottom side bar. The top of the cross bar should stick out past the edge of the top side bar by about 1.5″. This top section will be used later to add an alignment guide. Position the cross bar so that it intersects the other two bars in the middle. This is how the boards will line up in the finished frame.

Use a pencil to mark the positions of the boards and where they intersect.

Drill Bolt Holes in the Three Wood Pieces

Next we need to drill some bolt holes in each board. We are going to use a 1/4″ drill bit to make holes in the center of each board and on the ends of the cross bar.

In the last step, we marked where the boards will intersect in the finished frame. We want the bolt holes to be centered on the intersecting region.

On the cross bar, drill a hole in the center of the marked areas that overlap the side bars. This will be 0.75″ from the bottom end and 2.25″ from the top end. Then drill another hole in the middle of the cross bar that is centered between the first two.

On the side bars, drill one hole in the center of each of the two boards. Then use a 1/2″ drill bit to countersink/counterbore the hole of the side where the screws are sticking out. You want the top of the head of the bolt to sit flush with the top of the board. That way it doesn’t conflict with the frame of the solar panel.

Bolt the Frame Together

Now you are ready to assemble the frame. Start by inserting a bolt in the countersunk holes on the two side boards. Then insert the bolts through the holes on the sides of the cross bar. Add a nut and washer to each one to hold them in place.

Modify the Tripod's Quick Release Plate

The quick release plate on a tripod is normally used to mount a camera onto the tripod. In this case we are going to use it to attach the solar panel mounting frame to the tripod. Unfortunately, the screw on the quick release plate is not long enough to securely attach the frame. So we are going to replace it with a longer bolt.

Start by removing the snap ring that is holding the screw in place. To do this, I had to pry up the edge with a small screwdriver. Then I firmly gripped it with a pair of needle-nose pliers. I worked the snap ring up onto the threads of the screw and I turned the screw to work it up a little. Then I was able to get a good grip with the pliers and pull it off. With the snap ring gone, the screw will just come right out.

Now we are going to add a larger bolt so that we can mount it onto the wood frame. Put a small washer onto the bolt and slide it through the hole on the quick release plate. The larger washer and the nut will be added once it is attached to the frame.

Attach the Quick Release Plate to the Frame

Insert the new bolt on the quick release plate through the hole in the center of the cross bar. You want the quick release plate to be sticking out the opposite side from the four mounting screws. Now add a large washer and a nut on the other side.

Add the Alignment Guide (optional)

When you have the solar panel set up, you will want to orient the panel so that it is facing directly at the sun. The easiest way to do this is with a simple sundial.

Start finding a small wooden dowel to use as a needle. Then find a drill bit that is the same size or a little smaller than the dowel. In the section of the cross bar that sticks out past the side bar, drill a hole. Be very careful to make the hole go straight down, or it won’t give you an accurate alignment. Lastly, fit the dowel into the hole.

Mount the Solar Panel Onto the Tripod

Now you are ready to mount the solar panel. You want to be very careful when doing this — otherwise, you may damage your solar panel or your tripod.

First, mount the wooden frame onto the tripod. All you have to do is connect the quick release plate to the head of the tripod. Once the wooden frame is on, tighten all of the fittings on the tripod. The solar panel is heavy and it will apply a lot of force to the joints. You don’t want to anything to move until you are absolutely sure that the panel secure.

Now, carefully attach the solar panel onto the wooden frame. Fit the holes on the mounting brackets over the screw heads on the side boards. Then slowly slide the solar panel down so that the heads of the screws slide into the slots on the brackets. It is best to continue supporting the weight of the panel with one hand while you do this.

Once you are confident that the panel is securely in place, slowly release the panel. You want to be ready to catch it if anything suddenly slips or falls.

Use Your Solar Panel Tripod Mount

Now you have a portable stand for your solar panel. Just set up the tripod in the desired location. Attach the mounting frame to the tripod with the quick release plate, then hang the solar panel onto the mounting frame. Adjust the position of the solar panel so that the shadow that is cast by the wooden dowel is as small as possible. If there are heavy winds, it may be necessary to secure the feet of the tripod with stakes. Then, when you are done, disassemble all the parts in the reverse order. The tripod can then be collapsed to a convenient travel size.