


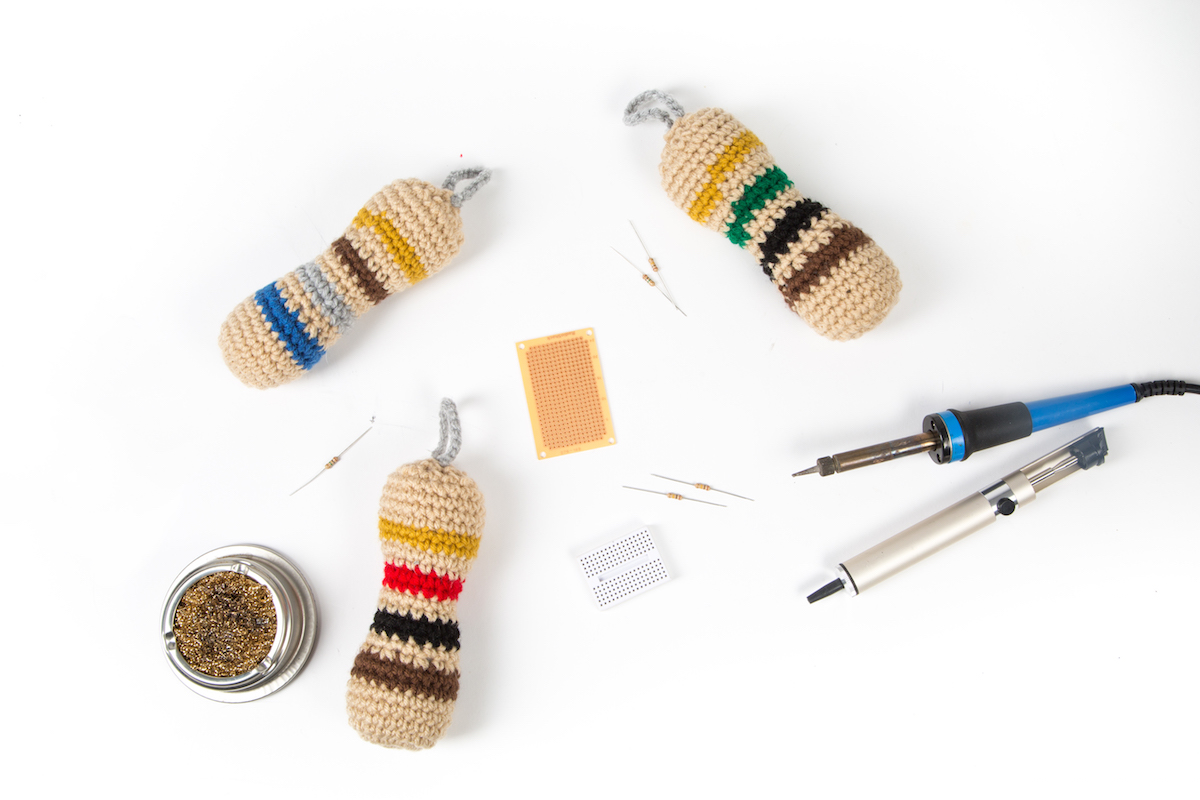

I’m a young maker (age 17) who loves Make: and I’ve found a way to merge my passion for electrical engineering with the art of crochet. I’ve rendered the form of the electronic component of the resistor into a purely aesthetic ‘stuffed-animal’ or amigurumi form made from yarn and polyester stuffing, and I’ve written up a crochet pattern for all the world to make use of. This amigurumi resistor could be used as a Christmas ornament, a neat workshop decoration, or a way to show off your favorite resistor value.
The Japanese-derived term ‘amigurumi’ refers to stuffed animals, creatures, or inanimate objects rendered in knitting or crochet.
My inspiration to design this resistor came after discovering amigurumi and deciding that it would be neat to combine my passion for crochet and electronics by making amigurumi versions of common electronics components. Choosing to design a resistor first was an obvious choice. The simple shape of the resistor makes it easy to crochet and the color bands make it instantly recognizable by the maker/electronics community. I started by designing the general shape, and then took a trip to the craft store to pick the perfect colors. It’s quite fun to crochet one of these resistors because of the color involved. In crochet, I find that changing yarn colors frequently as done while making this resistor, keeps crocheting fun and fresh. As an added bonus, making these has helped me memorize the common ohm values of resistors!
The crochet pattern itself is relatively simple and can be done by a confident beginning crocheter. It takes less than an hour to make a single resistor once you understand the pattern.
You Will Need the Following:
– a basic understanding of crochet
– medium weight, size 4 yarn in six different colors
- Color 1: Resistor body color, usually tan
- Color 2: First digit resistor color band
- Color 3: Second digit resistor color band
- Color 4: Resistor multiplier color band
- Color 5: Resistor tolerance color band
- Gray (to make a chain)
– 4mm/6/G crochet hook
– yarn needle
– a safety pin or crochet stitch marker
– two large handfuls of polyester filling or similar
I’ve made my amigurumi resistor crochet pattern, along with another amigurumi crochet pattern of an LED that I’ve designed, freely available on my blog.
Finished Measurements: 6″×2″×2″
Gauge: Not critical.

Pattern Notes and Stitches:
The resistor is worked in rounds in a spiral. Use the stitch marker to note the first stitch of each round. There is no slip-stitch joining or turning at any point. As you finish crocheting each color band, tie the colored yarn tails together and cut them short. The resistor is stuffed before the last few rounds.
Abbreviations Used in the Pattern
sl st – slip stitch
ch – chain
sc – single crochet
Inc – (increase)2 sc in one sl st
Dec – (decrease) Insert hook into next sl st, pull up a loop. Twice, pull through all three loops on hook