Capture

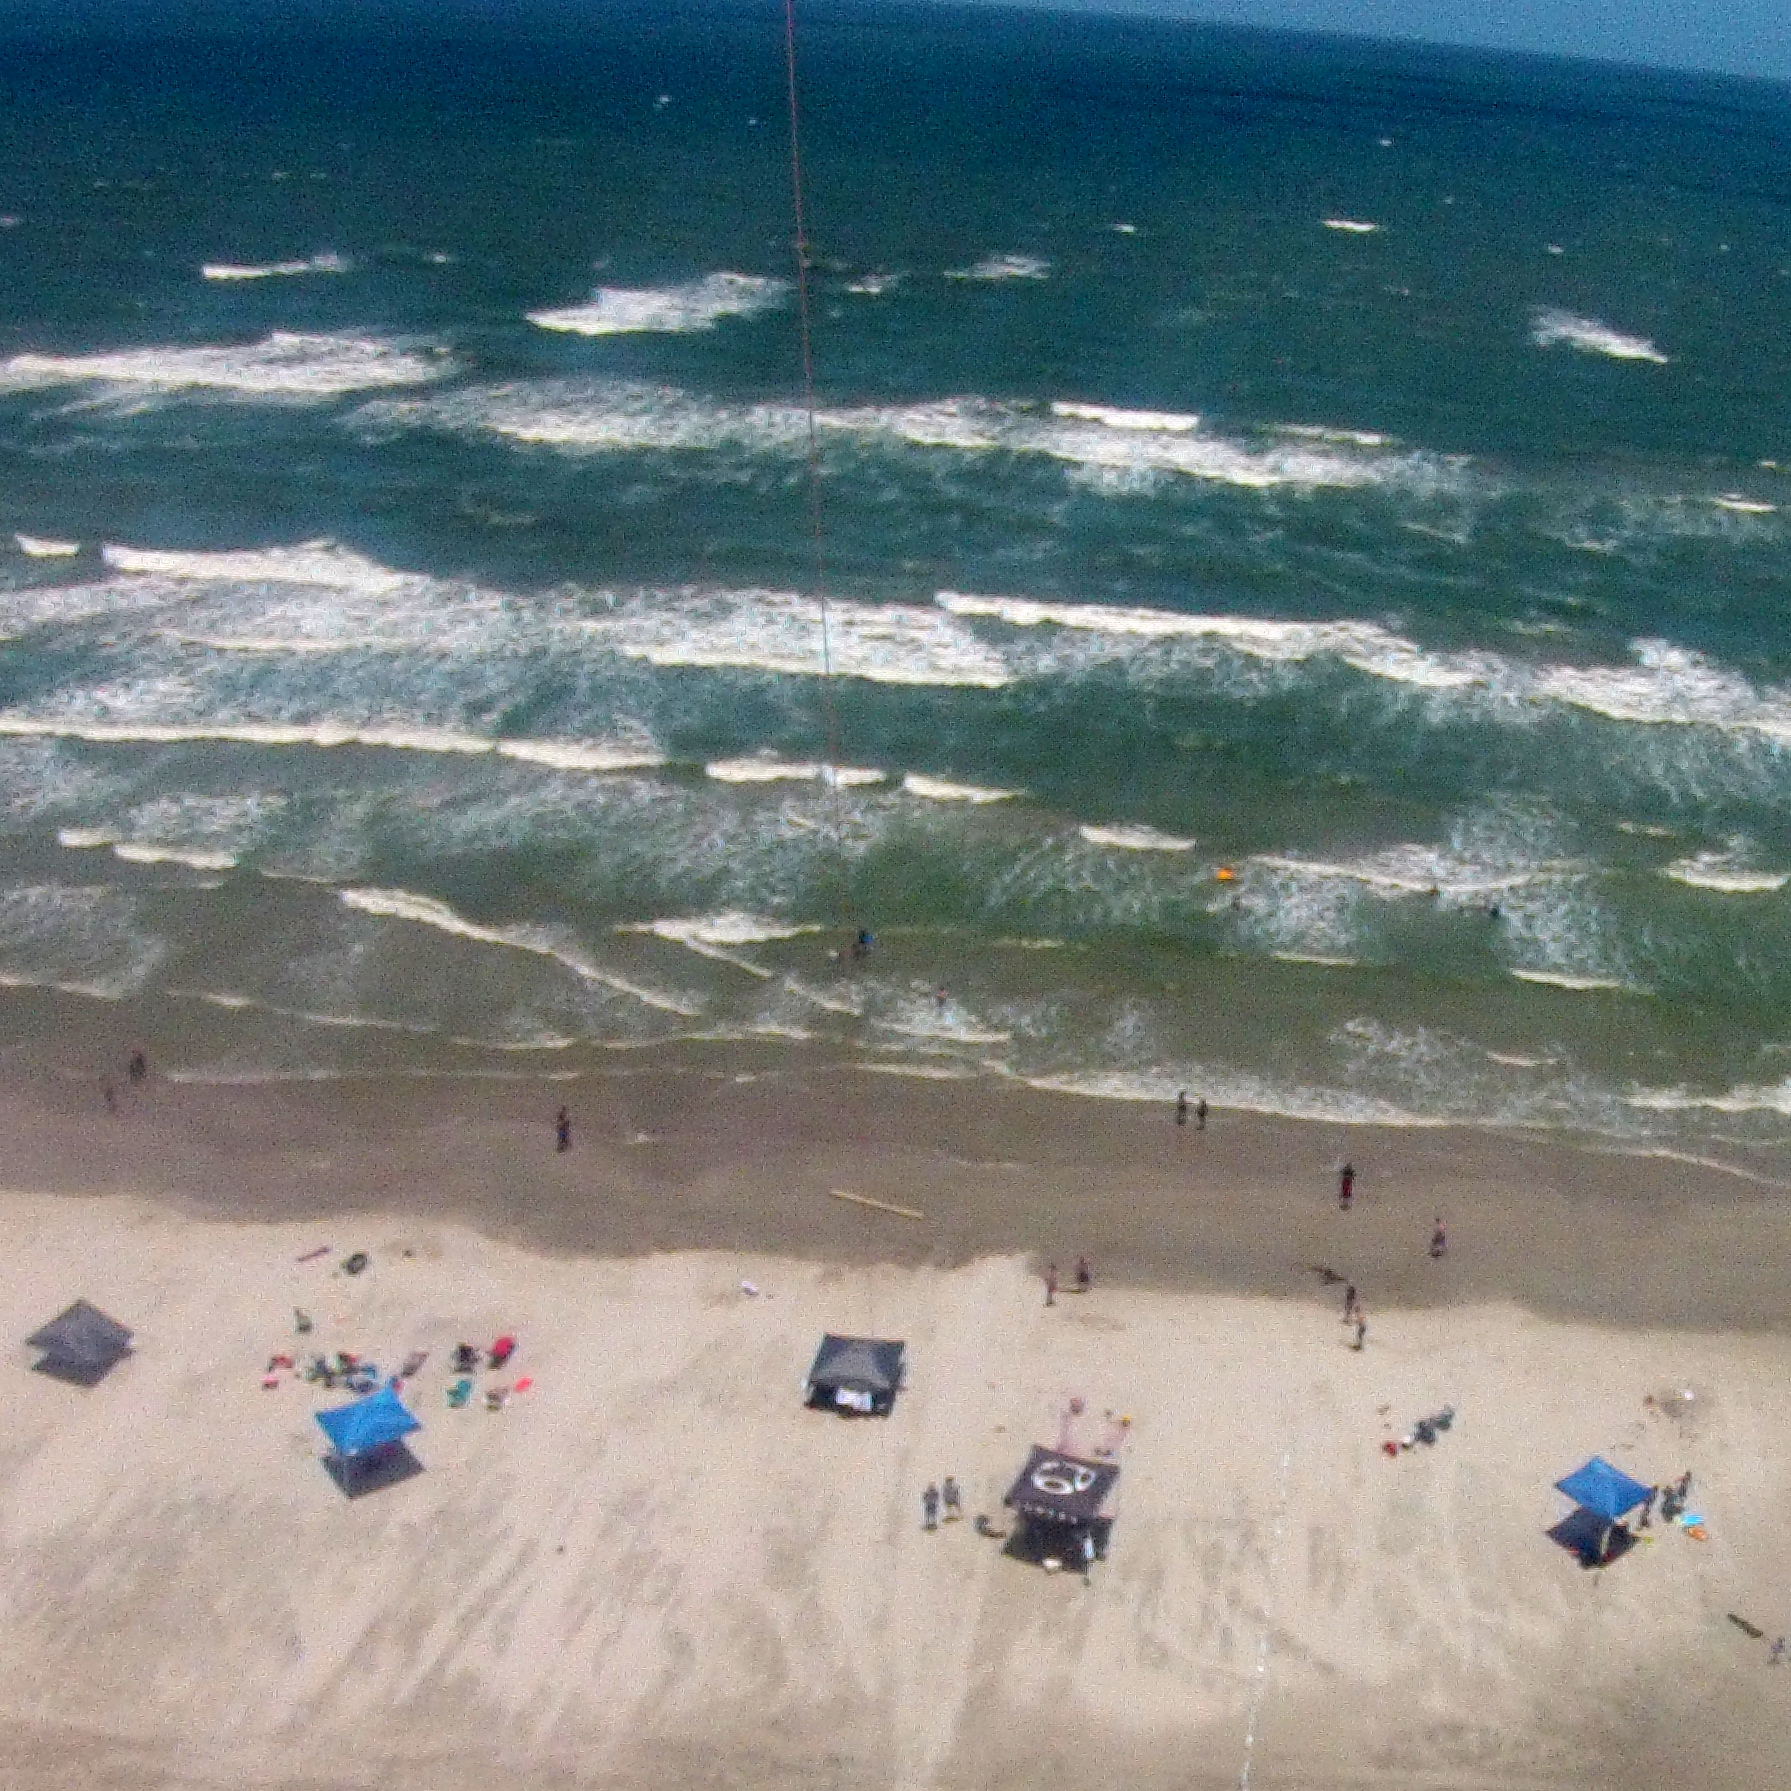
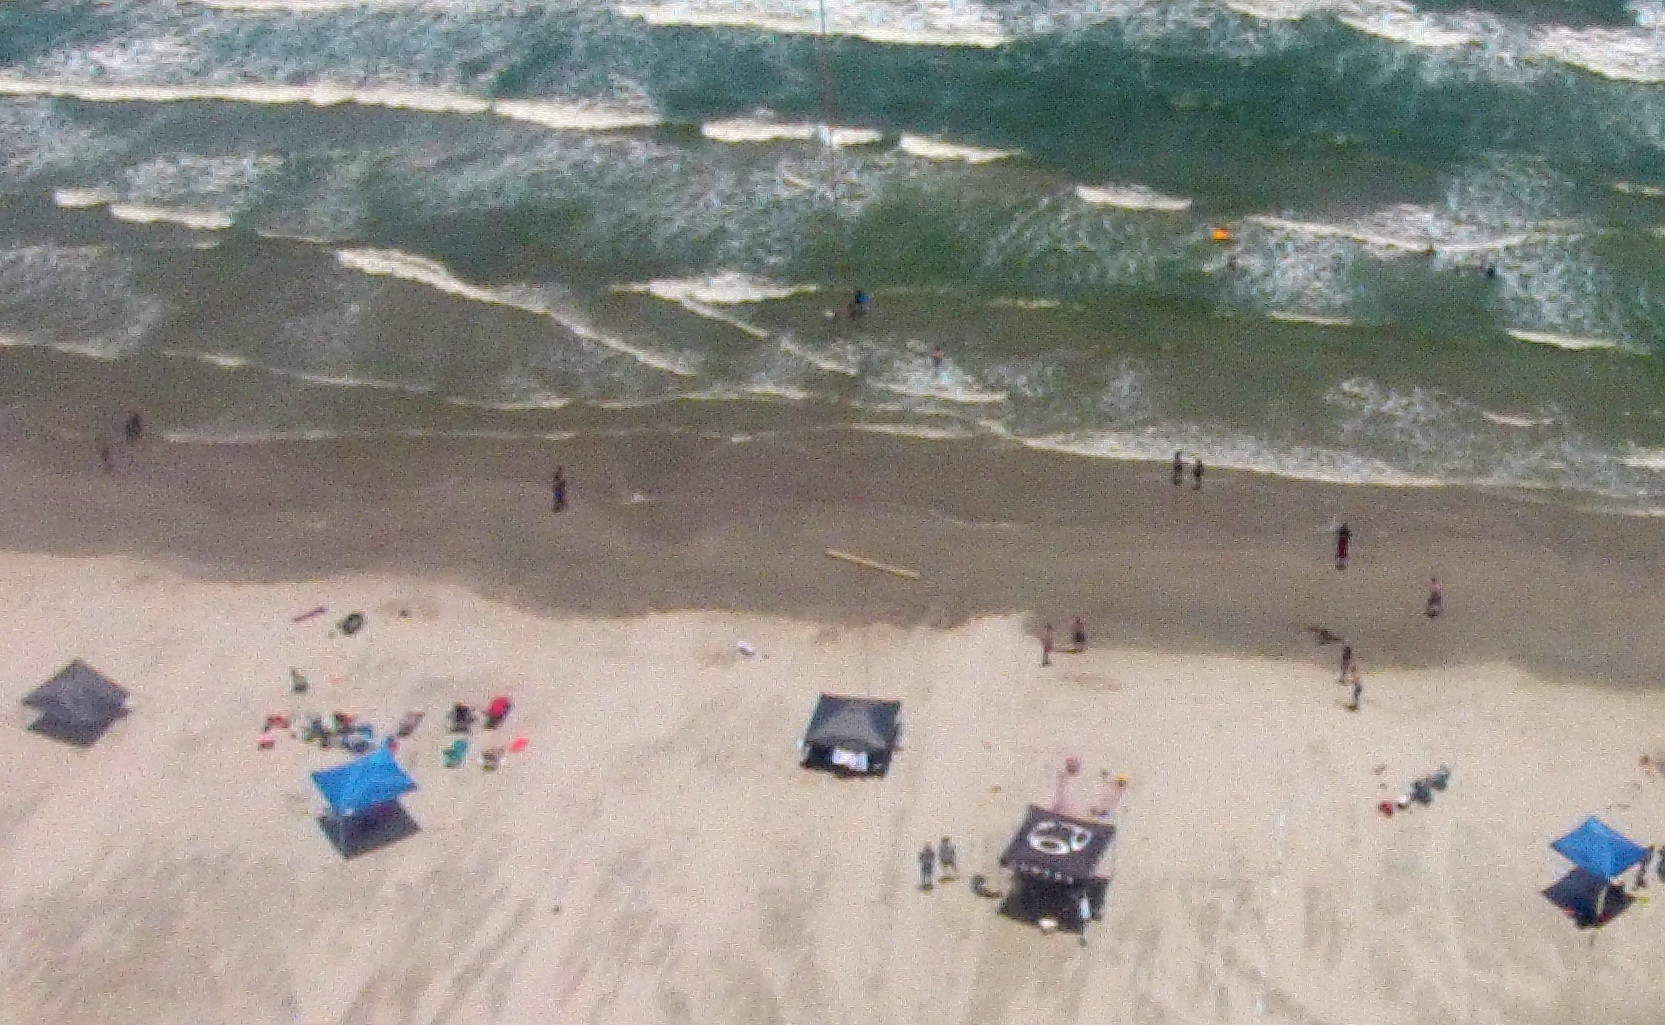
With the explosion of inexpensive remote-controlled aircraft combined with high-resolution digital cameras, it may seem that we’re in the heyday of aerial photography. But people have been taking pictures from the sky almost since the dawn of the camera itself. Even before Orville and Wilbur took their famous jaunt around the skies outside Kitty Hawk, cameras were occupying the airspace through the use of the most low-tech of lifters: the kite.

Not everyone has the thumb coordination to fly a quad copter, and few have a pilot buddy who can carry them skyward, but just about anyone can fly a kite. The hobby of Kite Aerial Photography (KAP) has been given a new wind with the advent of affordable, light-weight action cameras and advanced remote-controlled devices. Even though it’s been over a hundred years since George Lawrence took his famous panorama of San Francisco after the 1906 earthquake, the kite is still the simplest way to get a lofted perspective for your photography.

San_Francisco_in_ruin_edit2

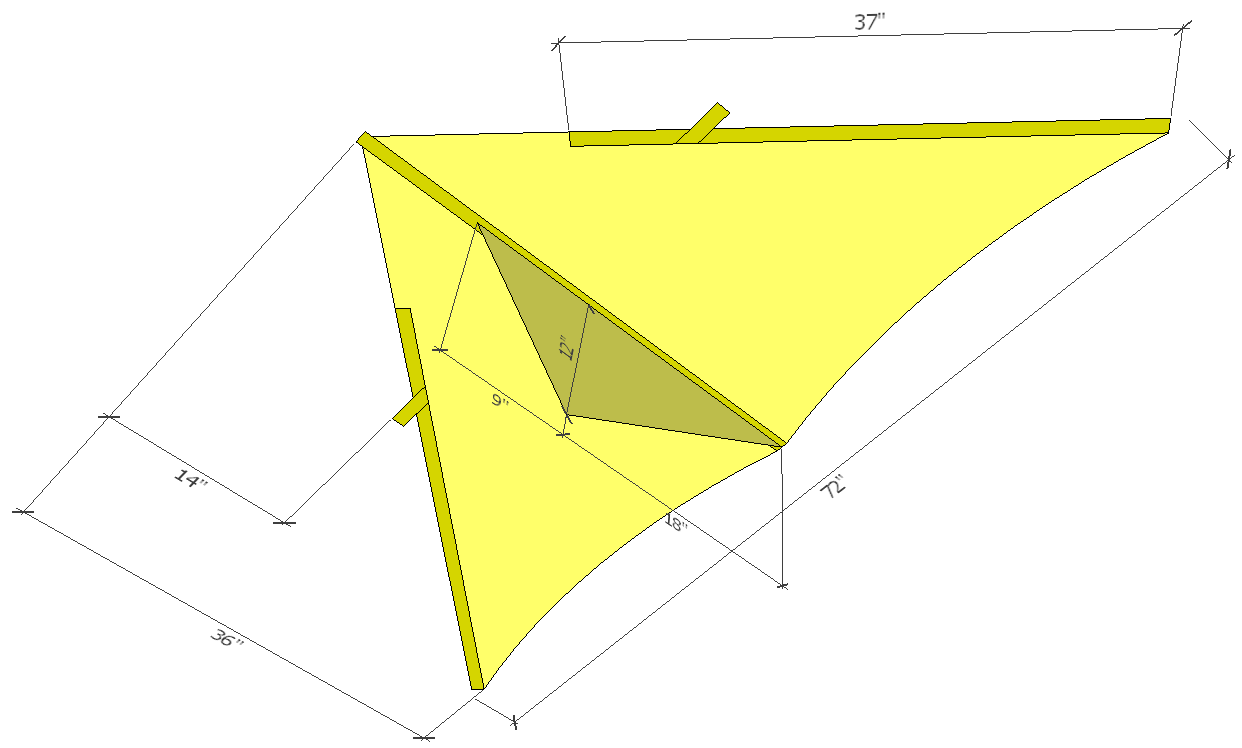
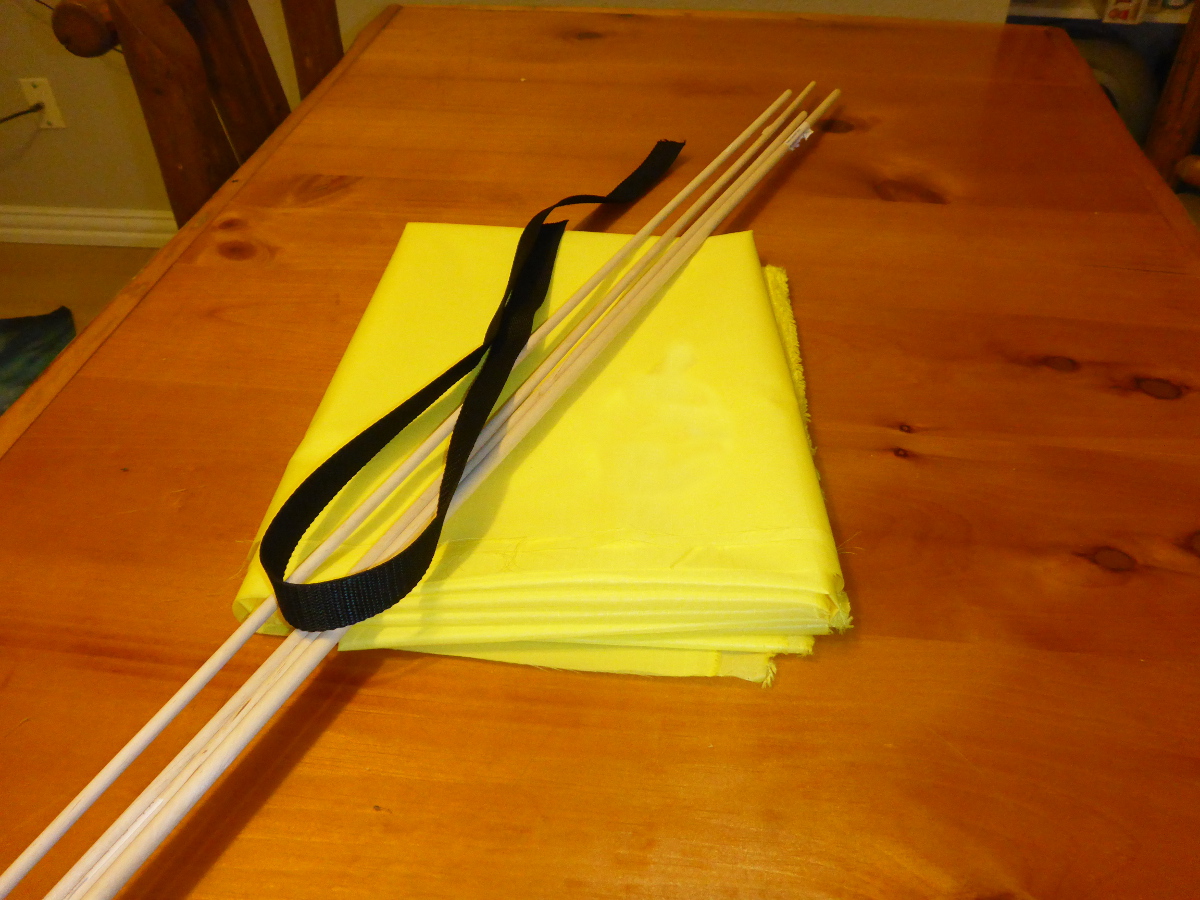
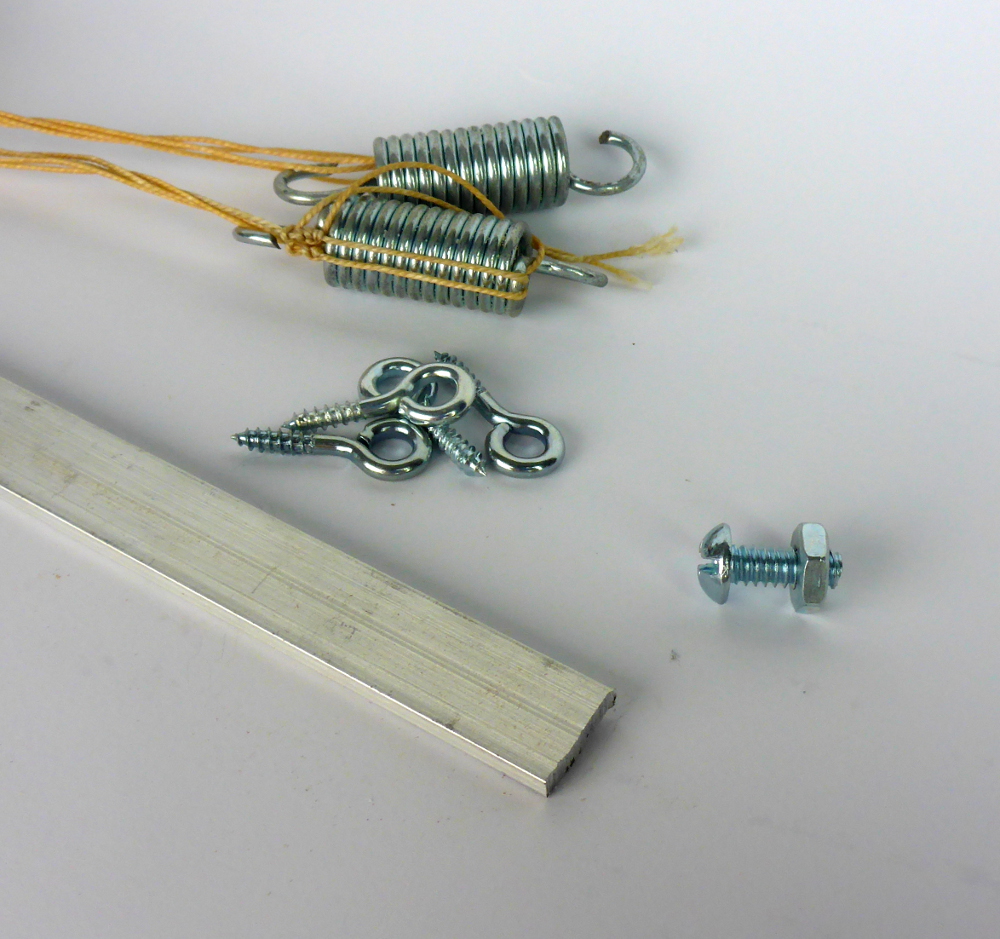
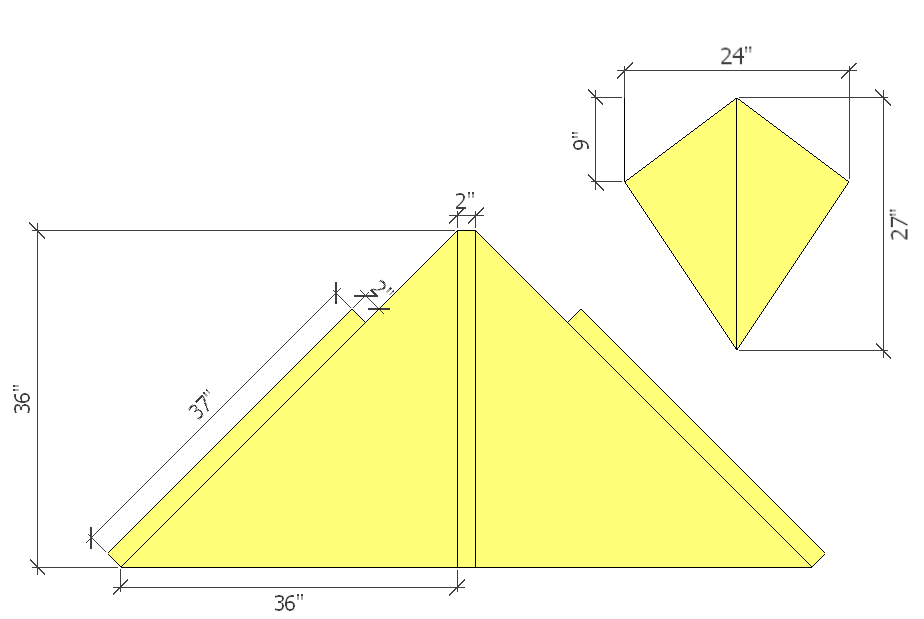
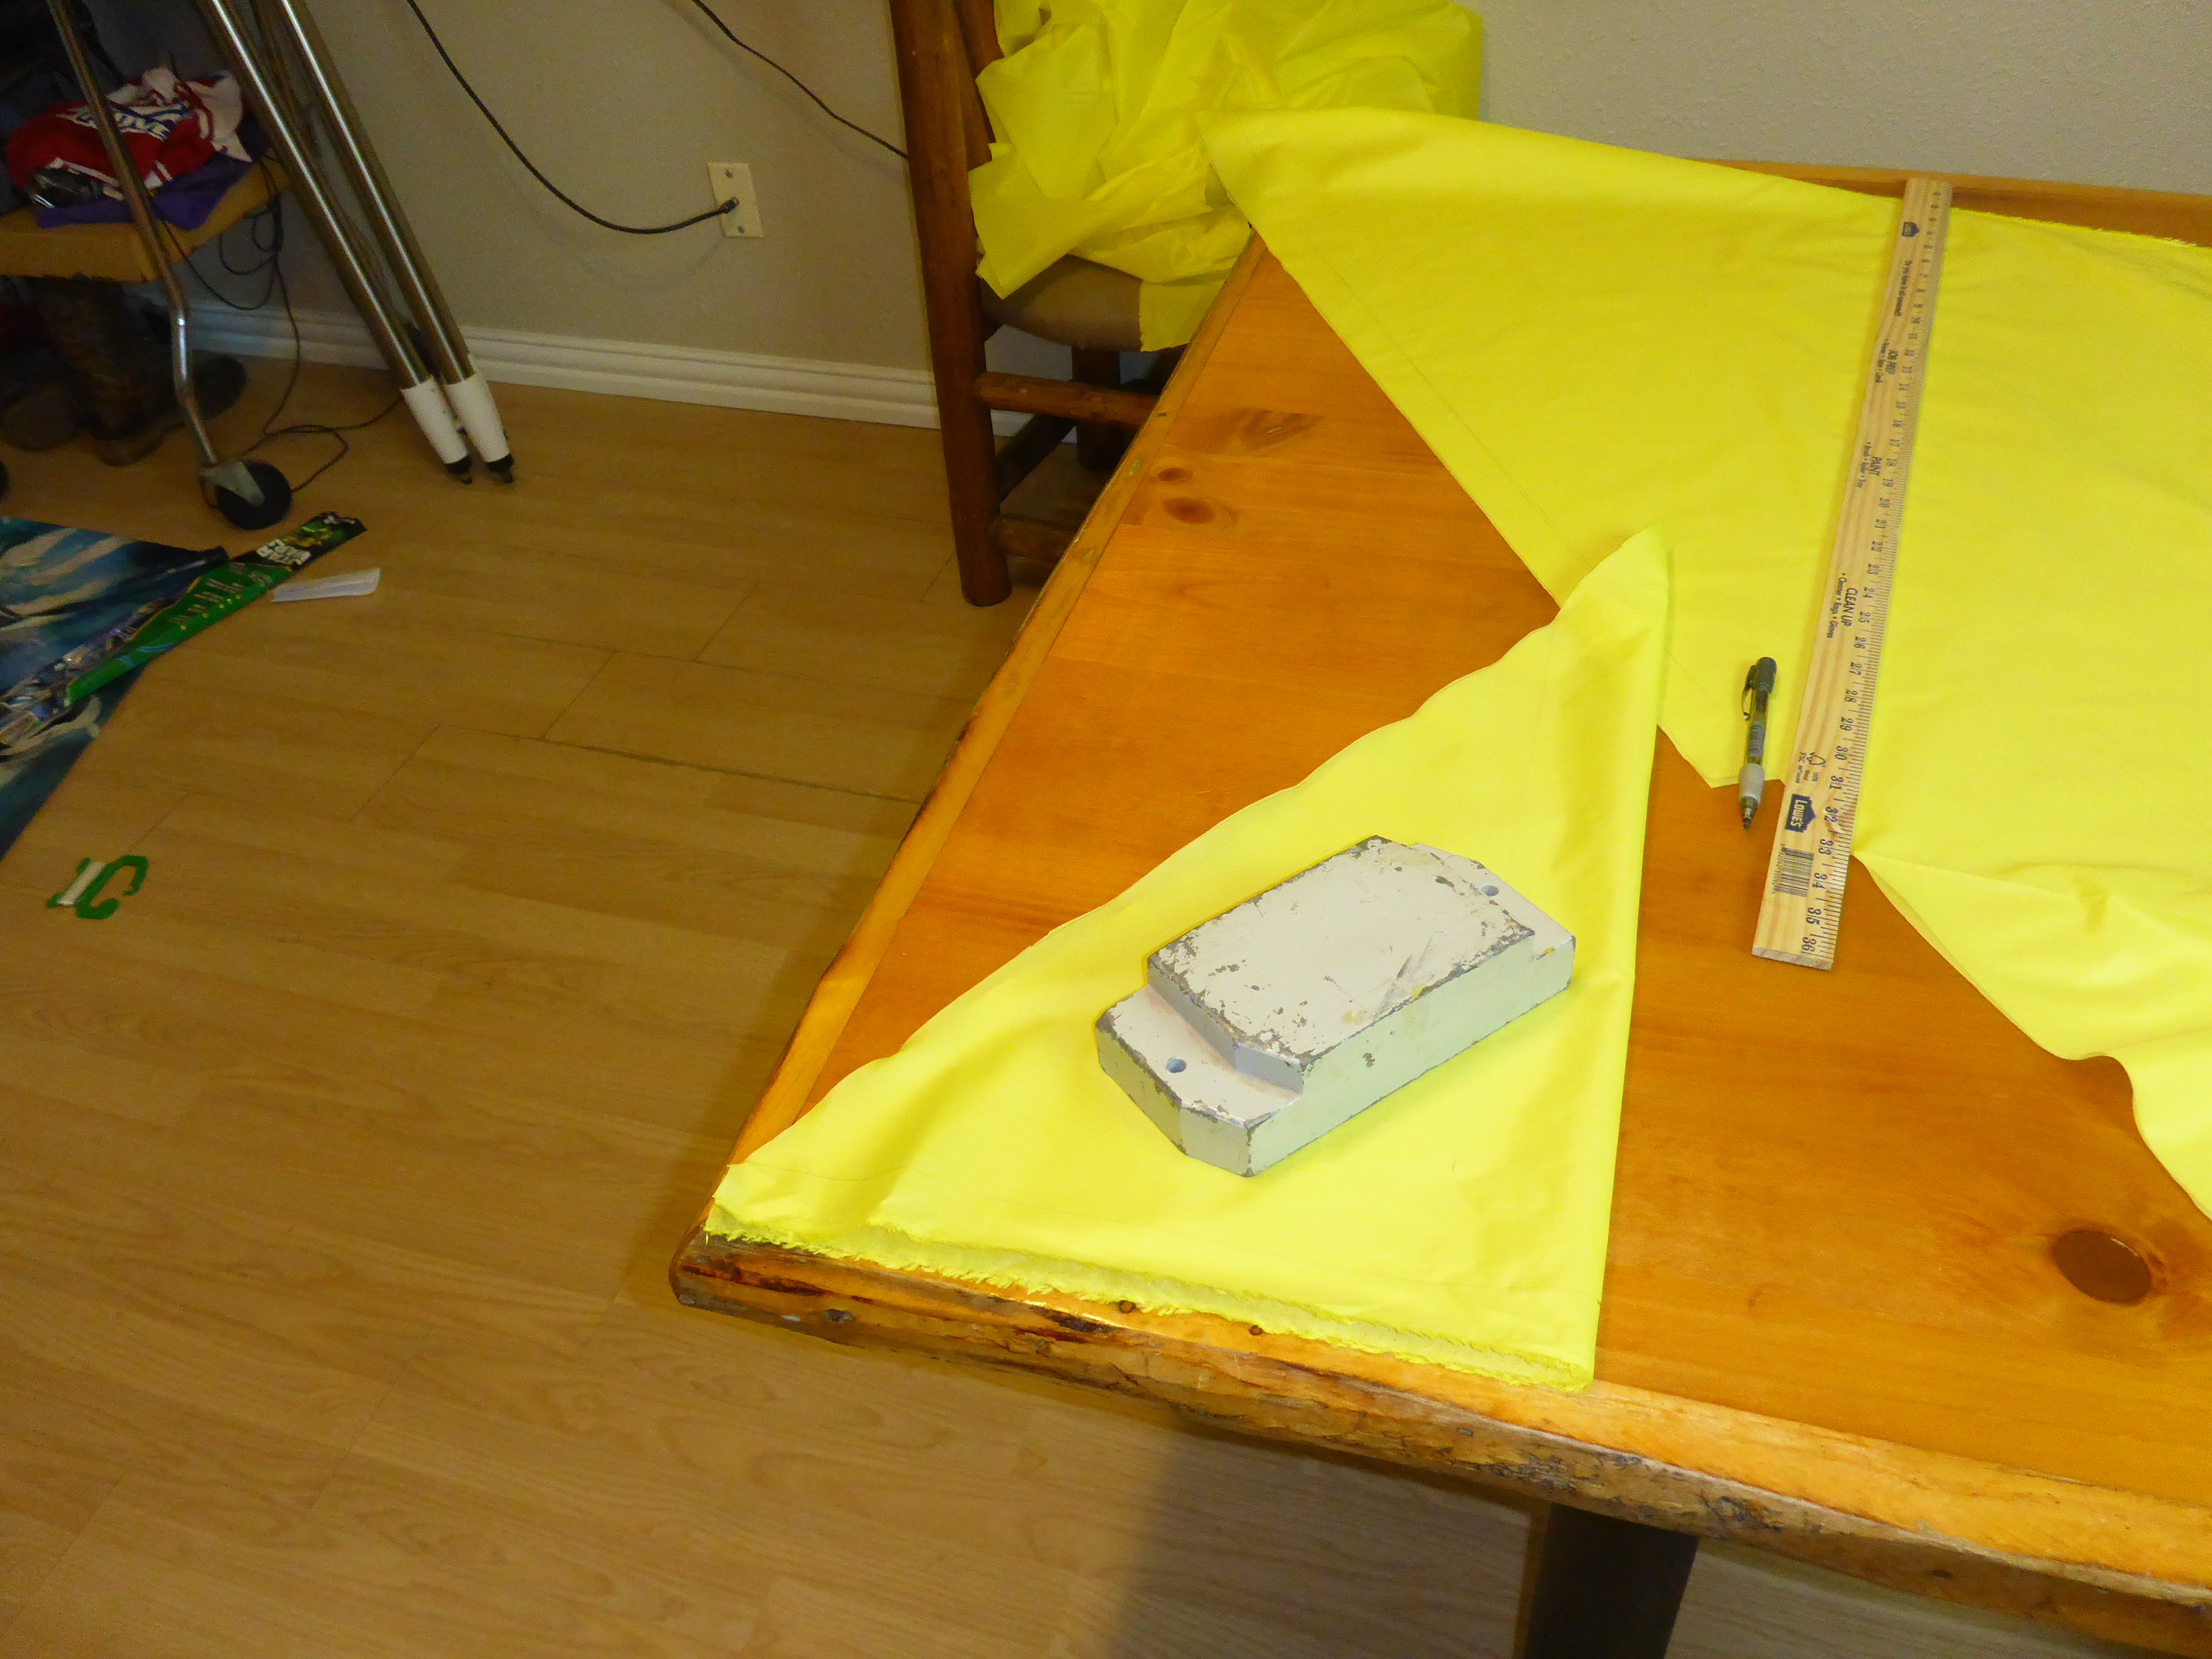
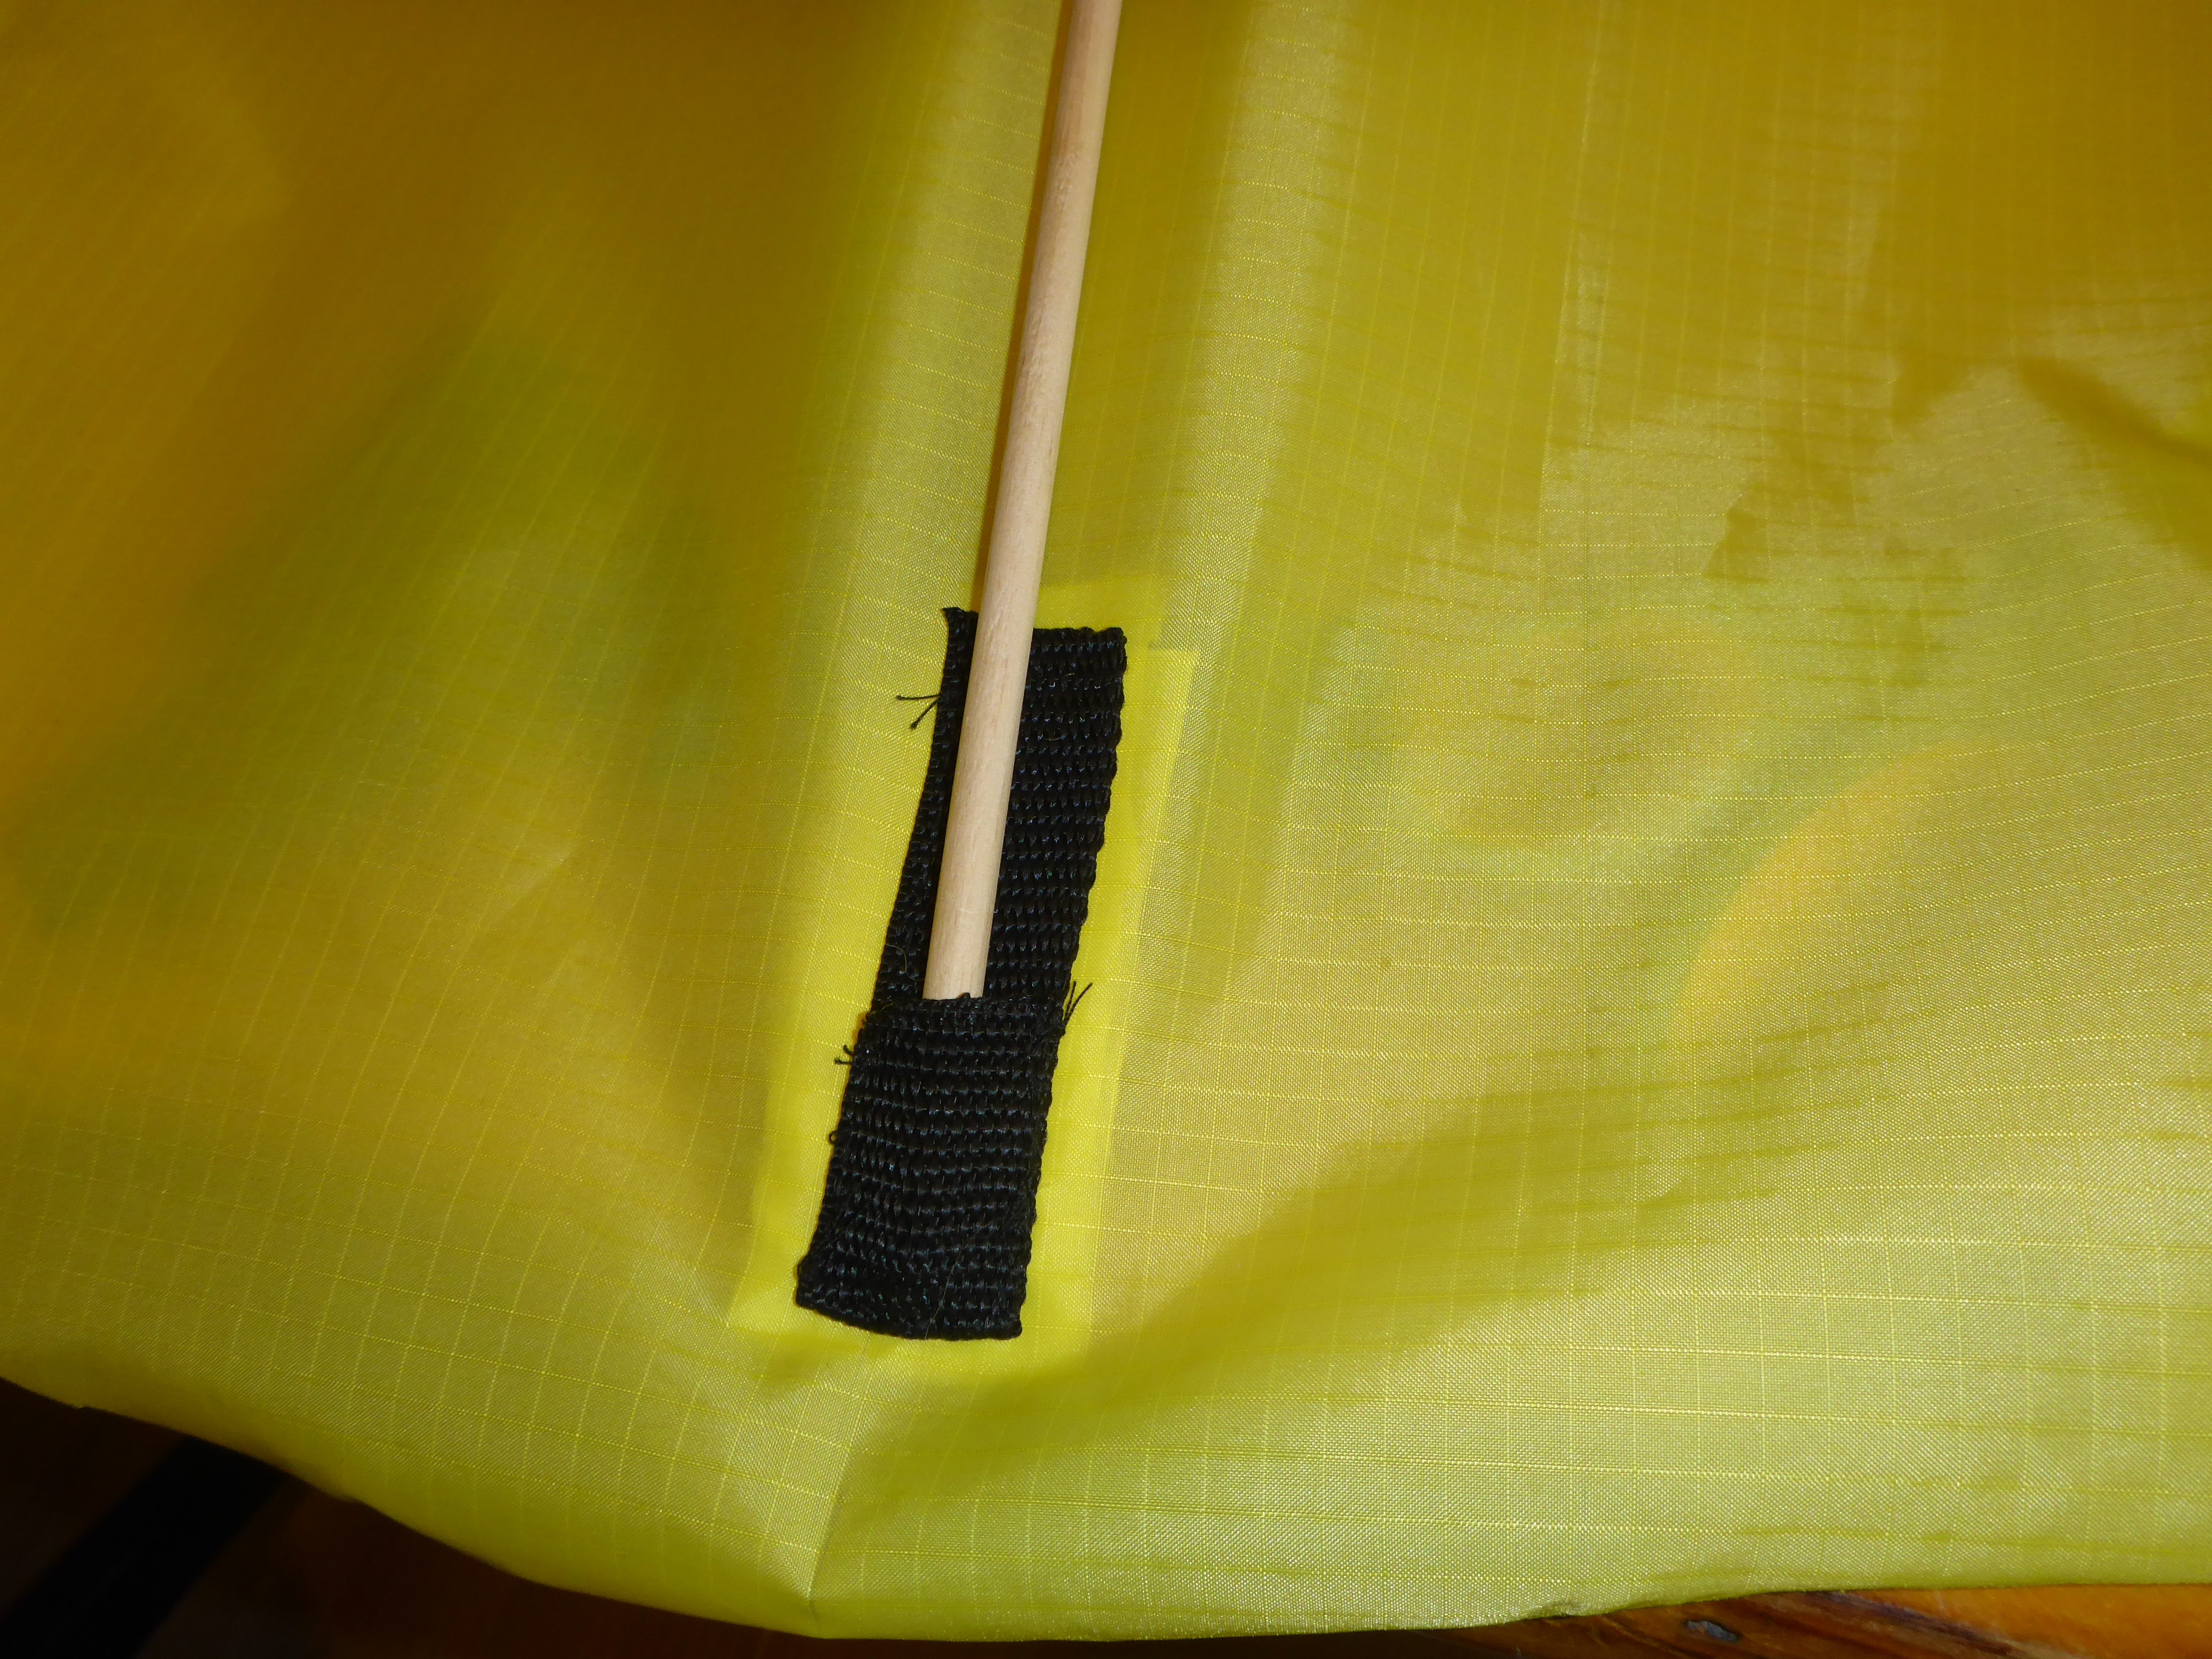
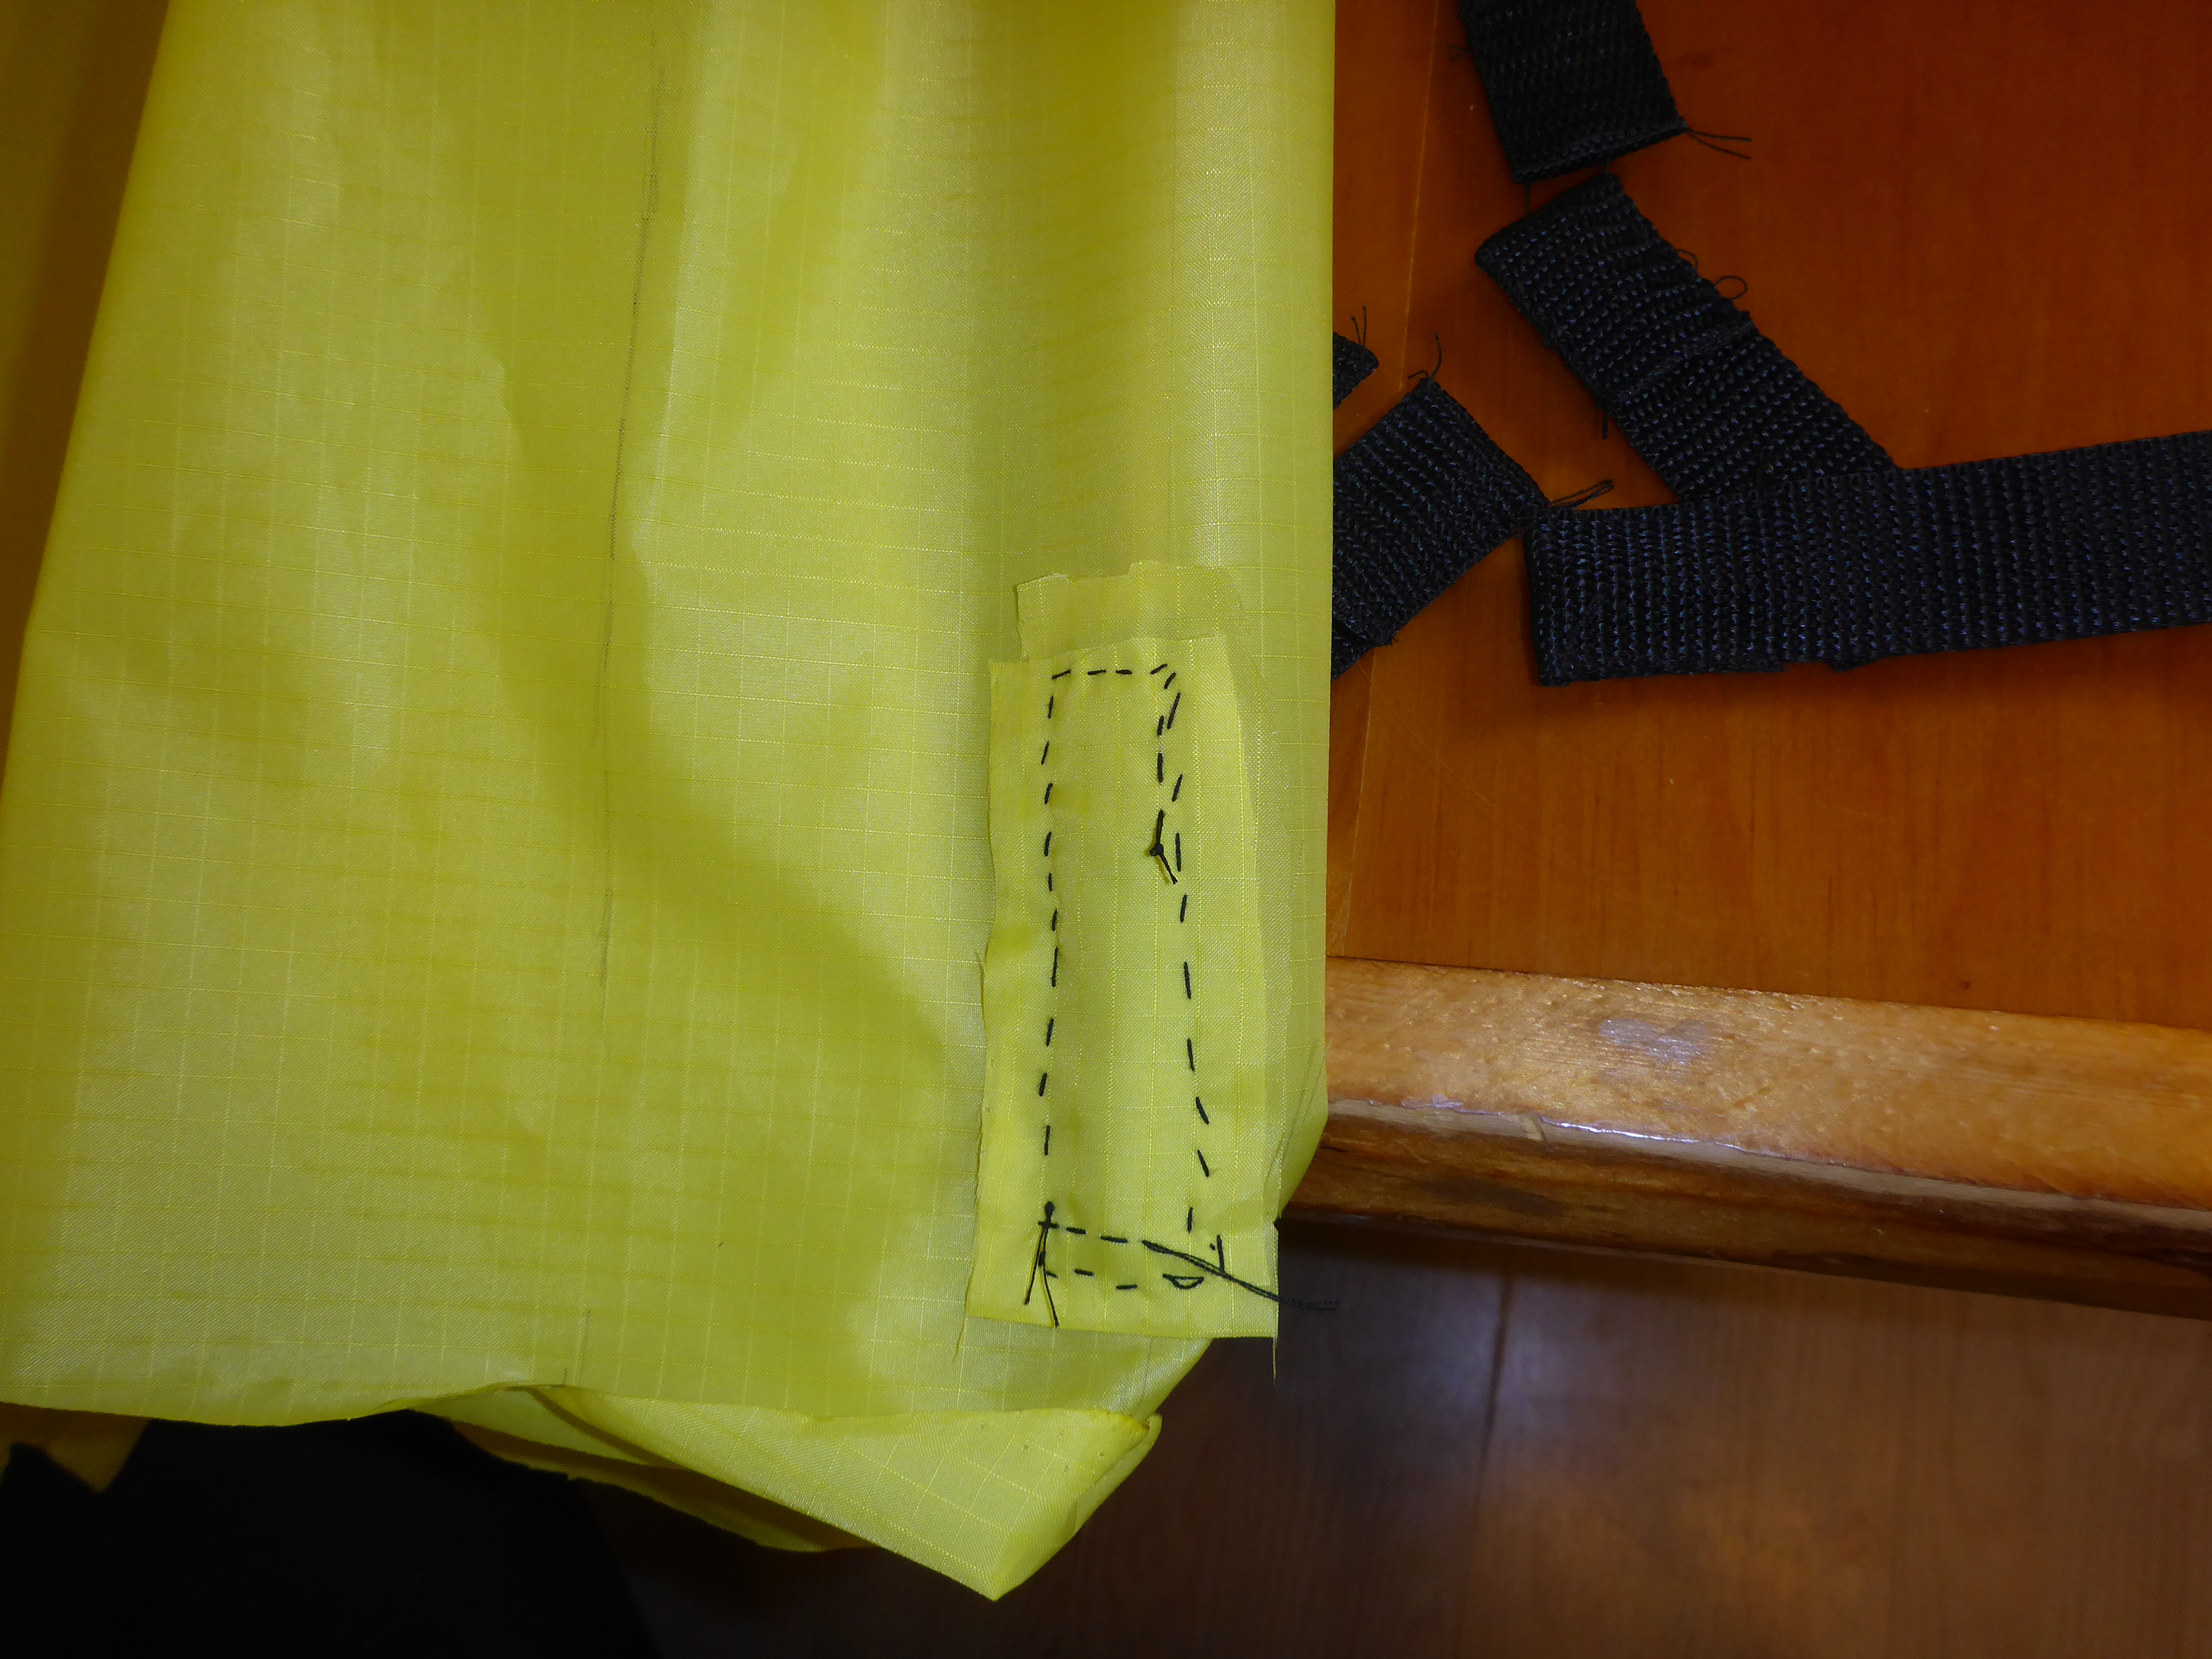
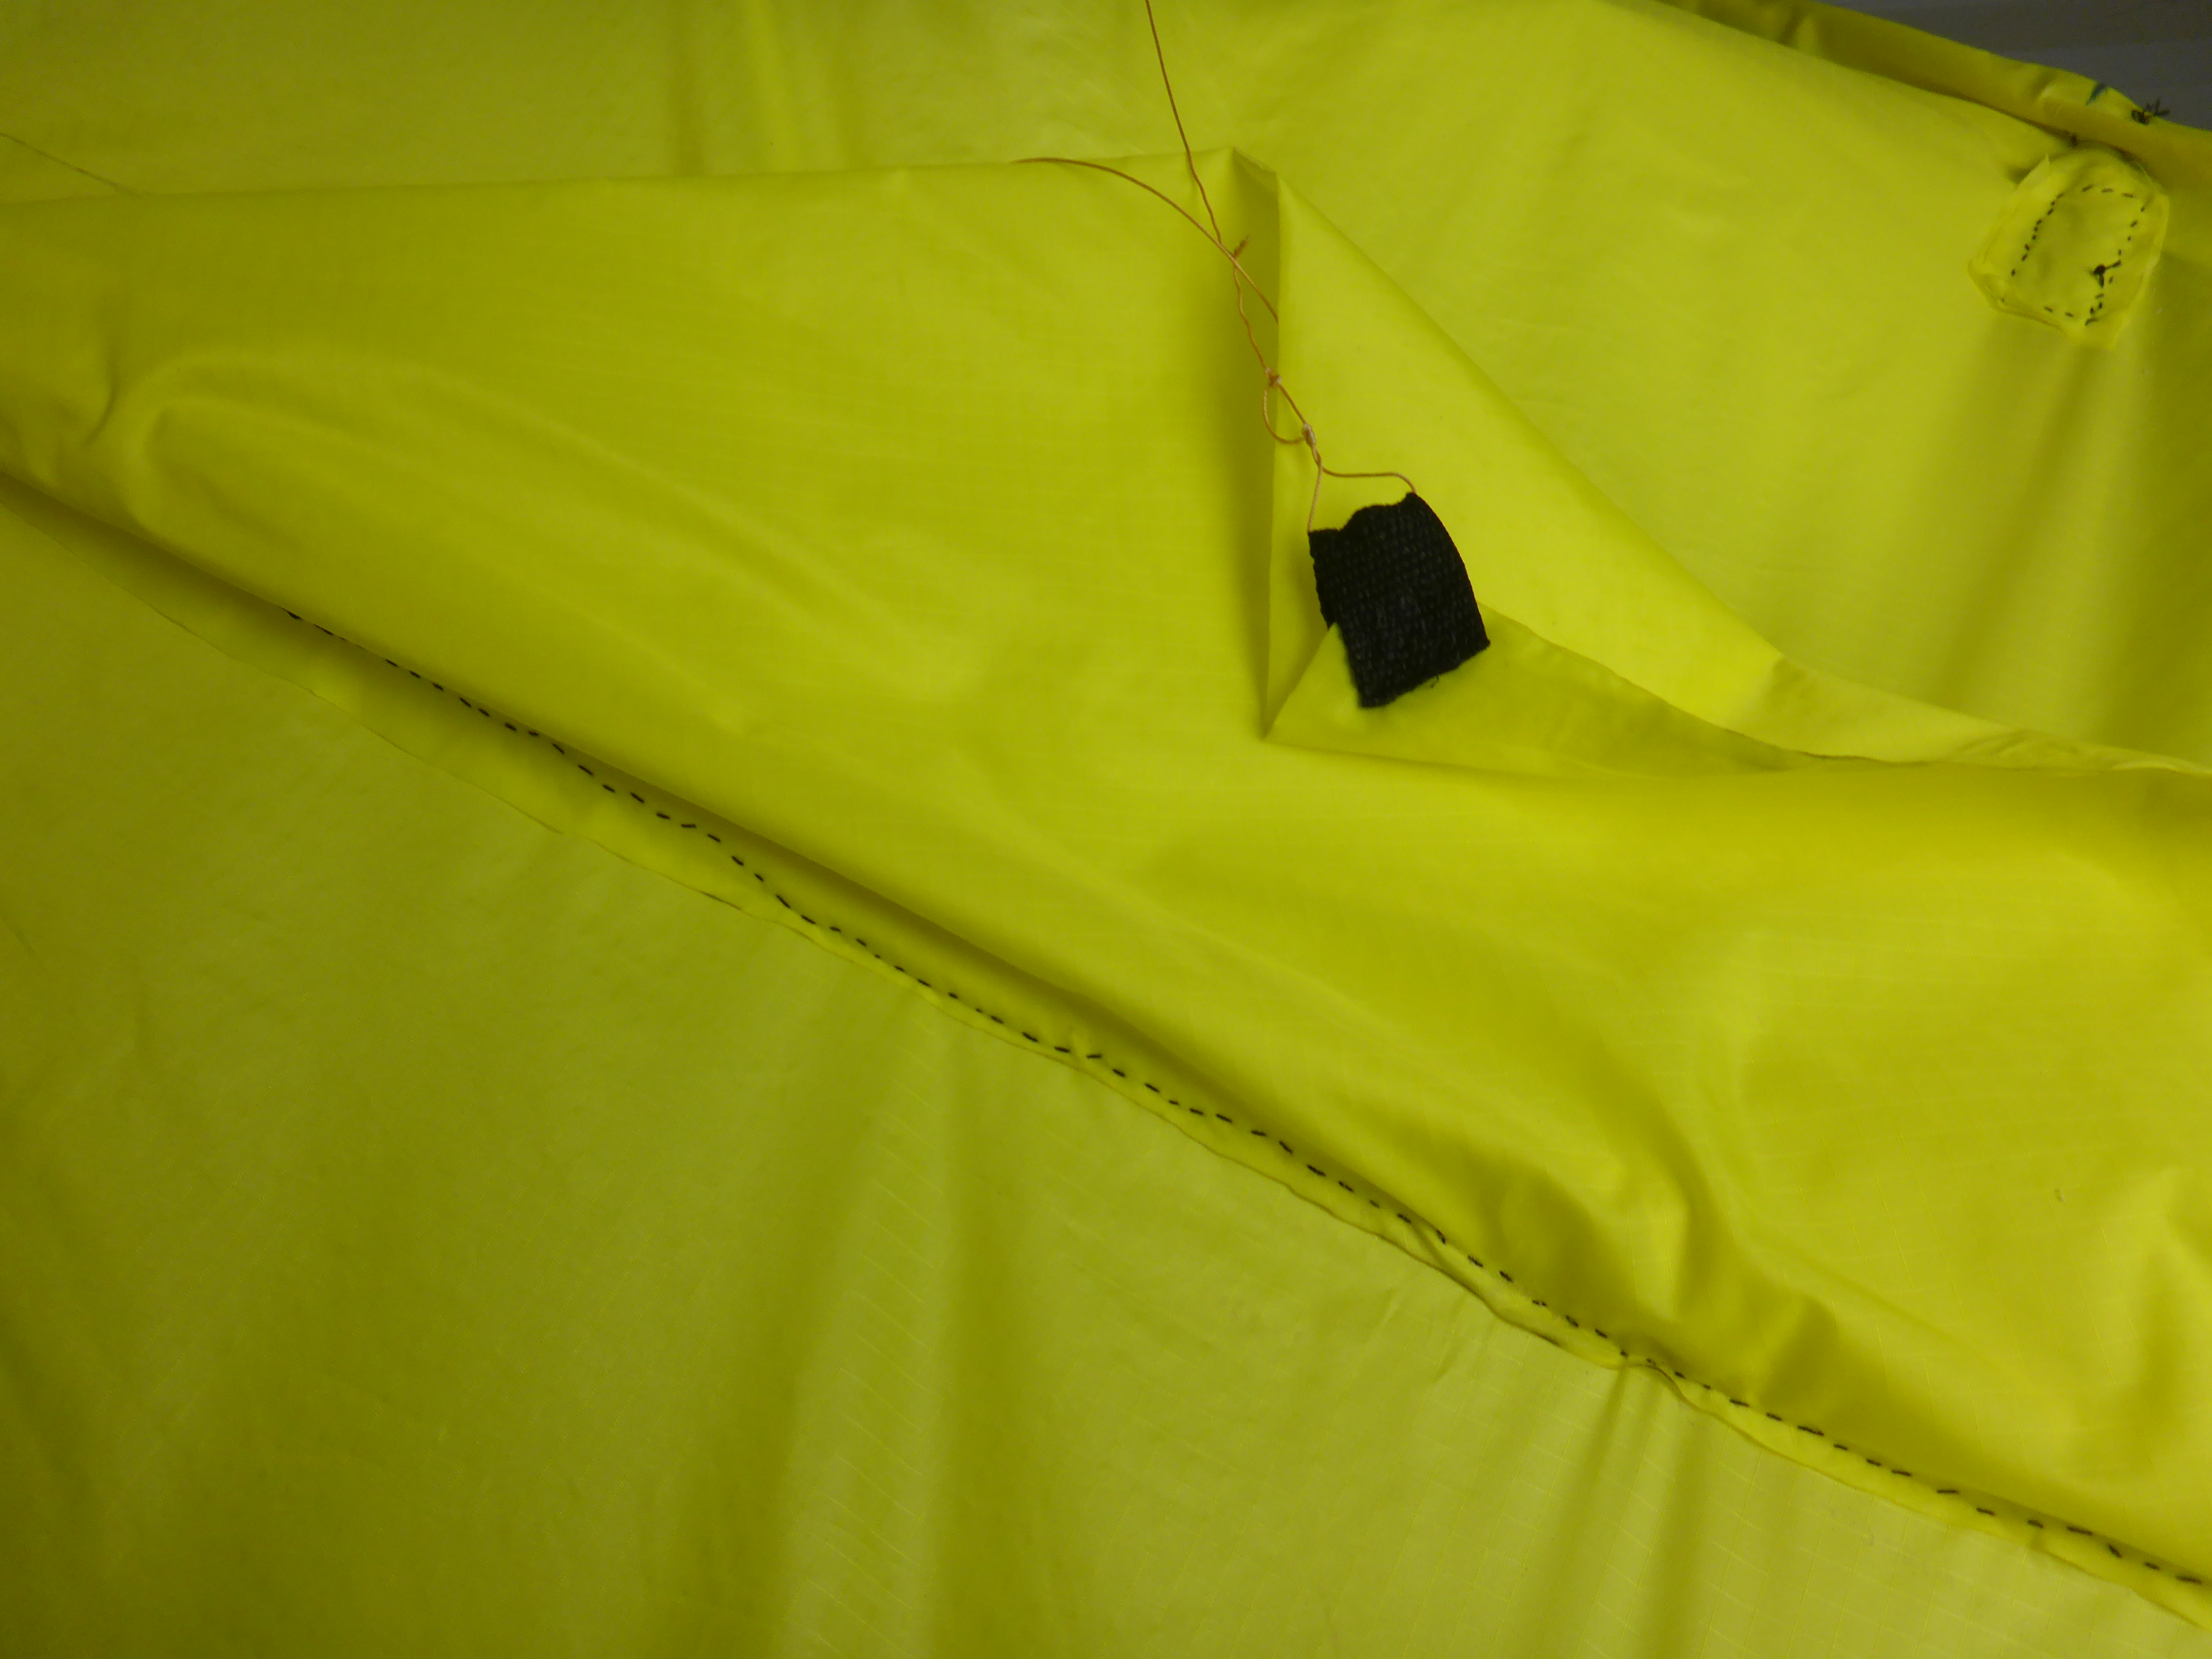
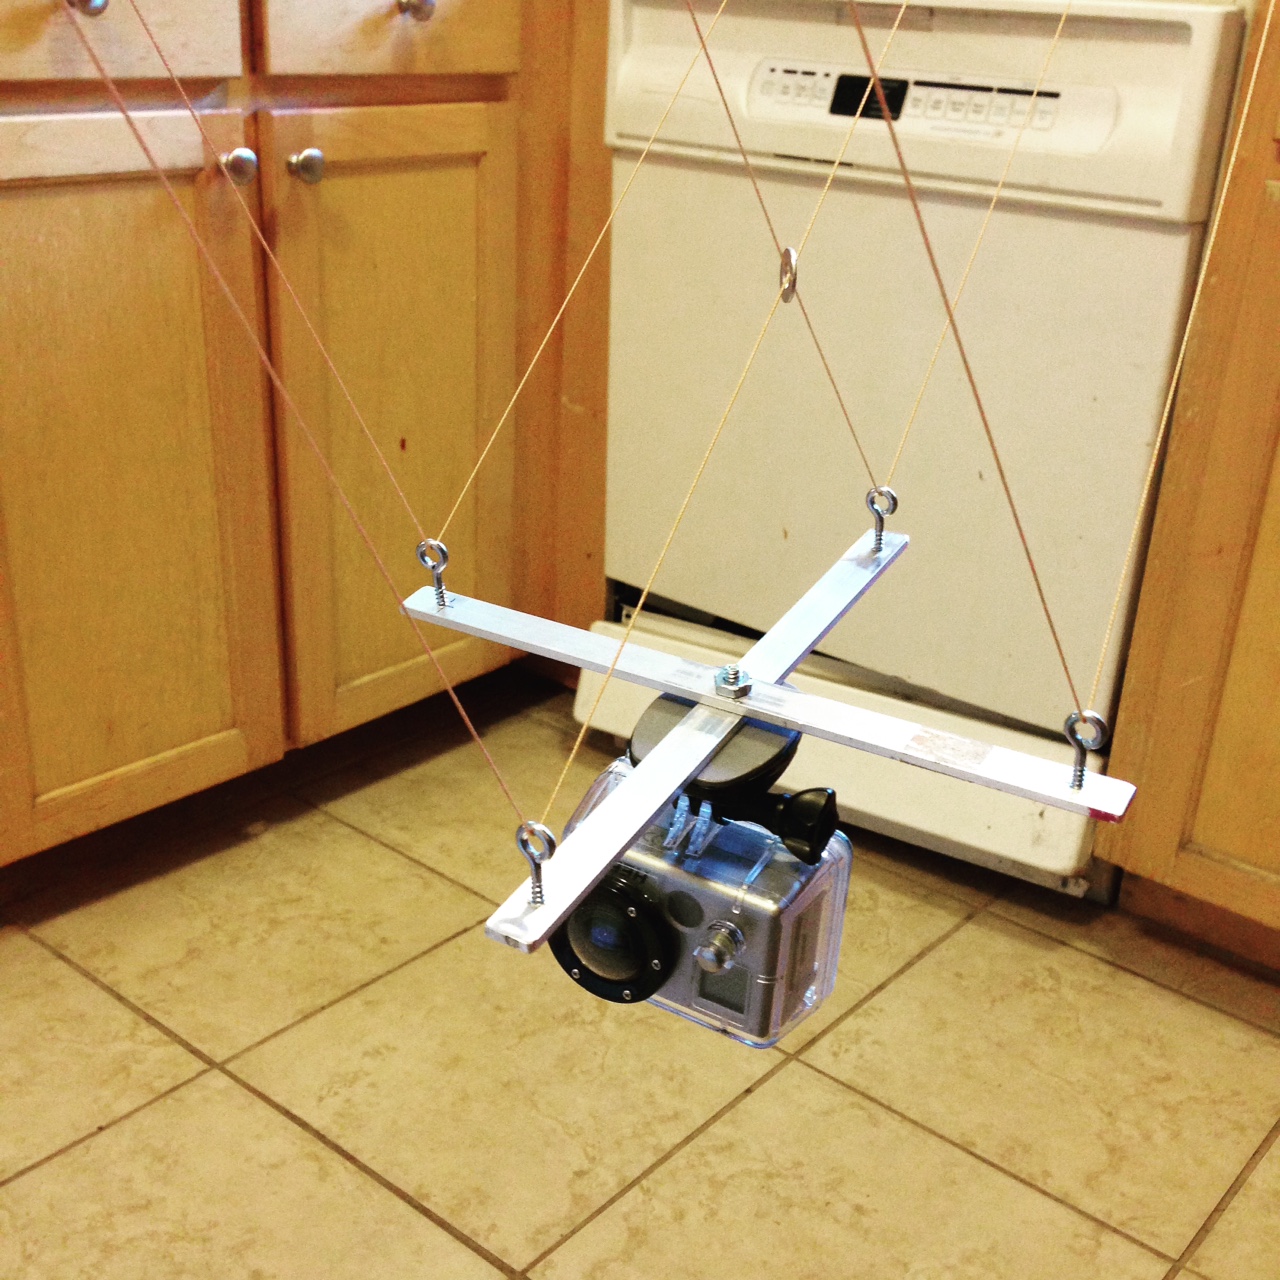
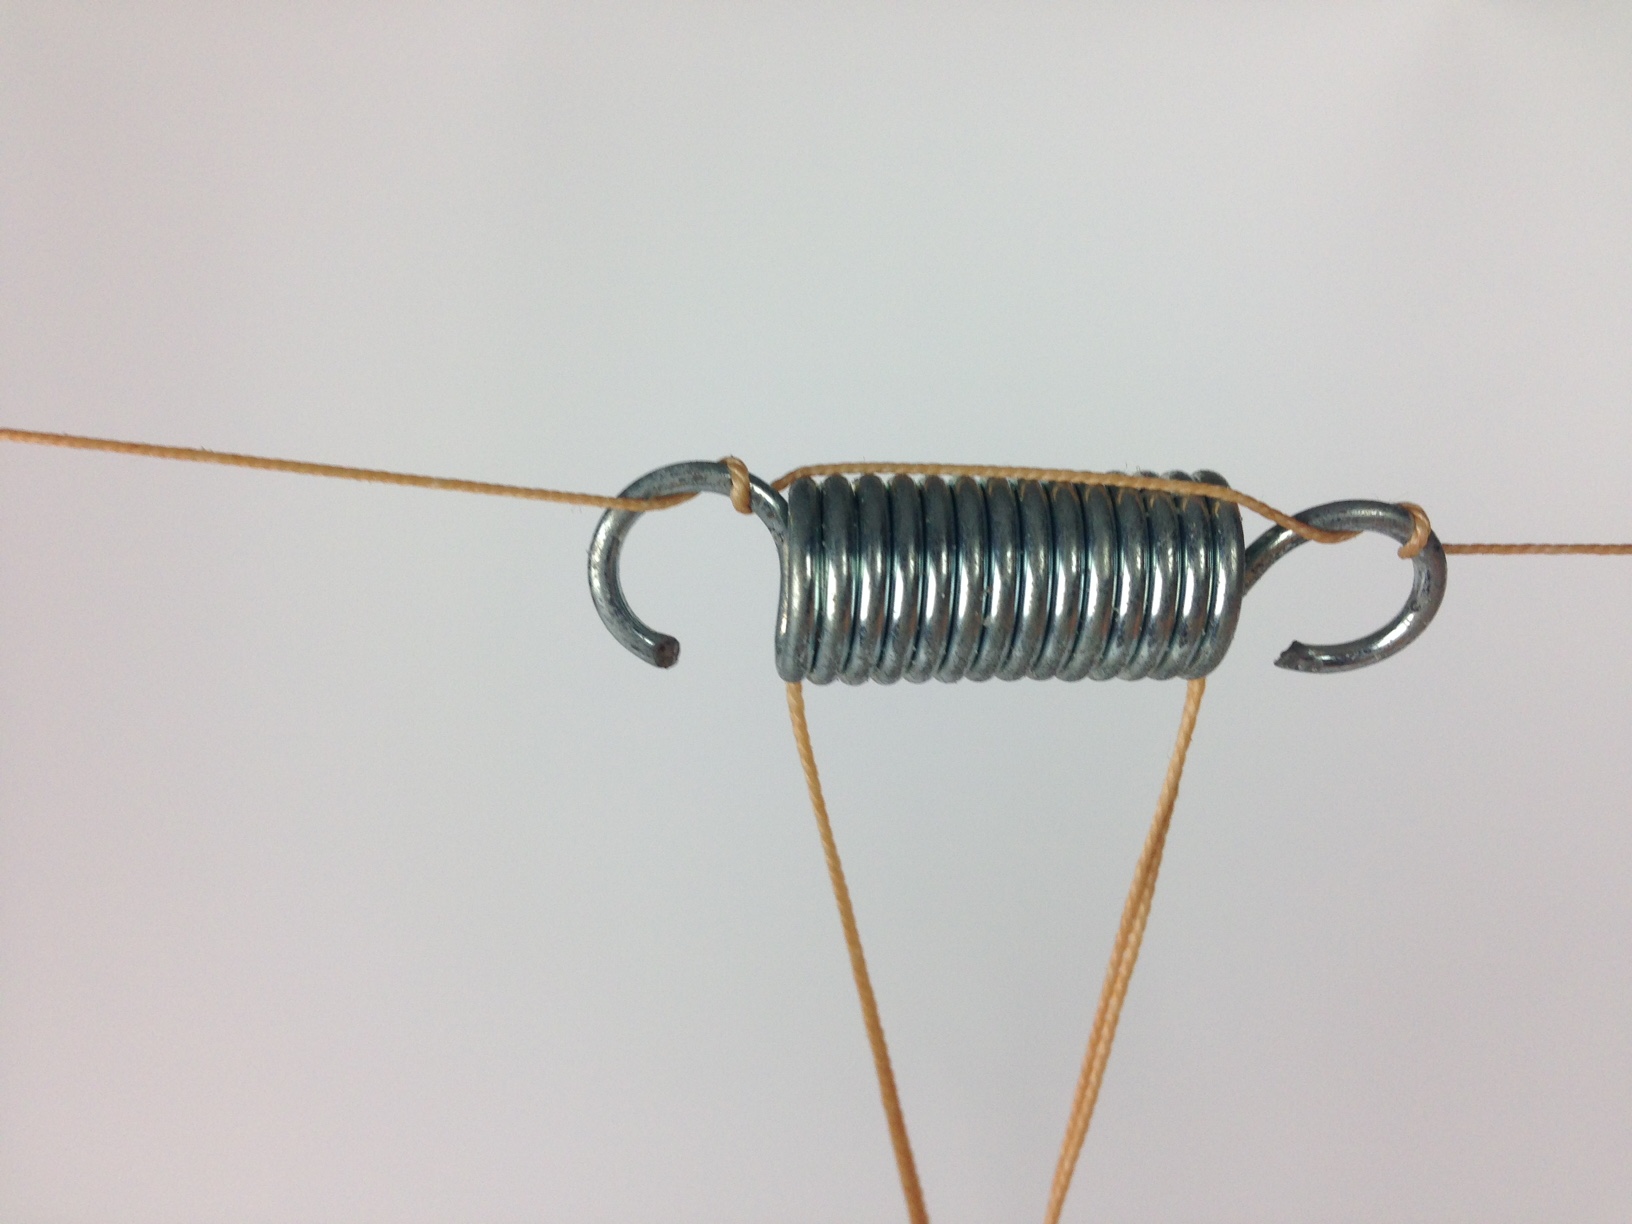
The kites you can pick up at a big-box store aren’t meant for heavy lifting, but a good-quality kite can go for hundreds of dollars (not to mention the camera mount). You can put together a full homemade KAP rig for a fraction of that cost with materials that you can pick up from the local hardware store and the fabric shop. No special tools or skills required. Just add your favorite camera (or maybe your second favorite camera, depending on how much you trust your handiwork).

Note: Like just about any hobby, one could spend a lifetime learning the intricacies and minutiae of kite building. This tutorial barely scratches the surface of the information available on this rewarding pastime. If you’re craving more information, the forums on KiteBuilder seem to be the most active that I could find.

Project Steps

Choose a design

If you can imagine it, there’s probably been a kite made of it. From box to barn door and sled to sode, the variety can be overwhelming. Just about any kite can carry a camera if it’s big enough, though, so the most important thing is for you to choose a kite design you think you can actually build. I went with a simple delta design I found on the internet. The delta is a proven kite with lots of lifting power and a simple shape. It’s also very aerodynamically forgiving, which is important for a first-time kite constructor who’s likely to do a less-than-perfect job.

There are hundreds of free kite plans available on the web. Take your time browsing through them, and find one you really like.

Find the supplies

It was important to me that the entire kite be made from materials I could pick up locally. Of course you can find a better selection (and probably better prices) from online retailers, but if there’s one thing I know about making, it’s that you never get all the supplies you need on the first go. Being able to swing by a store to pick up those last few pieces you forgot can help maintain the momentum of your project. Also, everything that goes up in the air must come down, and if it comes down hard, you’ll want to be able to pick up replacement parts without waiting several days for shipping.

For the kite, I used ripstop nylon fabric, some webbed nylon strapping, three 1/4″ dowels, and one 3/8″ dowel. For the camera mount, you need a length of aluminum bar stock, two small springs (or carabiners), four eye screws, and a small bolt and nut.

Not pictured: kite line and winder, a sewing needle with thread (preferably the same material as your kite fabric), and a small washer.

Cut the pattern

The most important part of cutting the pattern for a delta kite is that it be perfectly symmetrical. The best way to do this is to fold along the center line and cut out both sides at the same time. The pattern that I followed is shown above.

Use a big flat area to do your cutting. Sharp scissors, clamps/pins, and weights to hold down the fabric will help you out a lot.

If you’re using nylon, you don’t have to hem the edges to keep them from fraying. Just run the flame from a lighter quickly along the edges. It’s not as strong as a hem, but it is much easier.

Assemble the kite

The world is full of people who both own and know how to operate a sewing machine. I am not one of them. I stitched the entire kite by hand. But don’t be intimidated by a bit of sewing! If I can figure it out, you can too. My stitches look terrible, but you’ll never see them when they’re 100 feet in the sky. This is the perfect opportunity to catch up on those podcasts you’ve been meaning to listen to.

The “tubes” for the dowels are made by folding the fabric over and sewing it to itself. You want the tube to be about 4-6 times the diameter of the dowel. You may have to do some trimming of the ends of the tube in order to be able to insert and remove the dowels.

The pockets which hold the dowels are made from nylon webbing folded over on itself with the edges stitched. Make the pocket about 4 times the diameter of your dowel long (for 1/4″ dowels, make the pocket 1″ long).

I added some extra fabric on the opposite side of each pocket as reinforcement.

Remember to keep folding the kite along the center line to make sure everything is symmetrical.

To connect the kite line, I sewed a loop of nylon strapping to the fin.

Build the camera mount

This type of camera mount is called a Picavet Mount. Its purpose is to dampen the motion of the kite string. You still only have two points of support, so it will swing. However, the camera will maintain its general orientation regardless of the movement of the kite line.

Cut two lengths of bar stock approximately 9″ long.

Aluminum is a soft metal, so you can use steel eye screws as long as you drill an appropriate sized pilot hole. Screw in the eye screws so they all face the same direction when the two bars form a cross.

Drill a hole through the center of both bars and bolt them together. If you are mounting your camera using the standard tripod mounting hole, use a 1/4″-20 bolt to both connect the cross bars and mount the camera. I am using a GoPro, so I just used one of the adhesive-backed mounting pads.

Using a length of kite line between 40–60′ long, thread the Picavet mount to the two springs according to the diagram. Note that A and B are the springs (or carabiners), 2 is the washer, and 1, 3, 4, and 5 are the eye screws.

The string should move freely through the eye bolts and springs. The springs connect to the actual kite line by making a loop around each hook as shown. Make sure the kite line and Picavet line don’t get tangled.

Take some photos!

Now that you have a kite and camera mount, the sky is your oyster. If your camera has a built-in intervalometer, just set it to take a photo every few seconds. Otherwise you’ll need to use an IR device or some other remote control for your shutter. Don’t forget you can shoot video, too!