Stone walls can be seen all over Scotland.

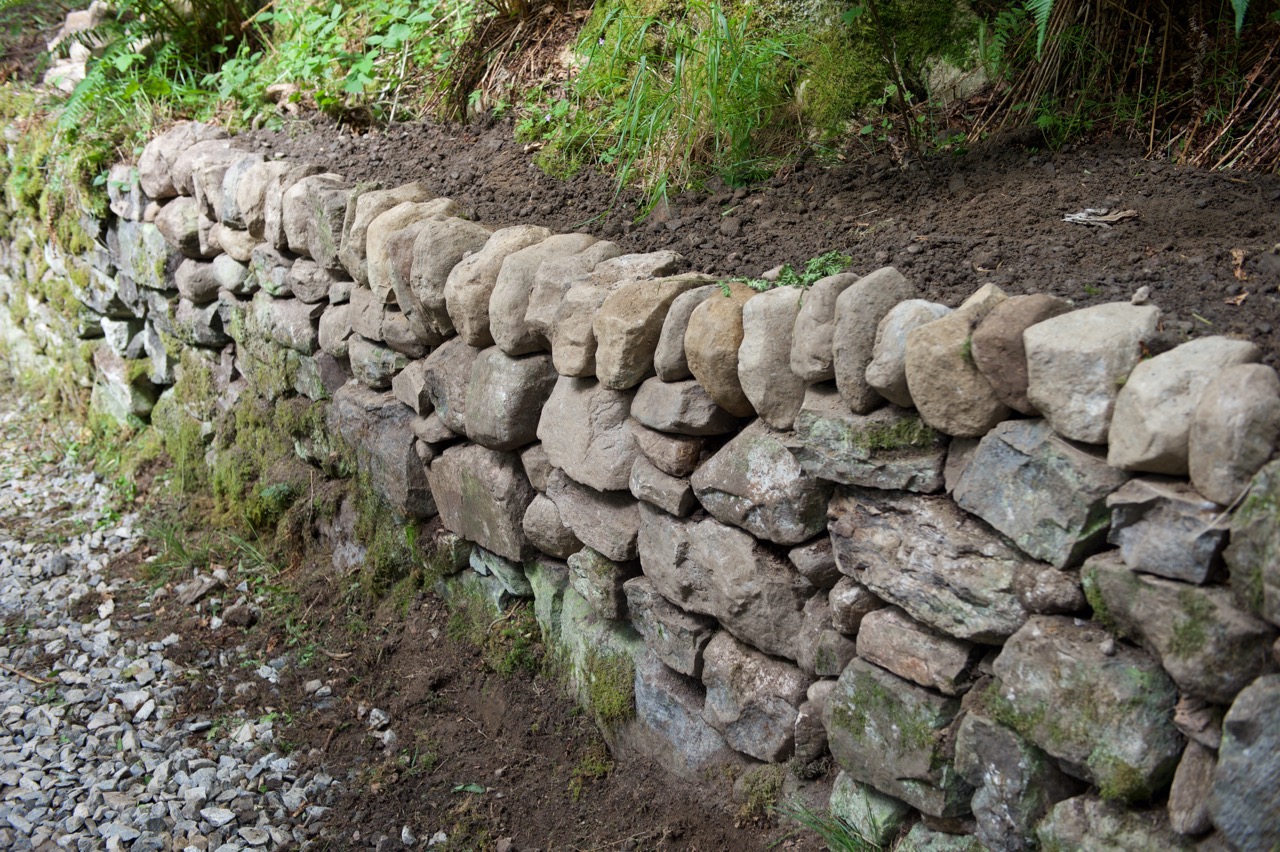
This post will show you how to build a stone wall using a traditional method which doesn’t require any mortar or cement. I learned this ancient technique on a recent trip to the Scottish highlands, where I spent several weeks rebuilding walls and maintaining the land. Stone walls dot Scotland’s countryside and can remain standing for hundreds of years. They are often seen alone in fields, as seen in the picture above, but can also be used as a retaining wall. For example, the retaining wall shown below was built to keep the hillside from collapsing onto the grass.

Wall Building - 1
Three stone retaining walls hold back the hillside and prevent it from eroding.

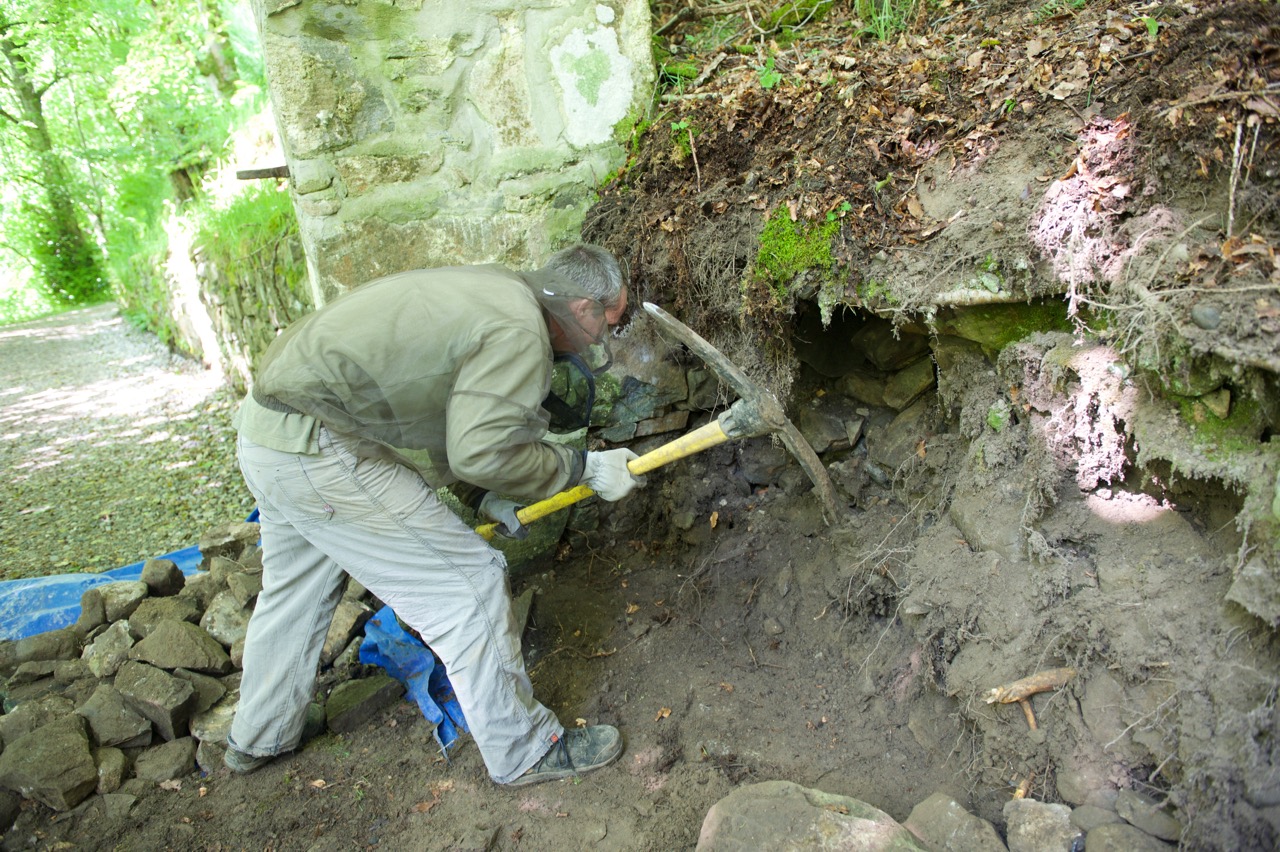
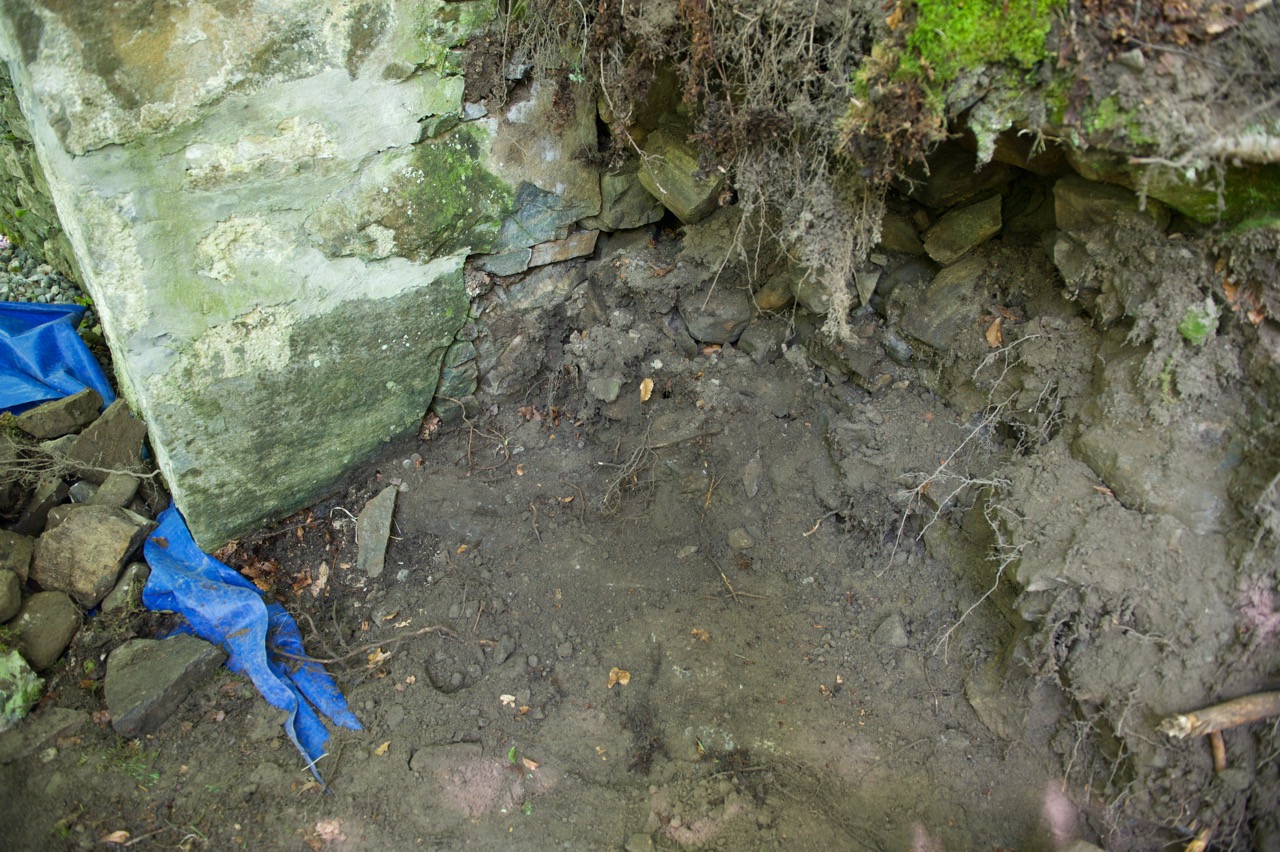
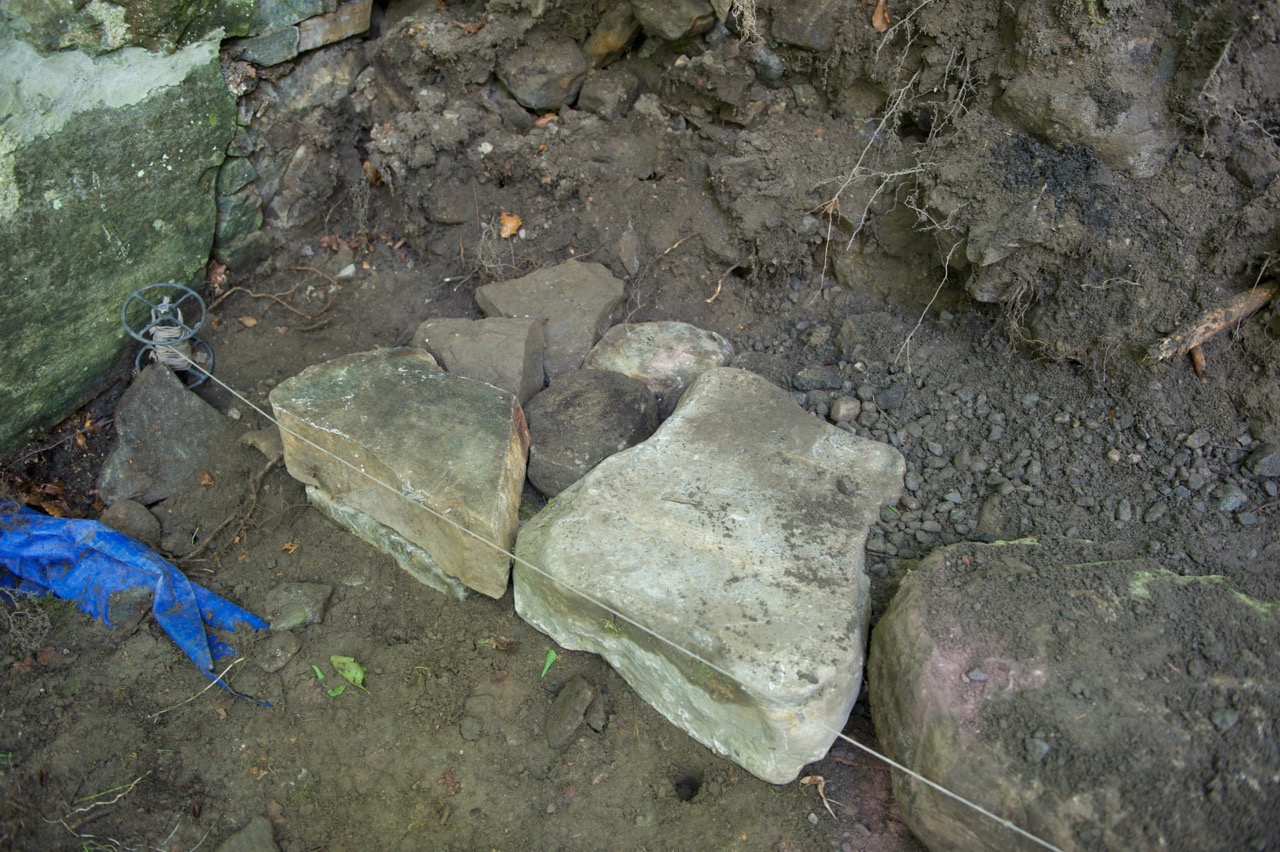
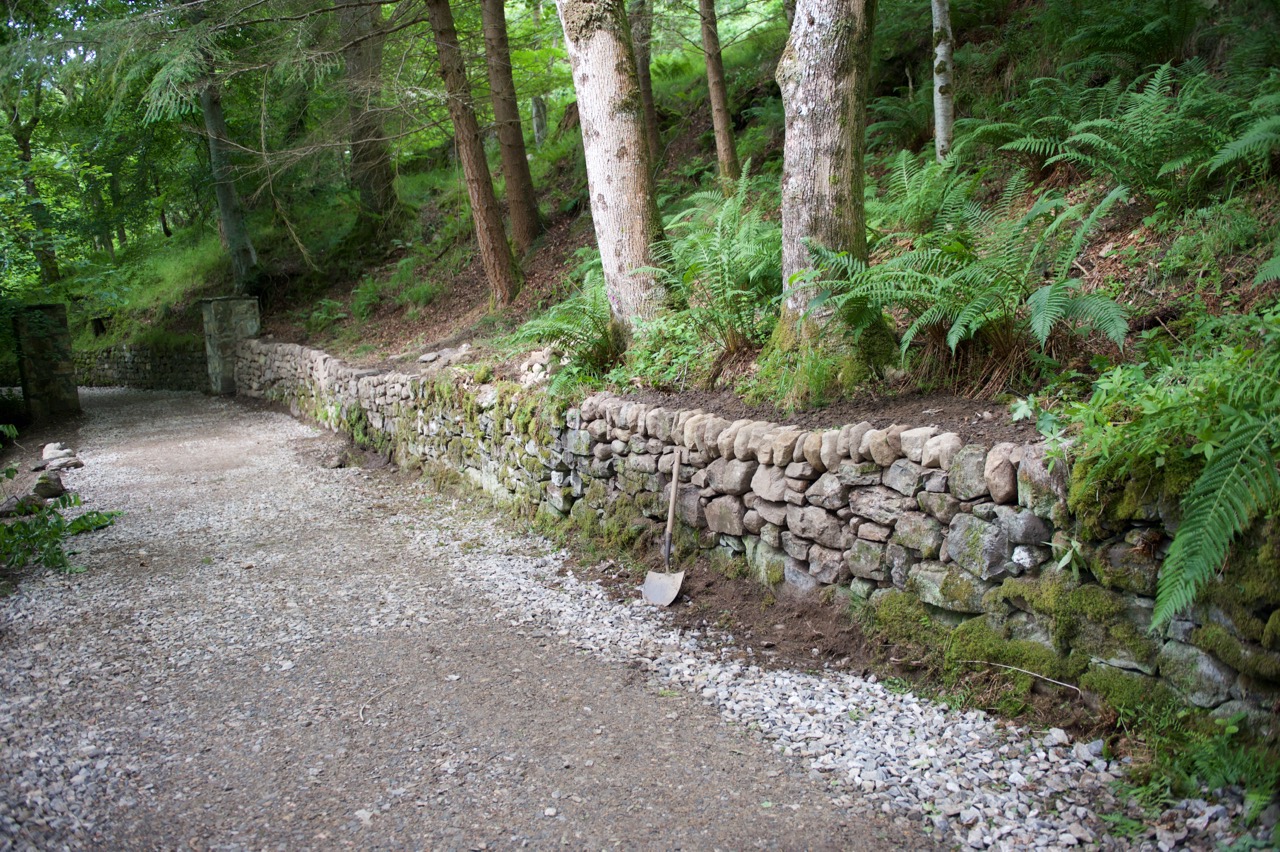
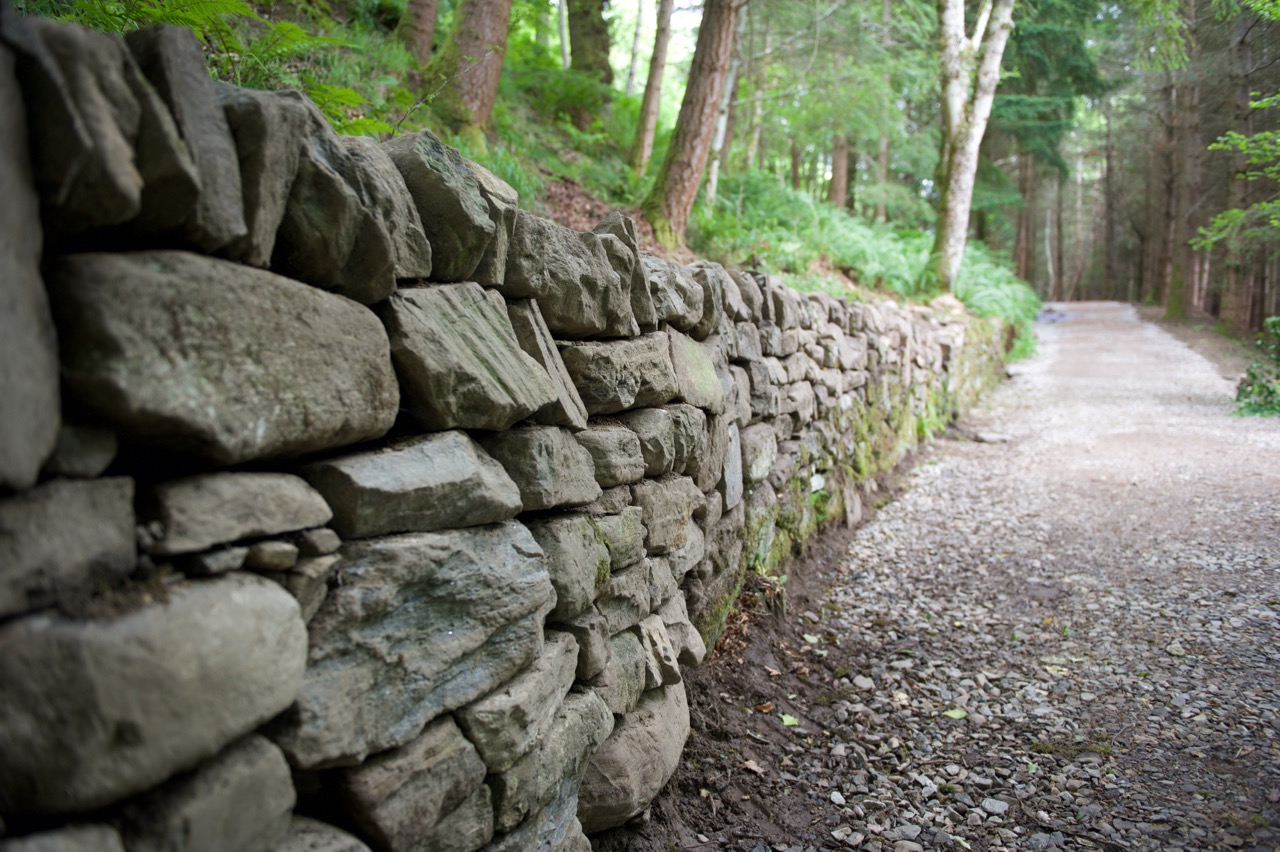
A retaining wall is also often used when a road is made on a hill. The photo below shows the wall I am going to be working on. After the road was carved out of the hillside stone the retaining wall was build to keep the hill from collapsing into the roadway. This wall was constructed nearly 300 years ago, and while the section shown in the photo below is still in great condition, other sections were deteriorating. A friend and I were tasked with rebuilding a section of this wall that was slowly crumbling away.

Wall Building - 3
A stone wall along a road.

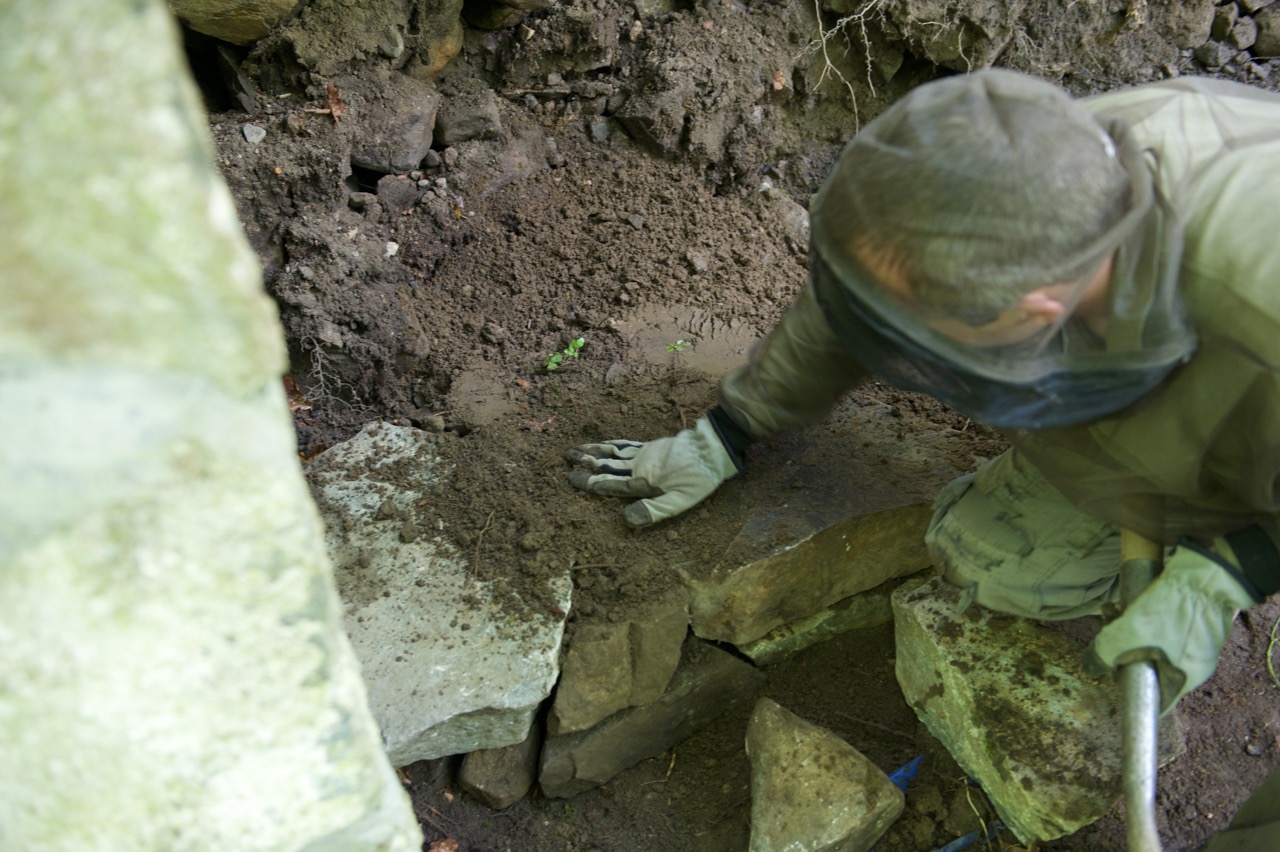
Over the course of several weeks my friend and I rebuilt the deteriorating section, which spanned about 100′. The construction of the first 8′ is shown in this post to demonstrate the process.

It should be noted that this technique should not be used to build structural or load-bearing walls. If the wall needs to support weight, mortar or cement should be used so the wall doesn’t collapse. That said, these mortarless walls are best suited for retaining walls, freestanding barriers, and ornamental applications.

SAFETY NOTE: Rocks are heavy and very hard. Wear long pants, long sleeves, and gloves to protect yourself, and be mindful of your back when picking up heavy stones. Lift with your knees!

Project Steps

Prepare the site

To prepare the site for a retaining wall, put down a tarp to keep the ground clean, then clear out any debris in the way of the wall. Make sure there is plenty of extra depth, you will fill in this extra space behind the wall later.

Make sure the ground under the wall is flat.

The harder the ground is, the better.

i.e: Building a wall on mud is a bad idea because the wall weighs a lot and it will sink and shift around.

Use a string to form a line for the front face of the wall. You will use this line as a guide as you place your stones.

Set the base stones

The base stones are large flat stones that will serve as the foundation for the wall.

Once you choose these stones, place them in several different orientations to see which one looks and fits the best. Wall building is essentially a large and heavy jigsaw puzzle, so try as many combinations as possible.

The base stones should be placed with care so that the tops are level. This will give you a nice flat surface to build the rest of the wall on. You can use small rocks to shim the stone so that it sits the way you want it.

Backfill with rocks

Once the base stones have been set, use smaller rocks to fill the gap between the base stones and the hill.

Use “bad” rocks for the backfill. Save “good” rocks for using on the front face of the wall. You’ll soon learn which rocks are “good” and which are “bad” (good rocks are typically rectangular, with flat faces which make them stack easier).

Pack with gravel and soil

Backfilling with rocks will fill the majority of the space, but there will still be small gaps in between the rocks.

To fill these gaps, pour gravel over the backfill rocks and massage them into the cracks and gaps.

The final step is to add a thin layer of soil or dirt over the gravel. Tamp this down. Now you have a nice flat surface to start the second layer of stones.

Continue adding layers

Add another layer of stones. The remaining layers do not have to be as gingerly placed as the base stones, but it is a good idea to try to keep the tops level and flat. Use the string line again to make sure the tops are level.

The main goal with the remaining layers is to make sure the front face of each stone fits together with its neighbors.

When all the stones for a layer have been placed, backfill with smaller rocks, gravel, and then soil. Repeat these steps until the desired height has been achieved.

Place the top stones

Top stones are used in the final layer of the wall to cap it off.

There is nothing physically different about these stones except that they are placed vertically, instead of horizontally.

I’m not sure if top stones provide any structural advantages, but they do provide a nice aesthetic!

Step back and look at your work!

You’re done! With one section anyway. We rebuilt one small section at a time and slowly worked our way up the road.

To start the next section, drag the tarp over, set up your string line, and repeat!