Jonathan Hooker's Relighting Photo Rig
A couple years ago I woke up in the middle of the night with an idea. It was just a visual, really: a portrait of a person in the dark with lights spinning around them. I had been trying to come up with ideas for live music visuals and it seemed like it could be cool if I could make it interactive. I wasn’t really sure where to get started creating the effect but the next day I took a bunch of pictures with a flashlight, and started playing with them on my computer.

Over a year and a half the project took some twists and turns, before eventually turning into this:


The Light Rig Experiment from Oblio on Vimeo.

Getting to that point was a long journey. I had to learn Arduino and electronics, experiment with different numbers and colors of lights, and I even got sidetracked and built a bunch of guitar pedals. It was a personal project that I worked on during my nights and weekends which eventually became a portfolio piece for my company. Earlier this year I used the tech to create an interactive feature for Insidious: Chapter 3.

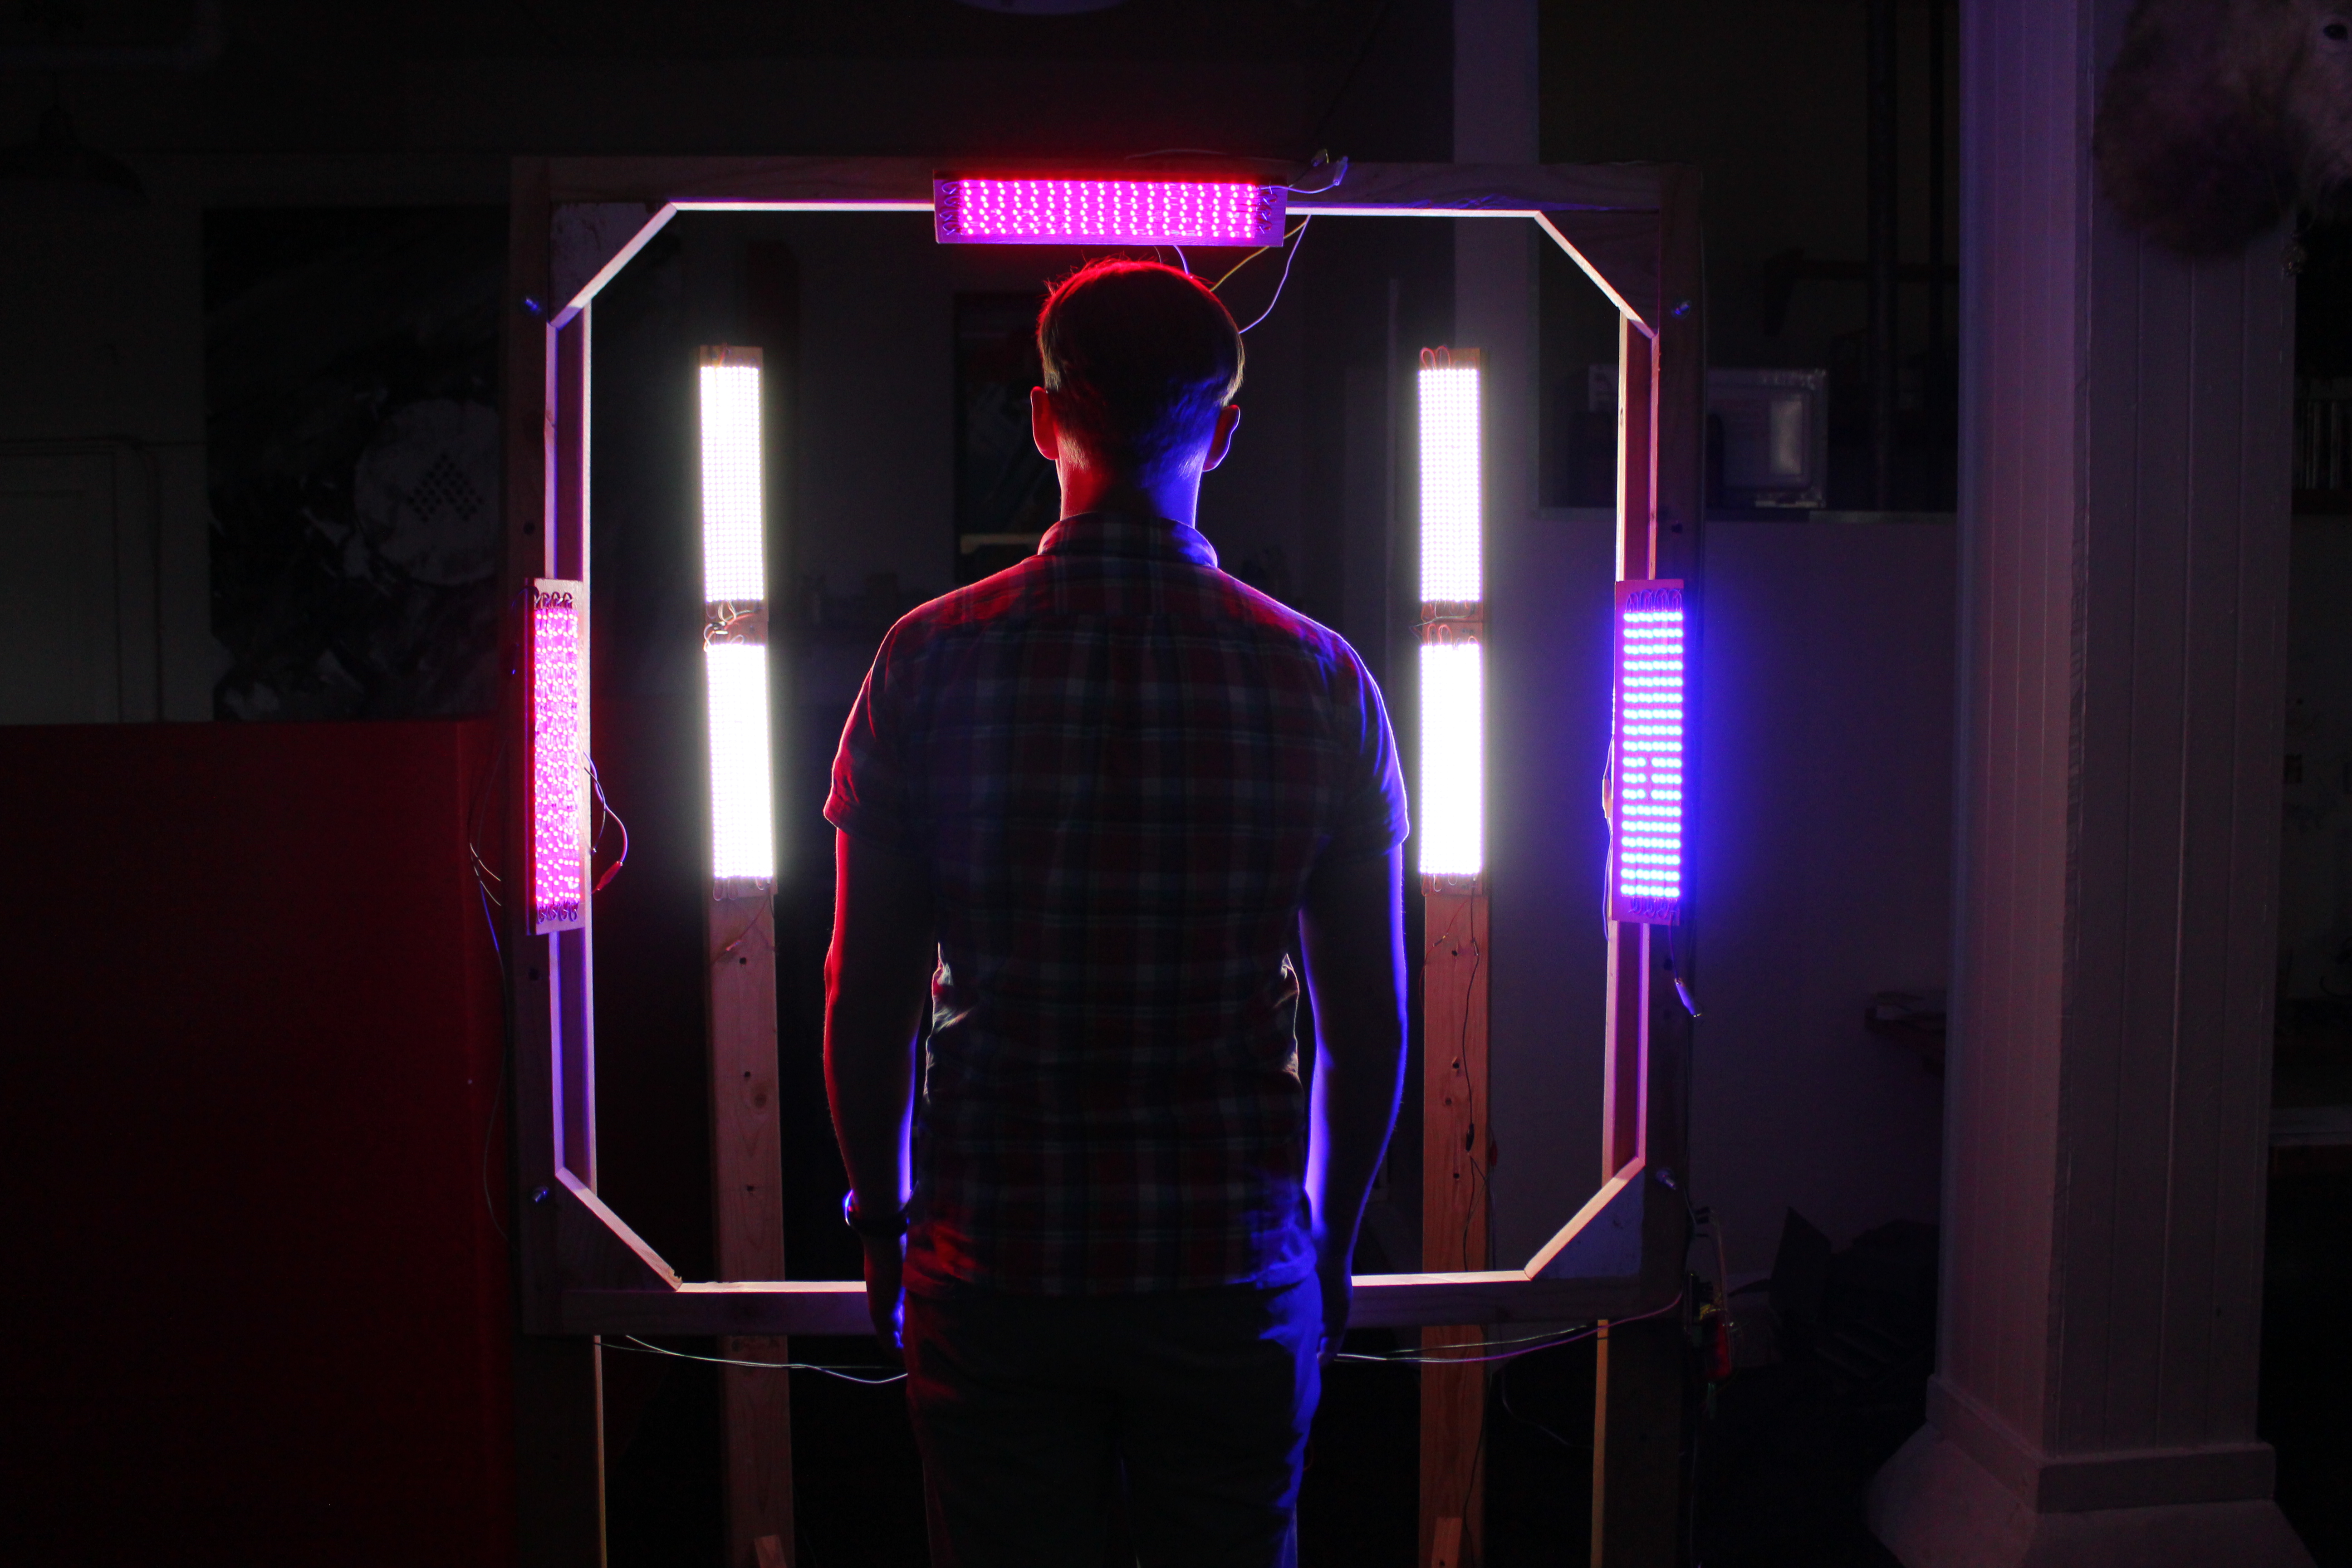
Prior to building the lighting rig that you see above, I created my first proof of concept, a relightable still photograph, using just a flashlight and a digital camera. In this project I’m going to walk you through the steps to create your own. We’ll start by taking a set of images of our subject lit from five different directions: straight on, from the top, bottom, left, and right.

Original Photos Lined Up
Photographing Each Side

The straight on lighting shows us roughly how the subject will appears when fully lit. The top, bottom, left, and right lights show us what the subject looks like when they are lit from a strong angle. It’s inexact, but for my purposes I’m assuming that the brighter each pixel is, the more directly it is facing the light source.

This allows me to create a normal map: an image that specifies what direction a surface is facing (see below for more on that). Once I know what direction each pixel is facing I can calculate the new lighting.

If you’re interested in diving further into the field of image relighting you should check out the amazing work that’s being done at USC by Paul Debevec.

What is a normal map?

Most digital images contain three color channels: Red, Green, and Blue. A normal map uses each of those channels to store the XYZ direction that each pixel is facing. Using our left and right images we can assemble our red channel, and the top and bottom images will be used to create the green channel. Our pictures don’t contain any depth information so we ignore the blue channel.

Rendered from a 3D application:

Normal Map Example

Created from our photographs:

Normal Map Photos Lined Up

Project Steps

Step 1.

Set up your tripod and camera in a dark room. As much as possible you’ll want your light to be the only light affecting the subject. My photos were shot during the day with our office windows covered with blackout fabric. It also helps to keep your subject away from walls so that the background of the photo remains as dark as possible.

For this effect to work you’ll want your subject to remain as still as possible, so have them choose a pose that can be held comfortably while you take the photos. A little movement is okay, you can do some minor alignment in post.

Lighting your photos

Step 2.

Time to take the photos. If you have someone around that can hold the light for you it will make the process much faster, but you can also make it work by setting your camera’s 10 second timer and running to hold the light before it fires.

To be sure that the brightness of the photos match each other you should try to keep the light source at an equal distance from your subject’s face for the top, bottom, left and right photos. Depending on your light source 2-3 feet will probably be about right. Since you can’t place your light directly below your subject (that’s where their legs are) you’ll need to hold the light slightly in front of them. Do the same for the other light angles to keep things consistent.

Photo lighting straight-on

When taking the photo with light straight-on, hold the light close to your camera’s lens so that the subject is fully lit from the camera’s angle. If you need to get the light closer for more light try to match the camera’s angle as much as possible without being in the photo.

Step 3.

Go use the online relight tool described below to see the effect! It will walk you through the steps to upload and align your photos.

Basics of 3D Lighting

3D Lighting Diagram

The core idea in 3D lighting is that a surface is lit up brightly when facing directly towards the light source and is completely obscured when it is facing 90° or more away from the light source. Between 0–90° the amount of light will gradually fade.

Basic 3D Lighting

To render a 3D model you take the model’s base color, calculate the lighting, and combine them to create the final image. In this experiment we use our photo with straight on lighting as the base color, and we use our newly created normal map to calculate the lighting.

Step 4.

Upload images using the online re-lighting tool. Alternately the user can choose to use the images I shot for the article if they just want to see the effect.

Relighting tool opening page
Relight tool image upload

Step 5.

Align images. This step will show the front-lit image with the left lit image laid on top of it at 50% opacity. The user can adjust the image positioning so that the photos are aligned to each other. When they are satisfied they should click the continue button. This step is repeated for the top, right, and bottom photos. (Skip this step if you choose to use our default images.)

Relight image alignment

Step 6.

View the final result. There is a slider on the left for adjusting final saturation. (It can look better to reduce it a bit). Clicking the mouse will change lighting modes.

Relighting demo