


Weddings are the ultimate opportunity to exercise your crafting skills. Don’t leave out your groom and groomsmen — you can make their attire fit right in to your handmade wedding with this simple crochet bow tie pattern.
Projects from Make: Magazine
Crocheted Bow Tie
Something borrowed, something blue ... but what about the groom? Make him stand out with a crocheted bow tie.

Crochet bow A.
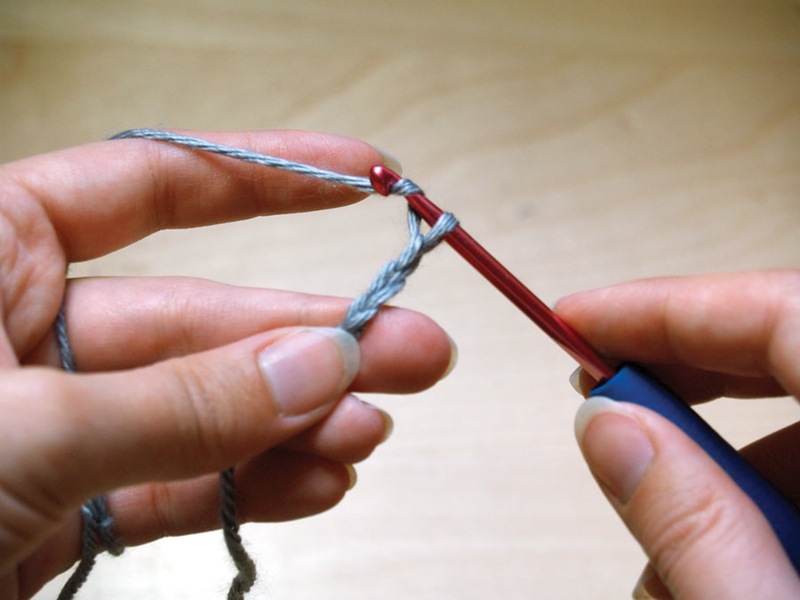
With size F hook, ch 4.
Row 1 (RS) Sc in 2nd ch from hook and in each ch across, turn — 3 sc.
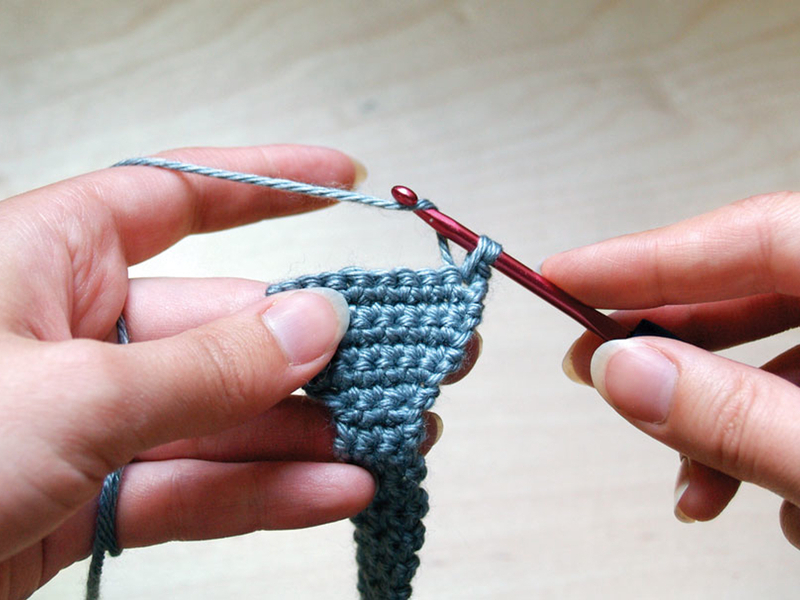
Row 2 Ch 1, 2 sc in first sc, sc in next sc, 2 sc in last sc, turn — 5 sc.
Row 3 Ch 1, 2 sc in first sc, sc in each sc across up to last sc, 2 sc in last sc, turn — 7 sc.
Rows 4–5 Ch 1, sc in each sc across, turn — 7 sc.
Rows 6–11 Repeat rows 3–5 twice — 11 sc.
Row 12 Repeat row 3, turn — 13 sc.
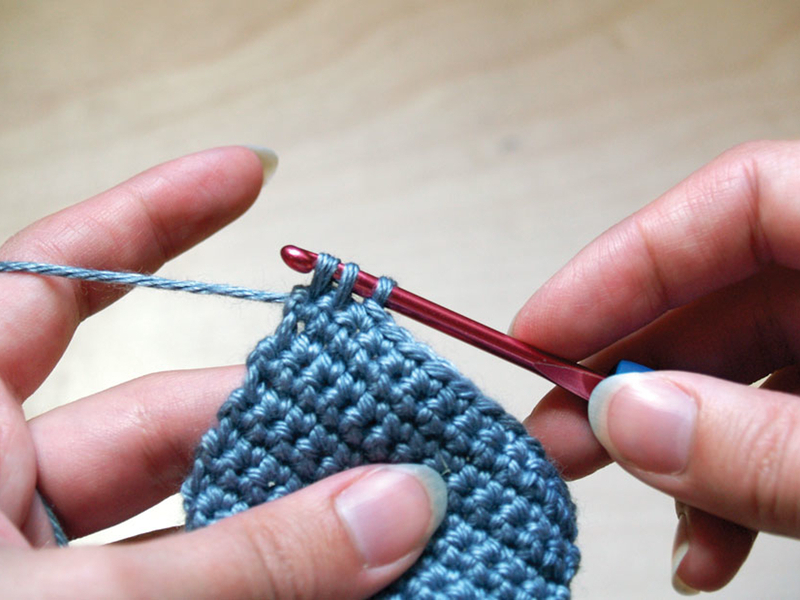
Rows 13–22 Ch 1, sc in each sc across, turn — 13 sc.
Row 23 Ch 2, sc2tog over first 2 sc, sc in each sc across up to last 2 sc, sc2tog, turn — 11 sc.
Rows 24–25 Ch 1, sc in each sc across, turn — 11 sc.
Rows 26–31 Repeat rows 23–25 twice — 7 sc.
Rows 32–33 Repeat row 23 — 3 sc.
Row 34 Ch 1, sc in each sc across, turn — 3 sc.
Rows 35–49 Repeat rows 2–17 — 13 sc. Fasten off.
Crochet bow B.

Ch 4.
Row 1 (RS) Sc in 4th ch from hook and each ch across, turn — 3 sc.
Row 2 Ch 1, sc in each sc across, turn — 3 sc. Repeat row 2 until band measures 6″ longer than the circumference of the wearer’s neck.
Repeat rows 2–49 of bow A. Fasten off.
Before you sew the bow tie together, you’ll want to make sure it fits. Pin it in place and drape it around the wearer’s neck to gauge whether it will be long enough to tie comfortably. If not, add a few more rows of sc to the narrow end of bow B before proceeding.
Finish.

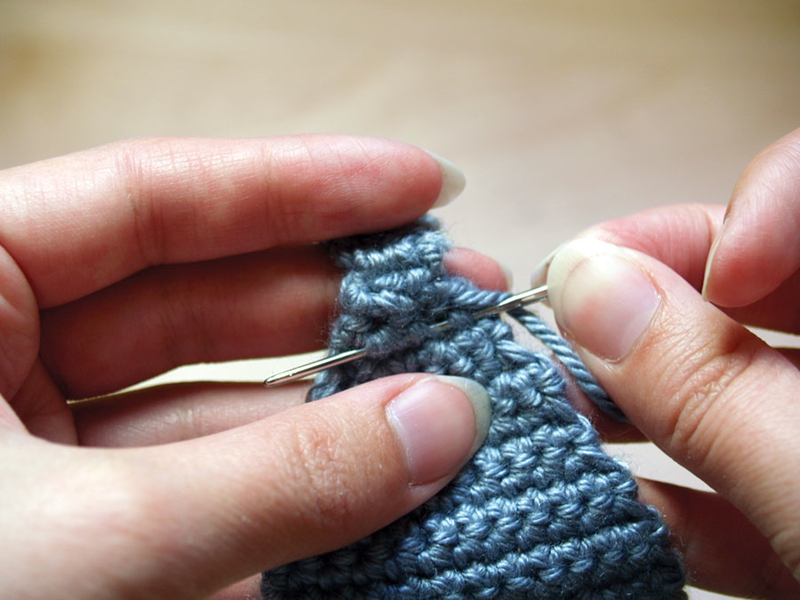
Sew the narrow end of bow A to the straight end of bow B, making sure that the right sides are facing each other. Weave in the sewing end.
With the right side of the bow tie facing you, attach yarn in the corner of 1 tie end and, using a size D hook, sl st around the entire outside edge of the bow tie. Fasten off and weave in the ends. Steam-block the tie.
Conclusion
This project first appeared in CRAFT Volume 10, pages 67-69.


