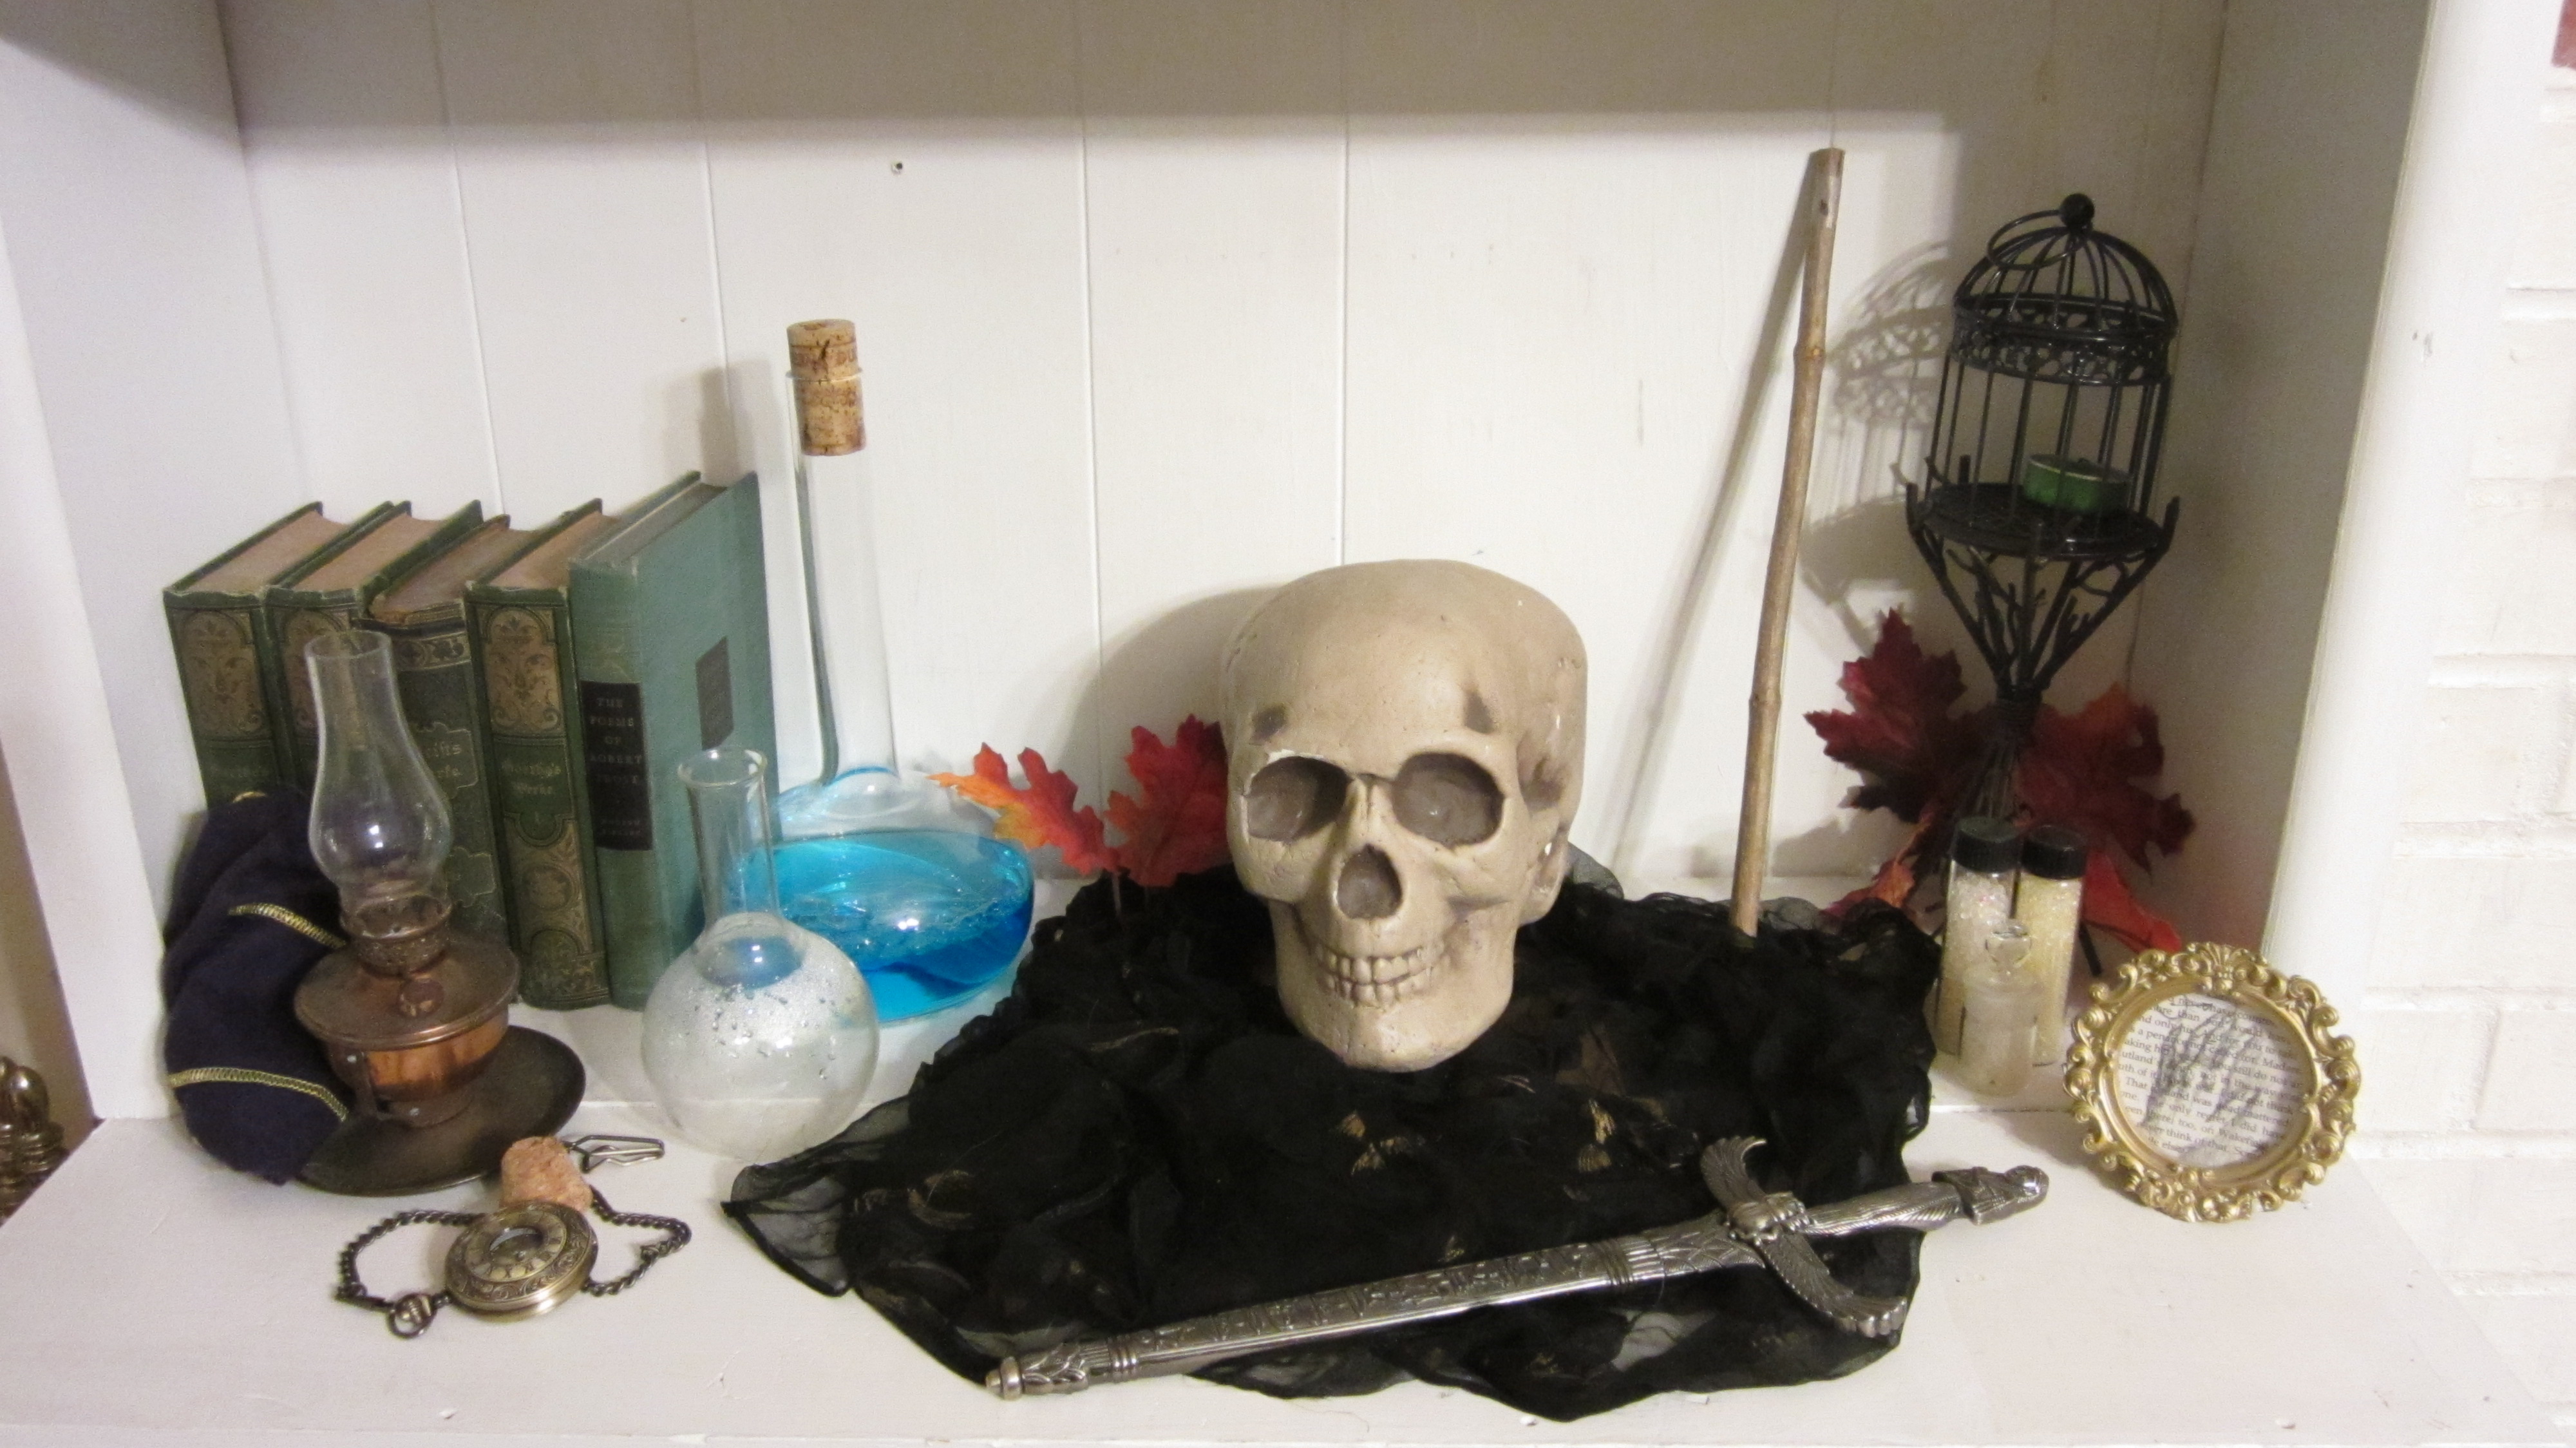
Interactive Halloween props are always fun and they are surprisingly easy to make. This year I designed a simple system that rotates a skull to face you and follows you movements as you walk by.

To accomplish this I used light sensors to detect a person’s shadow. An Arduino microcontroller then calculates where they are standing and activates a servo that turns the skull to face them. When they move, the skull turns to follows them.

Project Steps

Select a Halloween Prop to Use

The first thing that you need to do is select a Halloween prop that will turn and follow people walking by. Look for props that are both creepy and light weight. I chose to use a foam skull but there are a lot of other props that can also work. Use your imagination.

The Light Sensors

This project uses an array of light sensors to detect where a person is standing. I used CdS photoresistors but you could also use phototransistors.

When using photoresistors, you need to be aware that CdS photoresistors can vary quite a lot in their output characteristics. Even if you purchase a set of photoresistors that are the same type from the same manufacturer, the output of one photoresistor can still be very different from the next. There are several ways that you can compensate for this. You could change the other circuit components to match the photoresistors in the desired lighting. Another option is to change the Arduino code to compensate for different values of the photoresistors. You can add in a simple adjustment factor to any inputs, or you can write code that calibrates itself by referencing its average value. If all else fails you can purchase more photoresistors than you need in the hopes that you can get a group of them with approximately the same output characteristics.

The Microcontroller

The brain of this project is the Arduino UNO microcontroller. This board has six analog input ports that are used to measure the voltages coming from the light sensors. The Arduino monitors these voltages over time and calculates which sensor experiences the greatest drop in voltage. This typically results from a person walking in front of that sensor and casting a shadow on it. The arduino then activates a servo to turn the skull to face that sensor and the person standing in front of it.

The Code

// Here is the Arduino code that I used.

// Open up the Arduino environment. Then copy and paste it into a new sketch.

// Then upload the code to the Arduino board.

#include

Servo myservo; //create servo object to control a servo

int ResetTimer=0; //sets delay to reset position

int GoalPosition=3; //stores the goal postion (1-5) where the person is standing

int GoalPositionDegrees; //stores the goal position in degrees (30-150)

int CurrentPositionDegrees=90; //stores the current position in degrees (30-150)

int AveragingSpeed=100; //sets how quickly the average values adjust (a lower value changes average value quickly) //quickly. A value of 100 changes the average value slowly

// his effectively sets the speed at which the sensors recalibrate themselves to changing light conditions

int PinOneCurrent; //stores current value of pins 1-5

int PinTwoCurrent;

int PinThreeCurrent;

int PinFourCurrent;

int PinFiveCurrent;

float PinOneAverage; //stores the average value of pins 1-5

float PinTwoAverage;

float PinThreeAverage;

float PinFourAverage;

float PinFiveAverage;

float RatioPinOne=0.00; //stores the ratio of current pin value to average pin value

float RatioPinTwo=0.00;

float RatioPinThree=0.00;

float RatioPinFour=0.00;

float RatioPinFive=0.00;

float Threshold=0.95; //sets minimum threshold for sensors

void setup()

{

myservo.attach(13); //attaches servo to digital pin 13

PinOneAverage = analogRead(1); //reads from sensors to set initial average pin value

PinTwoAverage = analogRead(2);

PinThreeAverage = analogRead(3);

PinFourAverage = analogRead(4);

PinFiveAverage = analogRead(5);

}

void loop()

{

//read analog pins 1-5 and set the result as current value

PinOneCurrent= analogRead(1);

PinTwoCurrent= analogRead(2);

PinThreeCurrent= analogRead(3);

PinFourCurrent= analogRead(4);

PinFiveCurrent= analogRead(5);

//adjust average pin values

PinOneAverage=PinOneAverage+(PinOneCurrent-PinOneAverage)/AveragingSpeed;

PinTwoAverage=PinTwoAverage+(PinTwoCurrent-PinTwoAverage)/AveragingSpeed;

PinThreeAverage=PinThreeAverage+(PinThreeCurrent-PinThreeAverage)/AveragingSpeed;

PinFourAverage=PinFourAverage+(PinFourCurrent-PinFourAverage)/AveragingSpeed;

PinFiveAverage=PinFiveAverage+(PinFiveCurrent-PinFiveAverage)/AveragingSpeed;

//calculates ratio of current pin value to average pin value

RatioPinOne=(float)PinOneCurrent/PinOneAverage;

RatioPinTwo=(float)PinTwoCurrent/PinTwoAverage;

RatioPinThree=(float)PinThreeCurrent/PinThreeAverage;

RatioPinFour=(float)PinFourCurrent/PinFourAverage;

RatioPinFive=(float)PinFiveCurrent/PinFiveAverage;

//determine which ratio is the largest and sets the goal position

//set goal position

if (RatioPinThree < Threshold && RatioPinThree < RatioPinOne && RatioPinThree < RatioPinTwo && RatioPinThree < RatioPinFour && RatioPinThree < RatioPinFive)

{ GoalPosition=3;

ResetTimer=0; }

else if (RatioPinOne < Threshold && RatioPinOne < RatioPinTwo && RatioPinOne < RatioPinThree && RatioPinOne < RatioPinFour && RatioPinOne < RatioPinFive)

{ GoalPosition=1;

ResetTimer=0; }

else if (RatioPinTwo < Threshold && RatioPinTwo < RatioPinOne && RatioPinTwo < RatioPinThree && RatioPinTwo < RatioPinFour && RatioPinTwo < RatioPinFive)

{ GoalPosition=2;

ResetTimer=0; }

else if (RatioPinFour < Threshold && RatioPinFour < RatioPinOne && RatioPinFour < RatioPinTwo && RatioPinFour < RatioPinThree && RatioPinFour < RatioPinFive)

{ GoalPosition=4;

ResetTimer=0; }

else if (RatioPinFive < Threshold && RatioPinFive < RatioPinOne && RatioPinFive < RatioPinTwo && RatioPinFive < RatioPinThree && RatioPinFive 100) //after delay resets to position 3

{ GoalPosition=3;

ResetTimer=0; }

else

{ ResetTimer=ResetTimer+1; }

GoalPositionDegrees=GoalPosition*25+15; //converts the goal position to degrees

myservo.write(GoalPositionDegrees); //sets the servo position according to the scaled value

delay(30); //sets how quckly the servo turns (lower numbers turn more quickly)

}

Attach the Servo to Your Prop and a Base

To be able to turn your prop you need to attach it to a servo motor. How you attach your prop to the servo will depend on the geometry of your prop. Try to find an area where the servo can be easily hidden. If people can see the servo, it will be less impressive.

The skull that I am using has a flat recessed area on the bottom behind the jaw. This made a convenient place to mount the body of the servo. To attach the servo to the skull I applied a generous amount of hot glue to the bottom of the servo and pressed the two together for several minutes. Then I applied more hot glue around the edges.

To mount the skull and servo, I attached the rotor of the servo to piece of cardboard that will act as the base. First make sure that your servo is in the center position. This will make sure that it is oriented properly and can go through the full range of motion. I applied hot glue to the center of the cardboard and to the rotor. Then I pressed the two together for several minutes until the glue hardened. To make it a little more secure, I applied more glue around the edges.

Setup the Light Sensor Array on a Breadboard

To assemble the photosensor array each CdS photoresistors is wired in series with a fixed 10kohm resistor. The fixed resistor is connected to GND and the photoresistor is connected to 5VDC . The center pin is connected to an analog input of the arduino. This forms a light sensitive voltage divider. As the light changes, so does the resistance of the photoresistor. This results in a change in voltage at the center pin that is detected by the microcontroller. I used five of these sensors in this project. But you can use as many sensors as you have analog input pins on your Arduino.

First I assembled the sensors on a breadboard. I ran a jumper wire from the 5V pin on the Arduino to one of the power rails on the breadboard. Then I ran a jumper wire from the GND pin on the Arduino to the other power rail. Then I added the photoresistors and 10k resistors between the power rails as shown in the picture above. Then I added a jumper wire from the center pins of each sensor to the analog input pins 1-5 on the Arduino.

Attach the Servo to the Breadboard and the Arduino

Now you need to connect the servo to the Arduino. The servo has three wires. The ground wire is typically black or brown. This should be connected to one of the GND pins on the Arduino. The signal wire is typically yellow, orange or white. This should be connected to one of the digital pins on the Arduino. The positive power wire is typically red. This needs to be connected to the 5V pin from the Arduino. Unfortunately there is only one 5V pin on the Arduino and that is already being used to power the light sensors. So you should connect this wire to the positive positive power rail on the breadboard.

Test the System

Now you need to test the system to make sure that it is working properly.

Plug the Arduino into your computer and upload the code. If everything wired up correctly, the skull should turn to face one of five positions when you cover the photoresistors with your hand. These five positions should correspond to the five photoresistors.

If the skull is facing the opposite direction from the sensor that you are covering, you can correctly this by switching which analog pins the jumper wires are connected to.

You will probably need to make some adjustments to the code to fine tune how it performs. But that can wait until everything is setup in the final location.

Add Extension Wire for Each Photoresistor

In order to be able to mount the photoresistors in their final locations, you need to add extension wires to them.

Cut ten pieces of thin insulated wire that are each several feet long. Then strip the insulation off the ends. You can use individual wires or multi-wire bundle such as a computer connector cable. Remove one of the photoresistors from the breadboard. Then take two of the wires and connect one end of each piece to the locations on the breadboard where the photoresistor leads where inserted. Then connect the other ends to the leads of the photoresistor. For the best connection, you should solder them together.

After connecting the wires you should insulate the contacts. You can do this with either heat shrink tubing or tape. Repeat this process for each of the other photoresistors. Doing them one at a time helps to avoid crossed wires.

Mount Everything in its Final Location

Now it is time to setup everything in its final location. The ideal location for this is a shelf that is between waist height and head height. Place the skull on top of the shelf. If possible, use fabric to cover up the base and to help hide the servo.

Mount the photoresistors on the bottom side of the shelf along the front edge. The easiest way to do this is to just stick it in place with tape. Run the wires to a nearby place where you can hide the Arduino and the breadboard. Adding other decorations can help to hide the wires.

To power the system, you can run a USB cable to a nearby computer or you can use a 5VDC adapter that is plugged into a wall outlet or extension cord.

Make Adjustments to the Code

The code that I included has several variables that you can change to adjust the performance of the skull. You can adjust the sensitivity of the sensors. You can change how quickly the system re-calibrates itself to changing light conditions. You can set the time delay before the skull resets its position. Try making adjustments until it performs the way that you like.