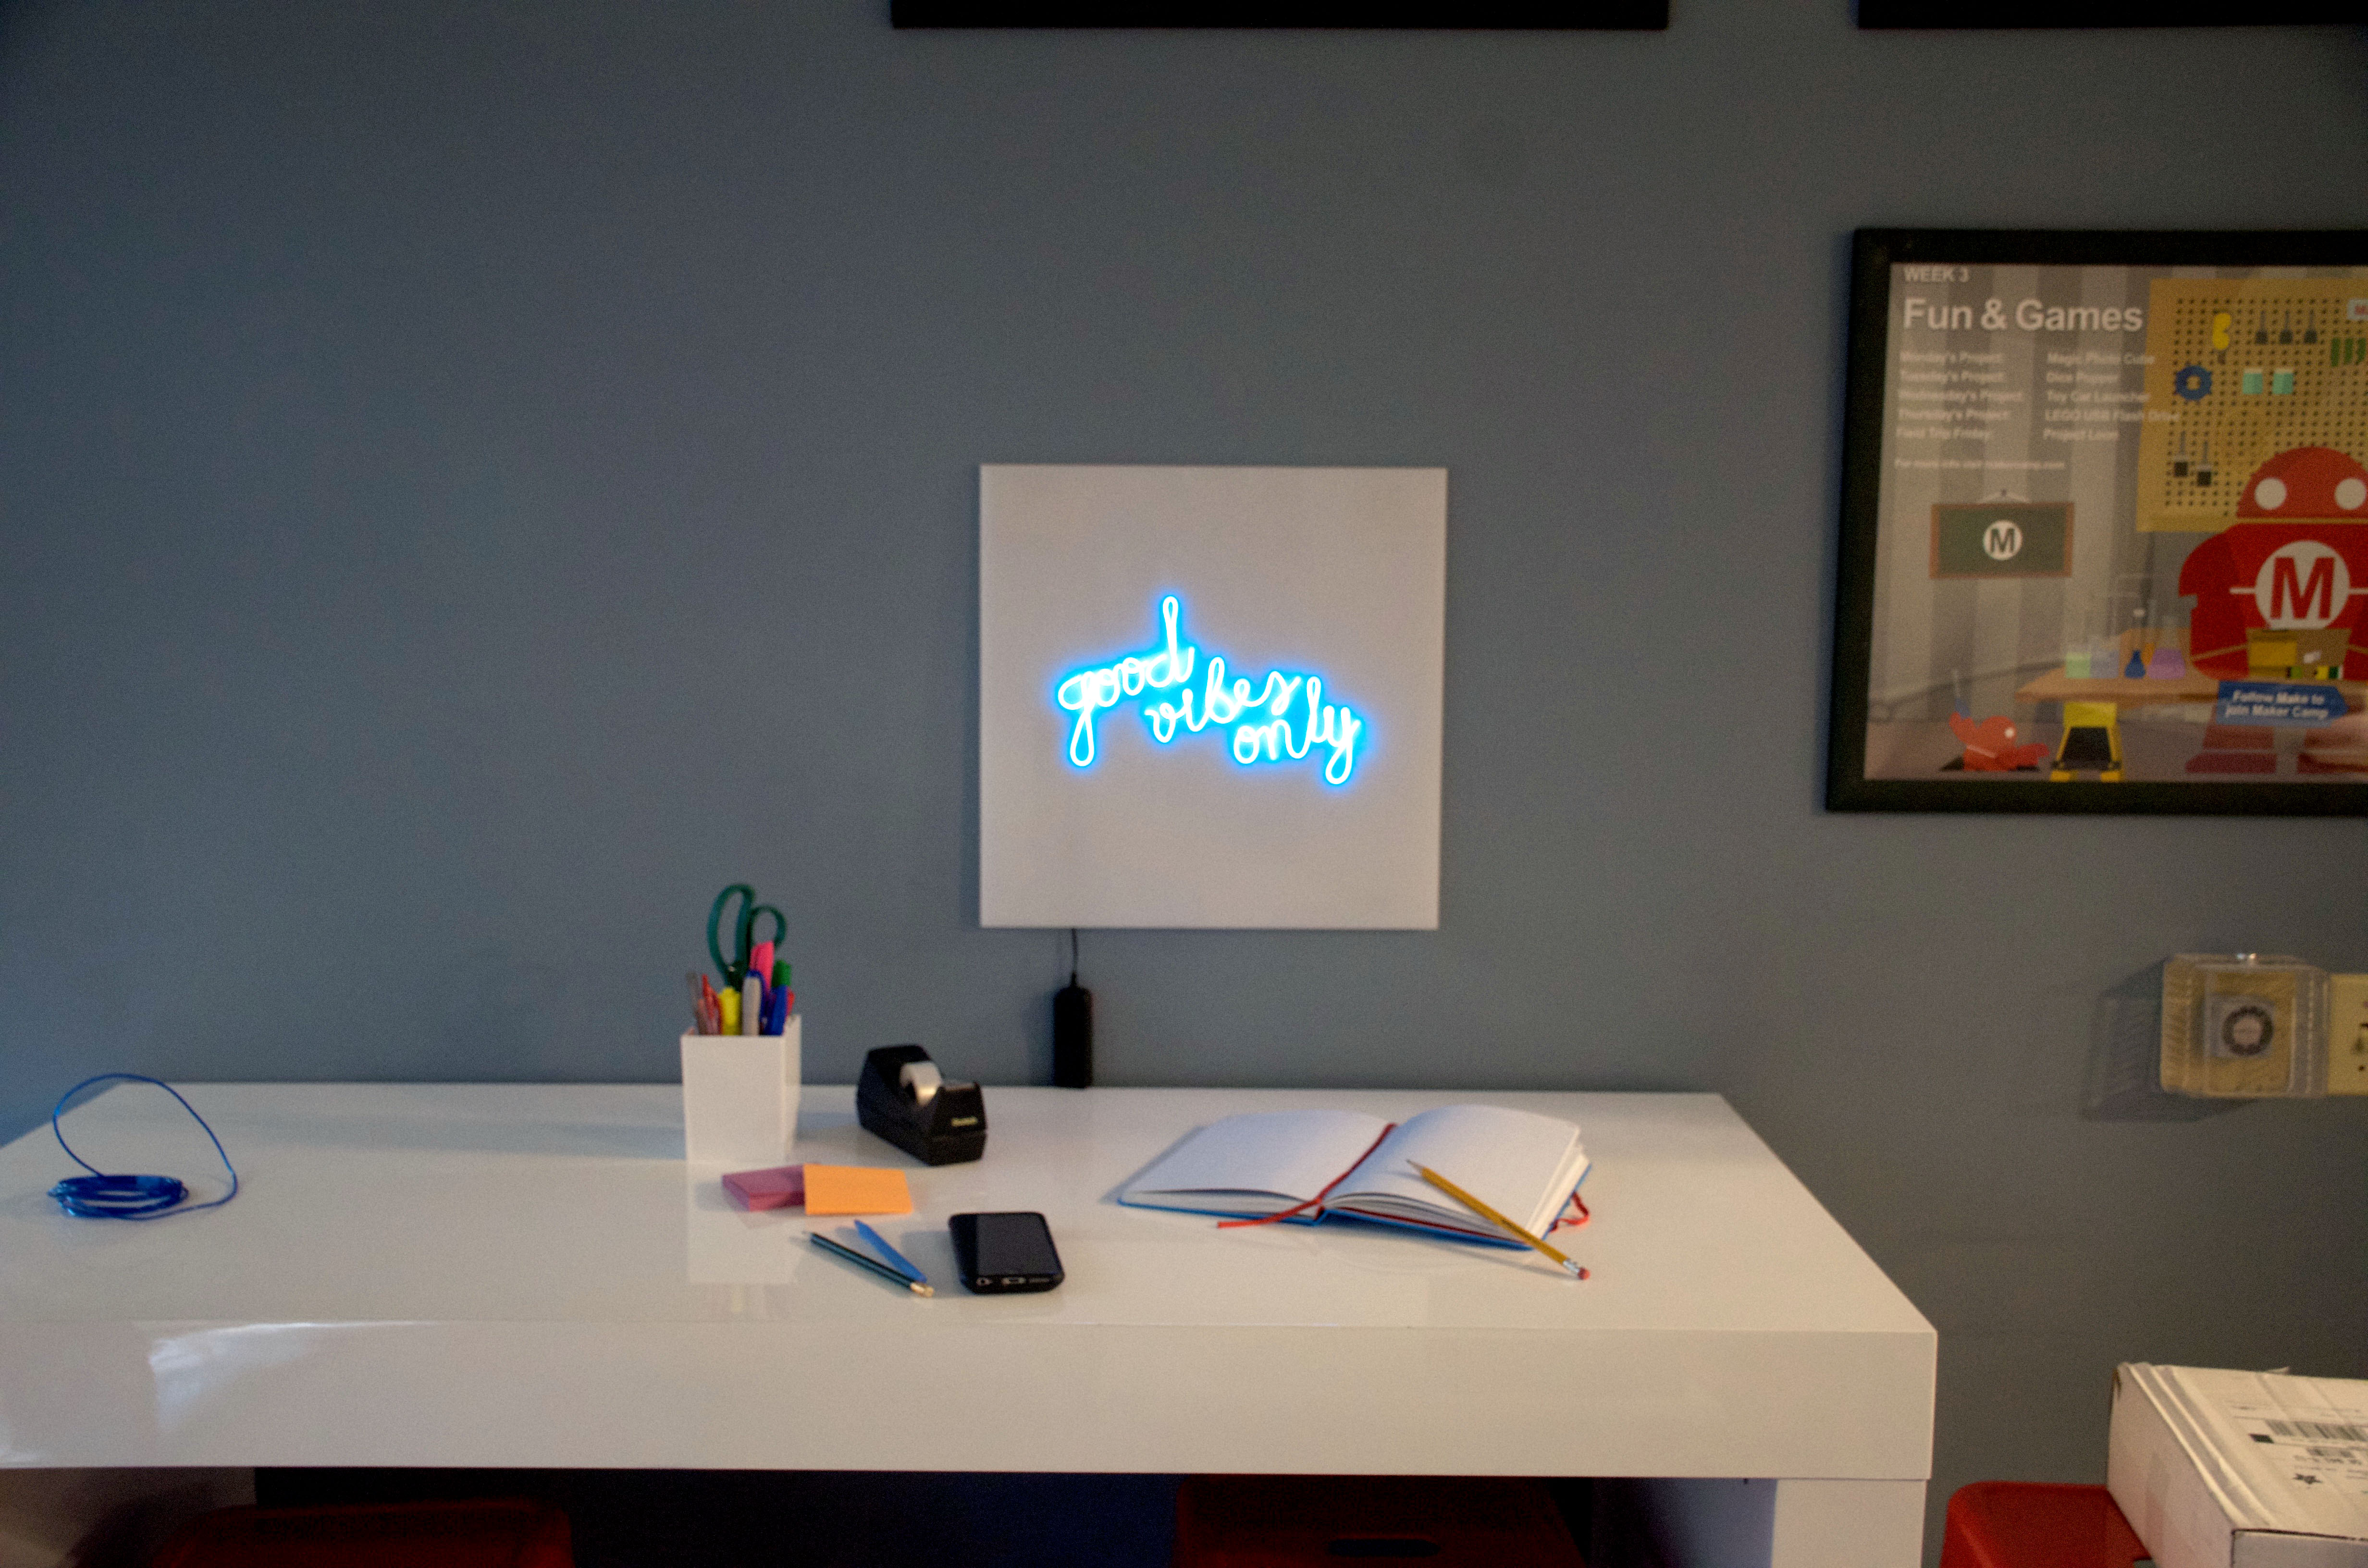
DSC_5278
Photography by Jenny Ching
Read articles from the magazine right here on Make:. Don't have a subscription yet? Get one today.
Read articles from the magazine right here on Make:. Don’t have a subscription yet? Get one today.

Neon signs give an awesome glow, but actually making one would be a tricky, advanced DIY project.

For an easier, more accessible alternative, you can try neon’s modern cousin: EL wire. It’s low-voltage, easy to bend, and it’s driven by inexpensive inverters that can do tricks like flashing or fading. In short, it’s perfect for making your own faux neon sign. Let’s get started!

Project Steps

1. LAY OUT YOUR DESIGN

jmzvB
goodvibesonlyHOLES

Print your design on paper and tape it to your sign board as a guideline. (I downloaded a fun font for free.) Or, if your material is translucent, use a dry-erase marker to trace it.

Now you need to mark an X where you’ll drill the holes to form the words or shapes in your design. This is tricky because EL wire can’t bend 90° or turn super tight loops. The obvious holes are at the beginning and ending of each word. To figure out the rest, bend the EL wire over your word or design. Anywhere it’s too difficult to bend, you’ll want to drill a hole, feed it to the backside, then drill another hole to bring it to the front and start the next part of your shape.

2. DRILL HOLES

DSC_5214

Go slowly to avoid cracking, and remove the shavings after each hole so that they don’t stick to the acrylic.

3. ROUTE THE EL WIRE

kLsqR

DSC_5237

Remove the paper design and feed all the EL wire through the first hole, from back to front. Secure the inverter and its leads to the back of the board with duct tape or gaffer tape.

DSC_5245

Flip the board right-side up and trace your words by bending the EL wire. Secure it with a few drops of super glue at a time: hold it with your fingers for a few seconds, and then secure it with strips of painter’s tape. Erase any guidelines as you go.

When you finish the last word, feed the remaining wire through to the back. Cut the excess, leaving about 2″, and duct-tape the end to the back of the board.

DSC_5247

Let the super glue dry overnight, then peel away all the painter’s tape.

NOW LIGHT IT UP!

Plug the EL wire into the inverter, load the batteries, and switch it on. You’re done!

Tip: If needed, cover any exposed EL wire on the back with duct or gaffer tape to prevent it from shining through.