


A set of poi are weighted cords which can be spun around in a type of dance that skilled poi users can do very intricately.
It is somewhat unusual to find a shop that sells poi, so you can spare yourself the trouble of shopping around by making a set for yourself. Judging from the poor craftsmanship of many of the poi I’ve seen for sale, making your own is a smart way to go.

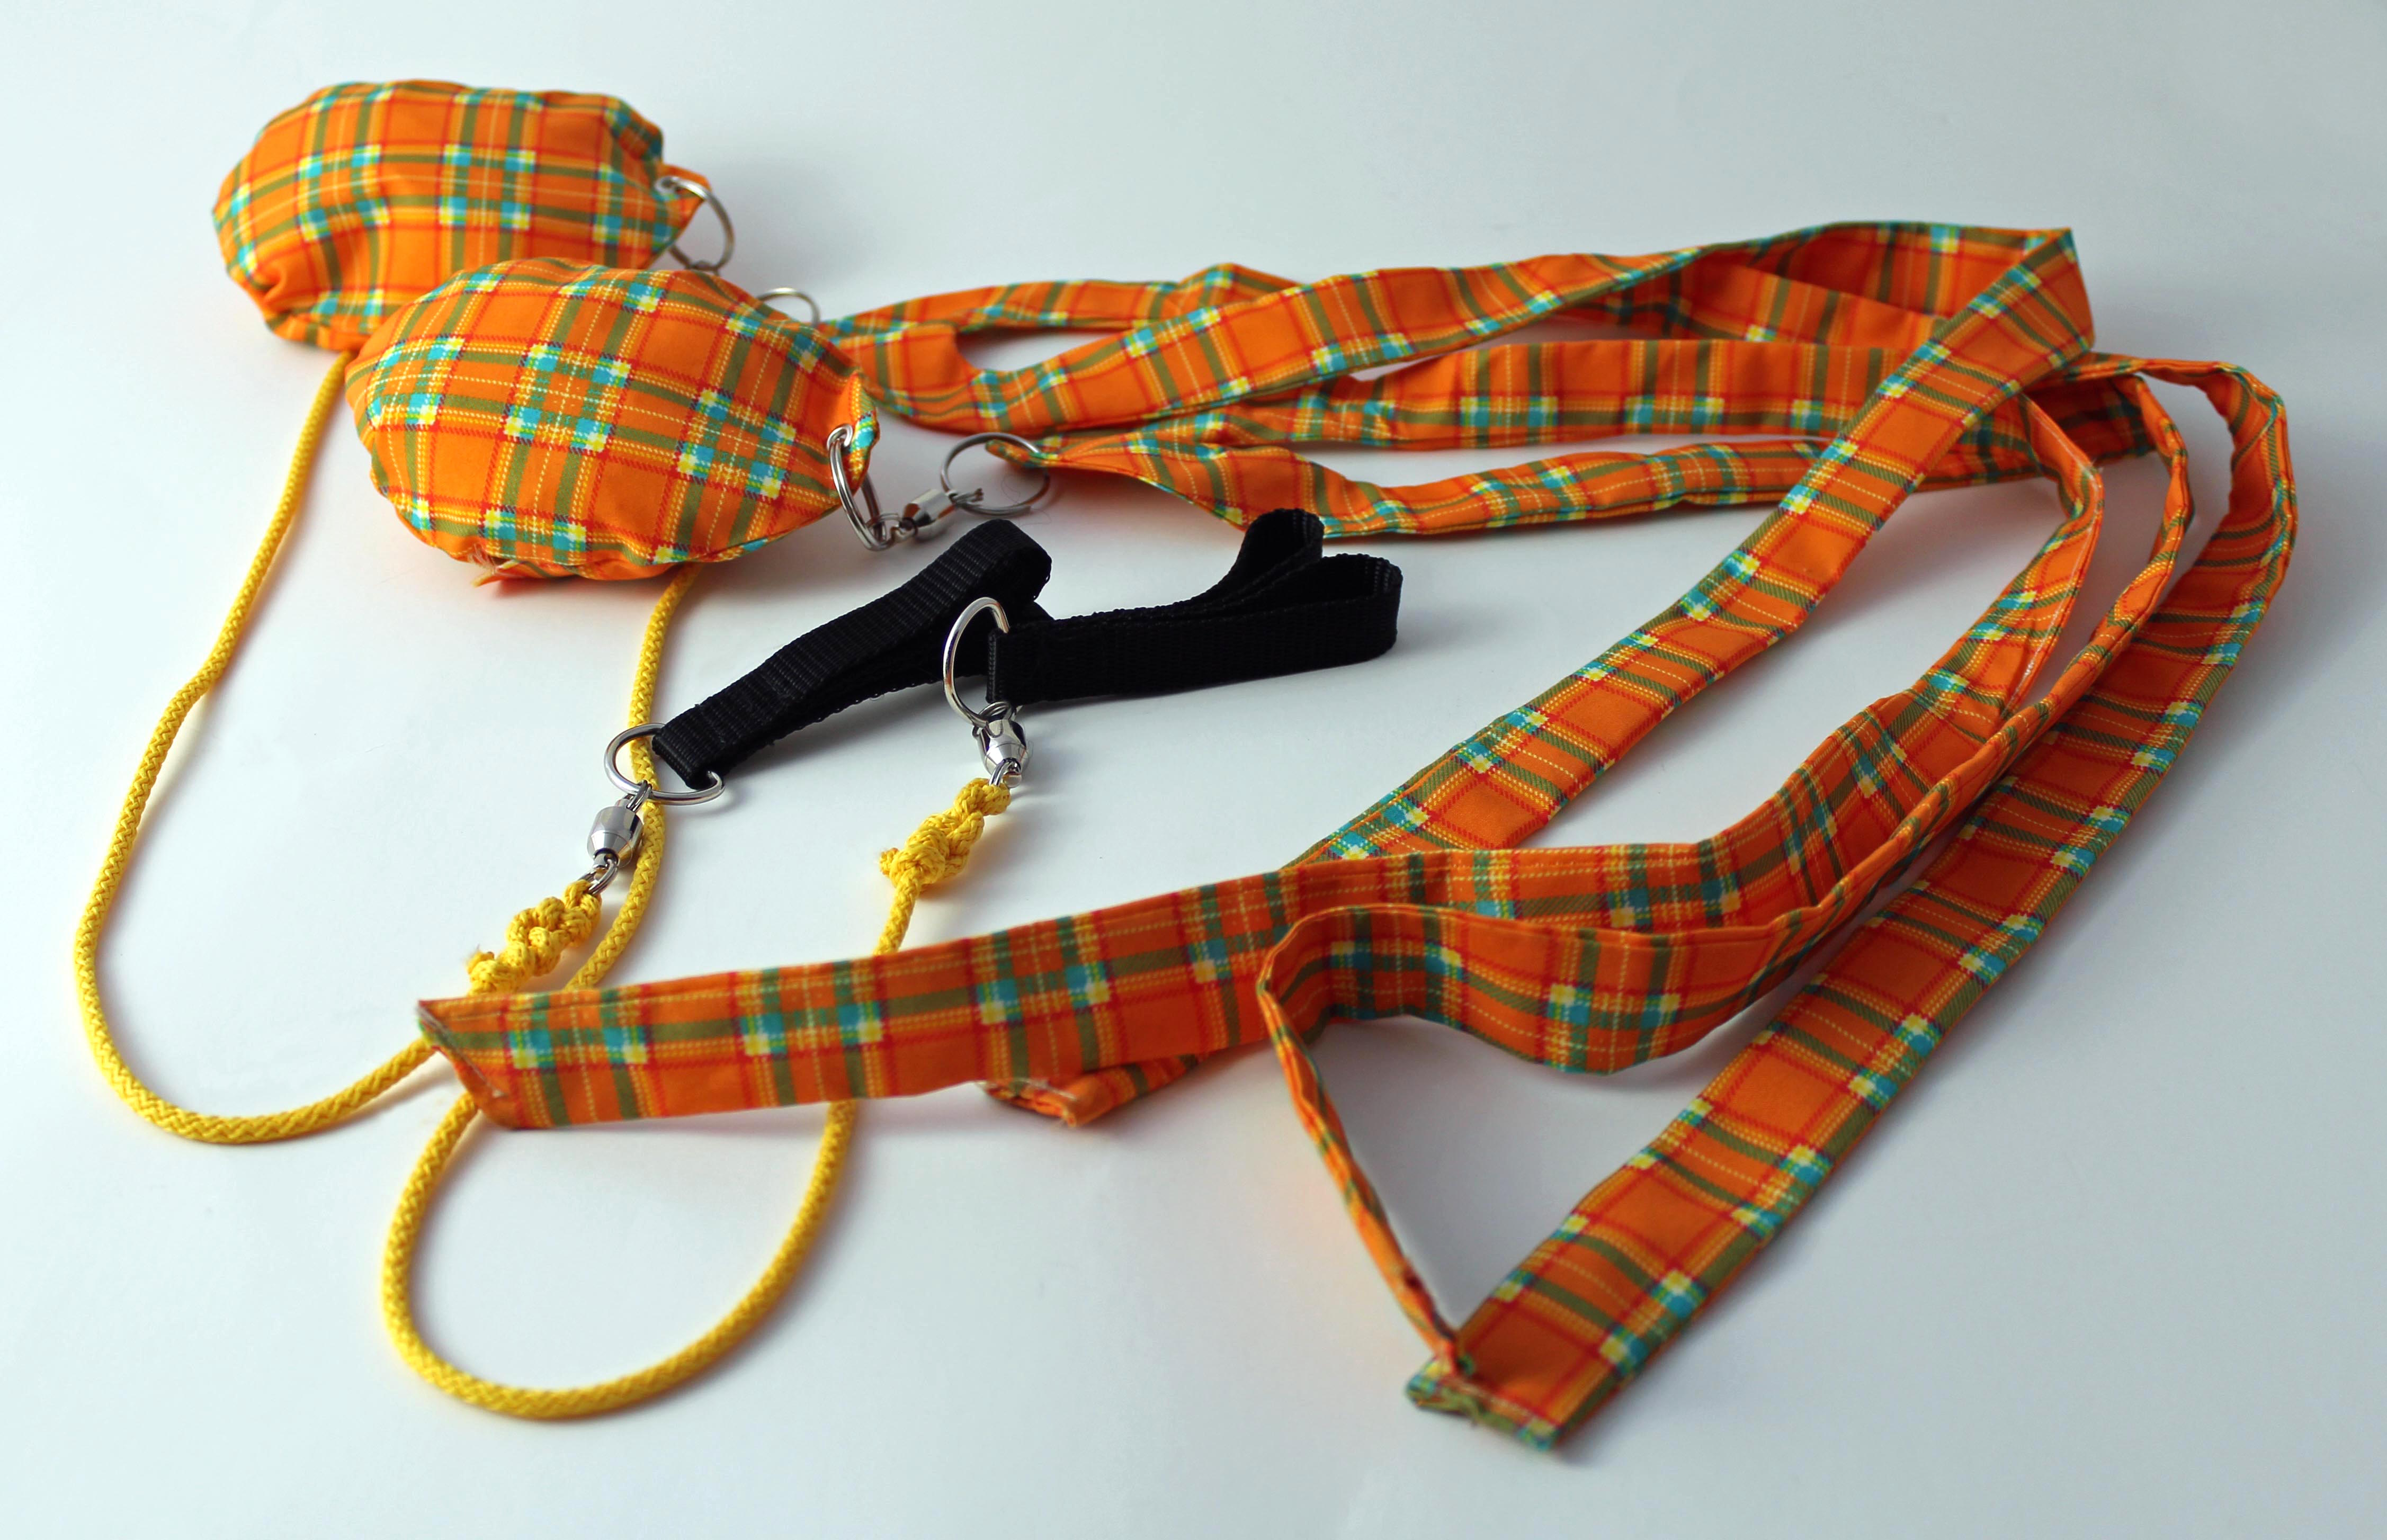
More importantly, you can make exactly the poi you want, in any fabric and in any length. Your poi can be a unique expression of who you are. Here, I made a pair of “tailed poi” using orange tartan cloth with a detached weight pouch.
This project introduces a few basic skills including using an eyeleting tool, hole punch, and sewing machine as well as some rough drafting skills to make the poi patterns.
1. Making the paper pattern
Everything’s a lot easier when you have an accurate pattern to work from. I took a sheet of paper and made an initial mark half the diameter I wanted my poi to be. Each half of the poi should be just a little over 5″ at its widest point.


I scored a line at this distance from the edge and then started to mark out the various components for my poi. I knew that I would like to use the full length of the sheet of paper for the tails of the tartan poi.
After drawing half of the poi I cut out the parts which were not needed, folded along the score, and used the edge of the cut profile to trace the other side of the poi before cutting my patterns loose.
2. Marking the fabric
It is important to note that your fabric might stretch in certain directions. Ideally you should try to avoid stretching the poi along its length, as this can affect your enjoyment of the poi. I decided to use pens to mark the fabric and used colors which would be difficult to identify on the face side of the fabric.


3. Cutting out
With a decent pair of scissors, cut around the line you marked on the fabric leaving a border of around 5mm.

4. Sewing
For the most part, you’re simply sewing along the lines. For the parts designed to overlap each other and act as an opening for the poi weight, I sewed the edge of these first before arranging them face to face and sewing along the edge using safety pins to hold it in place.
Your project will benefit from relief cuts towards the stitched line where curves are present. This will allow the fabric to move more easily and result in your pieces lying flat rather than bunching.


5. Turning it the right way around
After sewing, you’ll need to turn the poi outside-in, which can be difficult when you’re dealing with long thin areas such as the tails. I used my hands and a pair of tweezers, but it might be smarter to fish some wire through.

6. Press and install the hardware
I used a hair straightener to press my poi. An iron will work just as well, but I find straightener takes a little less time to set up for small jobs like this.
I use eyelets to reinforce the holes in the fabric. To make these work you’ll want to make a hole in the fabric the size of your eyelets. I used 4mm eyelets for my poi. To attach them, I set my hole punch for the correct size and poked an eyelet through with the setting tool. Then, I set it with a hammer. I did this for the flaps on the poi before sewing it all together. I lined up the flaps and then made a pencil mark through an eyelet I had already made to identify the placement of the next eyelet.
With reinforced holes I connected the tartan tails to the tartan body using split rings and fishing swivels.


7. Making handles
My D-rings and webbing (i.e. the strap) were bought to be as closely matched to each other as possible. I secured the D-ring with a W-shaped stitch. Then I test fit the valleys on my fingers to identify the ideal length of webbing. I cut two strips of webbing at the same length and sealed the ends with a lighter before arranging the webbing and a D-ring in a form where the ends were held inside and the loops were even. Next, I sewed the handles together.

8. Installing cords and more hardware
The length of the cord you want is very subjective. I am a short fella so around a foot of cord for each is plenty. I taped up the ends of the cord to make it easier to thread into the eyelets and then tied a knot. I threaded the other end of the cord through one of the fishing swivels and repeated to knot until I didn’t have any thread left. I attached this swivel to the D-ring on the handle.


9. Stuffing the poi
I know a lot of people who have accidentally hit themselves with poi and ended up with small bruises. Instead of stuffing the end of a poi with a tennis ball (a common practice) I prefer to reduce the chance of bruising by weighing my poi with bags of rice, which do a better job of absorbing accidental impacts.

Enjoy your new poi
You now have a set of brand new poi. Try them out or make more and have fun with your friends.
Once you have a cool set of poi I recommend joining a circus skills society or spinning club if there is one close to you. Failing this, the internet is a great resource for tutorials on how to use your brand new poi. There are many guides available from people who love to share their passion for twirling.
If you would like to go one step beyond, the well-trodden road is to use fire. To avoid injury, I would highly recommend getting proficient with poi before you set them alight.
There have been many iterations from the original Maori poi design and these changes are sure to continue. I would personally love to see a set of Nyan Cat poi. Lights have also been added to poi. I suspect if you are the type of person who enjoys tinkering and making changes then you could be the person who makes some ridiculously awesome poi, such as those seen in the video below.


