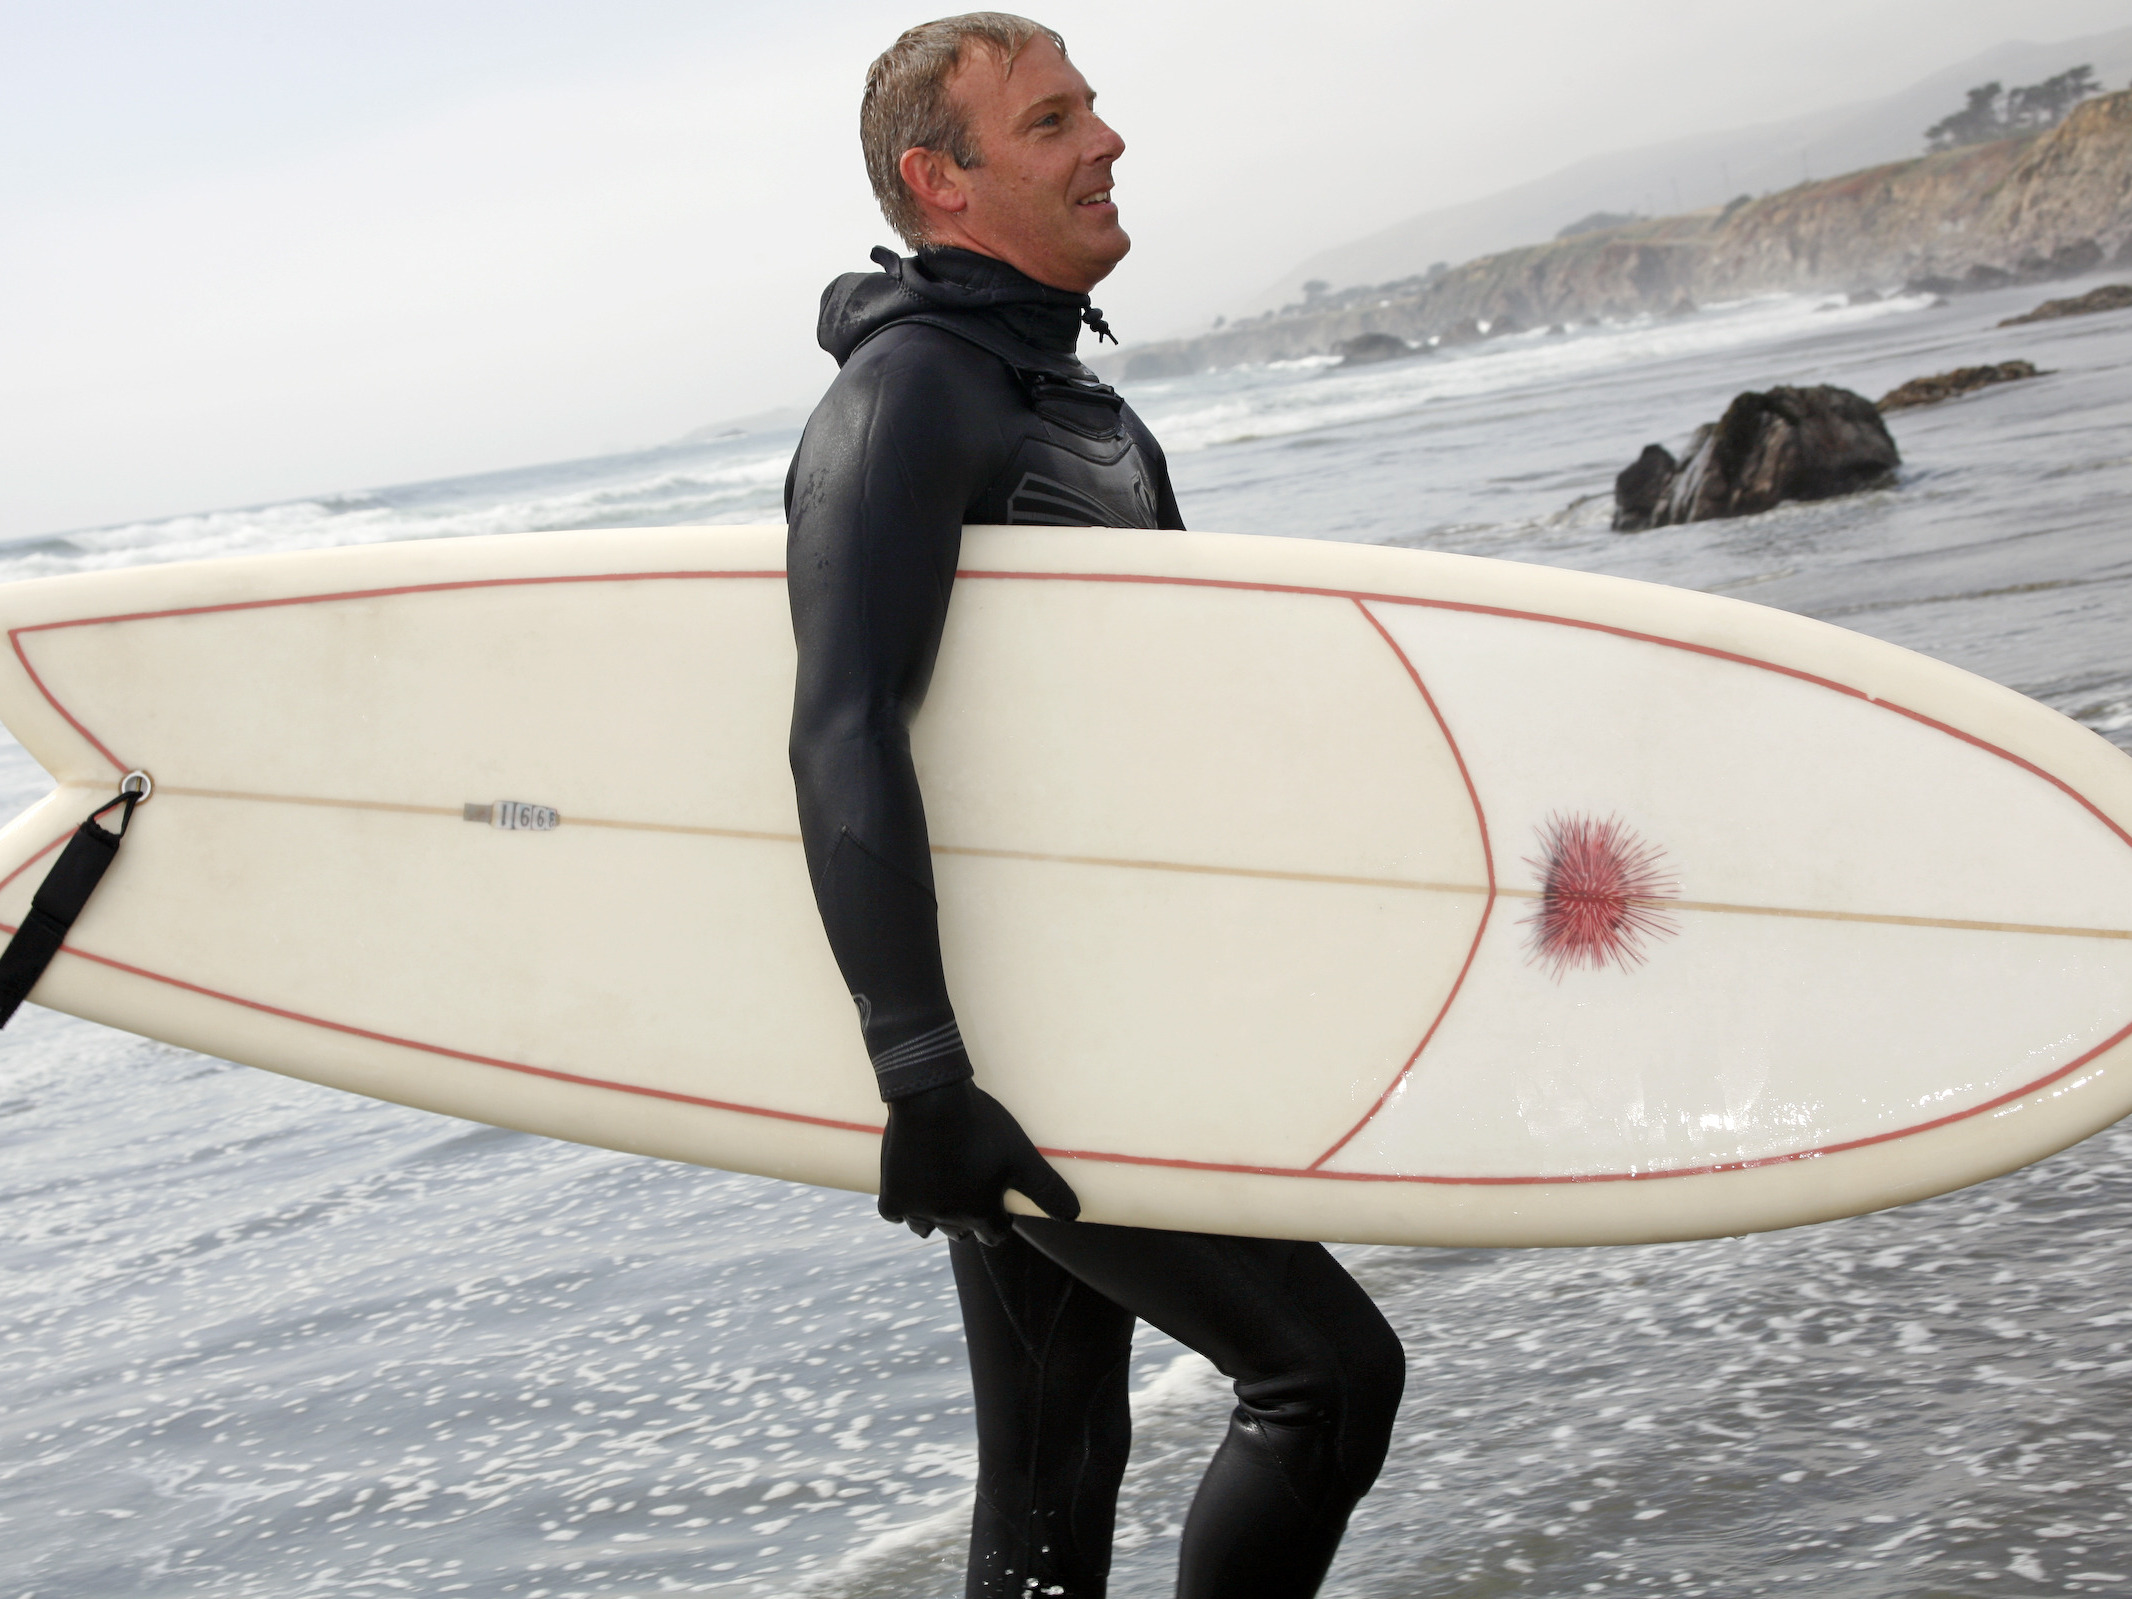
Step #1: Get your kit and download a template.

I made a twin-fin “fish” with Greenlight’s 6'6" deluxe kit. They've got kits ranging from 6'0" shortboards to 9'8" longboards. Whatever style you make, it's a big help to keep a similar board on hand for reference.


- Download a surfboard outline template from Greenlight, or make your own by tracing a favorite board.
- Print out the Greenlight template and tape it together on the numbered marks, then cut out the completed curve. You can use it as is, or transfer it to heavier kraft paper or cardboard.
Step #4: Level the deck and bottom.


Plane down the stringer where it rises above the foam, then use your 24" sanding block to level the foam and stringer on the bottom and deck.
Step #5: Shape the foil and bottom contour.


For a thinner board, keep sanding with your 24" block. The pros use a power planer, but you're likely to lose control and mow too much foam. I recommend going slow, using the sanding blocks.

For steeper waves, you can put more “rocker” curve in the bottom. For easier turns, I put some “vee” in the bottom, at the tail. This helps the board to roll from rail to rail when you're turning.

Then use the 100-grit sanding screen to round the bevels into curves. It works well! Don't round off your sharp edges in the tail, though.
Step #9: Blend the deck into the rails, nose, and tail.

- With 60-grit on your 12" block, blend the deck into the rails and tail. If you're making a swallowtail, now's the time to cut it out.
- To thin the nose, plane down the stringer, sand the foam down evenly, then blend.

Stretch bamboo cloth tight across the bottom, up over the rails, and down onto the deck tape. Much easier than fiberglass! Pull it tight and smooth, with no wrinkles on the rails. Minimize overlaps in the tail; you’ll have to sand them out later. At the tail and nose, where it’s tightest, tape excess fabric to the deck so it can’t pull away.

- Put on 2 pairs of latex gloves, and mix up 9oz of epoxy resin. The formula is 2 parts resin, 1 part hardener, and 1ml of Additive F per ounce of hardener. Measure carefully: too little hardener and the resin won’t set; too much and it’ll get hot and set in the bucket, “exotherming” in a chain reaction. Stir well for 1 minute.
- CAUTION: Wear disposable gloves and eye protection when working with epoxy resin; it can irritate skin and eyes, and can cause skin sensitivity with repeat exposure. Additive F is mostly xylene; keep it off your skin and don’t breathe it.
- Using a paintbrush, saturate the fabric on the rails, working out any bubbles, and pull off the excess resin into your bucket.
- Flip the board, and toss the first pair of gooey gloves. Saturate the entire bottom using the plastic spreader, working small areas from stringer to rails. Leave no dry spots. Mix more resin as needed.

- Run the laminating roller over the entire bottom and rails with moderate pressure; this strengthens the bond between the epoxy and foam.
- Let the epoxy cure overnight.

- When the epoxy's cured, use a small block and 60-grit to sand down any wrinkles or overlaps on your rails.
- Score along the lap line with a utility knife, then peel the tape up and snap off the excess fabric. Sand the lap flush to the deck foam, and remove all dust.

Score carefully — don’t cut your bottom lamination. Sand laps flush. Congratulations — your board is “glassed” in bombproof epoxy, with double-strength rails and deck patch. Lightly sand with 60-grit on your foam pad, and remove dust.
Step #23: Hot-coat the board.

- “Hot coat” is shaper-speak for the second coat of polyester resin, formulated to cure quicker, generating heat. Your epoxy hot coat won’t get hot, but serves the same purpose: to smooth the board and fill in the lamination texture.
- Lightly sand with 120-grit and remove dust. Mix 12oz of resin with double Additive F (2ml per ounce of hardener). Paint the deck and rails, forcing resin into the fabric texture. Go over it again lightly to spread it evenly, letting the brush do the work. Scrape drips off the bottom, and let it cure.

- Flip the board, sand down drips, and remove dust. Run masking tape around the rail just below the centerline, to save the deck from drips. Around the tail, add a resin dam of masking tape, sticking up; this will make a nice sharp edge.
- Now paint the bottom and fins with 12oz of resin. Let it set 2 hours, then pull off the drip tape and let it cure.
Step #25: Sand the hot coat.

- Sand the board well with 80-grit, then 120, on up to 220. A power sander can be handy, but go easy; don't oversand into the fabric. I recommend hand sanding.
- Use the foam sanding pad on the rounded rails, and a hard block on the sharp rails. Hand-sand the fins.
Step #27: Gloss-coat the board (optional).

- Paint a thin coat of resin mixed with double Additive F, and let it cure.
- Sand with 320-grit and buff to a mirror polish.
Pingback: 7 Great Outdoor Projects from Make | MAKE