
Using Lego Mindstorms motors and blocks, the Raspberry Pi, and a BrickPi, we built our own digital book reader out of Legos that can digitize real paper books.

We wanted to develop a book digitizer that could read books aloud. We were fascinated by Google’s Google Books project, and thought “Why couldn’t we do this at home?”
In our first attempt, we tried a proof of concept where we built the BrickPi Bookreader to read a Kindle aloud.

We redesigned the Bookreader to read real paper books. In our example, we digitize a paper copy of Horowitz and Hill’s The Art of Electronics.

How It Works
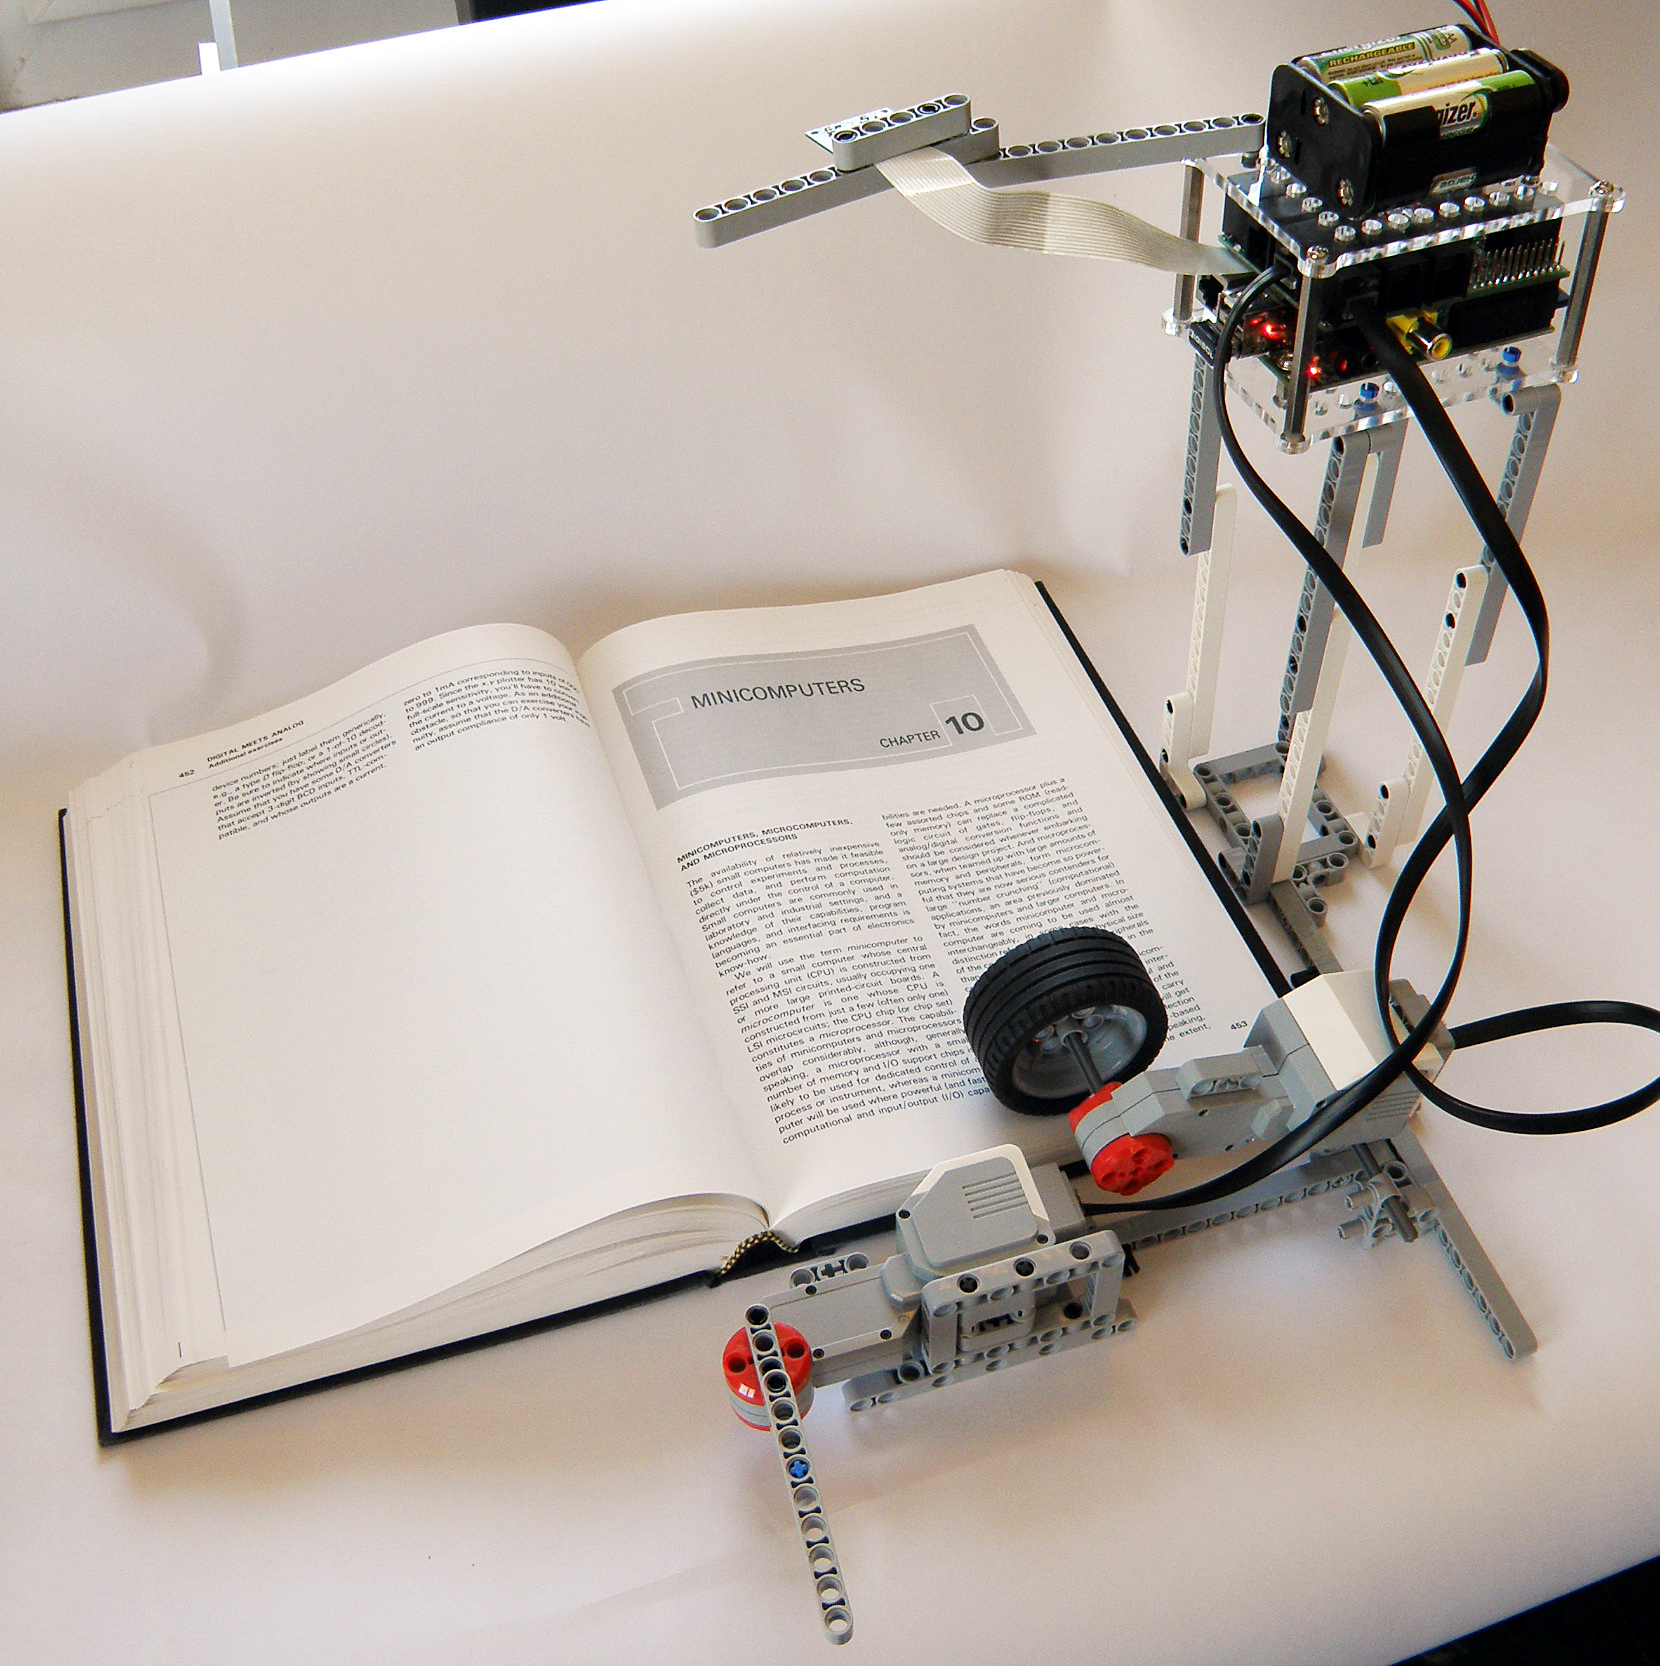
The Bookreader flips through the pages of a book, taking pictures of each page, and then turns each picture into a text document.
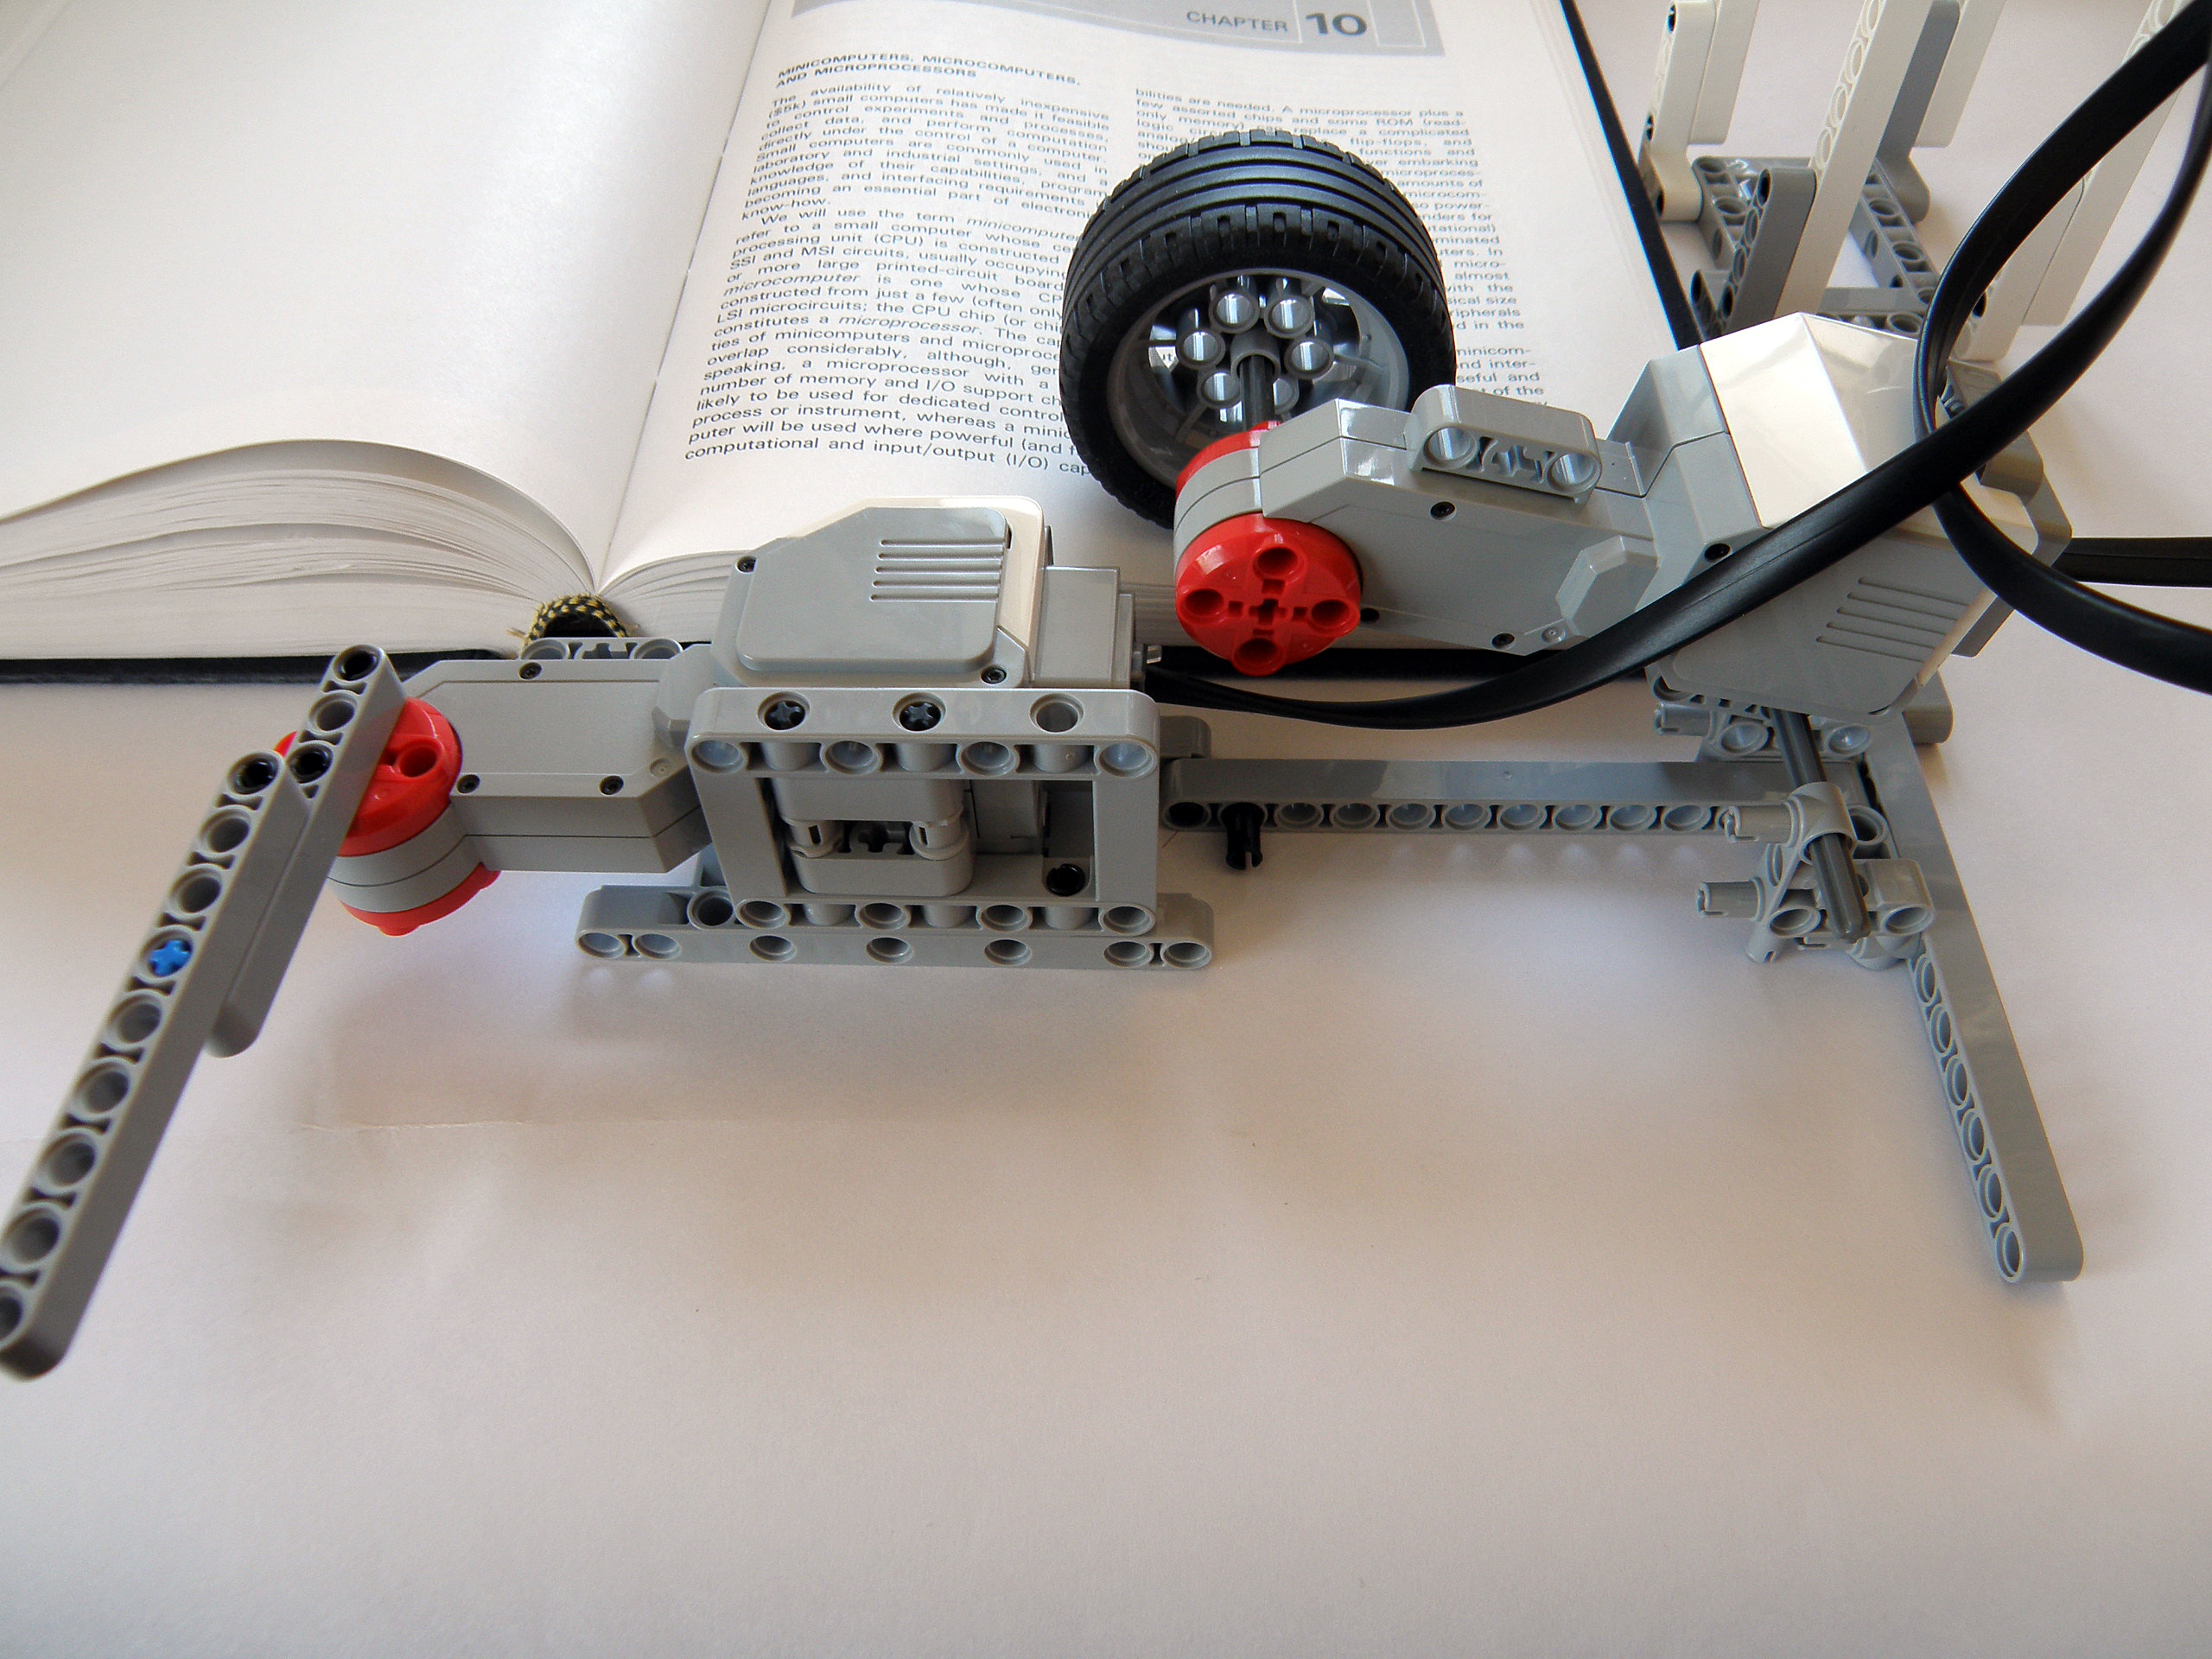
First, the bookreader prepares a page to turn by rotating a Lego motor. Gravity keeps just enough friction on the book page to inch the page forward. Next, a Lego arm beam swings around, forcing the page over.
After a new page is turned, the Raspberry Pi camera takes an image of the new page in JPEG format, and saves it to file. Using open source Optical Character Recognition software on the Raspberry Pi, the BrickPi turns the page image into text.
Finally, the Pi saves the text. Now we’ve digitized the page, and you have the start of your book. Just for fun, in our example we use some free text-to-speech software, and the Raspberry Pi reads the book out loud over some speakers we attached. Once the page is read and stored, the Raspberry Pi, through the BrickPi, turns to the next page of the book.
Project Steps
Below, we have some step-by-step directions for building your own Bookreader with the Raspberry Pi and Lego Mindstorms. All of the code and designs are in the Dexter Industries Github Repository.