
Walkalong gliders are designed from phonebook or other light weight paper (tissue or waxed tissue papers from florist shops work well, too). The point is to make the building of the airplane as simple as possible so one can focus on developing the piloting skills to master sustained and controlled flight. Want to pilot your own walkalong glider? Check out the instructions below!
Here’s the inventor of the tumblewing design showing how to build and trim his design:
The design can be made from rectangles of paper of between 1:3 and 1:4 aspect ratio (the long side measures between 3 and 4 times the short side, so not the same shape as an 8.5″×11″ or A4 sheet of paper but more like 1″×4″ or 3cm×12cm). John Collins appears to use a much higher aspect ratio than 1:4 (maybe 1:10?).
Launch the glider by holding the midpoint of the long edge, ensuring the top long edge fold is pointing away from you. Hold the glider as high as you can and let go, giving it a slight downward spin:
Try launching the glider to see how far it will go without help from you.
The next step is to get a large sheet of cardboard. The right ballpark size could be a square yard (approximately a square meter). So how does the cardboard make a wind that controls the tumblewing? Here is a video showing the phenomenon of soaring flight in action:
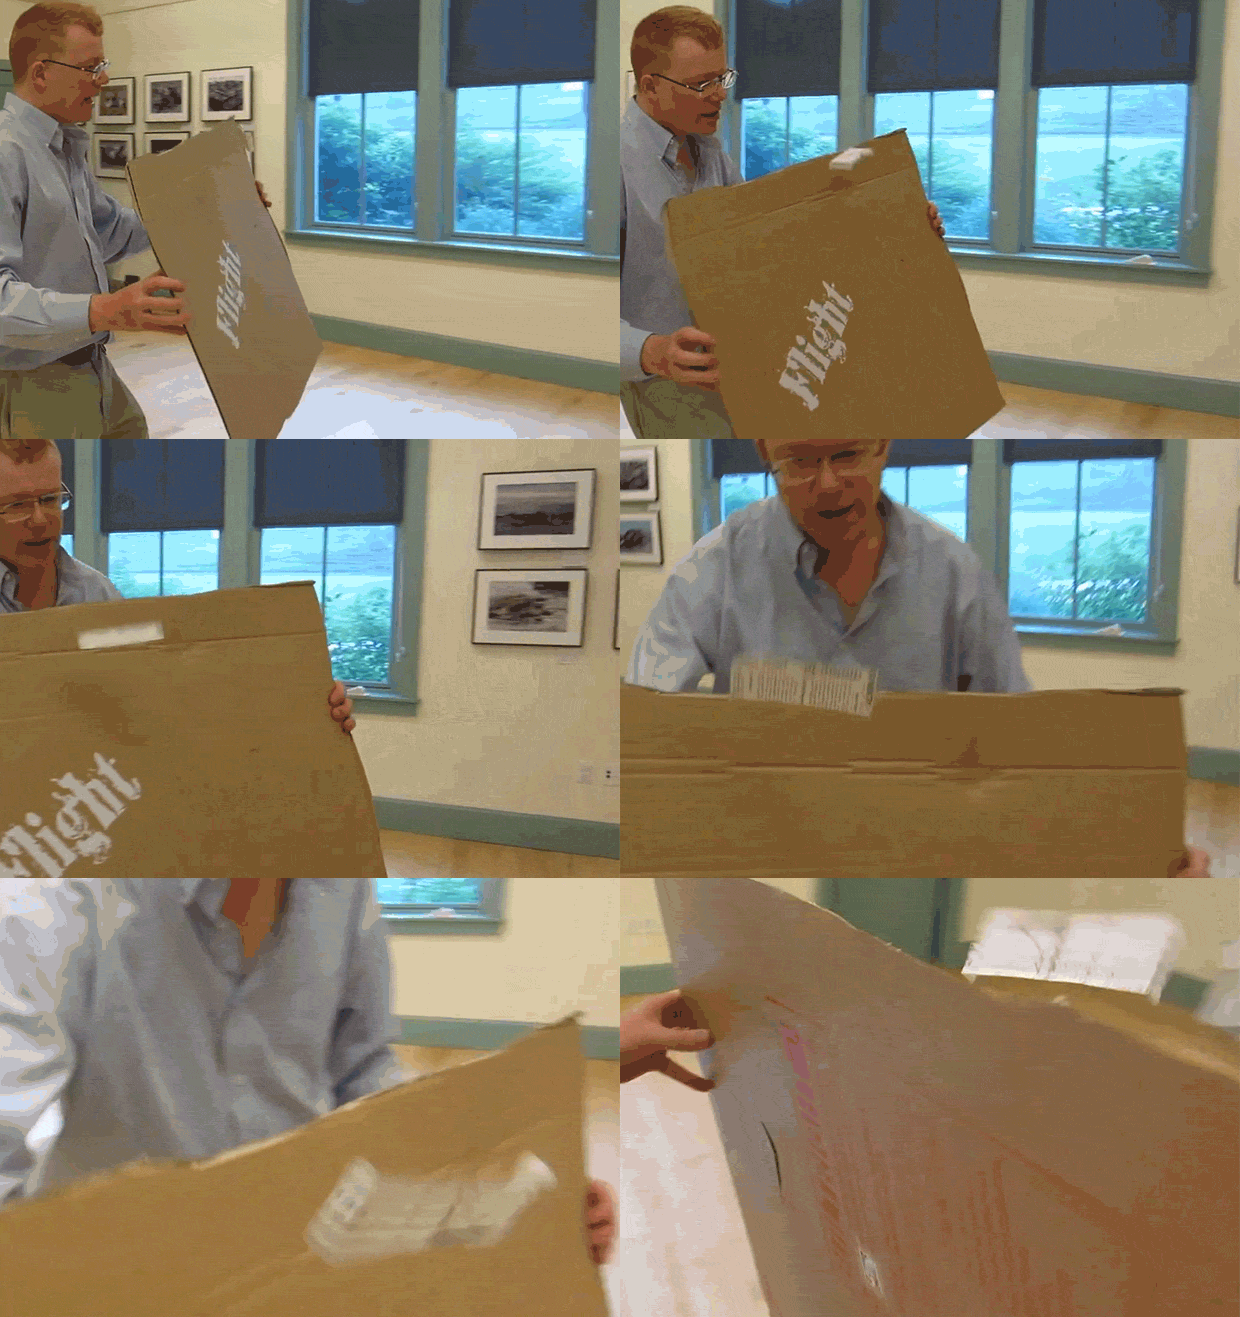
Although you saw John Collins flying his tumbling with his hands, the bigger the sheet of cardboard the more and stronger a wind can be created to sustain and control the glider. Here’s how to launch and fly the glider with the large sheet of cardboard:
Getting to that magic moment where you are keeping the tumblewing flying takes practice. First start with a flying area with little or no drafts (indoor is generally preferable). Practice launching the tumblewing so it gets into stable flight as high as possible. Keep the paddle straight up and down to maximize the amount of air moved (John uses an angle, but a vertical position works just as well). Once the glider is stable, move the cardboard sheet so the glider is just below the top edge. Increase your speed to maximize the updraft and position the glider closer to the paddle (as if to run over the glider). You can read the instructions for sustaining and controlling the tumbleing wing design, as well as check out more designs and fun experiments in the book Build and Pilot Your Own Walkalong Gliders by Phil Rossoni. For still more information, check out these lesson plans.

ADVERTISEMENT


