Part bookbinding, part bibliovandalism, part mixed-media collage, and part scrapbooking, the craft of altered books is becoming increasingly popular and recognized as the distinct art form it is. But what exactly is an altered book? According to the International Society of Altered Book Artists (alteredbookartists.com), it’s “any book, old or new, that has been recycled by creative means into a work of art. They can be … rebound, painted, cut, burned, folded, added to, collaged in, gold-leafed, rubber stamped, drilled, or otherwise adorned…”

Note the trailing ellipsis: the possibilities are as open as your mind, so no list of embellishments will ever be complete. The techniques presented here are by no means meant to be exhaustive, but these common examples should provide enough tools and inspiration to get you started with altered books.

Project Steps

Getting started.

First, choose a book to use as your “blank canvas.” Hardcover books work better than paperbacks because they have the strength to support the weight of embellishments and to sustain the abuse you’ll be inflicting on them.

As tempting and obvious a choice as a children’s board book is, using one will require a lot more work. Because glues don’t adhere well to the glossy pages, you’ll need to sand off the plastic coating from all of the pages and prime them with gesso before getting to work.

Before settling on a book, bend back the corners of a few pages. Make sure they don’t crack; cracking is a sure sign they won’t sustain the altering process.

With these practical concerns in mind, choose a book that interests you, since you’ll be living with it for a while. You can choose a book based on its design or aesthetics alone, or according to a contextual theme you intend to work with throughout the book. Of course, if you intend to completely cover or mutilate the book, the content won’t make much difference. In this case, you should perhaps choose based on durability alone.

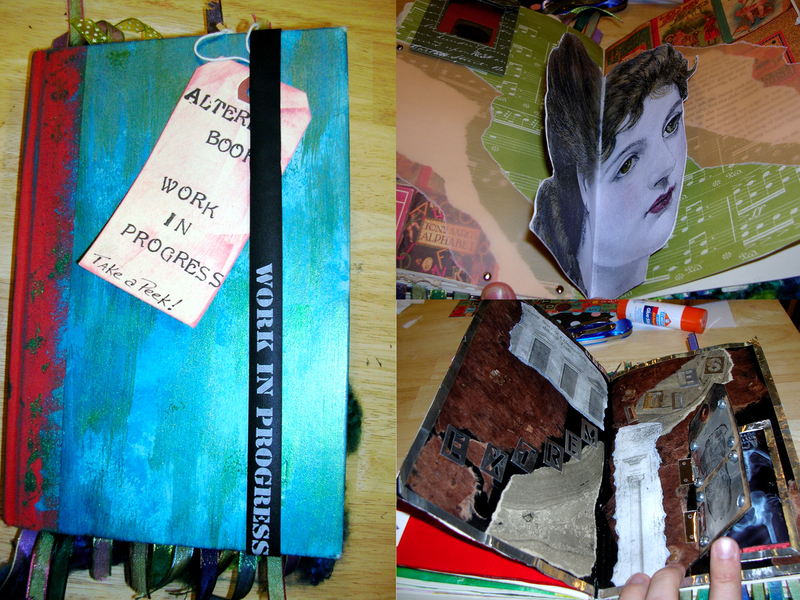
Book in hand, now make room for the embellishments you’re going to add. Go through the entire book, removing pages periodically (pulling firmly, right up against the spine) in groups of 2 or 3. You’ll need to tear out more as you go, but it’s best to get rid of a bunch of pages at the beginning (plus, emotionally, I’ve found this to be the most difficult part of beginning, once you’ve ripped out a few pages, altering the rest of the book becomes much easier).

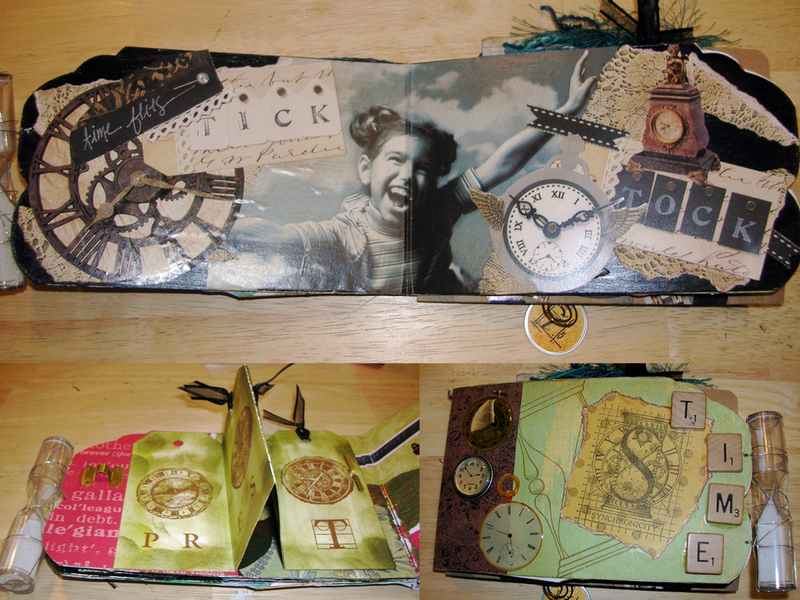
Finally, choose your first spread (altering facing pages as a single unit creates a unified aesthetic) and glue a couple of pages together (more for heavier embellishments) on either side. As you alter the rest of the book, you’ll need to do this for every spread you work on, to reinforce the surface and support the weight of the embellishments you add.

Adding a pocket page.

The first alteration we’ll make is a simple pocket, formed by folding a page upon itself and fastening it to the page below it with brads. First, glue together 3 consecutive groups of 2 pages each. The 2 outer groups of pages act as the standard altering surface mentioned previously, while the one in the middle is folded into our pocket.

Fold the middle page into a point at its fore edge, hiding the folded portion behind the page.

Use a small hole punch to create 3 openings (indicated by green circles) at the corners of the triangle formed by your fold, punching through both the middle page and the page behind it.

Insert decorative brads into the holes and open the clasps behind the back page, joining the pages in a closed pocket.

Using a sponge brush to apply Distress Ink on all the pages in the spread quickly creates a nice aged or weathered effect, though the possibilities for further embellishing this pocket are wide open.

After finishing this pocket, I stamped a couple of shipping tags to stuff inside, though you can leave it empty or fill it with whatever you choose. I thought the Mona Lisa fit quite well with the Italian art and pop culture posters featured throughout the book.

Adding a pop-up mechanism.

With a pop-up mechanism, the act of opening pages can trigger an engaging response for the reader. Find an image that works with your theme. Dover Publications (doverpublications.com) sells books and CDs of royalty-free art from the public domain, which work well for personal projects you intend to display or sell without seeking additional permission for copyrighted images.

Print the image on hard-stock paper, or print on a standard sheet of copy paper and then glue to a page with a heavier weight.

Cut out the image, leaving a clearance of 1″ or 2″ on the bottom and sides for added support (as marked with a solid red line). Cut the upper half of the image (the part that will extend above the top of the book when the pop-up is open) directly on its edge.

Fold the image in half vertically (the dotted blue line) and keep it folded for the next fold.

Fold the top of the image down (the dotted green line) at a 45-degree angle to the first fold (the dotted blue line). Reinforce the fold by creasing it in the other direction. Then, open the image to see all of it.

Fold the image vertically again (the other direction on the dotted blue line); creating a crease that opens freely in either direction.

Glue the anchor to the spread, aligning the top of the anchor (the upper horizontal red line) with the top edge of the book, and aligning the centerfold of the image with the book’s spine.

Fold the top of the image down into the crease and close the book, applying pressure. Allow glue to dry.

Open your book to see the image pop up. Then, to complete the spread, paint over the empty portion of the anchor or cover it with other embellishments. When finished, the pop-up mechanism should be integrated fairly seamlessly into the rest of the ornamentation on the pages.

Text masking.

Text masking involves highlighting portions of text while painting over the rest. Most pages have enough words to create a new passage that fits your theme, regardless of the actual content.

Cover the text you want to remain visible with Post- It removable cover-up tape.

Use a sponge brush to apply paint to the entire page, completely covering the taped areas, then wait for the paint to dry. This takes about 15 minutes or so.

Remove tape to reveal your hidden message. Though I began a little skeptically because of all my book-loving baggage (I knew it would be tough for me to deface a book, even in the name of art), I now think I’m hooked. The more you alter, the more you realize that “finishing” any project requires an incredible level of discipline. I have a feeling most of my books will forever remain “works in progress,” which shouldn’t be seen as a bad thing.

Conclusion

This project first appeared in CRAFT Volume 02, pages 130-133.