The other day I was humming one of my favorite songs of all time, “The Tide is High,” by Blondie. The song reminds me of being little listening to records in my living room. Blondie’s videos are still some of my favorites, and “The Tide is High” is no different, with a quick nod to the ocean during some 1980-approved special effects.
Those special effects were on my mind for a week or so when I realized I needed to turn them into a project. Luckily I’d been trying out some new Mod Podge products and had fallen in love with the Dimensional Magic. The product acts like resin but is definitely still your favorite Mod Podge. It floods an area and after just a few hours creates a hard surface that products whichever image you have underneath it. It comes in clear, silver, and gold. I put my thinking cap on and realized that my favorite video would be great as a nautical-themed coaster.
.
SUPPLIES
- Four screen-grabbed images from your favorite YouTube clip – either four different images or four of the same
- Four plain wood shapes – circles, squares, etc. I used a pack of rounded-corner rectangle blanks
- Matte Mod Podge
- Clear Dimensional Magic (Depending on how much you apply and how big coasters are, you might need two bottles
- White glue
- Foam brush
- Jute crafting cord
- Hot glue gun and glue
- Silicone project mat
- Scissors
Start out by positioning your wood coaster shape on your image and tracing around it.
Cut out each of your images.
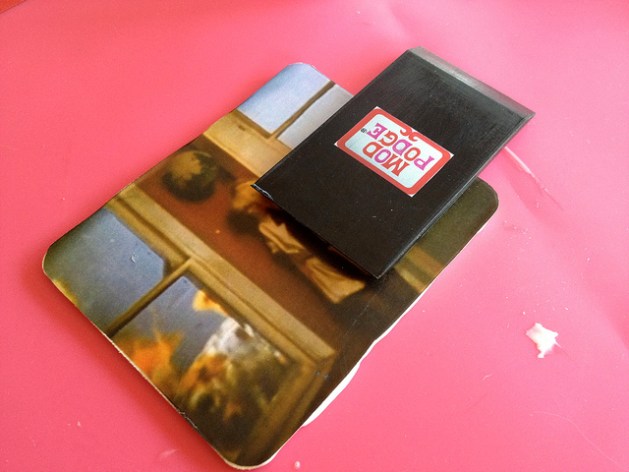
Apply a small amount of the matte Mod Podge on the wood shape and place your image on top.
Carefully flatten the image onto the wood blank to remove any excess Mod Podge.
Measure around the outside of your wood blank and cut that length of craft jute cord. Dip each end of the cord into plain white glue and let dry. Once dry, apply a small of hot glue to one corner of the coaster and apply the cord to it. Apply a think line of glue to one side of the coaster and press your cord into place. You’ll want the cord to be slightly higher than the front of the coaster – this will help create a lip all the way around. Keep working around all sides of the coaster applying glue and pressing the cord into place.
With your Dimensional Magic, start applying it at one corner and let it slowly flood the coaster. Continue working all over the surface applying the medium until the entire area is covered. Let dry. Repeat for the rest of your coasters.
After about three hours, your coasters are all set! Feel free to apply a think layer of Mod Podge to the back of the coaster to make sure the front and back are sealed
ADVERTISEMENT


