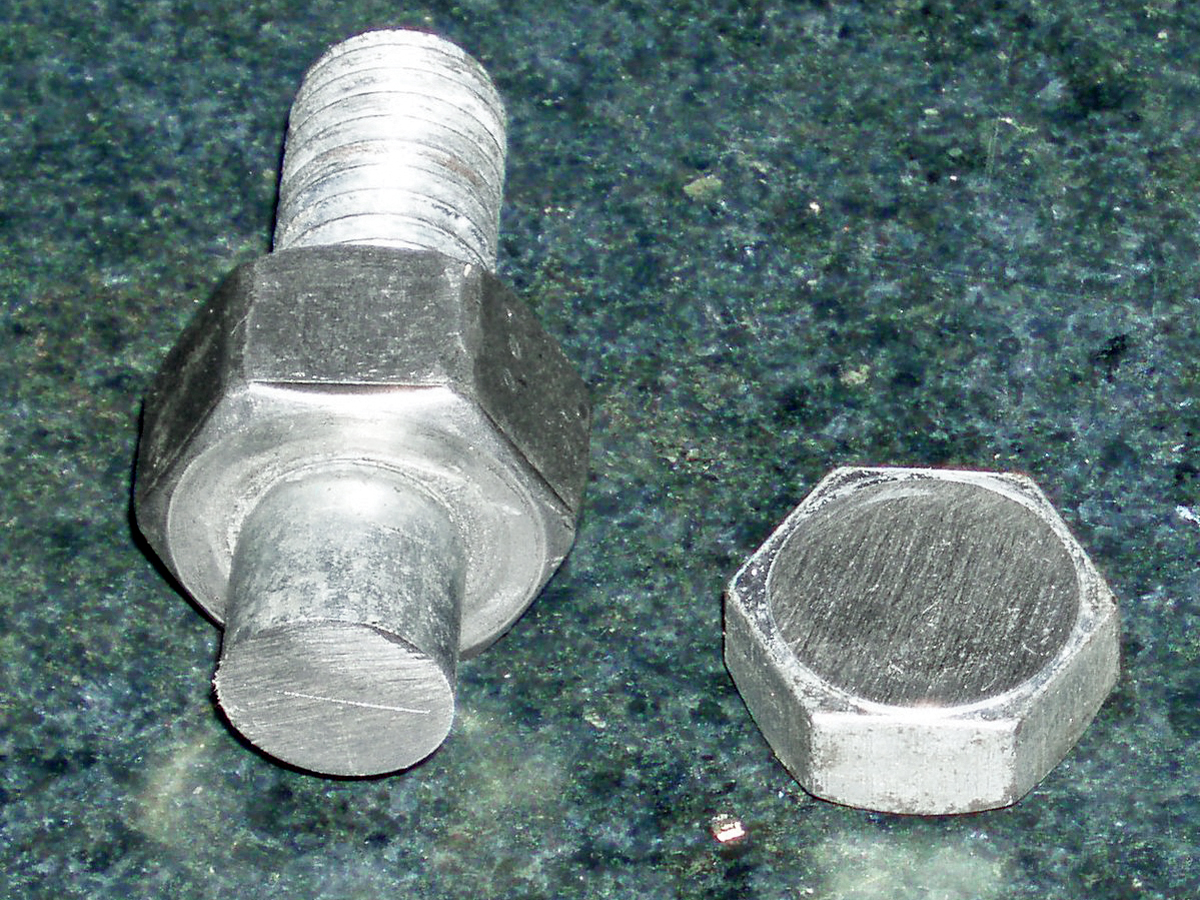
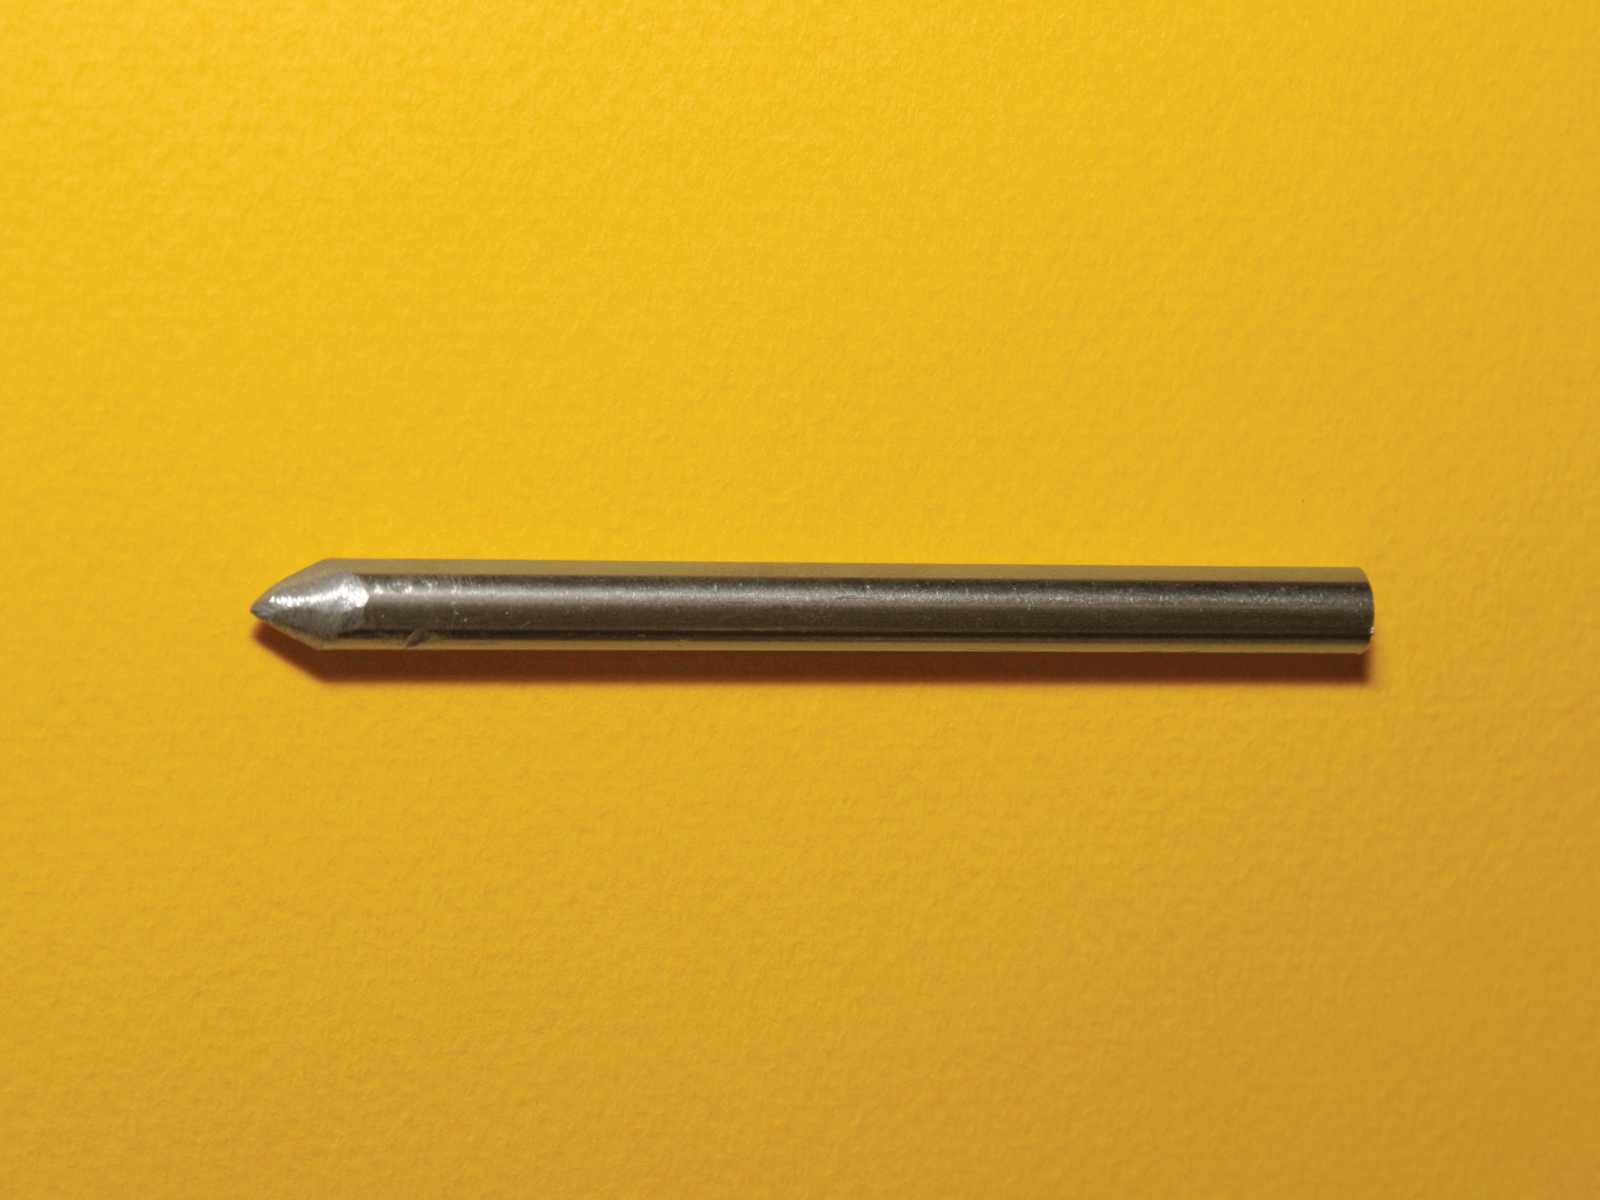
When spies need to pass off a note or microfilm without meeting in person, they sometimes use a “dead drop” device. An effective dead drop device looks common enough to blend in without causing suspicion under the casual glances of passersby. This bolt is one such item.
It’s made from an ordinary steel bolt that’s hollowed out and fitted with a threaded, removable head. If made to the correct size and properly painted, it could replace a solid bolt on a fence, bridge, or similar structure. (Of course, we don’t advocate that you remove a real bolt from a bridge! The device described here should be considered a desktop curiosity only.)
A Bit About Bolts
The bolt for this project can be of many sizes. For ease of machining, it should be SAE Grade 1 or 2 steel; both are low-carbon and not heat-treated.
The head of the bolt tells the grade by a series of radial hash marks. No hash marks at all indicates the lowest grade, and therefore the softest and easiest to machine. Select a bolt that has a portion of its shank unthreaded (a long length-to-diameter ratio) which will leave a section available for the new threads.
For this project, I chose a ½-13×2" bolt. In bolt designations, ½-13 means ½" diameter, and 13 threads per inch. The length of a bolt is measured by its shank, not including the head.
Begin by cutting off the head of the bolt with a hacksaw on a bench vise, and then cleaning up the shank and the head with either a file or a belt sander. The jaws of a vise would crush the threads of the bolt, so hold the bolt by a nut that is run all the way up the shank.
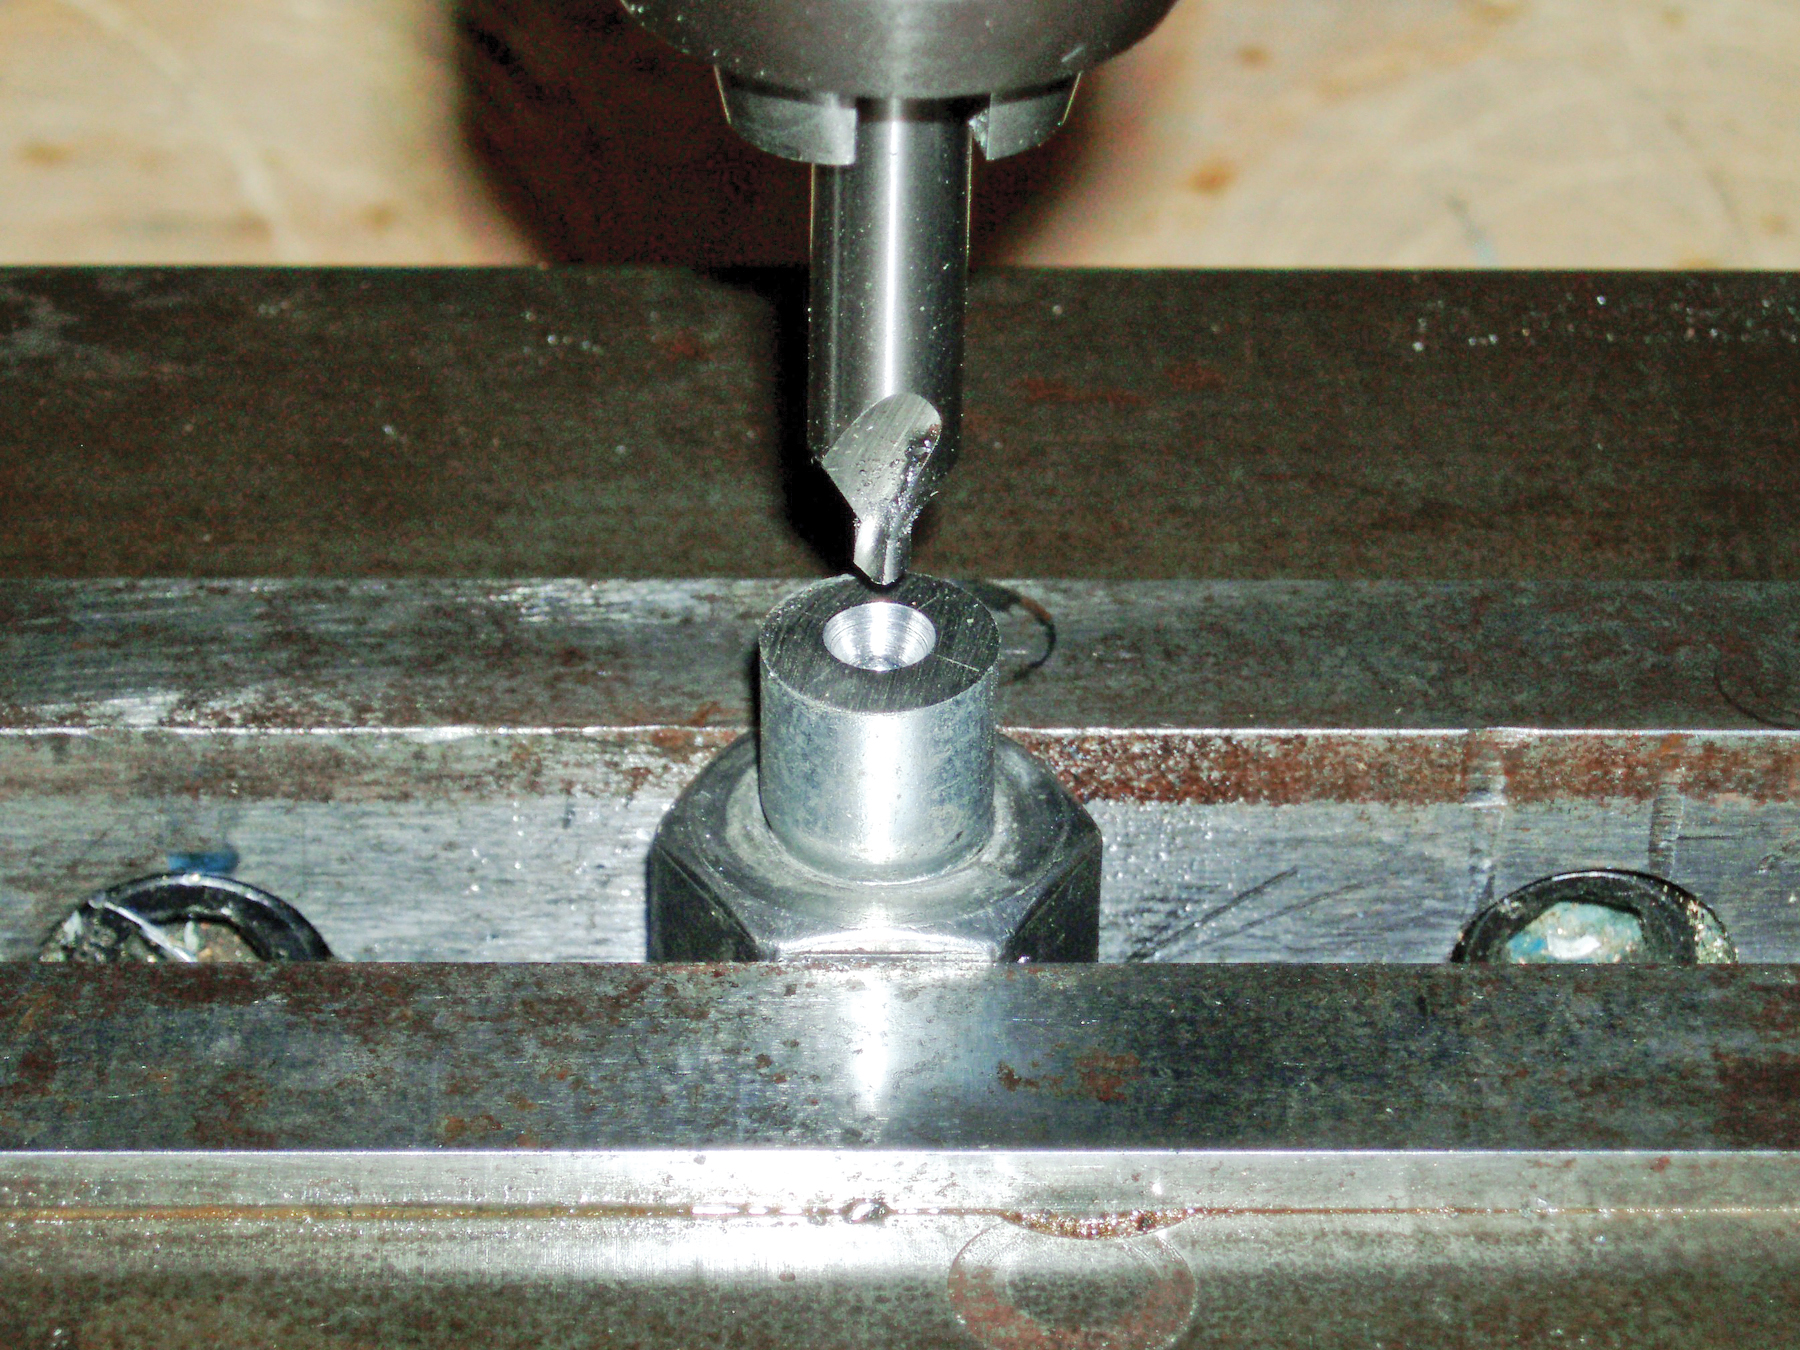
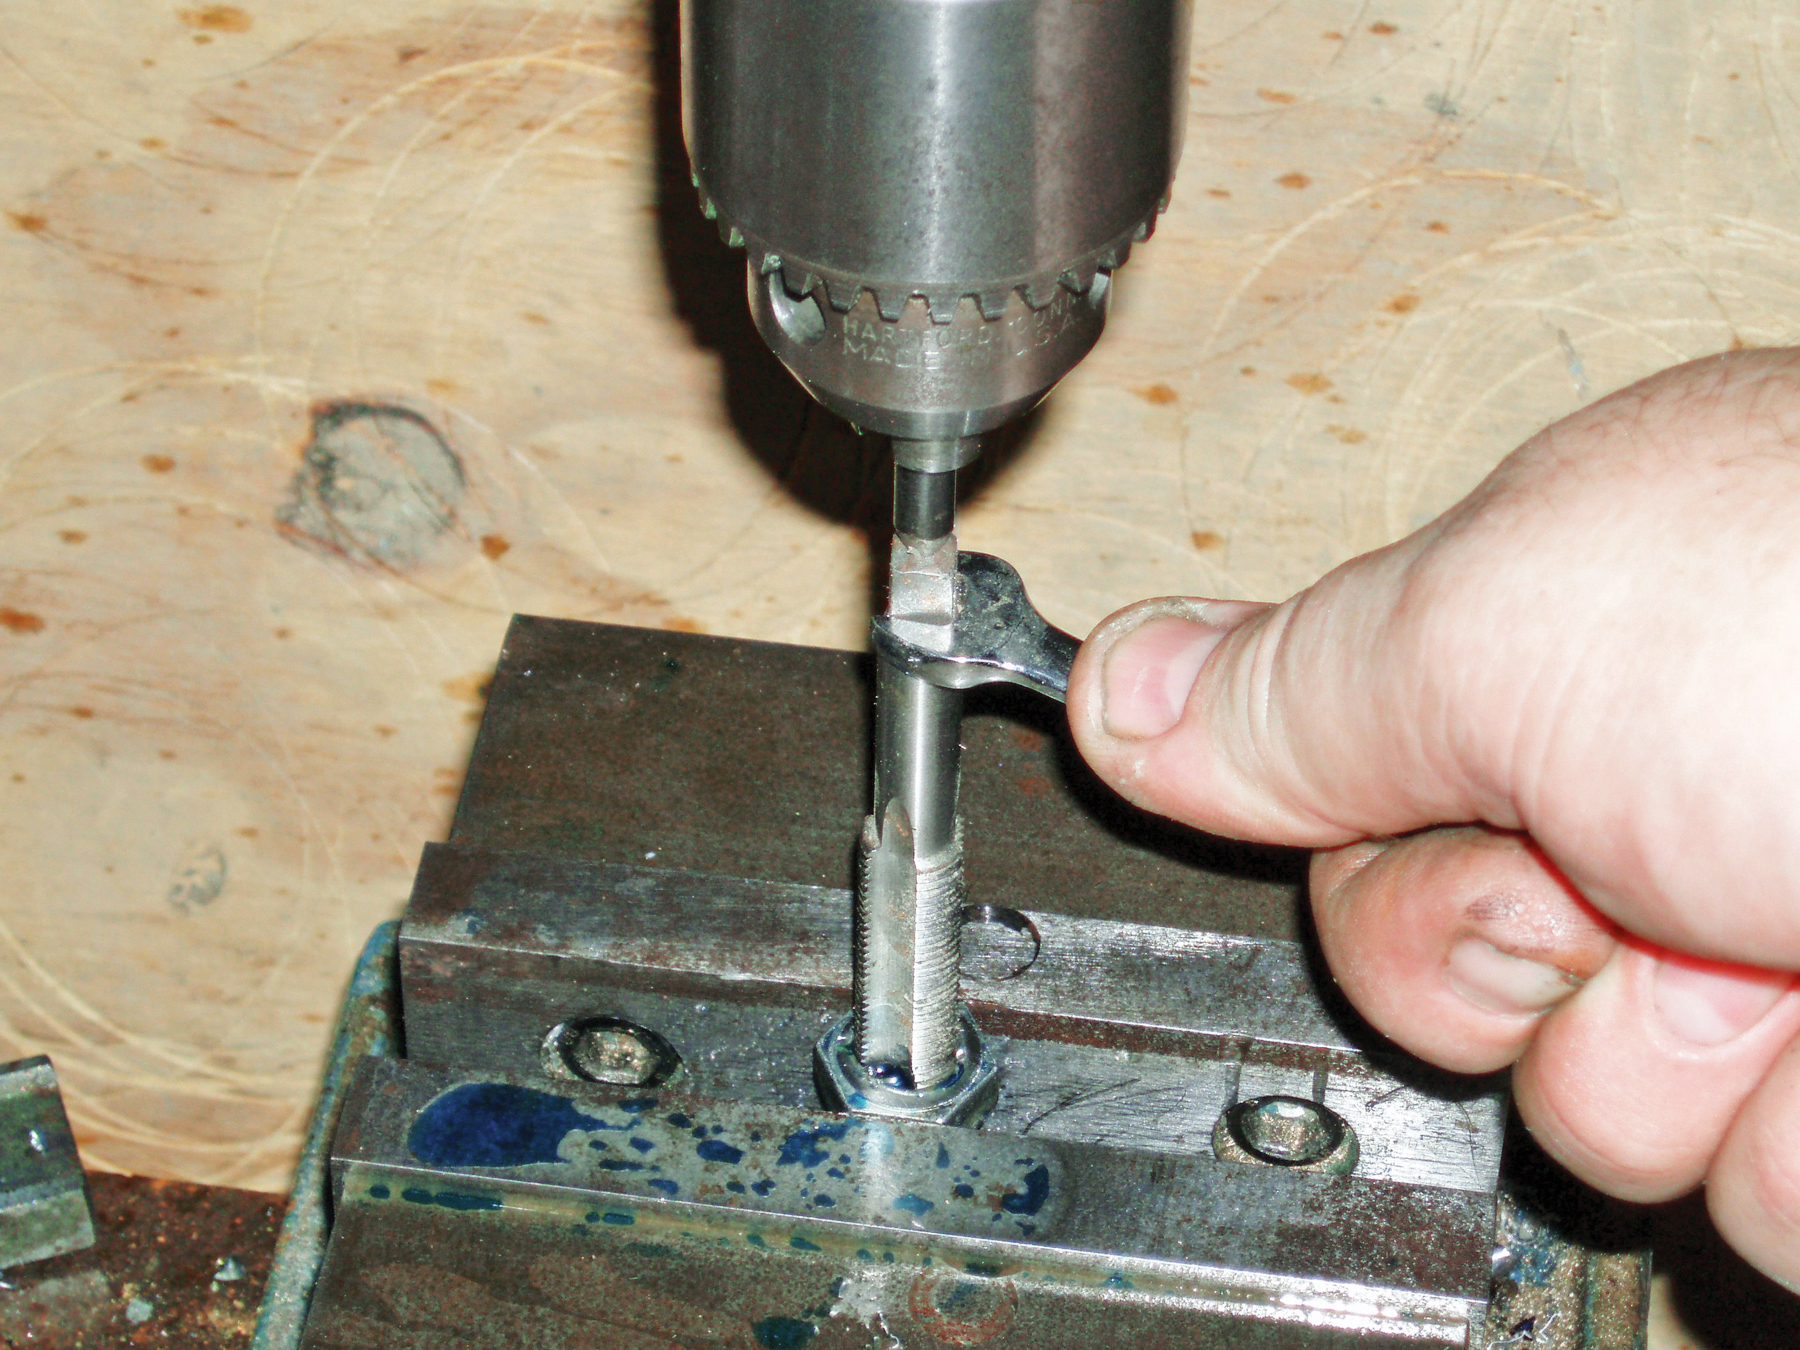
Transfer the bolt shank to a drill press vise and adjust it to bring the spindle of the chuck directly atop the center of the shank. When drilling steel, it’s always advisable to start the hole with a center drill to keep the twist drill from “walking”.
After center-drilling, drill the cavity hole in the shank with a 3/8″ twist drill to a depth of 1½” or so. Use plenty of cutting oil, and peck the drill up and down often to clean out the chips and to introduce fresh coolant into the hole. Chamfer the hole with a countersink bit.
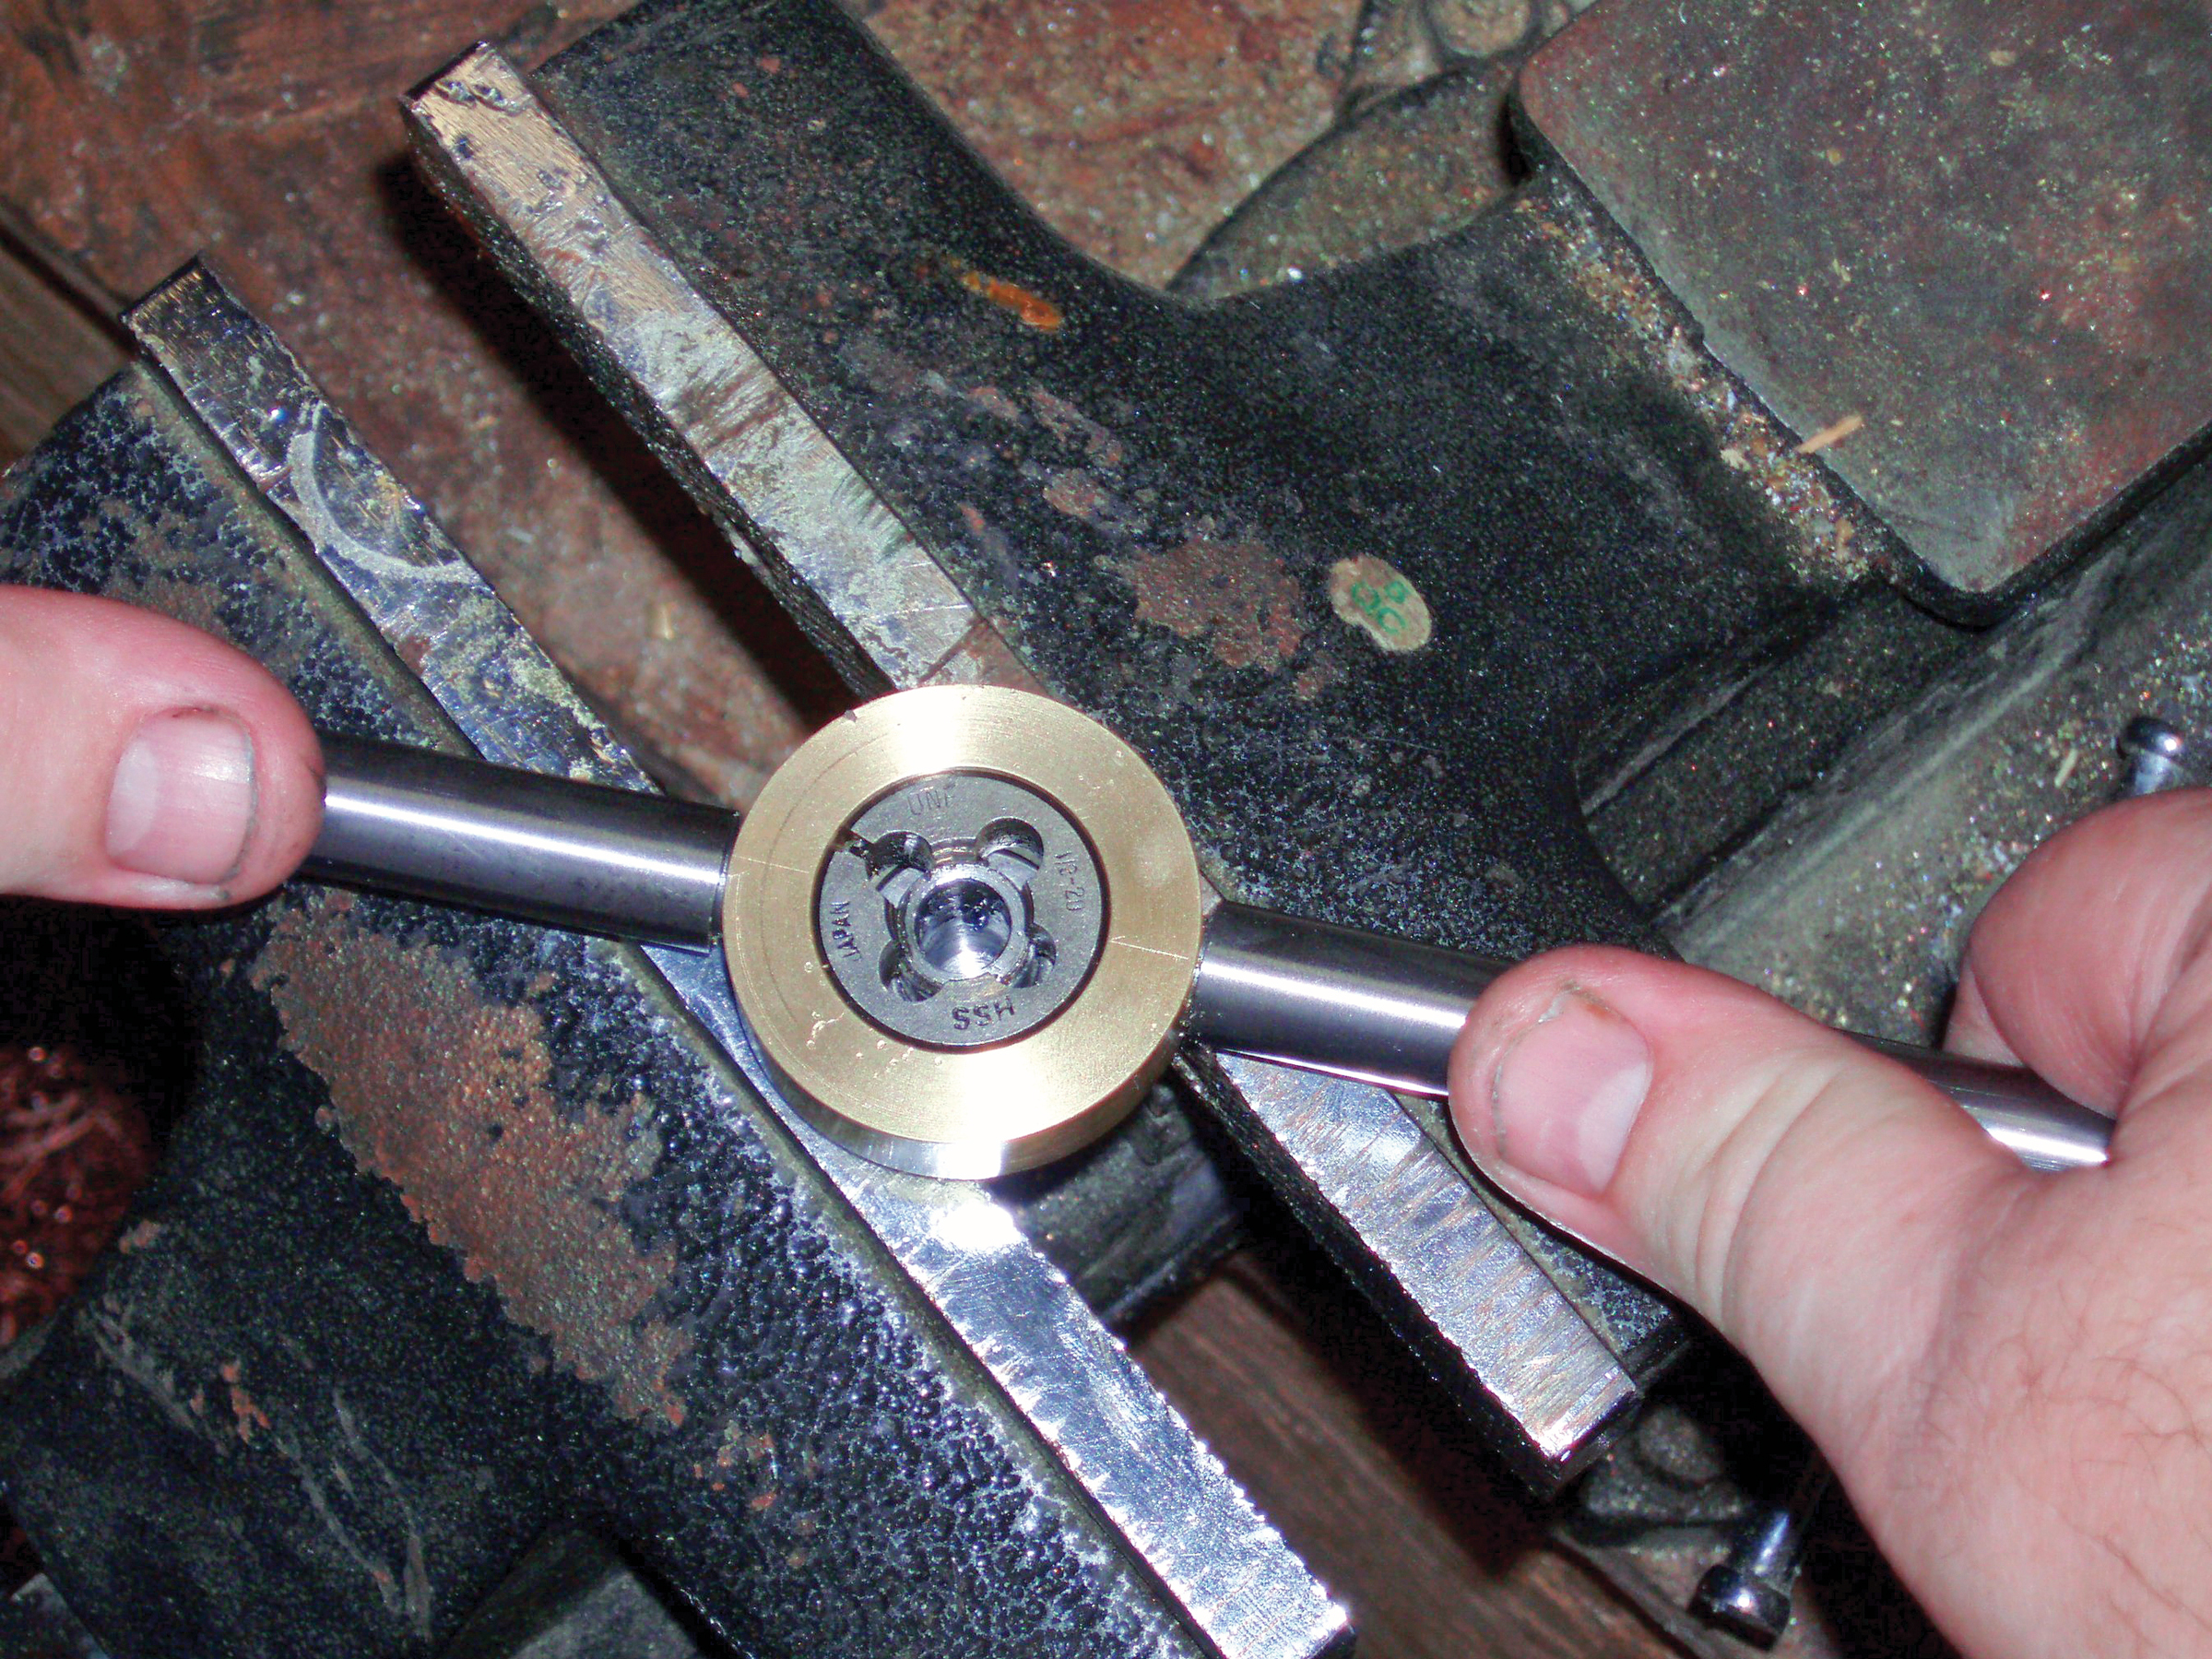
Now the shank goes back to the bench vise for threading. I chose a ½-20 thread for this project. When purchasing taps, dies, and twist drills, always choose high-speed steel over carbon steel, and buy the best you can afford.
Thread the shank of the bolt down 3 threads. Some dies have a taper on 1 end, and some are tapered on both ends. If your die has a single-sided taper, use that end first, and then flip it around and clean up the threads with the nontapered end. Deburr and clean up the shank with a file and sandpaper, and it’s done.
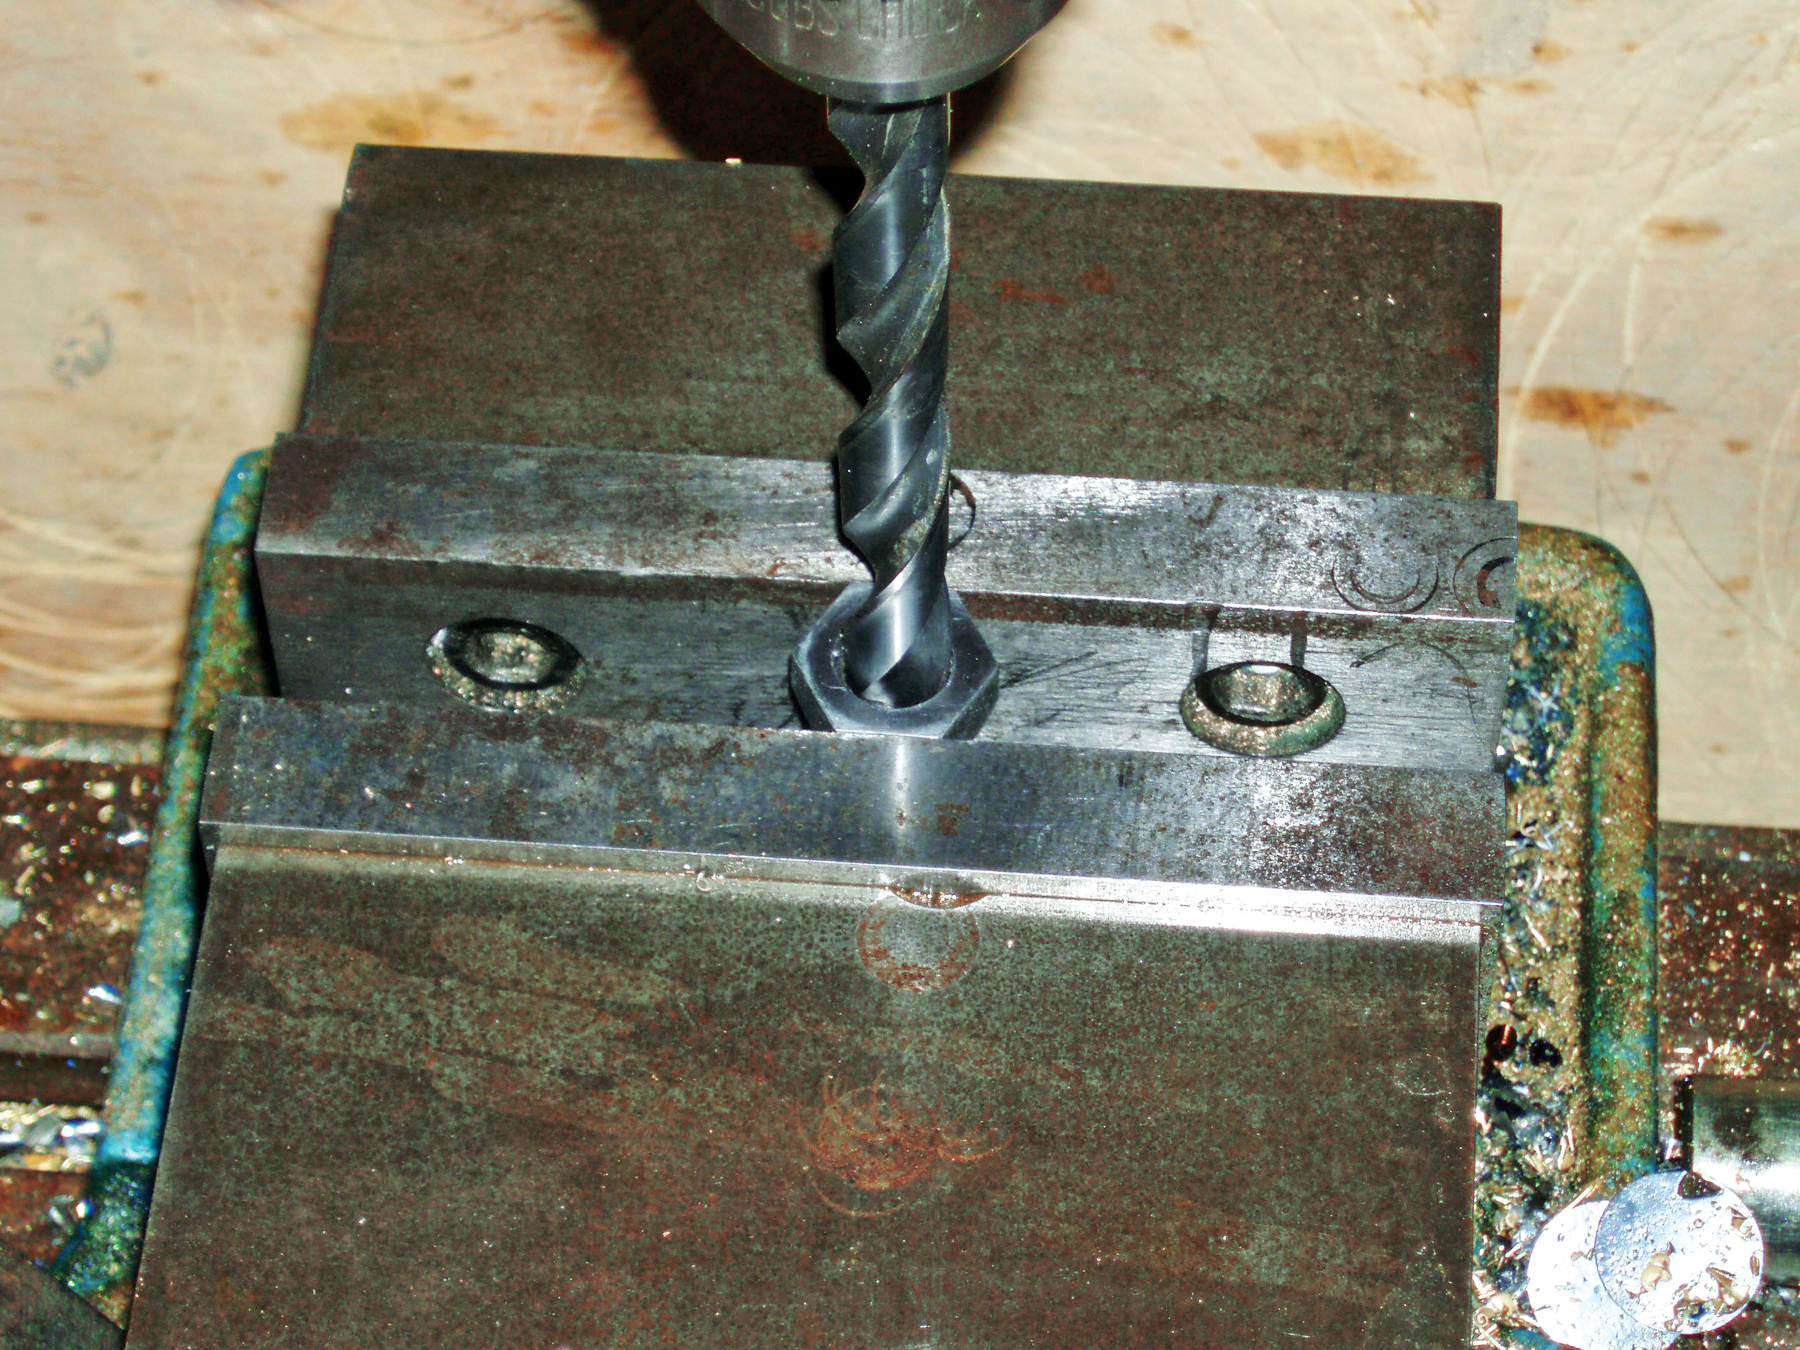
Next, the head of the bolt requires drilling and tapping. Use a 29/64″ drill bit for a ½-20 tap. In this step, it’s imperative to set the depth stop on the drill press; set it to leave around 1/16″ of metal at the bottom of the hole. As the bolt’s head is already shallow to begin with, the twist drill will need to be modified into a bottom drill after the initial drilling.
To grind a bottom drill, start by grinding the end of the drill flat and square. Continue by grinding the back of each cutting lip approximately 20° from flat. The idea is to produce a cutting edge and to keep only the lips in contact with the hole bottom.
After grinding the bottom drill and reinserting it into the chuck, start the drill press on its lowest speed, and don’t start the spindle until the bottom drill is inside the hole. Use plenty of cutting oil, and feed slowly. When finished, the hole will be at full diameter throughout its entire length.
Without moving the bolt head or the drill press vise, replace the drill in the chuck with a small tapered center, which can be ground from a small metal rod. Its purpose is to allow the tap to pivot on it, keeping it on center and square to the bolt head.
Using plenty of cutting oil, begin tapping the hole. Hand taps come in 3 configurations: taper, plug, and bottom. A taper tap has several threads tapered for a very gradual cut, and is used mainly for through-holes. Plug taps have fewer threads tapered, and bottom taps have a taper on only the first couple of threads. For the few threads needed here, a bottom tap will suffice. As you advance the tap each quarter turn, back it out to break the chips and allow easier tapping. Continue until the tap bottoms out, then remove the tap and clean the hole.
Test the thread engagement between the bolt head and shank to see if the shank will thread at least 2 threads. If not, it may be necessary to grind off the first thread of the tap, enabling it to cut down deeper at full thread diameter as you re-tap the bolt head. Deburr and clean everything, and your spy bolt is complete.
Besides being used as a dead drop device, this hollow bolt can be used to conceal anything small enough to fit in its cavity. If there’s enough room in the head, a small O-ring can be used to make the bolt waterproof. Keep the device protected with a light coat of oil when it’s not in use. The bolt was likely plated when new, but machining it exposes the uncoated steel that will eventually corrode when exposed to moisture.
Our websites use cookies to improve your browsing experience. Some of these are essential for the basic functionalities of our websites. In addition, we use third-party cookies to help us analyze and understand usage. These will be stored in your browser only with your consent and you have the option to opt-out. Your choice here will be recorded for all Make.co Websites.
Allow Non-Necessary Cookies
Escape to an island of imagination + innovation as Maker Faire Bay Area returns for its 15th iteration!
Buy Tickets today! SAVE 15% and lock-in your preferred date(s).