backyard games

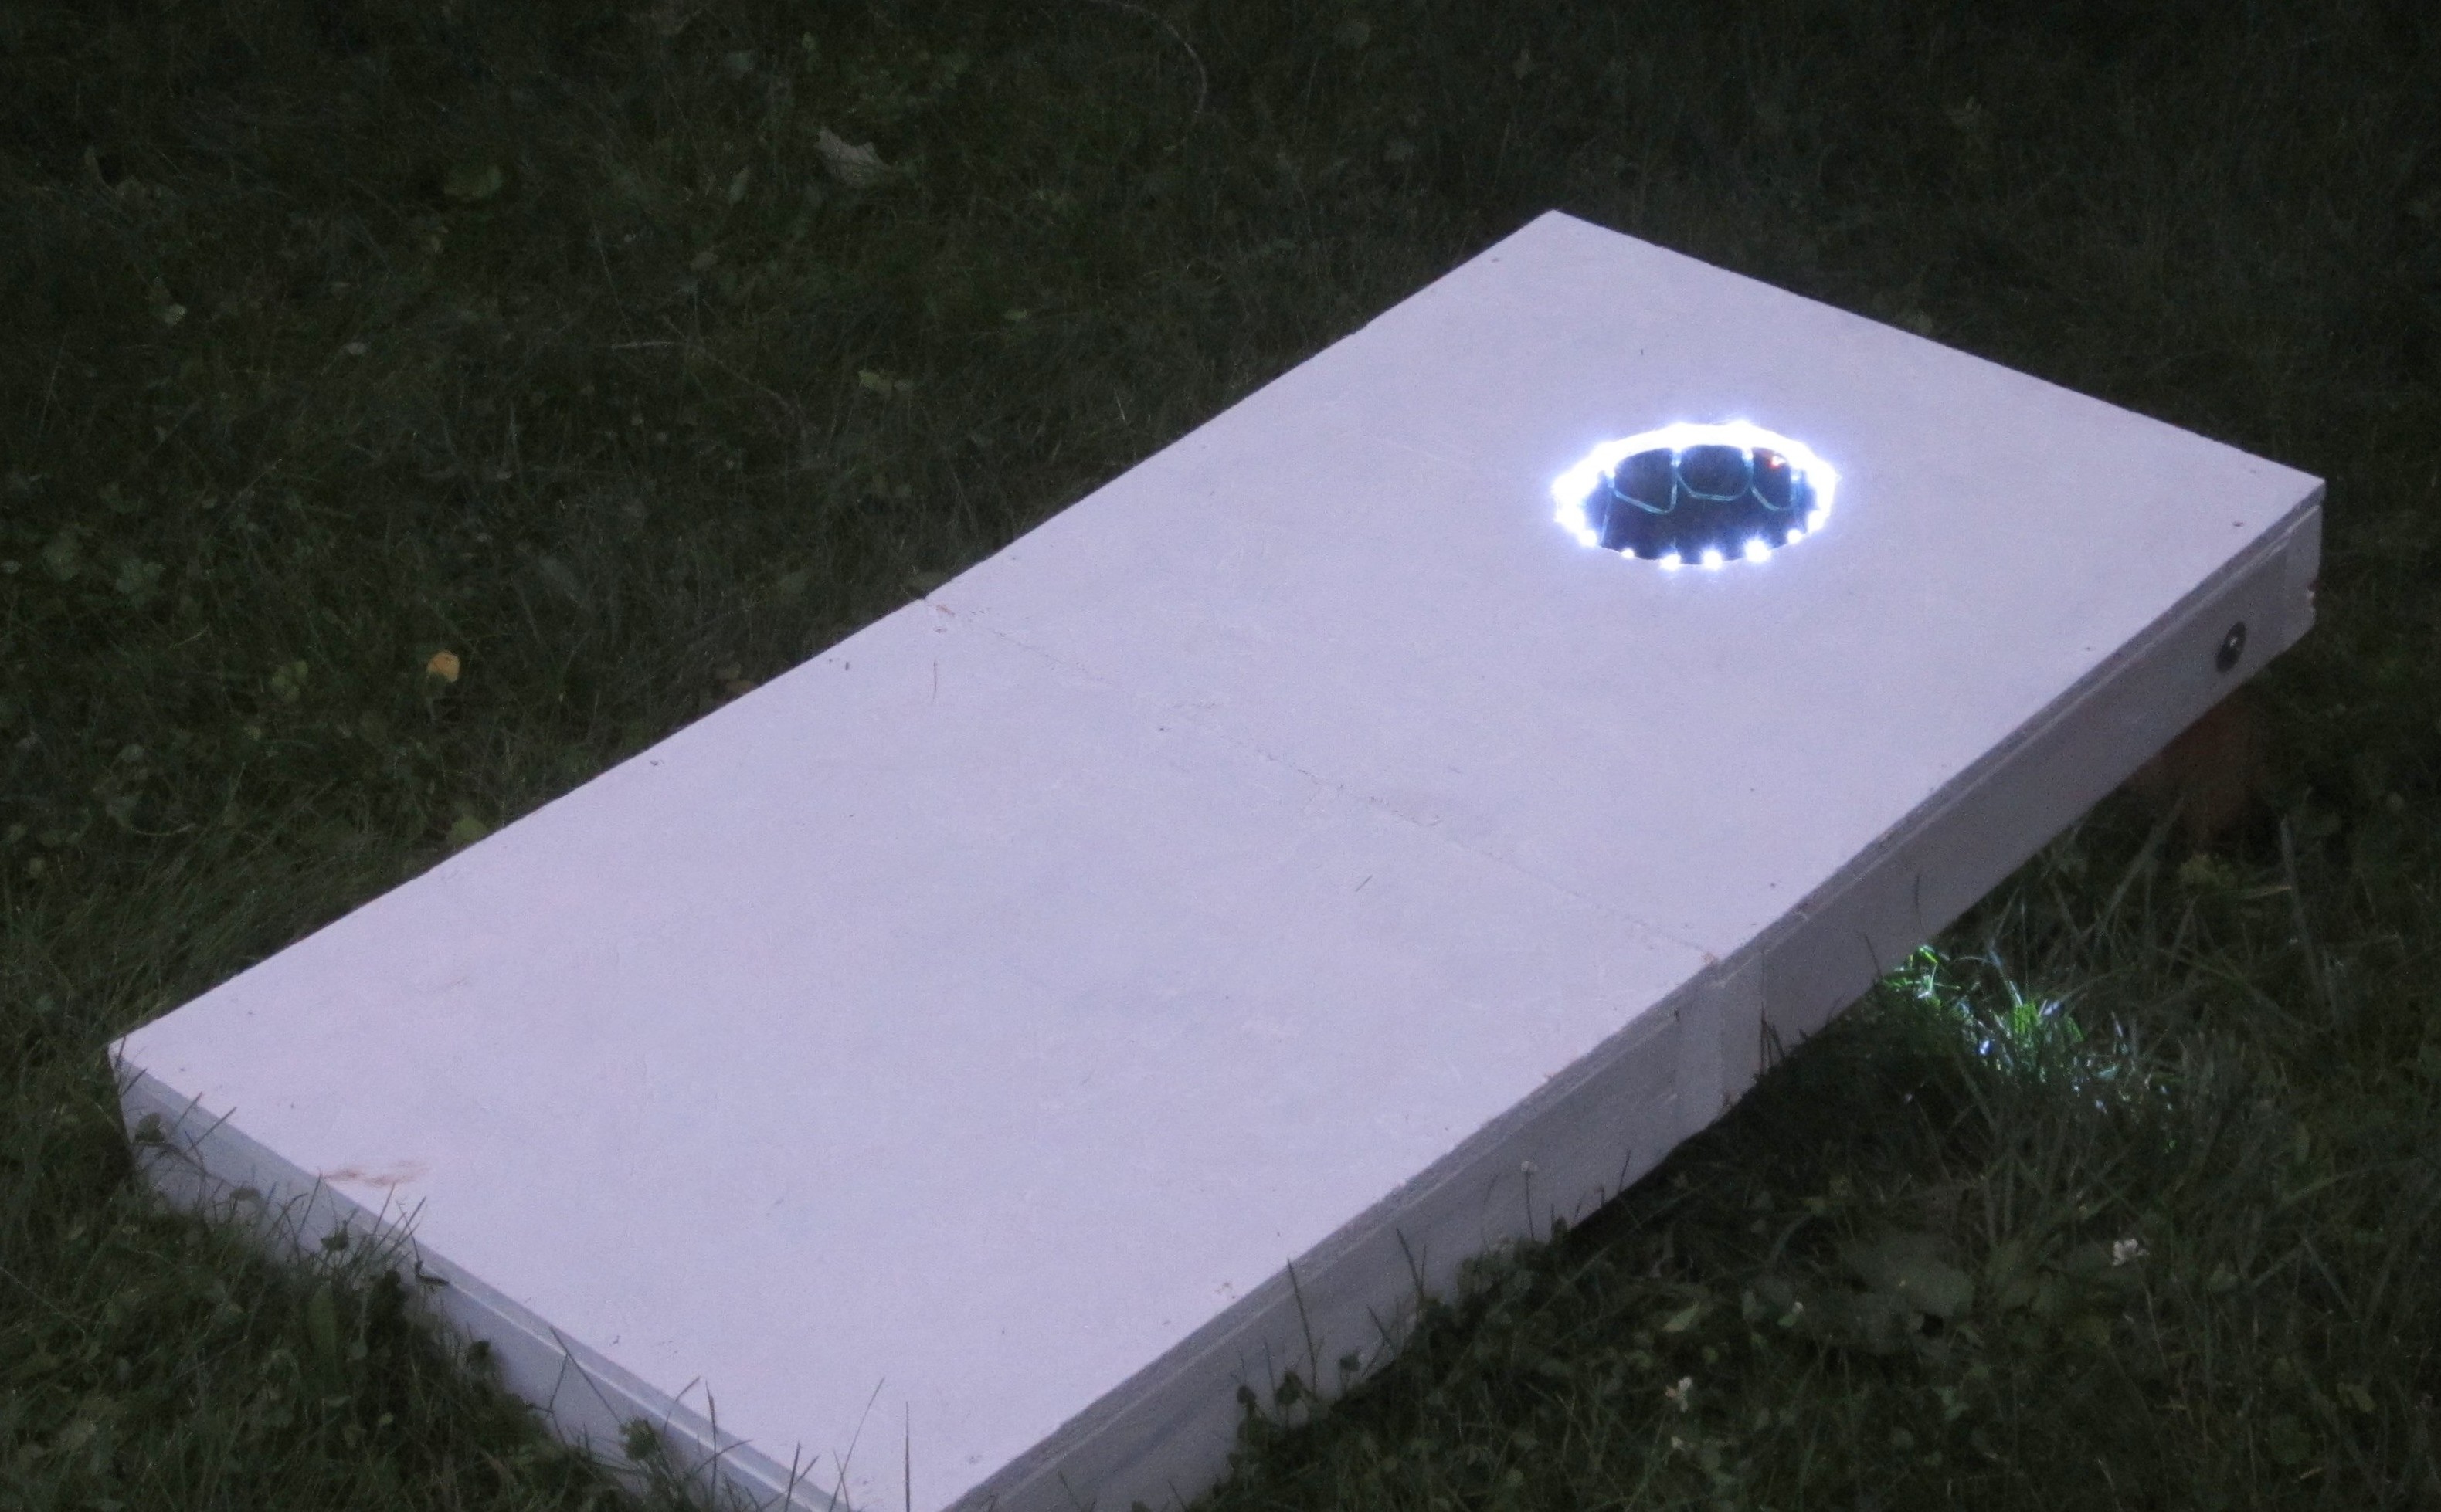
Backyard games like Cornhole are a lot of fun. But you can make them even better by adding lights and sounds. By hooking up some simple electronics, you can make the board light up and play a victory fanfare whenever someone scores. Here is how to make it.

YouTube player

Project Steps

How the sensor works

To detect when someone scores, I am using a basic light sensing circuit. A laser pointer is set up on one side of the hole. On the other side of the hole, a light detector is positioned in line with the laser pointer.

The light detector that I am using is a photoresistor that is wired in series with a 10 kohm fixed resistor. The 10 kohm resistor is connected to 5V and the photoresistor is connected to GND. The center pin between them is connected to an analog input pin on the Arduino.

When the light beam of the laser pointer is interrupted by the bag going through the hole, the voltage at the center pin goes up. This change in voltage is detected by the Arduino and the Arduino activates lights and sounds.

Connect the Arduino to the laser pointer

I am powering the laser pointer from the Arduino. To do this, I took a pair of jumper wires and I attached alligator clips on the ends.

The negative wire was attached to the spring inside the laser pointer. Then this wire was connected to GND. The positive wire was connected to the barrel of the laser pointer.

This wire was then connected to 5V from the Arduino. To keep the laser pointer on, you can just wrap some tape around the barrel over the switch.

Connecting the sensor to the Arduino

The center pin of the sensor needs to be connected to one of the analog input pins. In this project, I am using the Adafruit wave shield to add sound effects.

So I first attached the wave shield to the Arduino. Then I used a jumper wire with a female header pin connector to connect to the top of the wave shield.

Connect the Arduino to the lights

The lights require more power than Arduino can output. So we need to use an external power source. I decided to use two strings of battery powered LED lights.

To turn the lights on and off, I am using a pair of IRF510 power MOSFETs. The gate of the MOSFET is connected to digital pin 6 on the wave shield. The source pin of the MOSFET is connected to the GND pin on the wave shield. The source pin of the MOSFET is also connected to the negative terminal of the light’s battery pack. The Drain pin of the MOSFET is connected to the spring of the battery holder.

These are separated and insulated from each other by inserting a piece of card stock between them. With this card in place, the light circuit can only be completed through the transistor. When a HIGH signal is sent from the Arduino to the Gate pin, the transistor connects the battery to the LEDs and the lights turn on.

Upload the Arduino code

Download a copy of the Arduino code and upload it to the board.

Prototype the circuit on a breadboard

It is always a good idea to prototype a new circuit on a breadboard before soldering it together. This gives you a chance to make any necessary changes before everything is soldered in place.

Solder the circuit onto perfboard

Once everything is working properly, you can solder all the parts onto a printed circuit board or a piece of perf board.

Set up the wave shield

If you want your game to play sounds, you can add a WaveShield to your Arduino. This will let it play audio files. This shield may be purchased as a kit from Adafruit or fully assembled from the MakerShed. If you choose to assemble it from the kit, you can get detailed instructions from the Adafruit website. For this project, one additional wire needs to be soldered to digital pin 6 to allow it to activate the lights.

Once you have an assembled wave shield, you need to download the WaveHC library. You can download a copy from the author’s website or you can just download the zip file.

Download the zip file. Then unzip/extract the files. Copy the WaveHC folder into the libraries directory of your Arduino program folder. You can find a detailed tutorial on the library and how to use it here.

Convert the audio files to the .WAV format

The Wave shield can only play audio files in the .WAV format. So if your sound recorder saves the files in a different format, you will need to convert them to .WAV.

If you have iTunes you can use this tutorial to convert them. You can also use online file converters such as this one.

Regardless of which program you use, you need to convert the file to the .WAV type. The bit resolution should be set to “16 bit”. The sampling rate should be set to 22050 Hz (or 22.050 kHz). The audio channels should be set to “Mono.”

For simplicity, I changed my audio file to 1.wav. If you use this file name you will not need to modify the code. Then just load the files onto an SD card and insert it into the wave shield.

Attach the light sensor circuit to the game board

Now you need to attach the laser pointer and the light sensor to the game board. To do this, I just used hot glue to stick the parts to the underside of the board. Just make sure that the light sensor is perfectly lined up with the beam of the laser pointer.

Attach the rest of the parts to the inside of the game board

To secure the rest of the parts just hot glue them to the underside of the board. To help protect the Arduino, I put that inside a plastic project enclosure.

Glue the LEDs in place

The last thing to do is to glue all the LEDs in place. I used hot glue to mount one string of LEDs around the inside of the hole. Then I mounted the second string of lights around that inside the box.

Test it

Now all you have to do is turn on the power and try it out. Wave your hand in front of the beam. The lights should turn on and the sounds should play.

Use your light up game board

Now you are ready to play a game. Whenever you toss a bag into the hole, it will interrupt the beam from the laser pointer. Then the lights and sounds will play. I did this with a basic cornhole board. But you can make this work with lots of different games. For instance you could make this same setup with a basketball goal. Try it out and have fun.