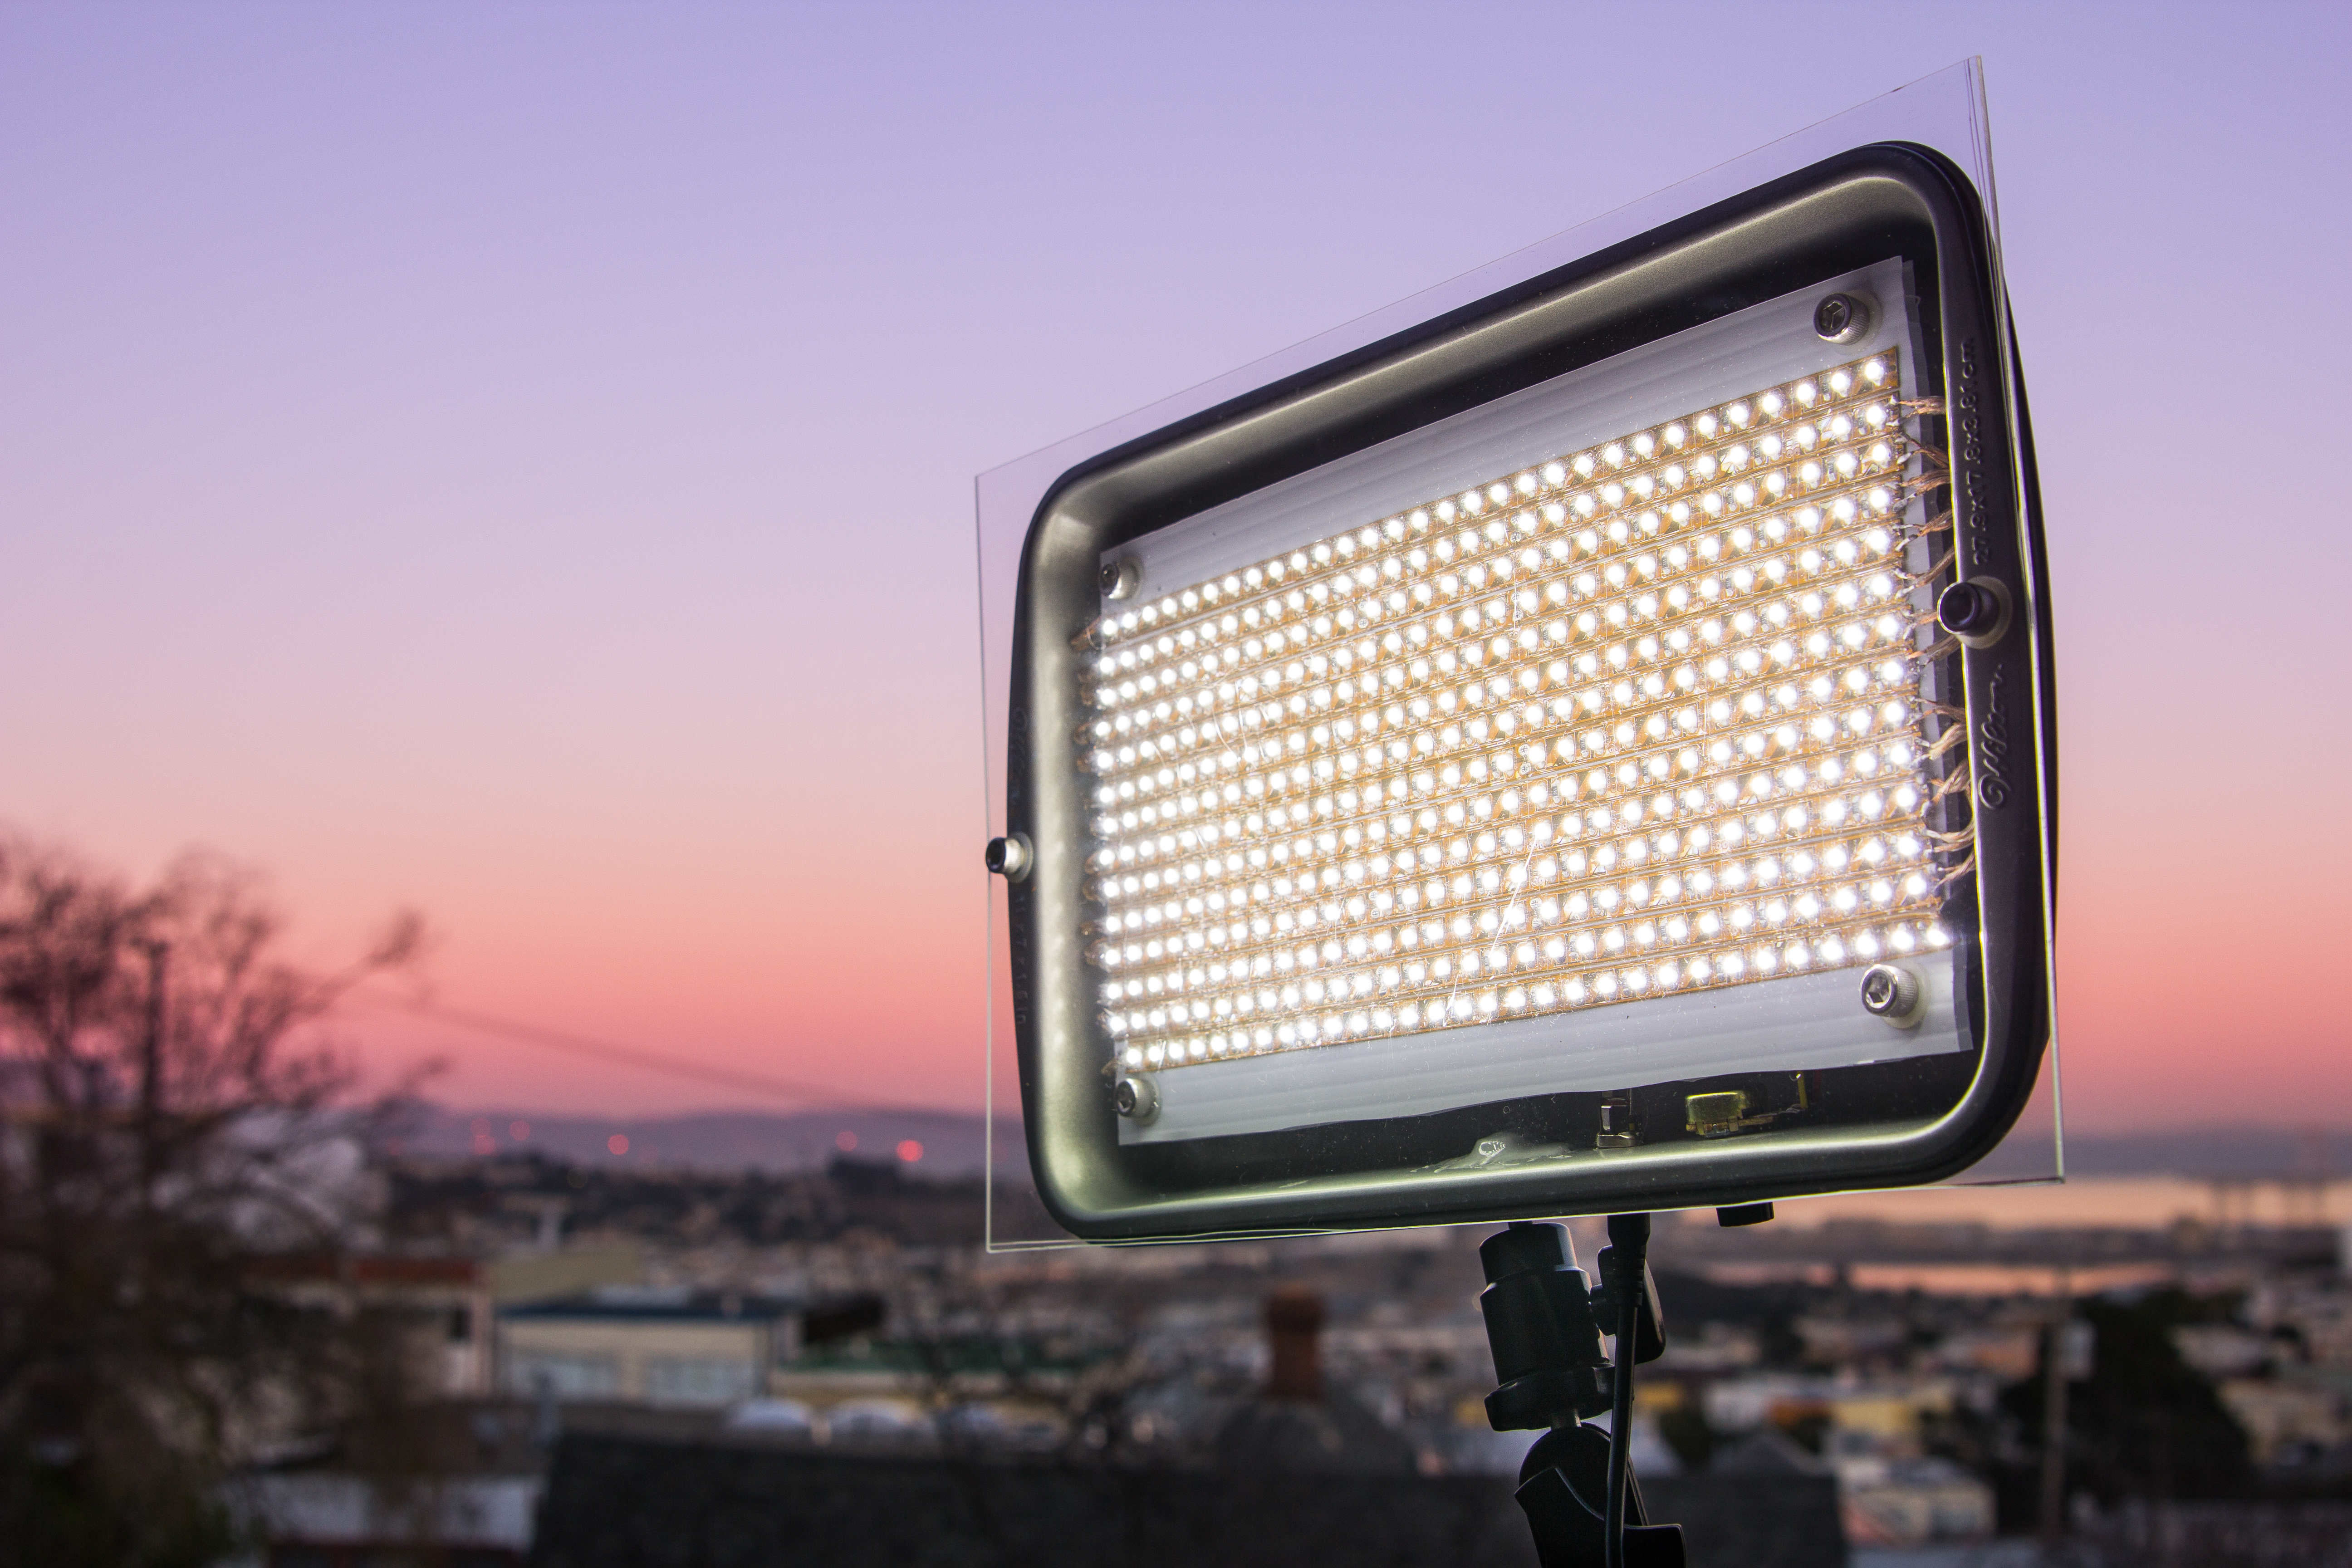
Opinions are mixed on LED lighting, but anyone who has ever done location work won’t be able to deny their utility — they’re lightweight, they have very low power draw, and they generate very little heat. They’re an excellent tool to have in a one-man band style of shooting. They’re also expensive. But now, with the proliferation of LED lighting kits for home use, you can build a very good equivalent to $500 off-the-shelf products for under $100. More importantly, if you’re careful you’ll come away with a project that looks good — and won’t scream, “I built this in a shed!” — and that might be handy, depending on who your clients are.
The core of this project is the adhesive-mounted strands of LED lights that you can cut and resolder into any configuration that strikes your fancy. These are usually sold in kits that come with an external power supply and an inline dimmer. Unfortunately you won’t be able to use this dimmer for video lighting purposes. Dimming for LED lights is achieved through a process called pulse-width modulation, which introduces a very rapid flickering that dims or brightens the light depending on the length of the cycle. The included inline dimmer operates at a relatively slow cycle — it looks fine to your eyes, but in camera you’ll see a pretty noticeable flicker. We’ll be using the guts of an external dimmer to get the results we need.
There’s an awful lot of soldering in this project, but none of it is very tough, so if you’re still intimidated by the process, this is a good project to help you build your skills. Overall the project is fairly simple, and you can complete it in around 4–6 hours depending on how smoothly your soldering goes. The cost of parts will set you back around $70 to $100, but you’ll likely have plenty of plexiglass and corrugated plastic left over to build more of these panels in the future.

This project first appeared in MAKE Volume 38, on page 56.


