As part of a project for an Industrial Design studio I was instructed to come up with concepts for improving the enjoyment of a mobile meal/snack or food on the go.

Nothing is more mobile than the ubiquitous baby carrot and during the project research phase I did a lot of reading on how baby carrots are produced. This got me thinking about making my own baby carrots and ultimately into the idea of making carrots into even cooler shapes. The idea for the carrot lathe was born.

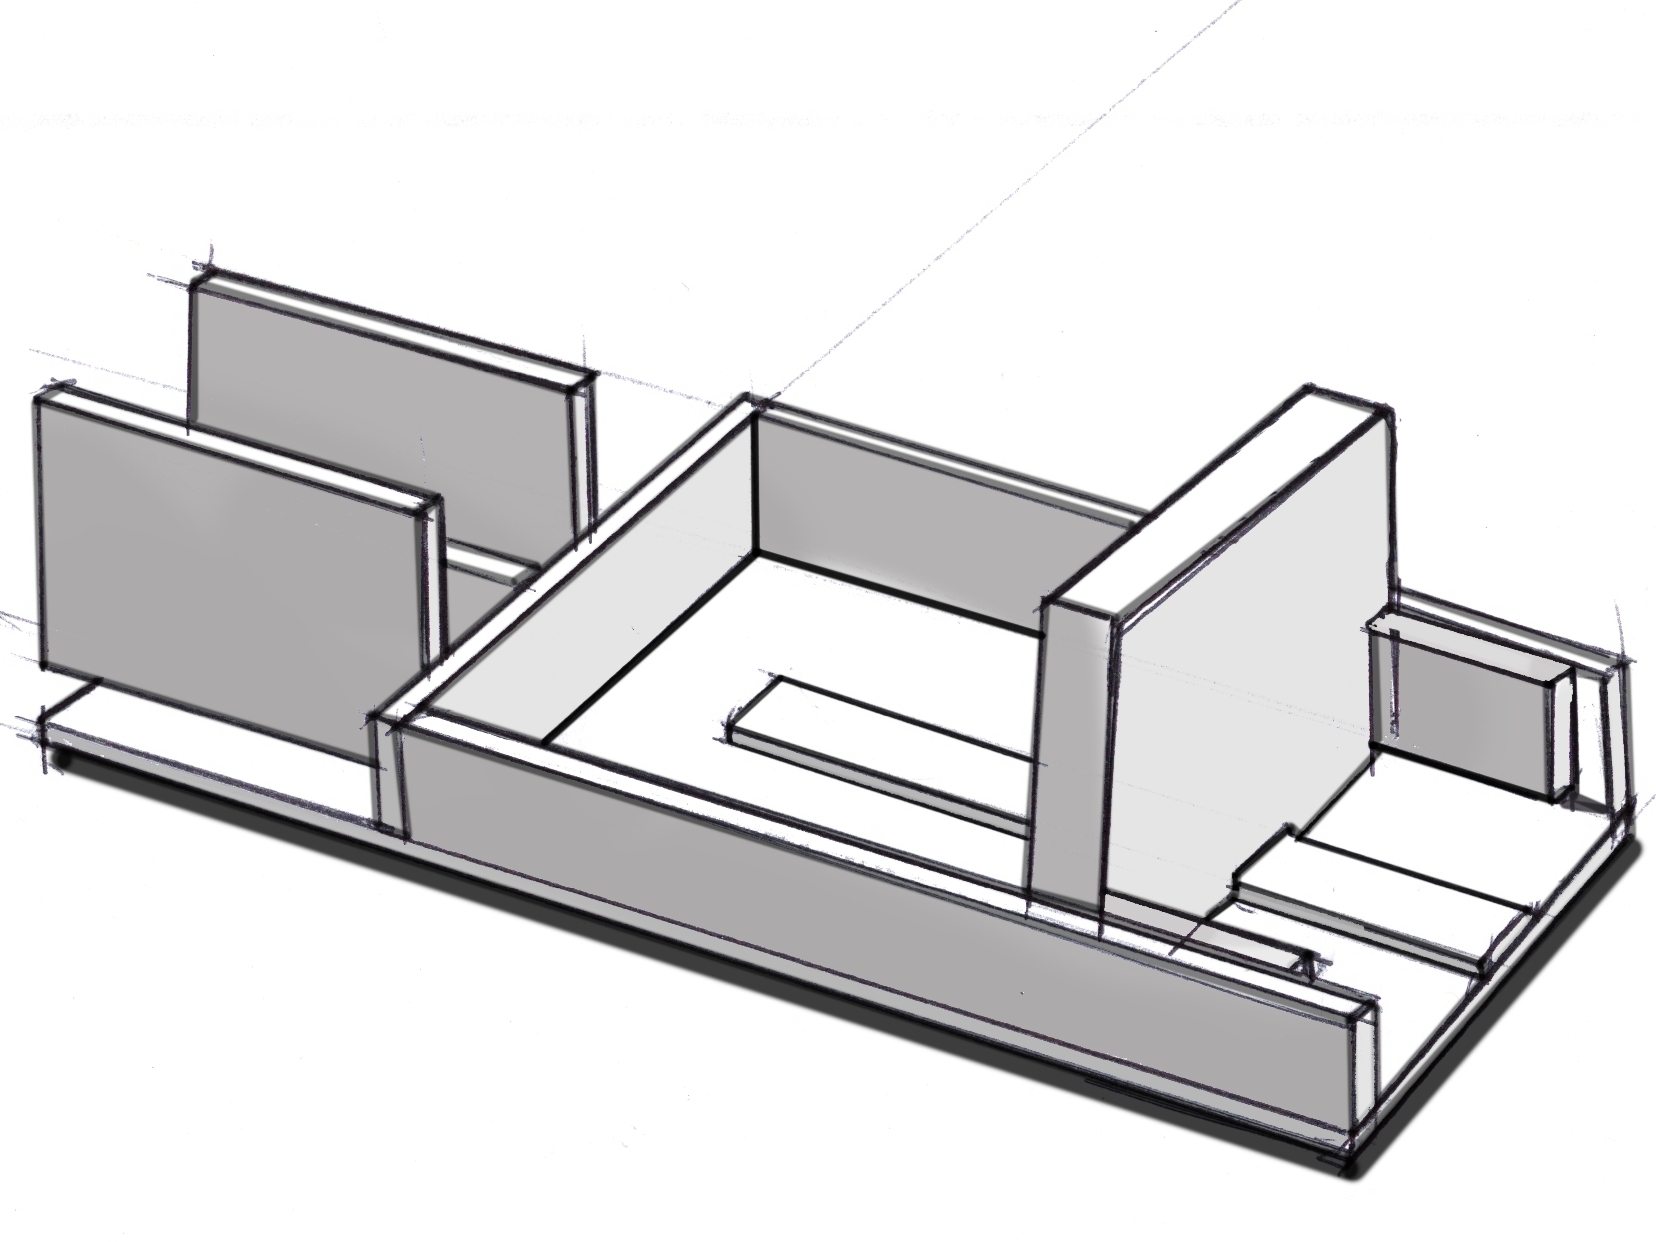
To complete my class project I did a series of concept sketches for what a carrot lathe appliance could potentially look like. I also built a prototype using simple building techniques and materials and this guide documents that build.

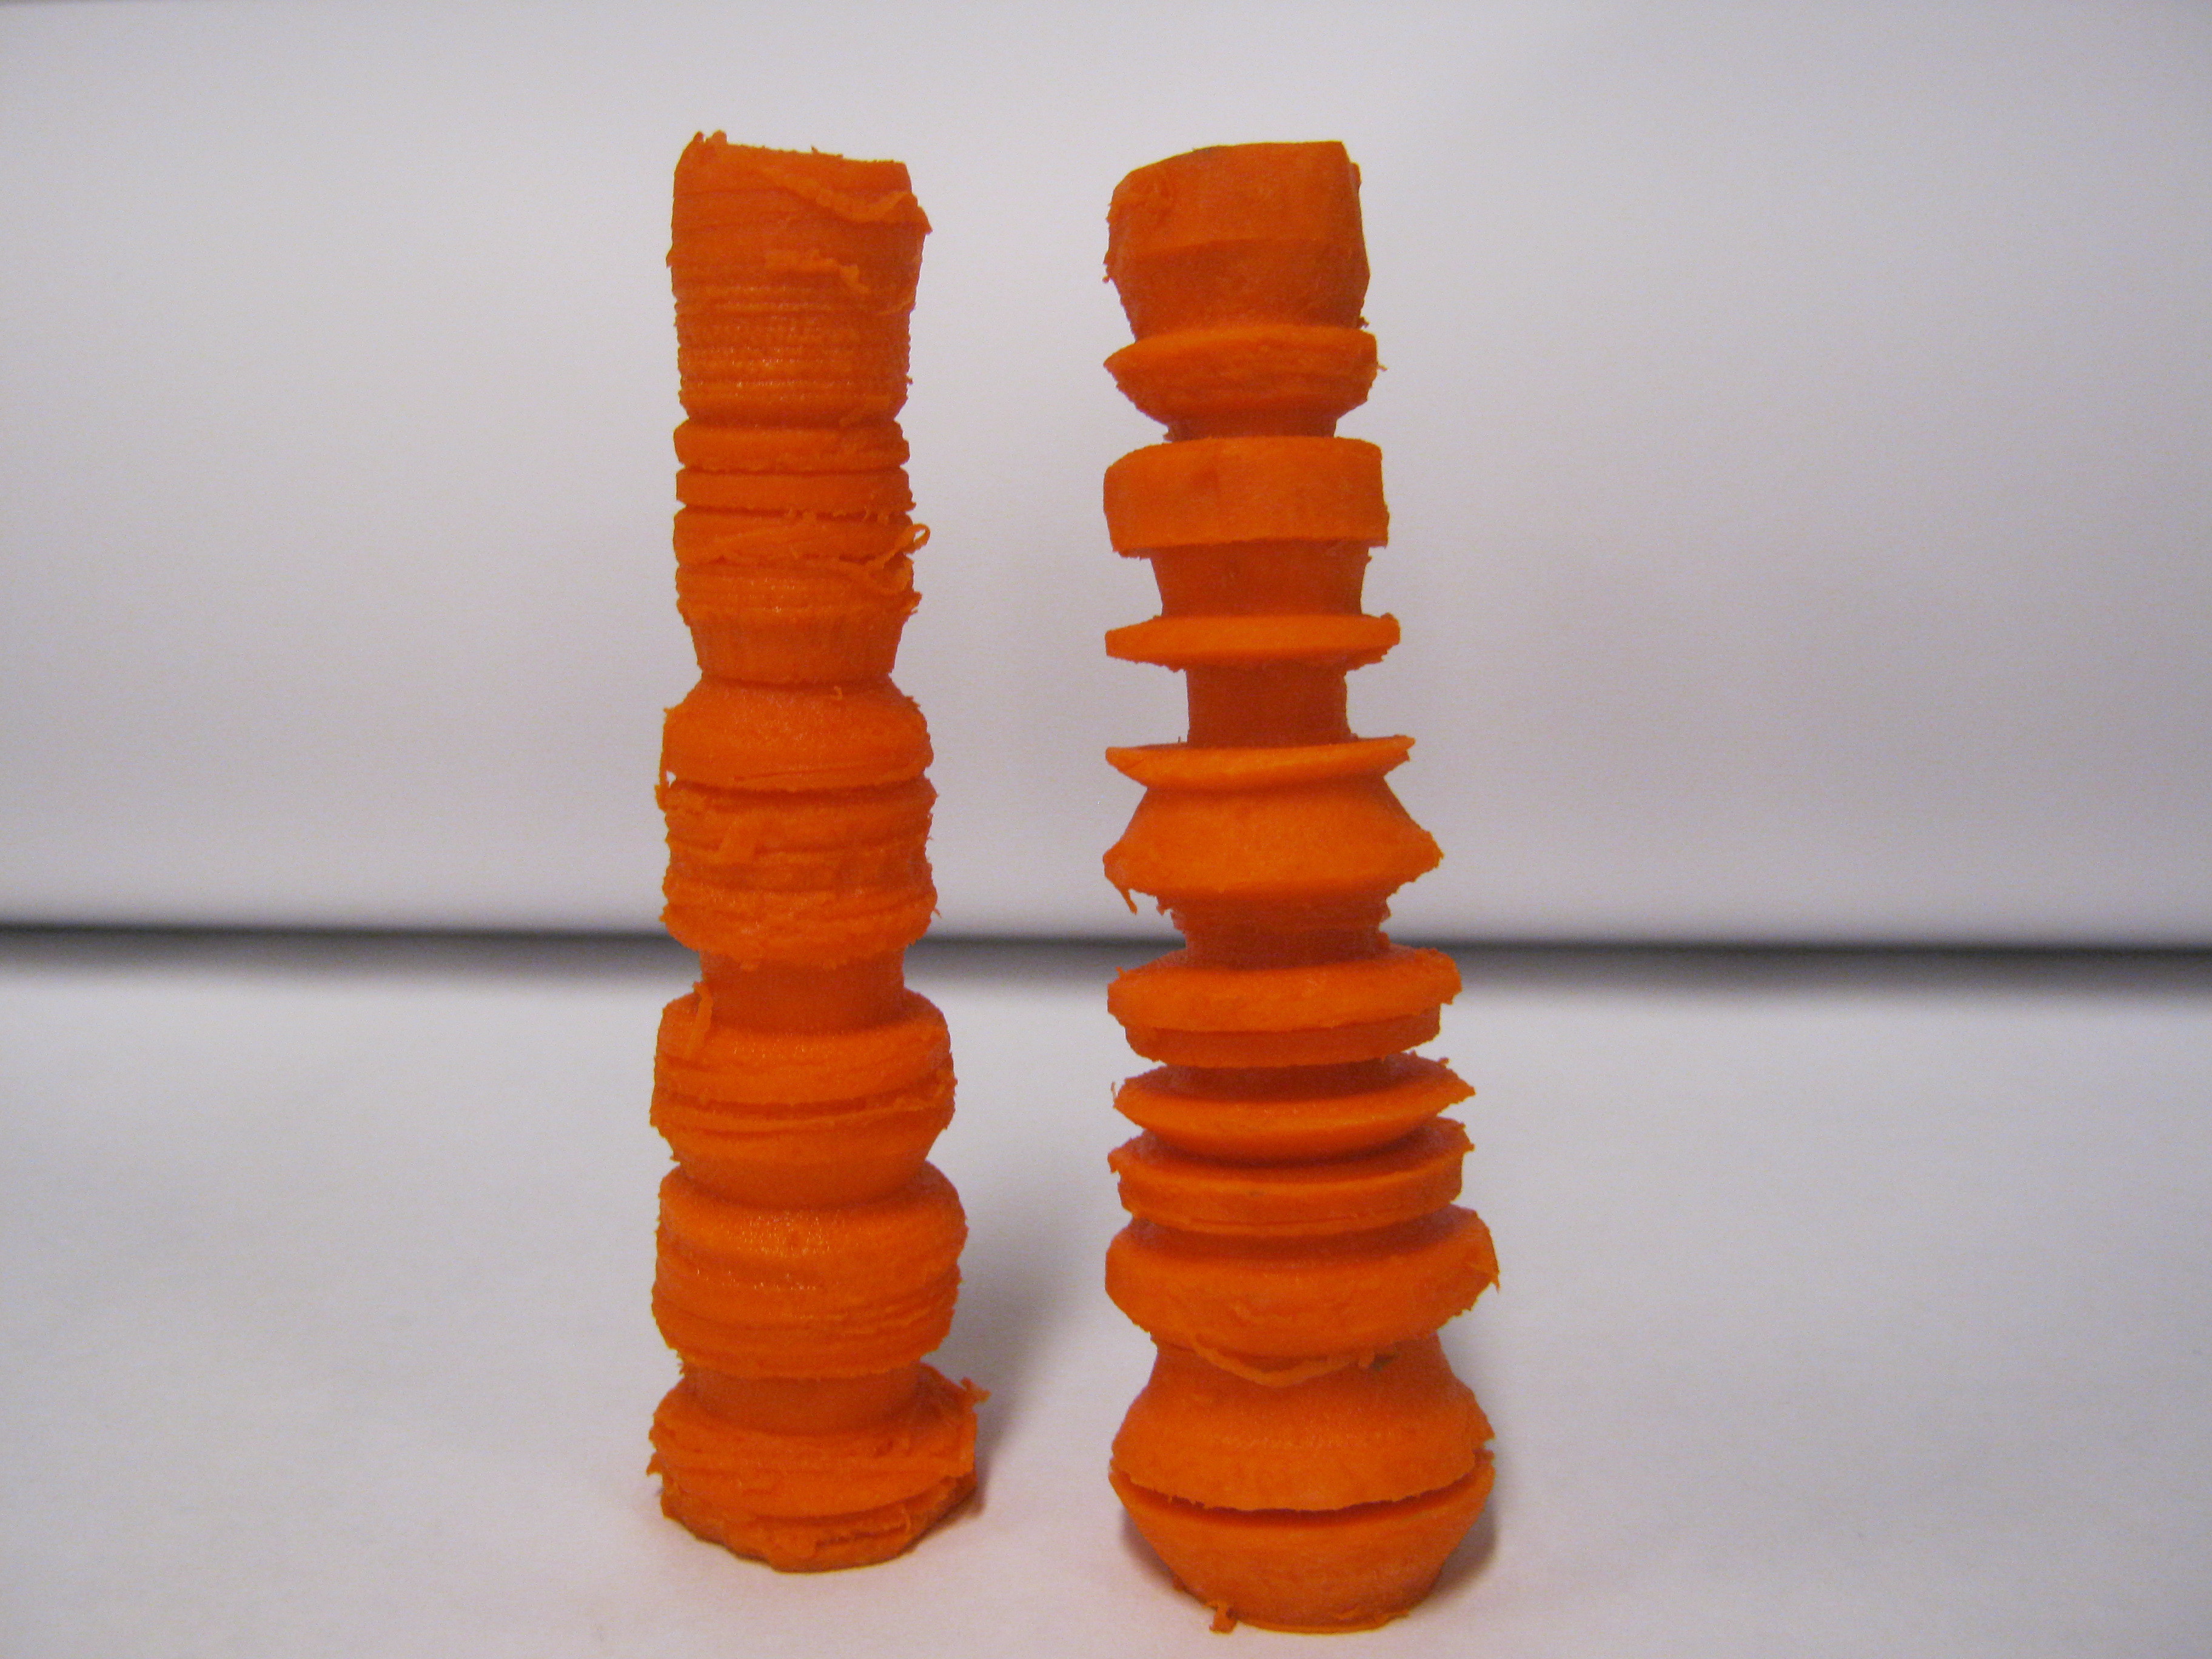
My family and classmates had a lot of fun lathing carrots and then eating the fruits (vegetables) of their labor. A nice side effect is what my instructor dubbed bleu cheese adhesion improvements – that is, your favorite dip really clings to all those fun ridges you can put in your carrot stick.

This is a very simple build with nothing fancy required and the result is a lot of fun for kids of all ages.

What will the next generation of Make: look like? We’re inviting you to shape the future by investing in Make:. By becoming an investor, you help decide what’s next. The future of Make: is in your hands. Learn More.

Project Steps

Any 1X8 lumber should work fine as well as some 1X2, 1X4, or other uniform ripped-down scraps. I used pine scraps I had around the shop and some 1X8 stock for the base.

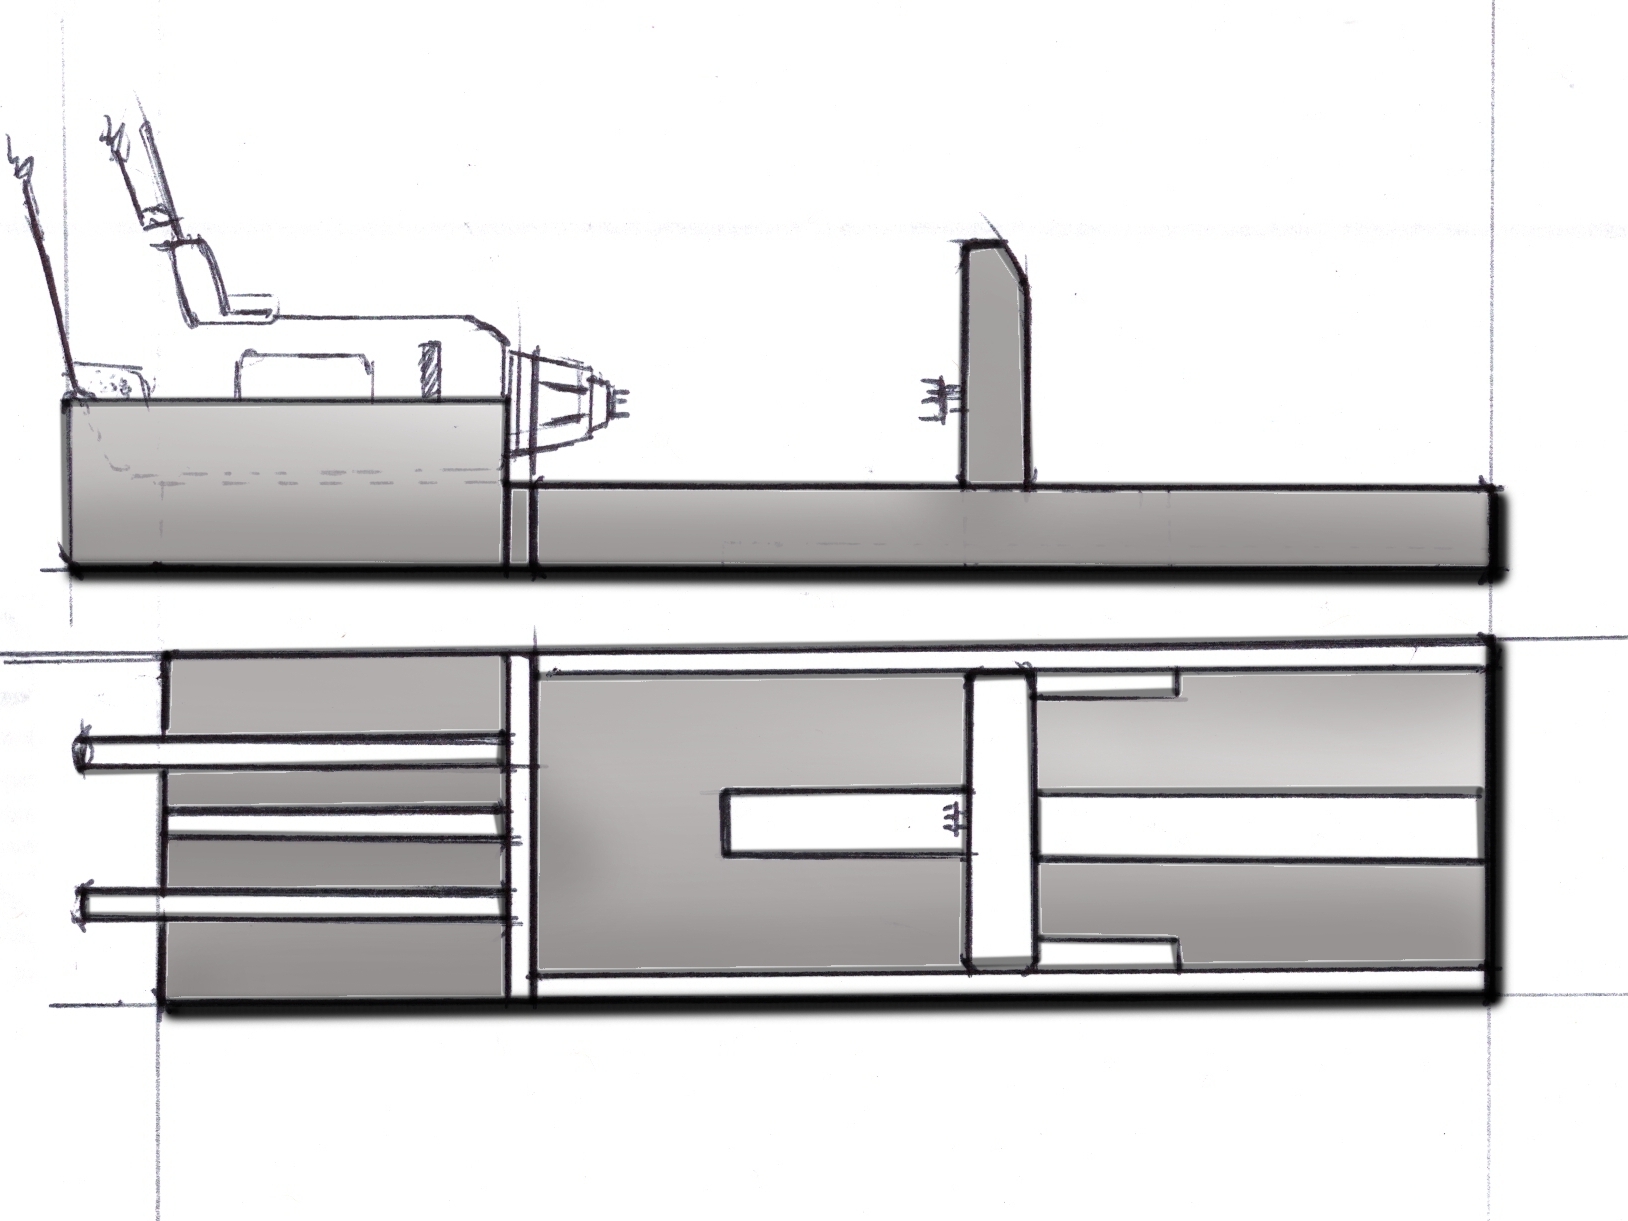
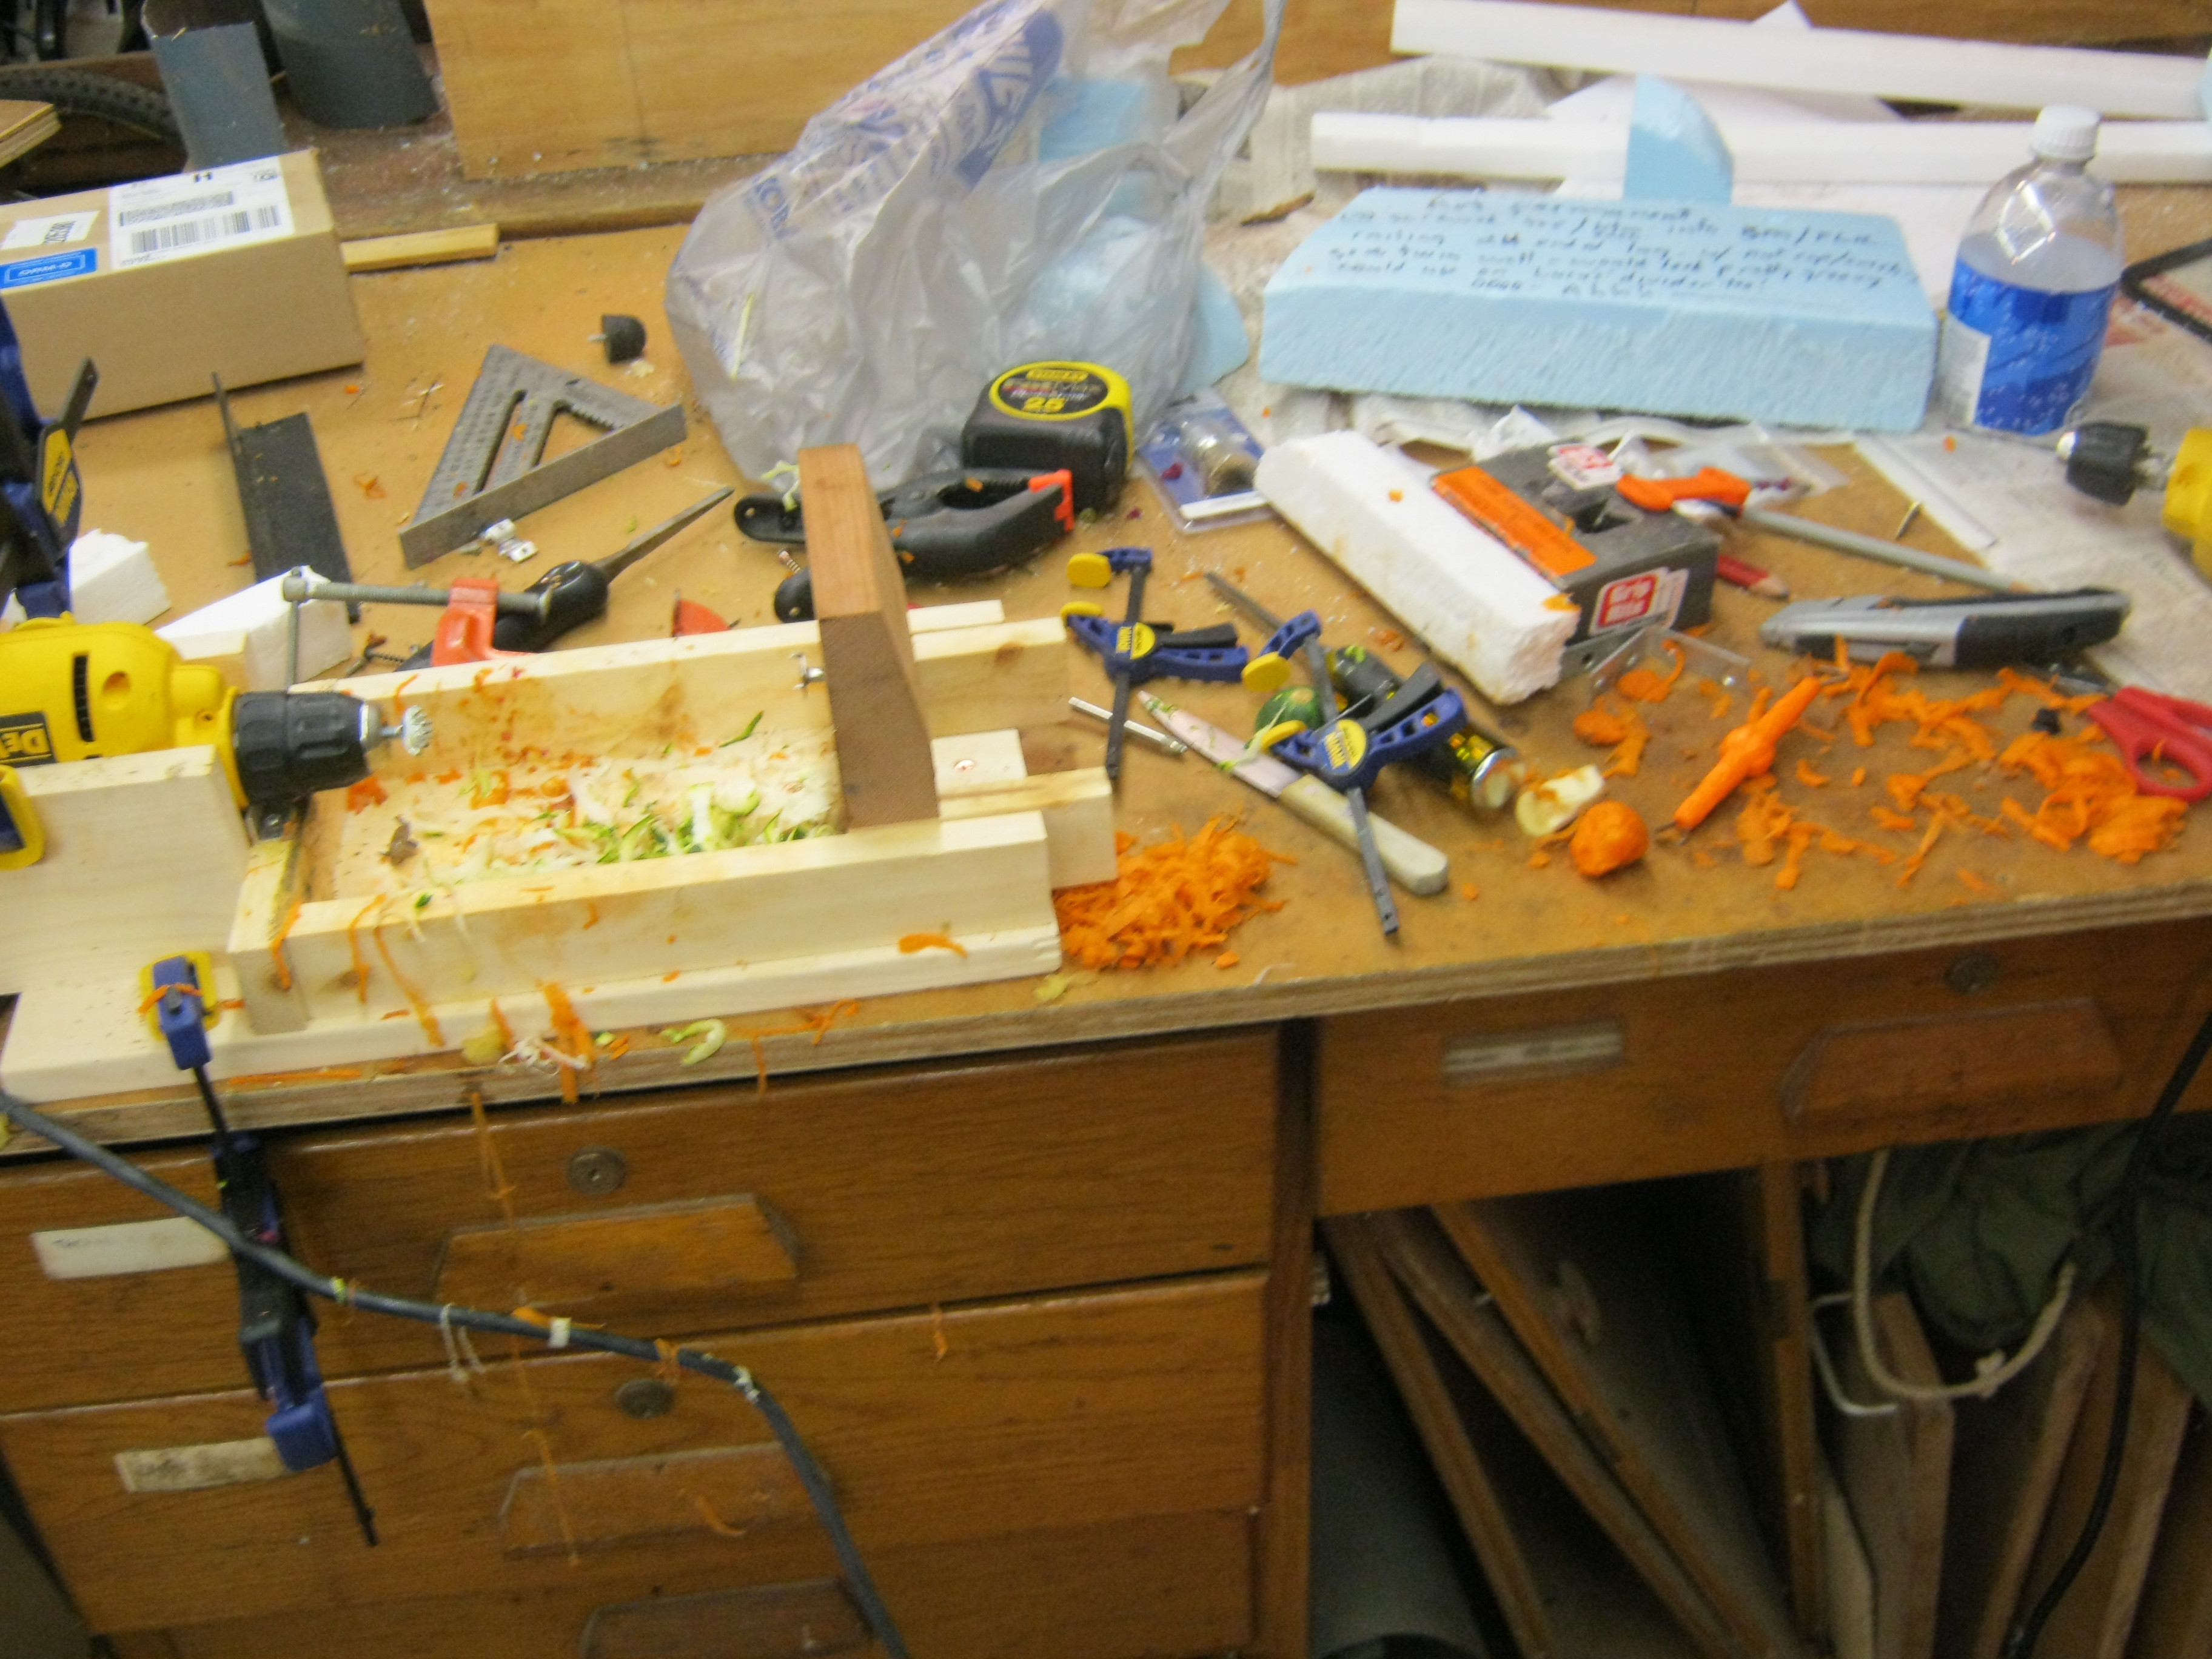
The boards will be used to create a base, guide, tailstock, and cradle for the variable speed drill which works as the headstock and spindle for the lathe. You will also fashion a moving tail stock which will move inside the base.

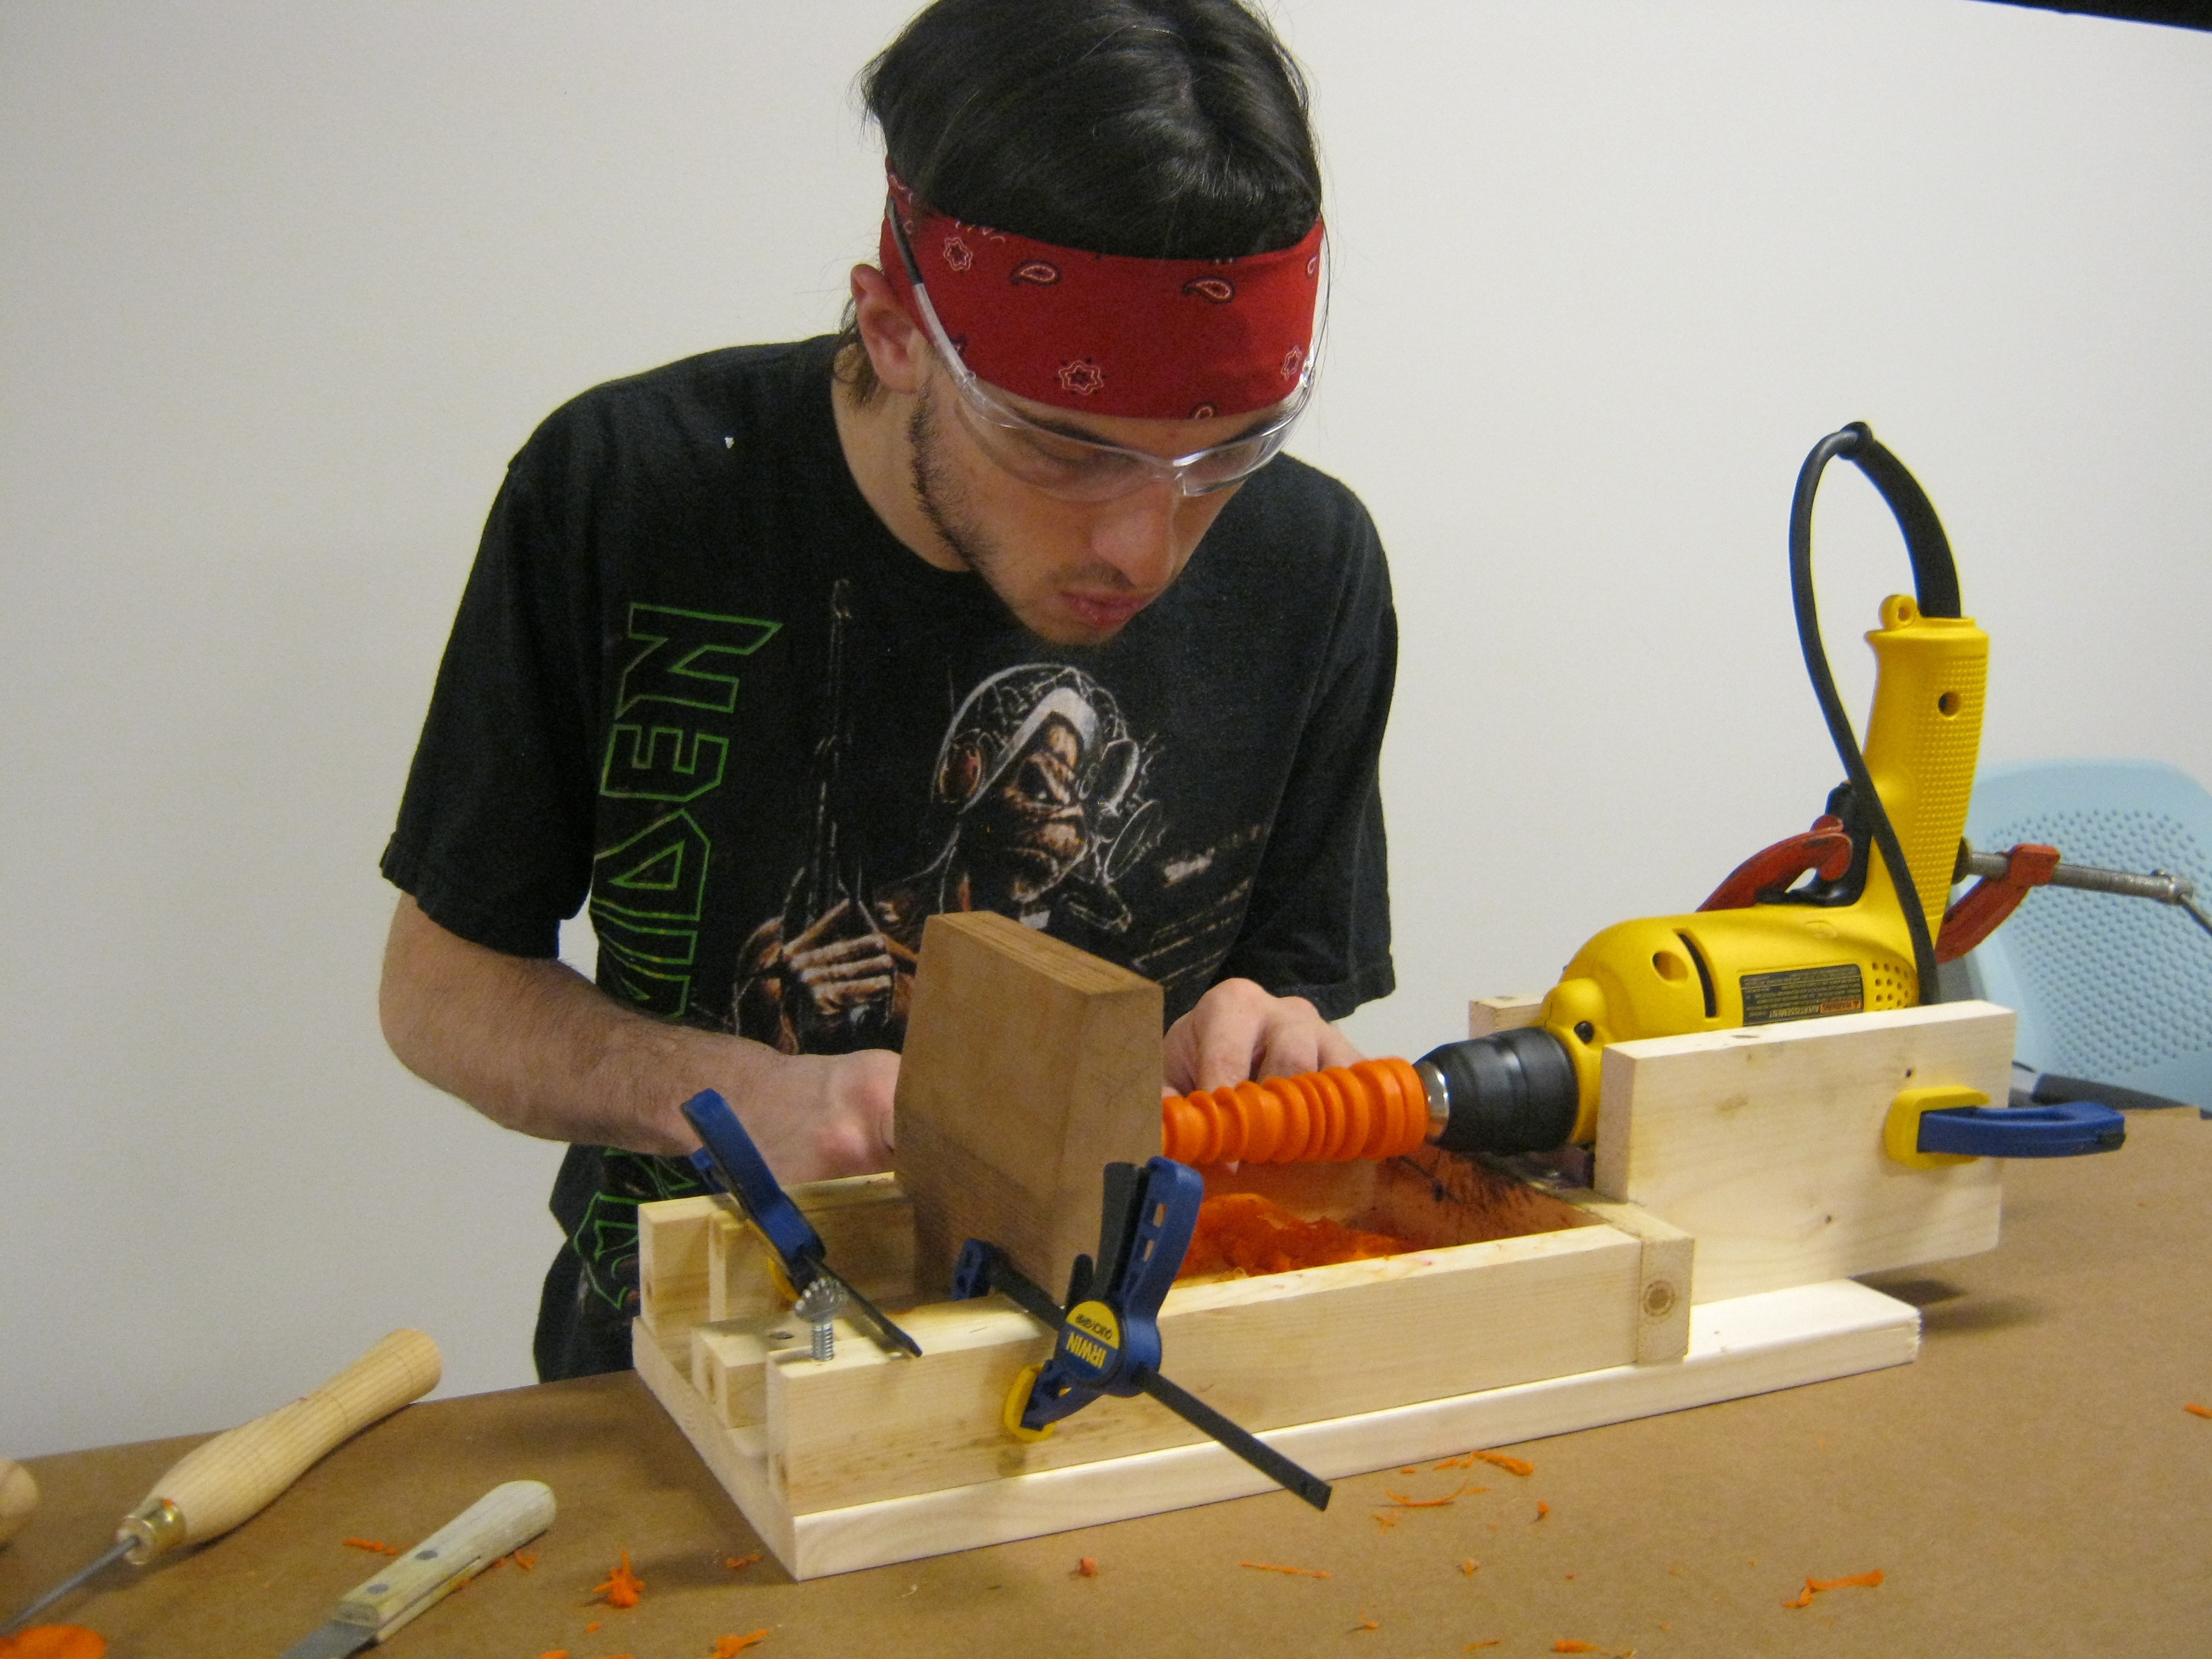
I used quick clamps to secure the drill in the headstock cradle and to secure the tail stock in the needed position for the work piece.

The final dimensions are not set in stone and can be adjusted to match your materials and drill. This guide should mainly convey the basic design and approach and I hope to see improvements from the community.

The most important part is that the tail stock can move inside the base and is centered with the spindle (drill) and that all the parts can be securely held in the needed positions when the work piece is being turned.

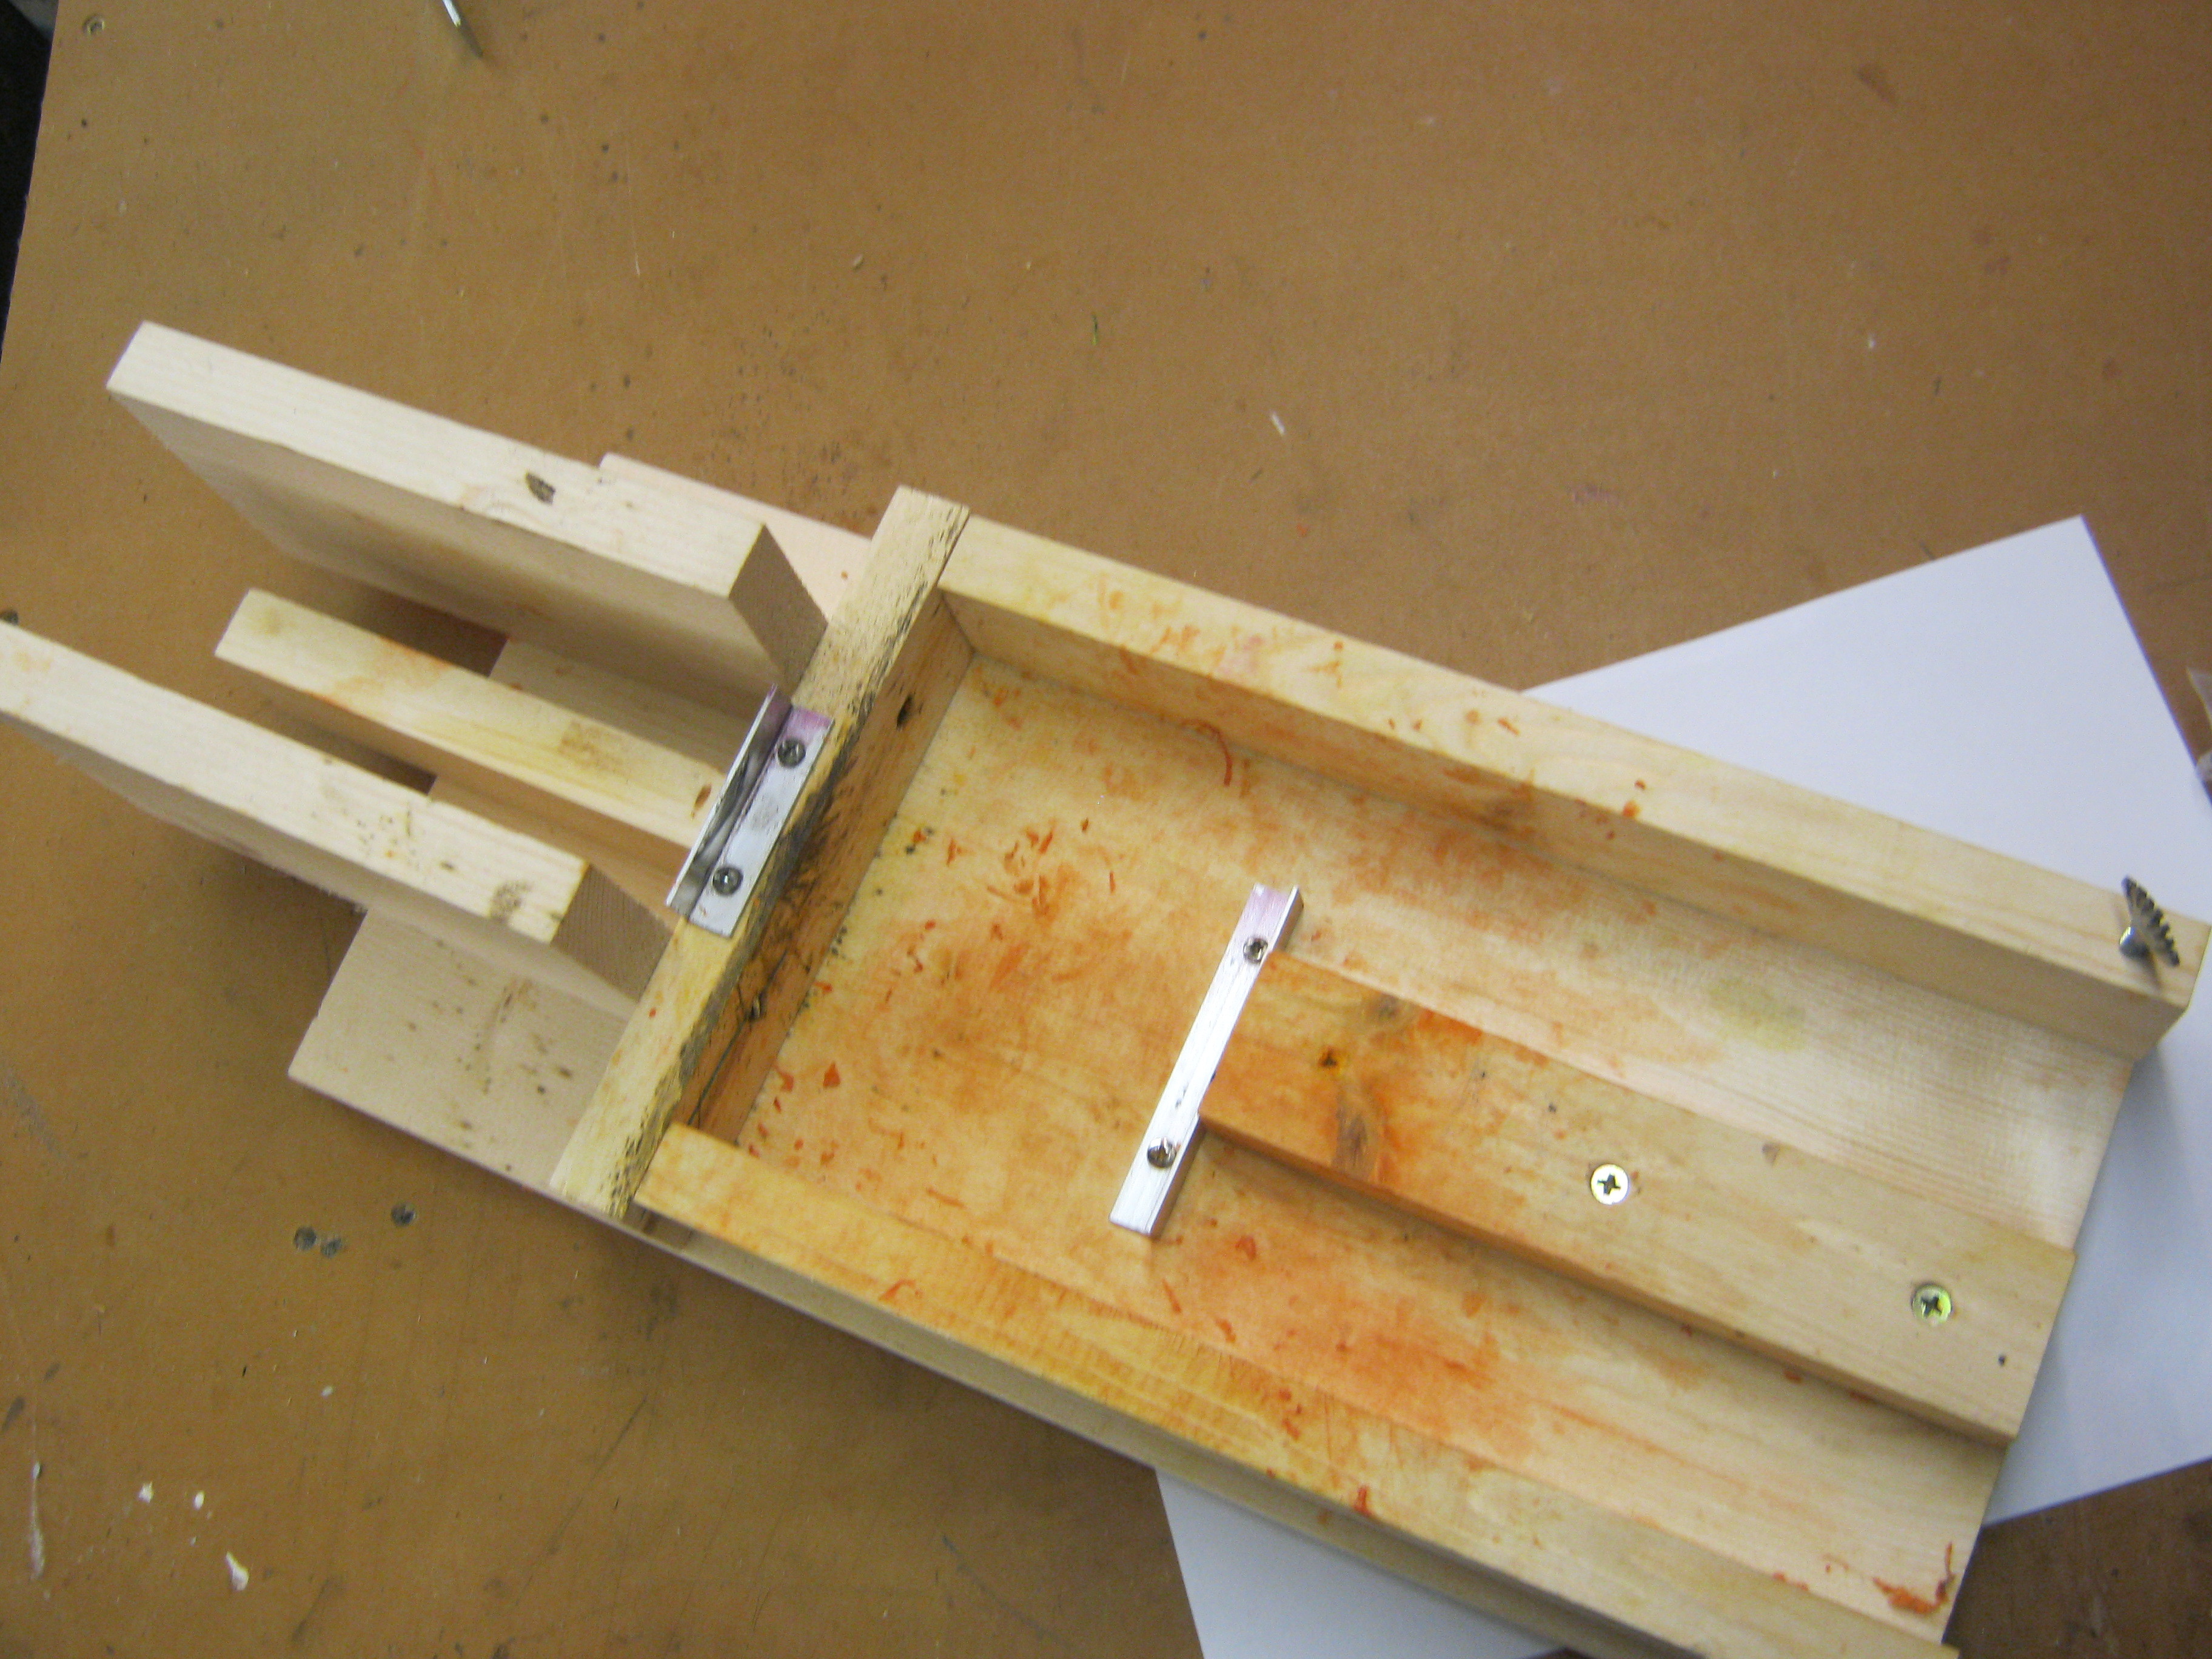
The base consists of the 1X8 bottom, sides that function as the tailstock guide and tool rest, and the spindle (drill) cradle.

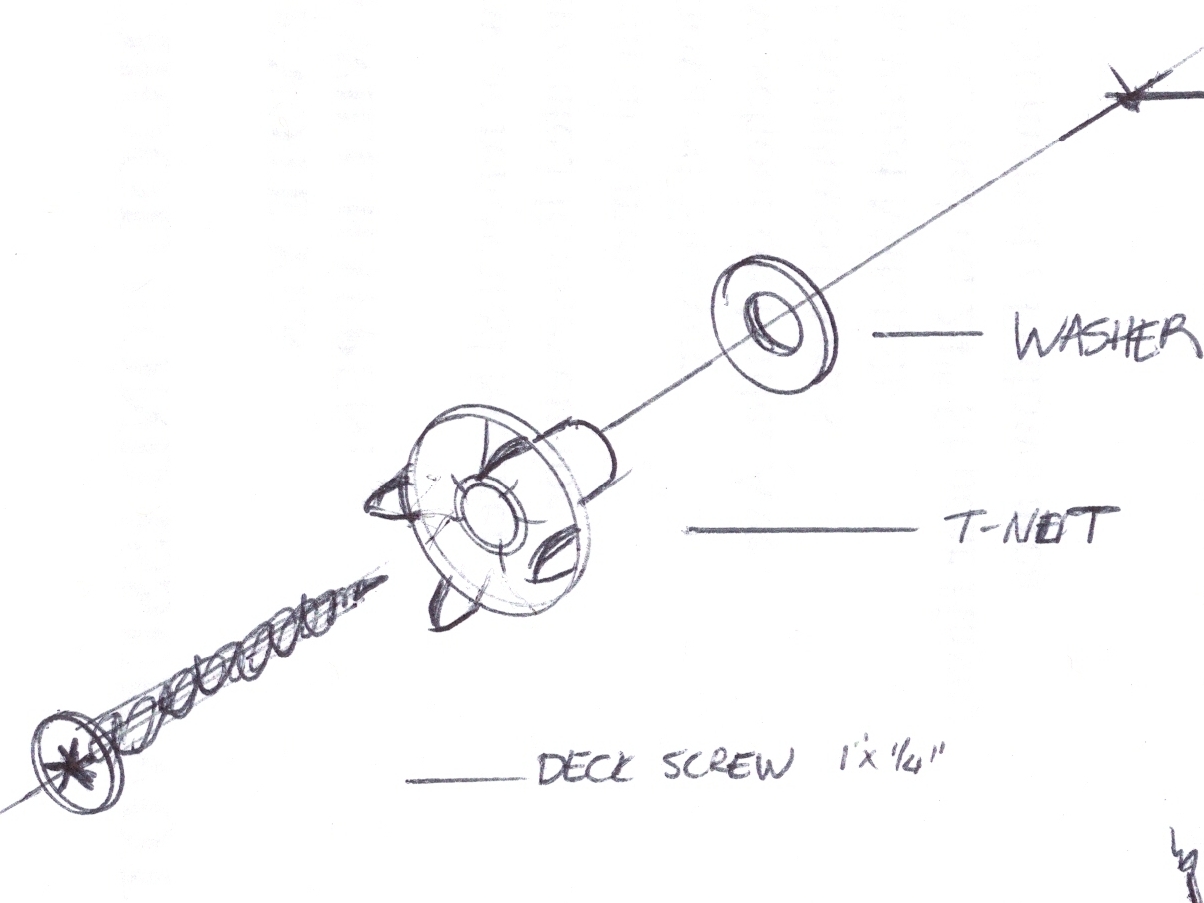
After cutting the needed pieces they are simply attached to the base using 1X1/4″ deck or drywall screws.

I used some small aluminum angle to create a stop for the tailstock and the drill. In hindsight I would say that these were not really necessary so I won’t cover them. The center guide is also probably not necessary and if used requires some extra work when building the tailstock.

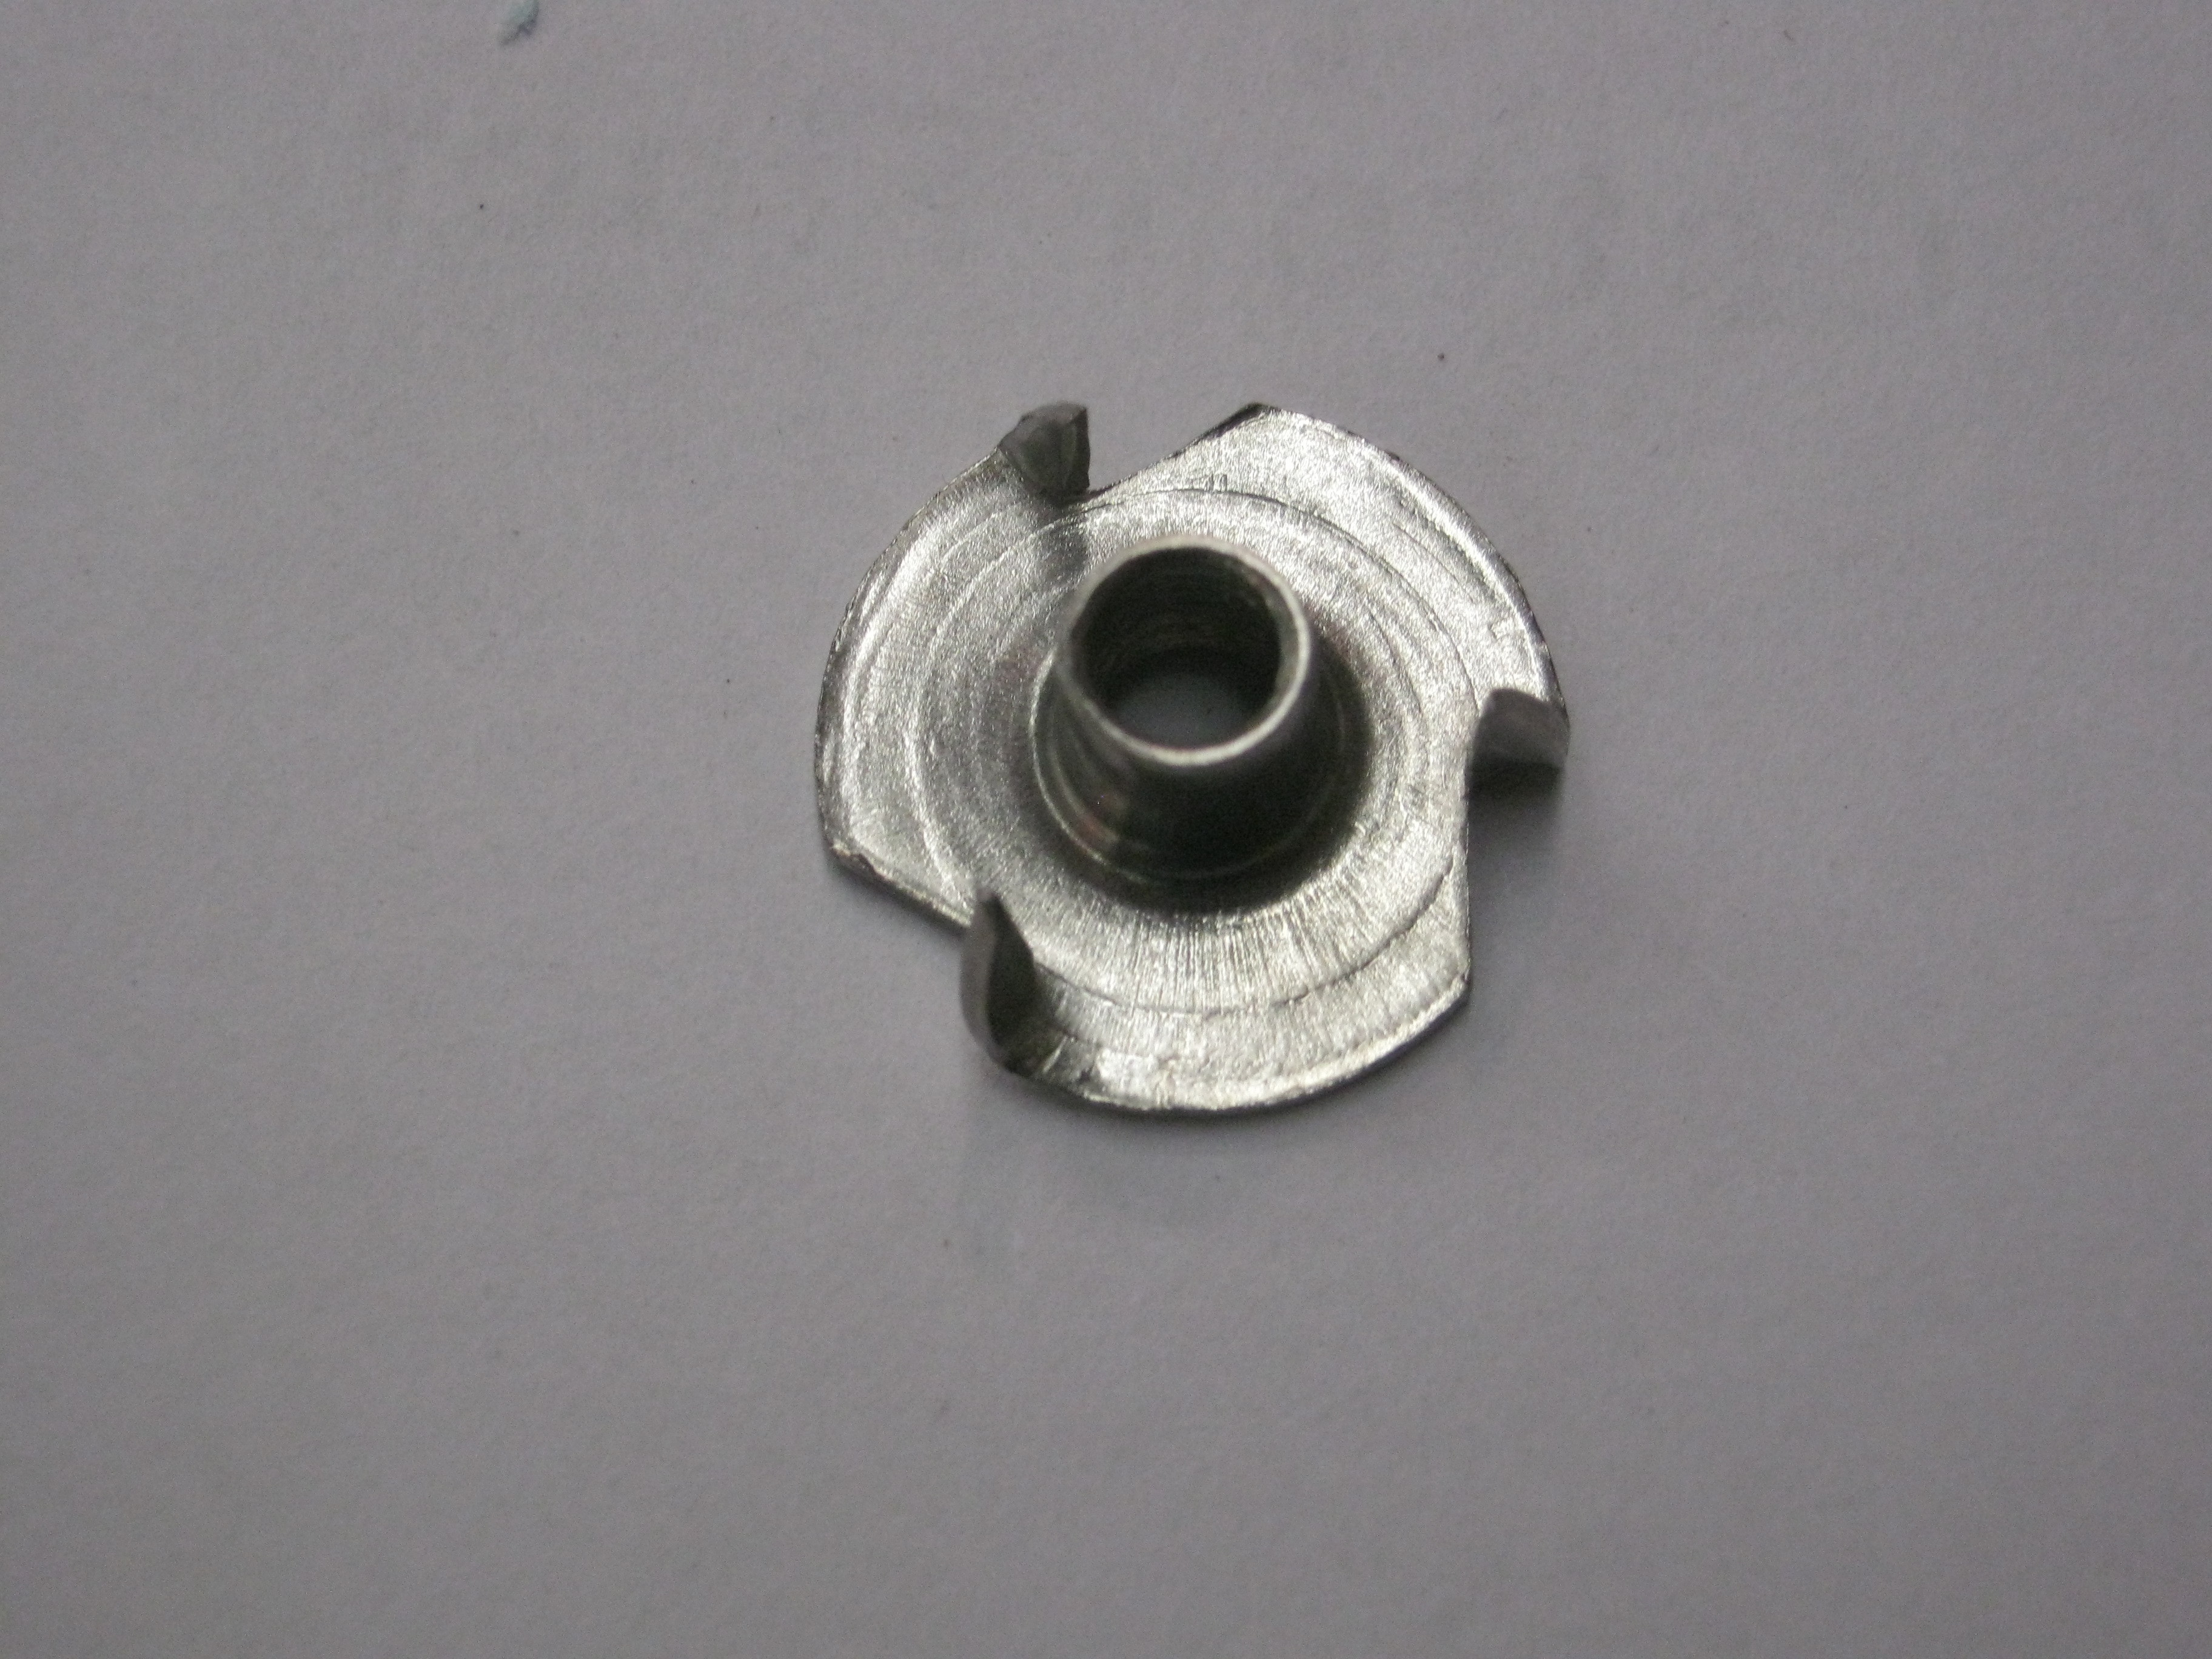
The center and tailstock center are made from modified T-nuts. See image one of a standard T-nut before modification.

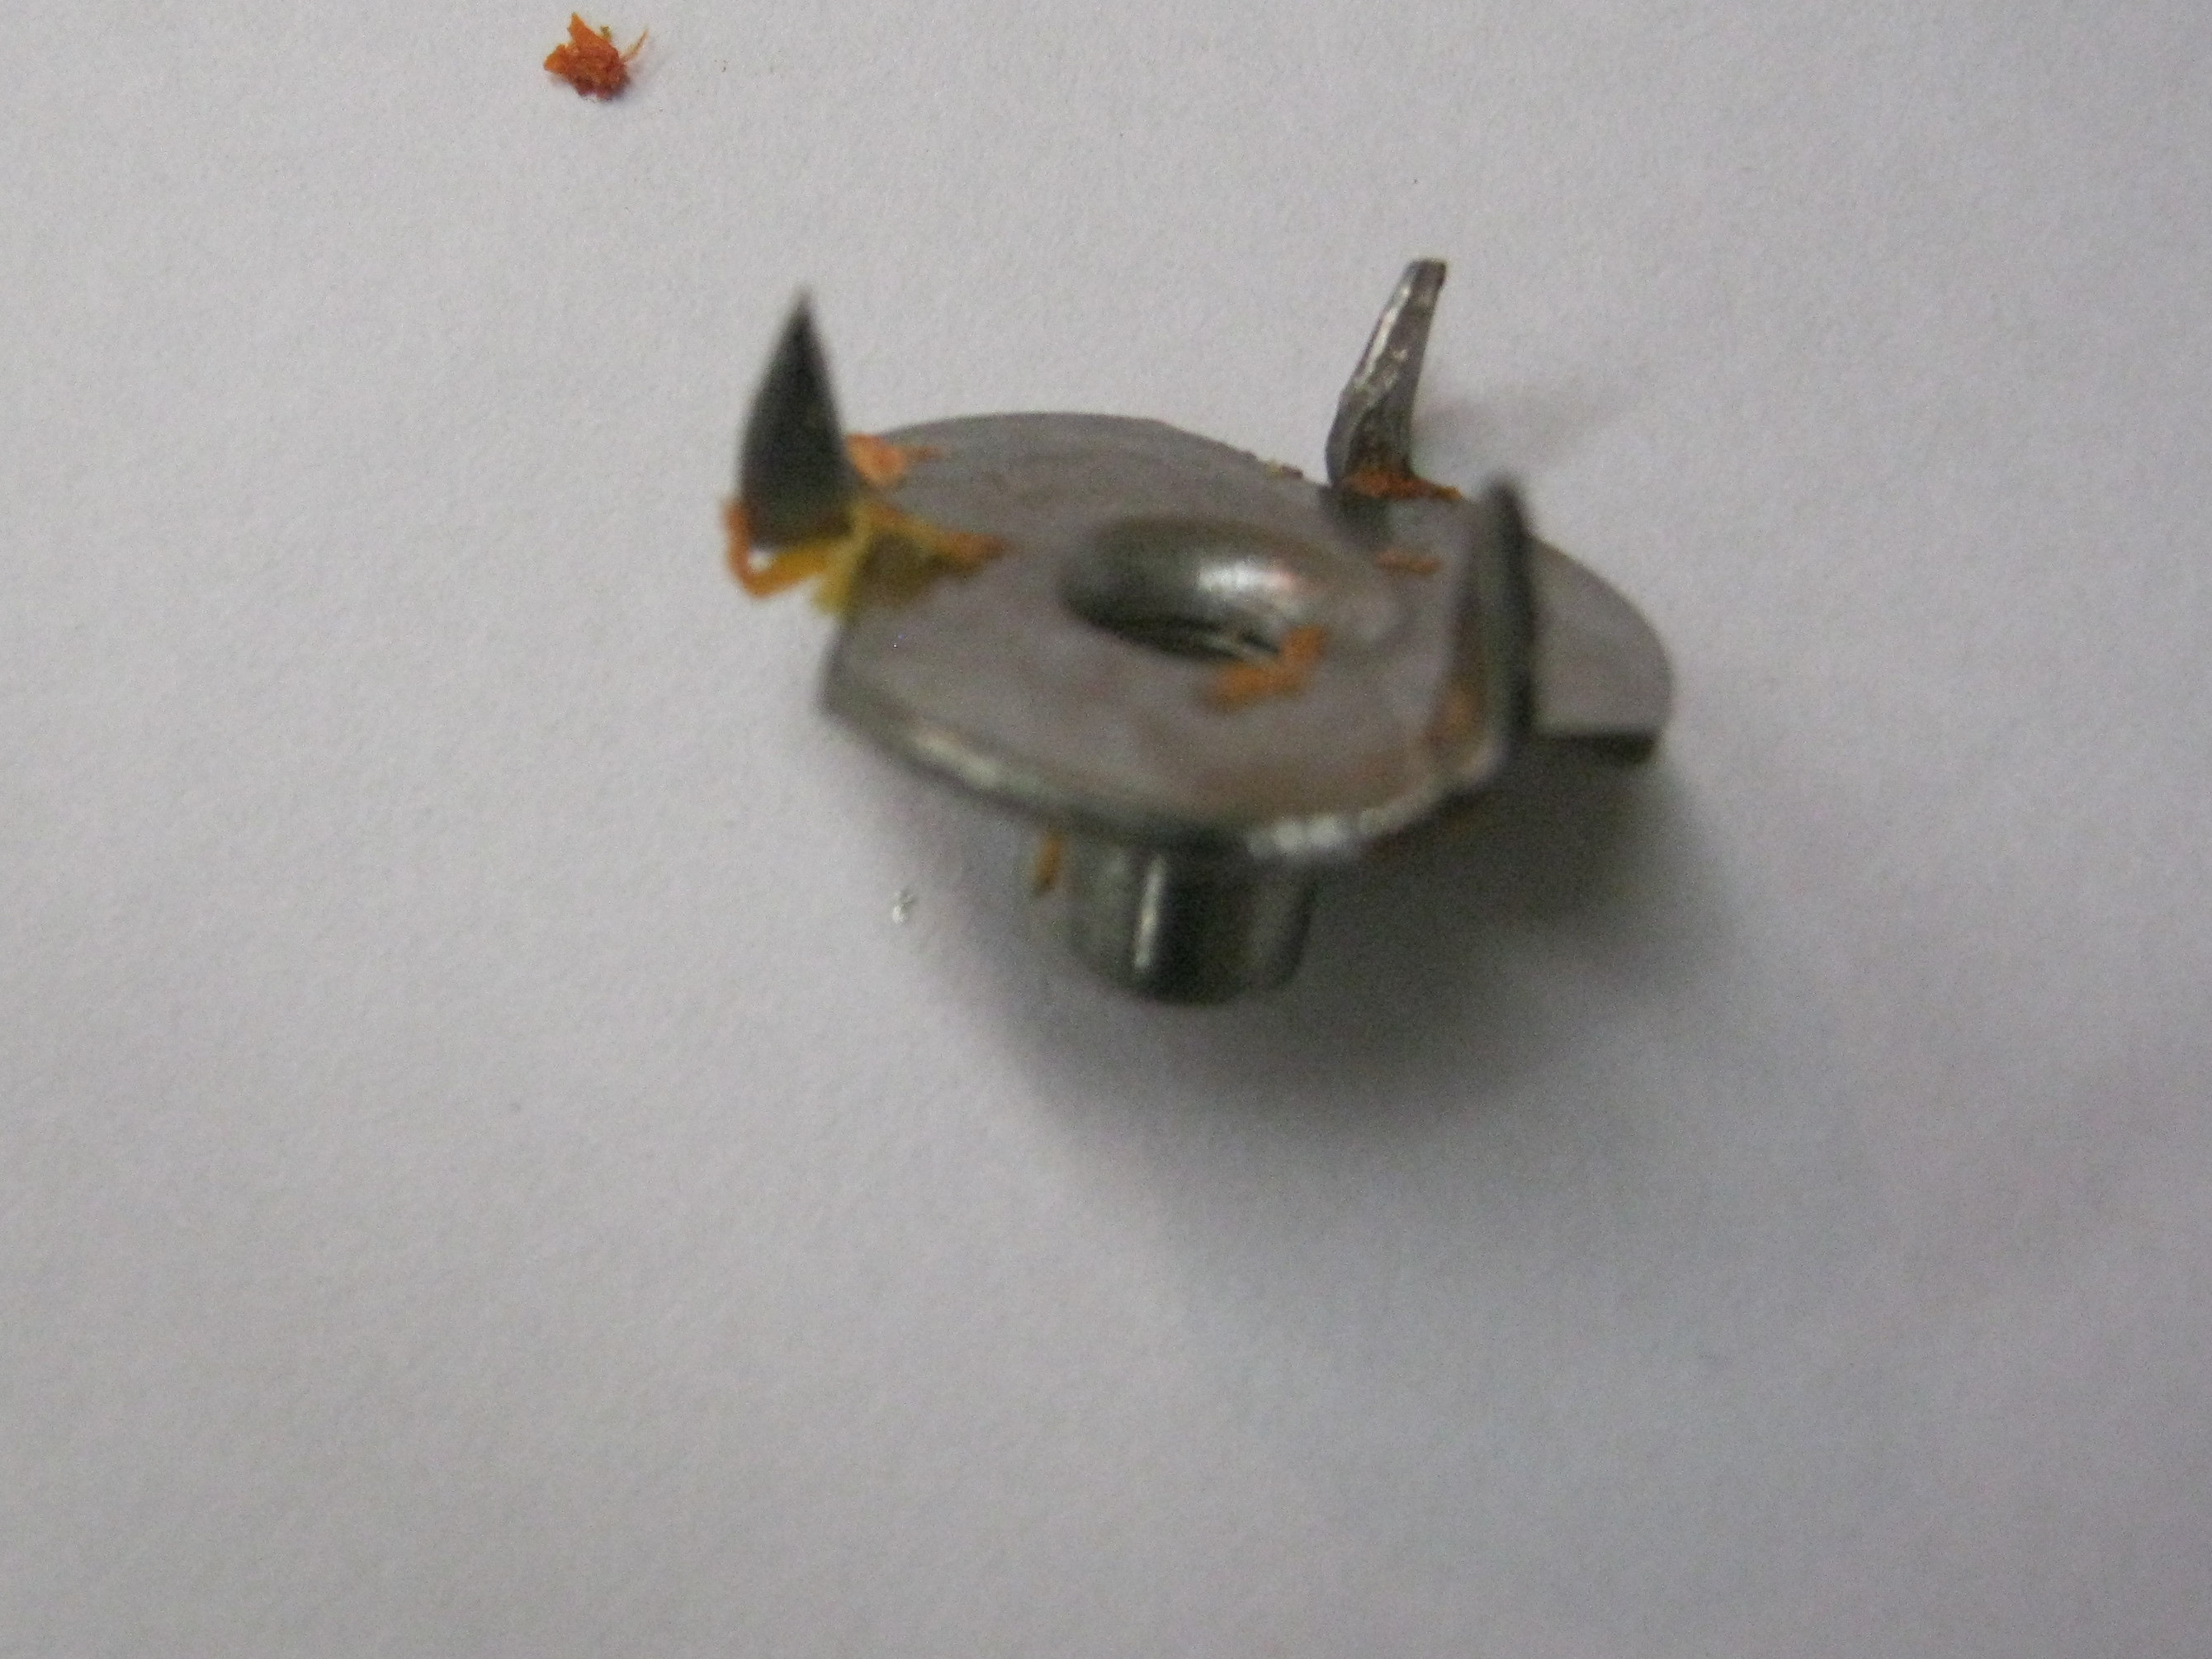
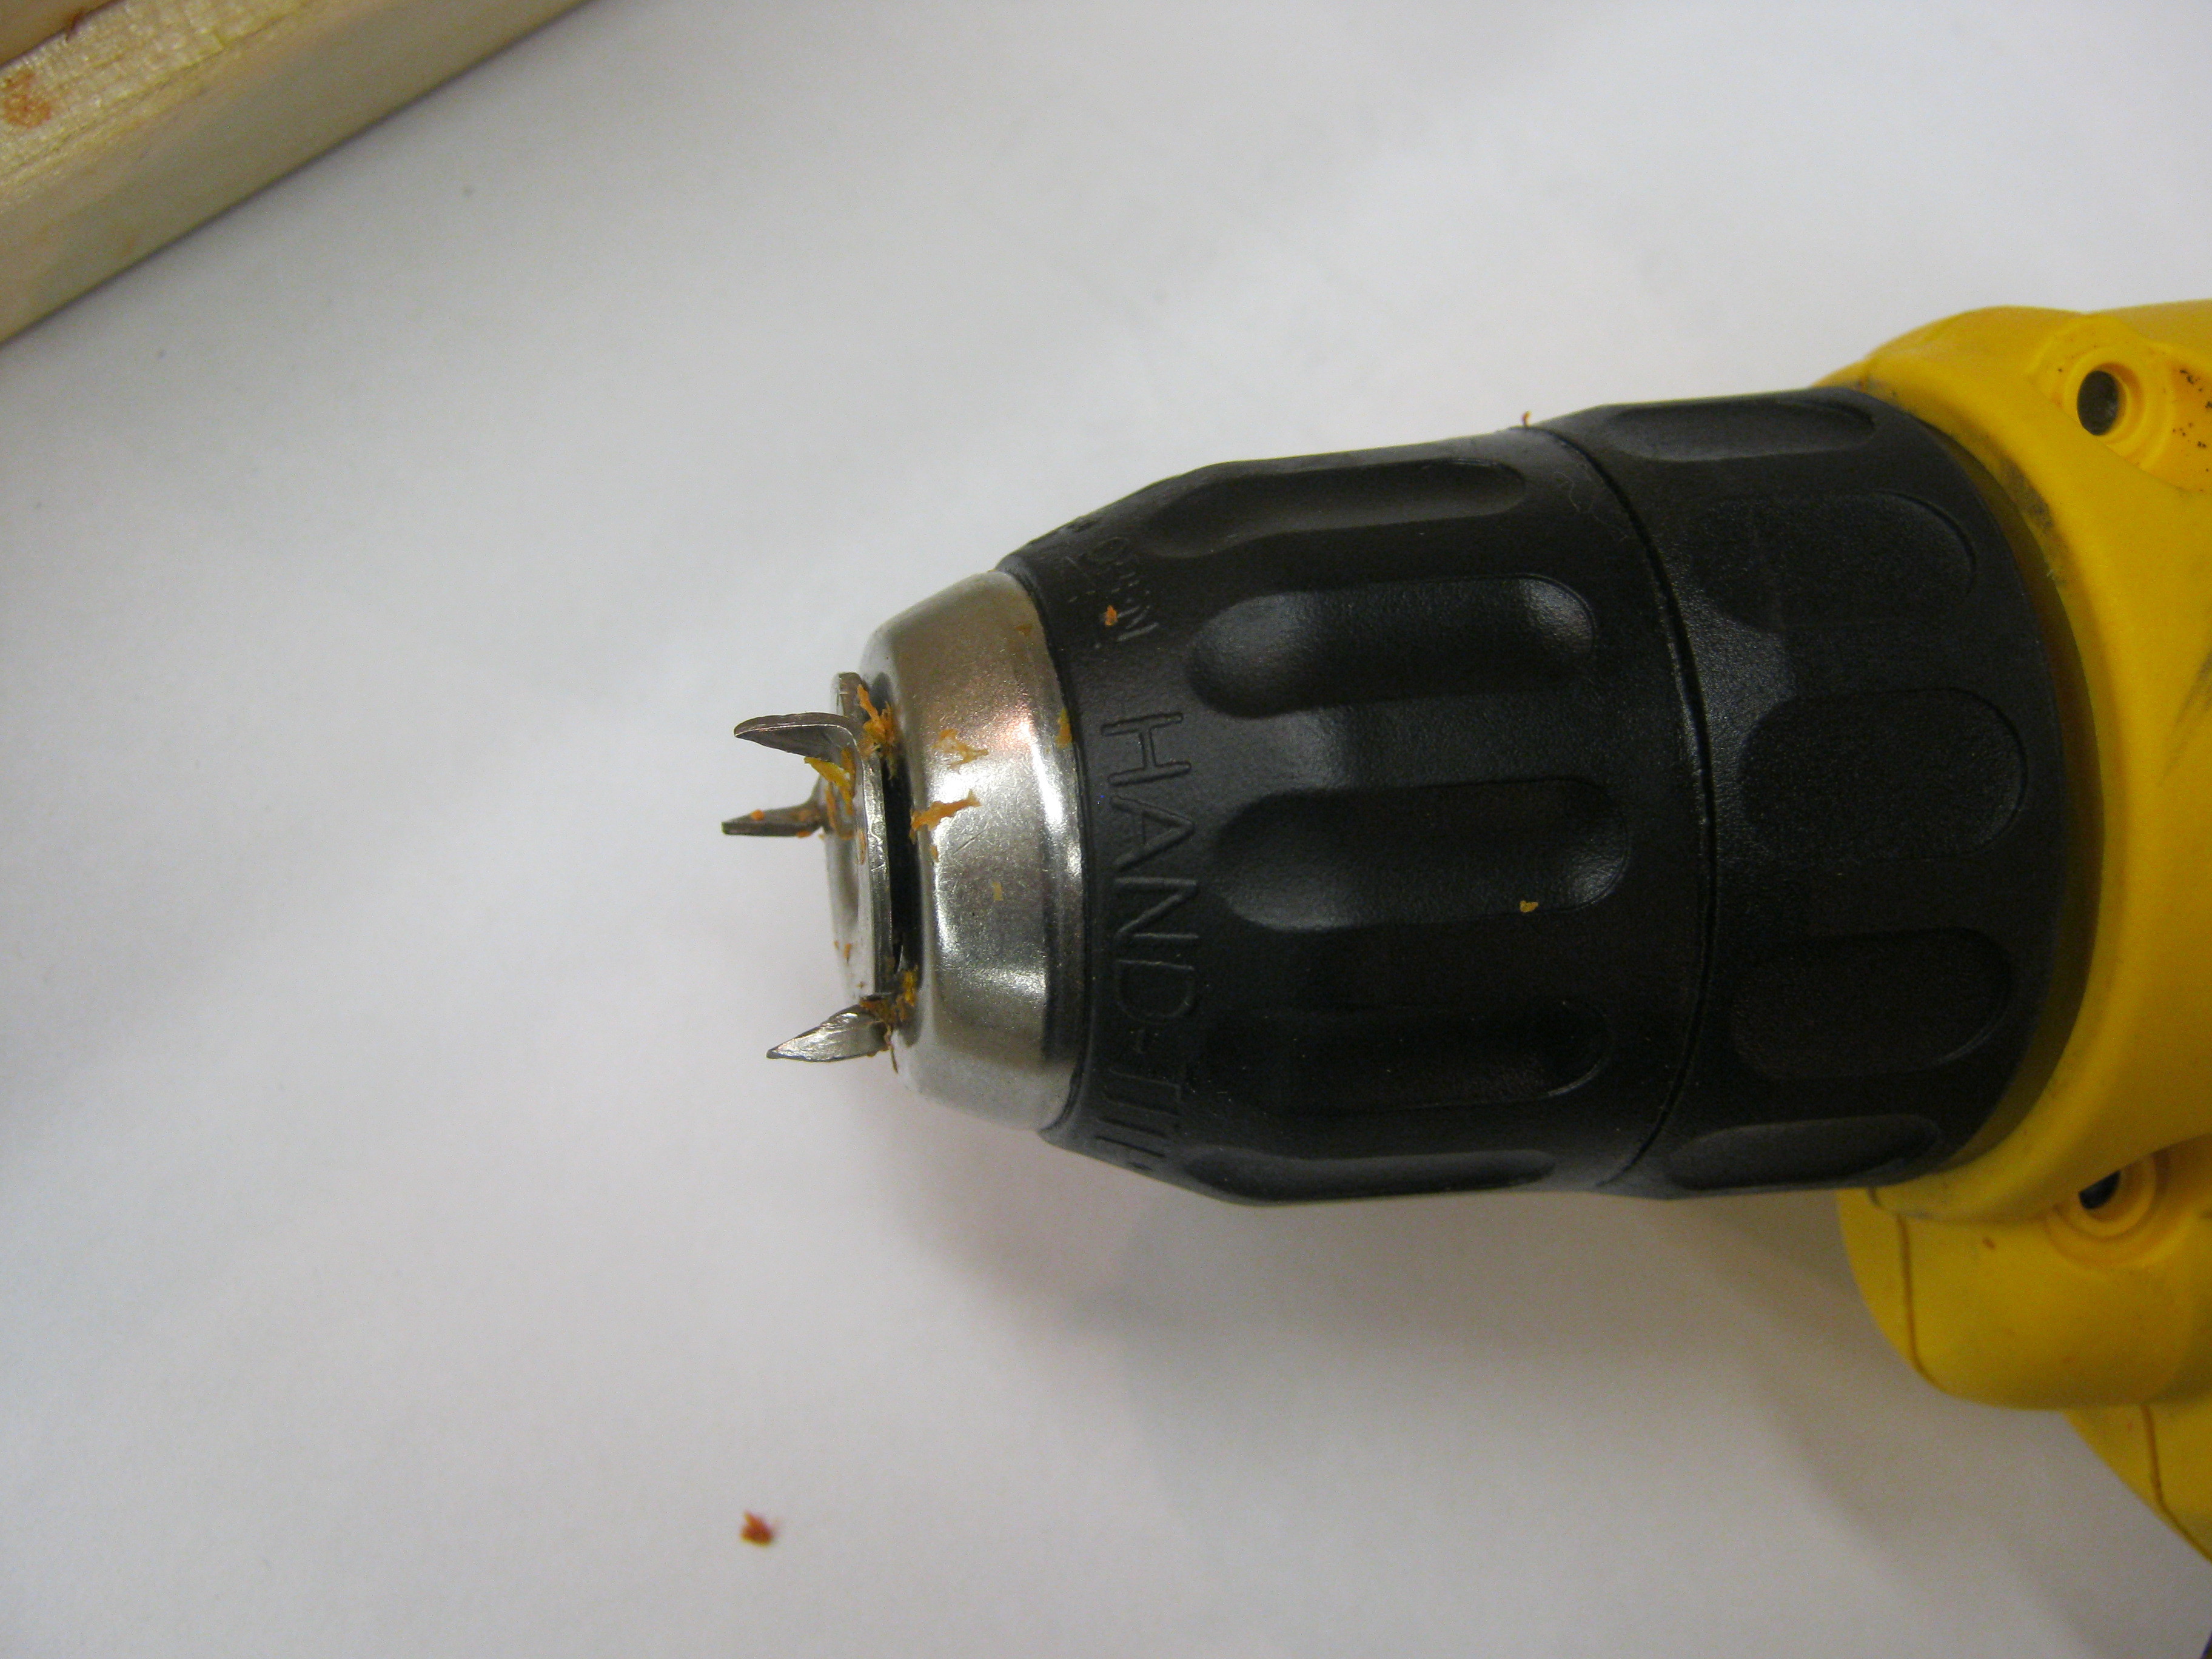
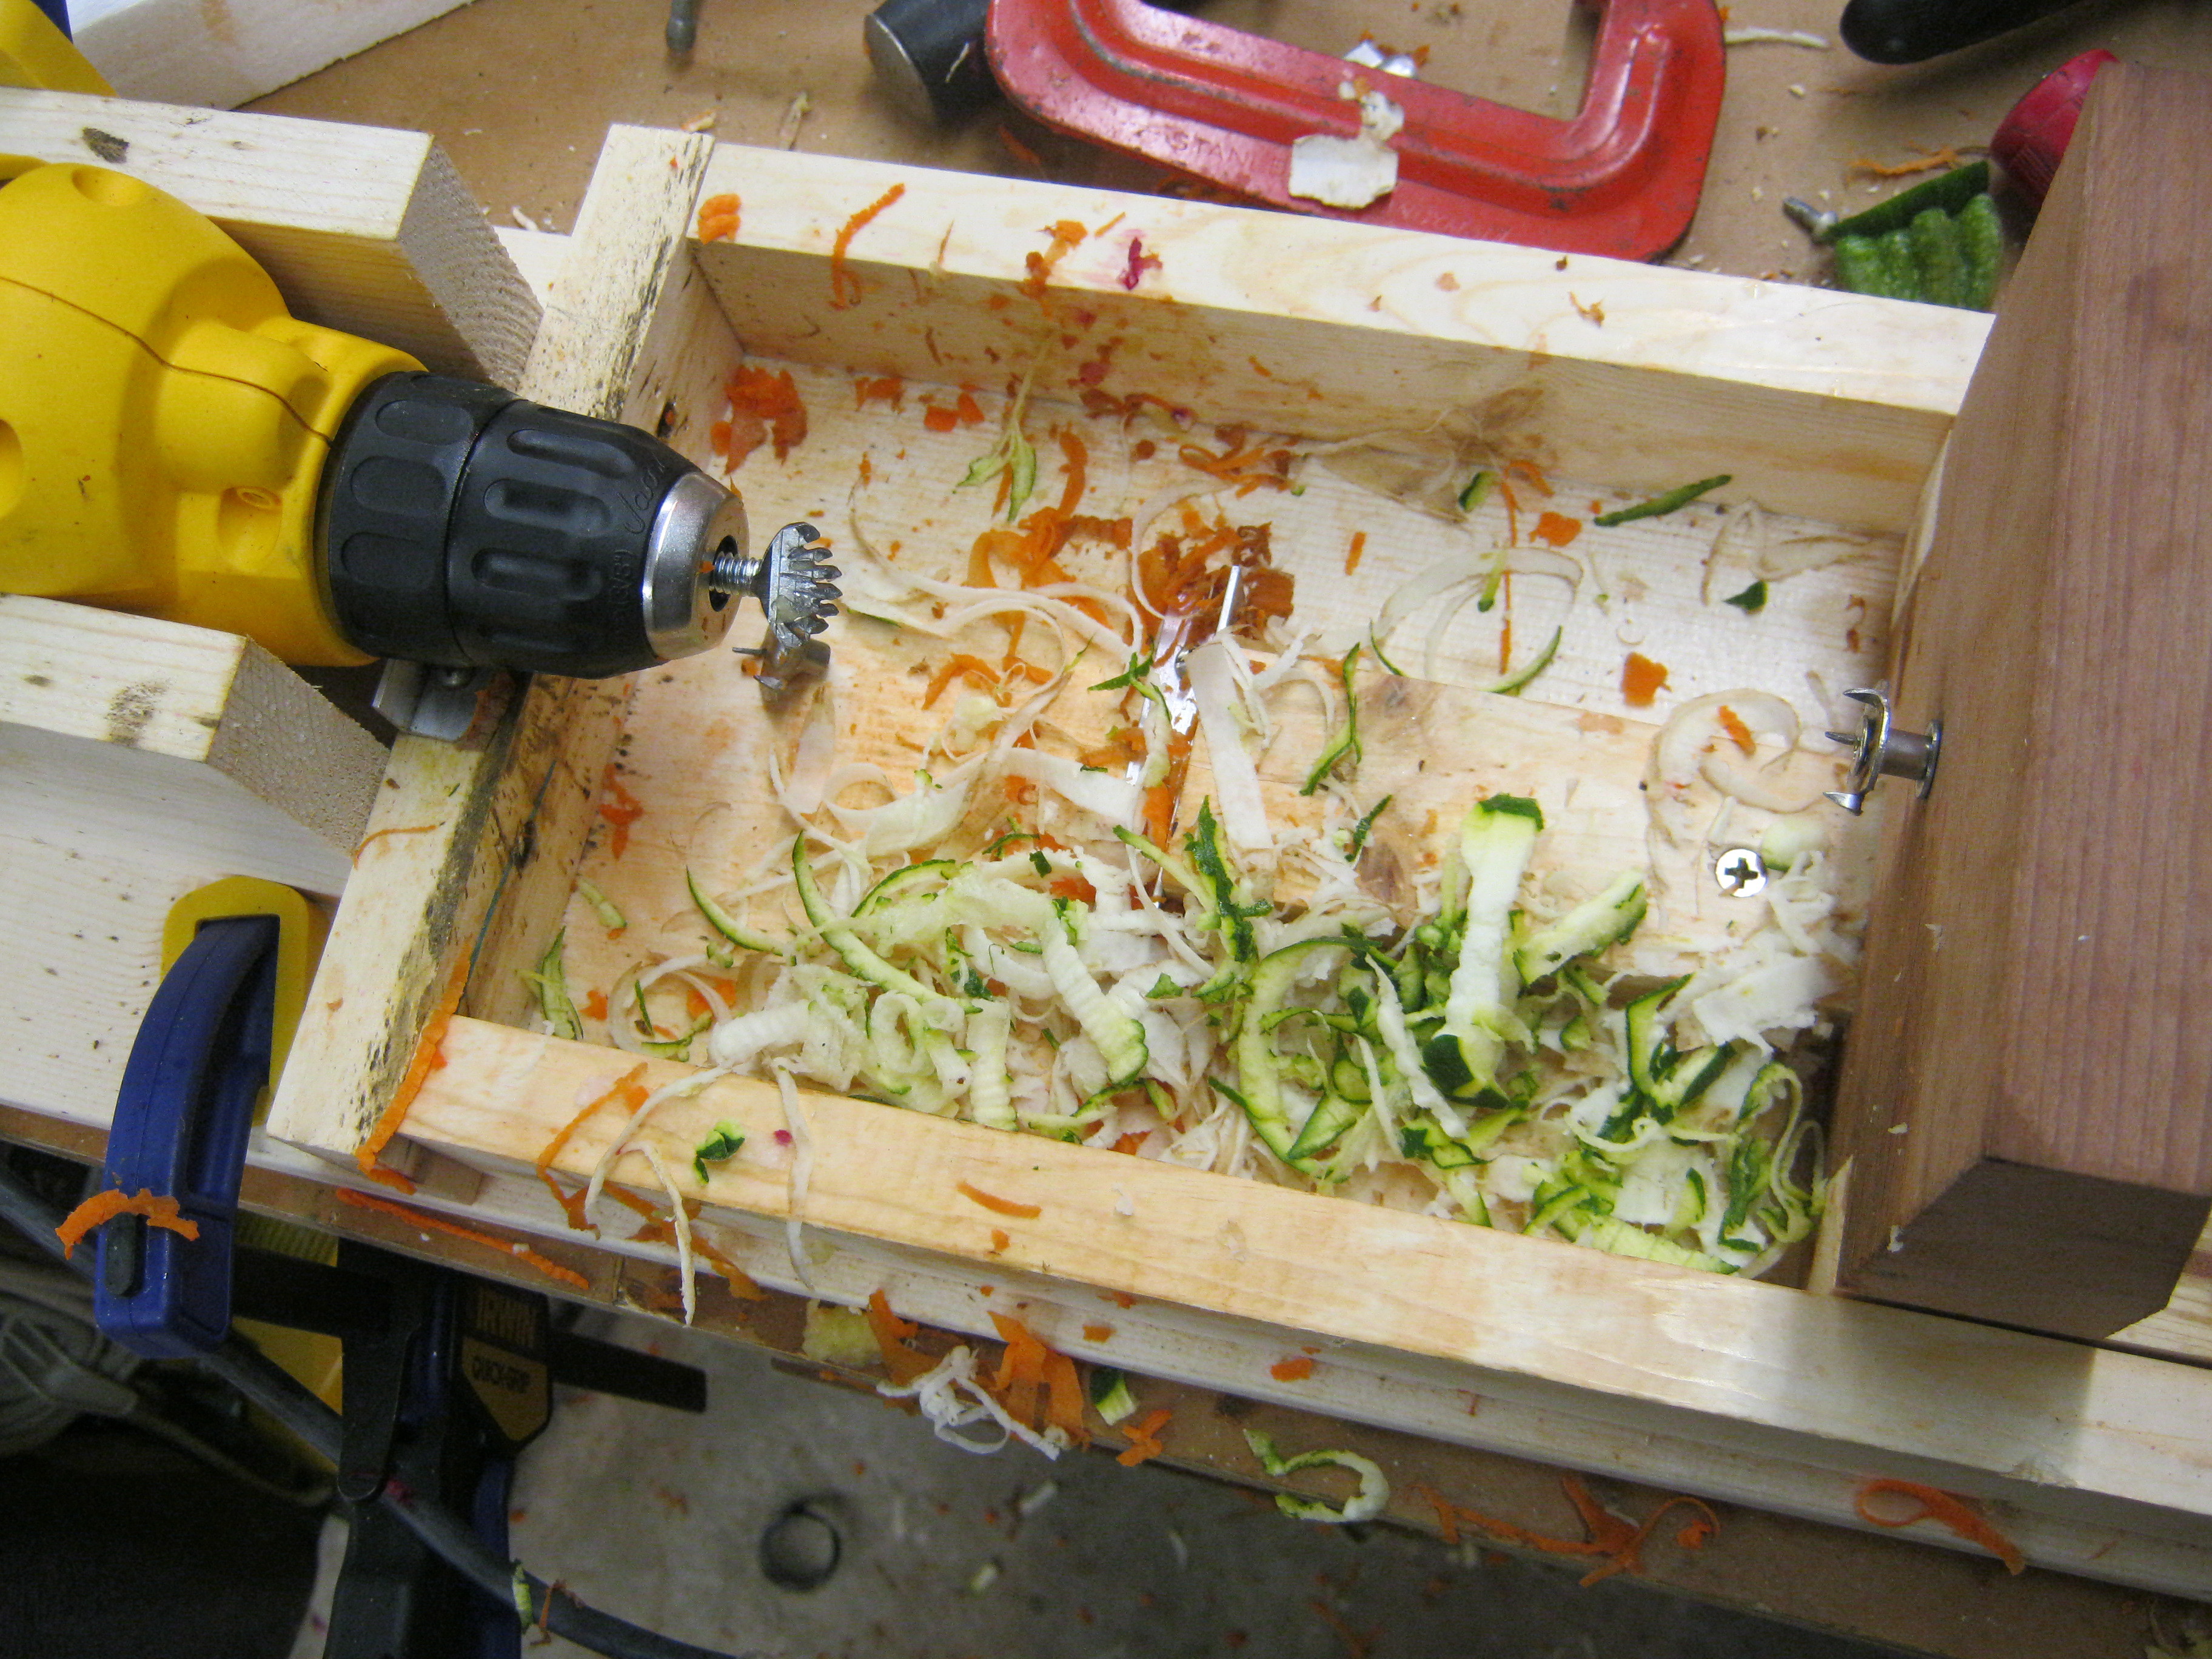
Using two pliers, or a vise and pliers, bend the sharpened tabs on 2 T-nuts 180 degrees so they point away from the threaded shaft. These tabs will be used to hold the work piece on the lathe.

Place one T-nut in the drill and follow the next step to create the tailstock barrel and center.

The tailstock is made from a slightly larger scrap or could be two pieces of 1X8 joined together. It will slide in the base to accommodate carrots of various lengths.

It should be cut to fit in between the side rails of the base. If you choose to use a center guide on the base you must dado out the tail stock accordingly.

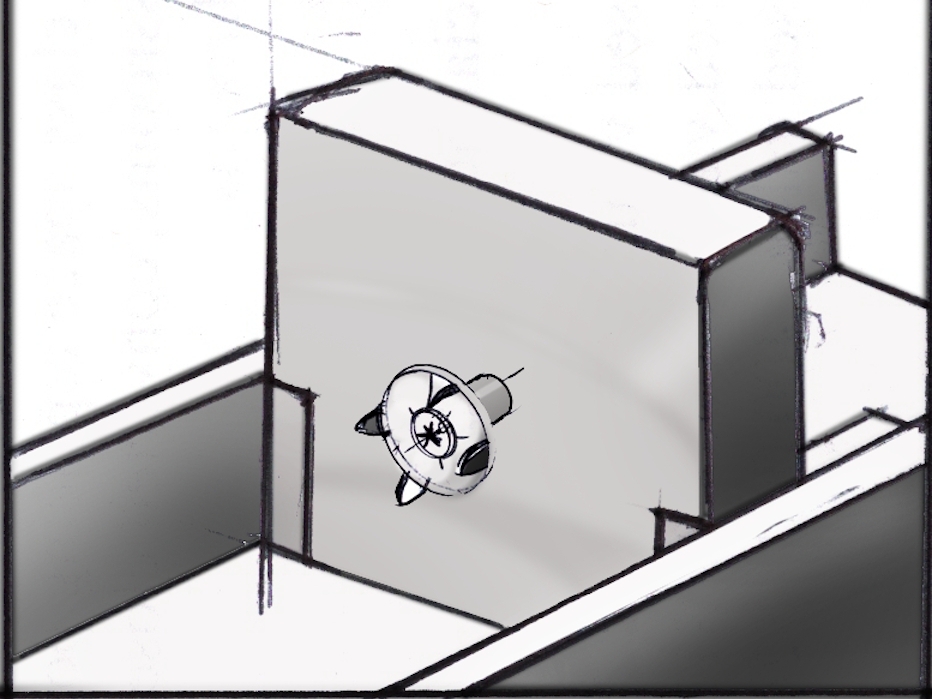
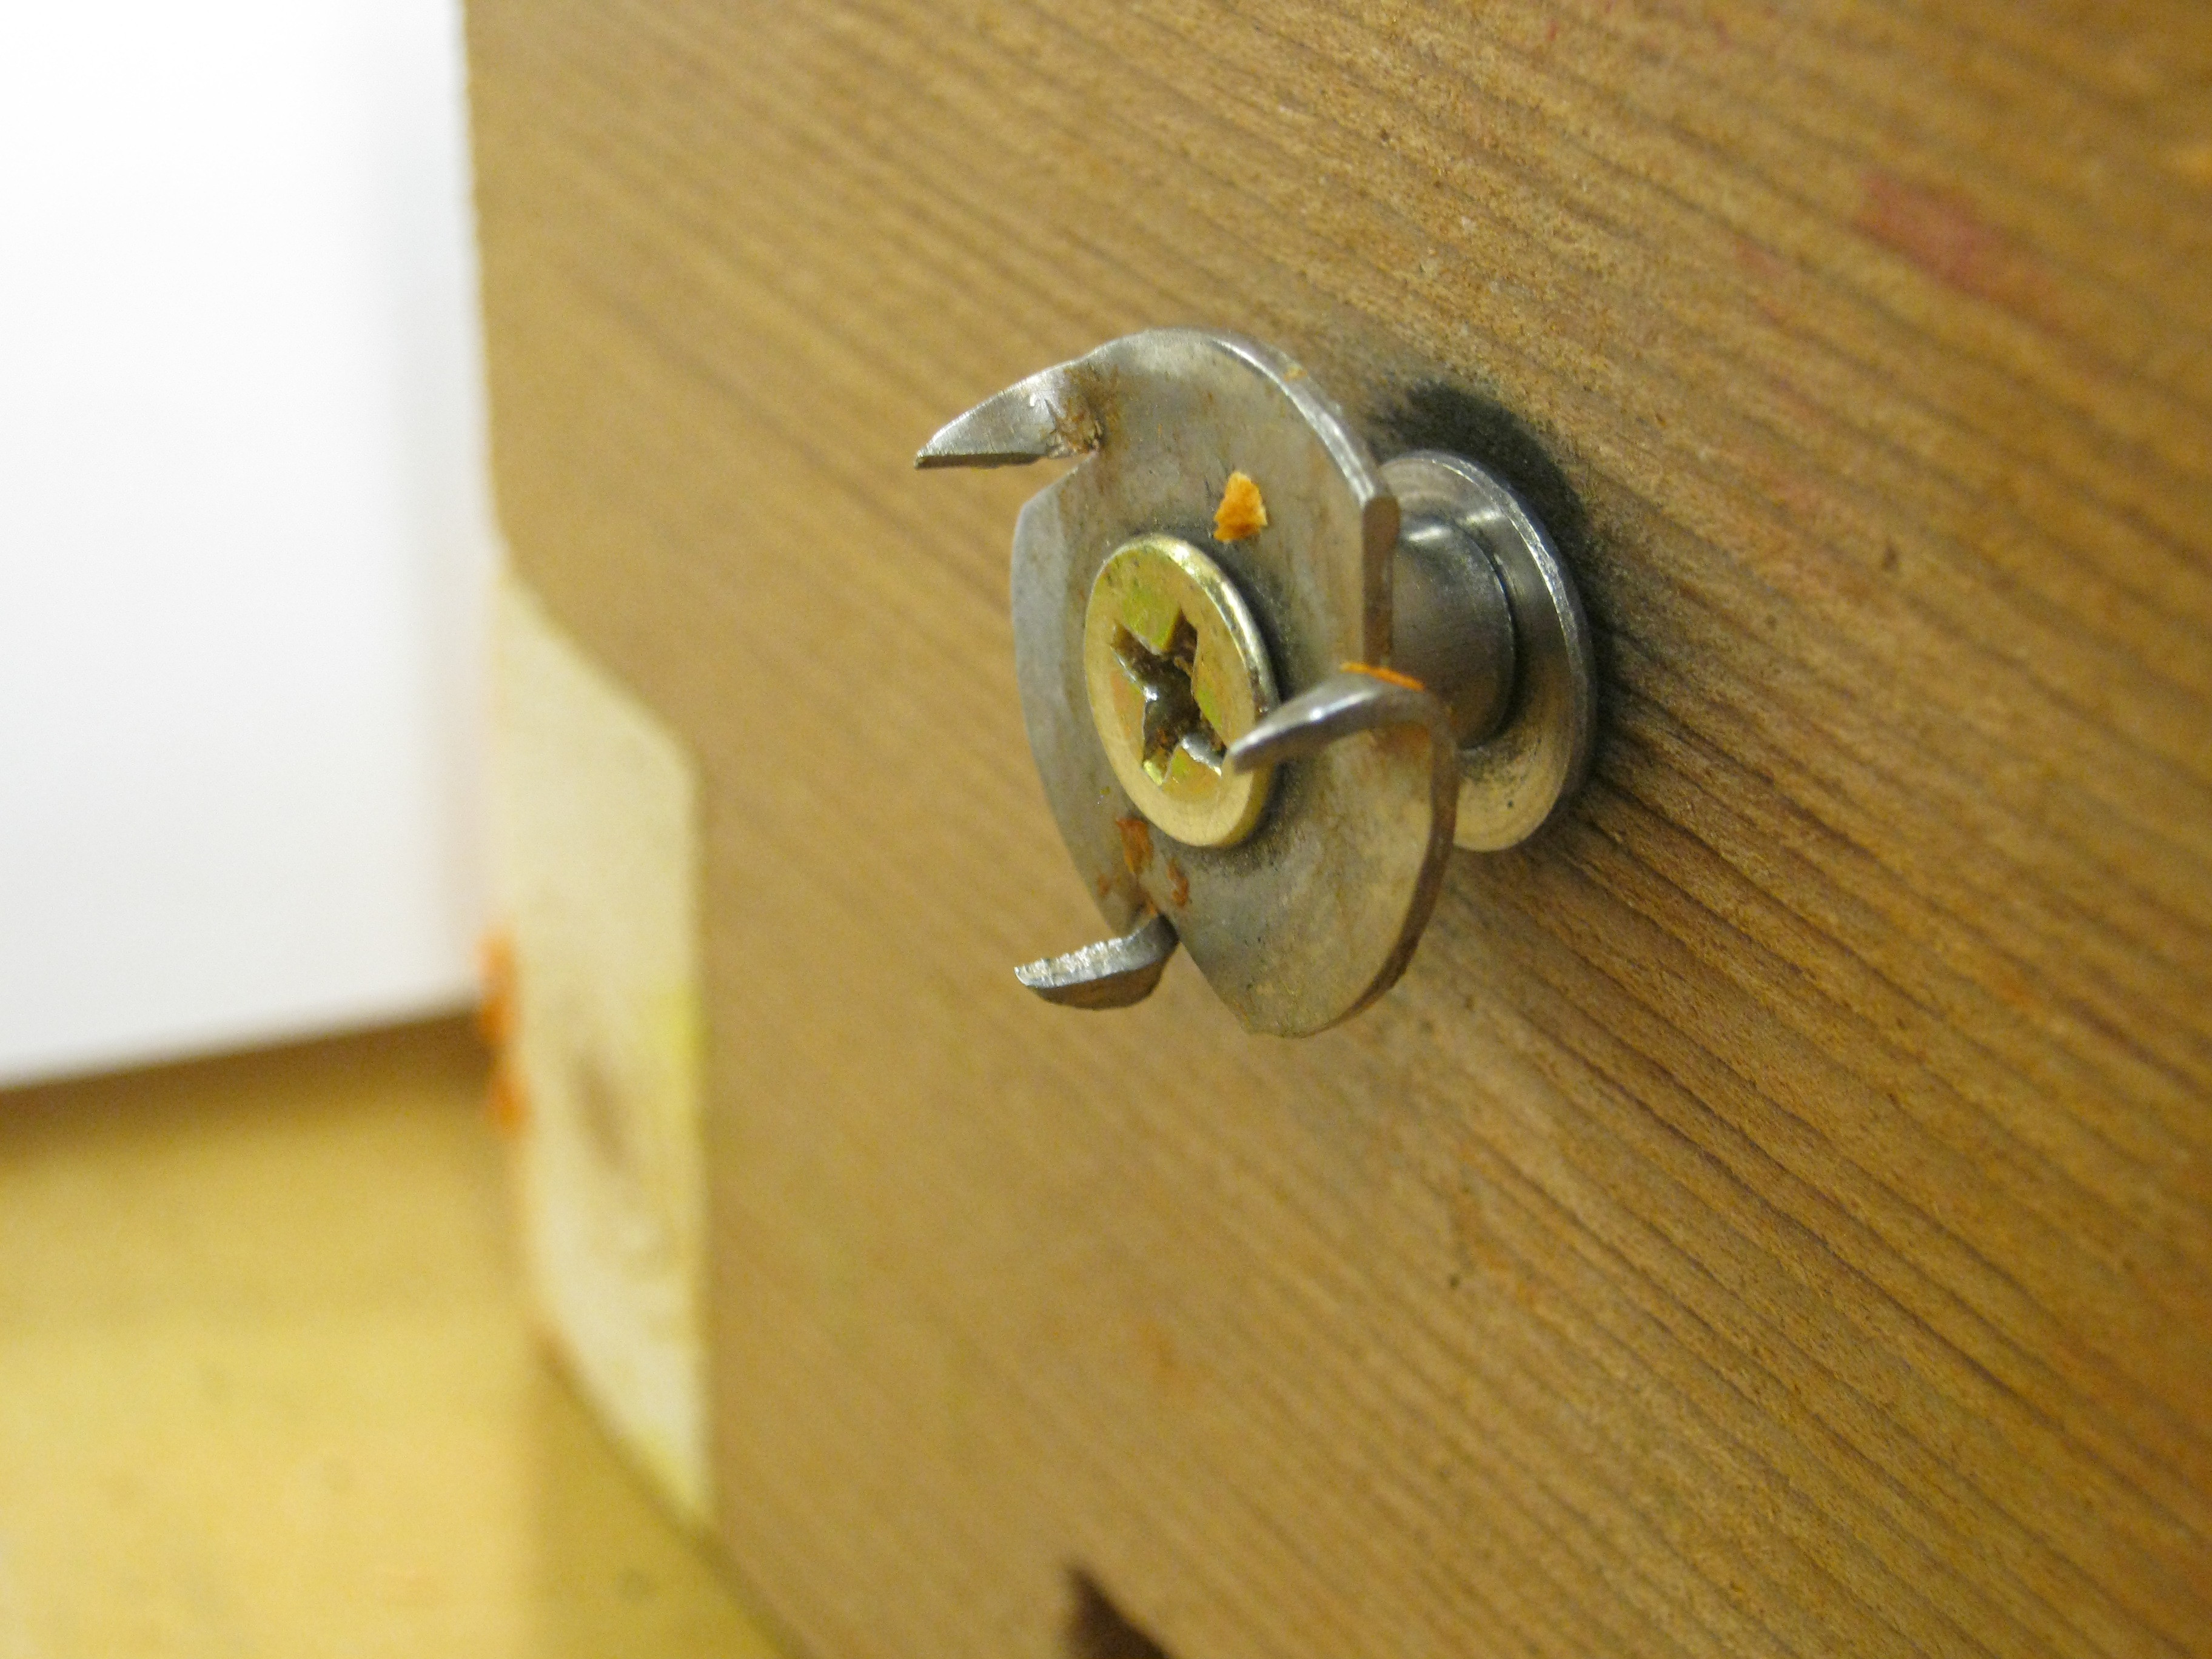
The tailstock mechanism consists of a deck screw, modified T-nut, and a washer. After building the tailstock, fit the drill in the cradle then slide up the tailstock until it hits the chuck of the drill to locate the center point. Attach the screw, nut, and washer assembly on that point.

The assembly should be installed loose enough that it can spin. The carrot will be attached to the prongs and spin on the screw.

Time to test it out. Try to find a good-sized carrot that is fairly uniform in shape. Cut off the ends to get a nice flat surface.

Peeling is optional but can change the final appearance if some of the unpeeled carrot remains after turning. You can also use the peeler to help get the carrot more uniform before turning.

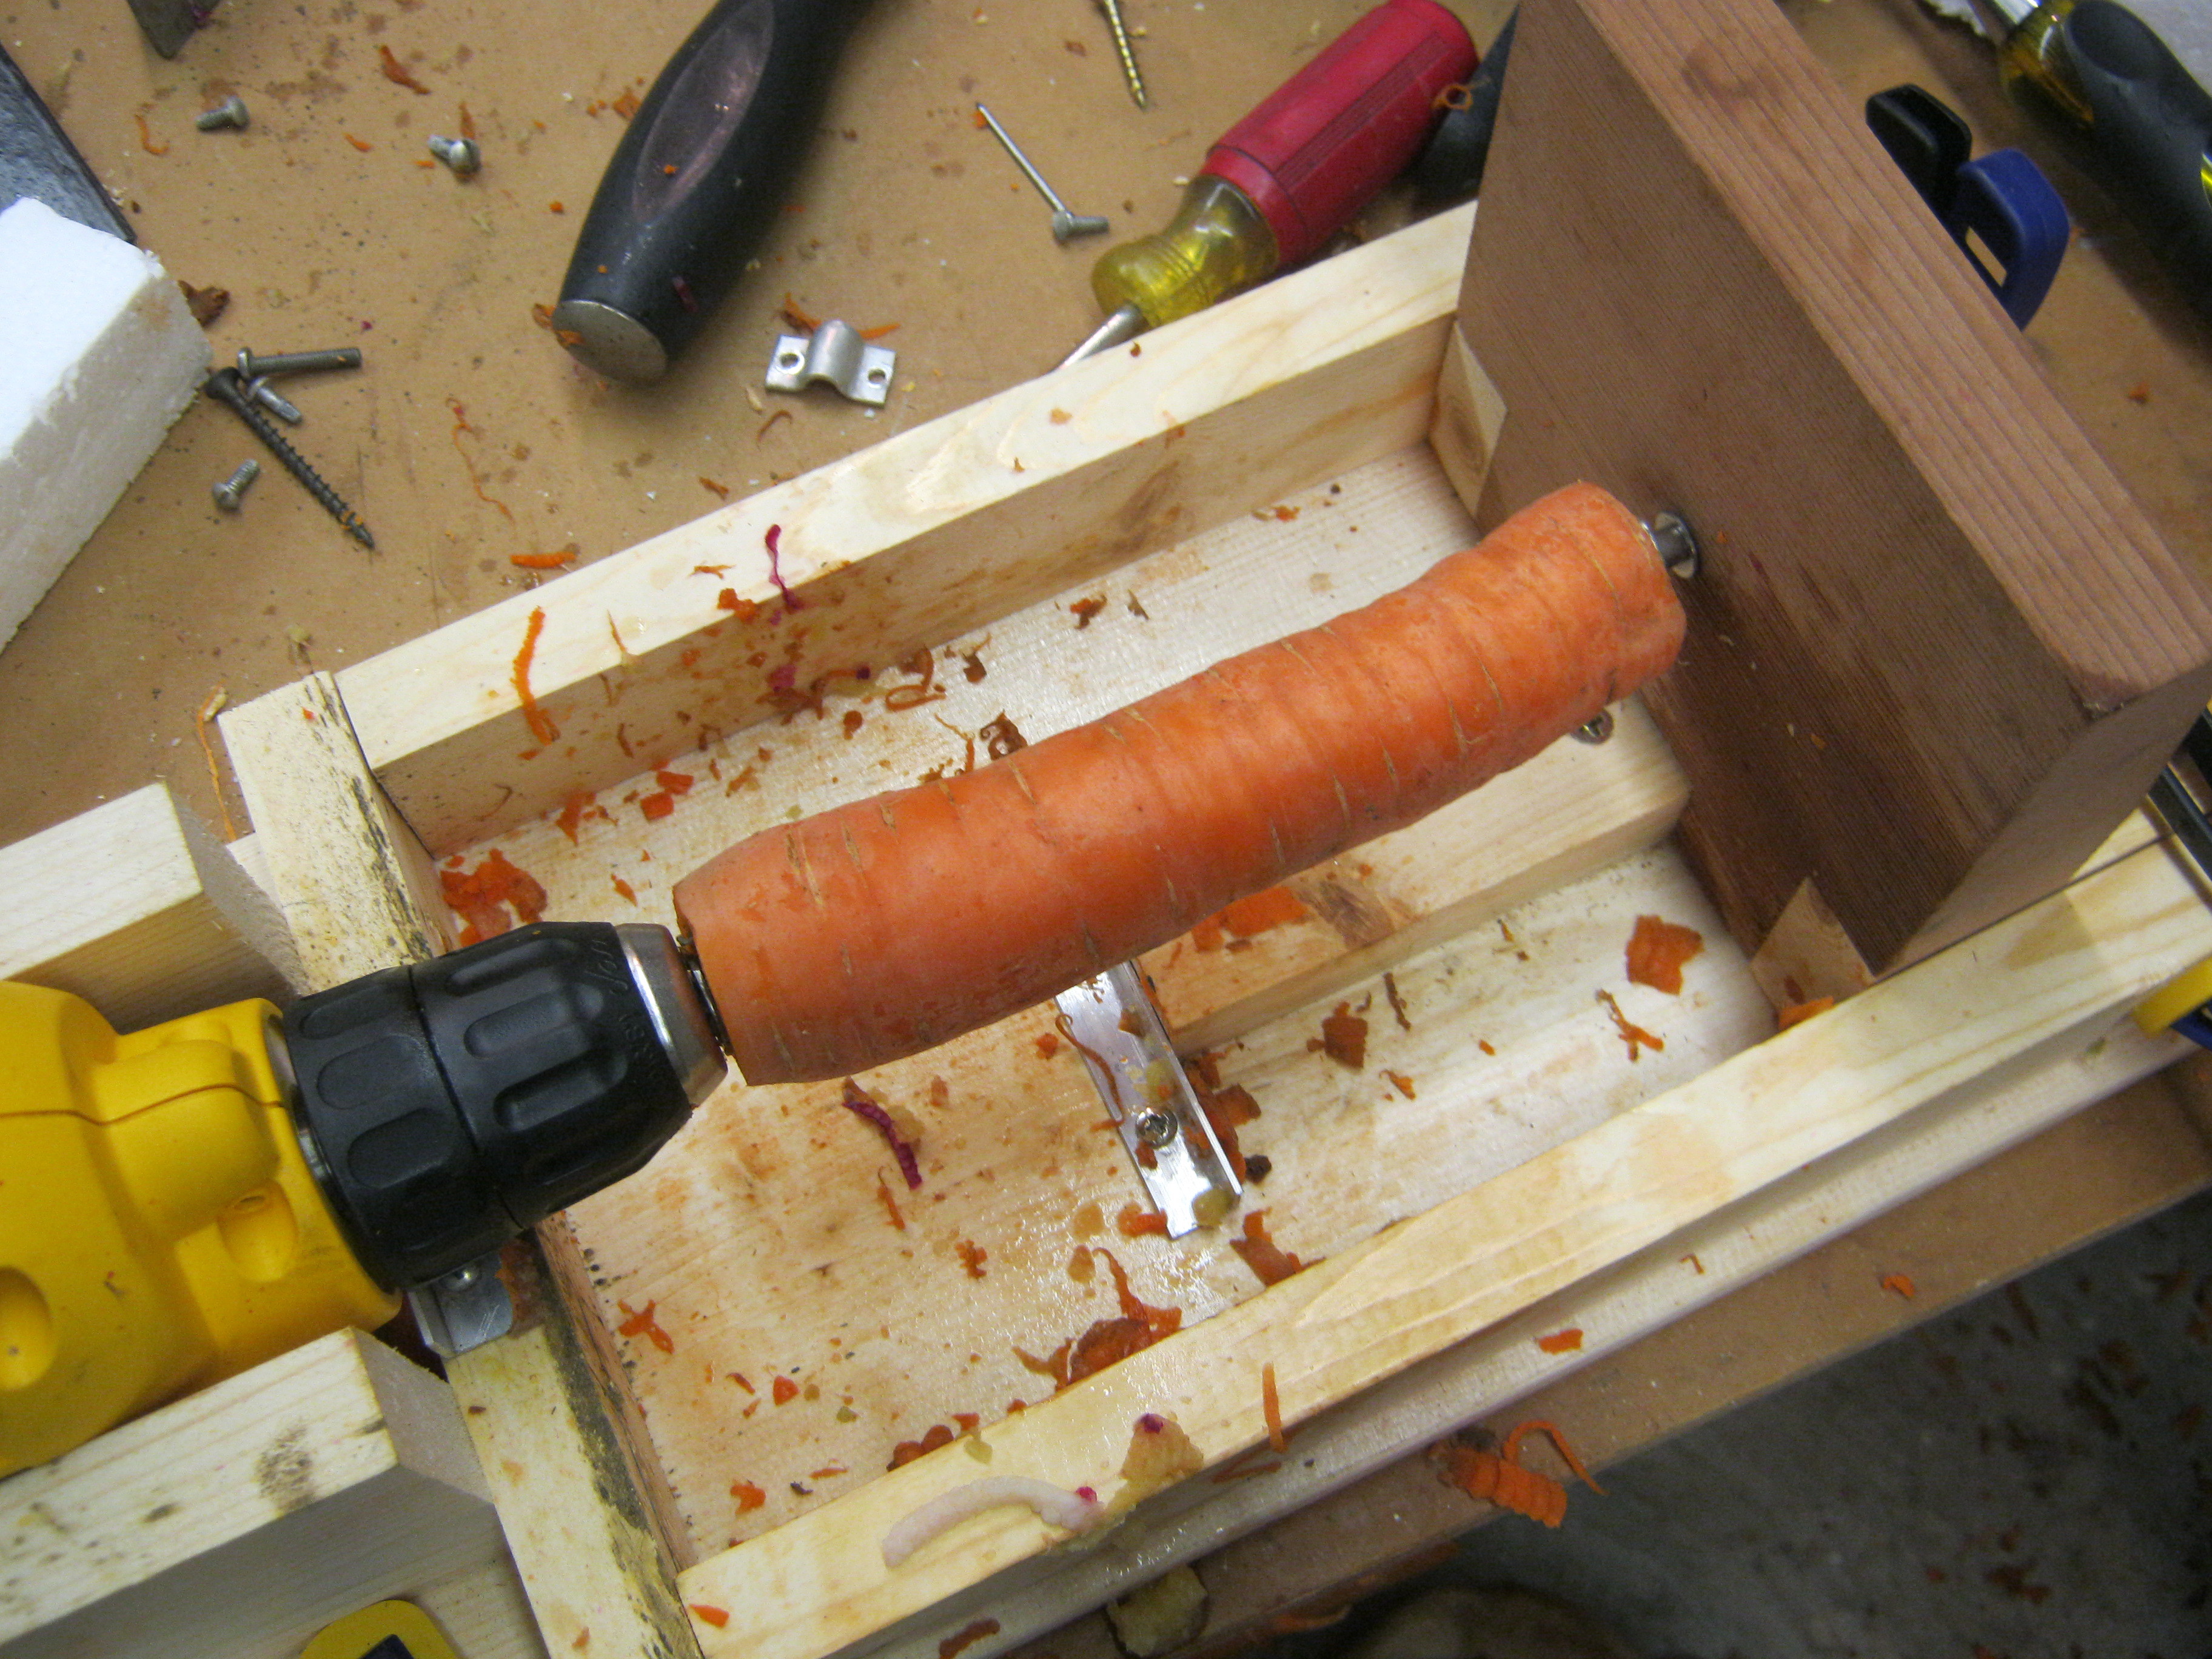
Push the thick end of the carrot into the drill-side T-nut then slide the tailstock forward to engage with the smaller end of the carrot. Try to get it as centered as you can but realize it won’t be perfect since the carrot is already not uniform.

Secure the tail stock with clamps.

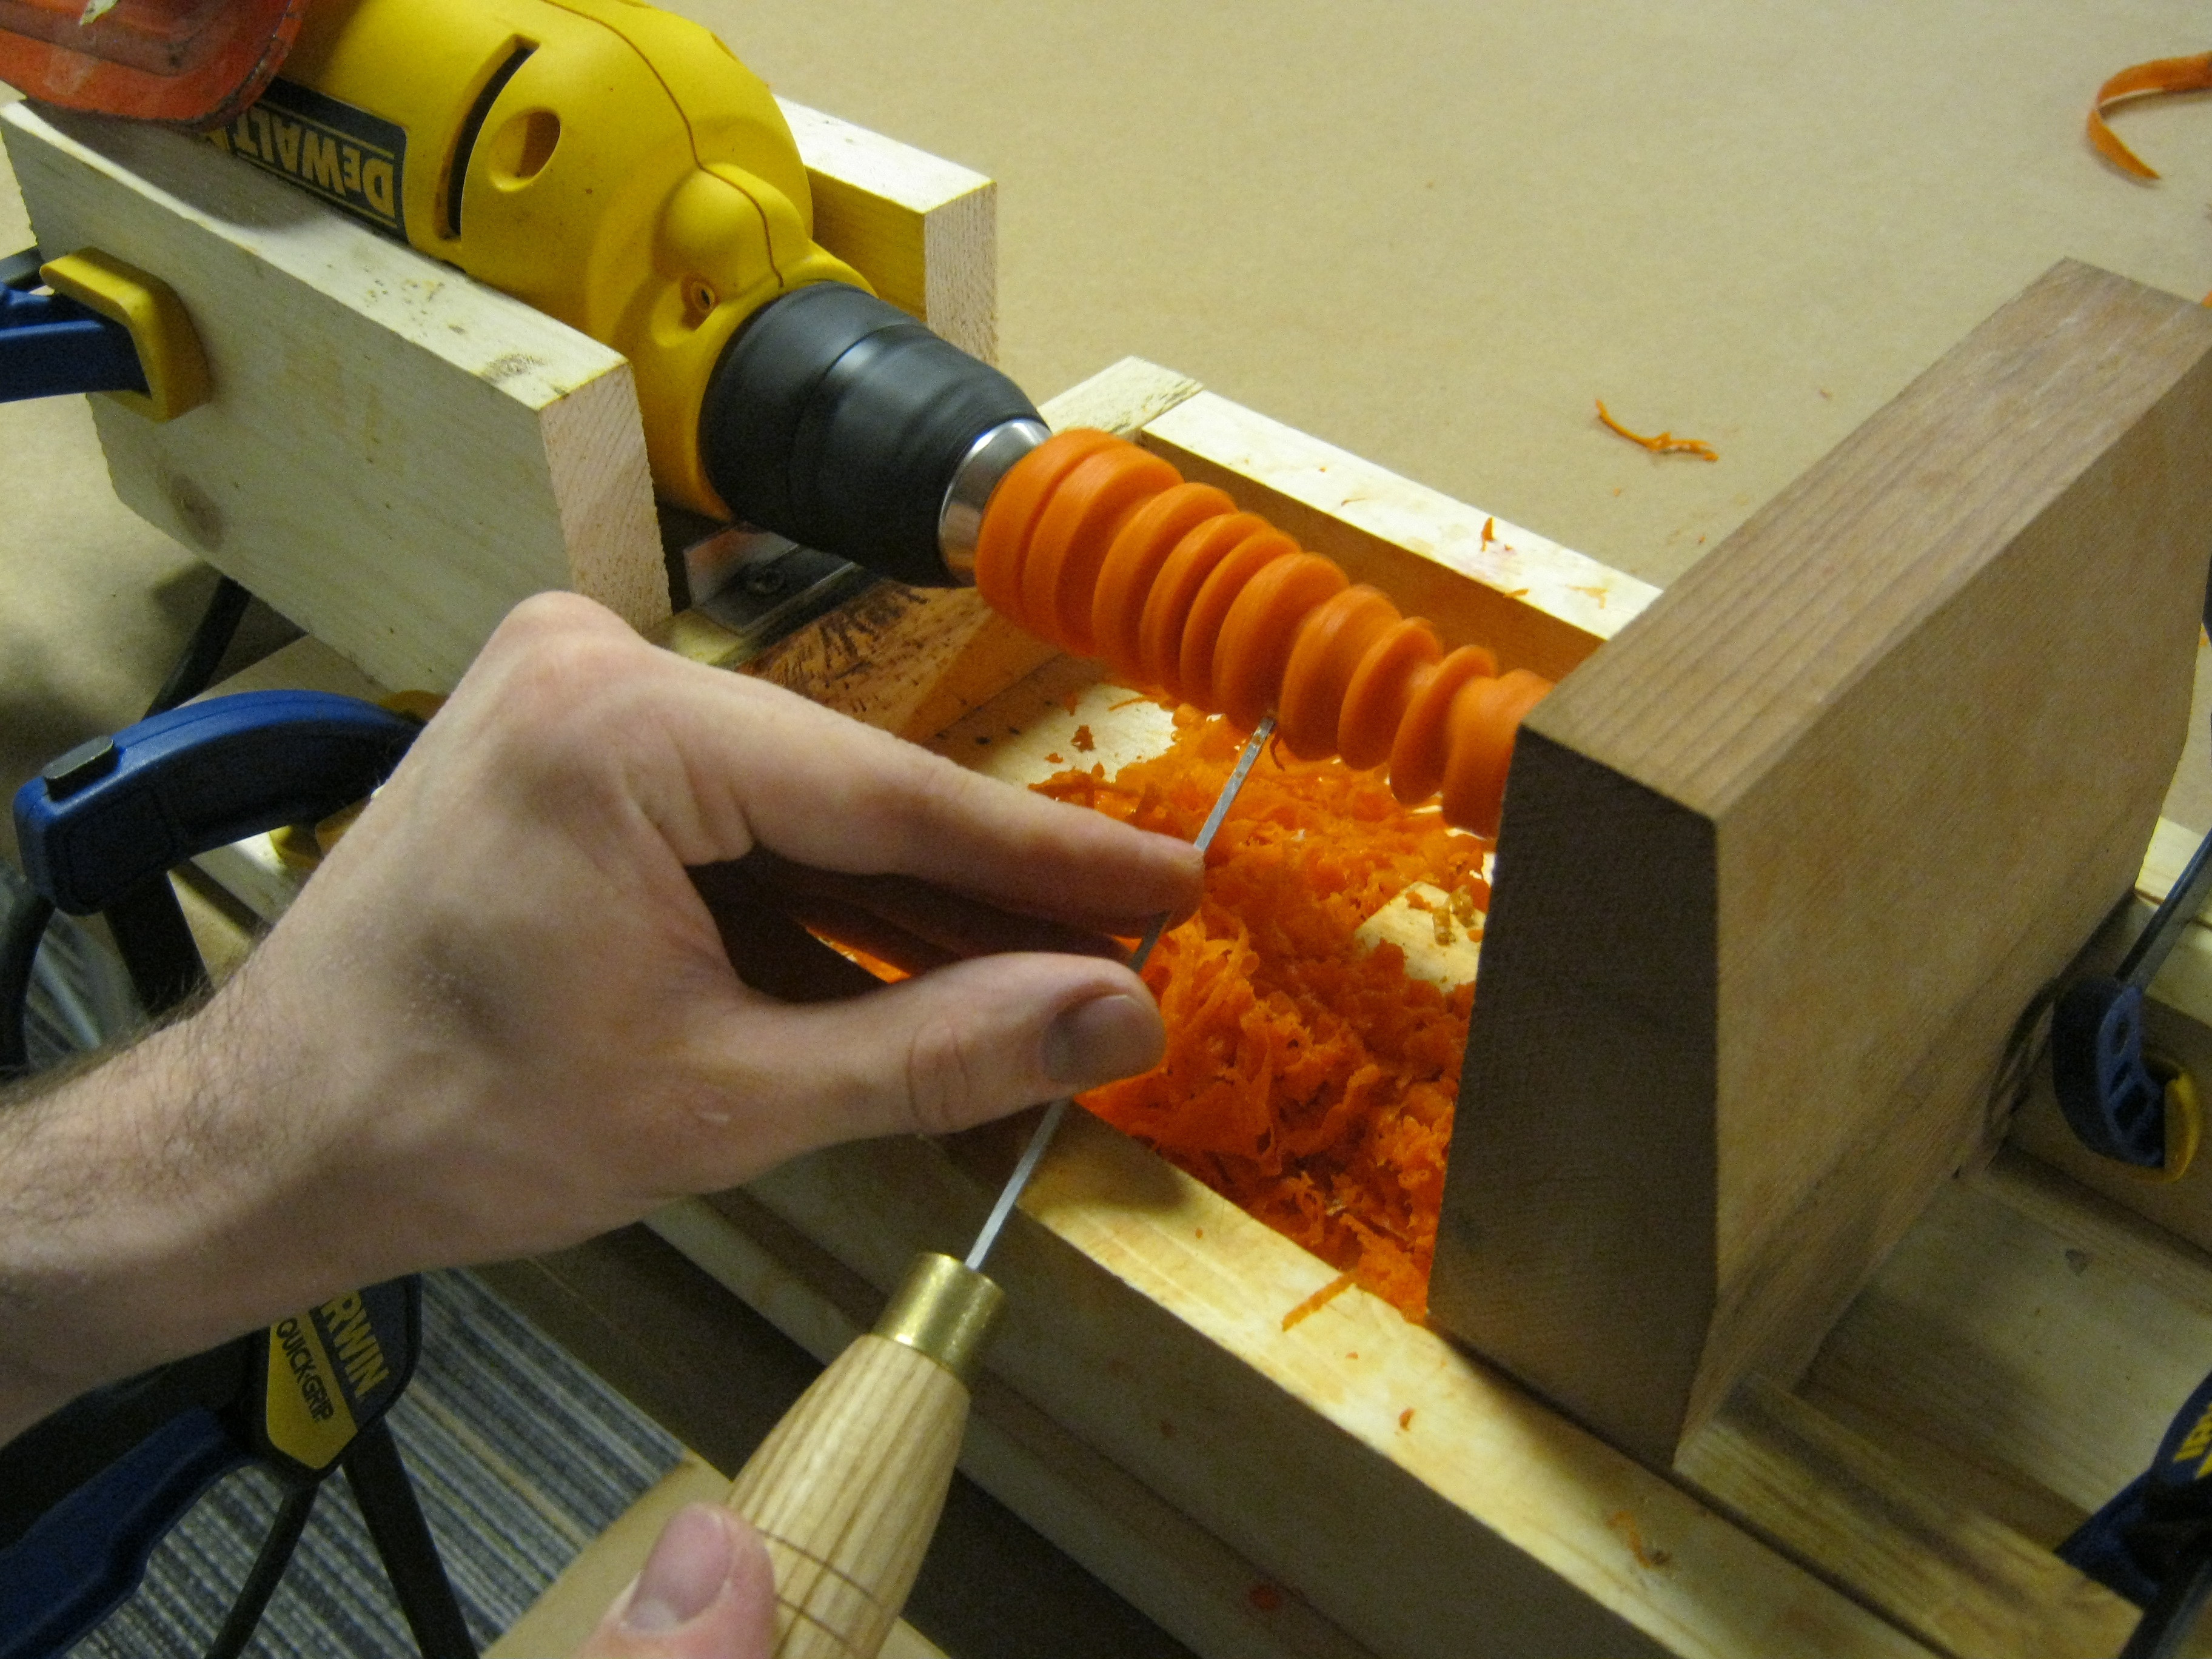
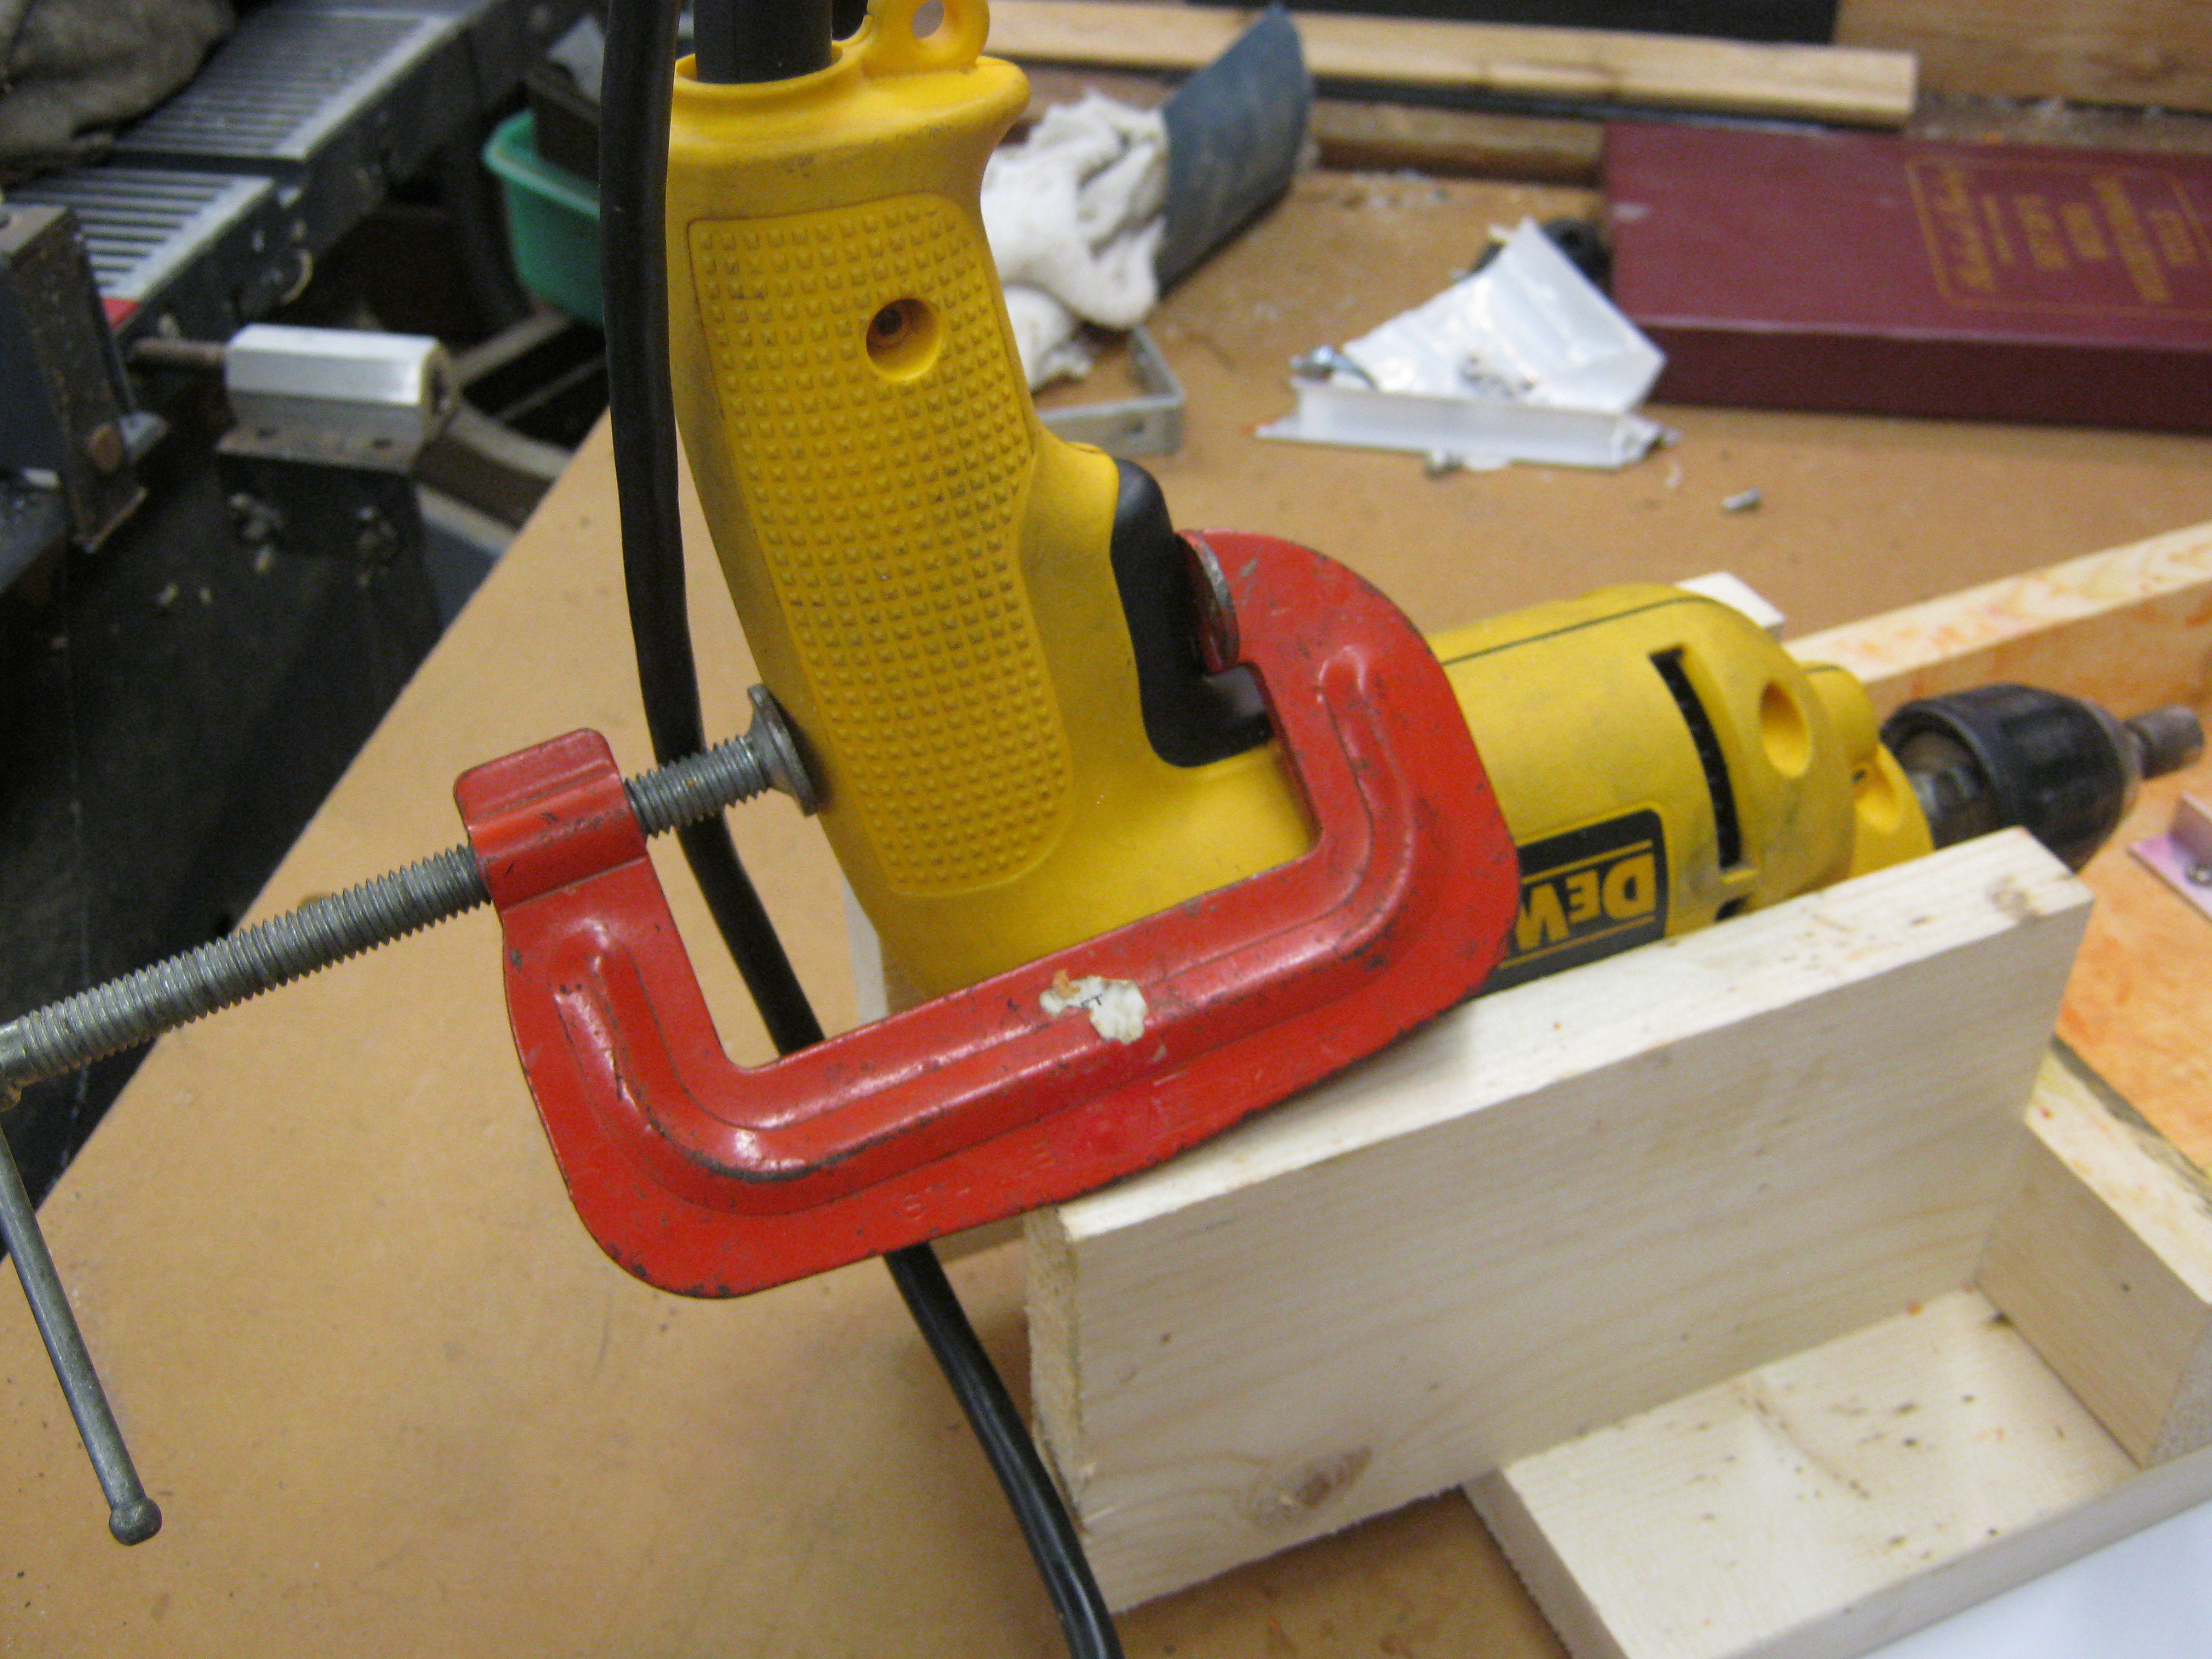
Start the drill and adjust the speed as desired. It doesn’t need to be overly high RPM but you can experiment with it. I used a simple C-clamp to engage the drill trigger and hold it at a constant rate which freed up both of my hands for using the tools. Making small turns of the C-clamp allowed for incremental adjustments to the speed.

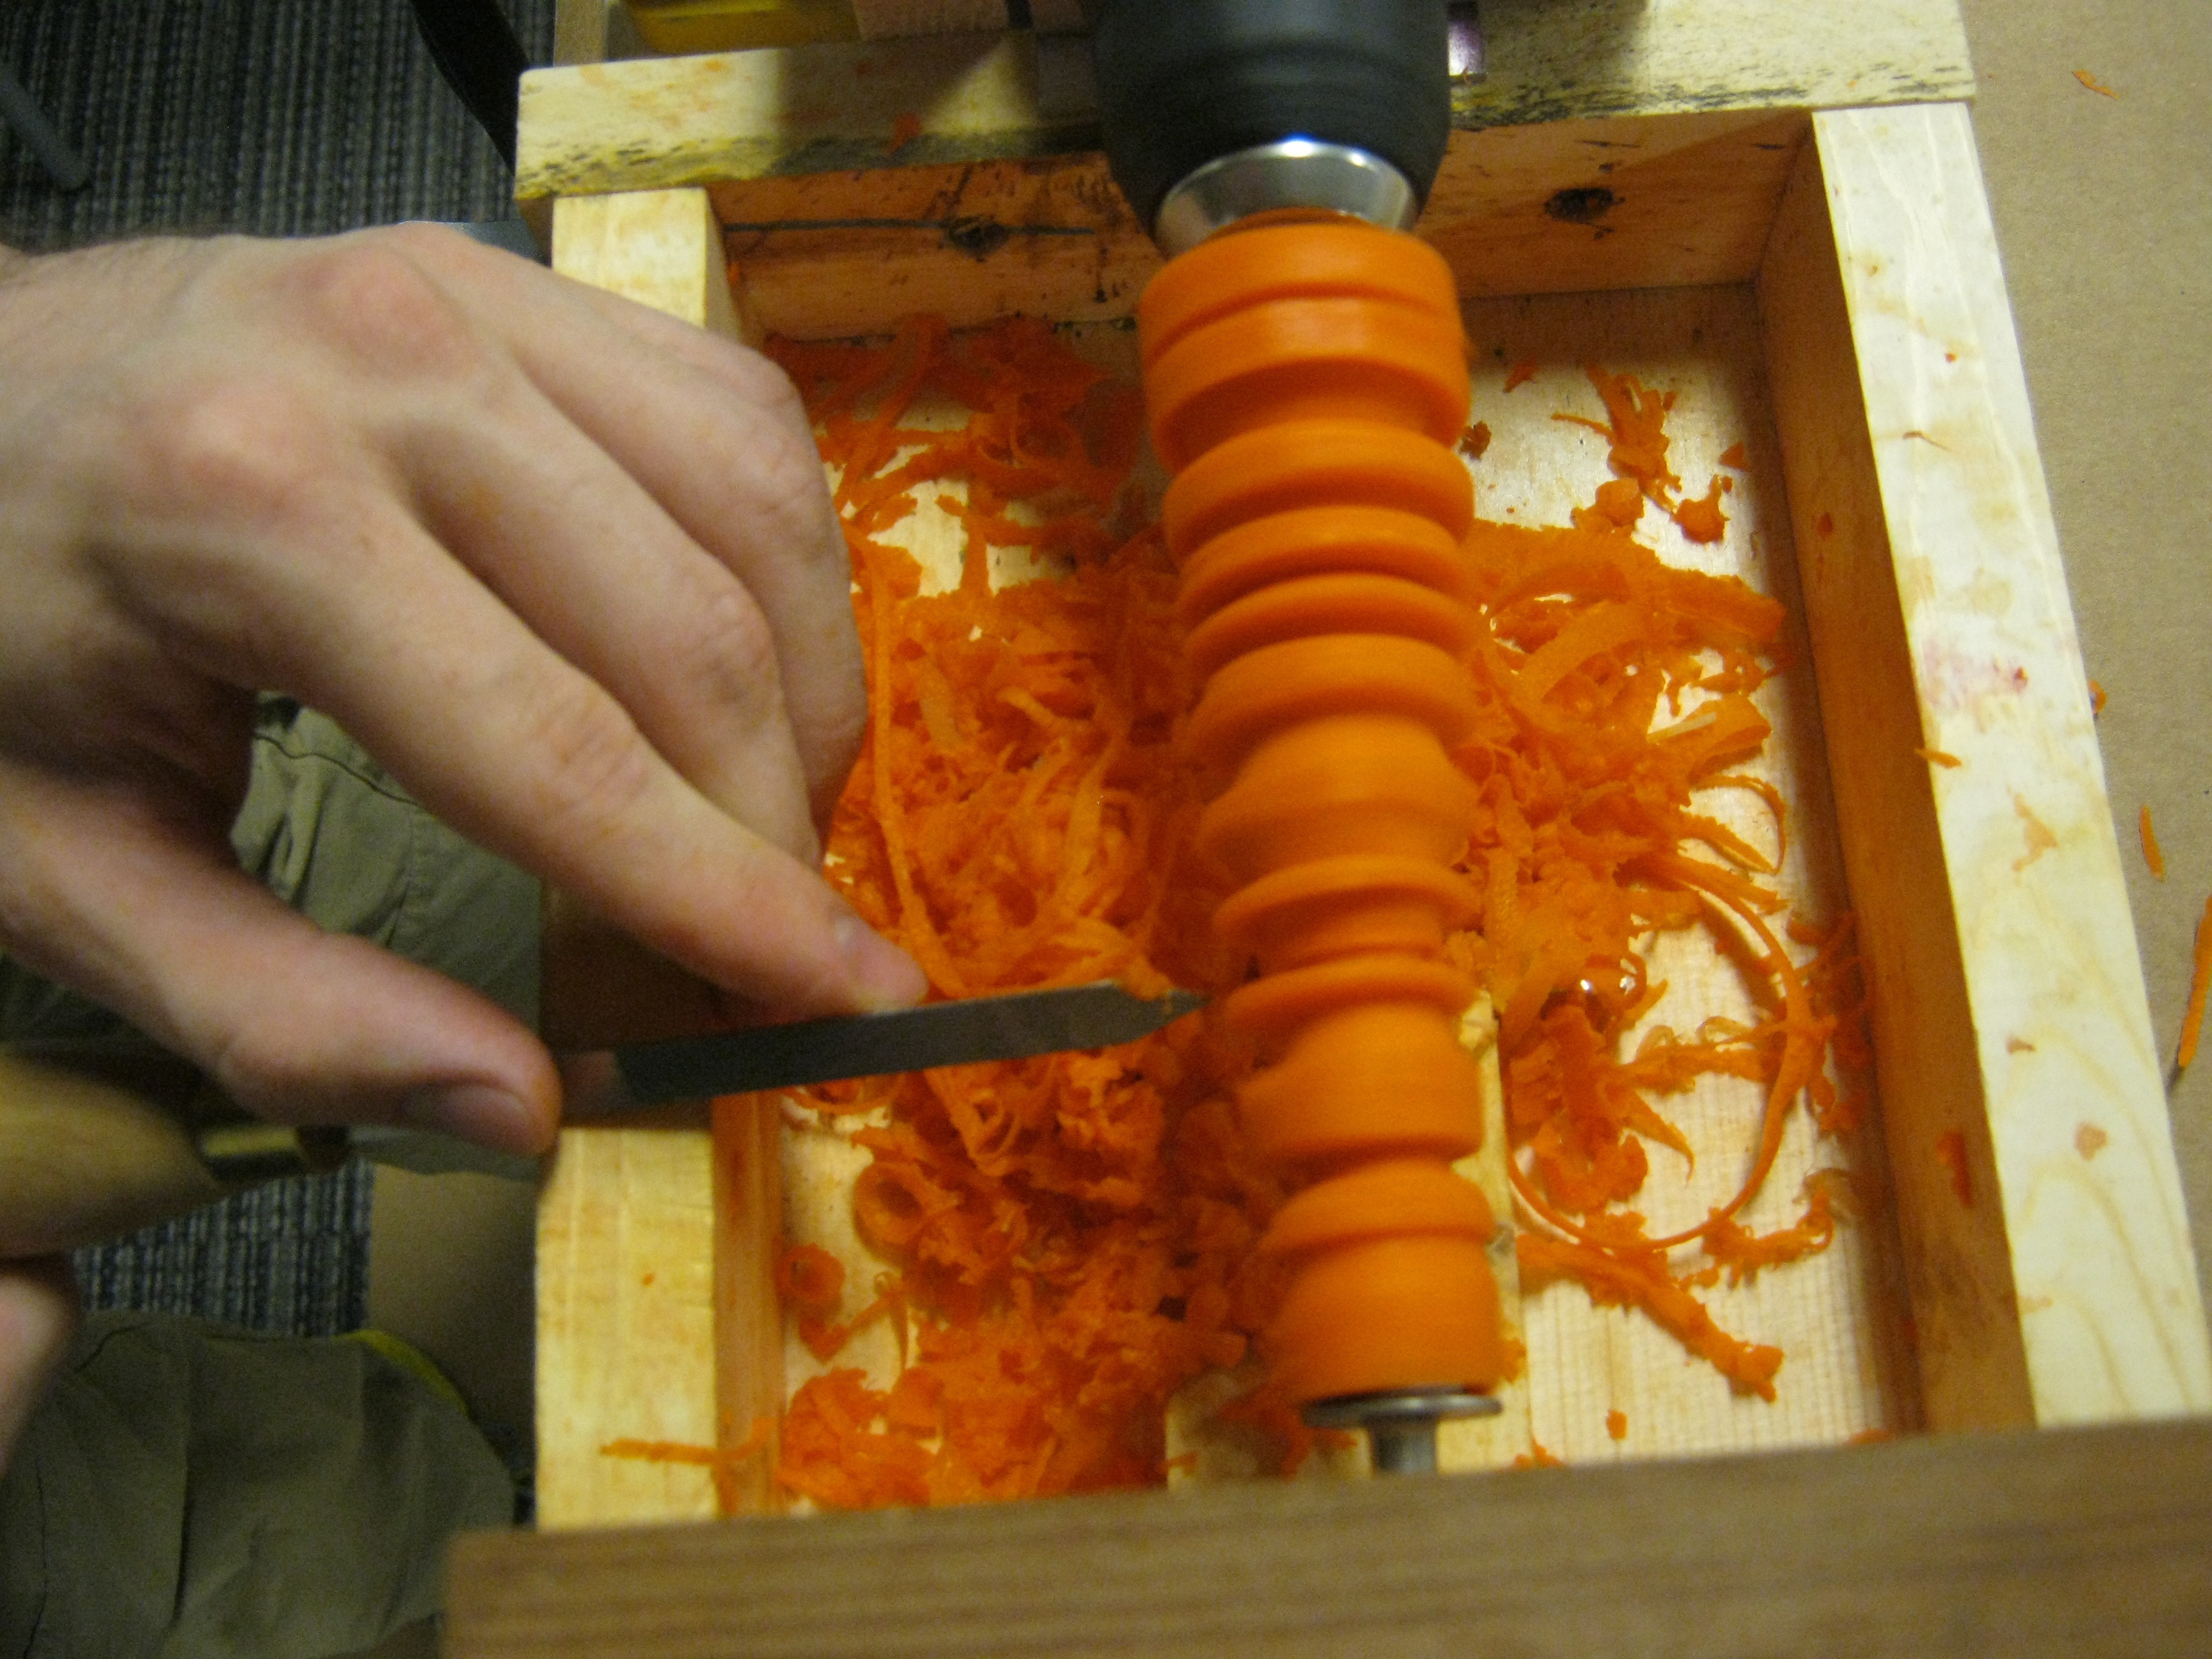
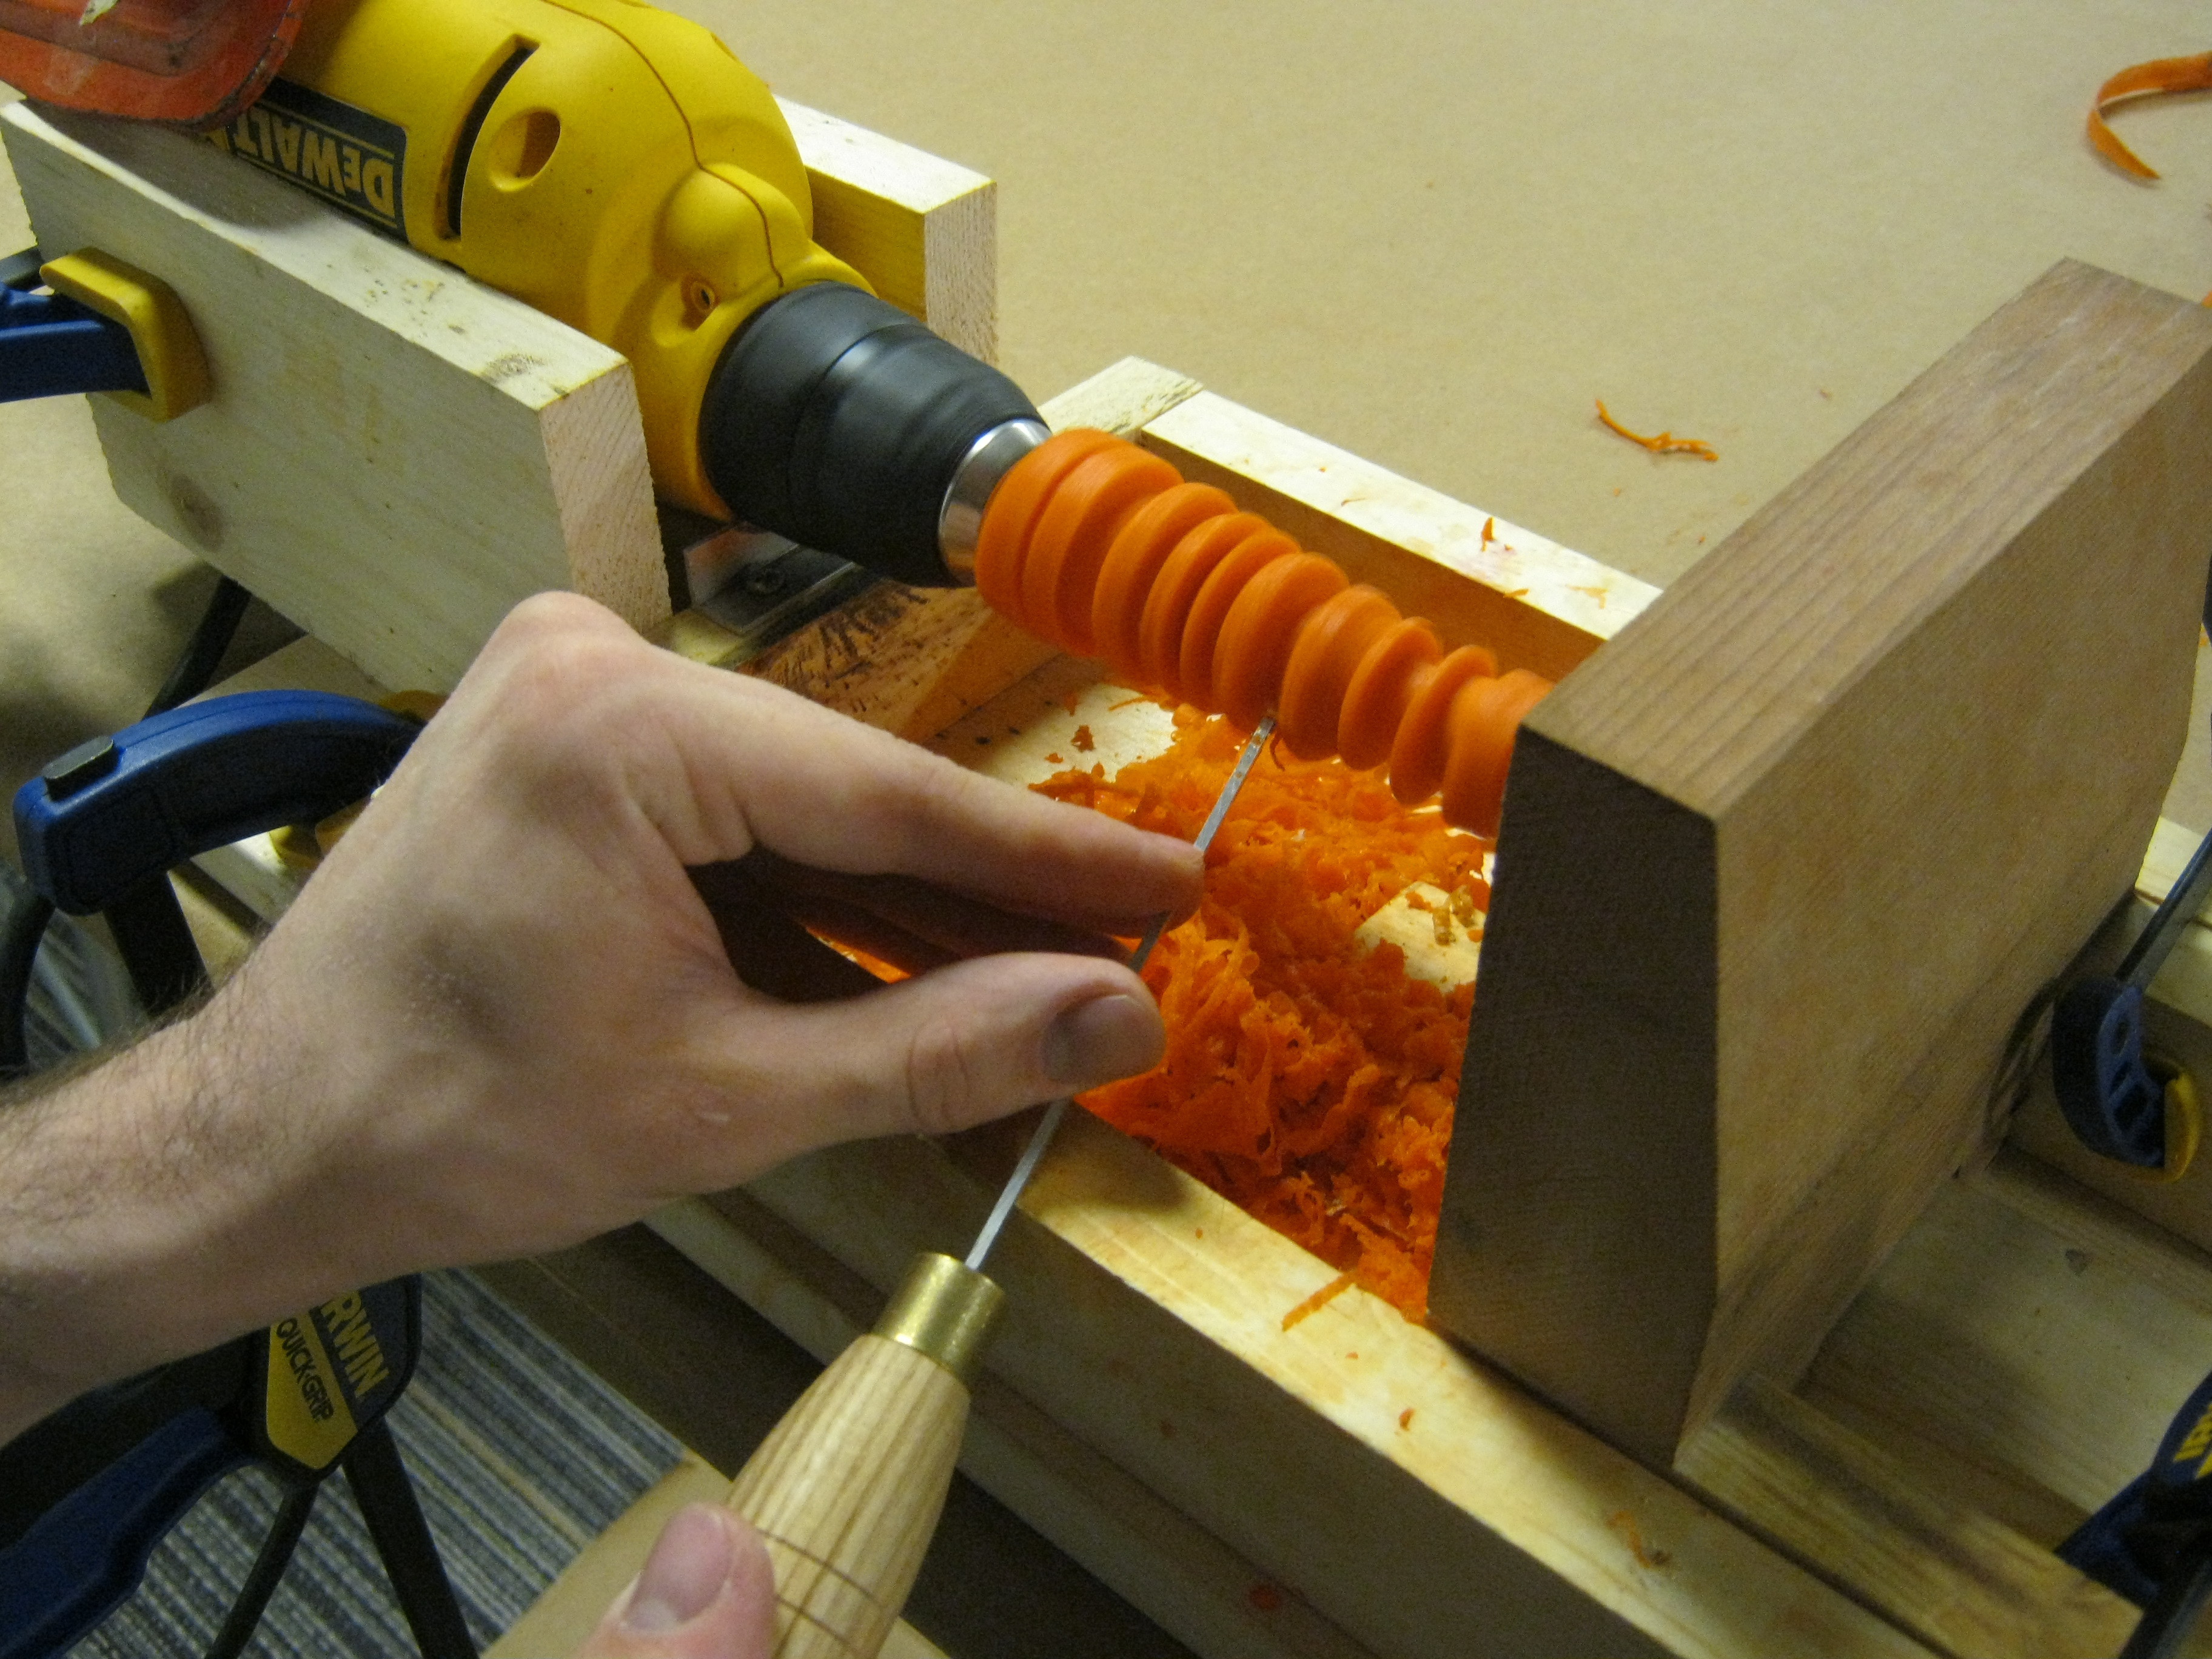
Choose a tool and get to work. If you don’t have the micro lathe tools you can try small wood chisels or experiment with other things like a nail. You want to engage the tool very gradually taking off small amounts of flesh. Trying to take off too much at once or quickly engaging the tool generally causes the carrot to tear off the rig.

If you do tear the carrot off the rig don’t worry. Just shut off the drill and reset. If the tear damaged the end of the carrot just cut off a little to get a nice clean surface again.

Get your favorite dips, quarter the carrots if you want, and enjoy!

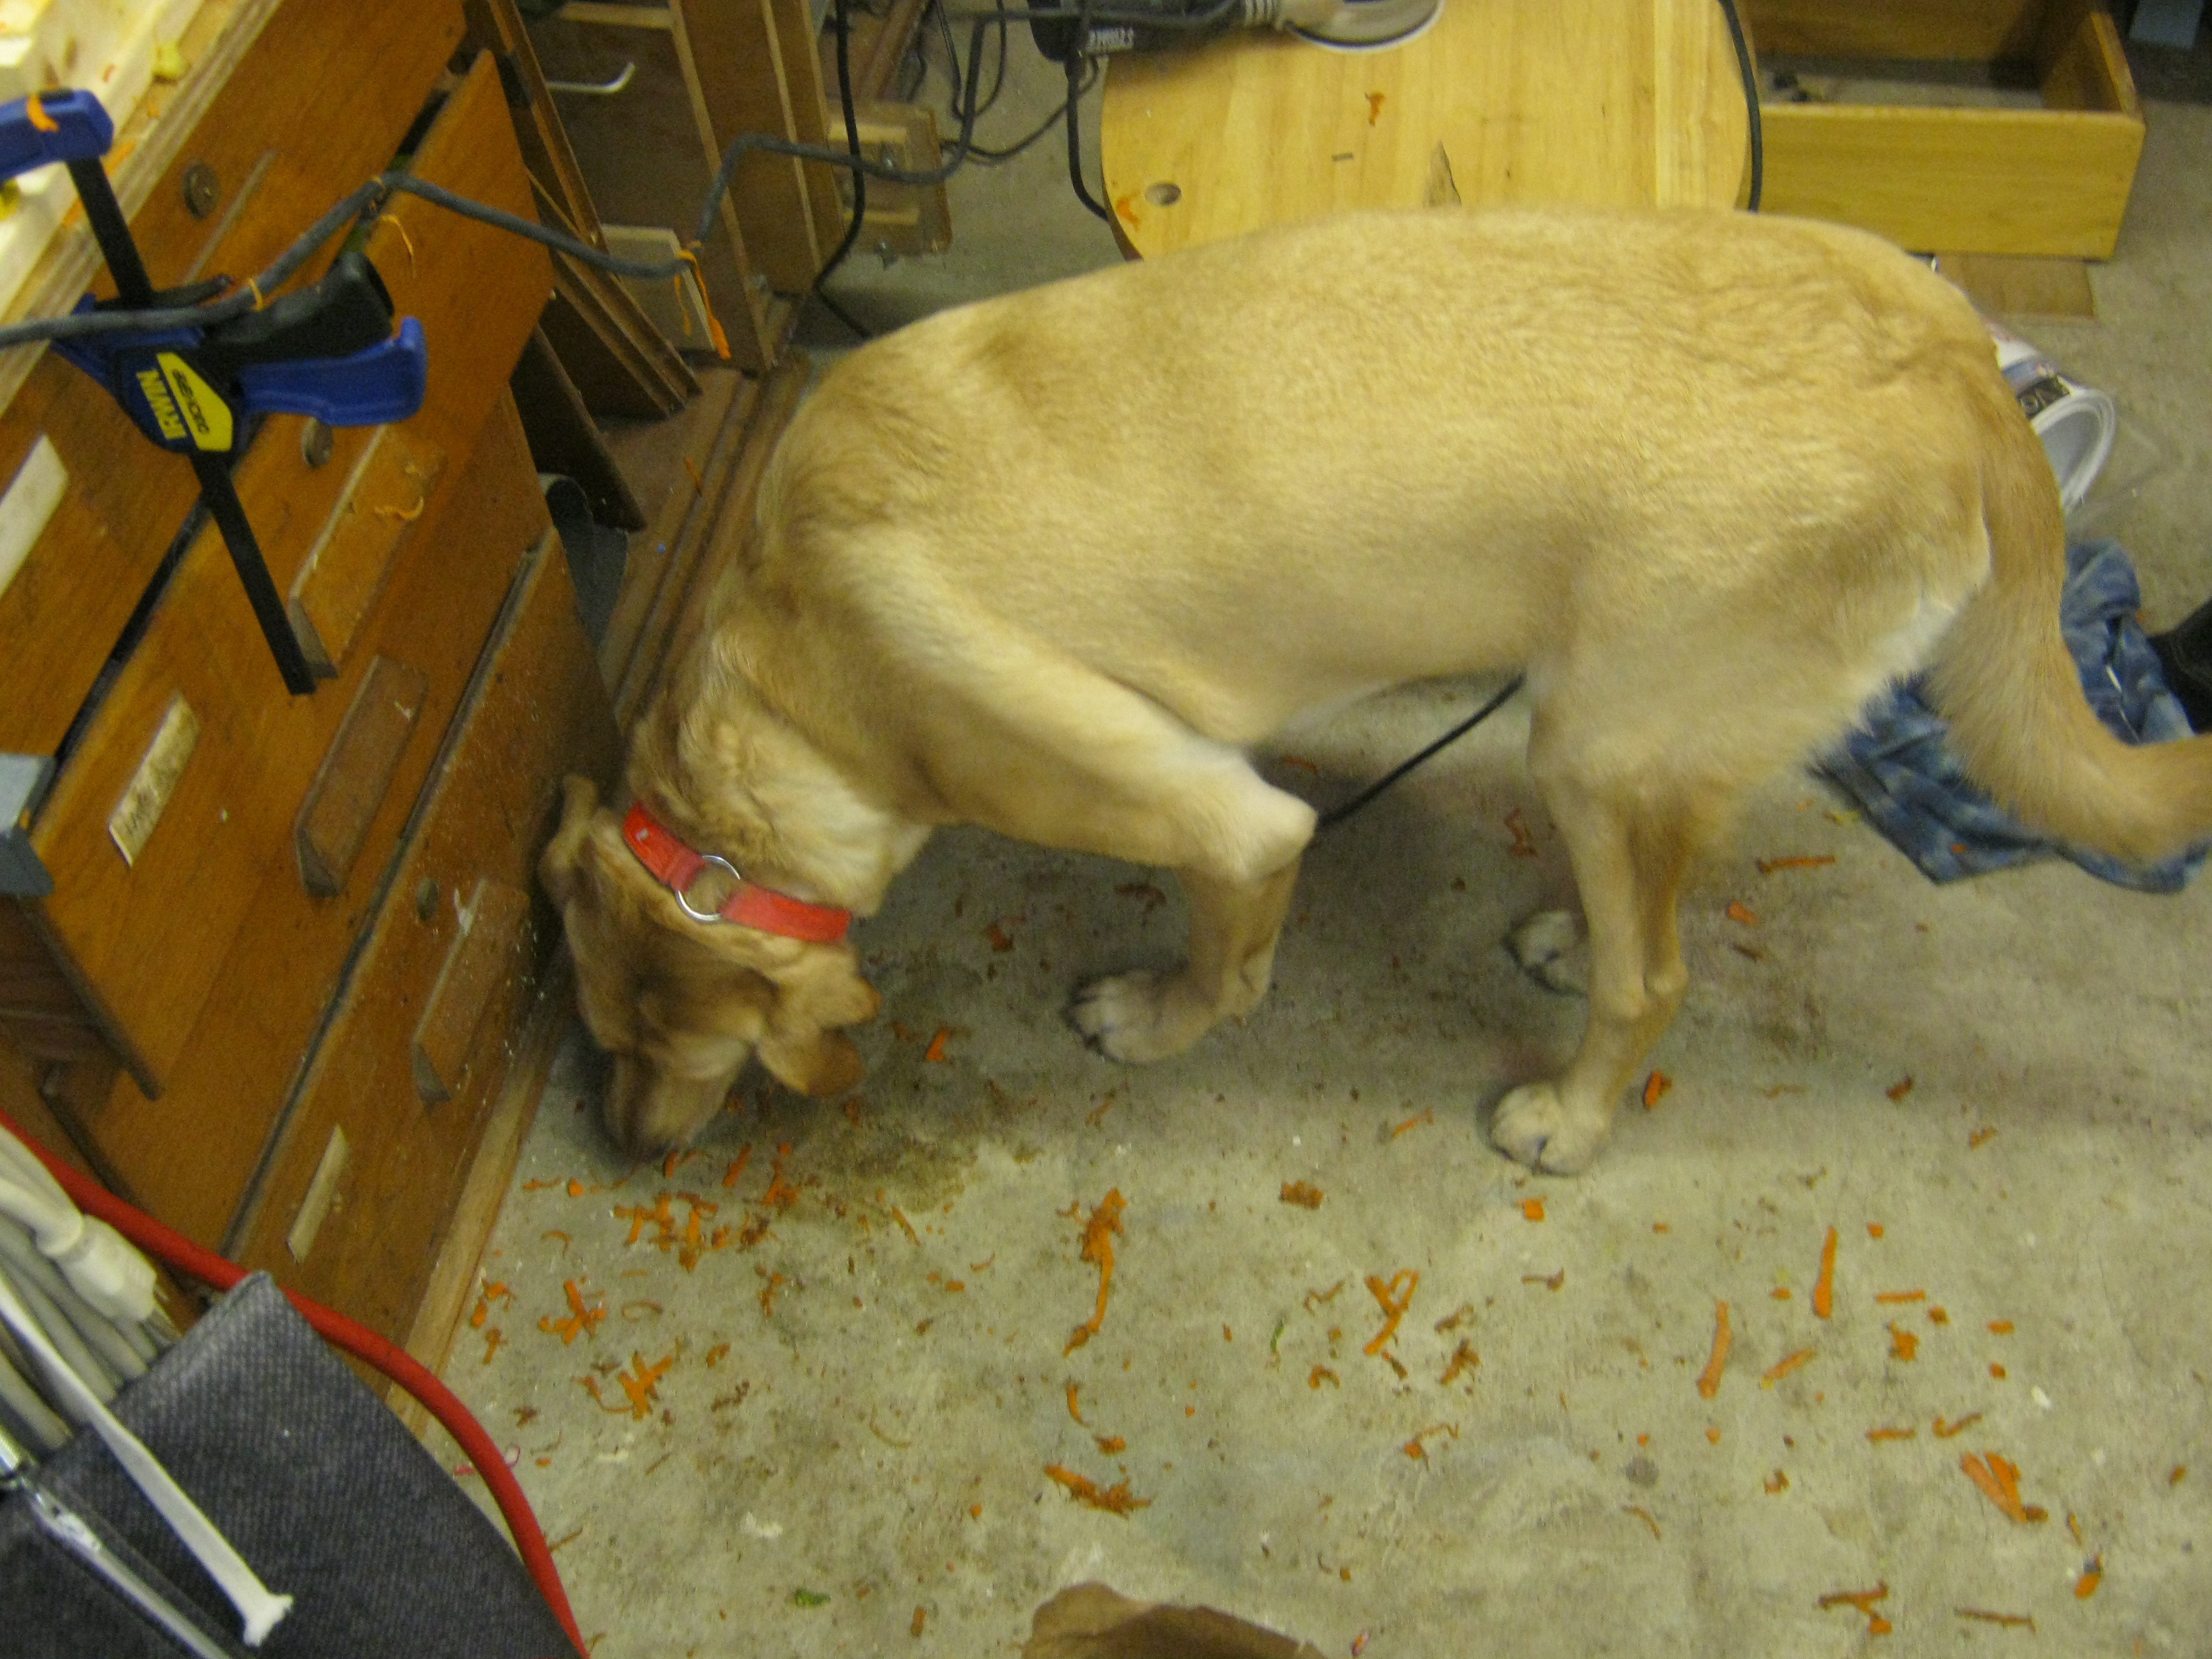
Cleanup