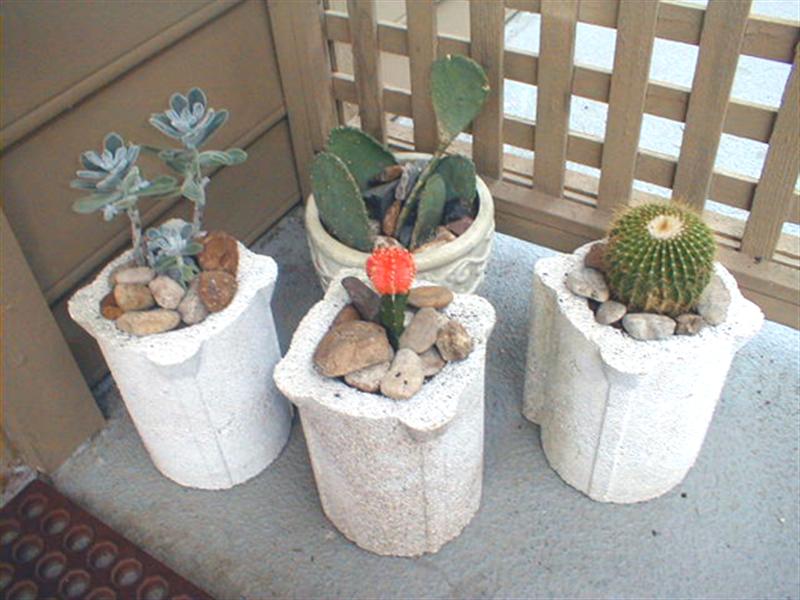
The idea here is to use a simple, inexpensive concrete mixture to cast decorative containers using common trash items as sacrificial mold elements. Styrofoam packing inserts, in particular, are available in an endless variety of shapes; the trick is to cultivate an eye for the negative spaces that are molded into these inserts, and set aside the interesting ones to use as outer forms. Inner forms, obviously, should be simpler, because the inside of the pot is not going to be visible.

Project Steps

Gather the mold elements.

I used a styrofoam block I found discarded in a hallway in the UT chemistry department as an outer mold. It contains four identical cylindrical recesses and was originally used to package 4L glass solvent bottles.

The inner forms are nesting polyethylene tubs of the type provided at many grocery stores to package bulk dry goods.

Cut mandrels for drainage holes.

If you want drainage holes in the bottom of your containers, it’s easier to mold them in than to try to drill them after the fact.

These 4 pieces of 1″ PVC pipe are approximately 2.5″ long. Pushed through the bottom layers of packed, wet concrete, the pipe sections will serve as mandrels to form the drainage holes in the bottoms of the pots.

Mix the concrete.

A wheelbarrow is a convenient place to mix concrete, but any sufficiently large container will do.

Mix 6 parts play sand to 2 parts Portland cement to 1 part water.

In terms of how much to make, a good rule of thumb is to use as much aggregate (sand, in this case) as it takes to fill whatever volume you intend to cast, then measure out 1/3rd that amount of cement and 1/6th that amount of water. Mix the dry ingredients first, and very thoroughly, using a shovel and/or your hands. Then slowly add the water and work it evenly through the mixture. Using an exact amount of water is not critical; if your mixture seems too dry to work easily, feel free to add water until it’s workable. But be careful not to get it too runny. It should not be “pourable.”

Pack the bottom layer.

Use your hands, or a small trowel or shovel, to transfer wet concrete from the mixing bin to the mold, a glob at a time.

Using your tamping rod, pack the wet concrete into a layer about 2.5″ thick in the bottom of your outer mold. This layer will form the bottom of the container.

I chose this thickness because it was exactly right to set the top edge of my inner form even with the top edge of my outer form, but this is not essential.

Once the bottom layer is tamped in, press a PVC mandrel through the wet concrete in the center to form the drainage hole. This will be knocked out of the dried pot later.

Place the inner form.

If your inner form is hollow, you’ll need to weight it down with something to keep it from “floating” out as you pack the container walls around it.

I used rocks, but sand or plaster or steel scrap could work just as well.

Set the weighted inner form in place on the freshly-packed bottom layer of concrete.

Pack the container walls.

Tamp wet concrete into the space between the inner and outer forms of your mold.

Tamp as high as you like, or until the mold is slightly over-filled.

During this process some concrete will fall into the inner molds; as long as not too much is wasted, this does no harm.

Clean up the top edges.

Using a knife or other straightedge, clean up the top of edge of the freshly-packed container walls.

Remove the inner form.

Let the concrete harden for about 3 hours.

Carefully lift out the inner mold.

You may have to squish the inner form a little in one or more directions to break it loose.

Set aside to cure.

The longer concrete is kept damp during its initial curing period, the harder and more durable it will be. So to slow the drying as long as possible, drape a water-soaked towel into and over the packed-in concrete form.

Cover the whole thing with a garbage bag and leave it undisturbed for a week.

I used a colored towel, which was a mistake, as the color bled out onto the concrete during the setting process.

Break away the outer mold.

After a week, remove the garbage bag and hang the towel up to dry.

I found it not too difficult to break away the styrofoam outer mold, a chunk at a time, just using my hands.

If that doesn’t work for you, a tool such as a knife or a screwdriver may be helpful. Just be careful not to scratch the exterior of your freshly-molded container.

Knock out the mandrel.

Turn the container over and rest it on a solid surface.

Using a hammer and punch, knock out the drainage hole mandrel as gently as possible.

Turn the pot back over, and you’re done!

Conclusion

If you have to use a dyed towel, don't despair. Any color that bleeds onto the concrete is fairly easily removed using bleach and a stiff plastic brush.

If you're making a larger piece, you might consider adding some kind of reinforcement to the concrete mixture. This could be a wire mesh pre-form, or stiffening elements that are inserted after the bottom layer is tamped, but before the walls are packed down. It might also be possible to add fibrous material to the bulk concrete mix to improve its tensile strength, but I haven't actually done any experiments to that end as of yet.

There are lots of different concrete mixtures out there, and you should feel free to experiment with other aggregates, even unusual or novel ones. I've made a couple of pots using vermiculite in place of sand in this recipe, which results in a finer, smoother surface texture.

Be careful with this process--once you start seeing discarded styrofoam as a source of inspiration, you may find it piling up faster than you can churn out the pots!