Read articles from the magazine right here on Make:. Don’t have a subscription yet? Get one today.

I suppose makers make things for various reasons. My reason was the challenge of it.

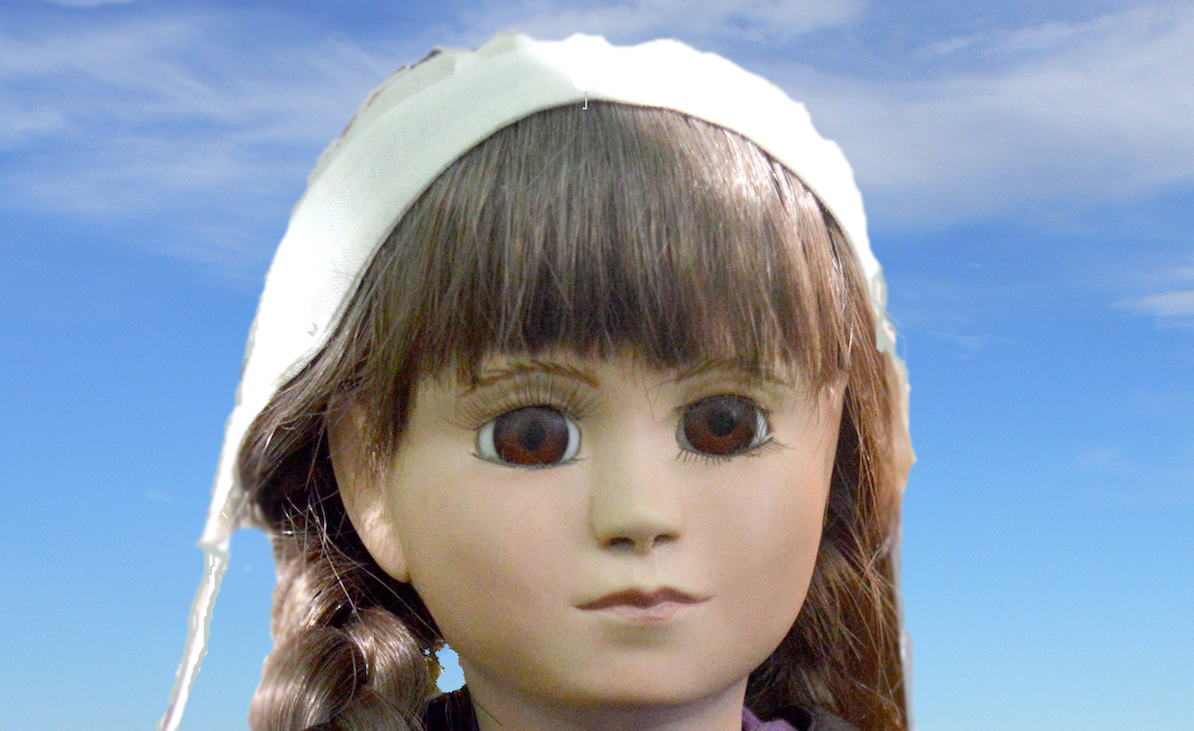
I had just started collecting dolls and I wanted the most permanent (porcelain) and most child-like I could get. I had always thought that only artists could sculpt. Well, I now think that statement is only partly true. If I could sculpt a doll and come up with a reasonably good looking one, then anybody can sculpt. Thus Courtnee Anne Yoder was born!

creatingadollcourtnee-portrait

So thus began the long process of learning and making. I had never done any of it before, but I had learned how porcelain objects become hollow. When the “slip” (a clay soup that you buy) is poured into the mold and allowed to set for a few minutes the water in it begins to soak into the plaster mold and the clay in the slip hardens against the mold walls. Then the remaining slip is poured out.

I cannot give instructions in sculpting but there are many good videos on YouTube that show how it is done. I did not have that help when I began, so I would encourage you to study those videos. The local library may have books to help, or search elsewhere on the internet.

creatingadolltools

First, the tools needed:

  1. Rubber glove and piece of nylon stocking
  2. Device for sanding between fingers and toes
  3. Miscellaneous sculpting tools
  4. Plastic eyes
  5. Eyelashes and adhesive
  6. Eye positioner tool
  7. Eyewax
  8. Various brushes for painting
  9. Eye sizers, used to make eye opening fit the eye
  10. Diamond sanding pads
  11. Doll wig

Setting Up

NOTE: Purchase enough clay – I used modeling clay because it does not dry out and can be re-sculpted. One problem with it is if it gets too warm it tends to sag and not hold position.

List of Supplier Sources

Look for a doll show near you – an excellent source for supplies and help.
All About Dolls
The Doll Studio
Doll Parts & Supplies
Jean Nordquist Dolls

What will the next generation of Make: look like? We’re inviting you to shape the future by investing in Make:. By becoming an investor, you help decide what’s next. The future of Make: is in your hands. Learn More.

Project Steps

Step 1.

Make a stand to hold the head upright while working on it. I used a 1″×1″ wooden post and made a large wad of aluminum foil about ½ the size of the finished head to use as an armature to which masses of clay could be added.

NOTE: As you decide on scale, remember that the porcelain will shrink about 10% when you fire it in the kiln. For example, I wanted a 20″ doll. The original sculpture was 3.75” (shrunk to 3.25″) from ear to ear, from chin to forehead was 3.5″ (shrunk to 3″), and overall from neck to top of head was 5″ (shrunk to 4.5″).

Step 2.

Begin to rough in a head shape: forehead, chin, eye depressions, nose, cheeks, and ears. Then begin detailing the eyes, etc. Gradually refining the face and head. Step back once in a while and look at the overall head.

Step 3.

When finished and the head looks like the doll (person) you want him/her to look like – be sure to store it in a cool place, away from vermin!

creatingadoll1

Step 4.

Make two “L” shaped forms (I used shelf boards with Formica-like surfaces). The head sculpt will lay on its back in the mold. They should be at least twice the size of the head. These forms should be no less 3″ higher than your sculpt; that is, from tip of nose to back of the head.

creatingadoll2

Step 5.

Clamp the “L” shapes into an oblong box – this is going to be used for both a “proof” casting and the “final” casting to make the final mold.

Step 6.

Carefully suspend your original clay sculpt by placing it on a bed of clay face up so that it clears all sides by about 1″ (top, bottom, right, left, up, down). Lay it gently on the bed of clay so as not to damage your work. Then fill clay in around it and up to the middle point. The clay should form a tight seal at the middle point of the head. Any protrusions above this middle line will not slip out of the mold later. I made ear plugs, which made the mold (in the end) a 4 part mold. That way when the mold ear plug were removed the other halves of the mold will open without damage to the ears.

Step 7.

With the face pointing up it is time to apply a mold release agent on the face of your sculpture. Green soap is what I used as a release agent. Using a brush, apply it all over the sculpt that is above the clay backer and on the clay as well. Do not let it pool anywhere. Once this is done you are ready to pour the plaster for the top half of the mold.

Tip: I placed 4 marbles (not shown) half way into the clay around the head. These would form register points so the final molds will align correctly.

Step 8.

Next, prepare your molding plaster to the consistency of soft ice cream – it must pour and fill in any details on the original sculpt that is above the clay-line.

Step 9.

Carefully and slowly pour this mixture on the face of your sculpt up to about 1″ above the nose. Tap the forms occasionally as you pour to remove any air bubbles.

Step 10.

Now, quit chewing your fingernails and wait for the plaster to dry – overnight is a good idea.

Step 11.

Remove the clamping devises and tap the forms as you gently remove them.

Step 12.

Once they are removed turn the whole “package” over (plaster side down) and begin gently removing the clay backer that was under the head. You should now be looking at the back of the head and neck. DO NOT remove it from the plaster. Do remove the marbles. Begin the molding process described in Step 6, and pour another batch of molding plaster on top of the back of the head. Don’t forget to apply your mold release agent.

creatingadoll3

Step 13.

Now, you have your entire original sculpt encased in plaster. After the plaster sets you can repeat removing the mold forms.

Step 14.

Locate the place where the 2 batches of molding plaster came together. Take a large knife (hunting or butcher knife) and place it on this line and tap with a small hammer – start with a gentle tap, increasing the sharpness until the two halves separate. Hopefully the mold release agent you used did its job. When the two halves are laid open before you, then you can remove your original handiwork and store it away safely.

This is the mold you will use to pour the porcelain. You will need to cut the sprue opening in which to pour the slip. This should be a tapered hole that goes from large on the outside to a smaller hole on the inside. This is usually done at the neck opening. When the final head is poured, there will be an opening into the inside of the neck. This opening will be used to mount the head to the shoulder-plate.

creatingadoll4

Step 15.

Before pouring the slip into the mold you will need to align the two halves and bind them together – tight! When pouring try to pour steadily and slowly so as not to generate air bubbles. Fill the neck of the sprue opening to the top, and when the slip sinks down, keep it full to the top. It may take 10 minutes until you have a coating on the inside of the sprue about the thickness of a nickel. When you reach this point have a pan ready to receive the extra slip. Then it is time to slowly pour the remaining liquid slip out of the mold and back into its original container.

Warning: Do not ever pour slip down a drain or toilet, as it will clog it up in no time!

Step 16.

Leave the mold set for up to four hours before opening. I usually let it set upside-down over my original slip container so it can continue to drain. When opening the mold as before — “slowly” is the word! You should be treated to the greenware image of your sculpture. Be careful it can collapse!

Step 17.

It will be very soft, like leather. If you can handle it at this point it is wise to cut the large circular opening (called the pate opening). You may then set the head on that pate opening to dry. After it has dried for 24 hours you can gently – very gently – sand it and even do some gentle remodeling of it if you like.

Step 18.

Now the eye openings are cut to accommodate the eyes (glass or plastic). There can be no cutting after the ‘high fire’ step. Cut the eye openings and then use the eye sizers from the back of the head to smooth and set the eyes to the proper depth.

Step 19.

The next step is to “soft-fire” the head. This will make it difficult to sand, so the diamond sanding pads can be used. The head must be sanded and painted after this firing. Once the painting is satisfactory then the head needs to be “high-fired.”

Step 20.

After the head is ‘high fired’ the eyes are set place in using eye wax, which allows them to be turned and focused, then plaster is applied over the back of the eyes to hold them in place.

Note: If you do not have a kiln you may be able to find one at a school or doll store. The best would be where they have continuing education classes and the instructor would fire it for you.

Summary of the firing steps:

1.) Soft-fire (cone 18) the greenware after sanding and smoothing. It must be dry to the touch. Excess wetness may cause it to crack.
2.) First high-fire (cone 6) after the painting and checking that the eyes fit (but do not install them). This may be the only high-fire needed, but my experience is that the colors did not always suit me, so I went over them and re-fired.

THE SHOULDER PLATE

The shoulder plate is not the only way, but it is the easiest way to attach the head to the body of the doll. The process of making it is the same as for making the head with the mold process outlined above. This photo shows how the “proof” head is fitted to the clay sculpt to be sure the neck and shoulder plate mate smoothly.

creatingadoll7