I’ve always loved to travel, and of all the places I’ve visited, Spain especially has captured my heart. What better way to keep my memories front and center (while sprucing up my living room) than by adorning my coffee table with maps of one of my favorite countries?

This project is perfect for those who love the aesthetics and romance of maps, for people who travel frequently and keep maps as souvenirs, and for those who wish they could travel more. Your new map coffee table will not only add a dash of design to your room, it’ll surely inspire colorful cocktail party conversation.

Project Steps

Prep the coffee table.

Cover your workspace (under the table) with news- paper.

Sand your coffee table using medium-grit sandpaper. It’s not necessary to sand all the way through the finish; you just want to create a rough surface that the paint can adhere to. After you sand the table, clean it thoroughly with a damp rag and allow it to dry.

Next, paint your table. You don’t have to paint the whole tabletop (you may want to just do a border around the edges on top), but I find that painting the whole top provides a solid background for the map, should any of the table surface show through.

When dry, sand the tabletop lightly so that the map will adhere well.

Prep the map.

Iron your map on a medium-high or high heat setting. The easiest way is to spread the map out on a carpeted floor. Make sure to iron both the front and the back thoroughly, getting the creases out as much as possible.

Once the map is flat, lay it over the top of your table and position it to your liking. Mark the edges of the table by creasing the map. Cut the map so that it has a 2″–3″ border around the creases you just made. This will make working with the map much easier.

Mount the map.

Lay the map wrong-side up on the floor next to the table. Wearing a face mask, liberally spray both the table and the map with spray adhesive — use a lot more than you think you’ll need.

Working from one end to the other, begin placing the map onto the table. Make sure to line up the creases you made on the map with the edges of the table. Smooth the map out very carefully as you’re laying it down.

Once the map is down, continue to smooth it out until it all appears to have adhered well to the table. Let the adhesive dry for about 3 hours.

If there are air bubbles after the adhesive dries, iron the table to smooth them out.

Finish the table.

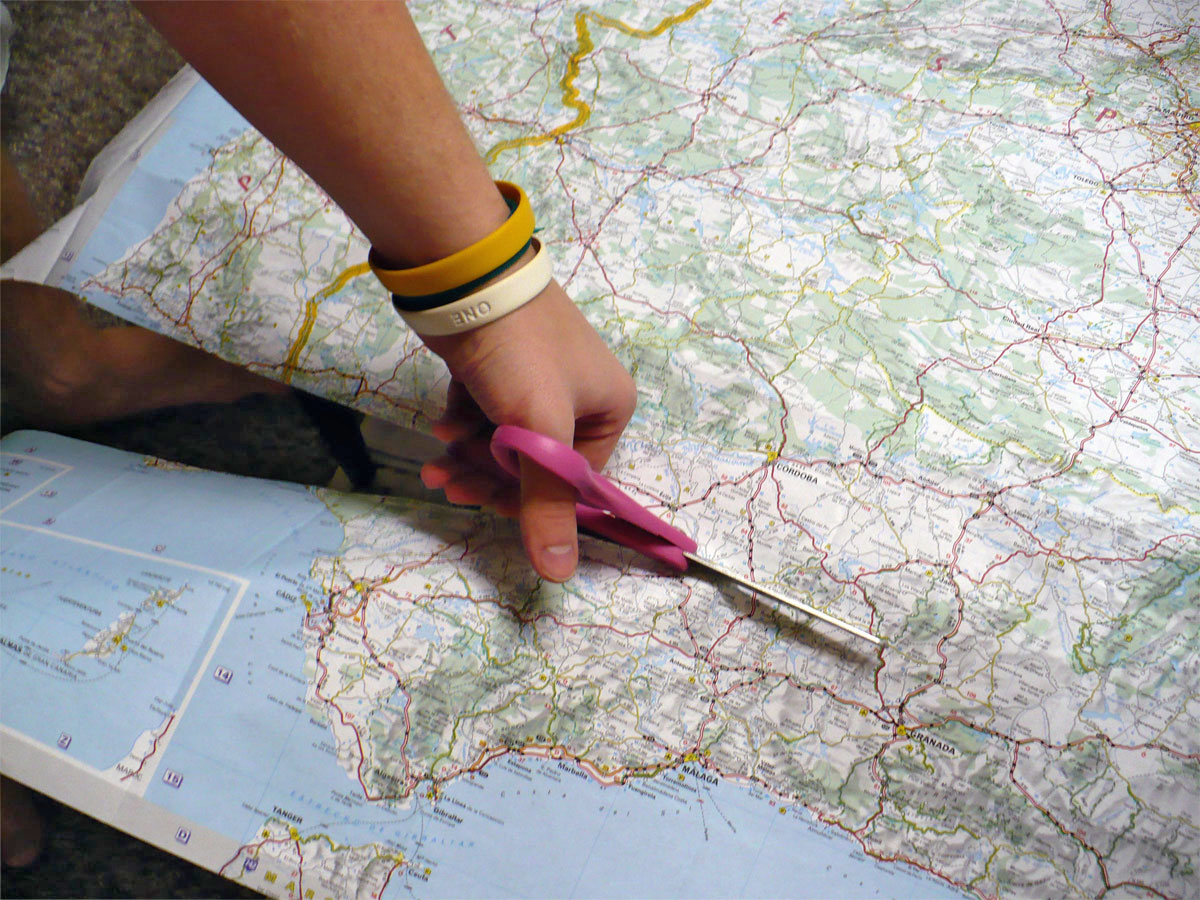
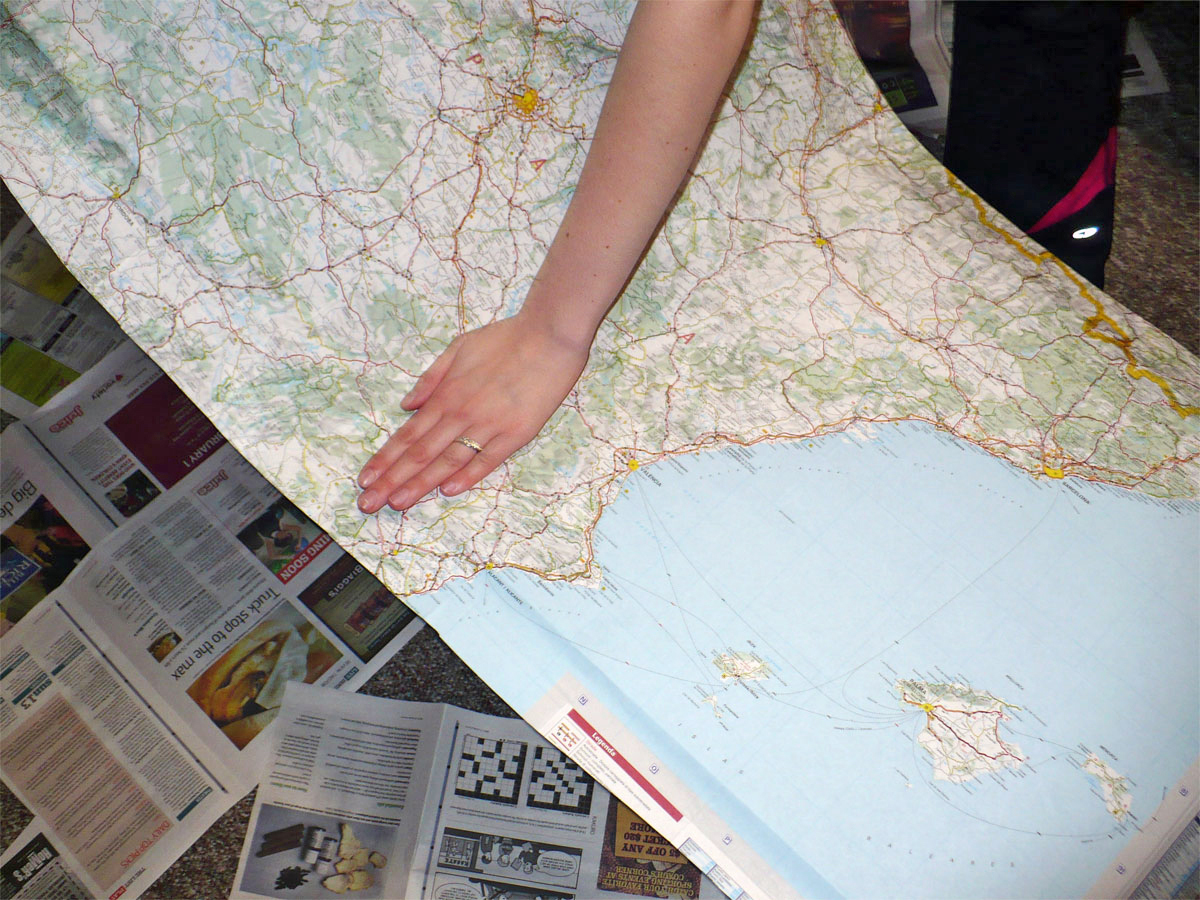
Using scissors, make a cut from the edge of the map that leads up to 1 corner of the table.

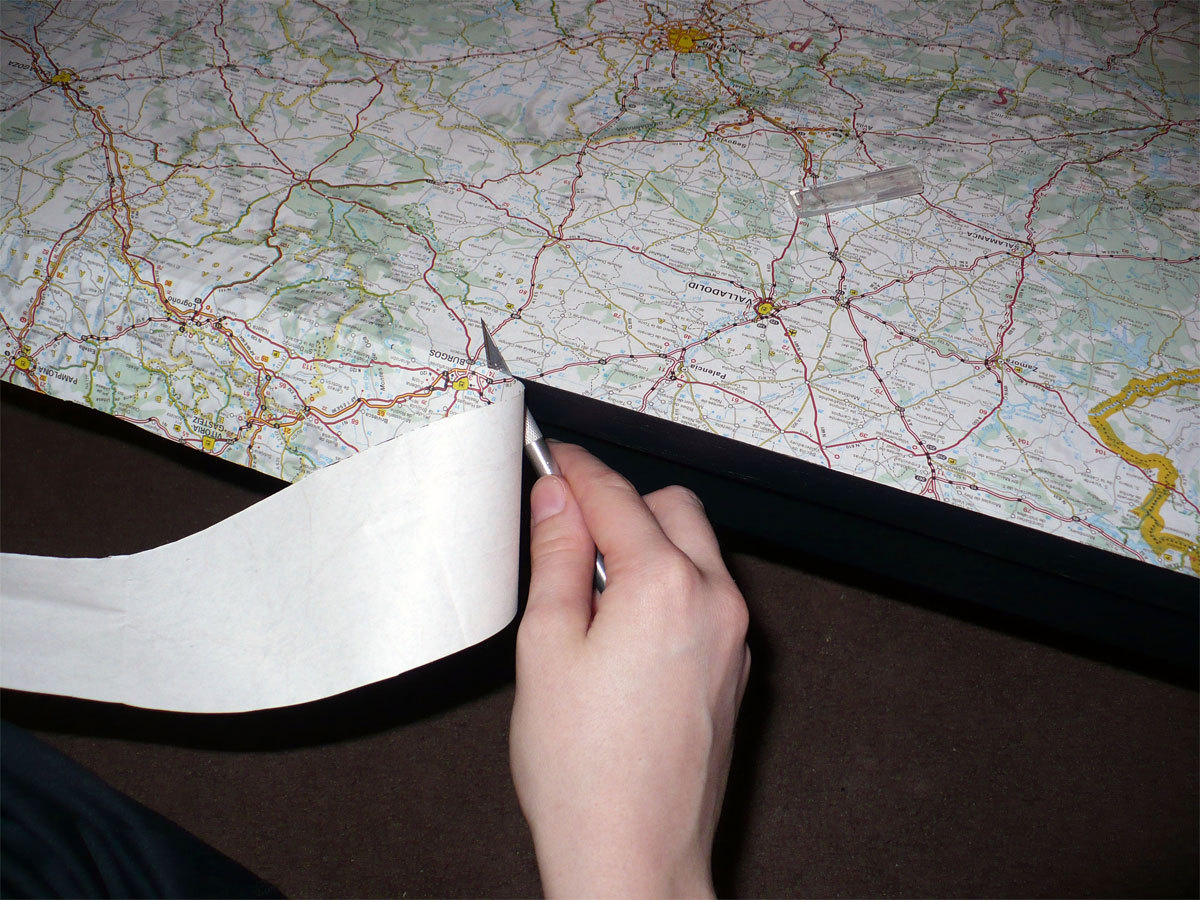
Then use your hobby knife to cut off the excess map, making the edge of the map flush with the edge of the table. An easy way to do this is to place the edge of the blade along the edge of the table, then pull the blade along, lifting the cut-off paper as you go.

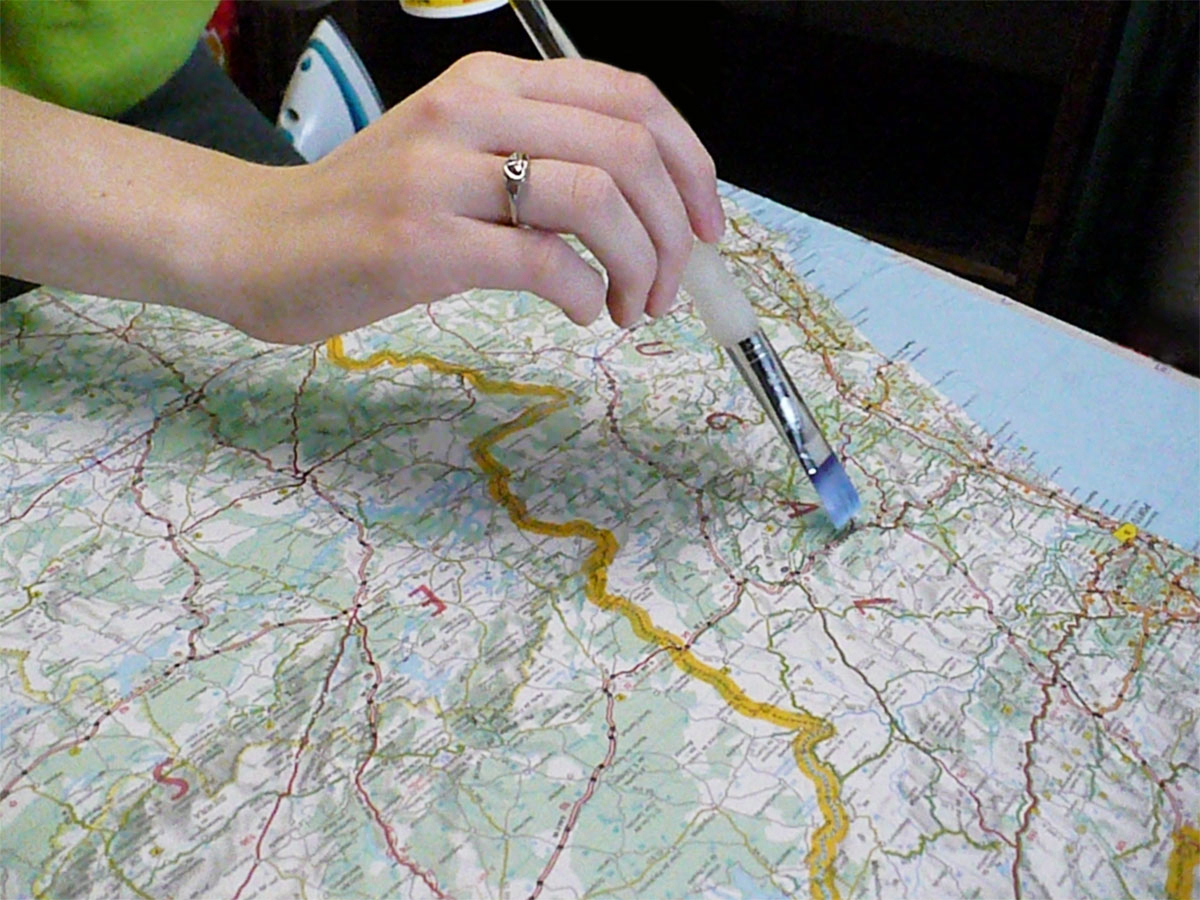
Clean off the tabletop with a dry rag. Working from one end of the table to the other, use a paintbrush to lay down a coat of Mod Podge.

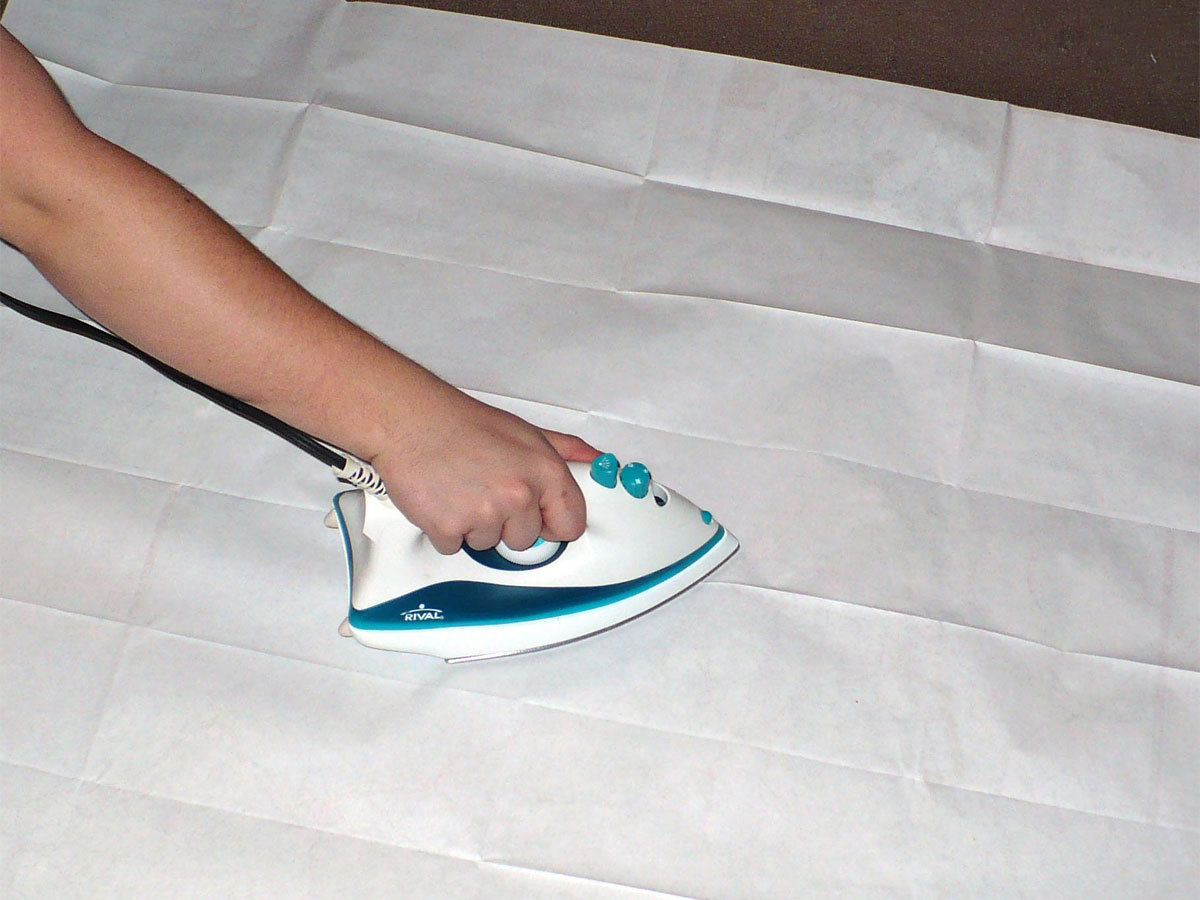
If wrinkles form, many can be rubbed out with either your paintbrush or your fingers when the Mod Podge is almost dry, and most small wrinkles or bubbles will flatten out on their own as the glue continues to dry. Allow the Mod Podge to dry for at least 1 hour. It may still be tacky after it has dried, but this next step will eliminate that.

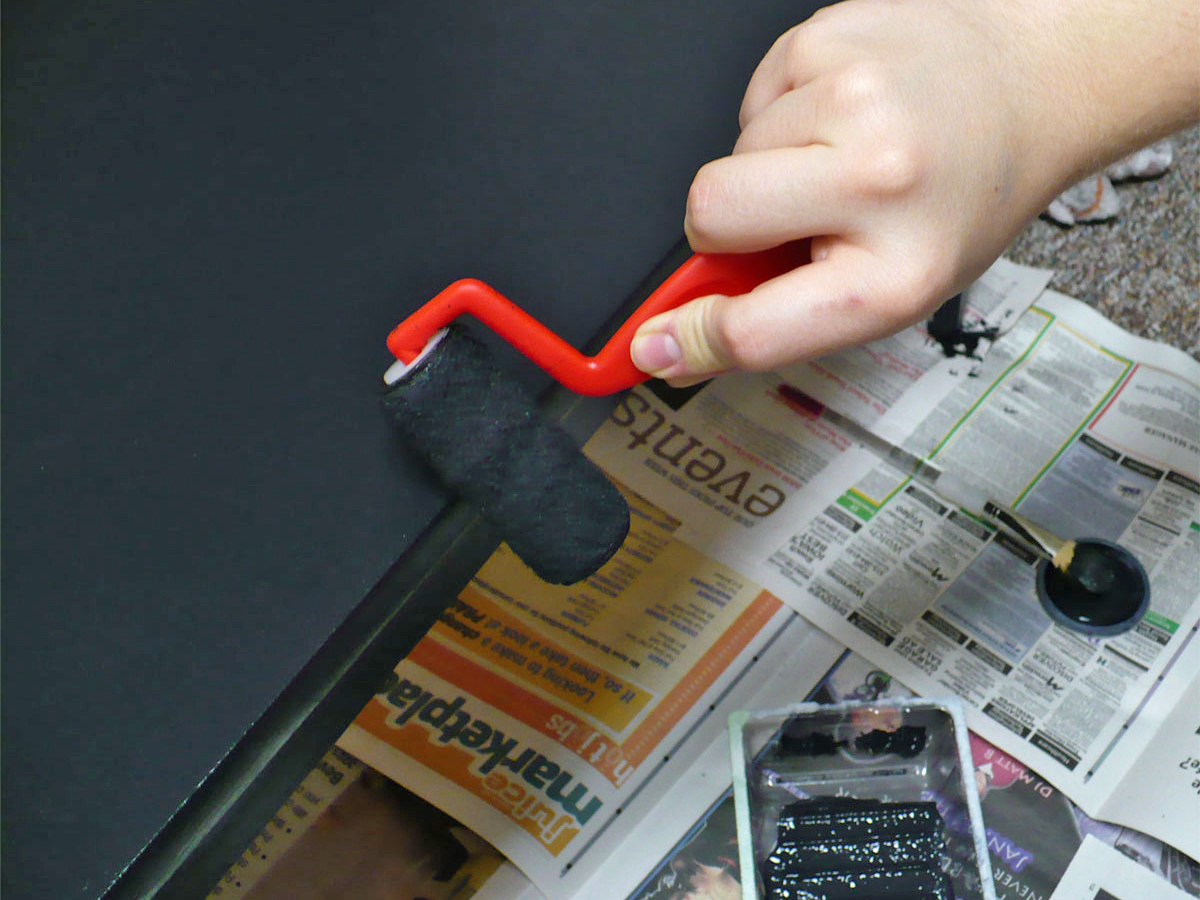
Wearing your face mask, use your paintbrush to generously coat the tabletop with Future acrylic floor finish.

A little goes a long way, so you won’t have to use very much. To make your table surface durable and waterproof, brush on 3 to 4 coats of the finish, allowing each coat to dry for 20 minutes.

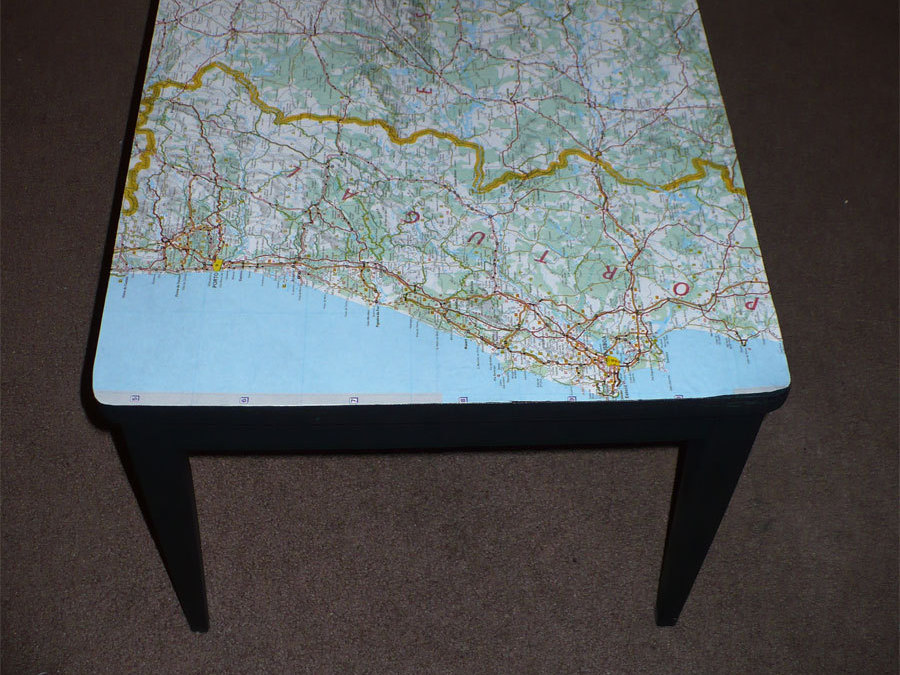
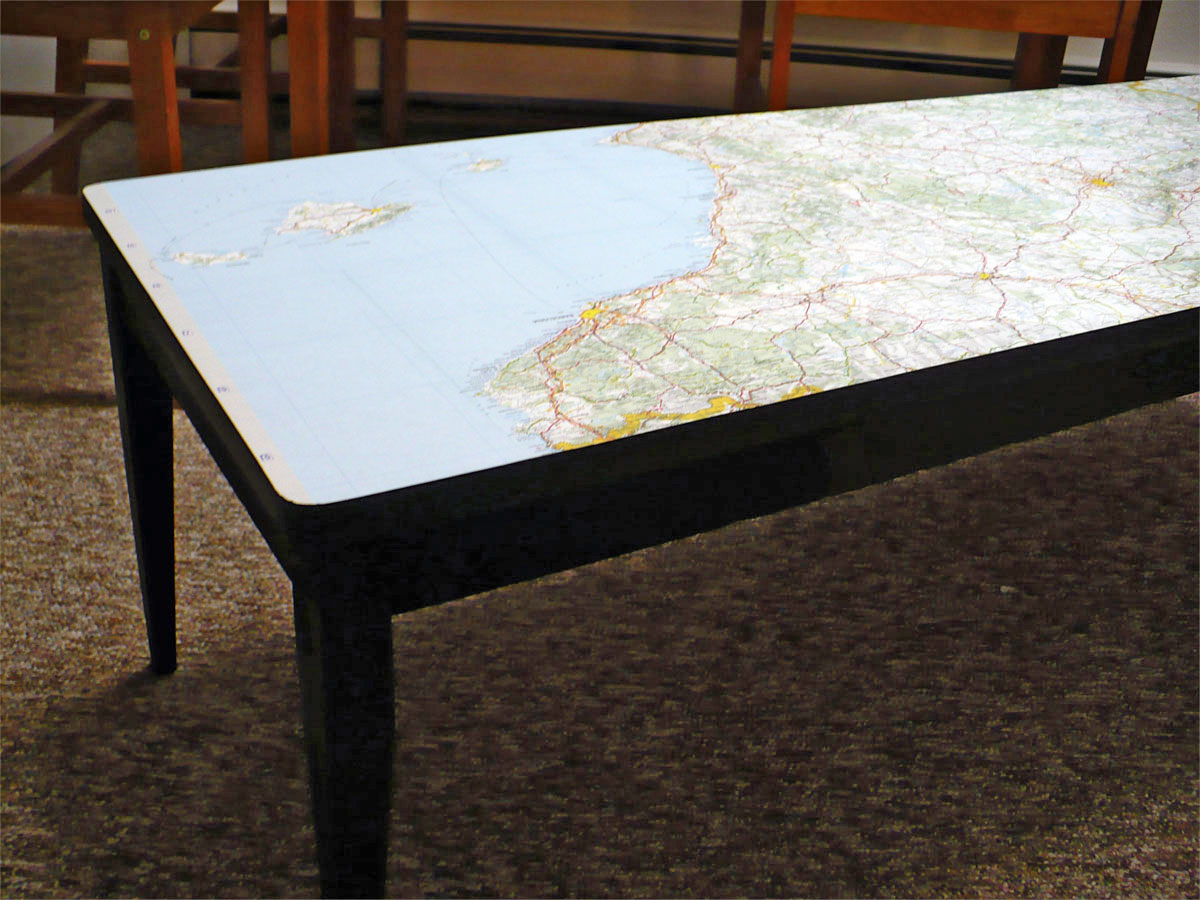
Your table will sport a wonderful glossy finish. If wrinkles appear when you’re putting on the finish, don’t worry; they should disappear as the table dries.

Conclusion

This project first appeared in CRAFT Volume 07, pages 115-117.