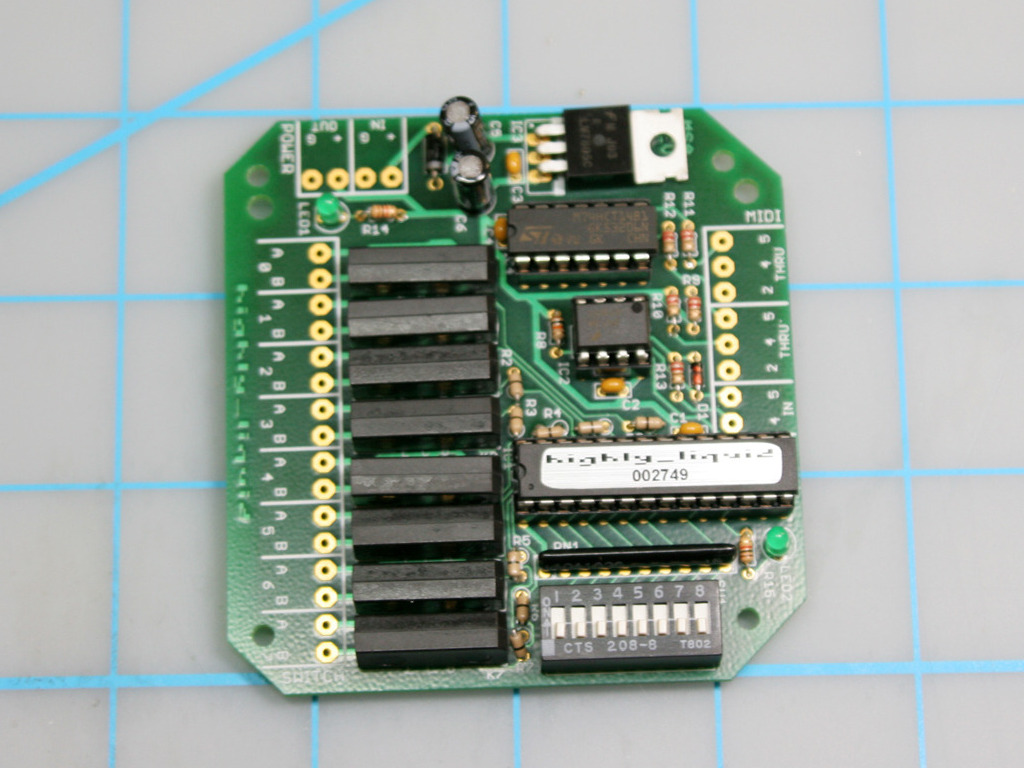
Digital drum machines can be easily programmed to play many different sounds and rhythms, but ultimately they sound a little canned. Why not make a machine that plays real drums? My Drumbot has the programmable flexibility and sequenced tight rhythm of a drum machine, while producing a more natural sound by striking actual drums (or boxes, or tabletops, or whatever). Building your own drum-playing robot is now affordable and easy, mostly due to advancements in programmable microcontrollers and the shared knowledge of user communities. There are a few kits out there that’ll do the job, but we’ll be using Highly Liquid’s MSA-R MIDI decoder kit. I enjoy this kit for its ease of assembly, low price, and solid operation.

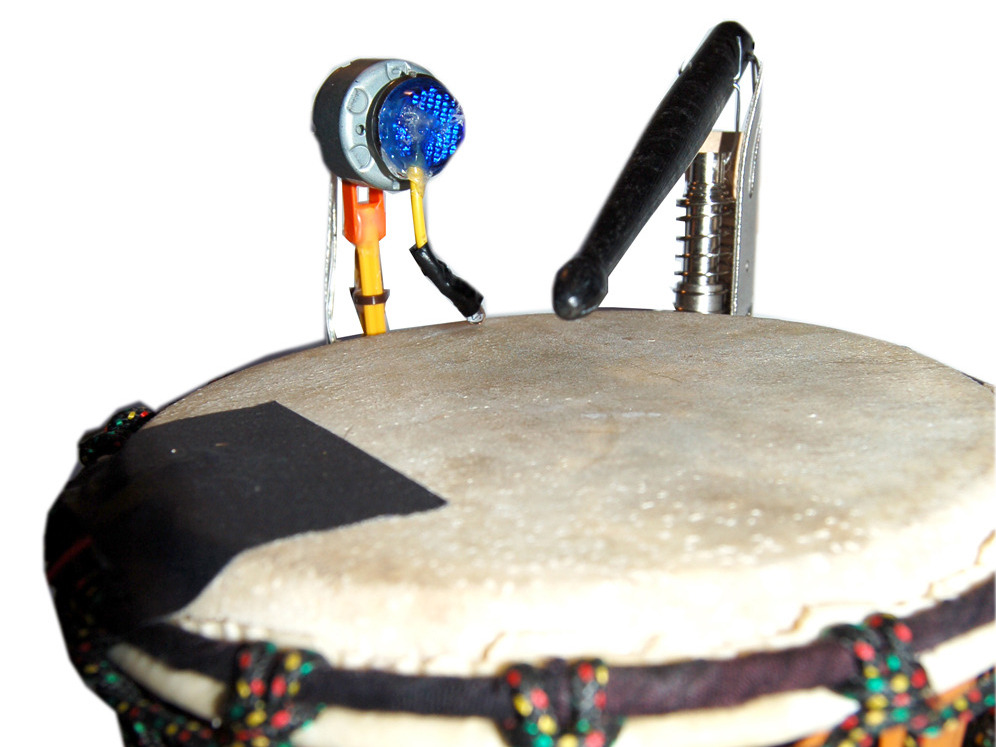
The decoder we’ll assemble will take incoming MIDI note data and translate it to control the opening and closing of 8 switches. Because the kit is preprogrammed and does all the heavy lifting, all we need to do is solder it together and attach a few switch-activated mechanical strikers to serve as our drummer’s hands.

Project Steps

Assemble the MIDI decoder kit.

As with any project requiring soldering, make sure you’ve got decent ventilation and goggles for eye protection. Take a look at all the kit components. Each part has a labeled place on the printed circuit board (PCB) where it’ll need to be soldered in. The many-legged integrated circuits (ICs) will fit into sockets that get soldered in place, so you won’t have to worry about applying too much heat to them.

Tip: It’s always a good idea to expose your components to as little heat as possible — if you’re having trouble with one, take a breather and come back to it later.

One more basic soldering rule: Touch your iron to the joint, then apply a small amount of solder. If you do it right, the solder will flow into the cracks and make a very nice joint. Too much solder, or improperly applied solder, will cause all sorts of headaches down the road, so it’s best to do it right from the beginning.

At http://www.makezine.com/go/msaassembly you’ll find the assembly notes that’ll guide you through the part placement for the kit. Once each part is soldered in, trim the remaining leads to keep them from touching each other. It’ll take an average-skilled solderer about 1½ hours to assemble the kit.

Note: Some parts will only work if oriented properly, so make sure they’re pointing the right way before you solder them in.

Attach power supply and your MIDI device.

Once the pieces are in place, attach your battery or power supply. The LEDs will light up and the power LED will remain lit. If it doesn’t seem to power up, check all your solder joints and fix any that are loose or have bridged together.

Next, attach a MIDI cable to connect your MIDI-generating device to the kit. Set your device to send a continuous stream of MIDI notes, then take a look at the MSA-R firmware documentation (PDF at http://www.makezine.com/go/msafirmware) and set the DIP switch so that it’s “looking for” the range of notes your MIDI device is sending.

The MSA-R kit will only “see” a range of 8 consecutive MIDI notes, so you’ll have to make sure communications between the kit and your device are happening in the same note range. Once you get the 2 devices set to the same note range, you should be able to see the LED nearest the kit’s MIDI jack blinking with every message sent. Neat!

Build the drum strikers.

Here’s where the fun begins. As the kit receives a MIDI note on/off signal, it opens and closes the 8 relay switches. All we have to do it attach ready-to-go electric motors or solenoids, and it’ll fire those off in sequence.

DC motors work well with this kit, but the real drumming action will come from solenoids. A solenoid can be thought of as a linear DC motor — rather than rotating a central shaft, solenoids use an electromagnetic field to propel the shaft outward. Most have a spring attached that reloads the shaft after each propulsion. They’re perfectly suited for tapping/striking actions.

A simple way to employ solenoids is to prop them up such that they tap on a hard surface. Cardboard, wood, and plastics all make different sounds when struck, and drumheads sound even better. However, if you want louder and more powerful strikes, you’ll want to construct a lever system that will use the solenoid’s motion to accelerate a drumstick.

I was able to construct a few different levered strikers from some spare dowels and K’nex parts I had lying around. Paper clips and hot glue have held it all together pretty well, and I used some pipe strapping to attach it to the drum; you could also use duct tape or zip ties. I also have a few solenoids striking the drumhead directly, for accent notes and short rolls. This is your chance to be creative and come up with mechanisms that reveal the motion of the solenoid. Check out automata websites like http://www.dugnorth.com to find examples of simple linkages that will give a whimsical flair to your Drumbot.

A little wooden striker (cut from the end of a paintbrush) attached to a spring makes a satisfying clack on my frog-shaped woodblock. Attached to a DC motor, the striker spins once and whacks the frog on the nose with each MIDI note sent.

Program your Drumbot and watch it beat time.

Once you’ve got your mechanical strikers in place, take the controls of your MIDI sequencer and play around with different rhythms and beats. The devices won’t ever get tired, and you’ll find they can accurately tap out rhythms upward of 200 beats per minute. (Now might be the time to start that speed metal band you’ve been procrastinating about.)

I use my Drumbot to replace the drum machine in my live shows and the audience loves it — the sound and the sight of a robot drummer are vastly superior to a lil’ grey box blinking in the corner.

The possibilities from here are endless. With 8 switches, you can control 8 low-voltage DC devices rhythmically in all sorts of configurations. Circuit-bent devices, kinetic toys, and things that light up can all be linked and sequenced into a sound-and-light show that’ll impress onlookers with your ingenuity and resourcefulness. And it’s fun!

Conclusion

This project originally appeared in MAKE Magazine Volume 15.

Related Posts on Make: Online:

Plywood Drumbot Jams with Humans

http://blog.makezine.com/archive/2010/07...

The Drumbot of Our Dreams

http://blog.makezine.com/archive/2010/03...