DSC_0027

M52_Cover_LoRez
Read articles from the magazine right here on Make:. Don’t have a subscription yet? Get one today. On the cover: NASA’s JPL is using VR tech to create the next Mars rover. Illustration by Viktor Koen.

The PiKon telescope is a DIY astro-camera you can easily build at home, based on two disruptive technologies: 3D printing and Raspberry Pi cameras. Andy Kirby and I started it as a project for Sheffield University’s “Festival of the Mind” in September 2014 (with much duct tape and over-engineering!). We wanted to show how these technologies could put a homemade reflector telescope within the reach of anyone. The response was fantastic, with national press coverage in the U.K., and a successful Indiegogo campaign partnering with Darren Barker and WeDo3DPrinting in Sheffield.

We’re now offering everything from 3D files to a complete kit with 3D-printed components and optics. We even offer fully built PiKons for those who just want to create Raspberry Pi programs for astronomy. But we’re sharing our design and 3D files freely because we hope to establish a community where makers, astronomers, Pi programmers, and educators can share information, experiences, and of course, images.

How It Works

The PiKon telescope is based on the Newtonian reflecting telescope. This 350-year-old design uses a concave mirror (objective) to form an image, which is examined using an eyepiece. The objective mirror is mounted in a tube and a secondary mirror is placed in the optical path at a 45° angle to allow the image to be viewed from the side of the tube.

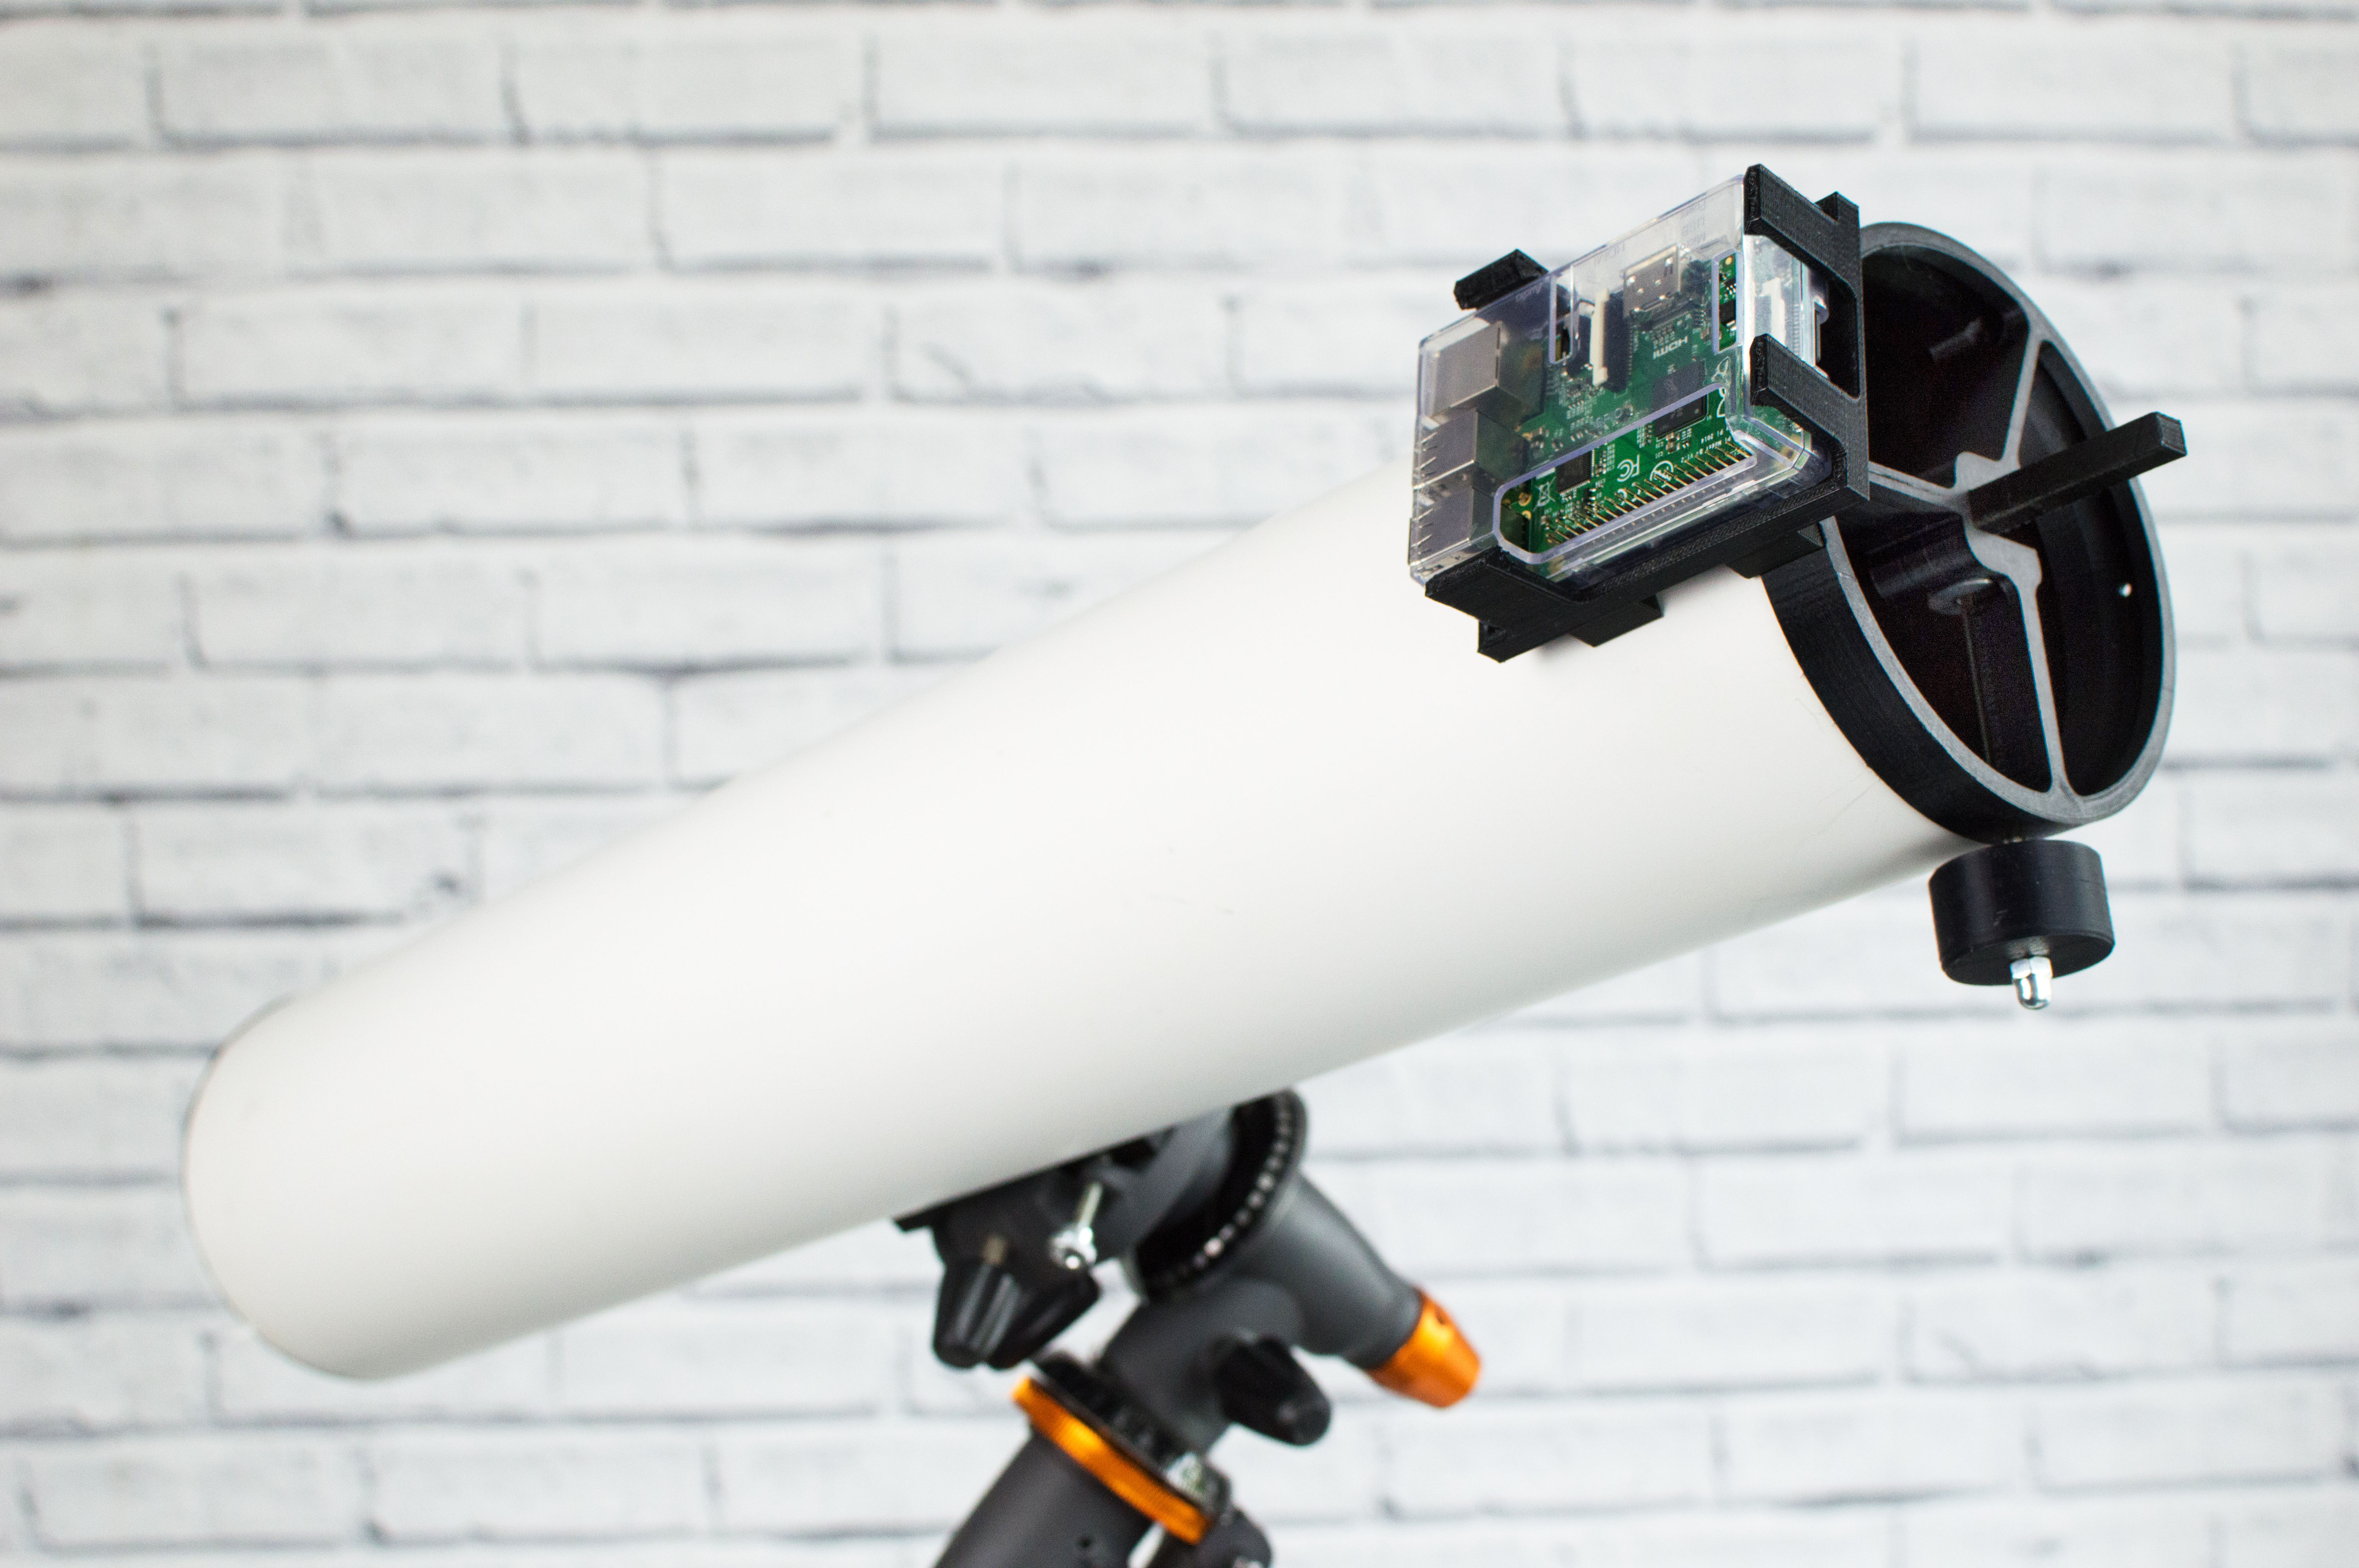
The PiKon telescope is similar, but the image formed by the objective is focused onto a digital camera sensor instead. Because of the small size of the Pi camera board (25mm × 25mm), we can mount it directly in the optical path at prime focus. The amount of light lost by doing this is similar to the losses caused by mounting the 45° mirror in a conventional Newtonian design.

visualtelescope2 visualtelescope3

Project Steps

BUILDING YOUR OWN PIKON

The PiKon telescope consists of two main assemblies based on 3D-printed parts. At the bottom of the scope, the mirror assembly holds a standard 4½” diameter spherical mirror.

DSC_0048

At the top of the scope, the spider assembly supports the Pi camera and lets you move it back and forth along the telescope axis to focus the image, using a rack and pinion setup. The camera sensor is exposed by unscrewing the lens on the Pi camera.

DSC_0036

The two assemblies are mounted into a simple telescope tube made of 6″ plastic pipe. In the U.K. we use ventilation duct; in the U.S., Scott Miller of San Francisco Amateur Astronomers worked with Make: to modify the 3D parts to fit standard PVC pipe.

Finally, we 3D printed an astronomical dovetail wedge mount that’s also fitted with a standard ¼-20 (¼” Whitworth) thread, so you can mount the telescope on either astro or photo tripods.

Images captured by the Pi camera can be viewed on a monitor plugged into the Raspberry Pi, then transferred to PC or Mac from the Pi’s microSD card or uploaded from the Pi straight to Dropbox (or similar) using an internet connection. (We’re excited to try it with the new Raspberry Pi 3’s built-in Wi-Fi!)

IMG_0041
These moon photos were taken by Brett Porter with his PiKon telescope.

IMG_0036

MIRRORS AND MAGNIFICATION

The PiKon telescope has a magnification factor of about 120X (based on the 600mm focal length and 3.6mm×2.4mm camera sensor) and a field of view of about ¼ degree. The moon subtends ½ degree at your eyeball, so the PiKon can see about half the moon at a time.

Spherical or parabolic mirrors can be used. Different focal lengths may also be used; just cut the telescope tube to length accordingly. To determine the focal length of a third-party mirror, simply image a distant object onto a piece of paper and measure the distance between mirror and paper. The PiKon is designed with a long travel on the focusing rack so it’s forgiving of small inaccuracies in measurement.

ASSEMBLY

UK builders can proceed directly to the PiKon assembly instructions online at PiKon’s Dropbox. These include a complete illustrated materials list, step-by-step photos, and tips for printing your own parts.  This page also includes the latest STL files for you to download for 3D printing.

US builders should first download the 3D files that Scott Miller is using with US-standard 5″ PVC pipe. Then proceed to the PiKon Assembly Instructions online at PiKon’s Dropbox.

Builders in any country should inspect all of these 3D files, and adjust their dimensions if necessary to fit standard pipe or duct that’s found in their area, different Pi enclosures, etc.

Here’s what Scott Miller had to say about his revised files in the US:

“I could not find lightweight 5 inch duct, so I used heavier 5 inch PVC pipe that had approximately the same inside diameter. I printed all of the UK files using black PLA and mounted them on the 5 inch PVC. (Except for the UK tripod mount because my scope was too heavy.)

“To improve aesthetics, I created three new parts printed with blue PLA:
• Tubular adapter to fit over the front of the scope and covering the UK spider (Pipe Adapter.STL)
• Round plate to attach to the back of the UK mirror base (Mirror Adapter.STL)
• Tubular adapter to fit over back of the scope  (Mirror Extension.STL)
I used the maximum length M8 bolts I could to attach the UK mirror mount to the UK mirror base and my mirror adapter, by trimming long M8 bolts to fit with a hacksaw.

“The UK Raspberry Pi Mount was too small for my Pi case, so I scaled it up a bit for a better fit.  (RaspPi Mount-scaled.STL)    I also printed and used two instead of just one of the UK Pi brackets that hold the Pi Mount to the telescope tube.

“I printed a more-weather-resistant Raspberry Pi case with red PLA by altering an OpenSCAD design I found on Thingiverse.  (raspi3-camera-top.STL and raspi3-camera-bottom.STL)

“Finally, to reduce the camera mount wobble/loose fit in the spider, I scaled up the width of the camera mount shaft and added a slight bezel to the shaft to provide more clearance with the cog I was using.  (camera mount-bezel.STL). “

TOUCHSCREEN CONTROL

touchscreen

Brett Porter built the PiKon kit and wanted to make his telescope portable for field trips, so he baked his own touchscreen controller with a 2.8″ TFT display, 4 programmable buttons, and a 5200mAh lithium-ion battery that also powers the Pi and camera. It’s mounted right on the side of the scope. You’re looking at Brett’s moon photos above.

WIRELESS IPAD CONTROL

Scott Miller's PiKon telescope is controlled by his iPad.
Scott Miller’s PiKon telescope is controlled by his iPad.

If you’d rather take the control the telescope wirelessly, why not use a tablet? Scott Miller writes: “I’m using my iPad to control the PiKon via an ad-hoc network and the RPI-Cam-Web-Interface app instead of a hardwire connection to a PC.  The app allows you to take videos as well as images, and has a preview/download feature built in.”

Here’s the ad-hoc network setup.

Here’s the RPI-Cam-Web-Interface app.

Here are Scott’s “first light” moon photos:

These moon photos were taken by Scott Miller with his PiKon telescope.

test3test4

GOING FURTHER

One member of Newcastle Maker Space even mounted an accelerometer on the telescope to synchronize with a star map — we’re excited to hear more about that idea.

Build one and share your ideas with the community!