

I work at home and I spend a lot of time on the phone talking to clients and vendors. My employer uses Google Apps (which includes Google Calendar and Gmail) and the appointment notification capabilities of both are not very robust. Well, they’re robust, but not enough to get me to actually show up for calls on time. What I find is that I often miss the notification when I’m busy doing something else or I notice the notification, but quickly forget about it just a few minutes later and ultimately miss some meetings or join late.
One day, after being 15 minutes late for a meeting, I decided I had to fix this problem. I needed a more effective way to alert myself of upcoming appointments. As I spend a lot of time on the phone, I didn’t want an audible alert, so I decided I’d do something visual. While browsing the Adafruit web site, I noticed the Pimoroni Unicorn HAT and that had me thinking of solution. The Unicorn HAT is an add-on board for the Raspberry Pi that consists of an 8×8 array (that’s 64 total if you’re counting) of bright RGB LEDs. What if I wrote a Raspberry Pi application that connected to Google Calendar and checked my calendar for my next appointment then flashed those 64 LEDs to let me know? As long as I was conscious, and in the room, I’d likely see them and decrease my chances of missing an appointment.
Well, that’s what I did and I’ll show you how to do it too.

I ordered a Unicorn HAT then grabbed a Pi that I had lying around and started writing code. The app for this project is written in Python, and is my first ever code written in that language; you can find the code here. The code will check the calendar every minute for appointments that start within the next 10 minutes. If there’s an appointment starting between 10 and 5 minutes from now, the lights will all flash white for a second or so. Between 5 and 2 minutes, the lights will all flash yellow twice. At less than two minutes until the appointment start, the lights will swirl in a multi-color splash. I’ll describe how to do more interesting things with the lights at the end of the article.
The hardware for the project is pretty simple, all you need is a Pi, the Unicorn HAT, a power supply and a case for the Pi. You should be able to acquire the parts for less than $70US and assemble it all in just a few minutes.
For this project, I used the following components:
- Raspberry Pi
- Micro SD memory card (4 GB or higher) to hold Raspbian, the Raspberry Pi OS
- Pimoroni Unicorn HAT
- Raspberry Pi Power Supply.
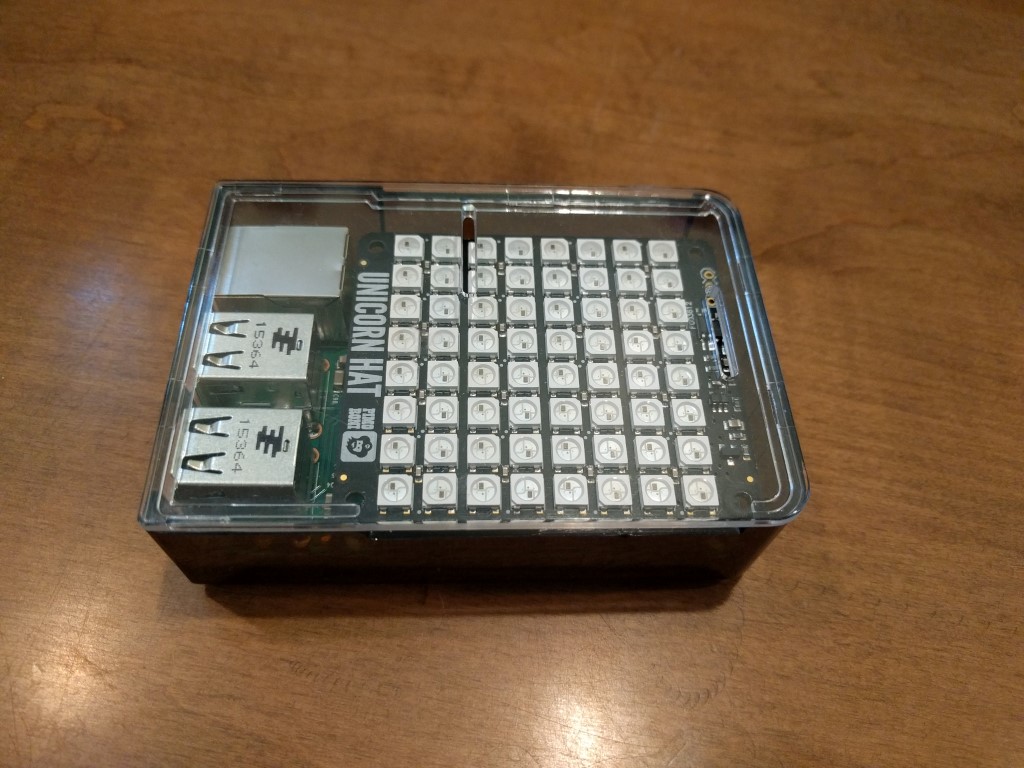
- Raspberry Pi case. Again, you can use whatever case you want, I selected the Adafruit Raspberry Pi B+ / Pi 2 / Pi 3 Case – Smoke Base – w/ Clear Top. I picked this one because it had a clear front, so the lights would show clearly even with the top on, and because it looked cool.


