rImg_6372

In this project, I am going to show you how to make an automatic camera rig for shooting a high-resolution panorama photo using a cheap point-and-shoot camera.

The camera rig is made from three metal frames and three servo motors. The servo motors control the pan, tilt, and shutter of the camera. The metal frames hold all the parts together and allow you to mount everything onto a camera tripod.

An Arduino is set up to automatically adjust the position of the camera and take pictures at set intervals. When the process is complete, you will have a grid of pictures that cover a wide area. These pictures are then stitched together to create a single high-resolution panoramic image.

YouTube player

Project Steps

Mark and cut the camera mounting plate

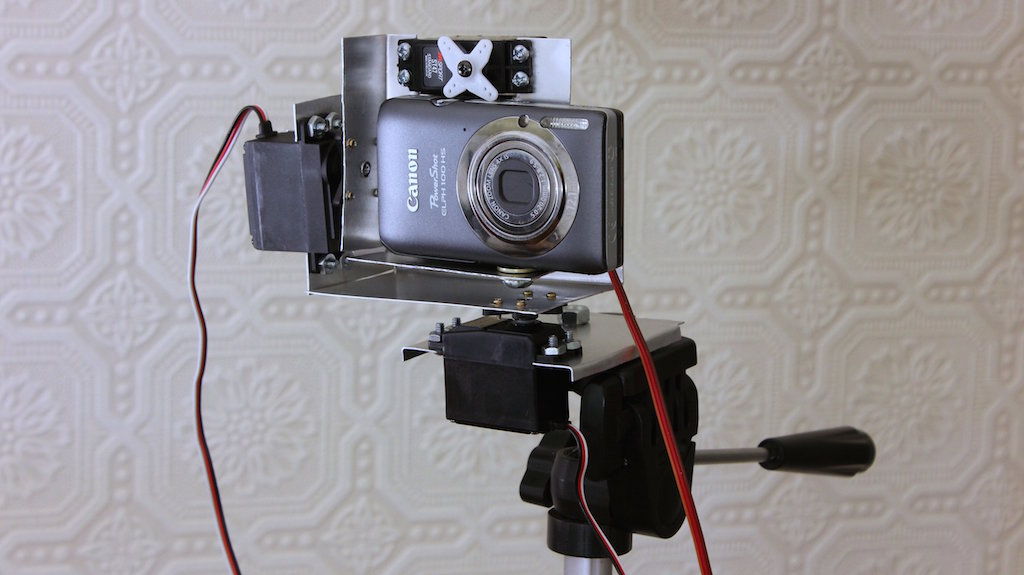
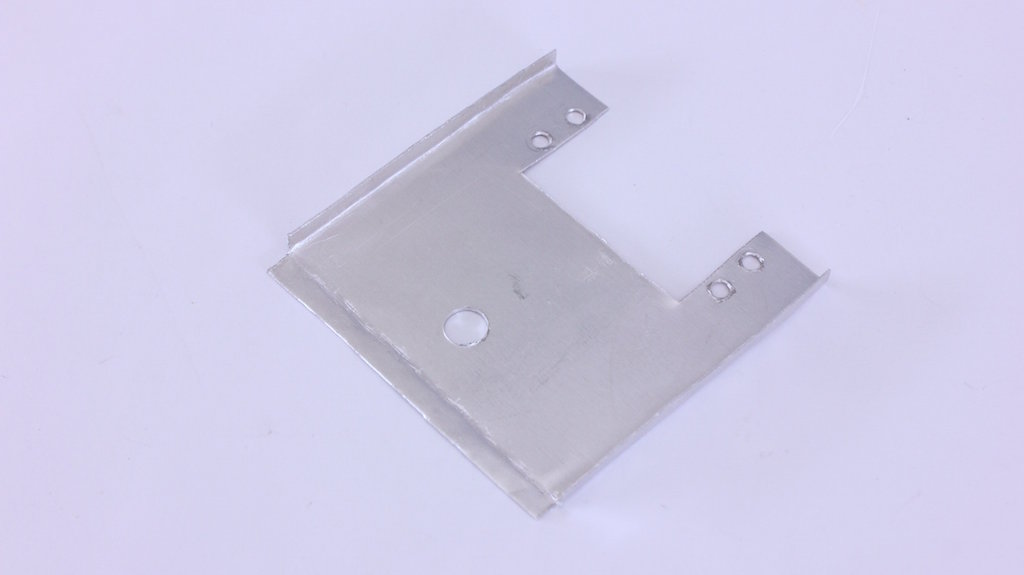
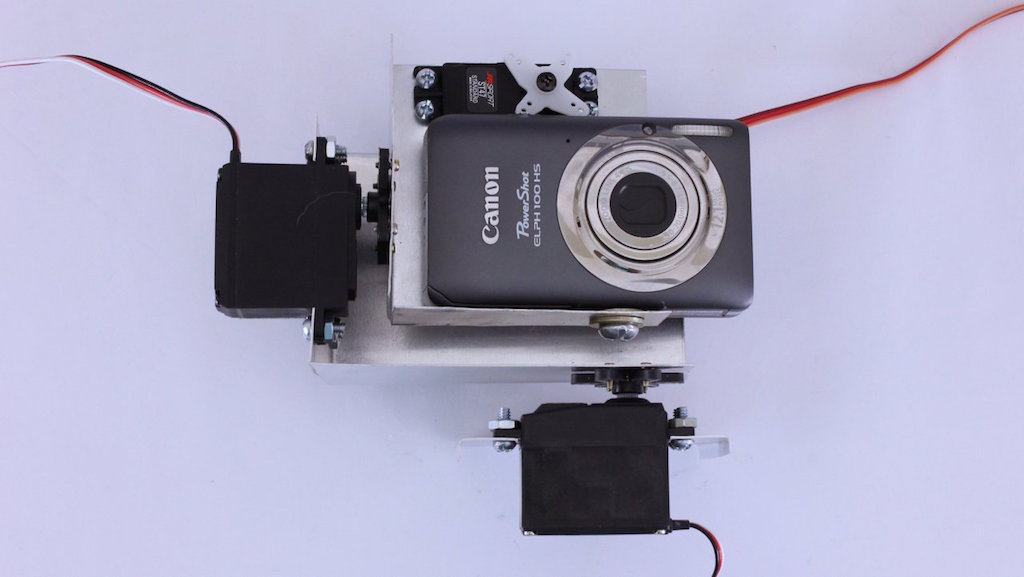
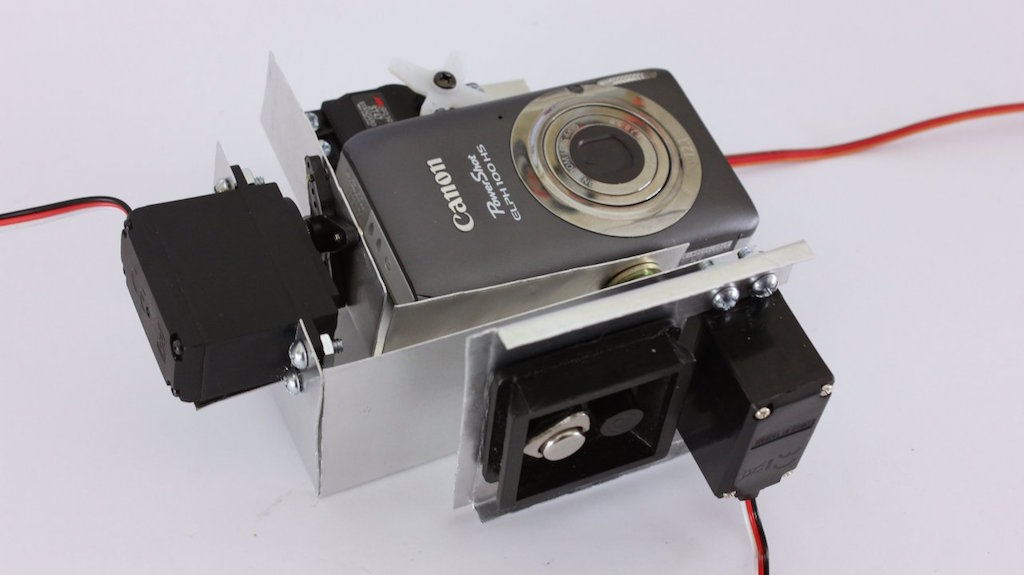
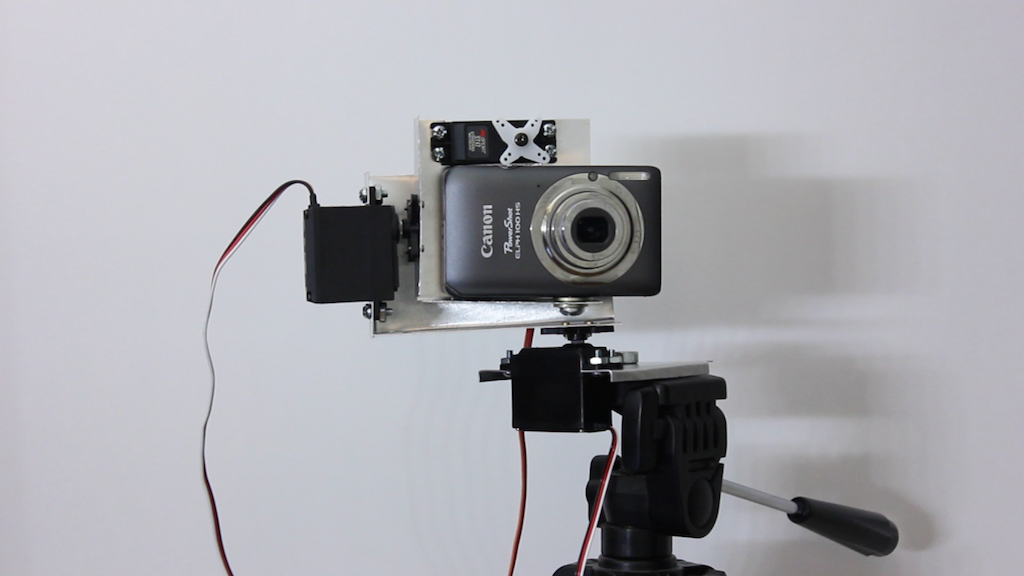
The first plate that you need to cut out is the camera mounting plate. This plate will be used to mount the camera and the shutter servo motor. It also attaches to the rotor of the tilt servo.

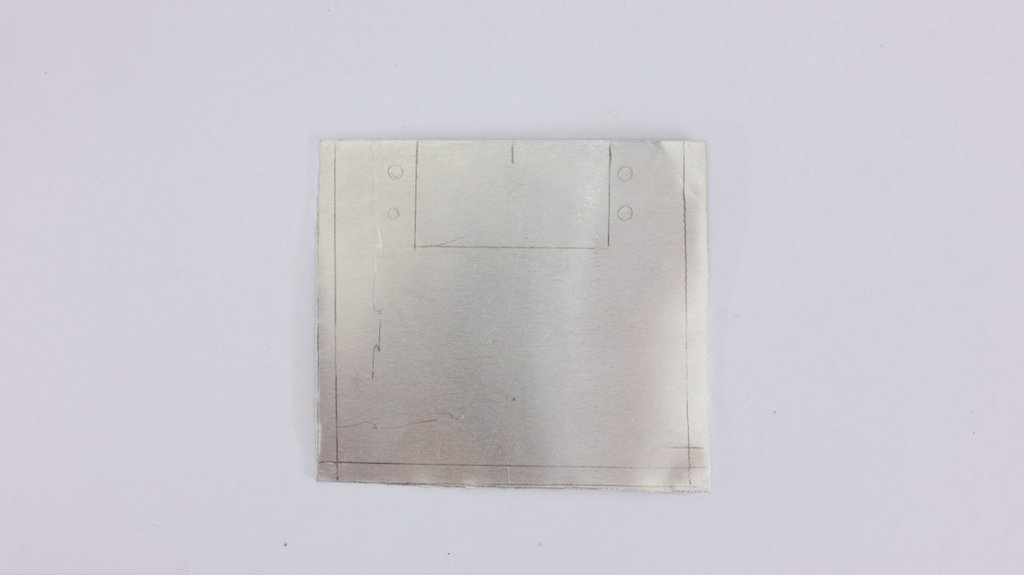
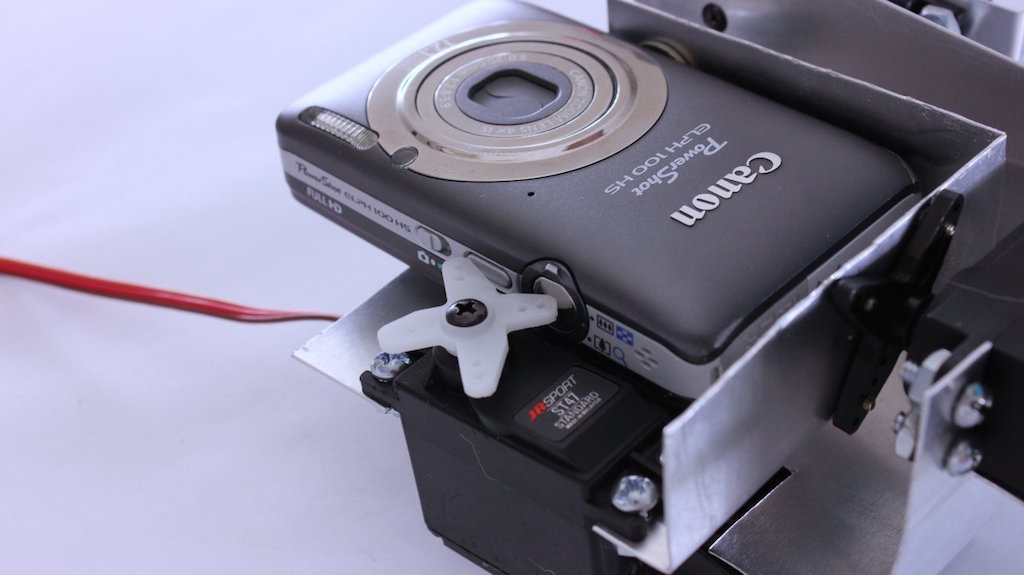
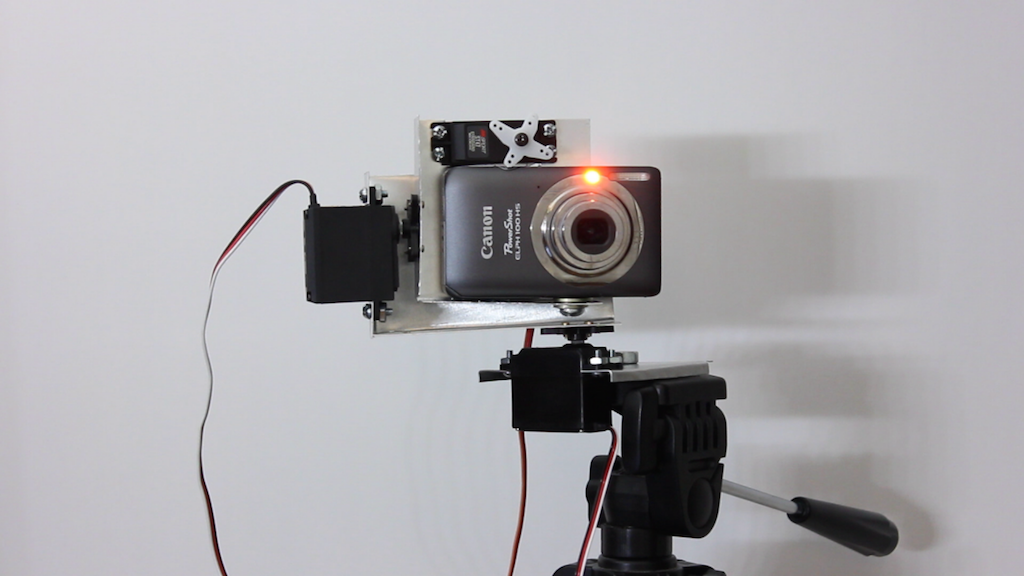
Start by positioning the camera where it will be mounted and mark the location where the mounting hole will be. Next figure out where the shutter servo needs to be so that it can activate the shutter button. I was fortunate in that my shutter button was right next to the power button, so I was able to use one servo to activate both the power button and the shutter button on my camera. Mark the locations of the mounting holes for the servo and the section of metal that needs to be cut to make room for the body of the servo. Also mark where the metal needs to be cut so that you can bend the bottom and left sides up. It may also help to mark the bend lines.

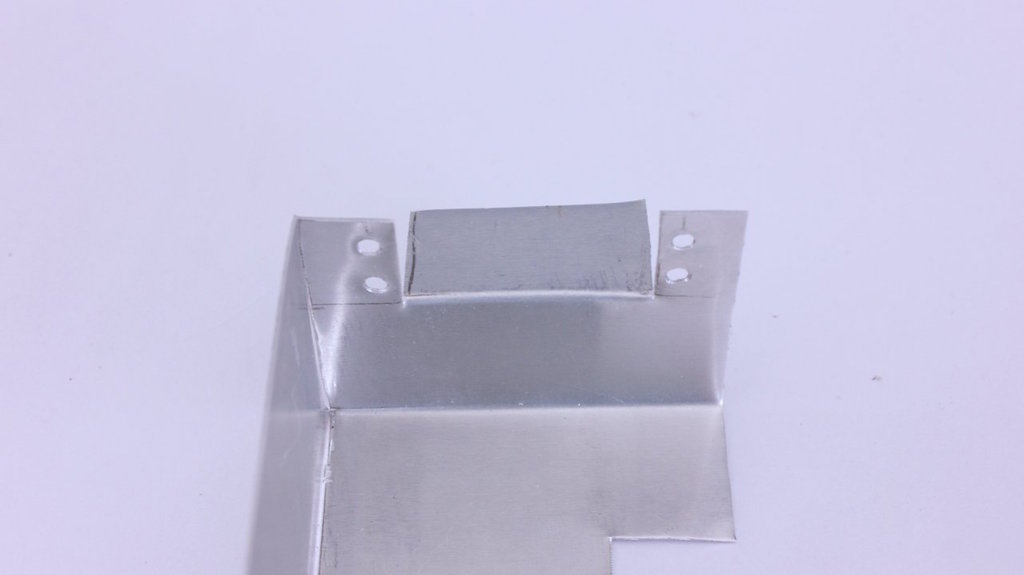
Using a small drill bit, drill a hole in each of the hole locations. When drilling sheet metal by hand, I prefer to start with small holes and gradually widen them by re-drilling the holes with larger and larger bits until the hole is the right size. If you have trouble getting the holes started, it can help to first dent the metal with a nail.

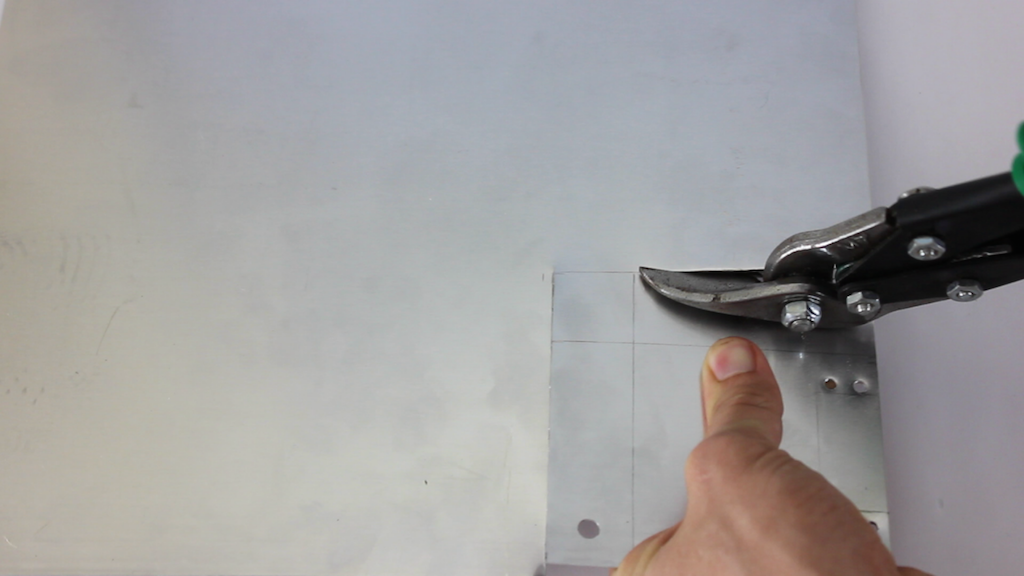
Using a pair of tin snips, cut out each section of metal that needs to be removed. The section cutout for the body of the shutter servo can either be bent over so that it is out of the way, or you can repeatedly bend the flap back and forth until it breaks off.

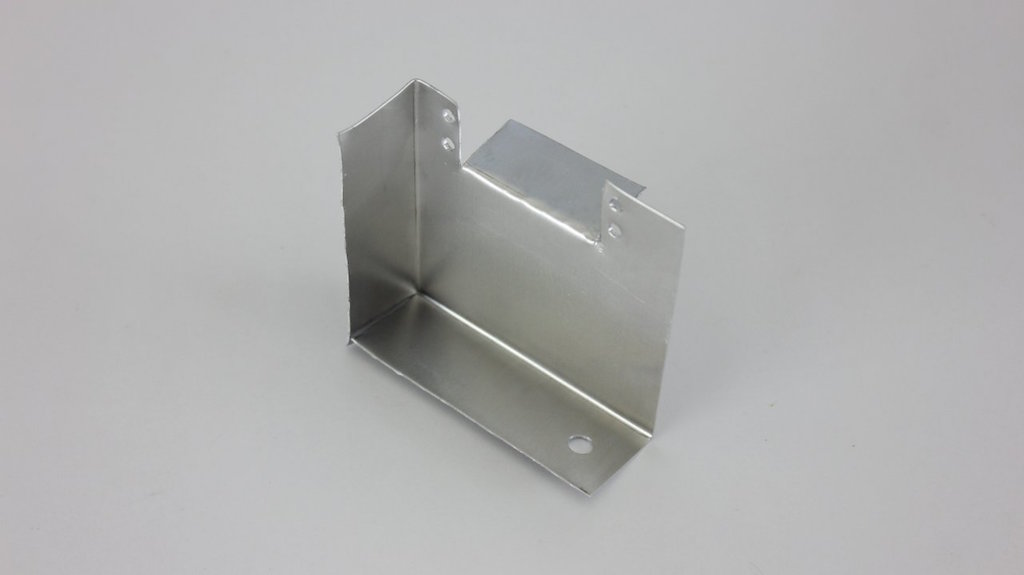
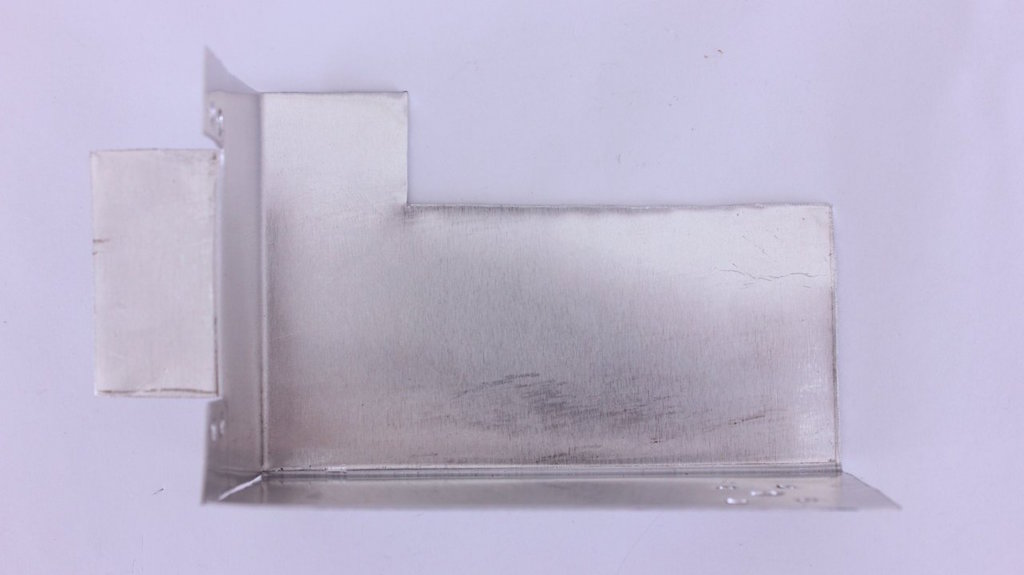
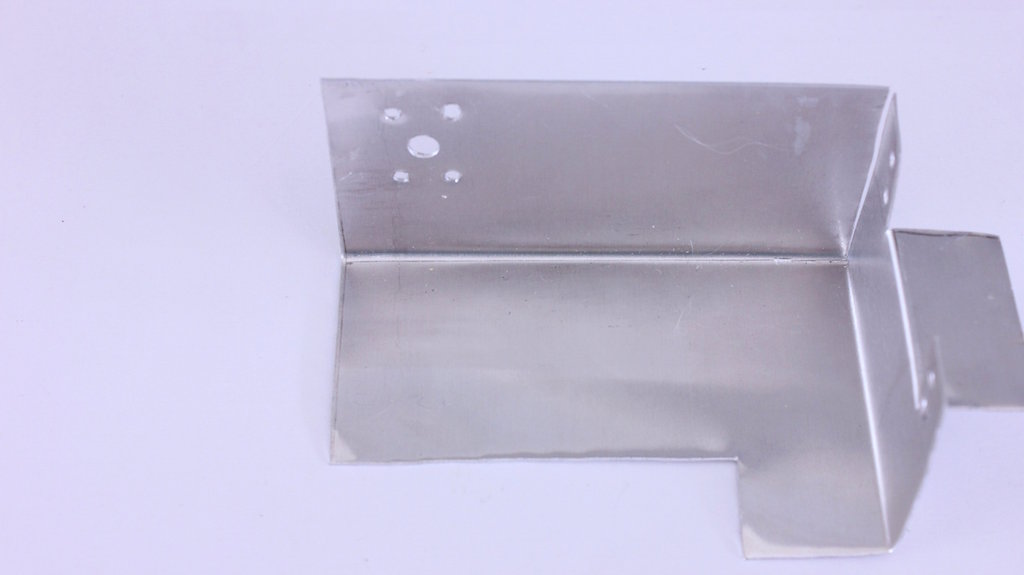
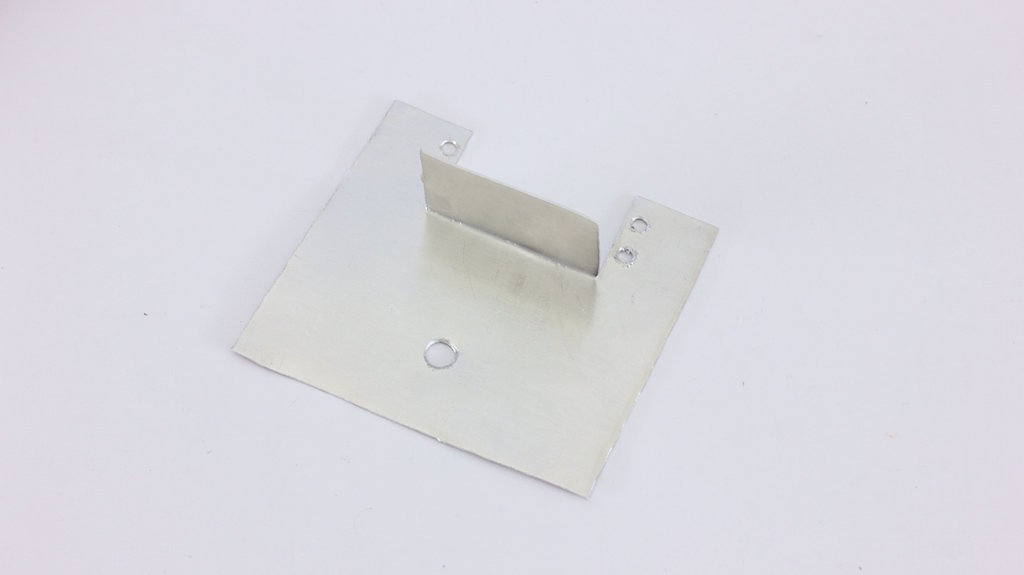
Finally, bend the bottom and left sides up to make the final shape of the bracket.

Mark and cut the middle mounting plate

Next we need to mark and cut the second mounting plate. The bottom of this plate connects to the rotor of the panning servo motor, and the left side of the plate will connect to the body of the tilt servo motor. The bottom and left sides of the plate will be folded up so that they are perpendicular to the back of the plate and to each other.

Again, start by drilling small holes in each hole location. Then re-drill each hole with gradually larger bits until it is the right size.

Use tin snips to cut out each section of metal that needs to be removed.

Bend the bottom section and the left section up. This is easiest to do with a bench vice. It may also help to brace the metal with pieces of wood as you bend it.

Mark and cut the base plate

Lastly we need to mark and cut the third mounting plate. This plate will be used to attach the rig to the screw of the tripod mounting plate. The body of the panning motor will also be mounting onto this plate. For simplicity, this will just be a flat plate with mounting holes on both sides.

First use a pencil to trace the outlines of each hole that will be drilled and sections of metal that will be cut. Drill all the holes as before. Then use tin snips to cut the metal along the designated lines.

To make this plate a little sturdier I bent the two sides down. This will help to keep it from bending under the weight of the camera.

Assemble the rig

Now you are ready to assemble all the parts of the rig.

Start with the base plate and attach the body of the panning servo motor with four small machine screws and nuts. Then use a set of four smaller machine screws to attach the middle mounting plate to the rotor of the panning motor. Then attach the body of the tilt servo motor to the side of the middle mounting plate. Next attach the camera mounting plate to the rotor of the tilt servo motor. Attach the body of the shutter servo motor to the camera mounting plate. The last thing to do is to attach the camera to the camera mounting plate with a 1/4-20 bolt and washers.

Once all the parts are loosely attached, carefully align everything and tighten the fasteners.

Connect the servo motors to your microcontroller

I used an Arduino Microcontroller to control the servo motors on my camera rig. To hook up the servo to the Arduino, you want to connect the red wire to the 5V pin and the black wire (in most cases) to the GND pin on the Arduino. The third wire is the signal wire and is connected to a digital pin. The colors may vary depending on model. You need to make these connections with each servo motor. The easiest way to connect multiple servos to an Aruduino is with a servo motor shield. I built one of these in a previous project. You can see how to make one here.

In most cases, you will need to include an external battery pack that is connected to the Vin pin on the board.

Mount the rig onto your tripod and test it

To mount the camera rig onto a tripod just attach the bottom plate to the camera mounting screw on the tripod. Then, secure it in place with a 1/4-20 nut. Now you are ready to test the system.

Connect the battery pack and the system should automatically begin to execute the program. The rig should move to the starting position. Then it will take a picture and turn slightly to the side. Once the camera has completed a full horizontal pan, the tilt servo will raise the camera slightly and the system will again take pictures panning across the area.

Use your camera rig to photograph a large area

Now at last it is time to try out your automatic panoramic camera rig. I took my camera rig down to the horticultural gardens at my local university. As a quick test I set my camera to take 1280×720 pictures. I zoomed in my camera as much as I could. Then I set the rig to take pictures across most of the garden. It took about 40 close up pictures of the area.

Stitch the pictures together into a panorama

The last step is to stitch the individual pictures together to make a large panorama. There are a lot of programs that you can use to do this. I used Adobe Photoshop Elements 13. Using this program, you go to the “Enhance” menu, select “Photomerge”, and then choose “Panorama.” Select the pictures to stitch together, and the program will then automatically merge the individual pictures together into a large panoramic image.

Keep in mind that this process may take a long time and will require a lot of RAM. Here are a few tips that might help if have problems getting this process to work:

  1. The smaller the individual images are the easier it is to combine them.
  2. If you arrange the individual images in sequential order, the process will run faster.
  3. If your computer is unable to stitch all the images together at one time, you can stitch together smaller groups of pictures at a time. Then stitch these intermediate images together.

When I was done stitching the individual images together, I have a large 33 Megapixel panoramic image. This is over 30 times higher resolution than the original pictures.