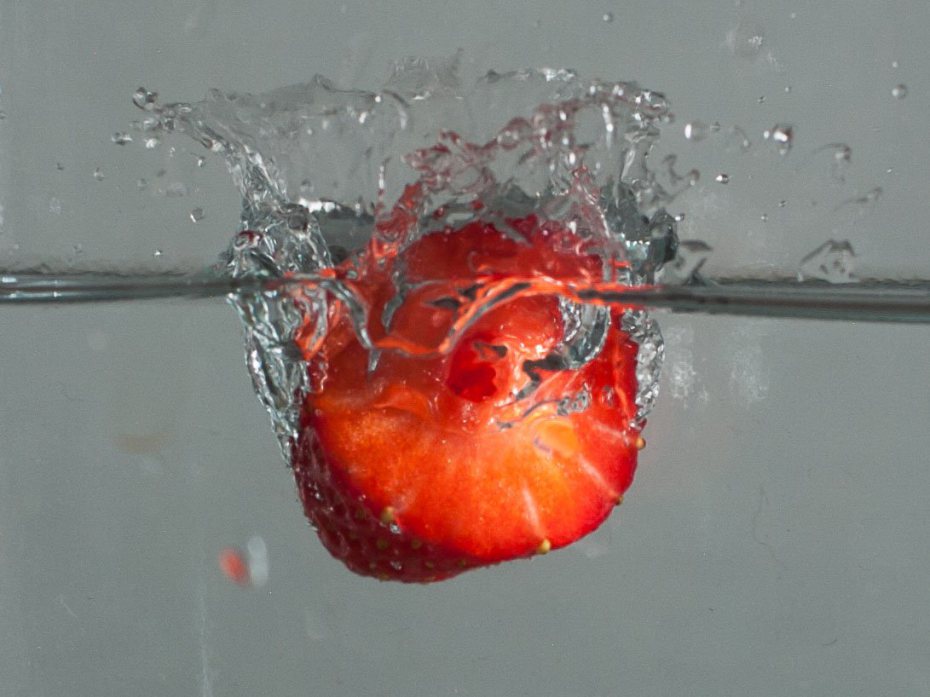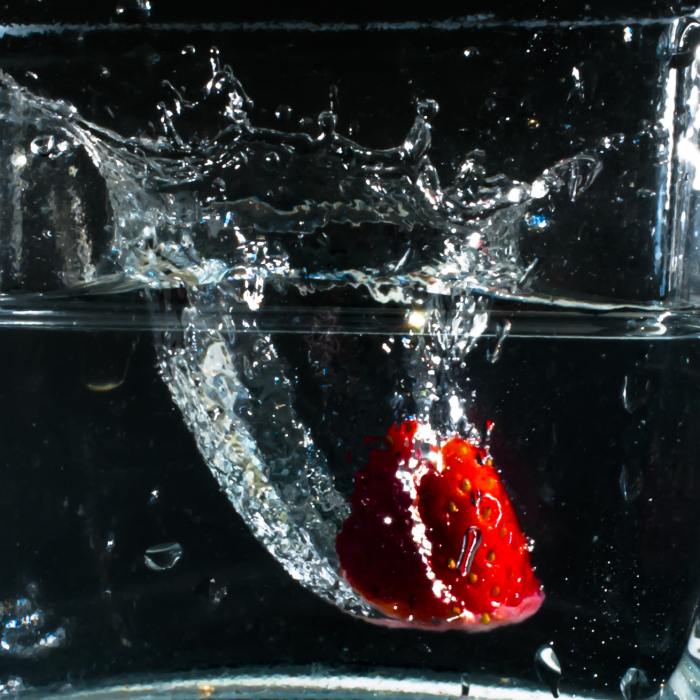
Photos of items dropping into water (or other liquids) always have the potential to fascinate — the dramatic splashdown, the explosion of flying droplets frozen in time. They’re also increasingly seen in commercial images — look in your local supermarket and there’s a high probability you’ll find an image of a strawberry, chili pepper, or banana hitting the water, captured by a high-speed flash.

In this project we’ll show you how to take perfect splash photos, the easy way—by precisely timing the dropping of the object and the triggering of the flash, using an Arduino microcontroller board.
Getting the Moment Right
There are three elements in getting high-speed splash pictures right:
- Using a flash to “freeze the action” Modern electronic flashes emit light for only a very small fraction of a second (less than 1 millisecond). If the room is otherwise dark, this will freeze the action.
- Planning the shot What happens, where’s the camera, how does the lighting work, in detail?
- Getting the moment right This is the real trick. Before building this project, we relied on trial and error, somewhat along the lines of:
a. Drop object
b. Do a mental count of how long it’ll take for the object to hit the surface
c. Manually release the flash
d. Pray for a “hit”
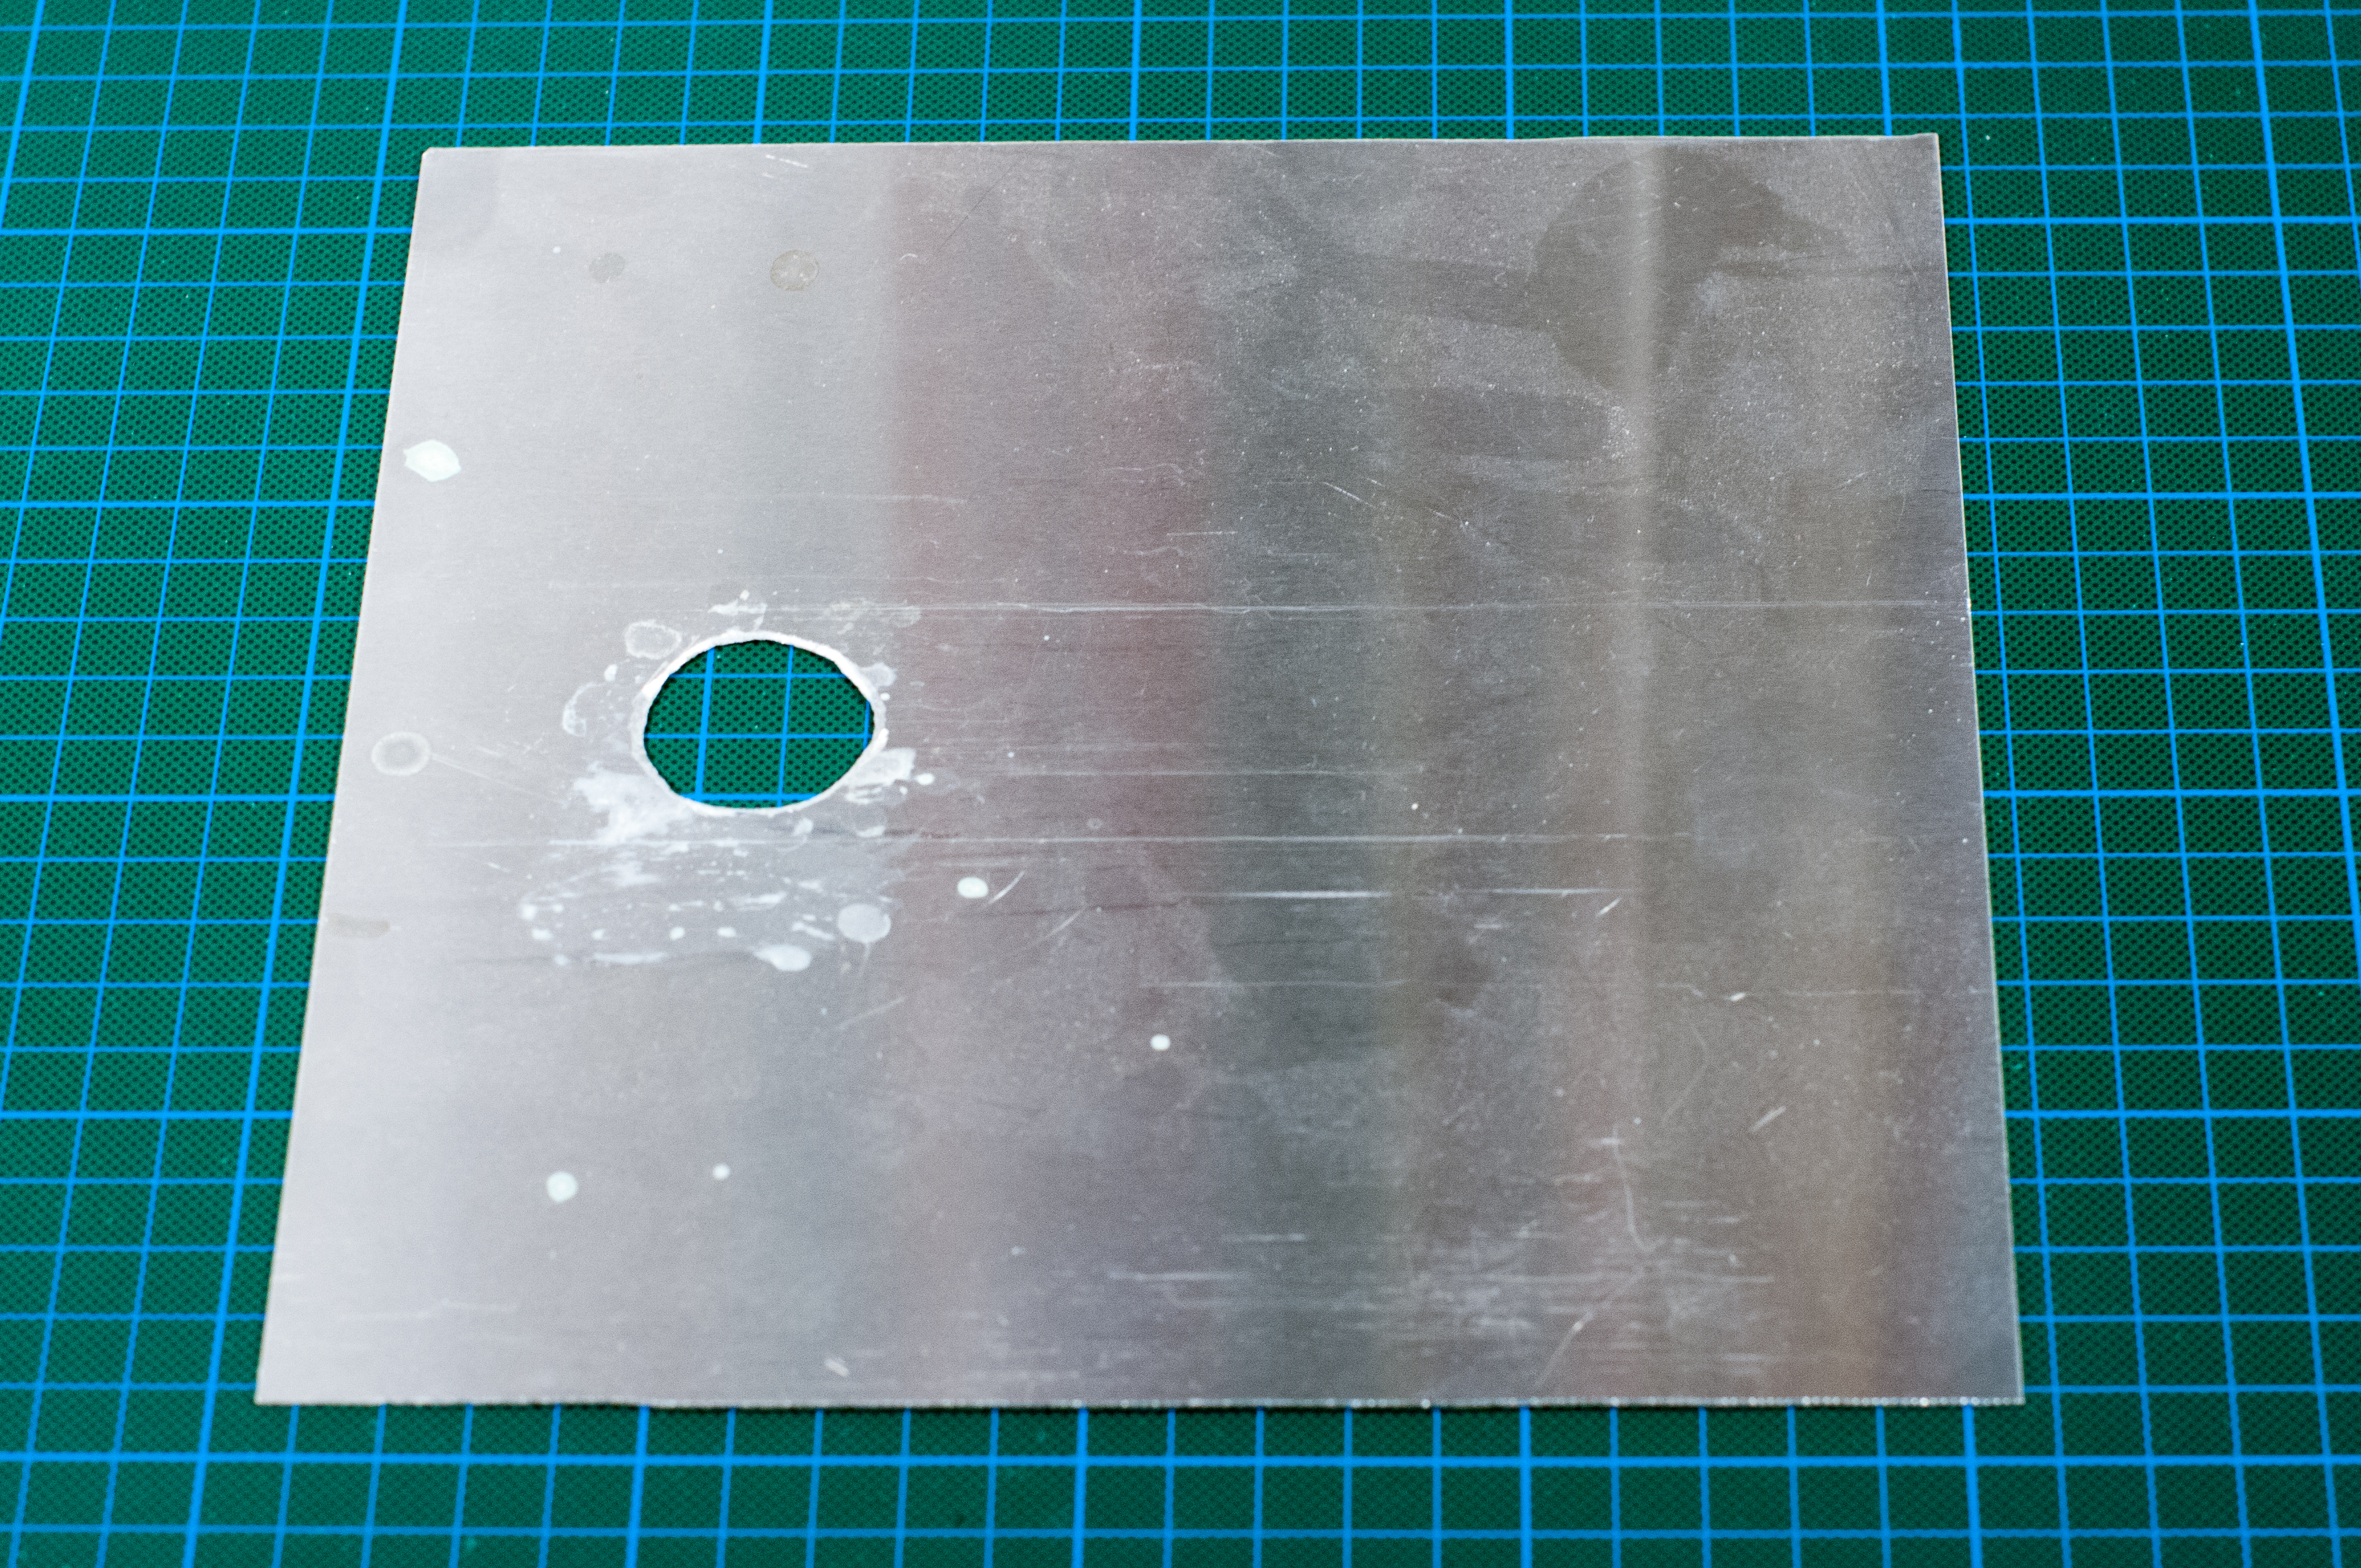
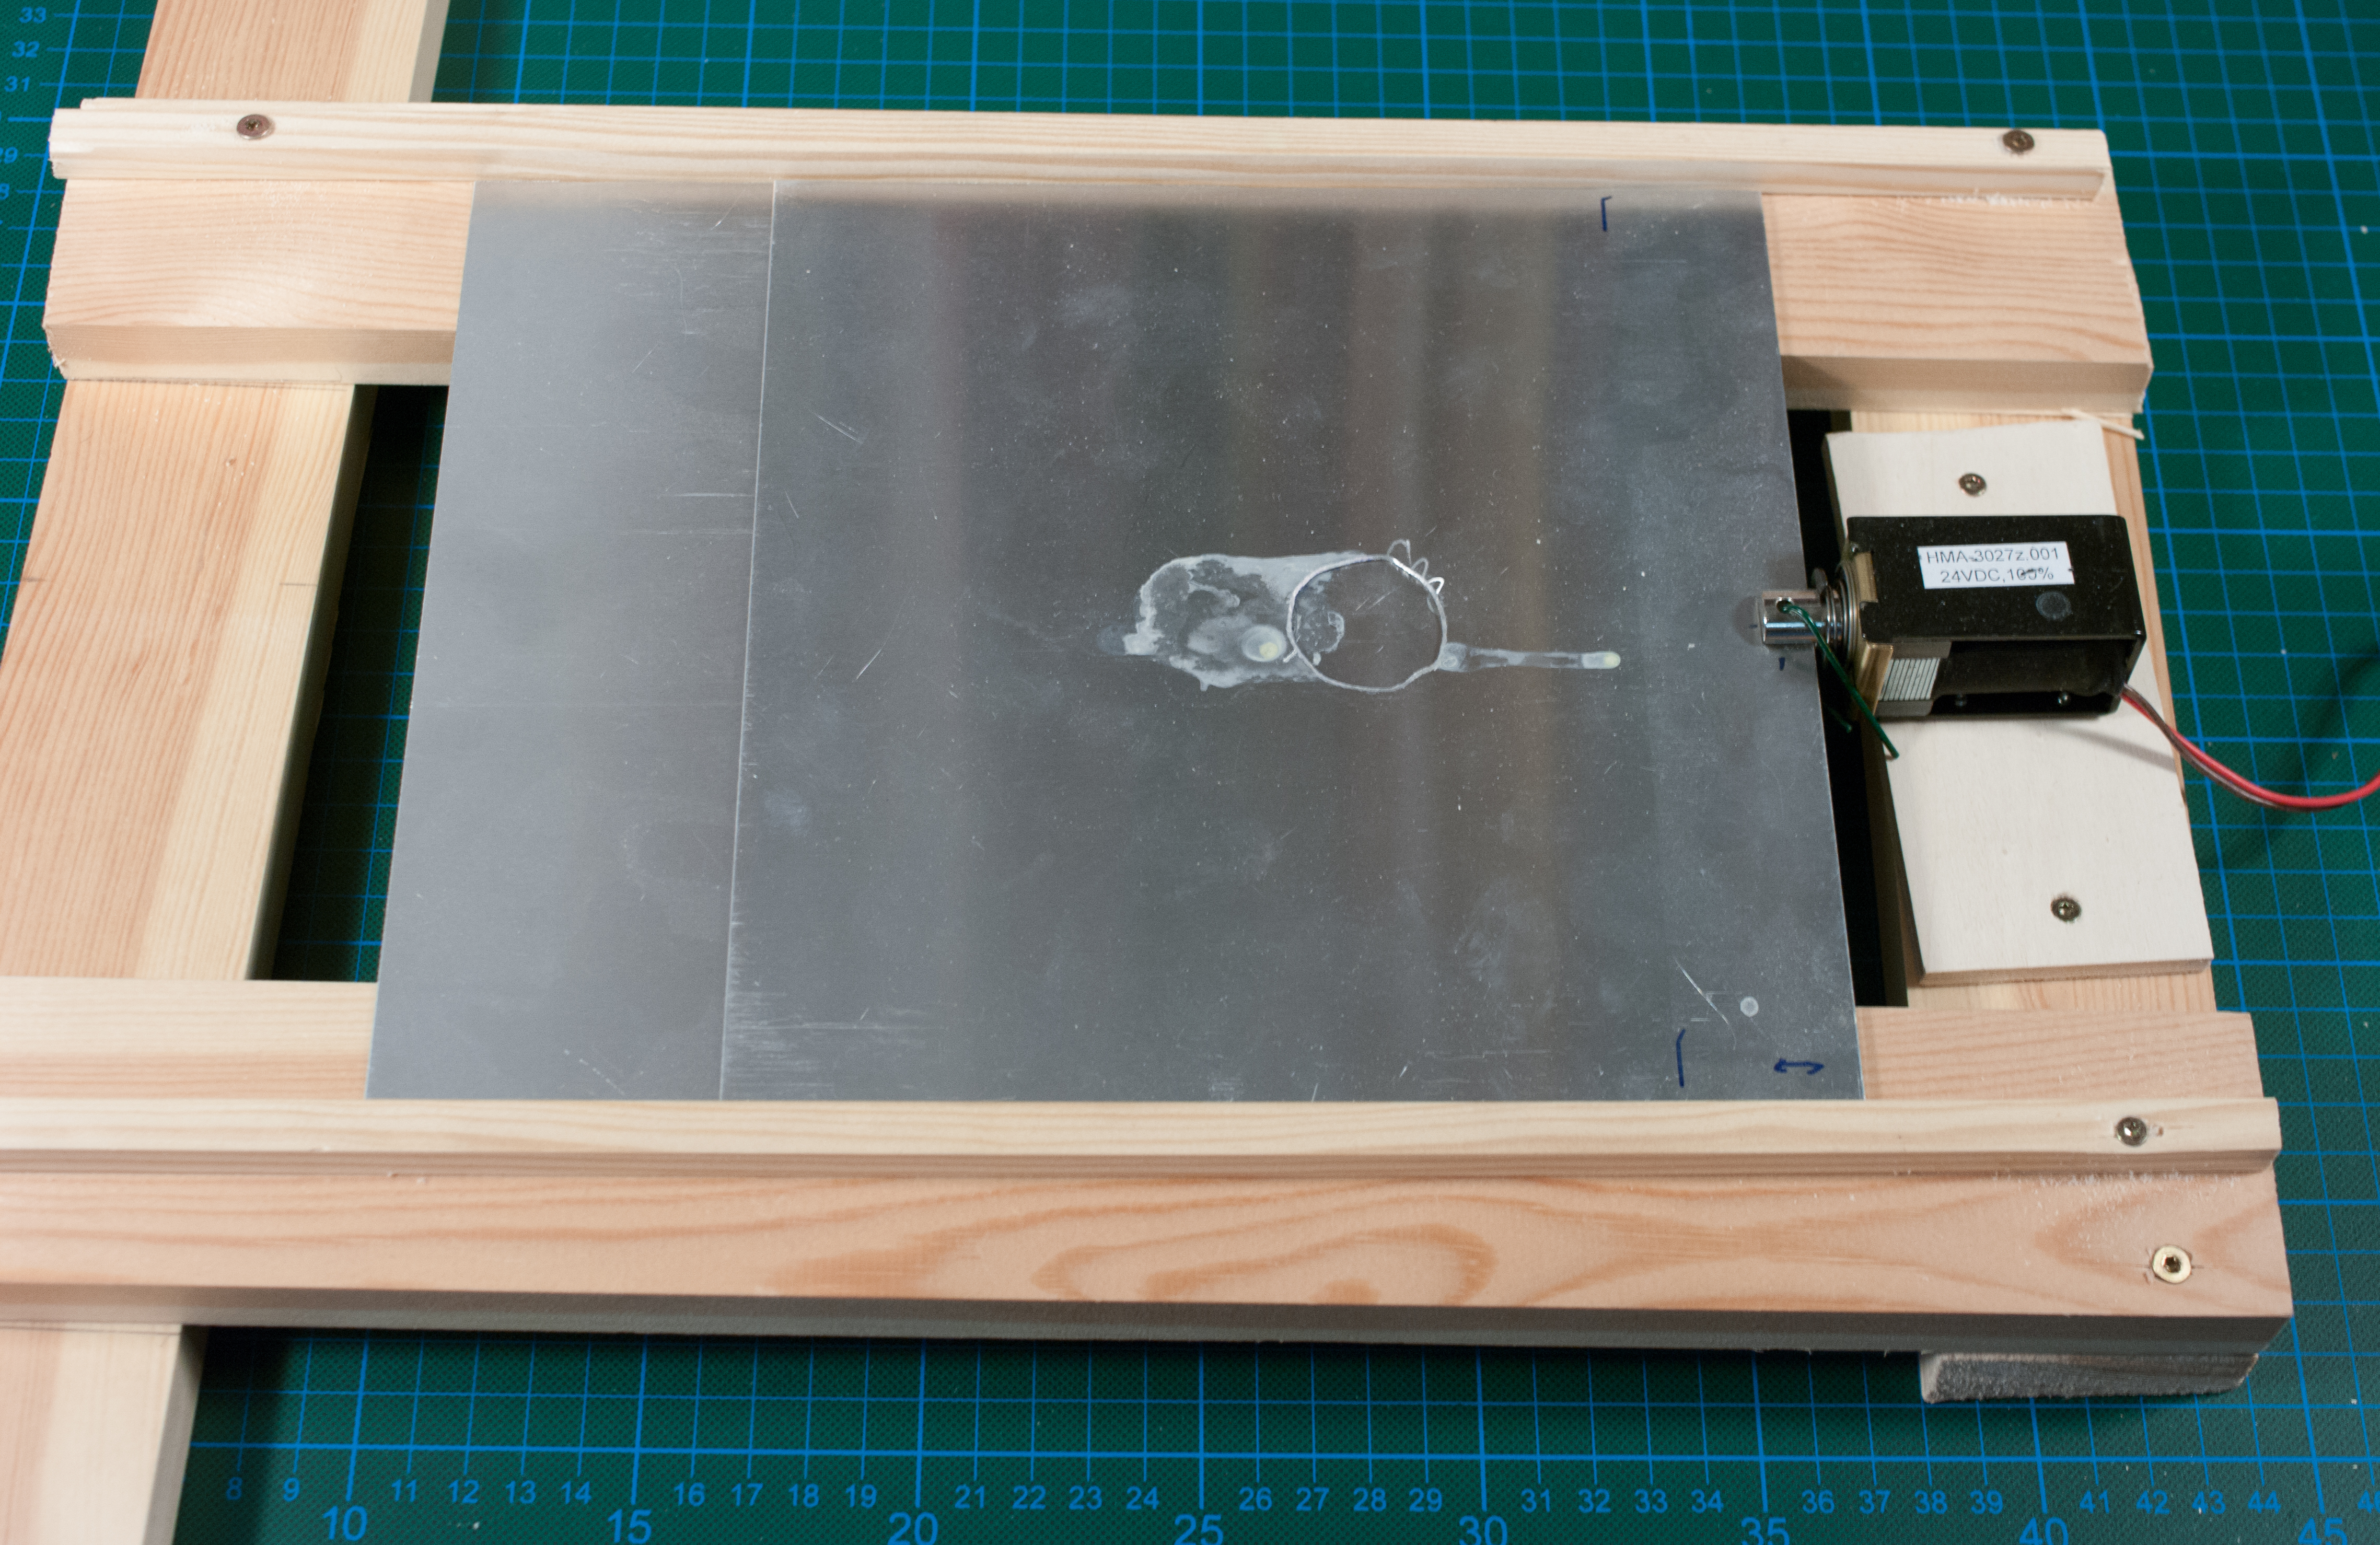
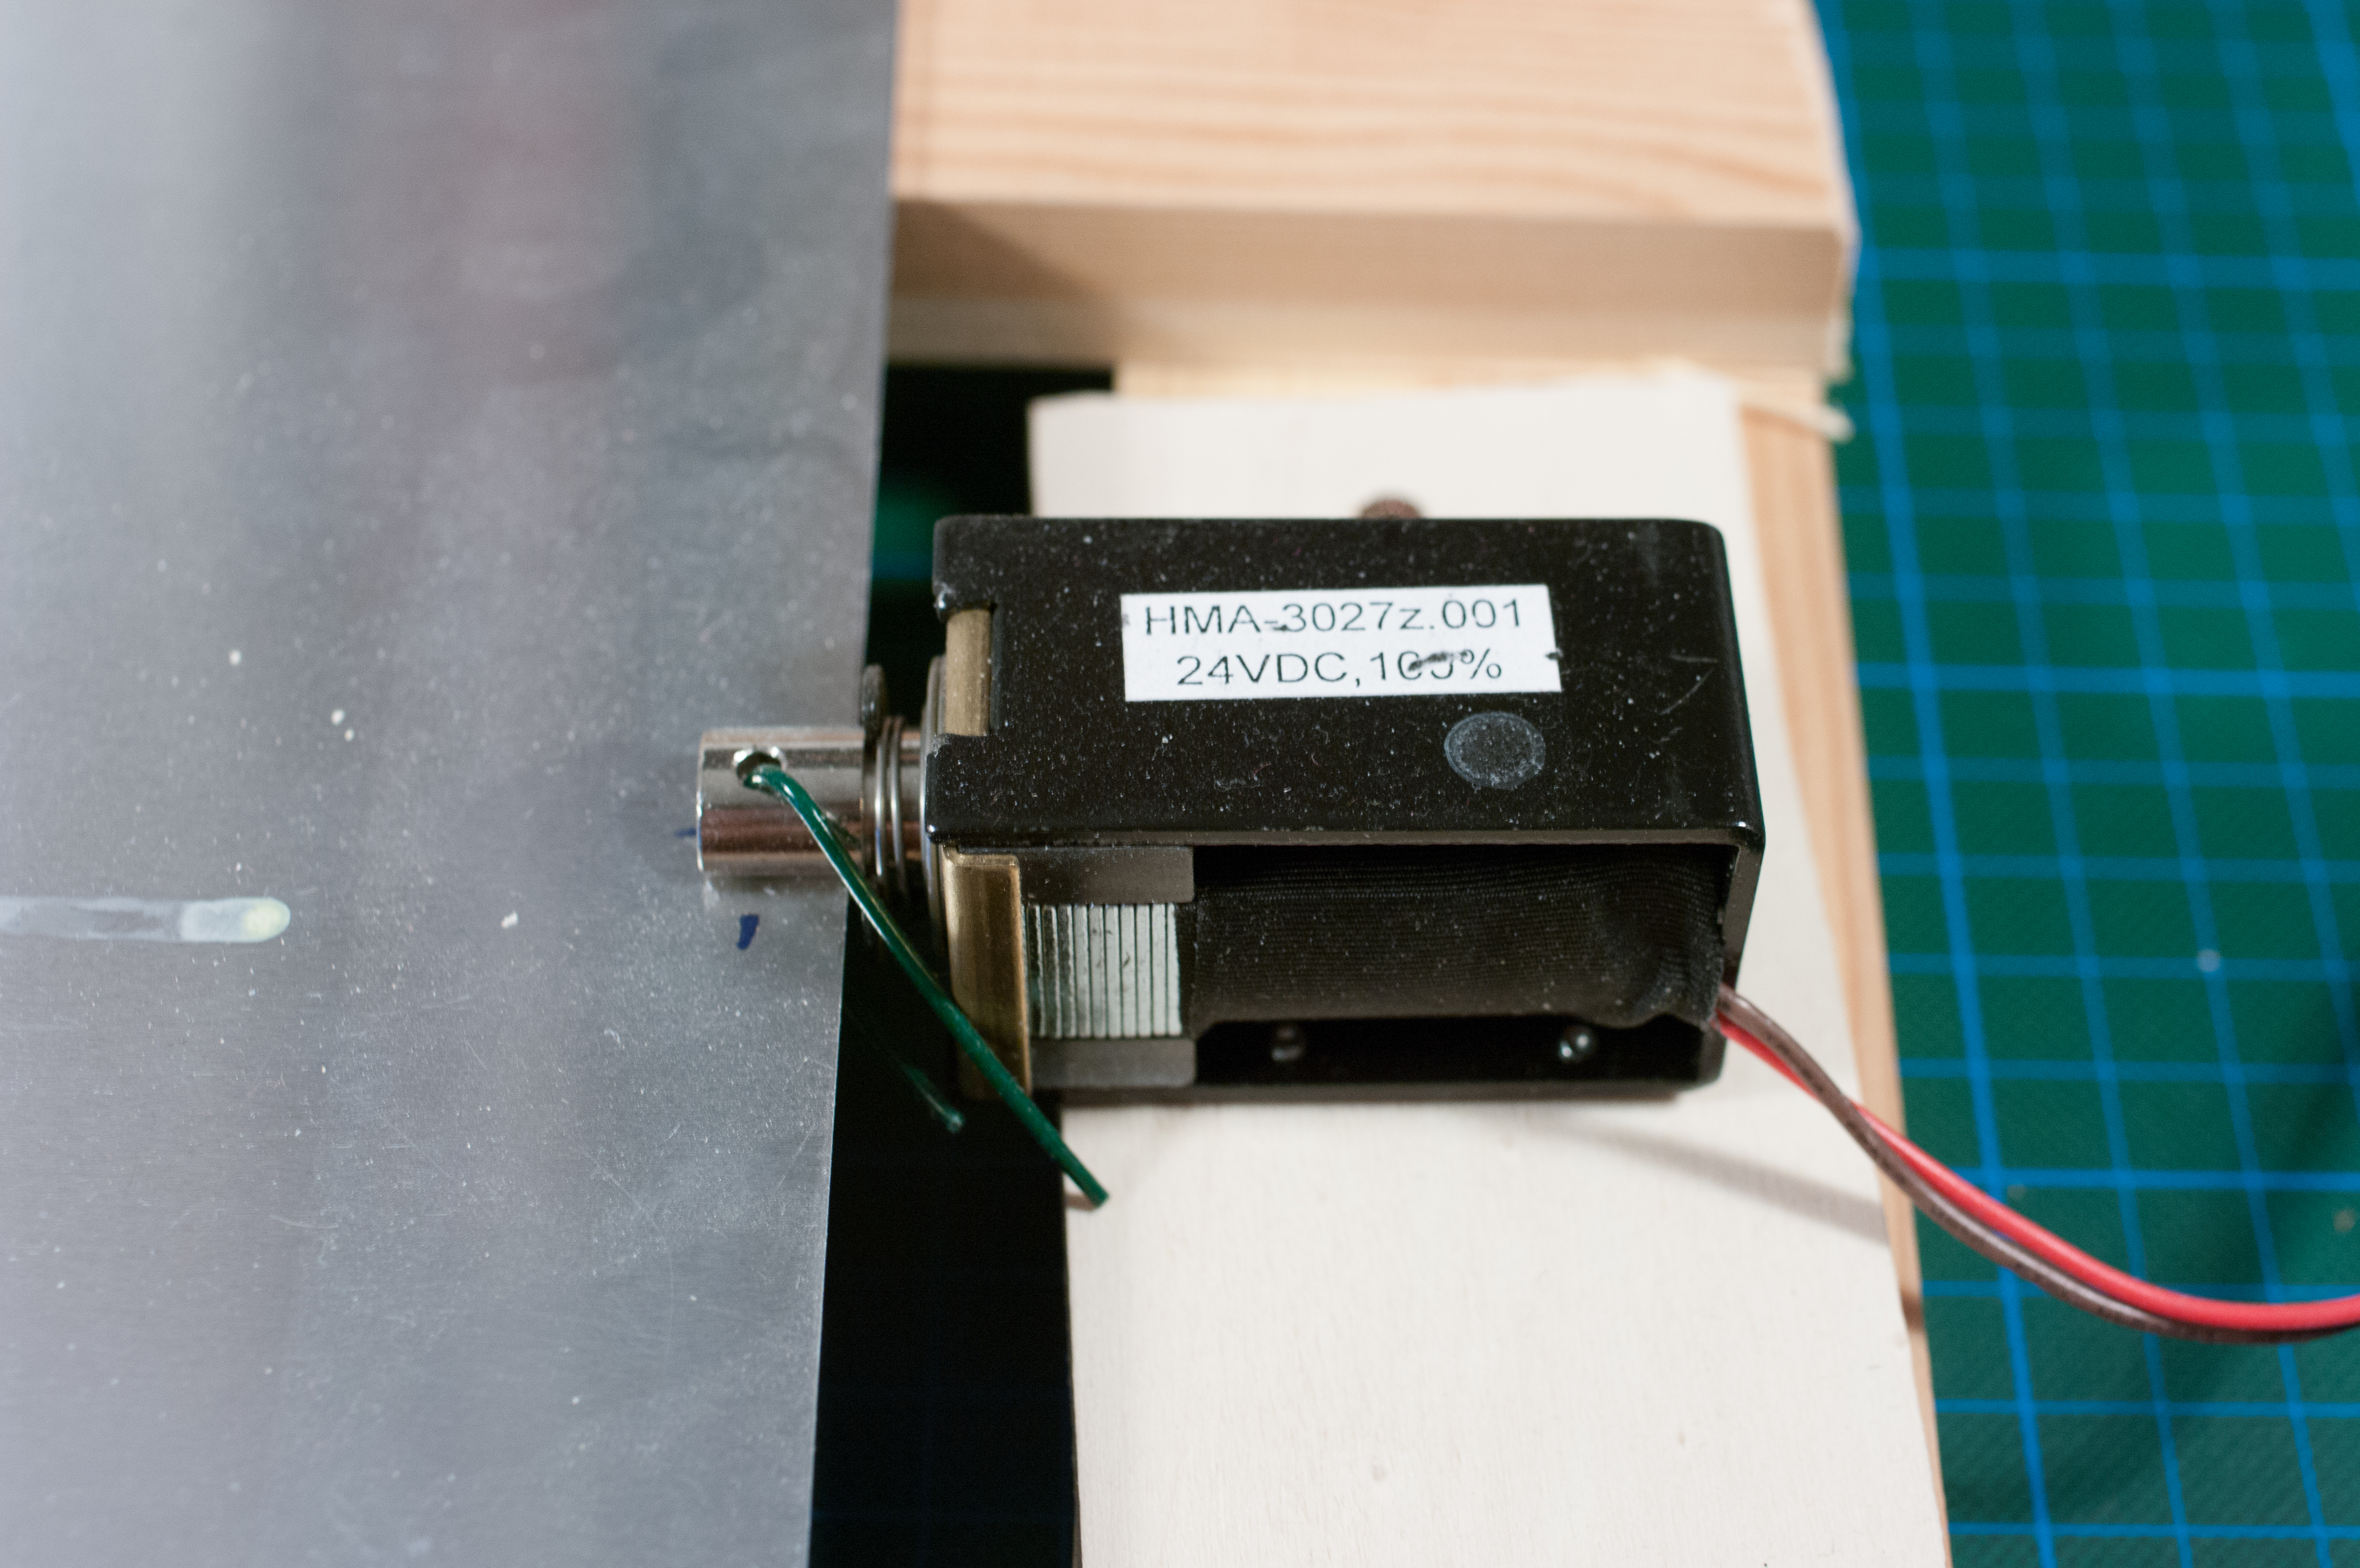
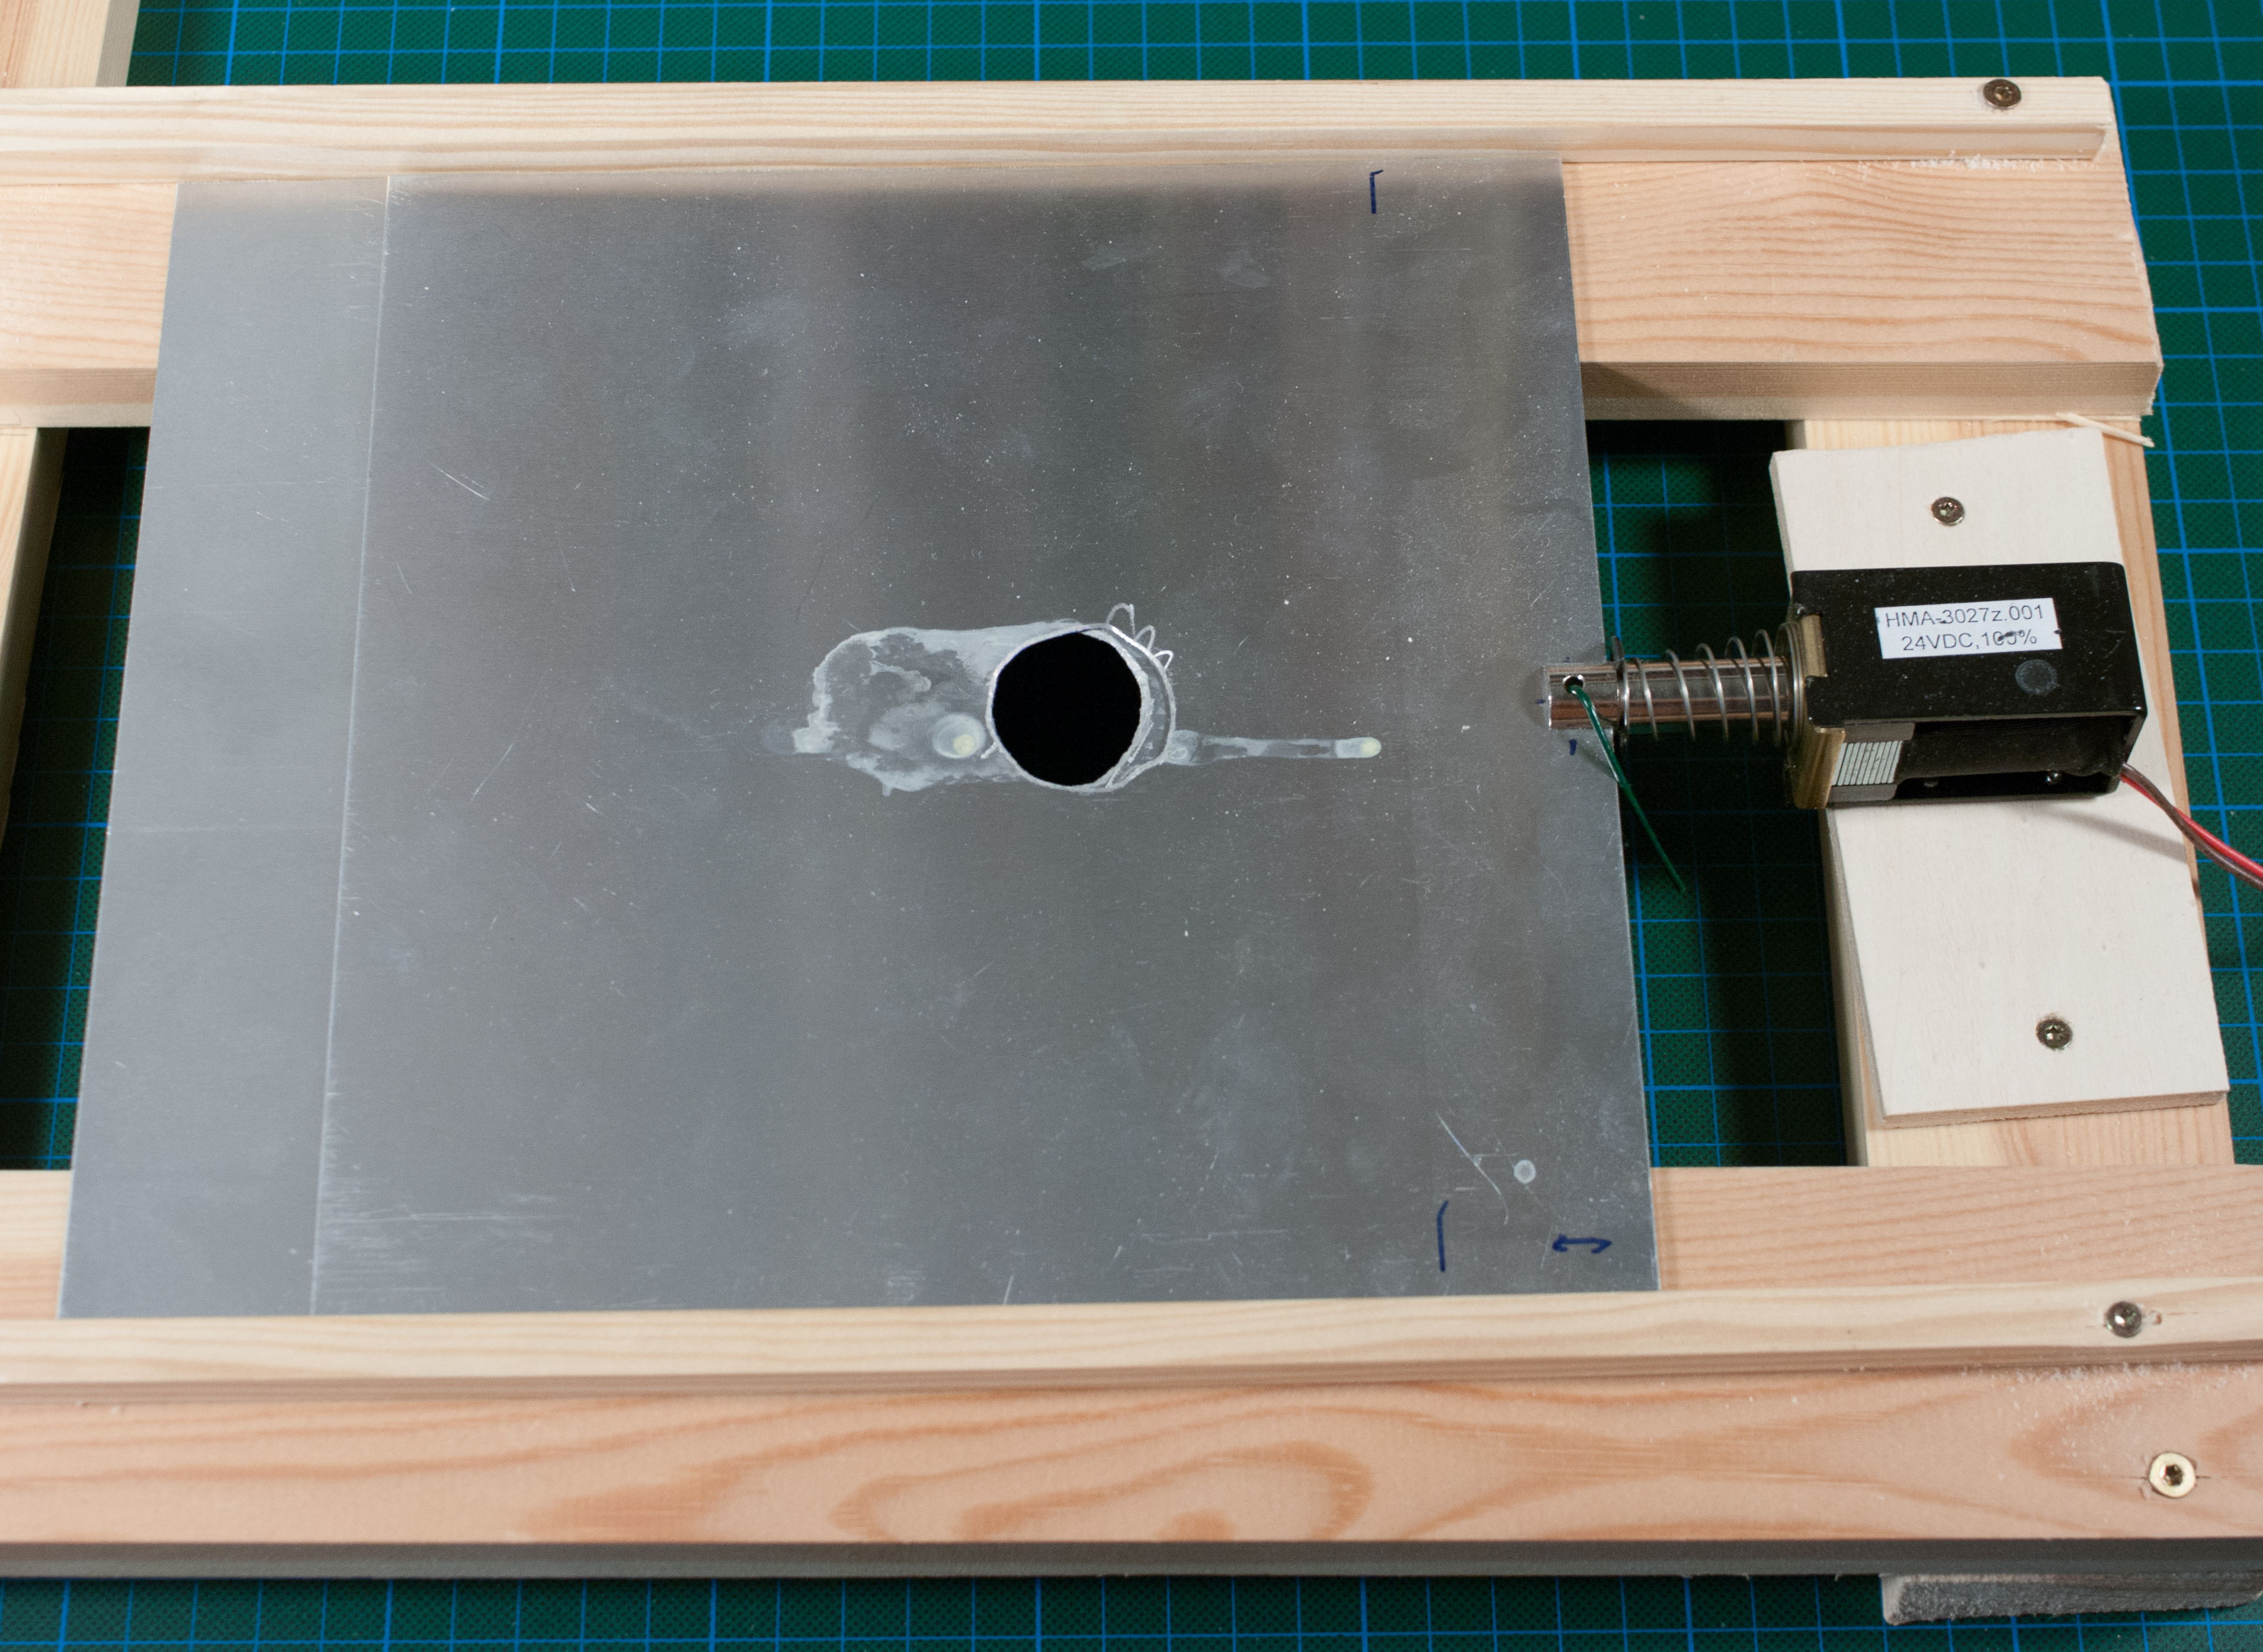
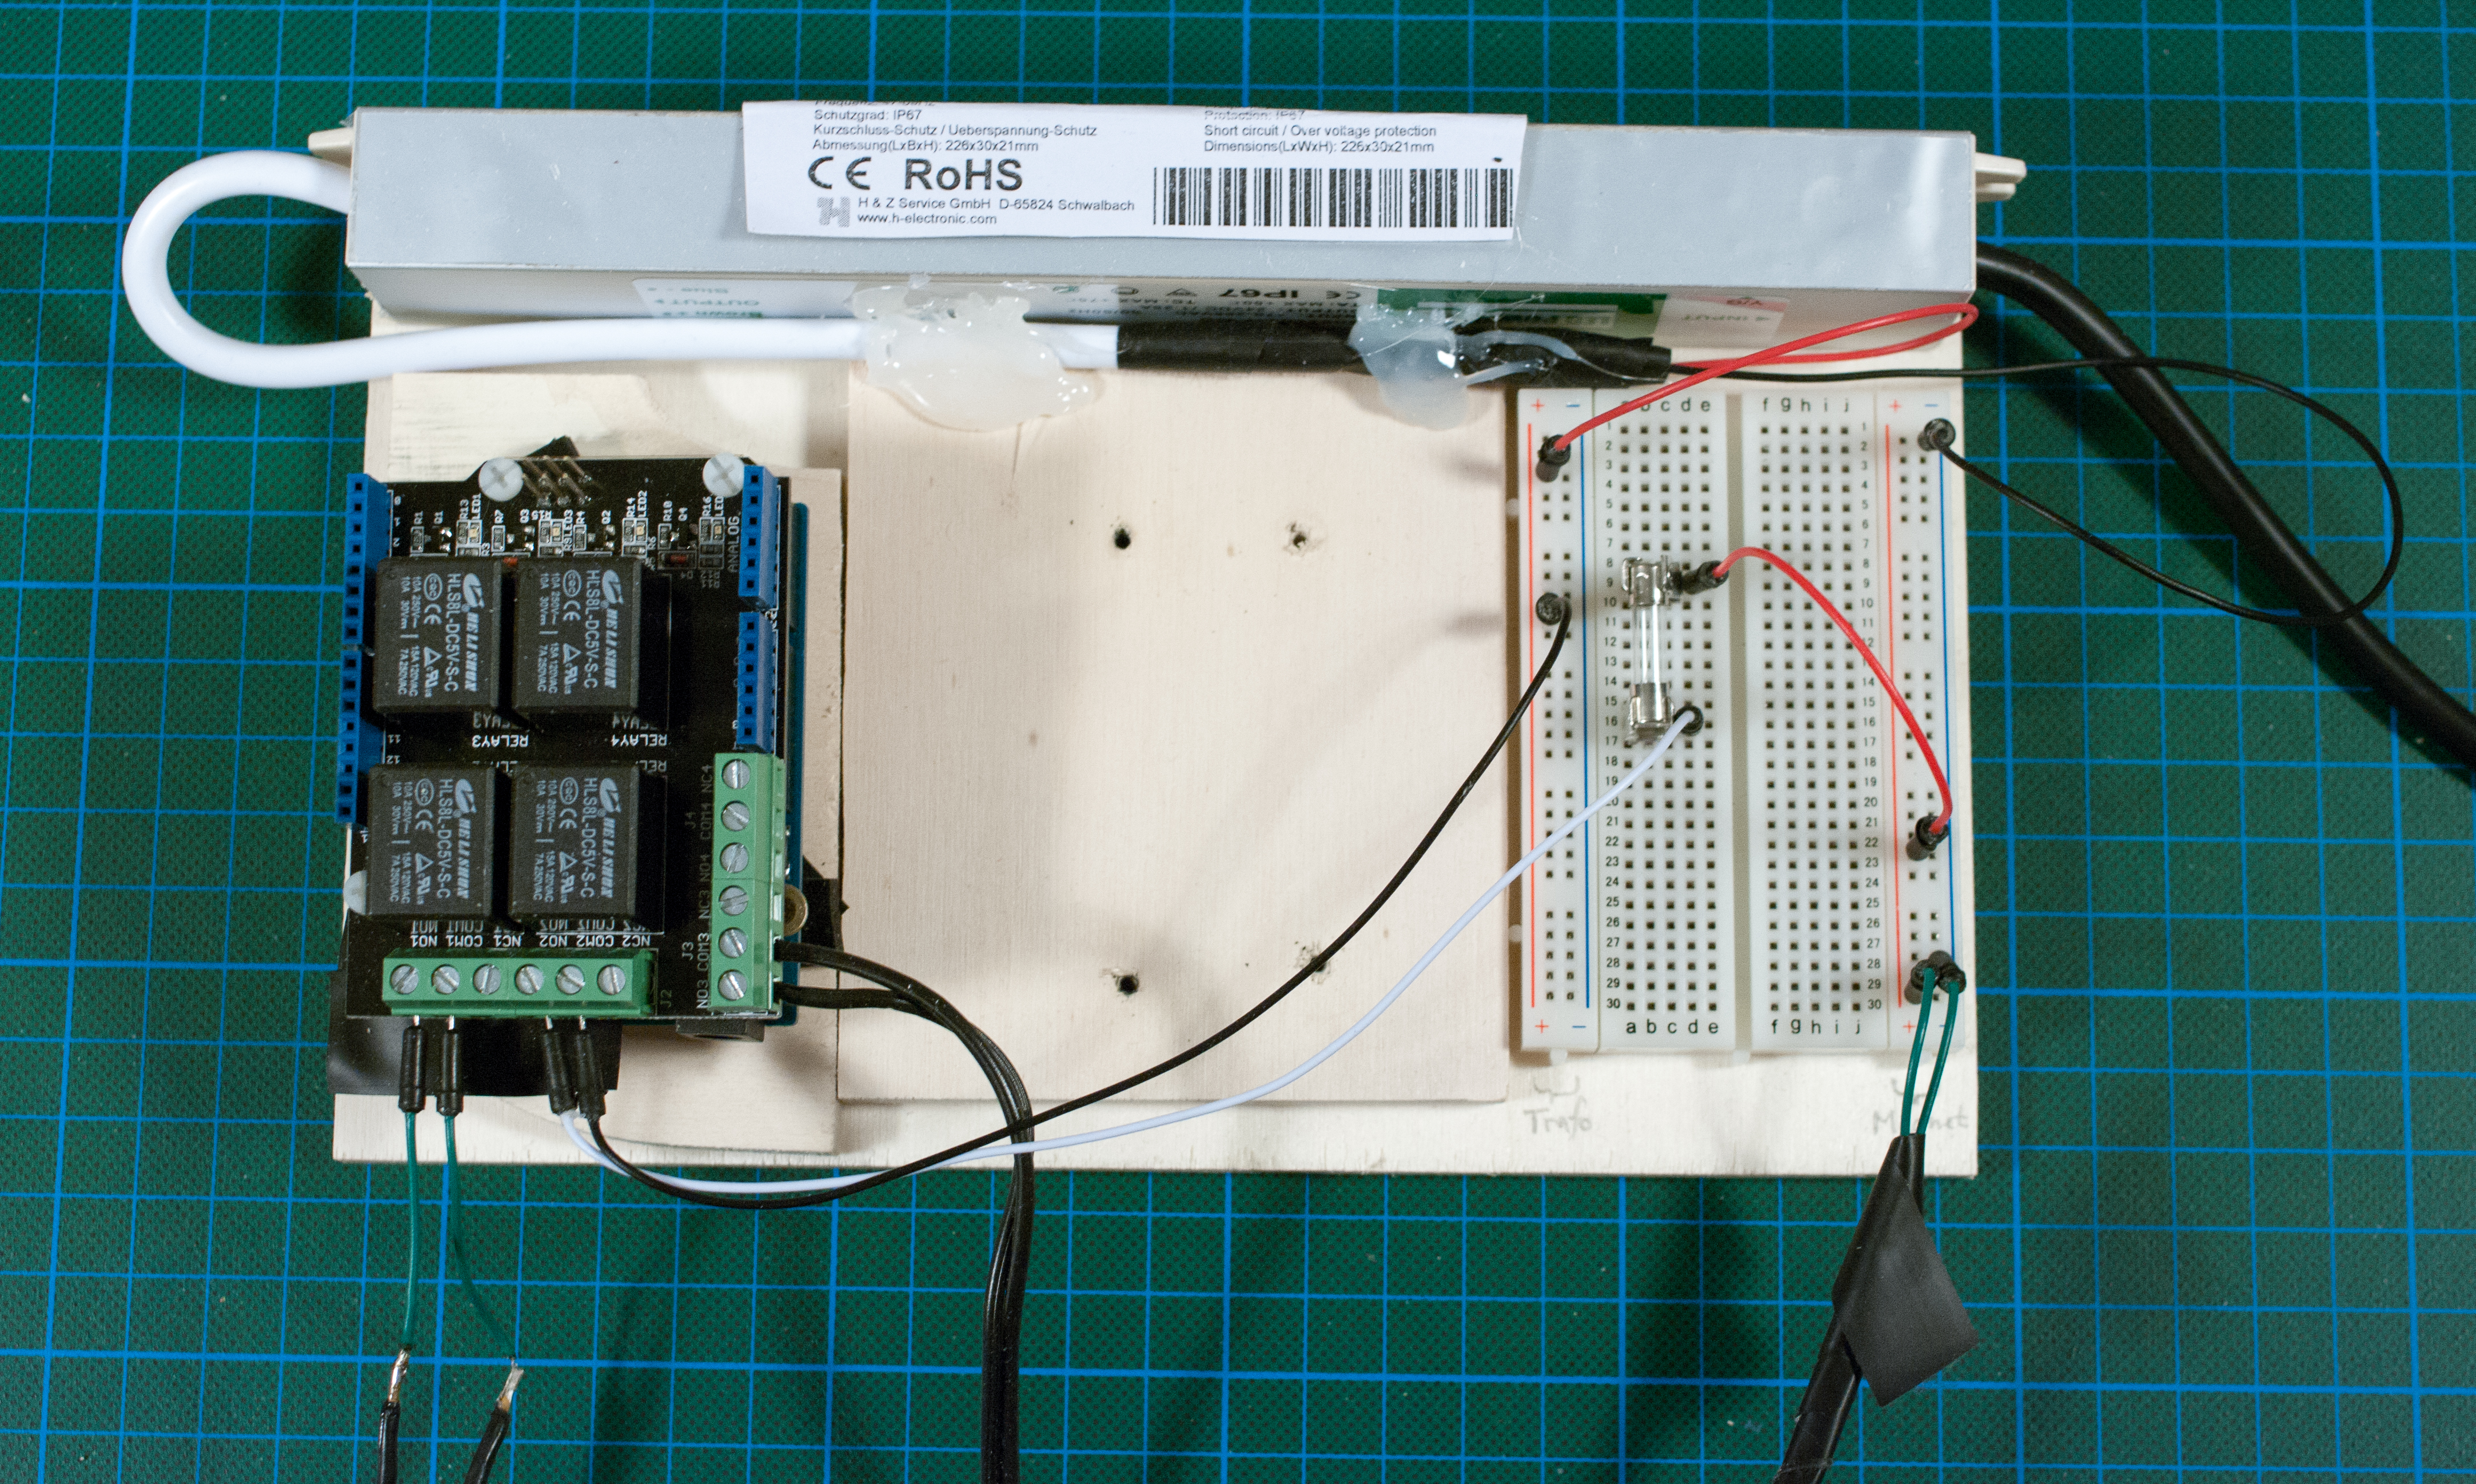
Having played with Arduino a bit, we wondered whether we could take the guesswork out of getting the moment right, and after a lot of tinkering we came up with the rig explained here. We’re now able to get the moment right in a repeatable fashion, thanks to an electromagnetic solenoid controlled by an Arduino Uno.
It’s not hard to build, but you’ll need to scrounge the parts from various sources and do some experimenting to get the rig configured right (more trial and error). Our description here is not very precise (by design) as your parts and photography needs may vary. But hopefully it’s good enough that you get the idea and start making!


